Repairs On A Solid Wood Bass
This old bass came from Pennsylvania to my shop. I don’t know any of it’s history. Owen Saunders found it somewhere and purchased it. We agreed that I’d repair it and we’d sell it and split any profit made on it. This was probably a German made bass. This is not plywood like most bluegrass type basses we are accustomed to seeing.
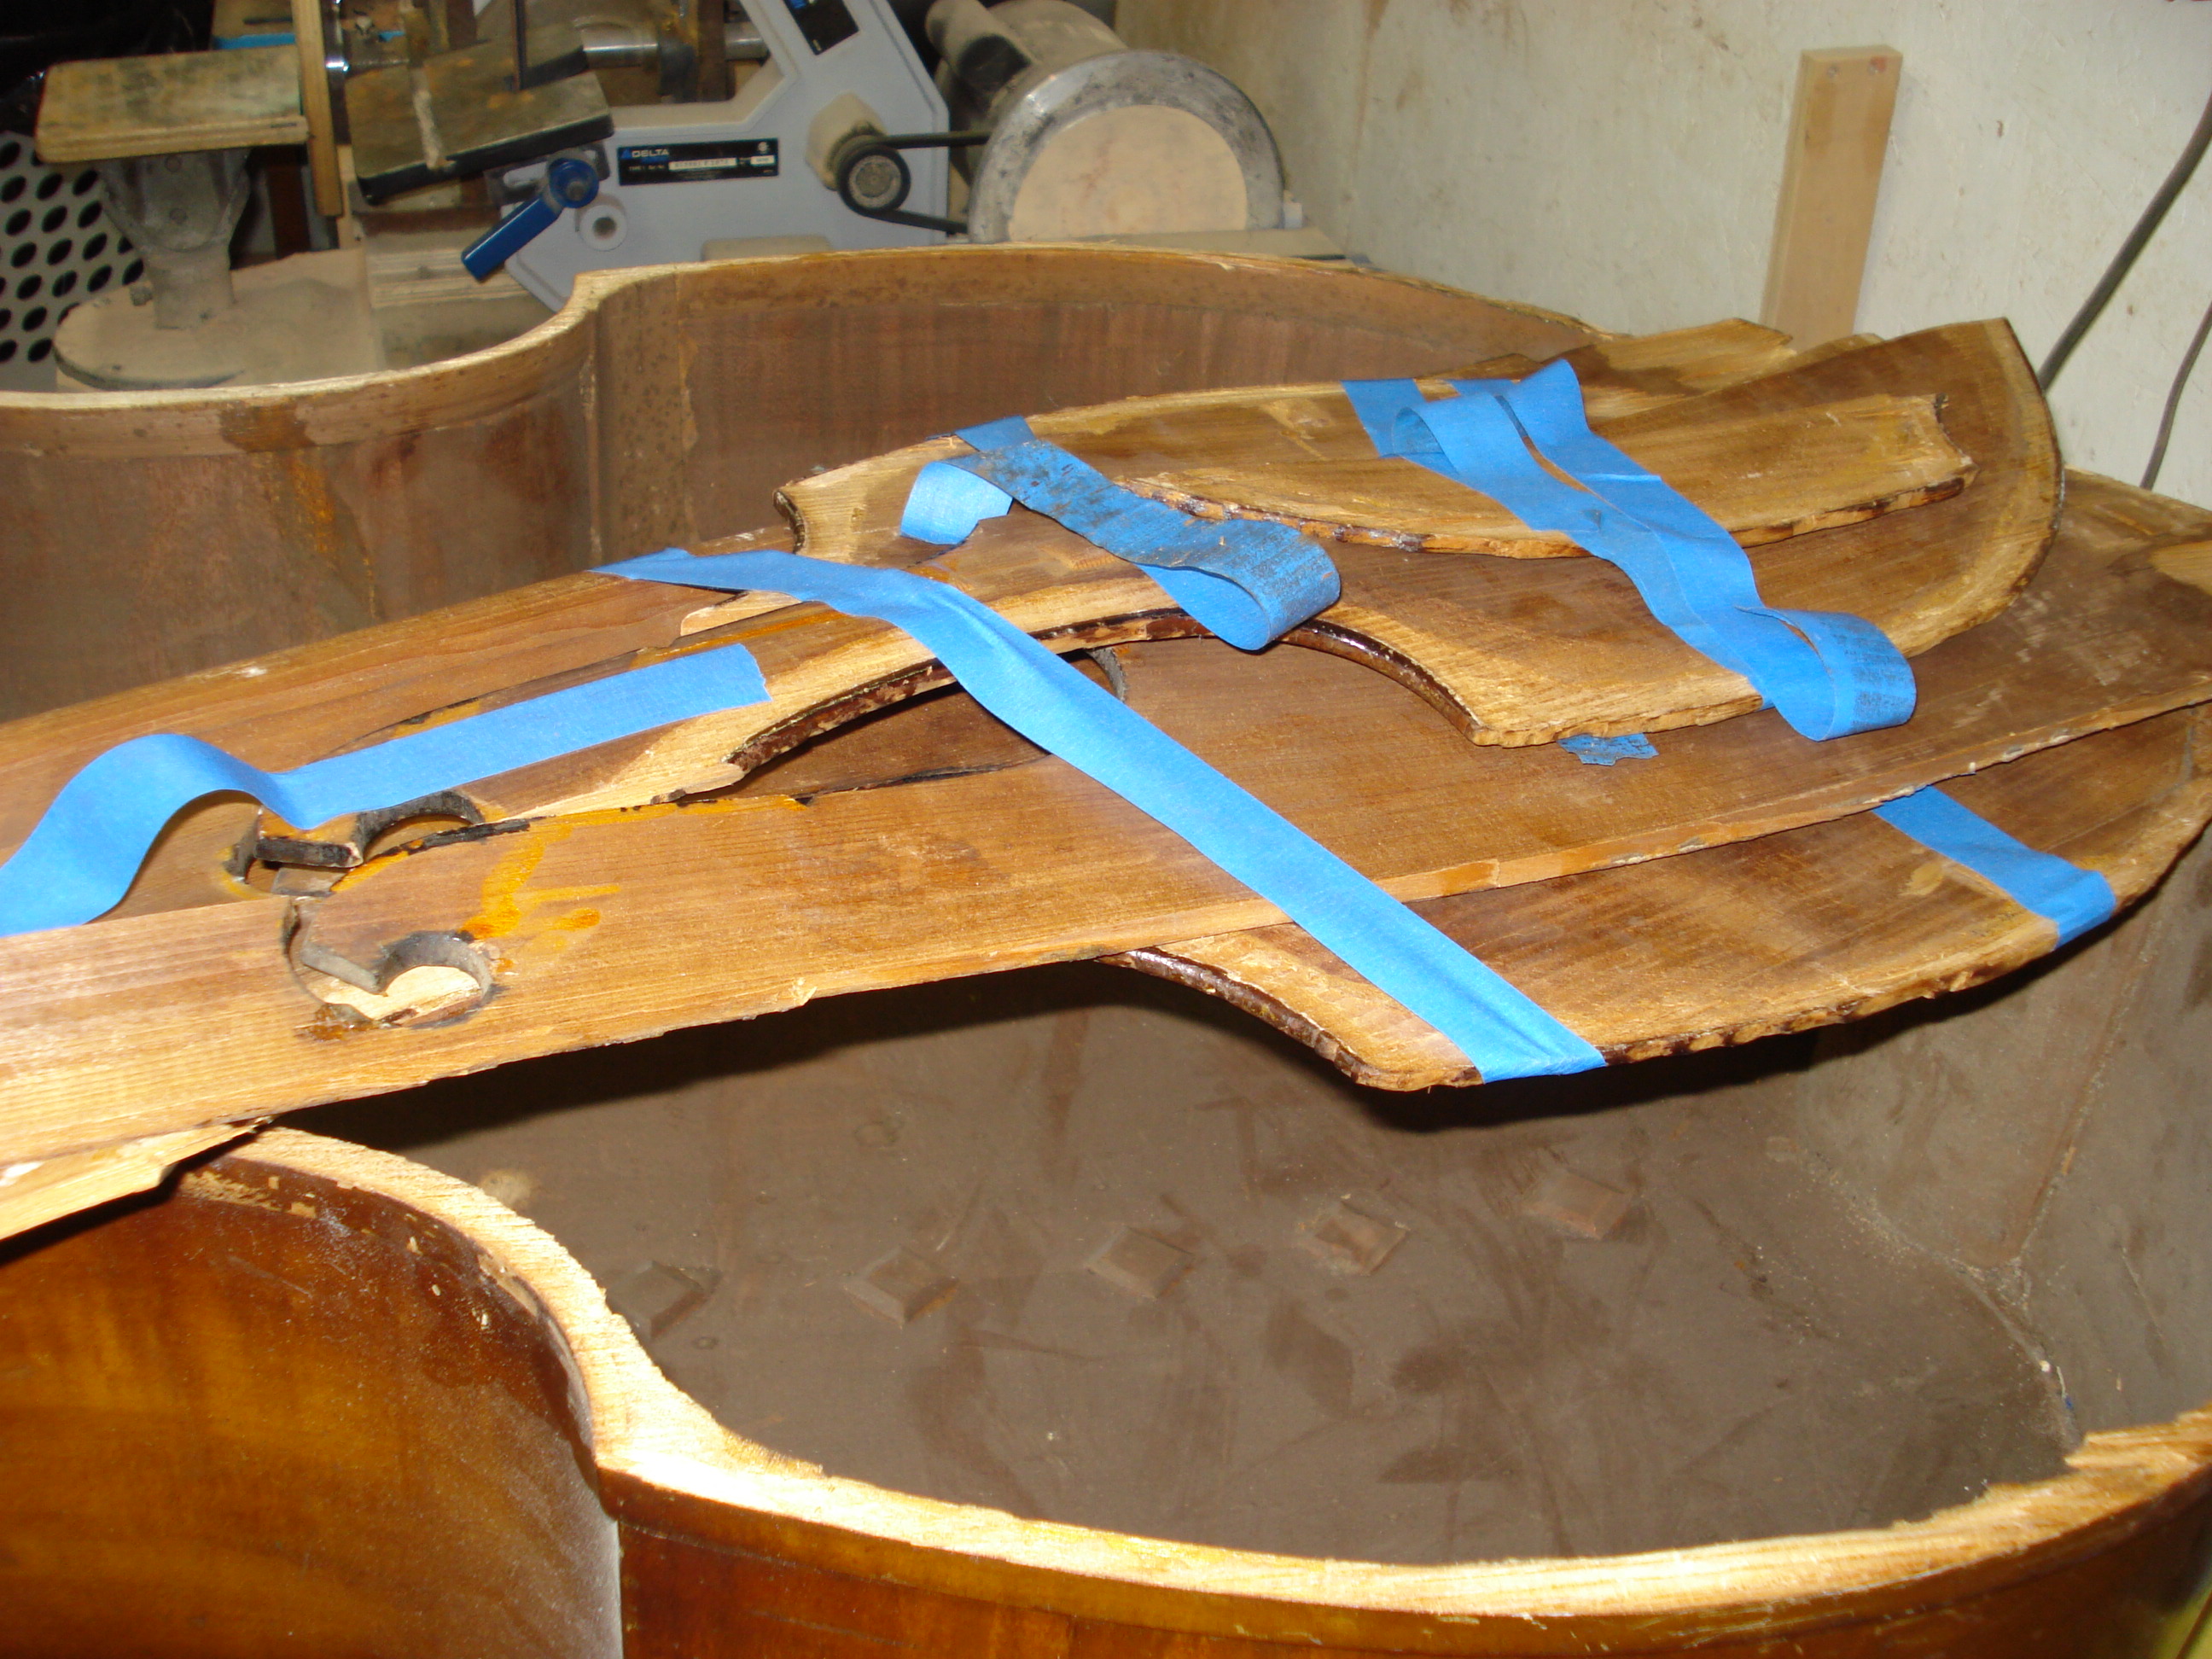
The top was in several pieces when Owen dropped it off.
A challenge to say the least.
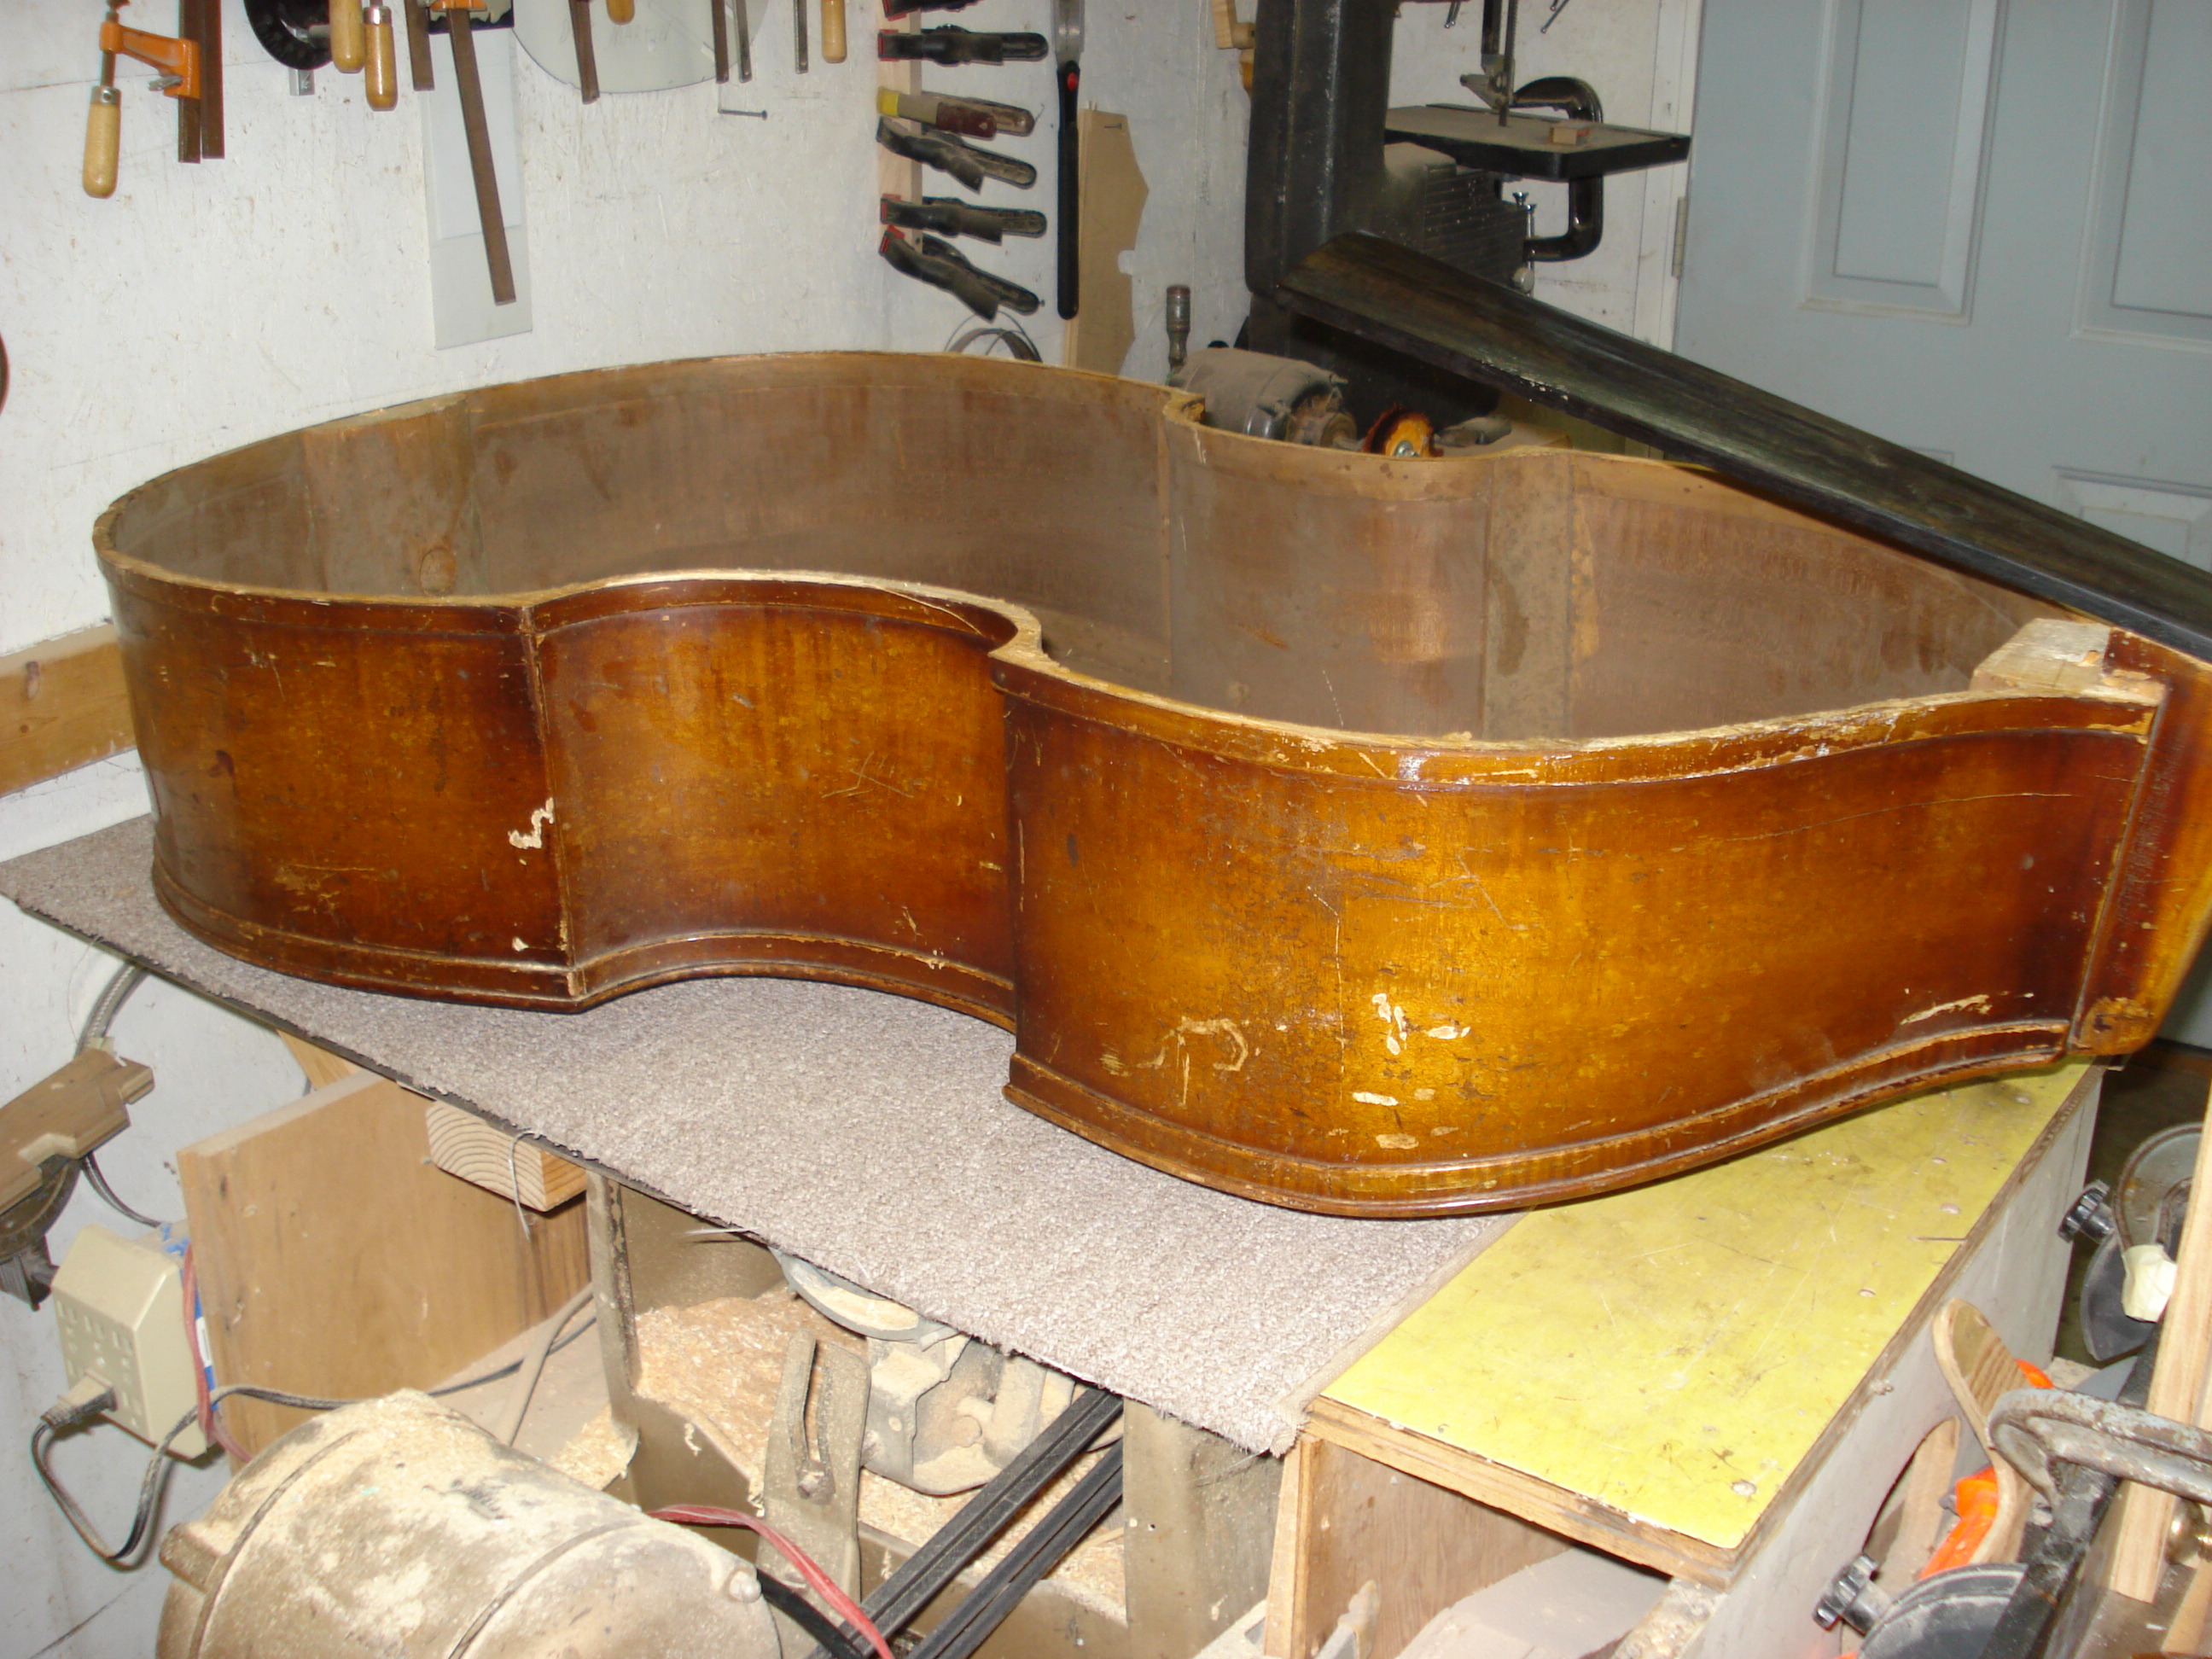
Except the top, the rest of it appeared to be in relatively good shape for it’s age.
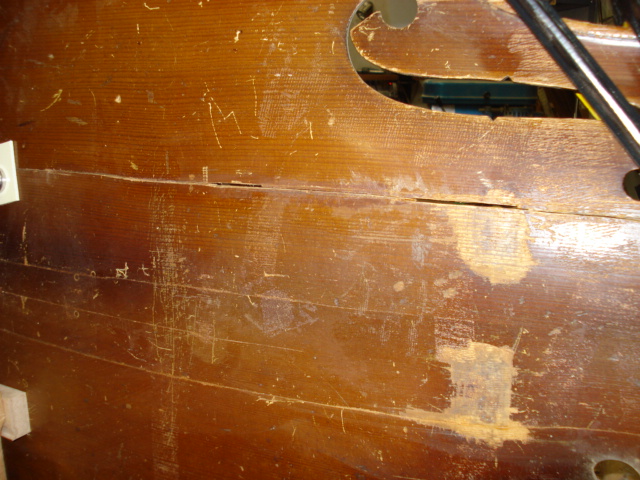
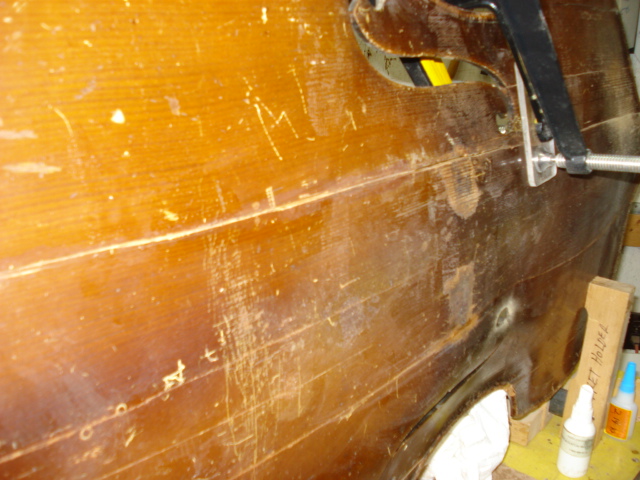
There was evidence of some previous repairs. These old solid wood bases are subject to cracking as the humidity changes.
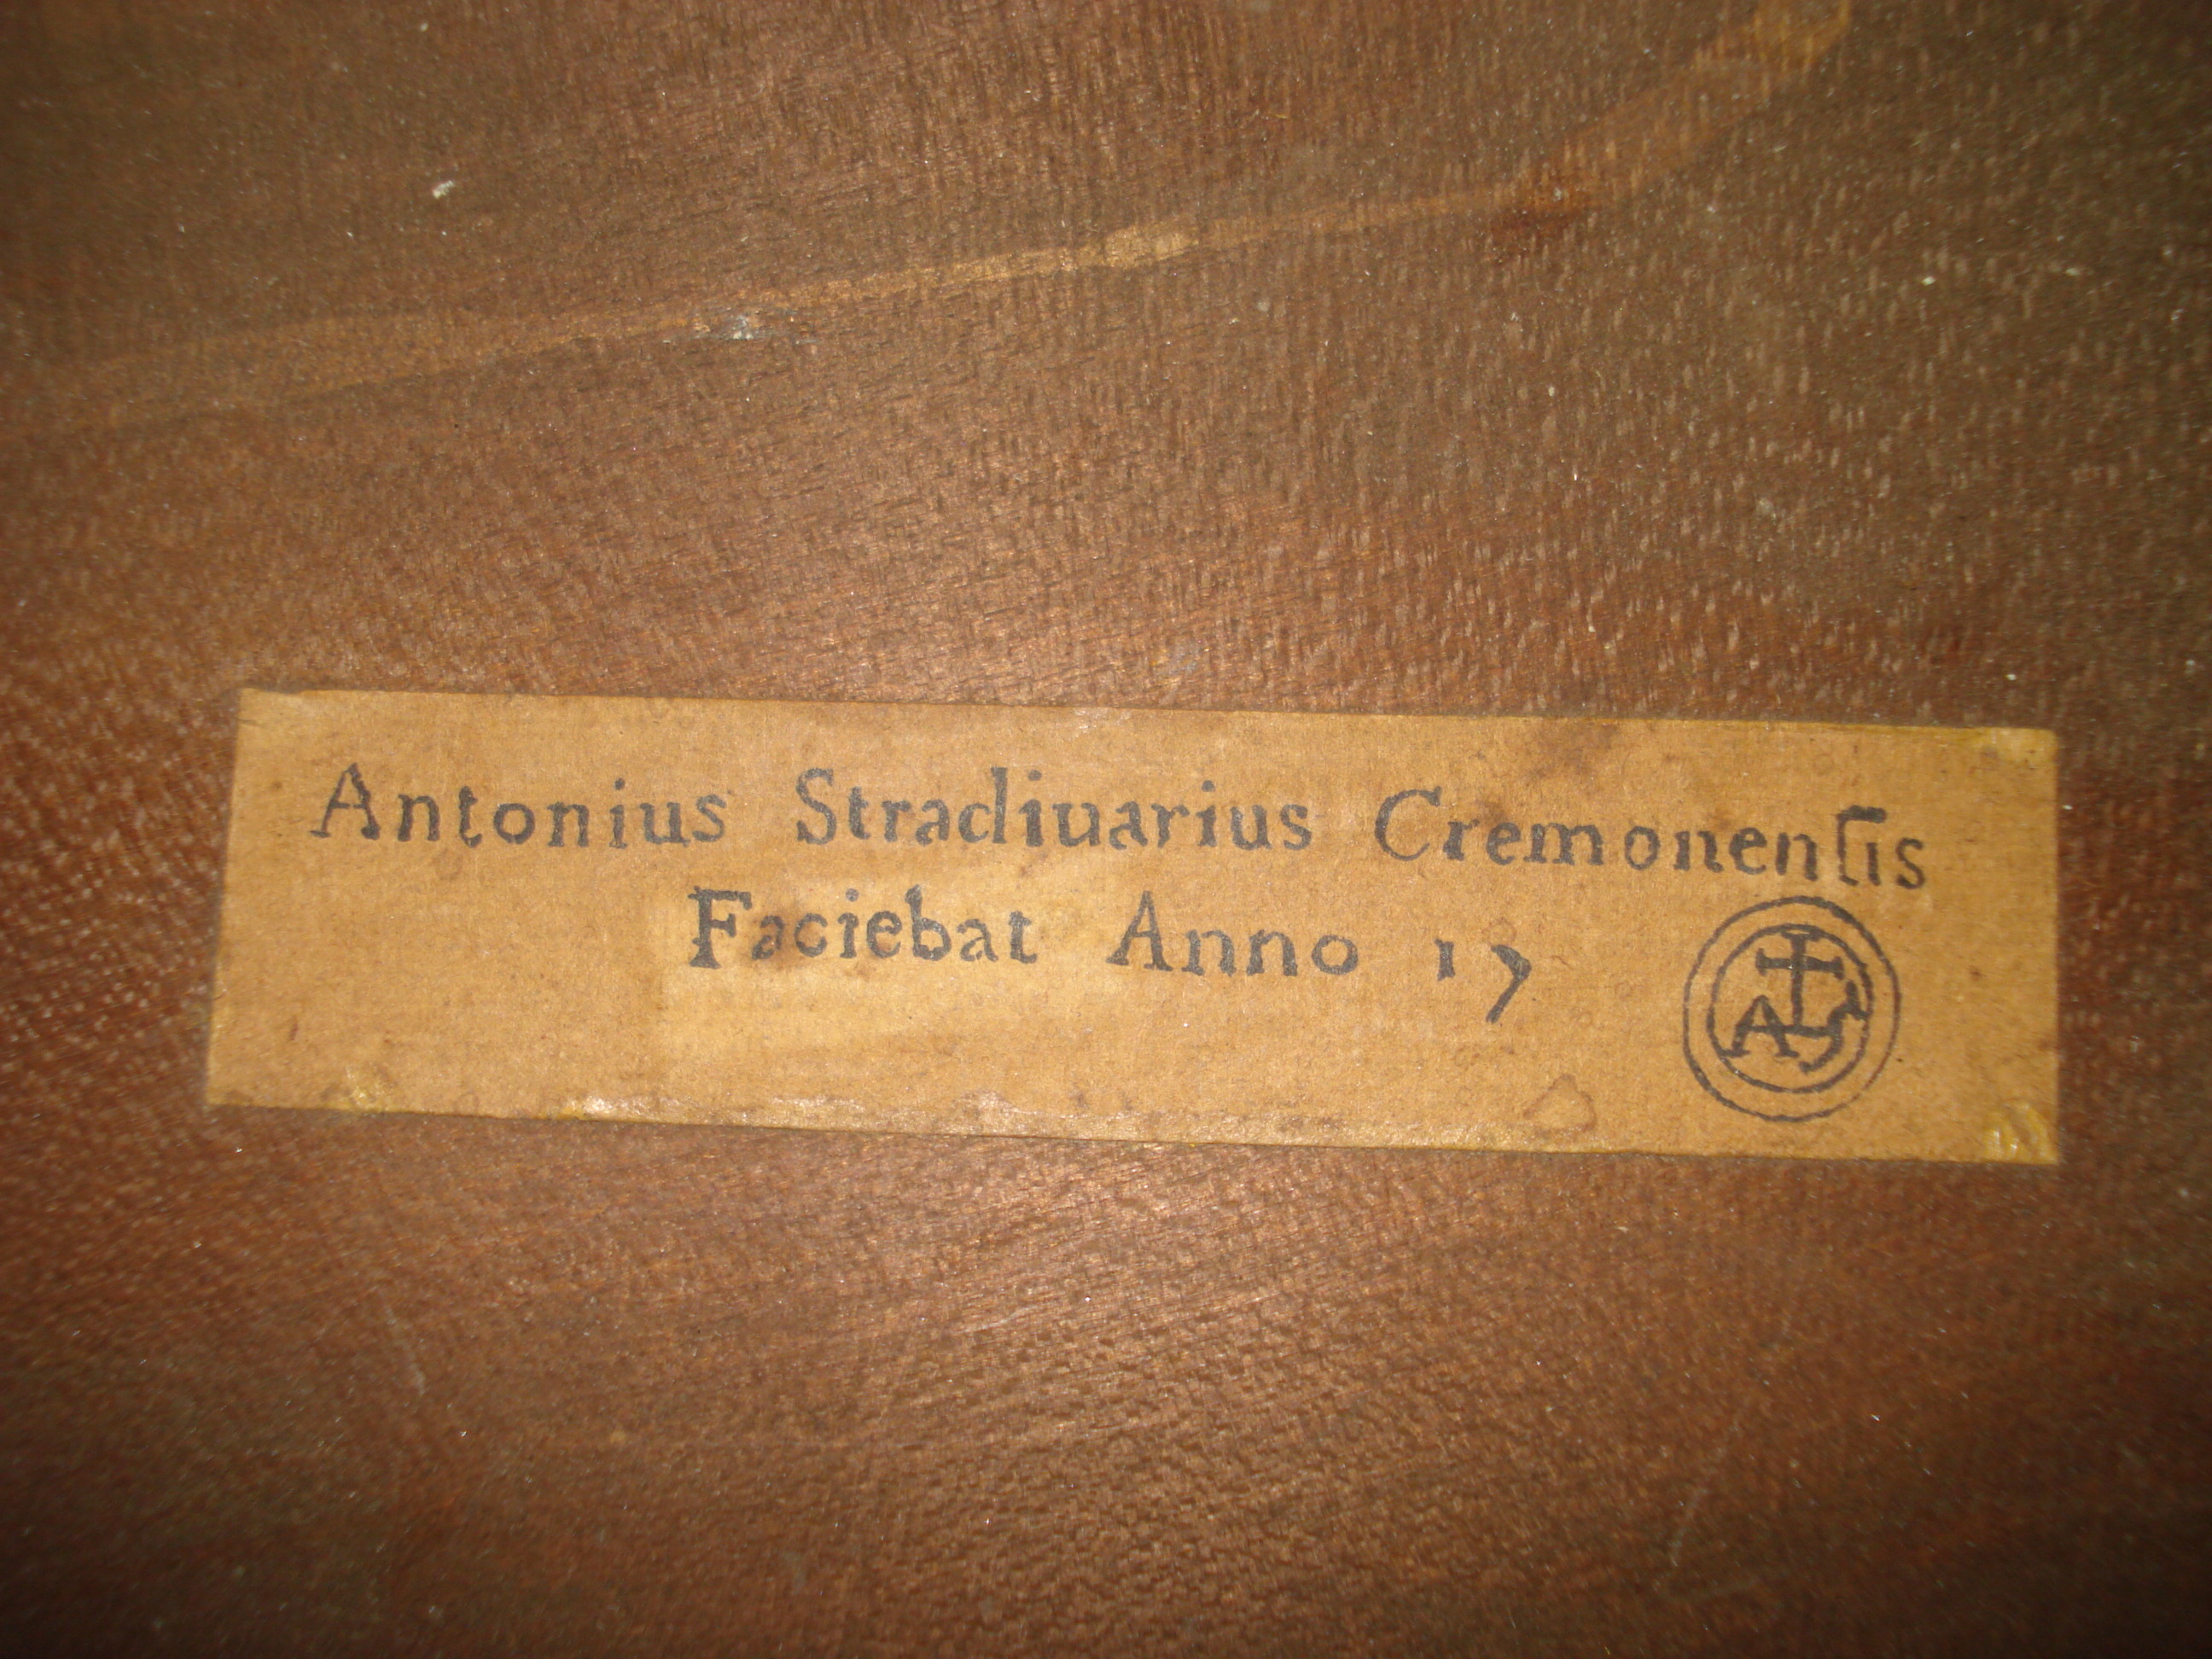
Someone had put a label in it saying Stradivarius. We all know that is a fake label.
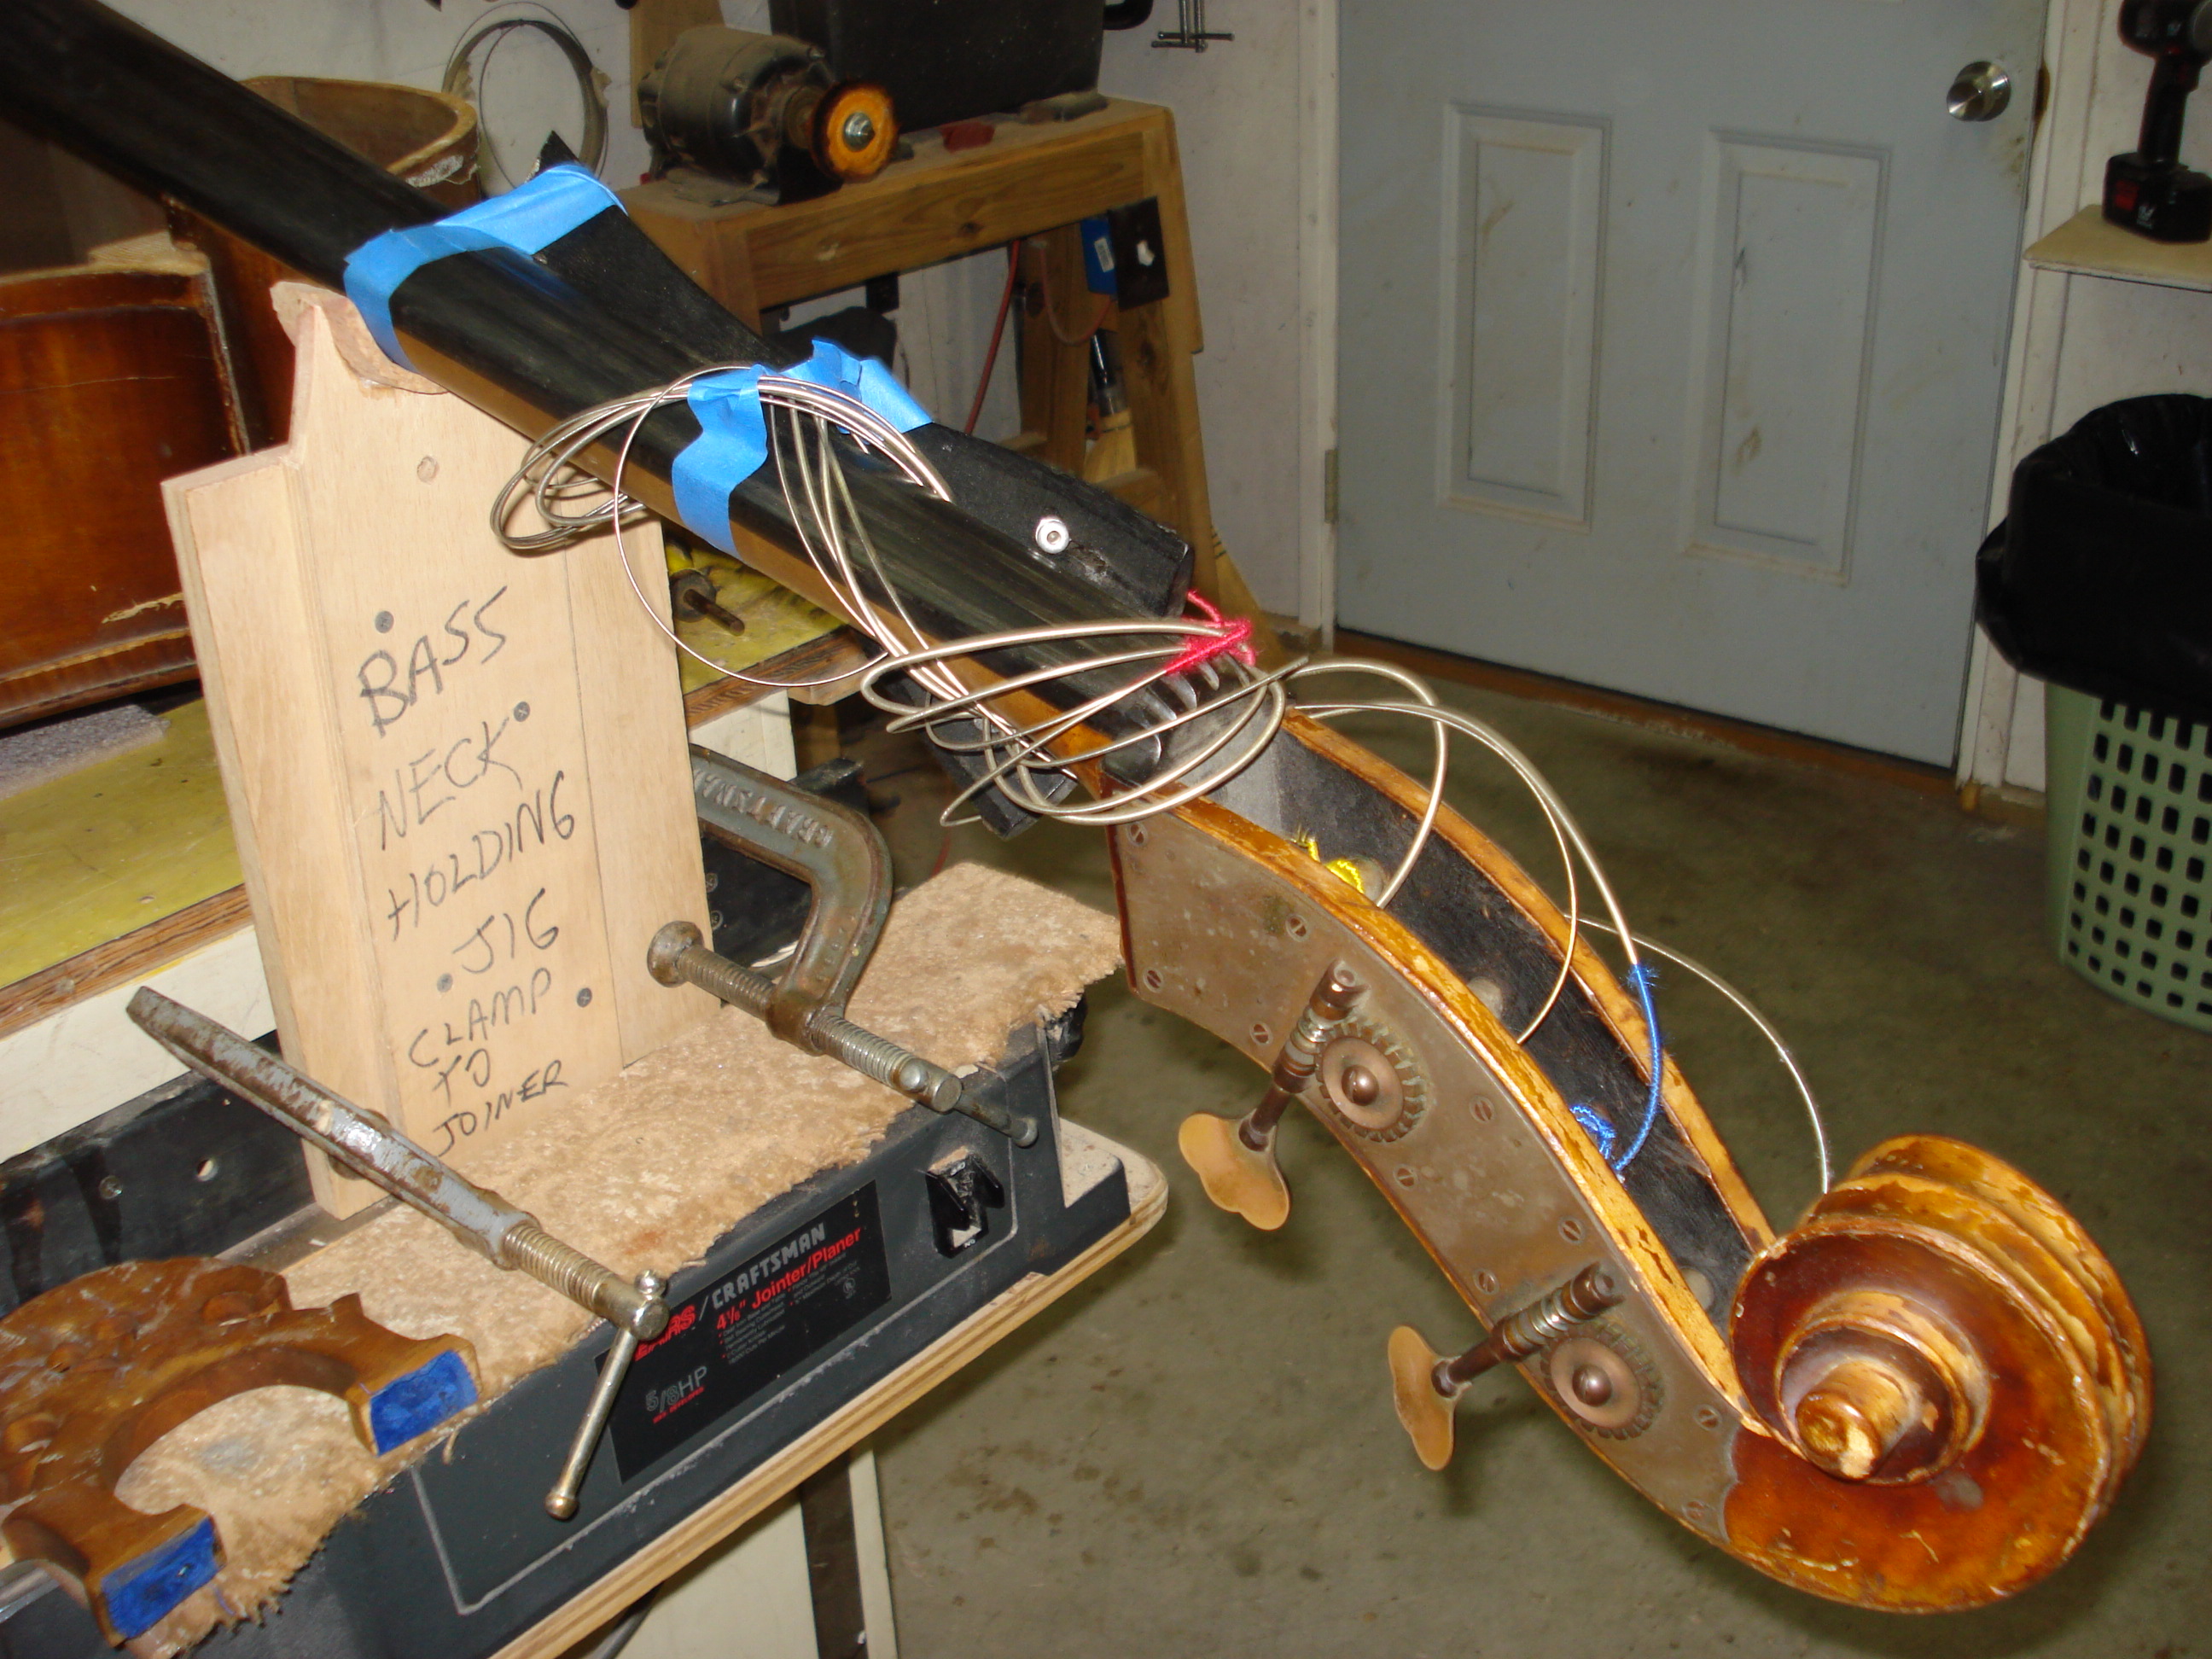
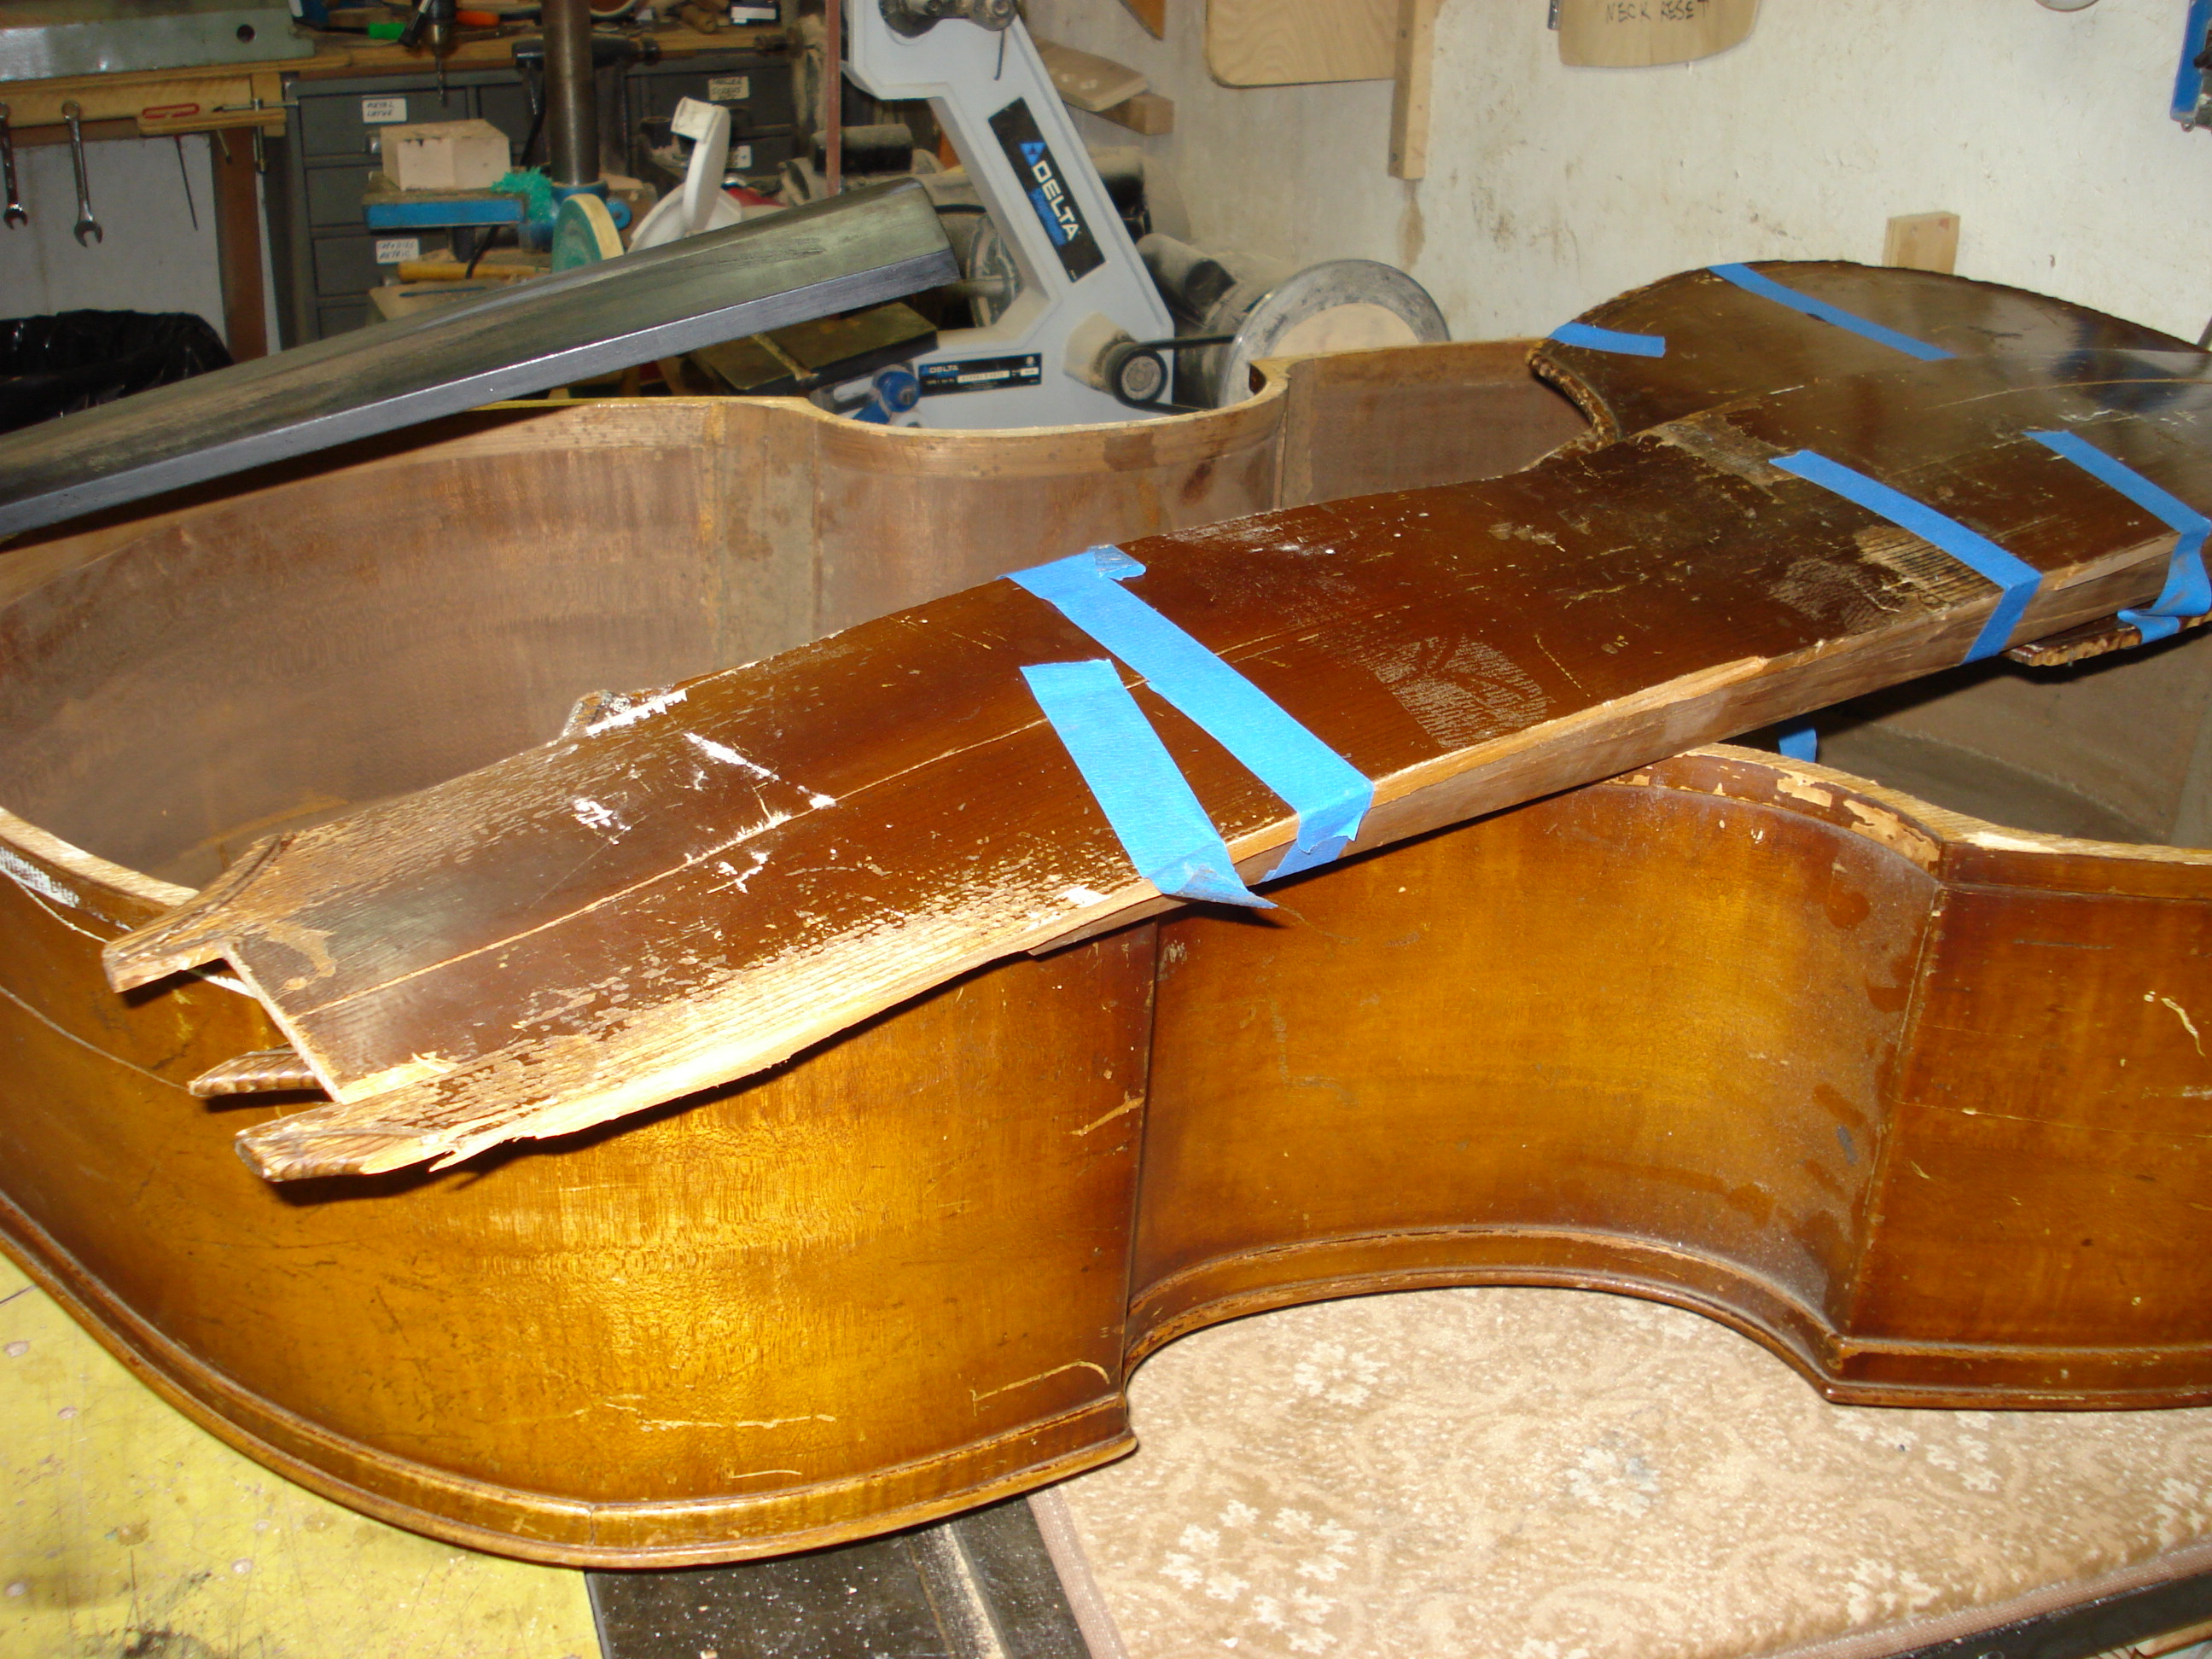
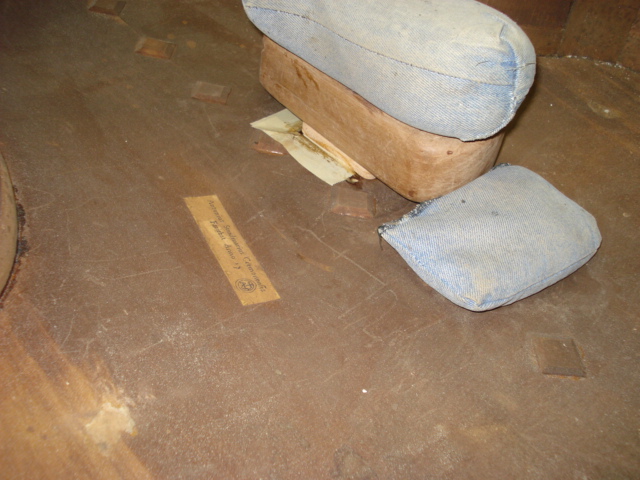
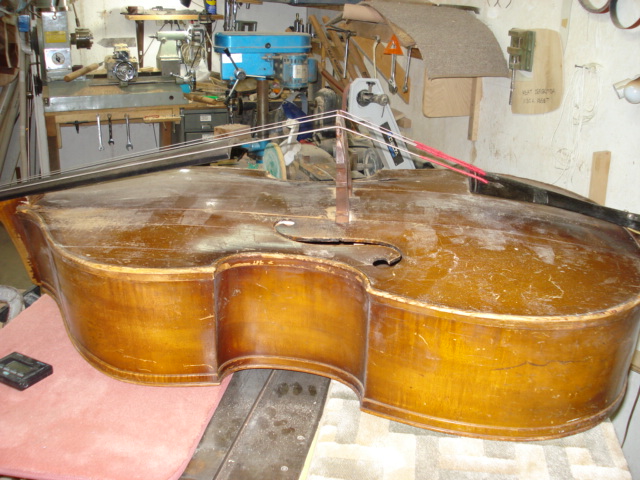
Neck and strings.
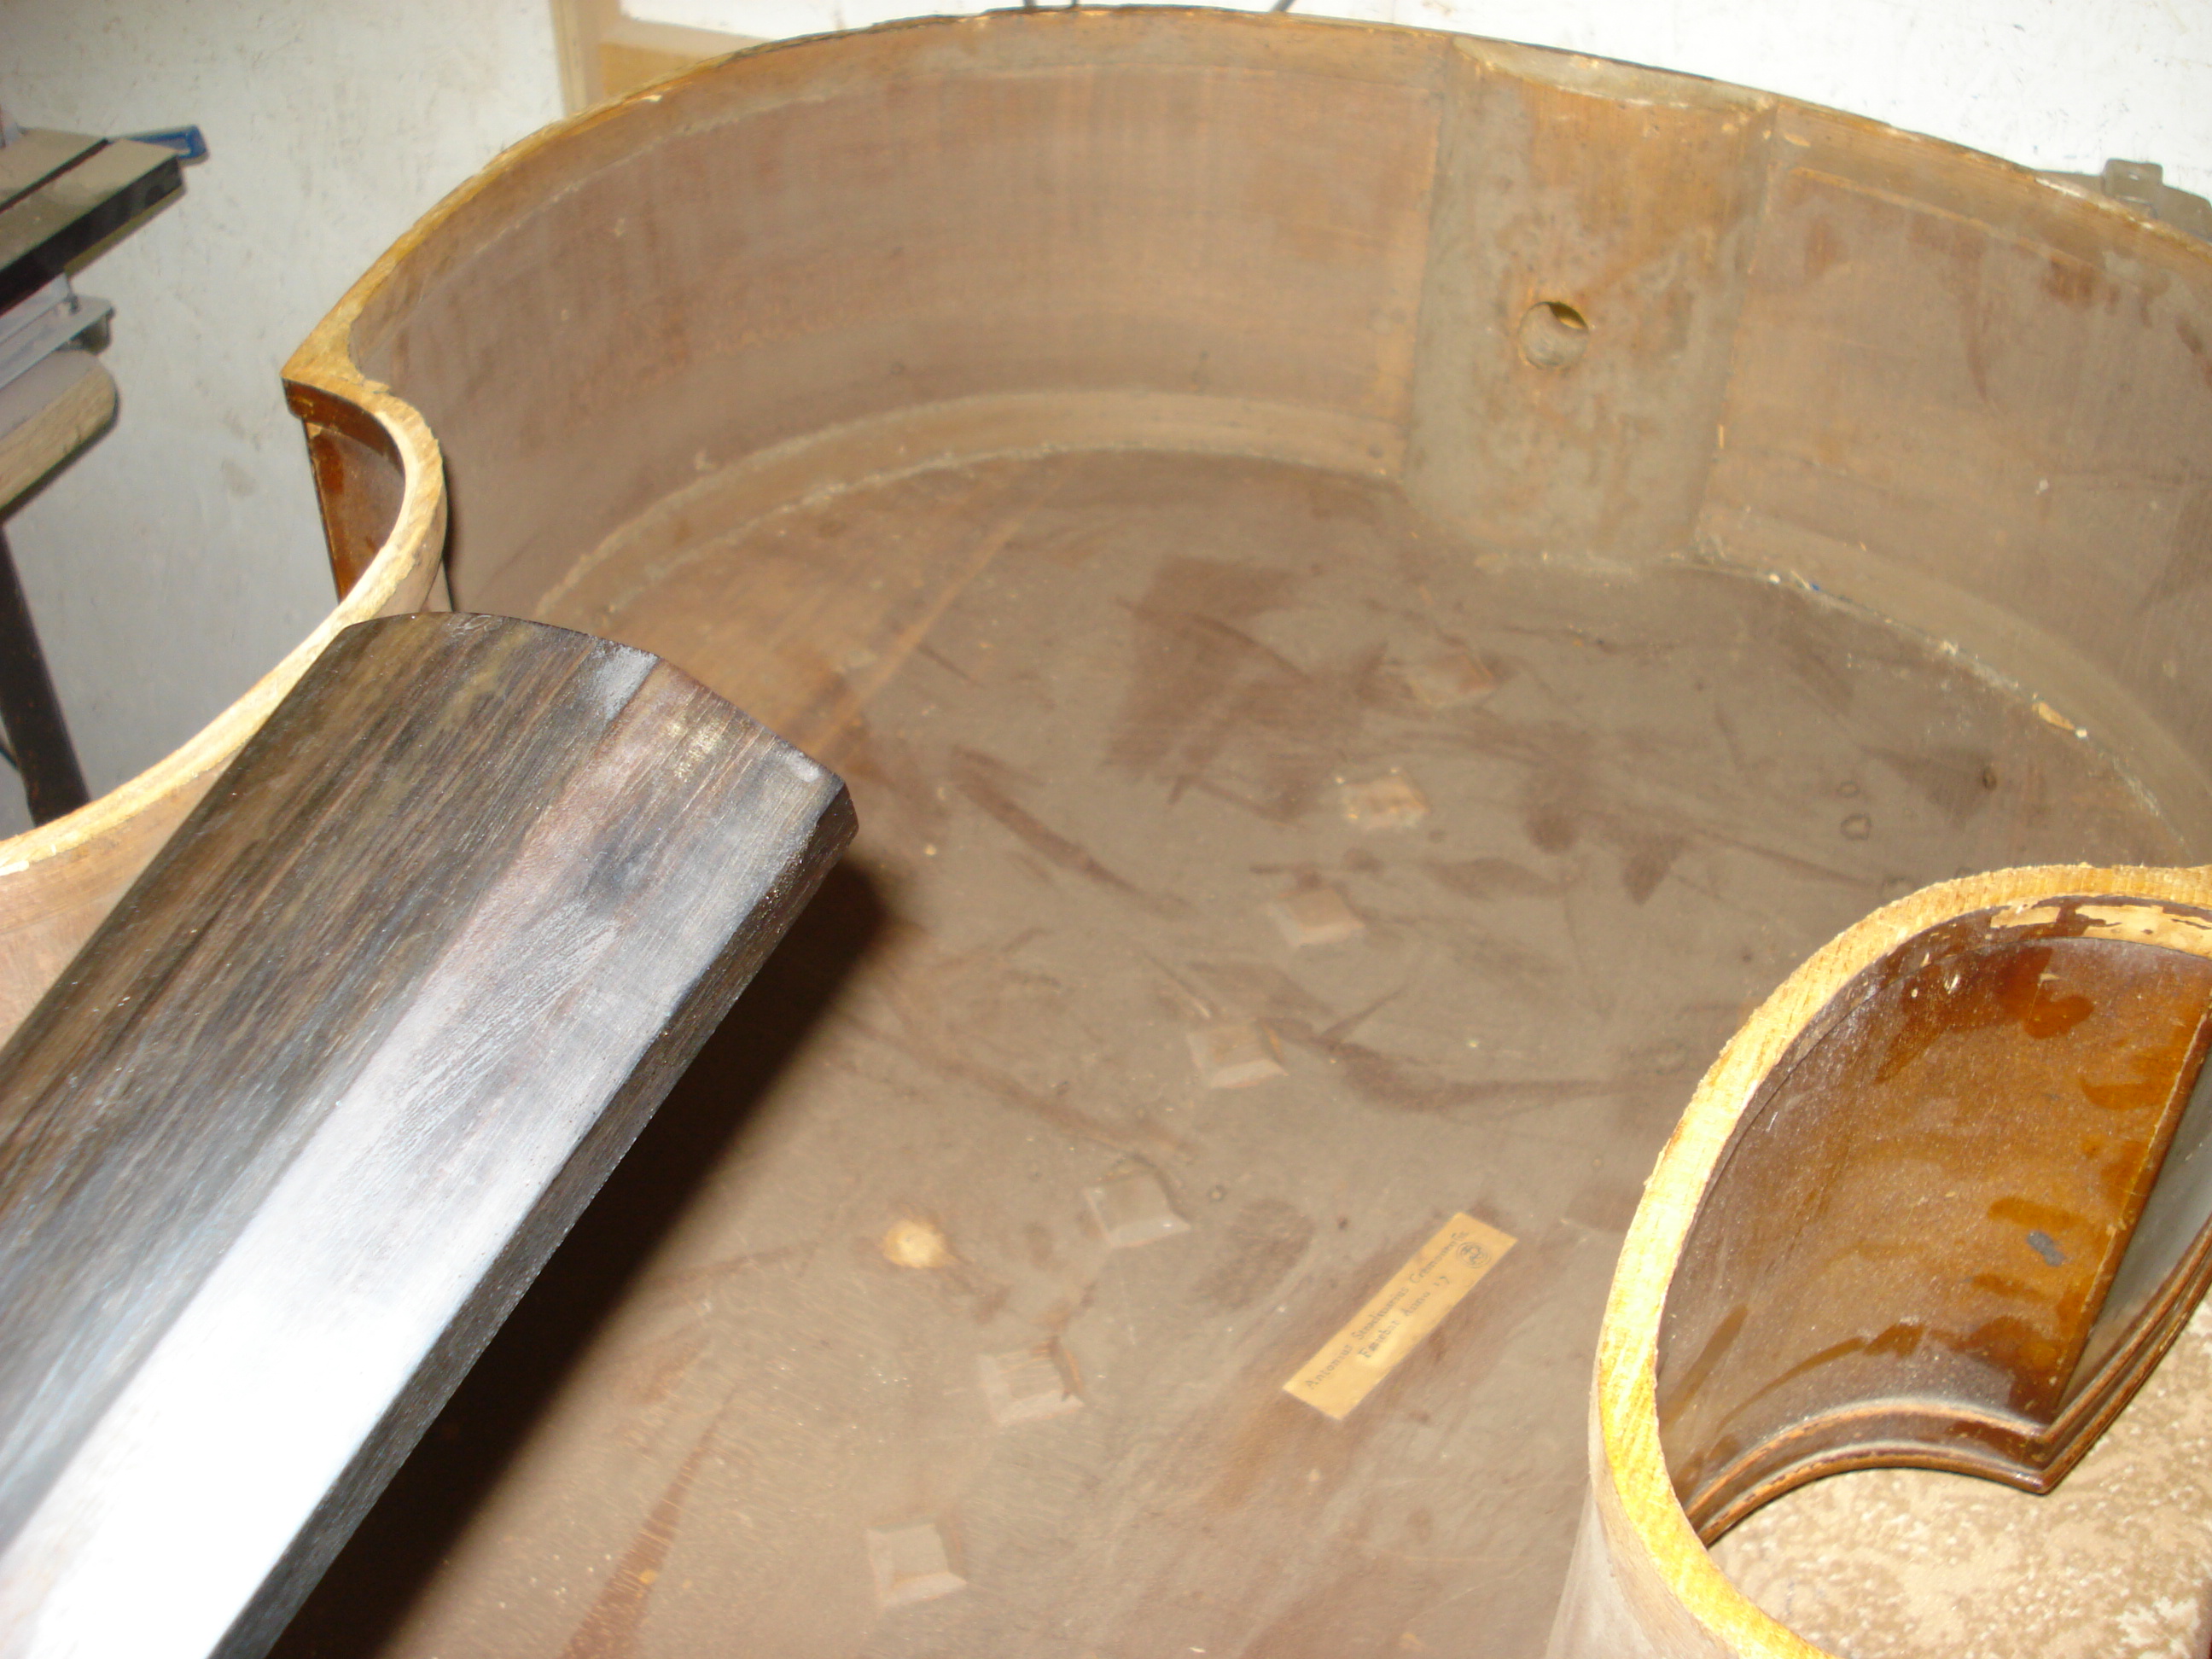
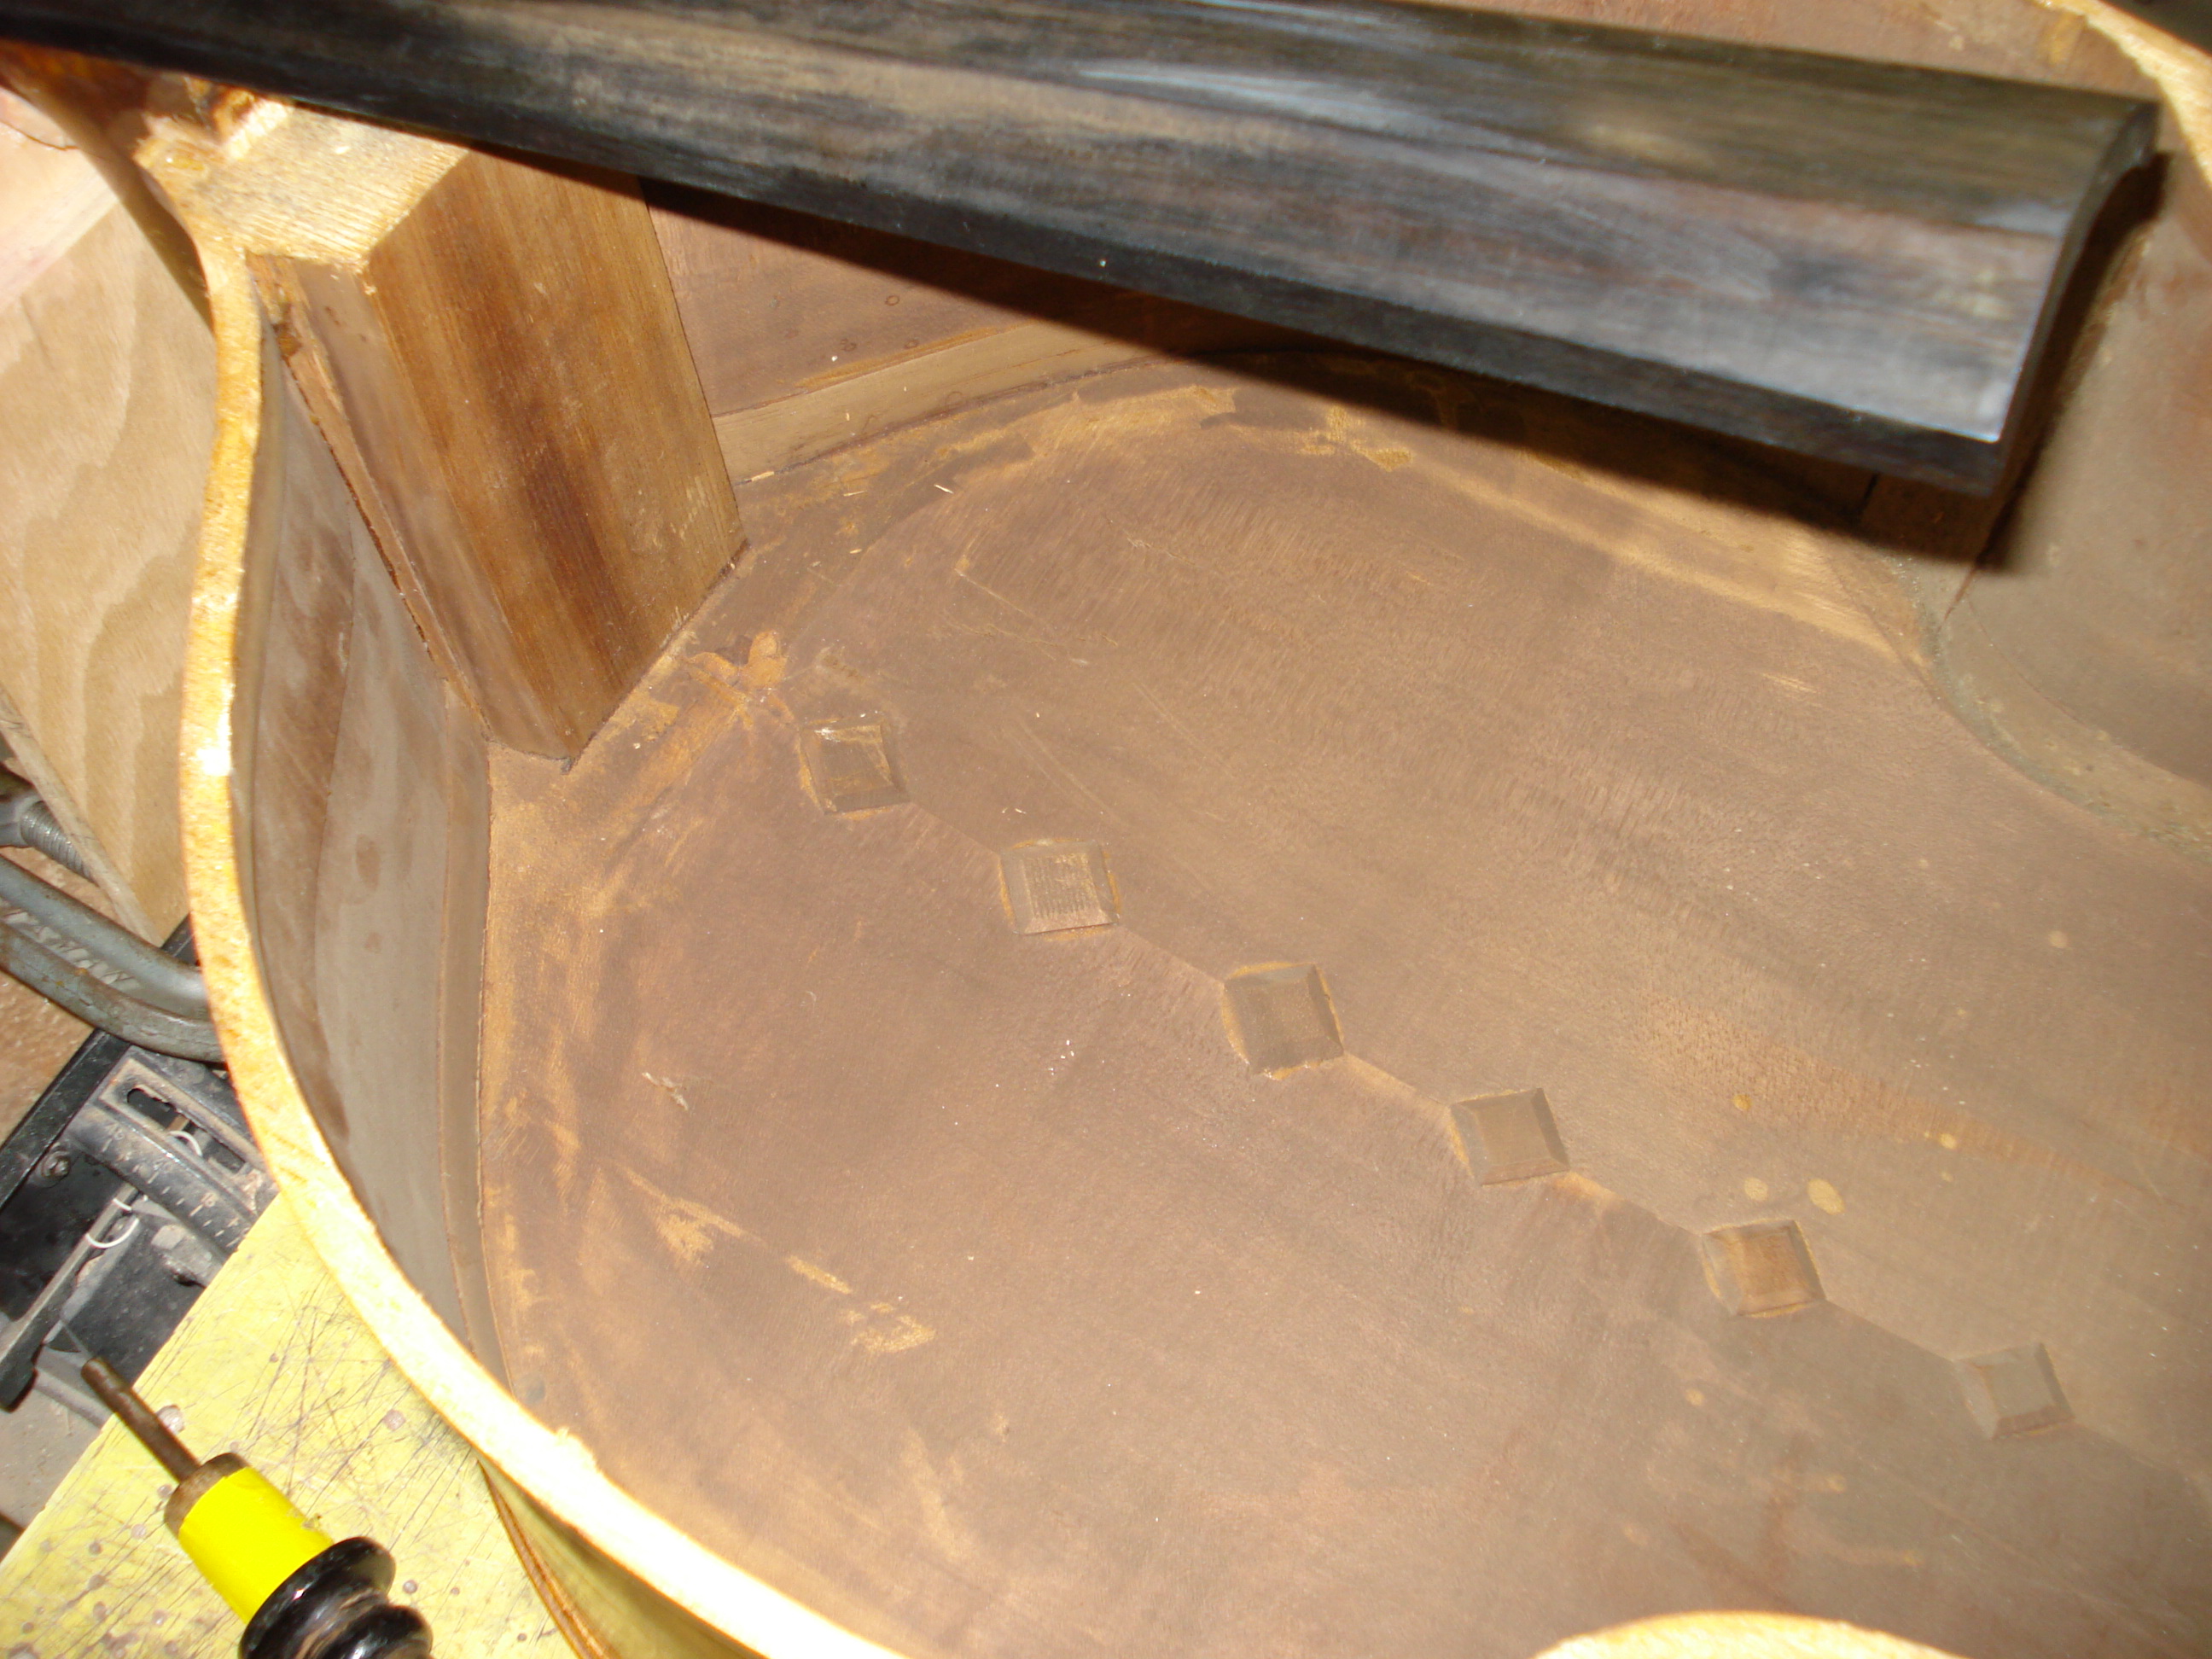
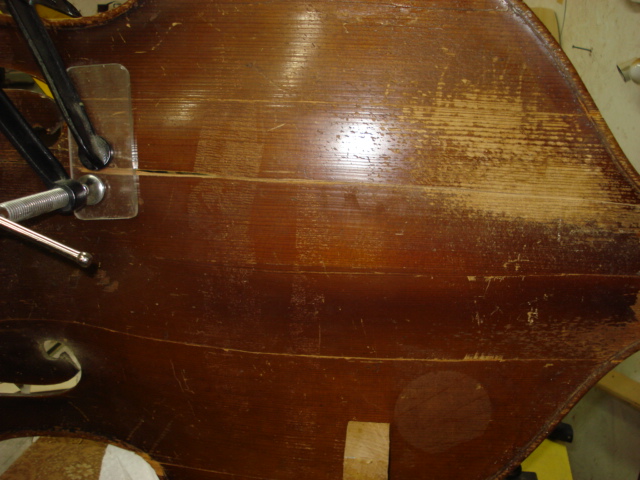
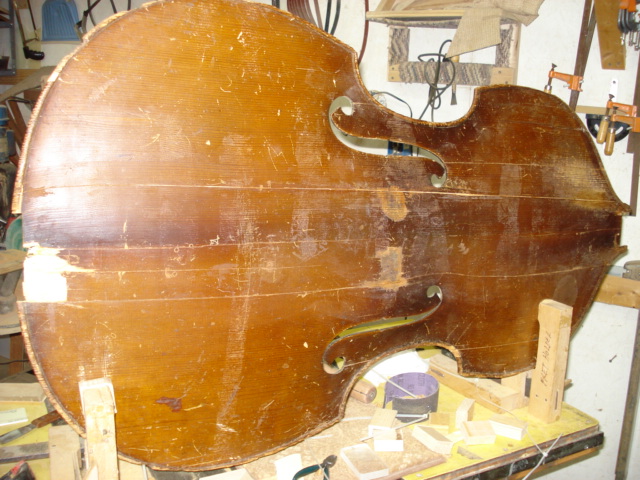
Inside the back.
What a mess.
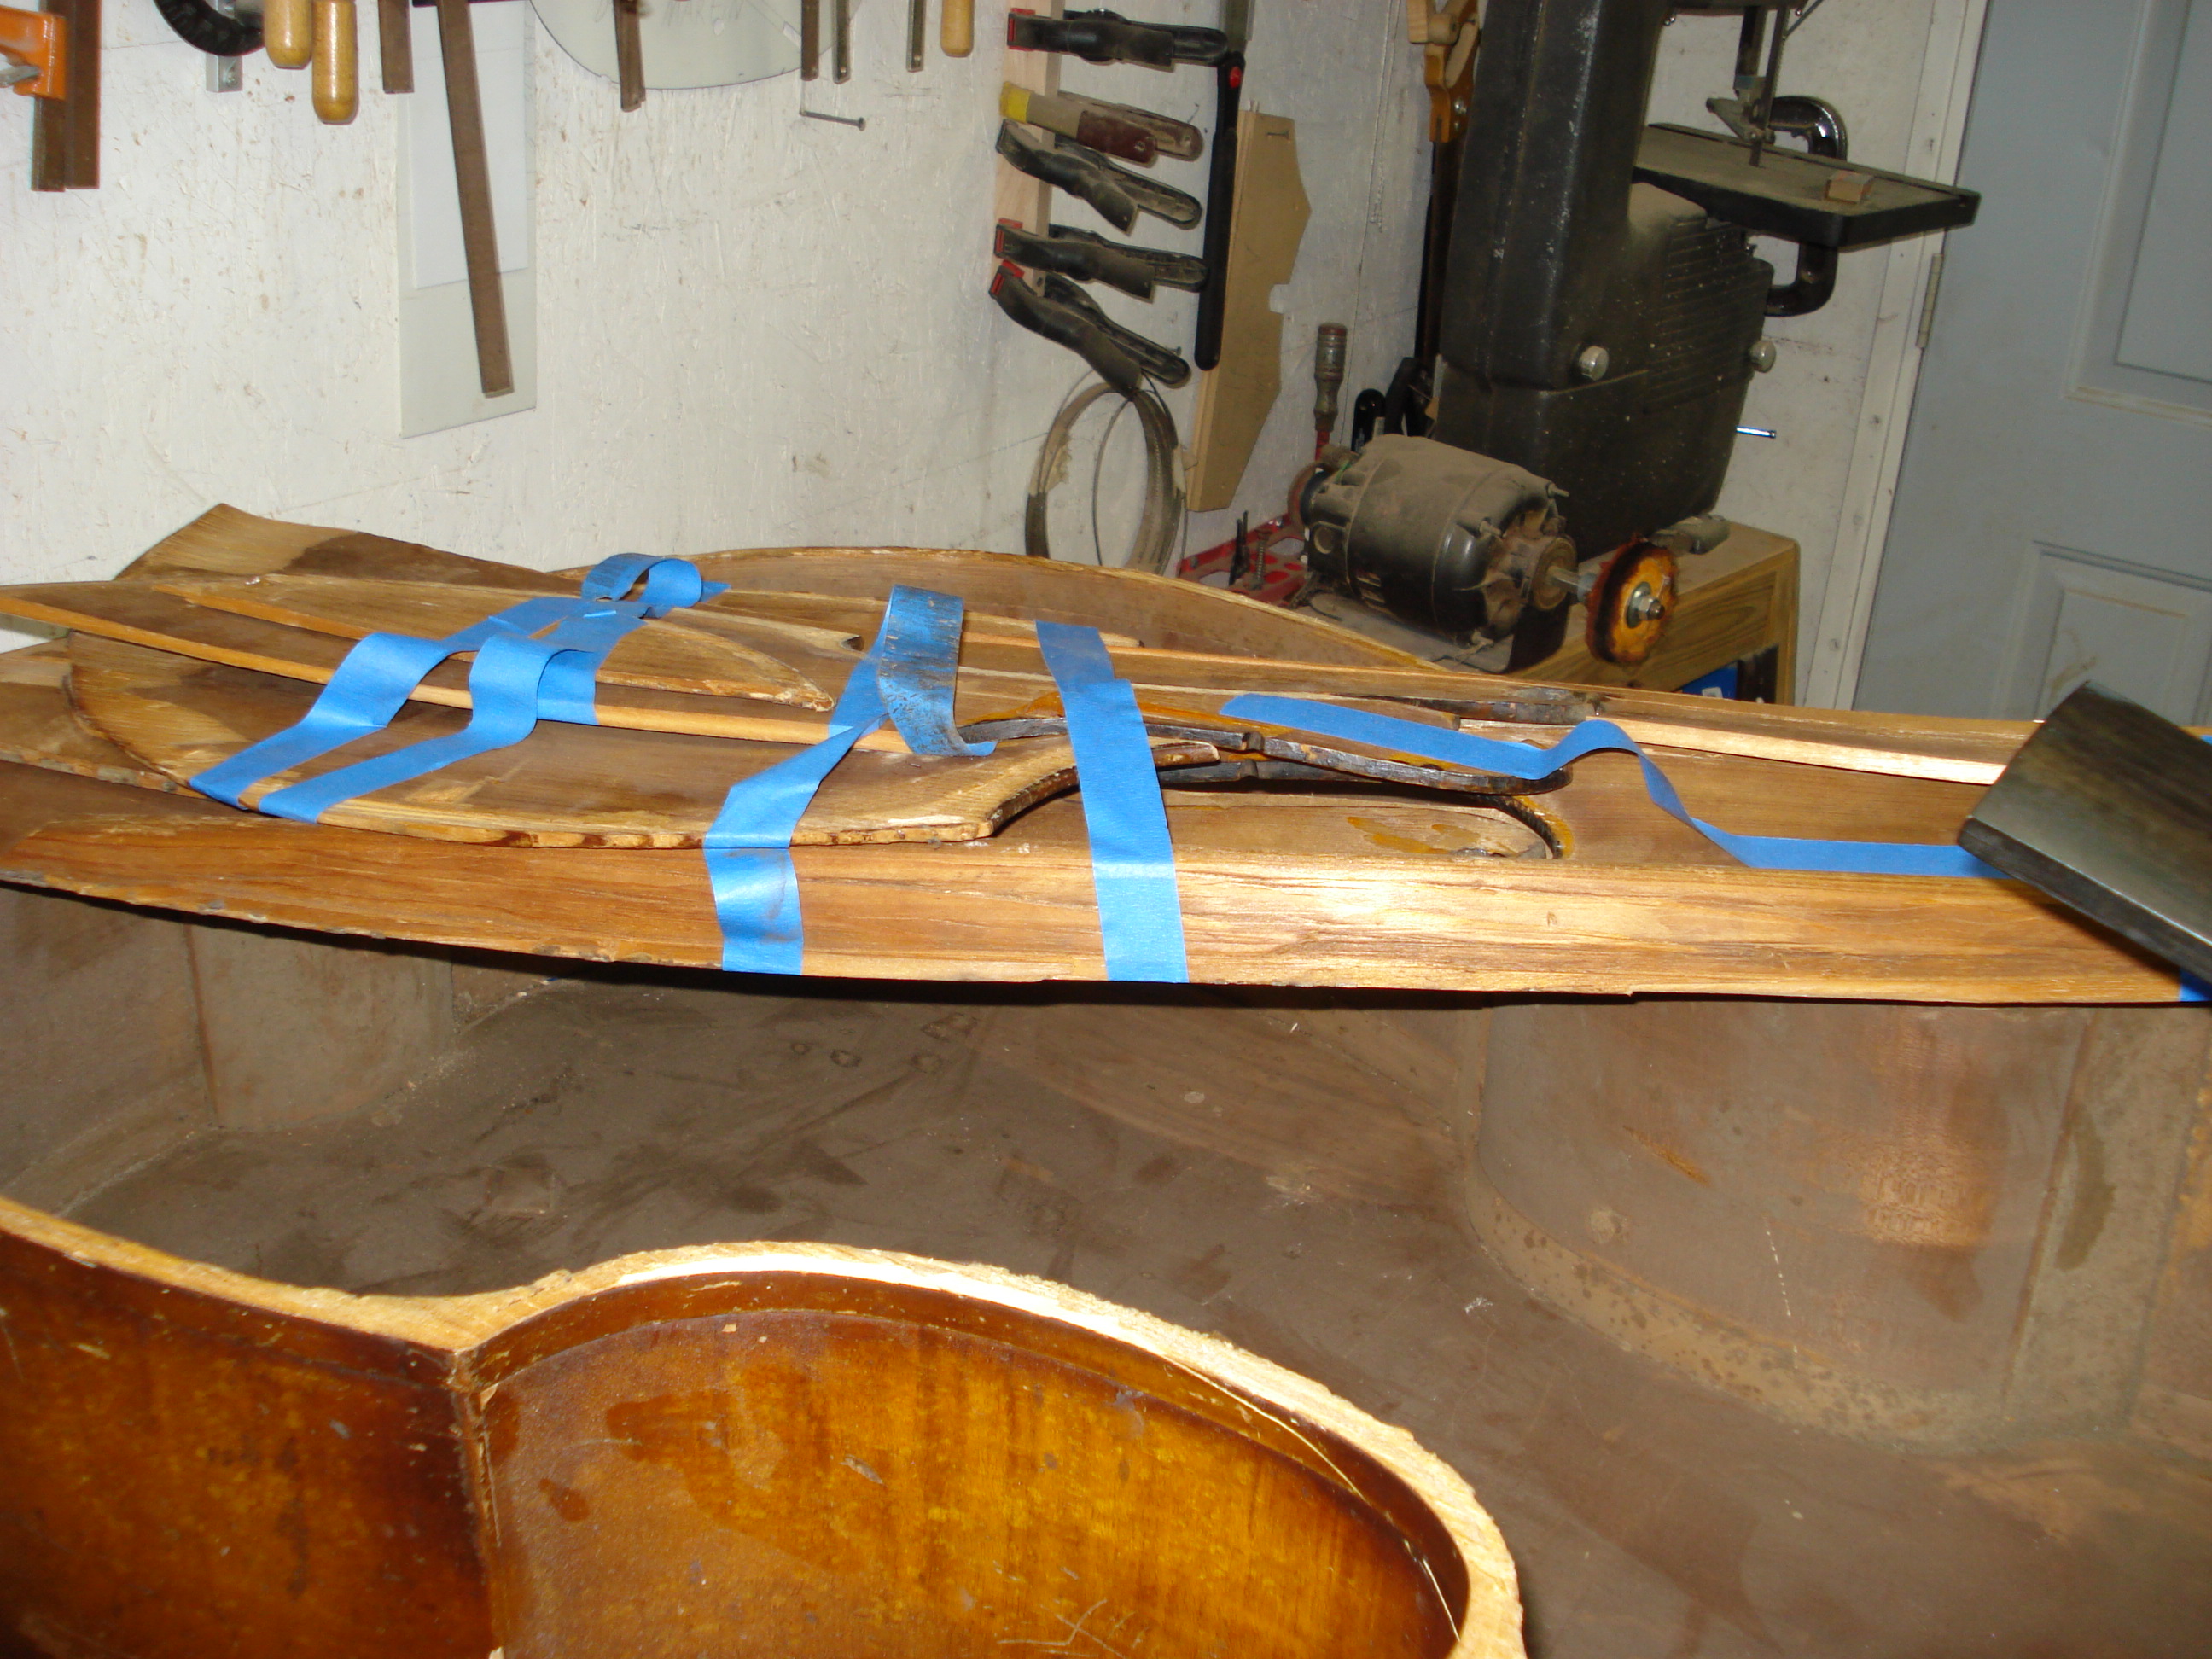
The first thing I’ll do is remove that blue painters’ tape.
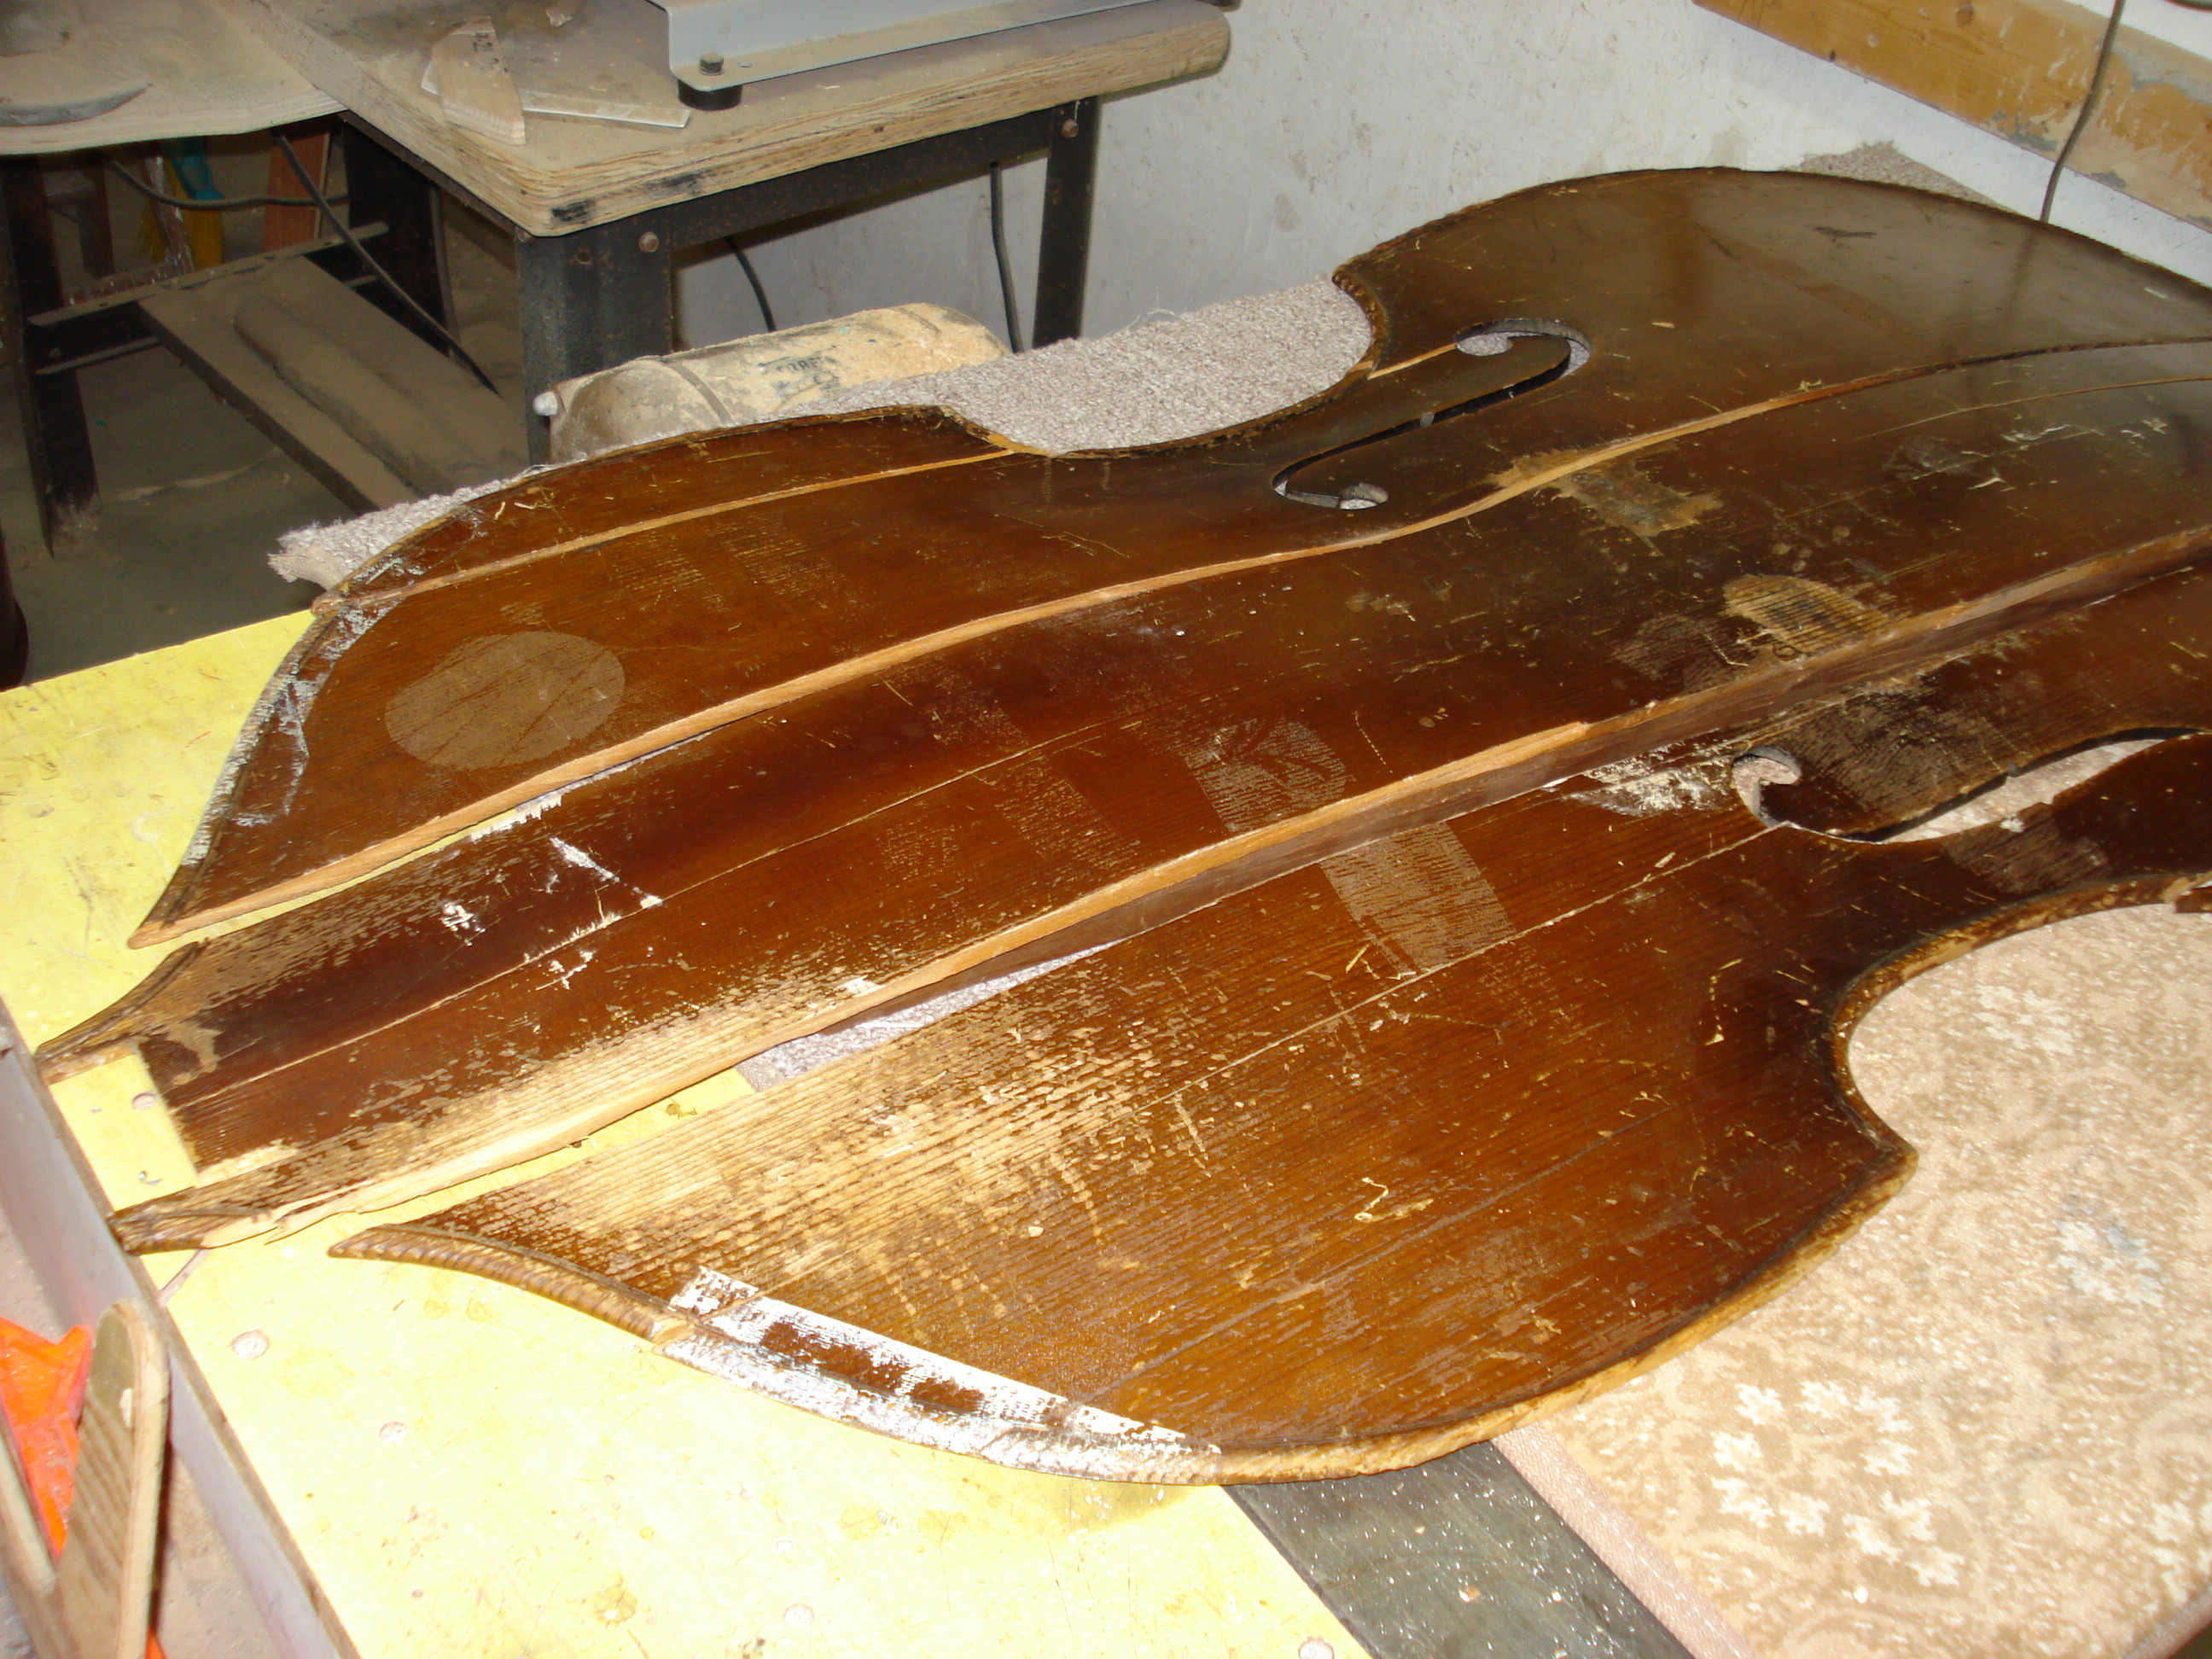
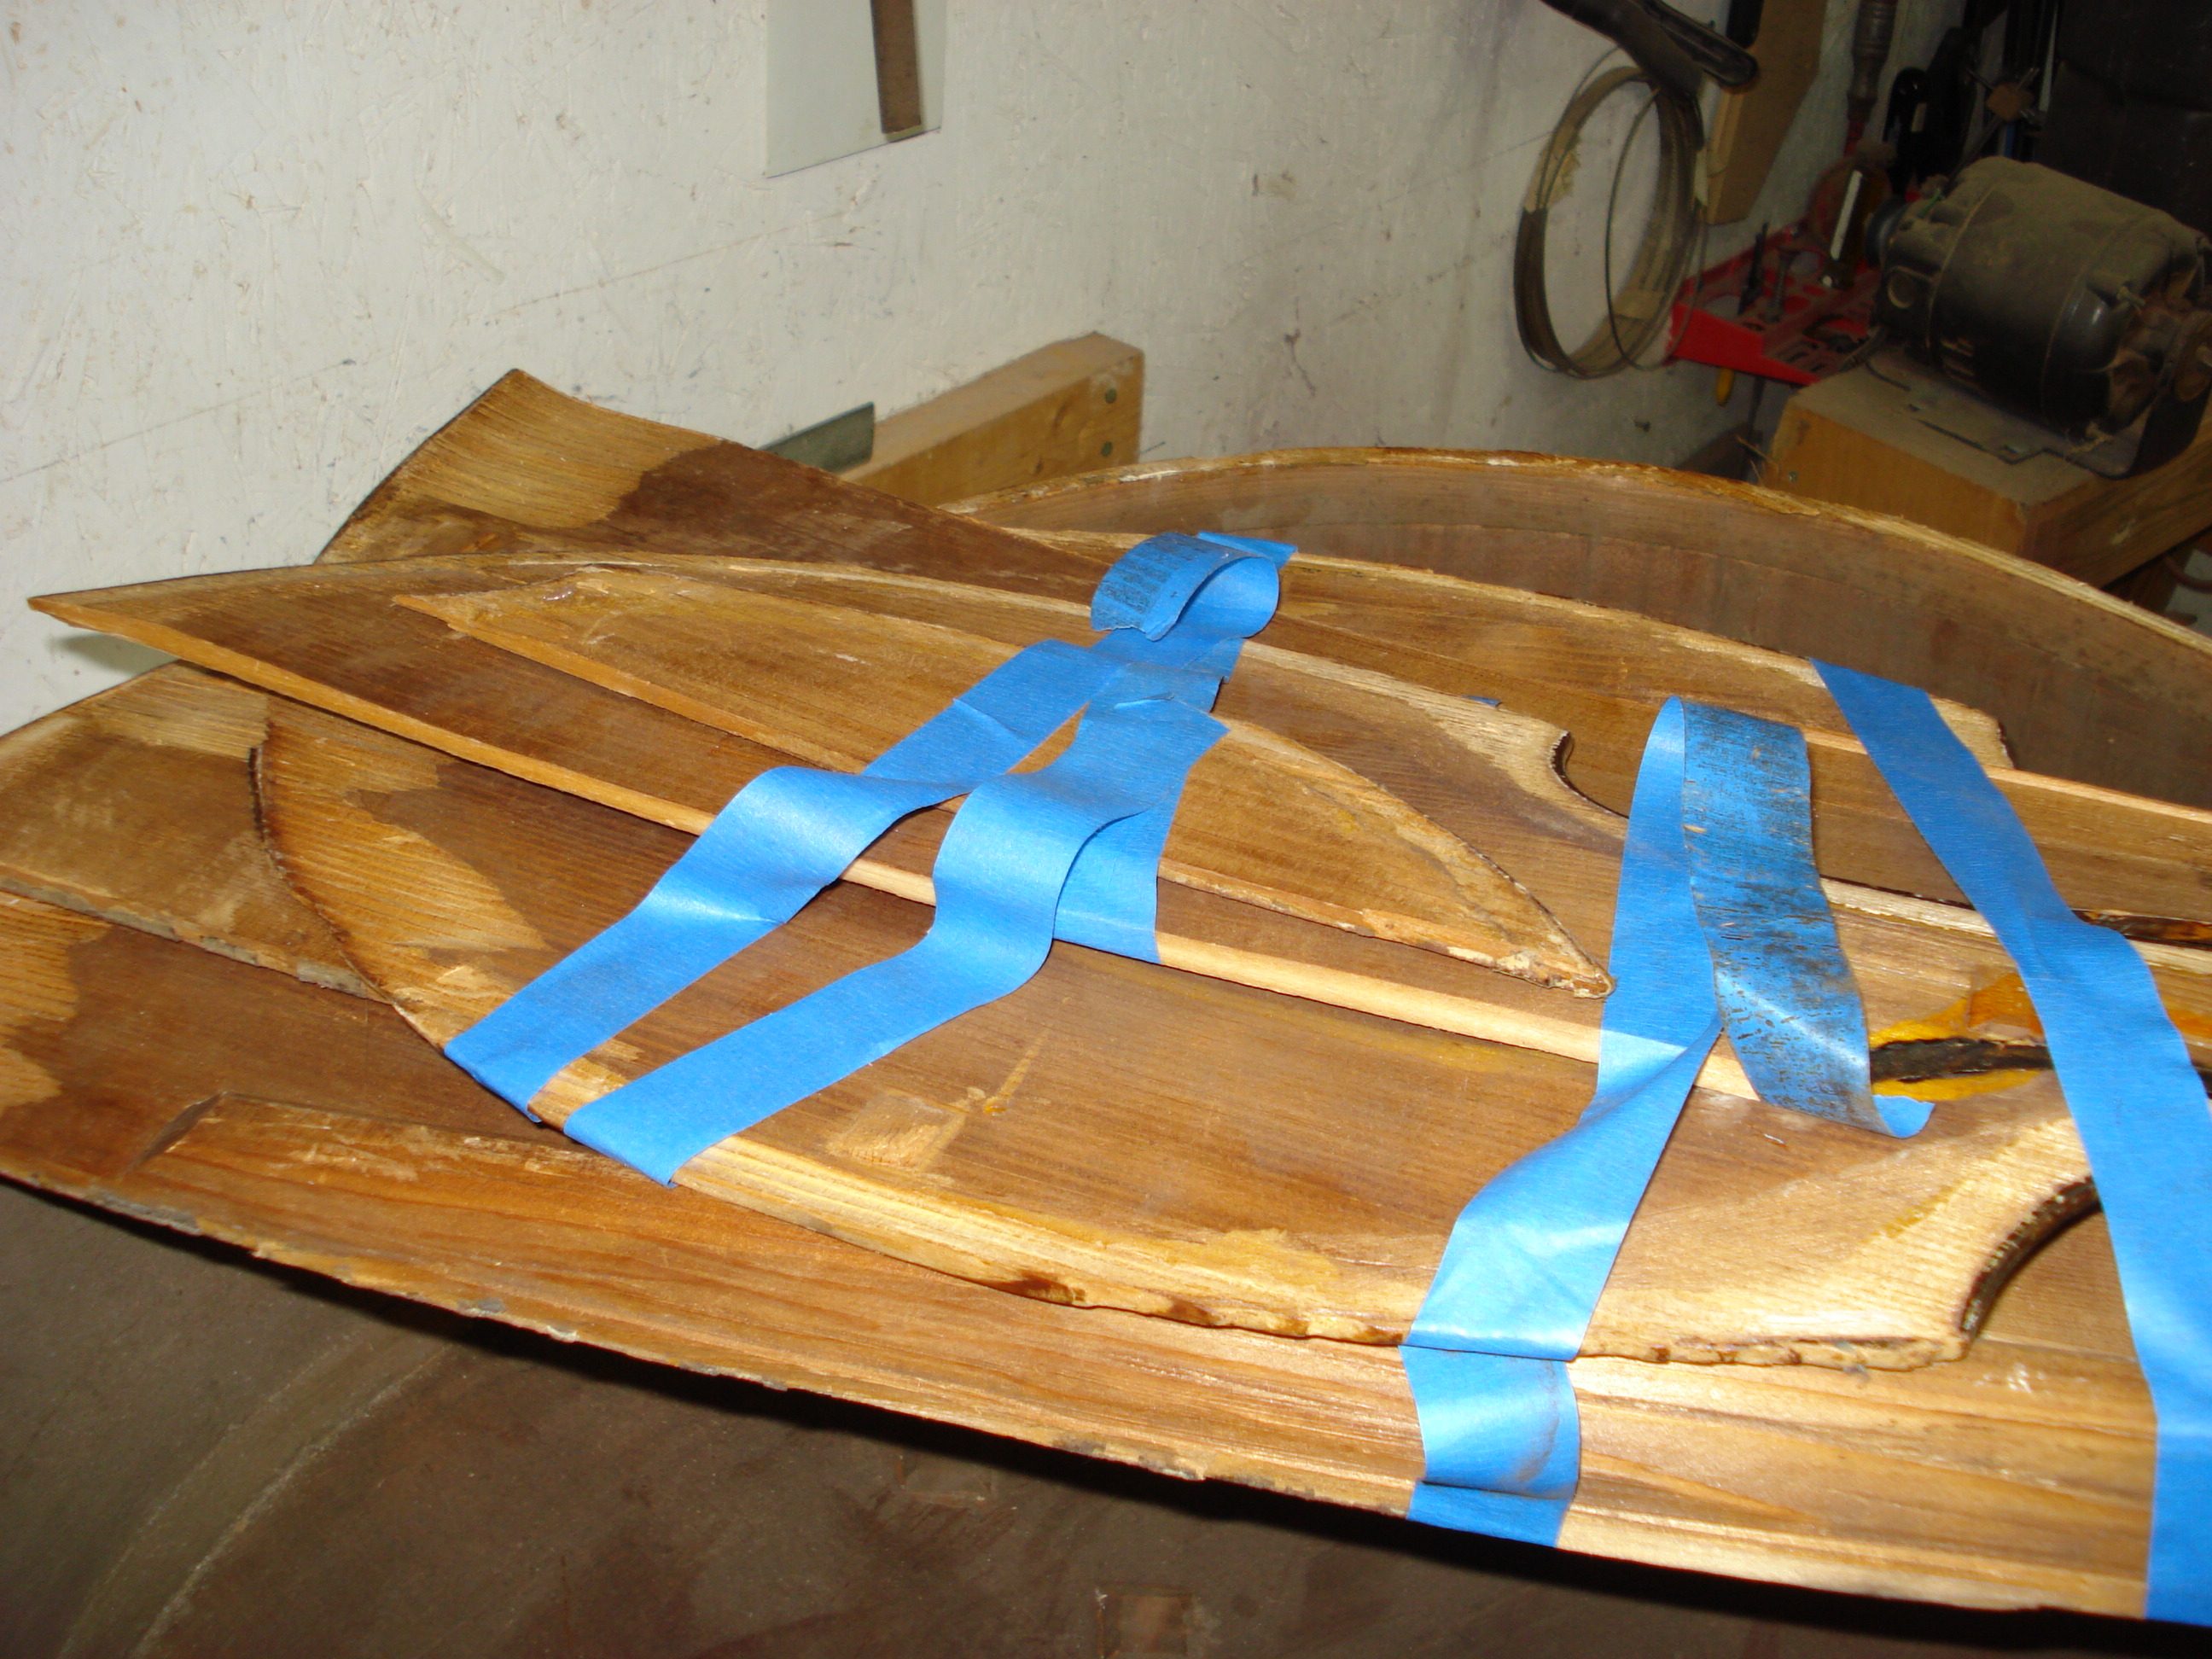
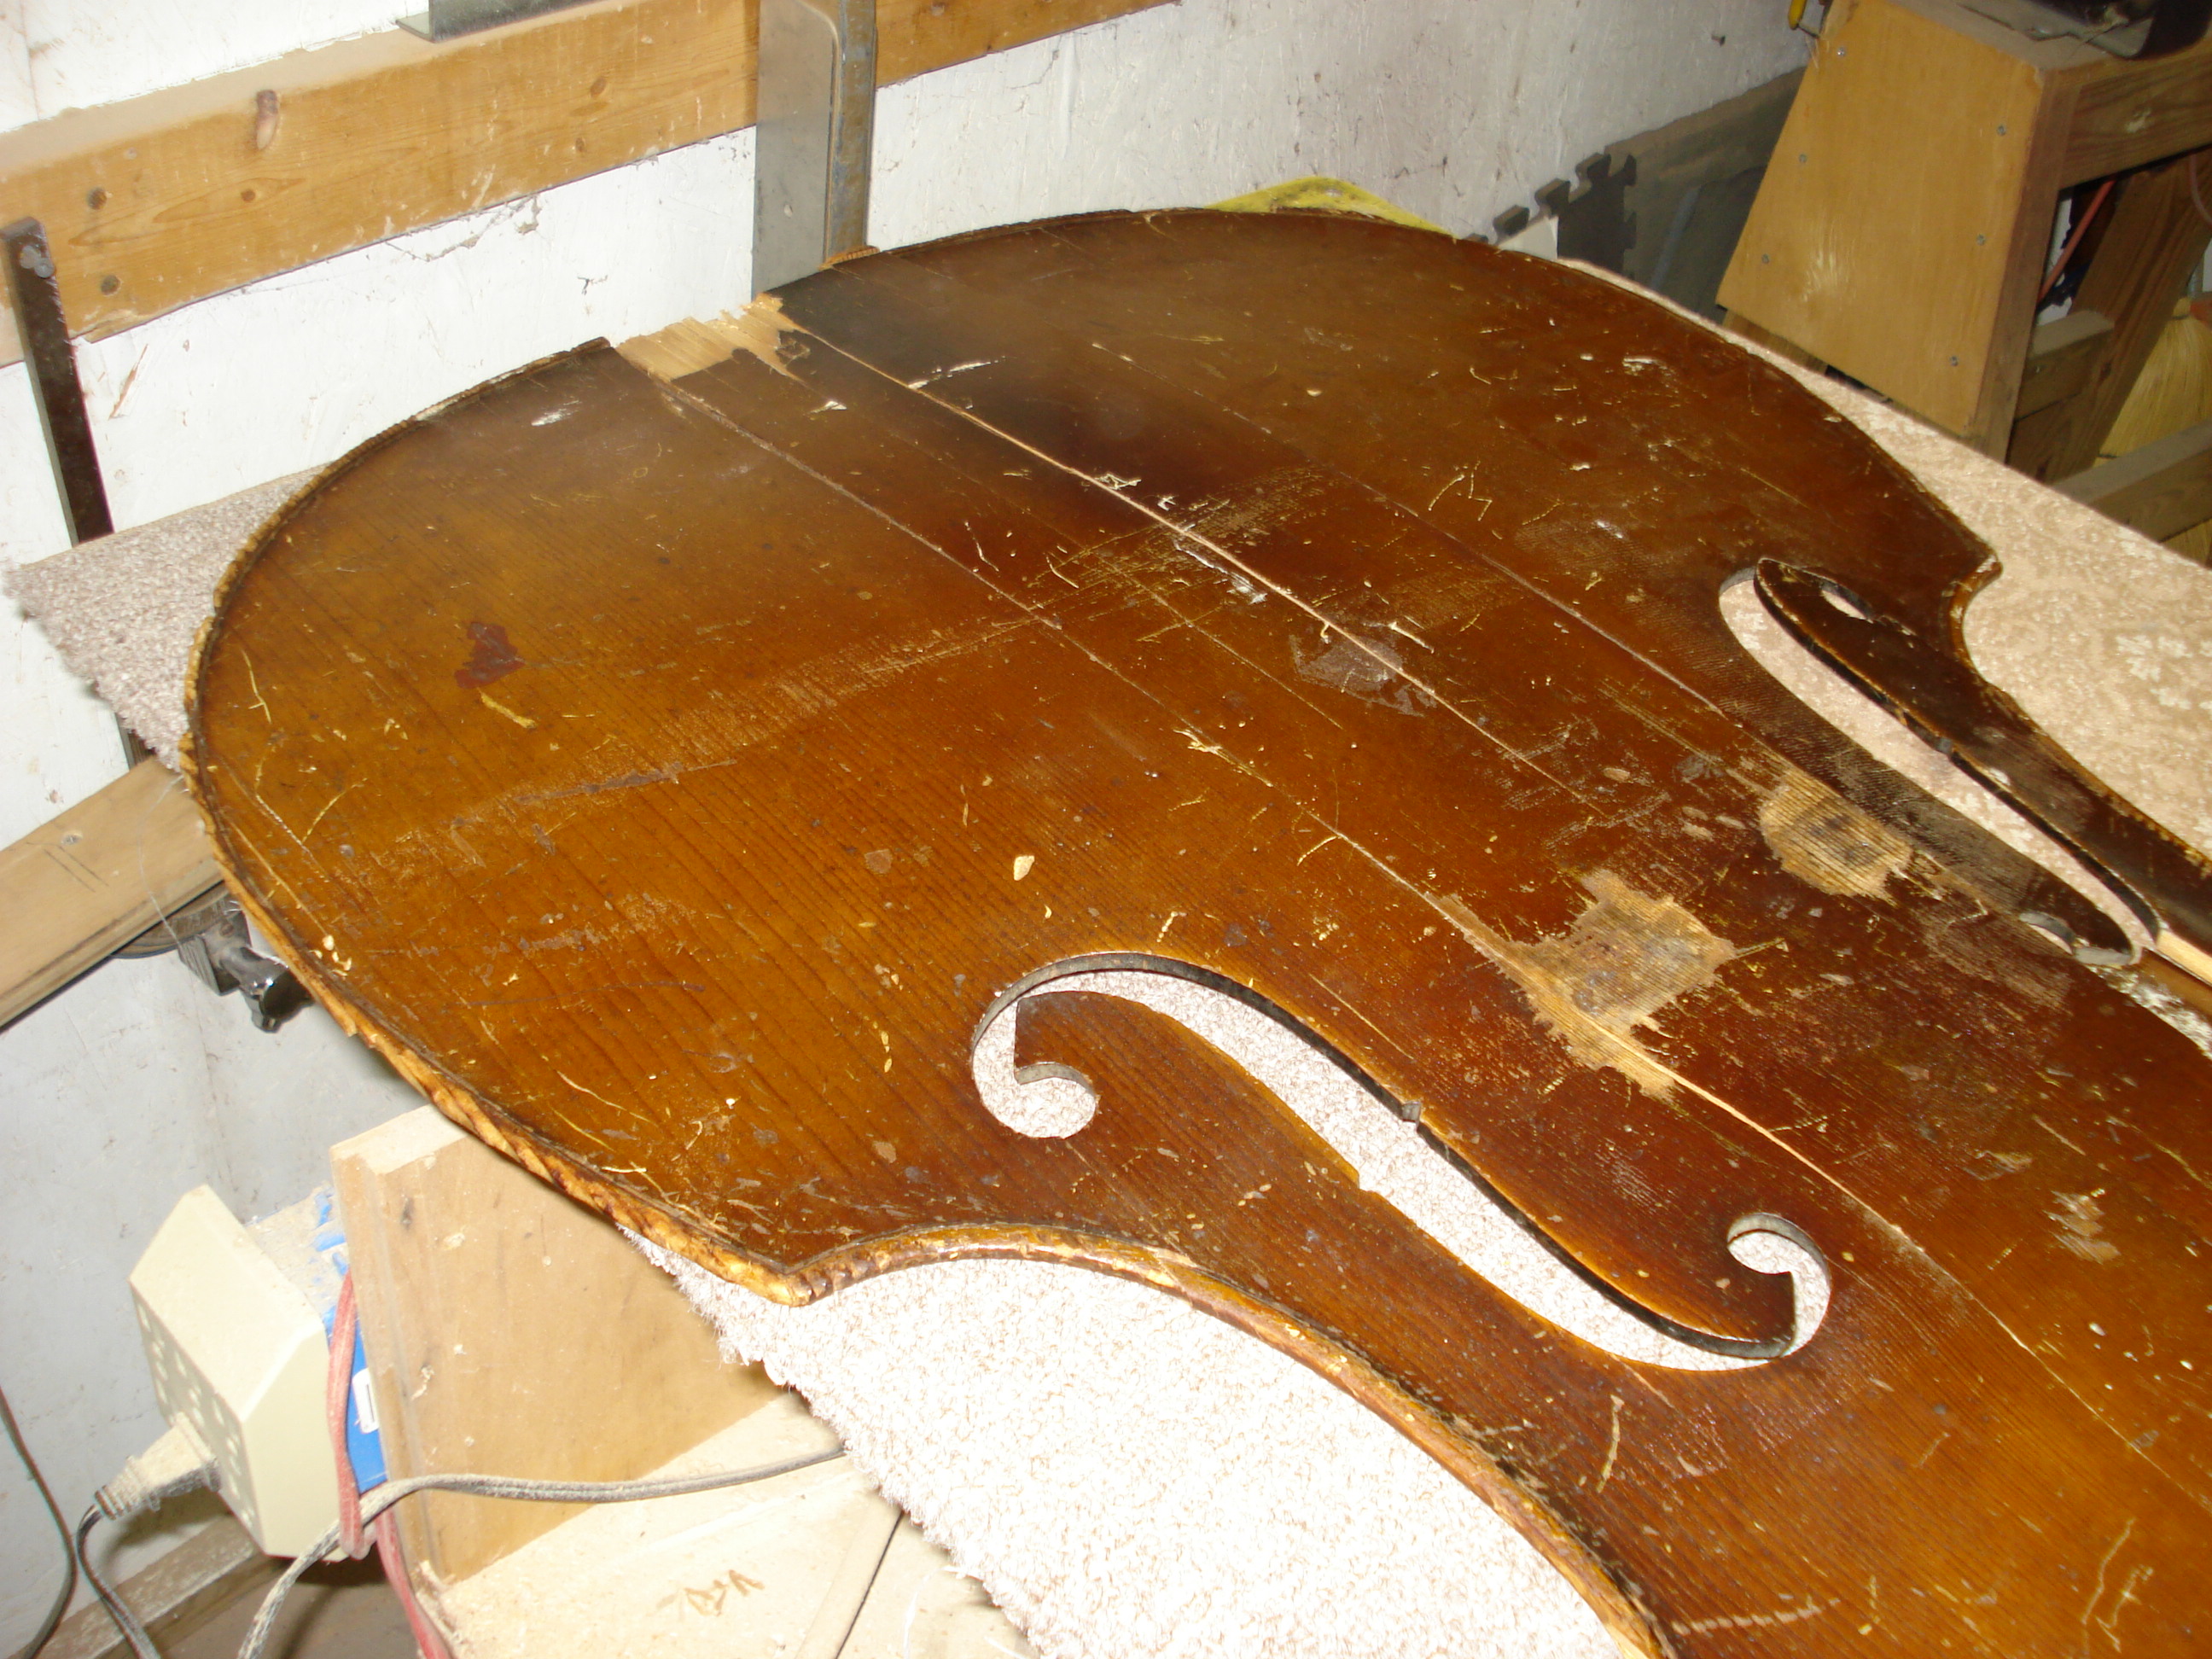
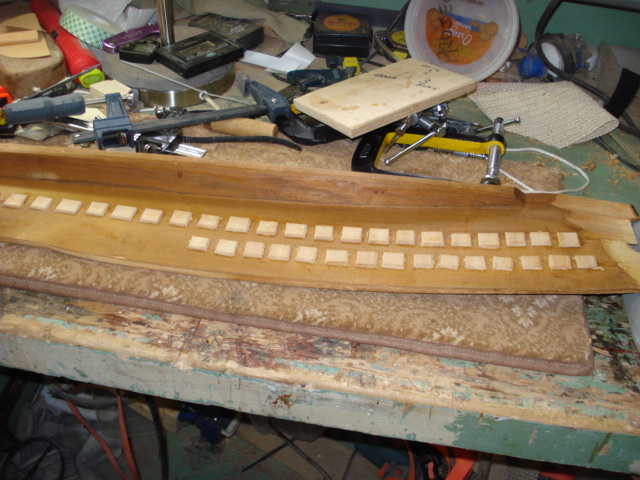
Here are the pieces of the top all laid out in the proper order.
Another shot of the top pieces.
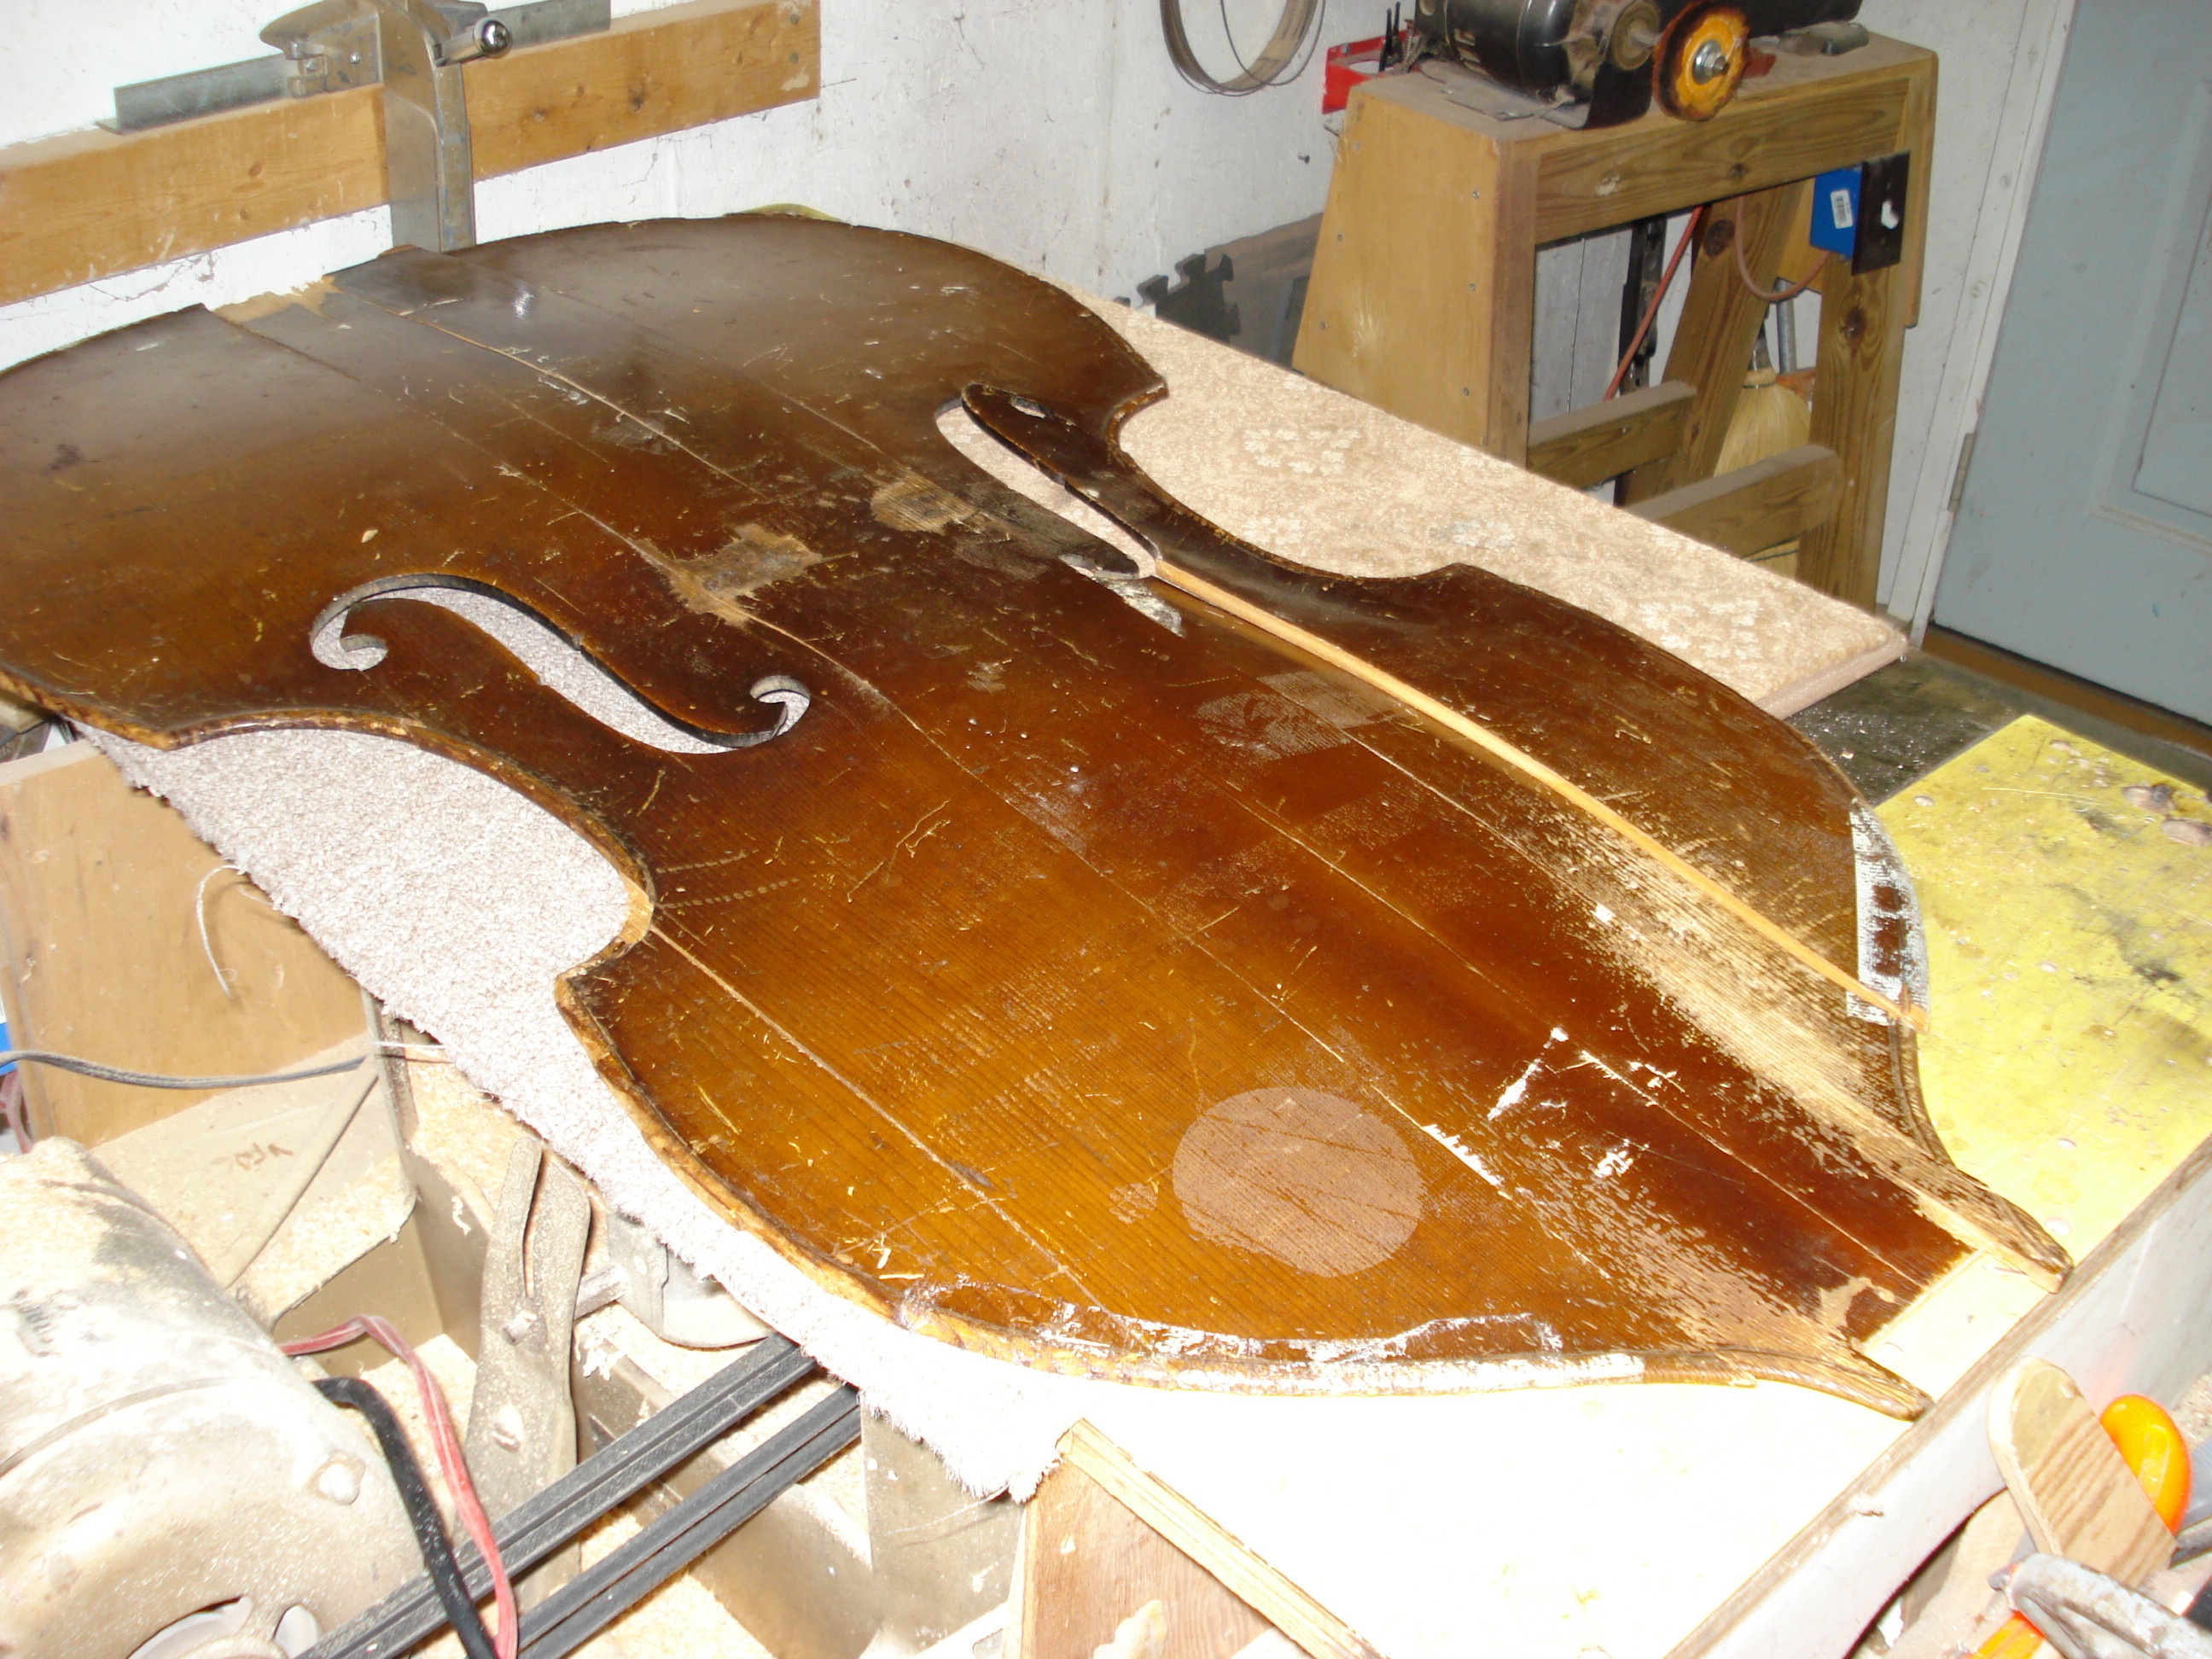
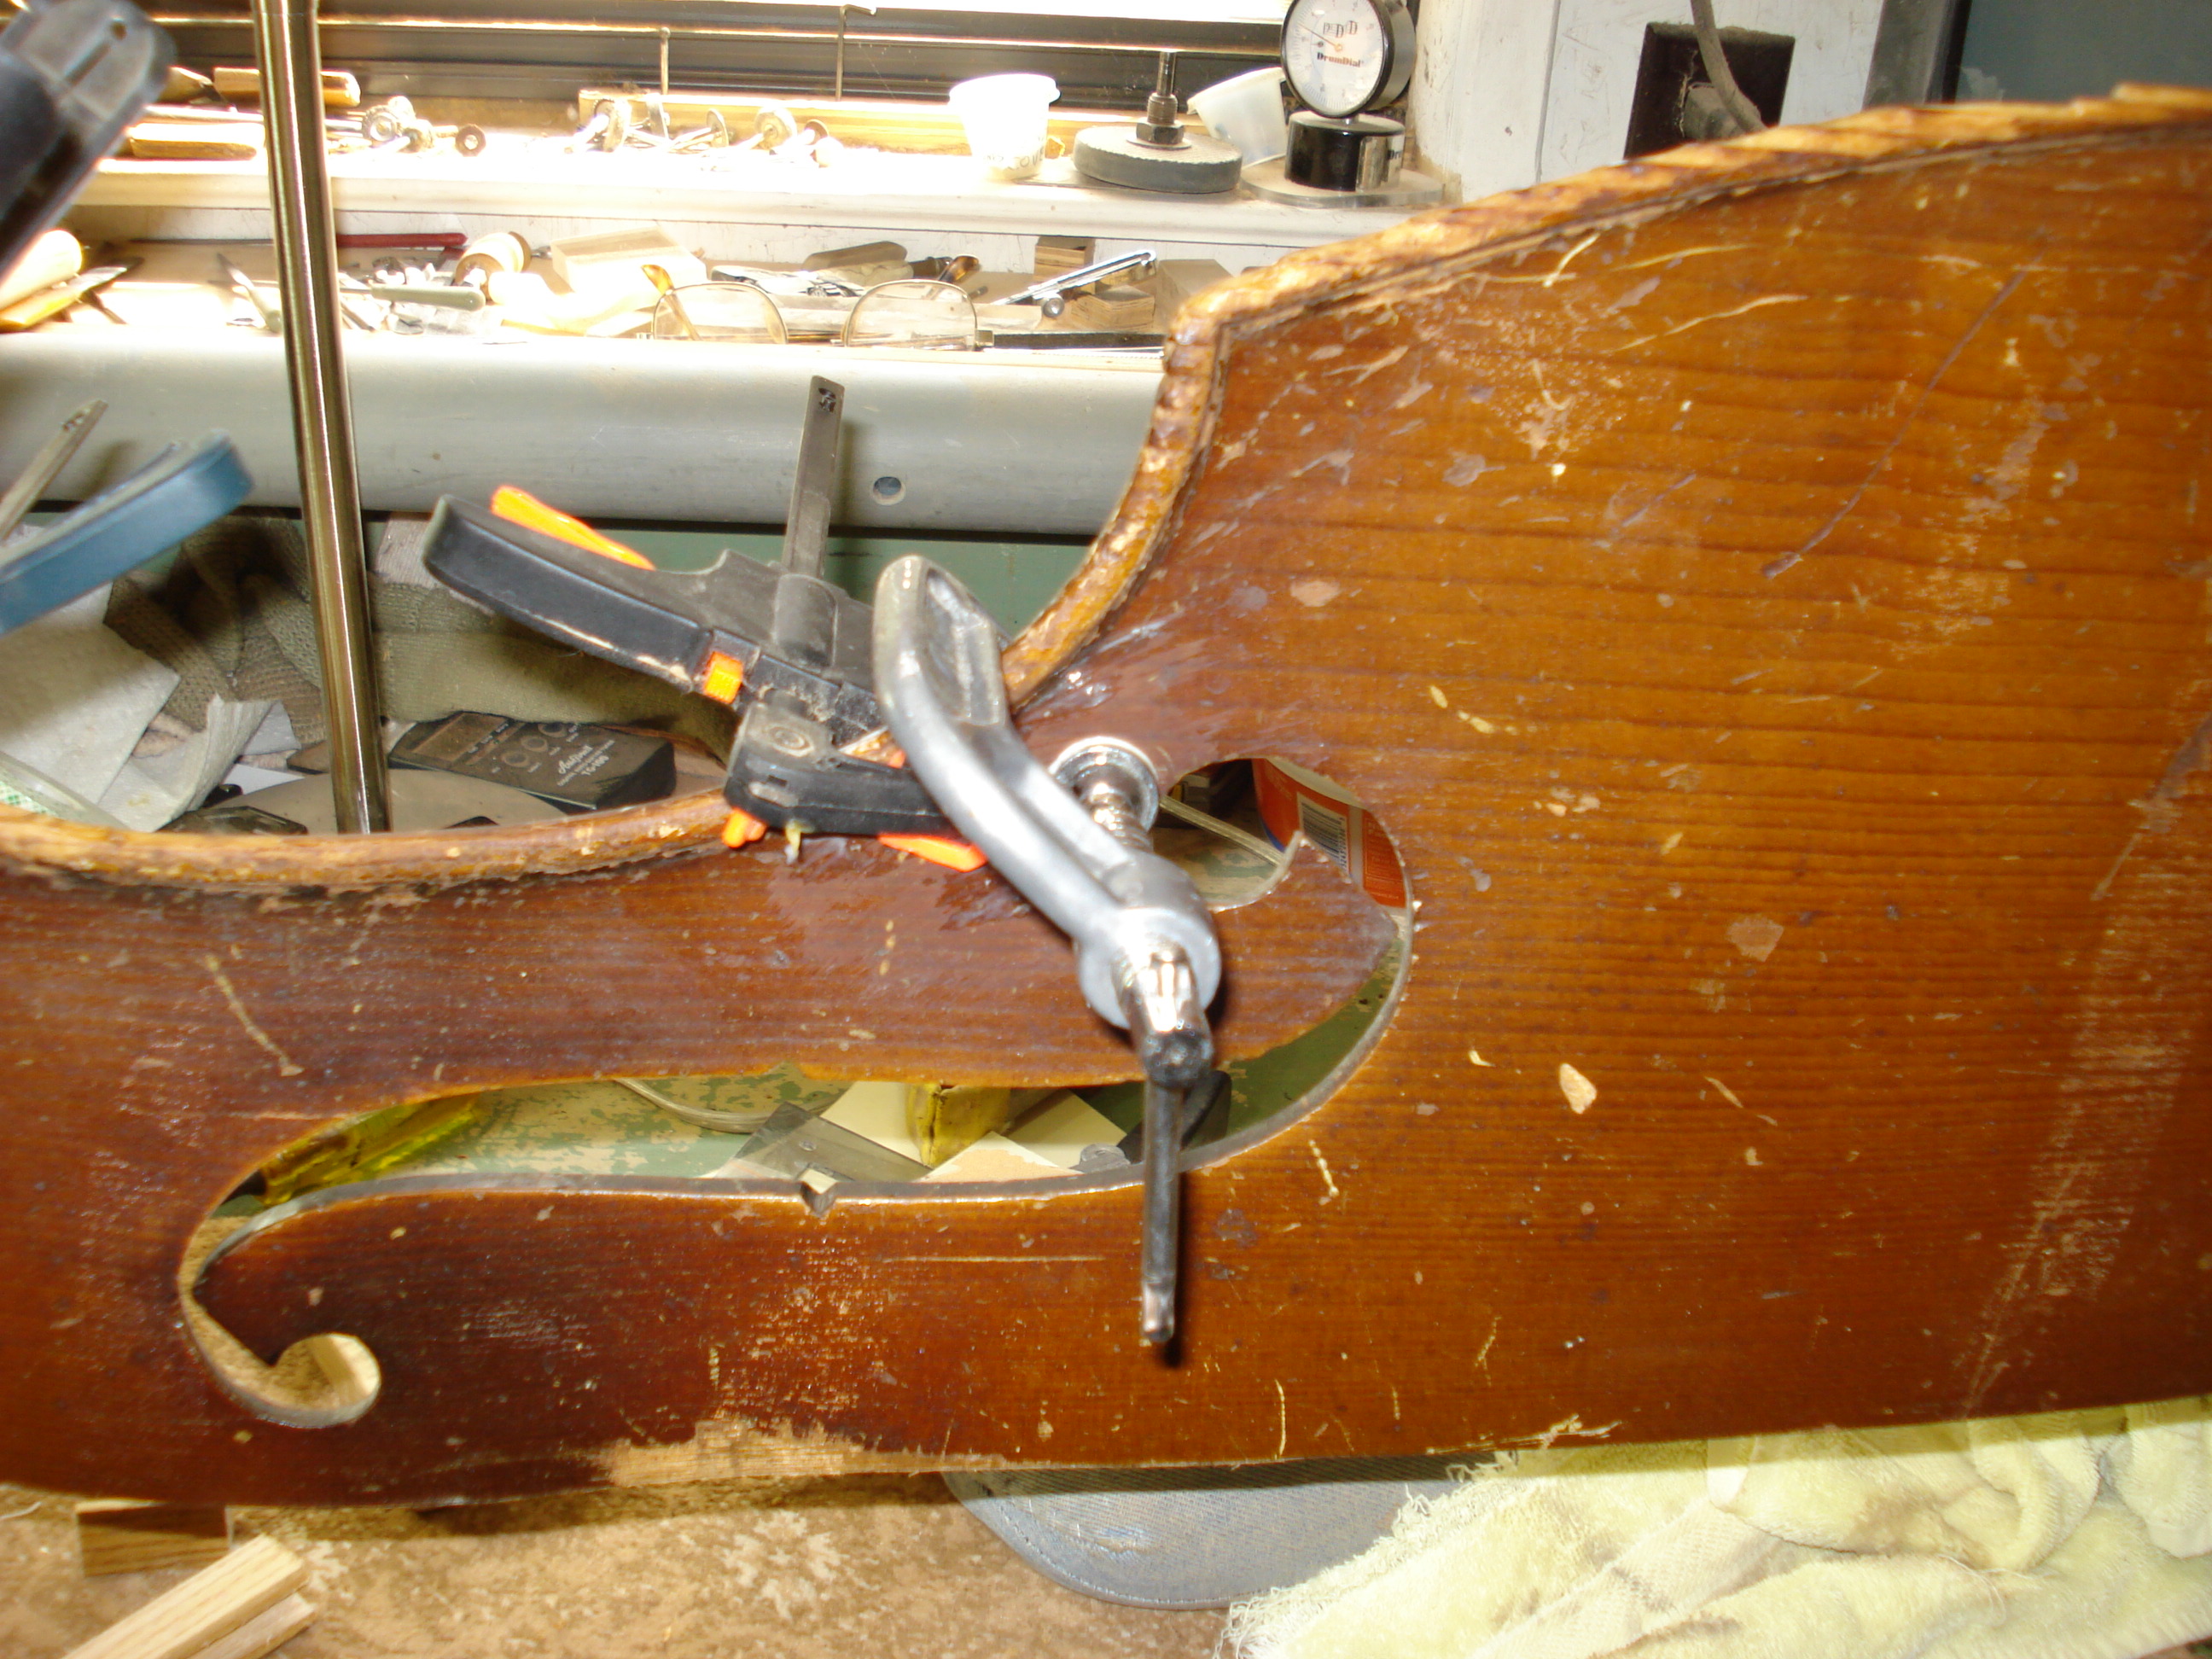
Looks like its all there except a small chunk around the rear block.
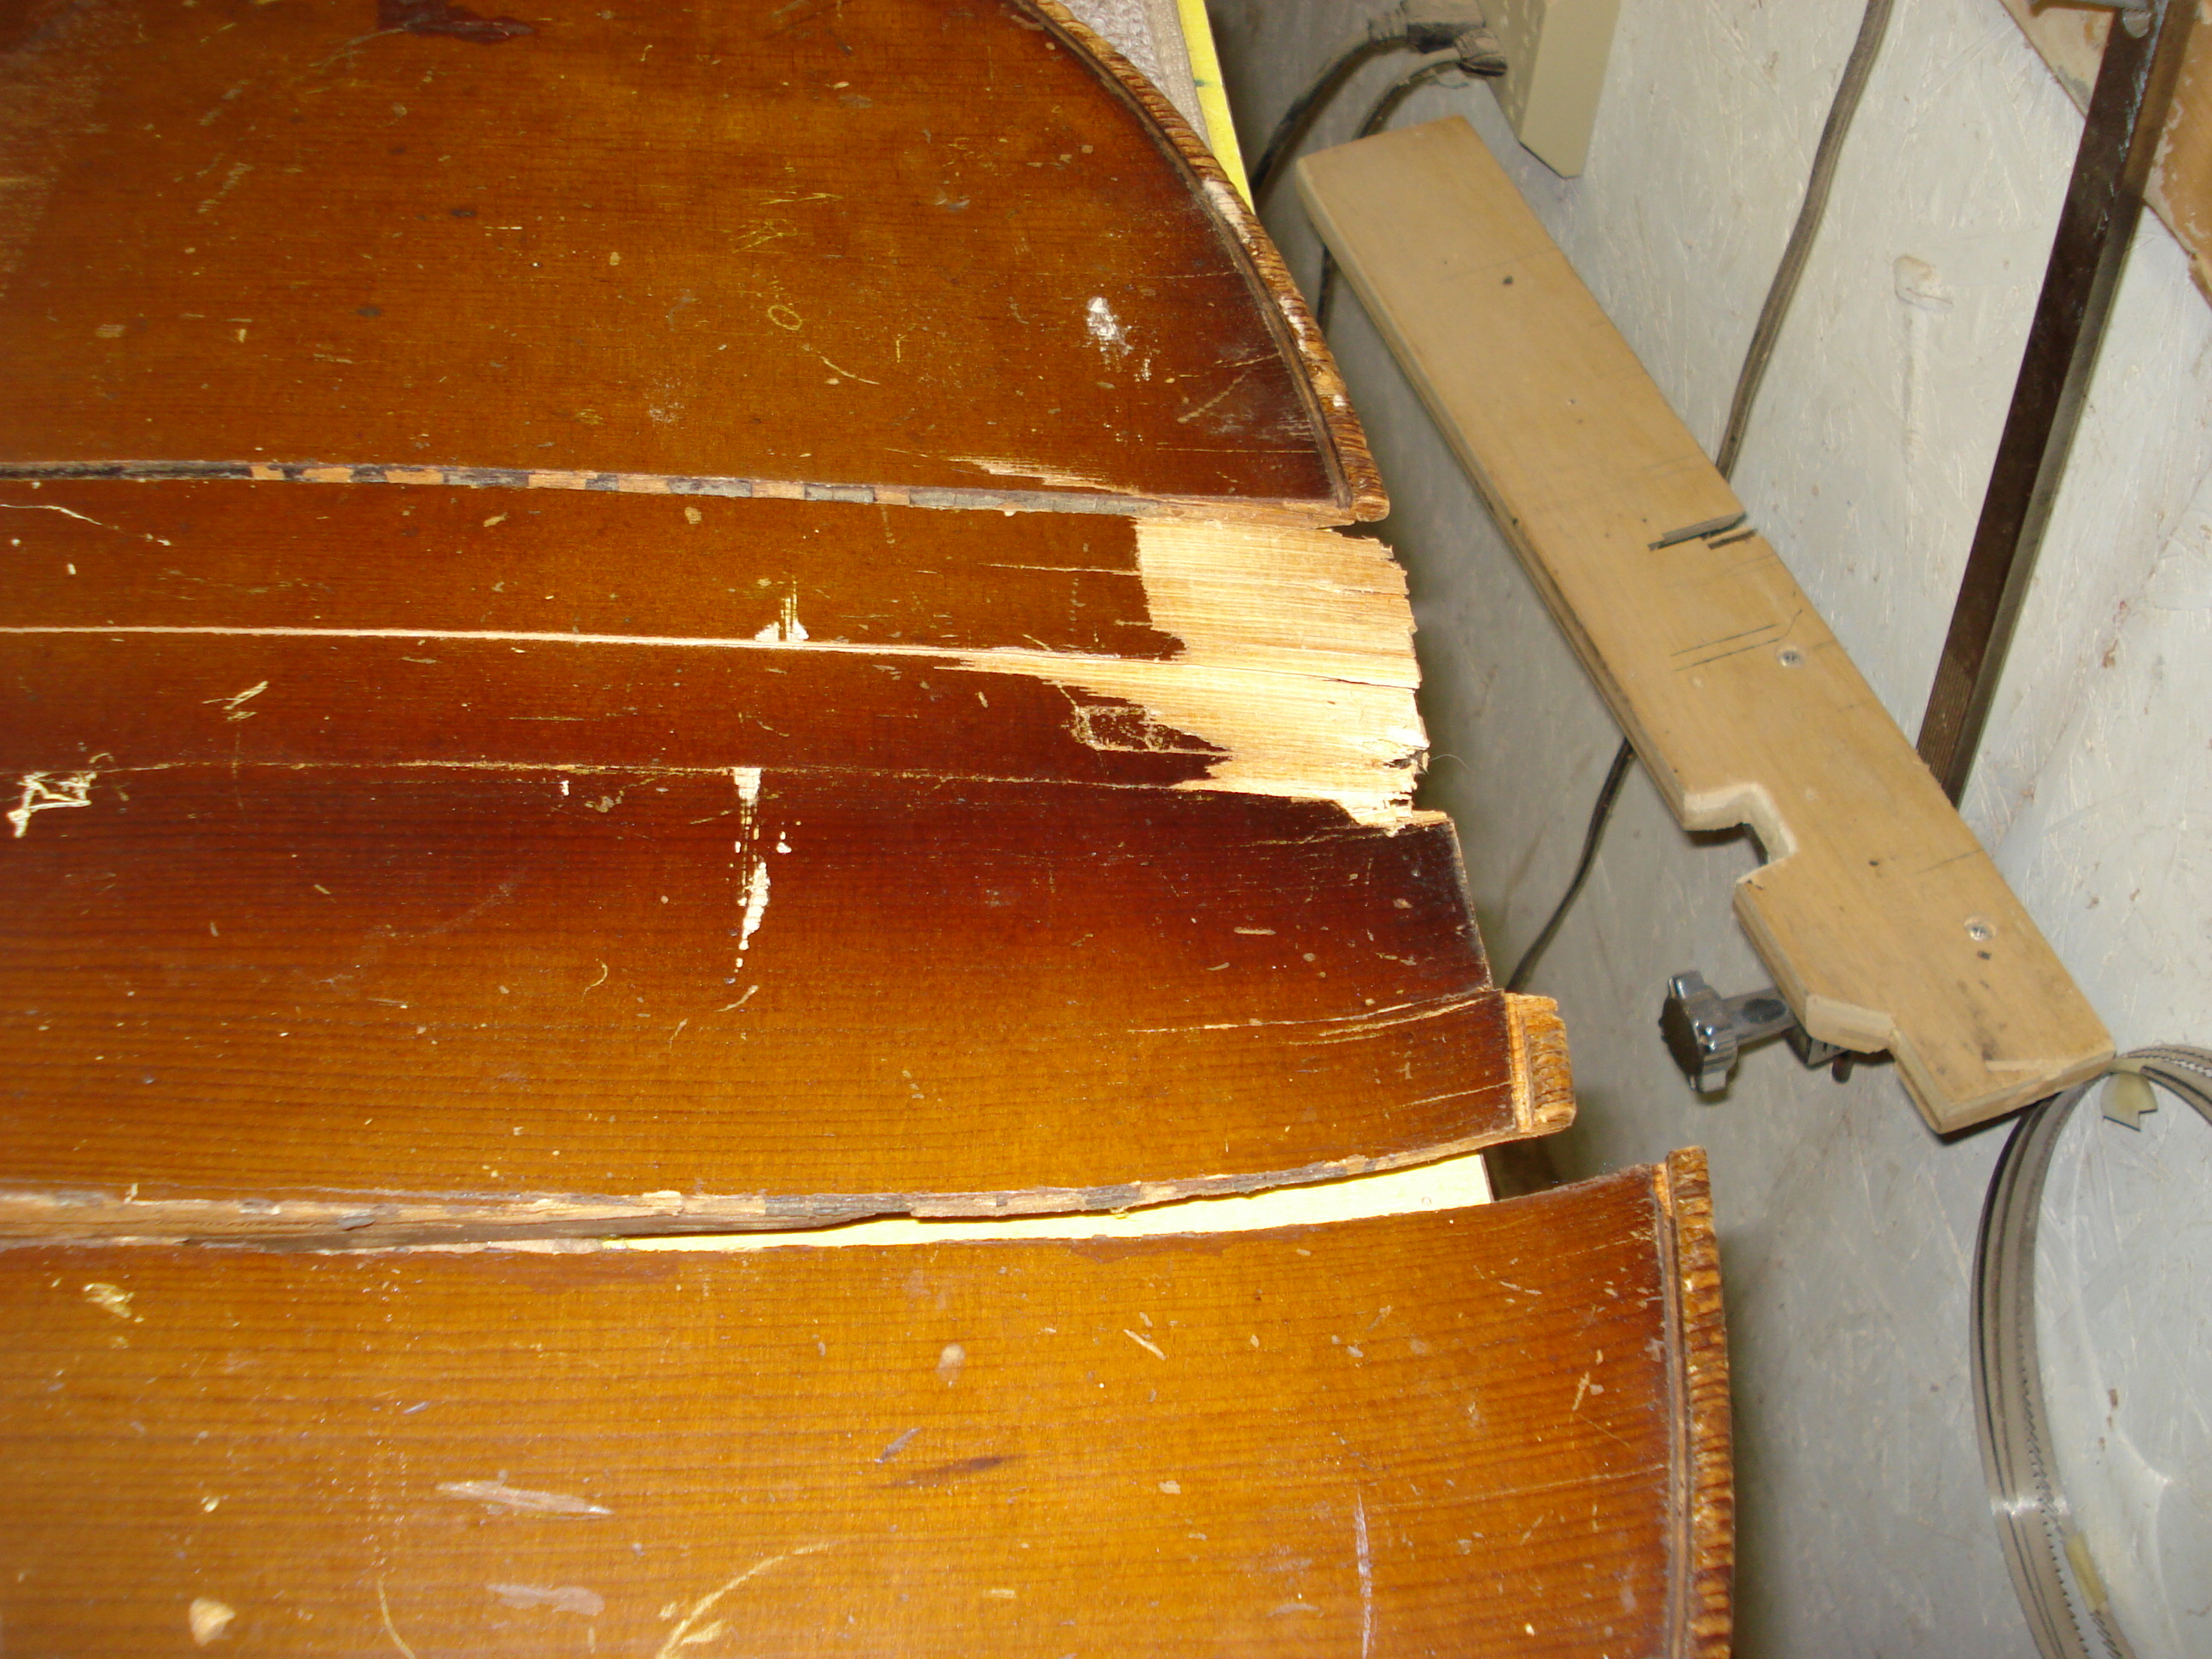
I’d guess that someone strung it up without the protective block that goes at the point where the tailpiece bracket crosses from the end pin to the top area. This was probably the beginning of the end. This top looks like it had some runout in the grain, too. Note the angle of the break.
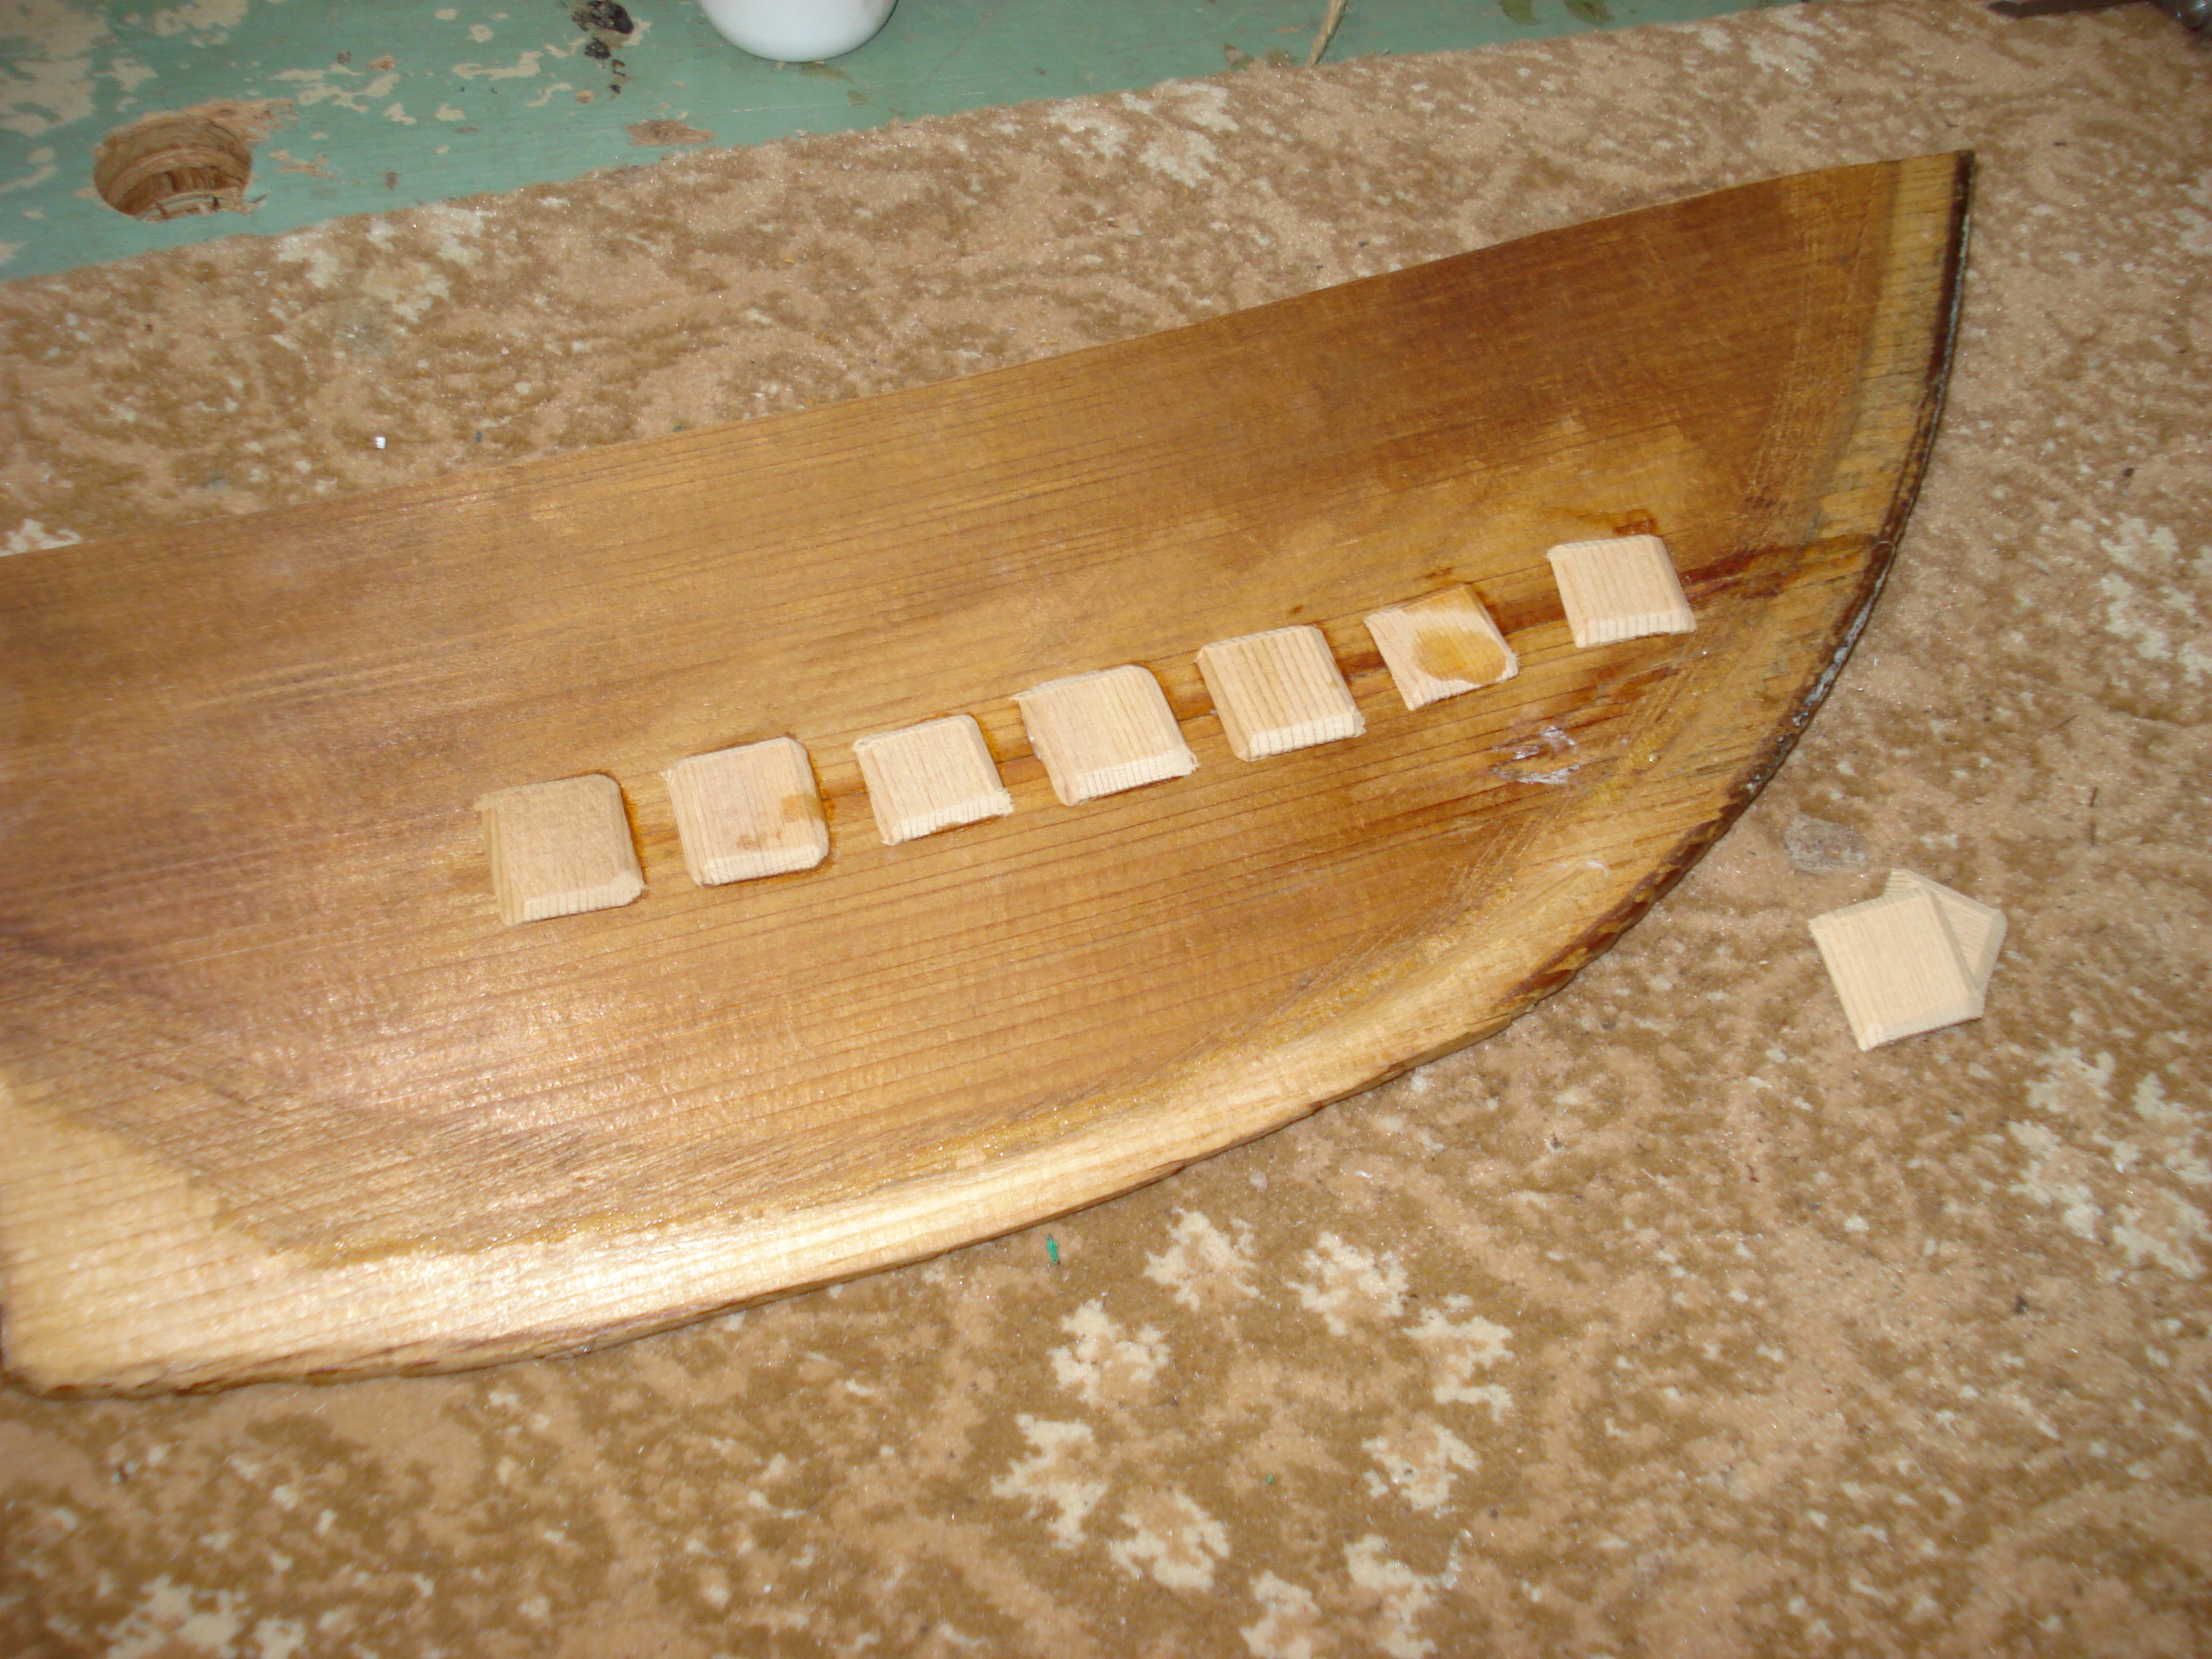
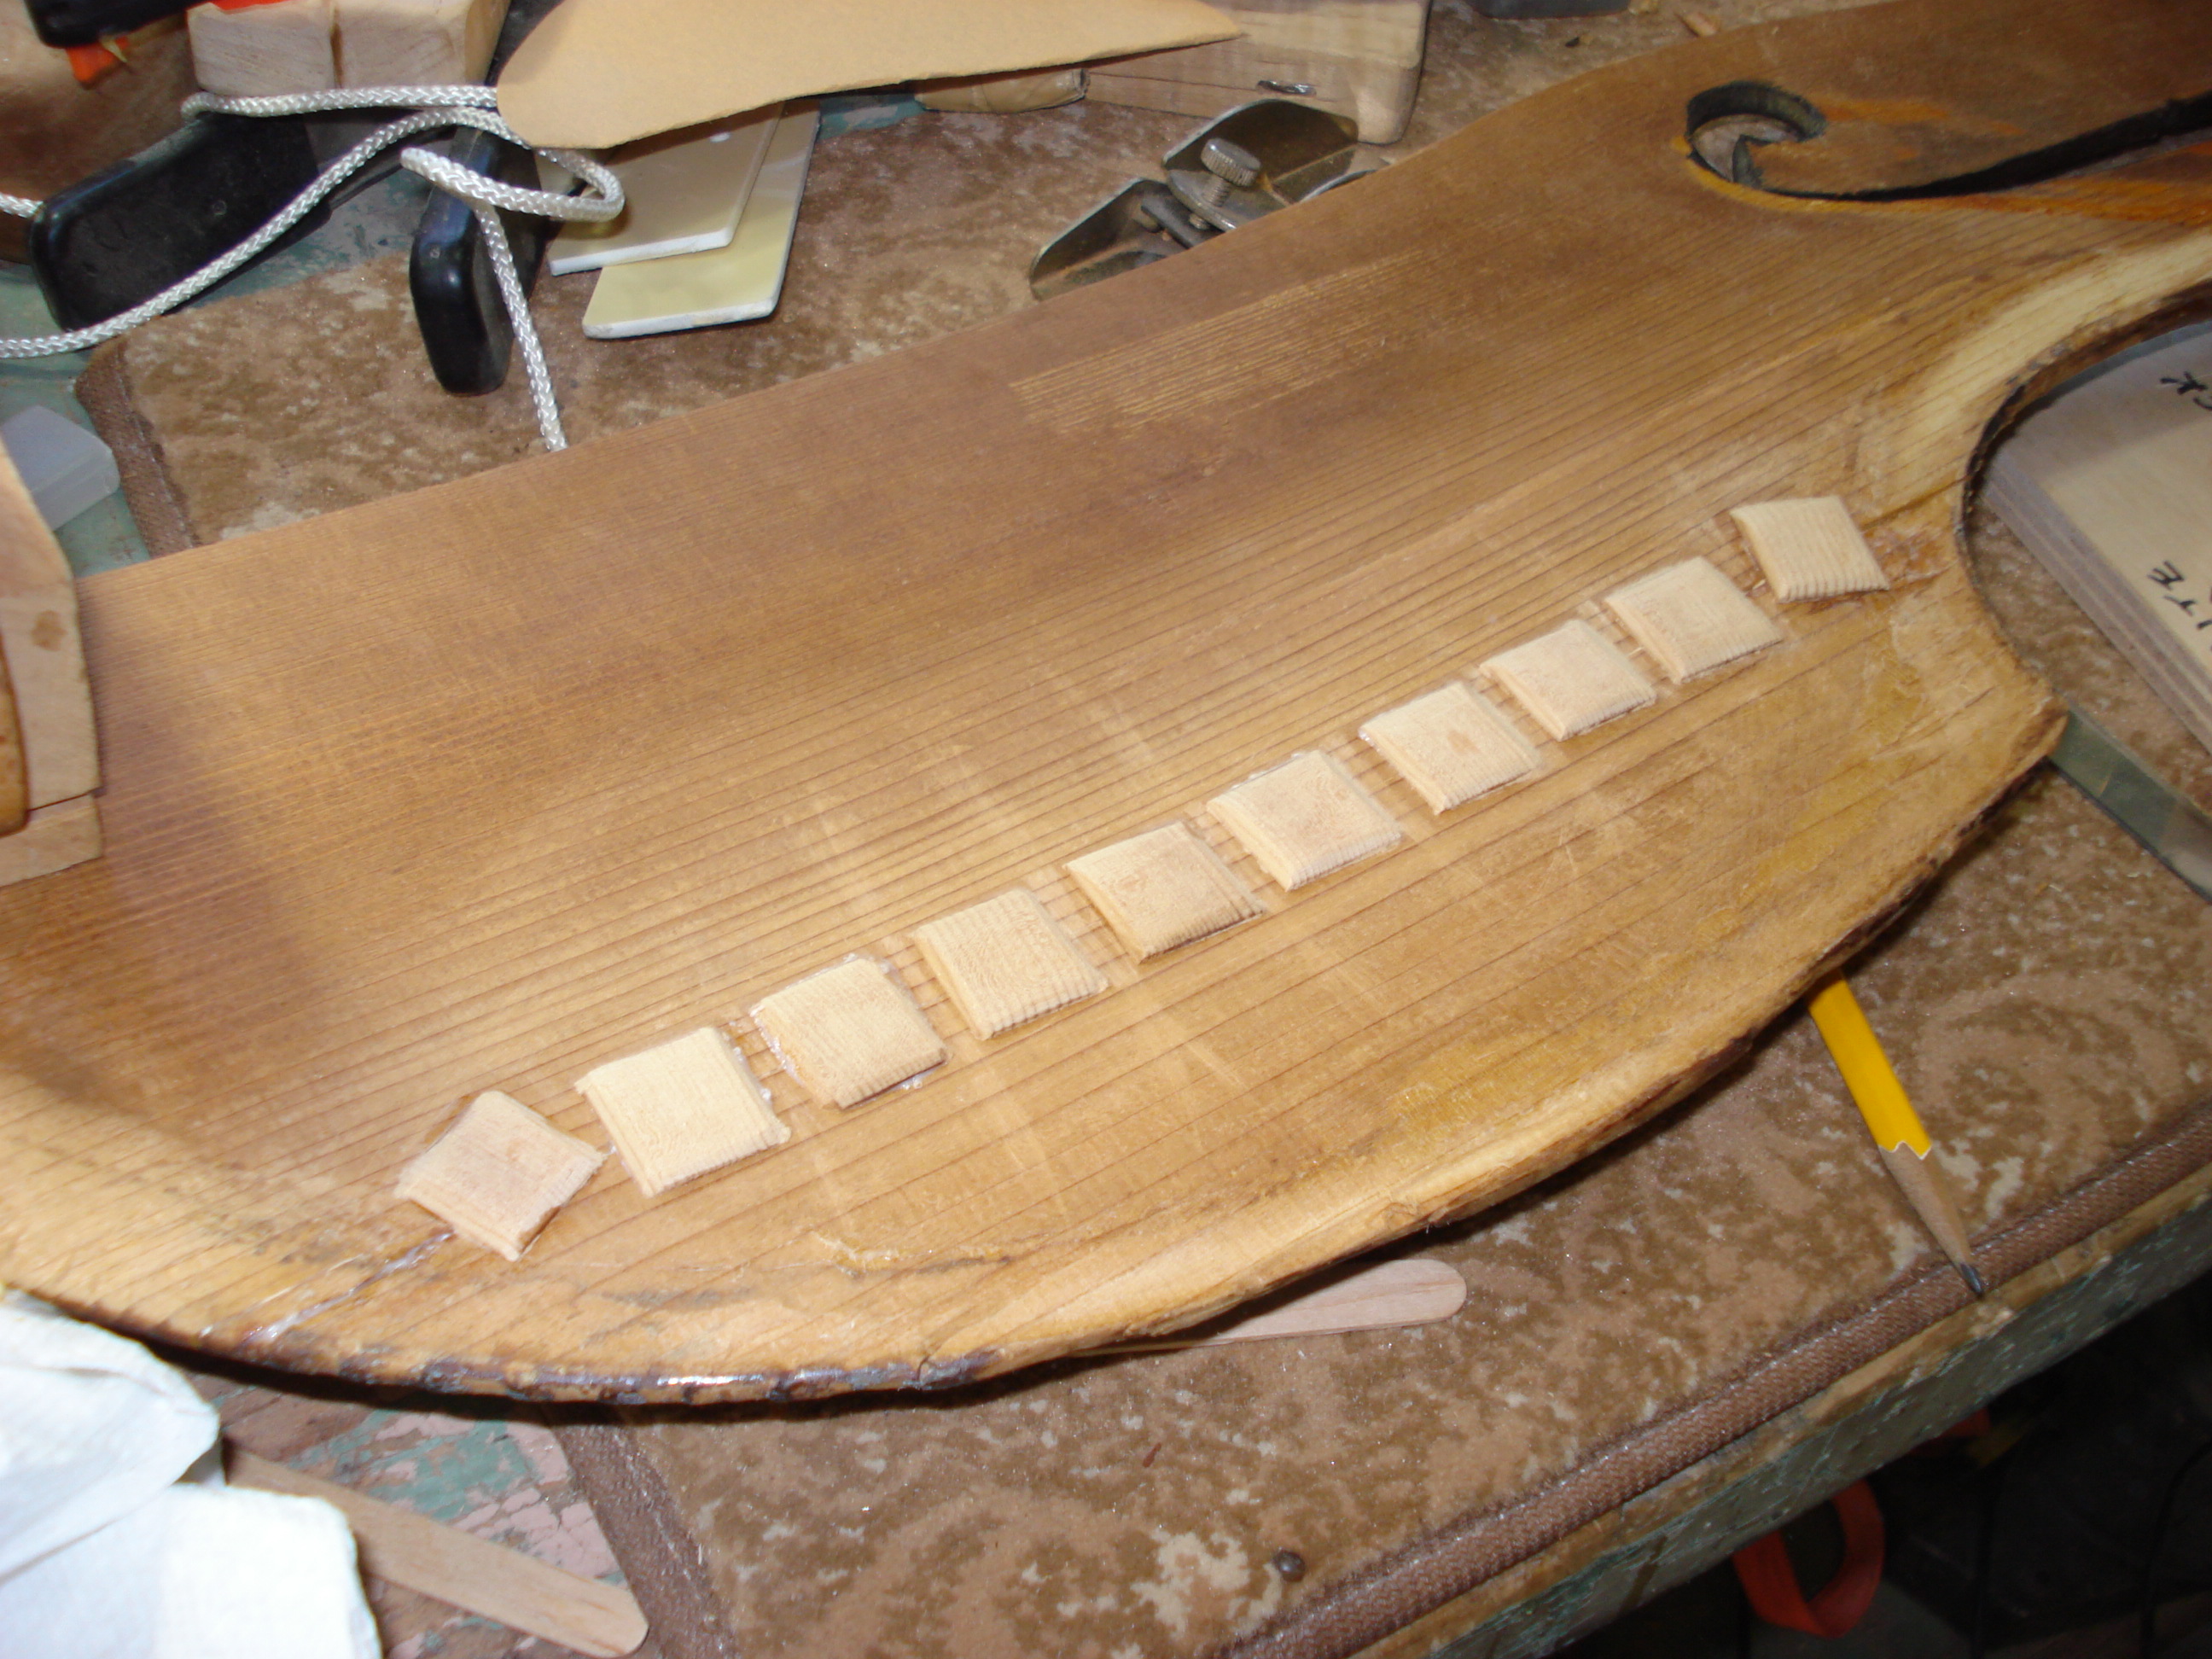
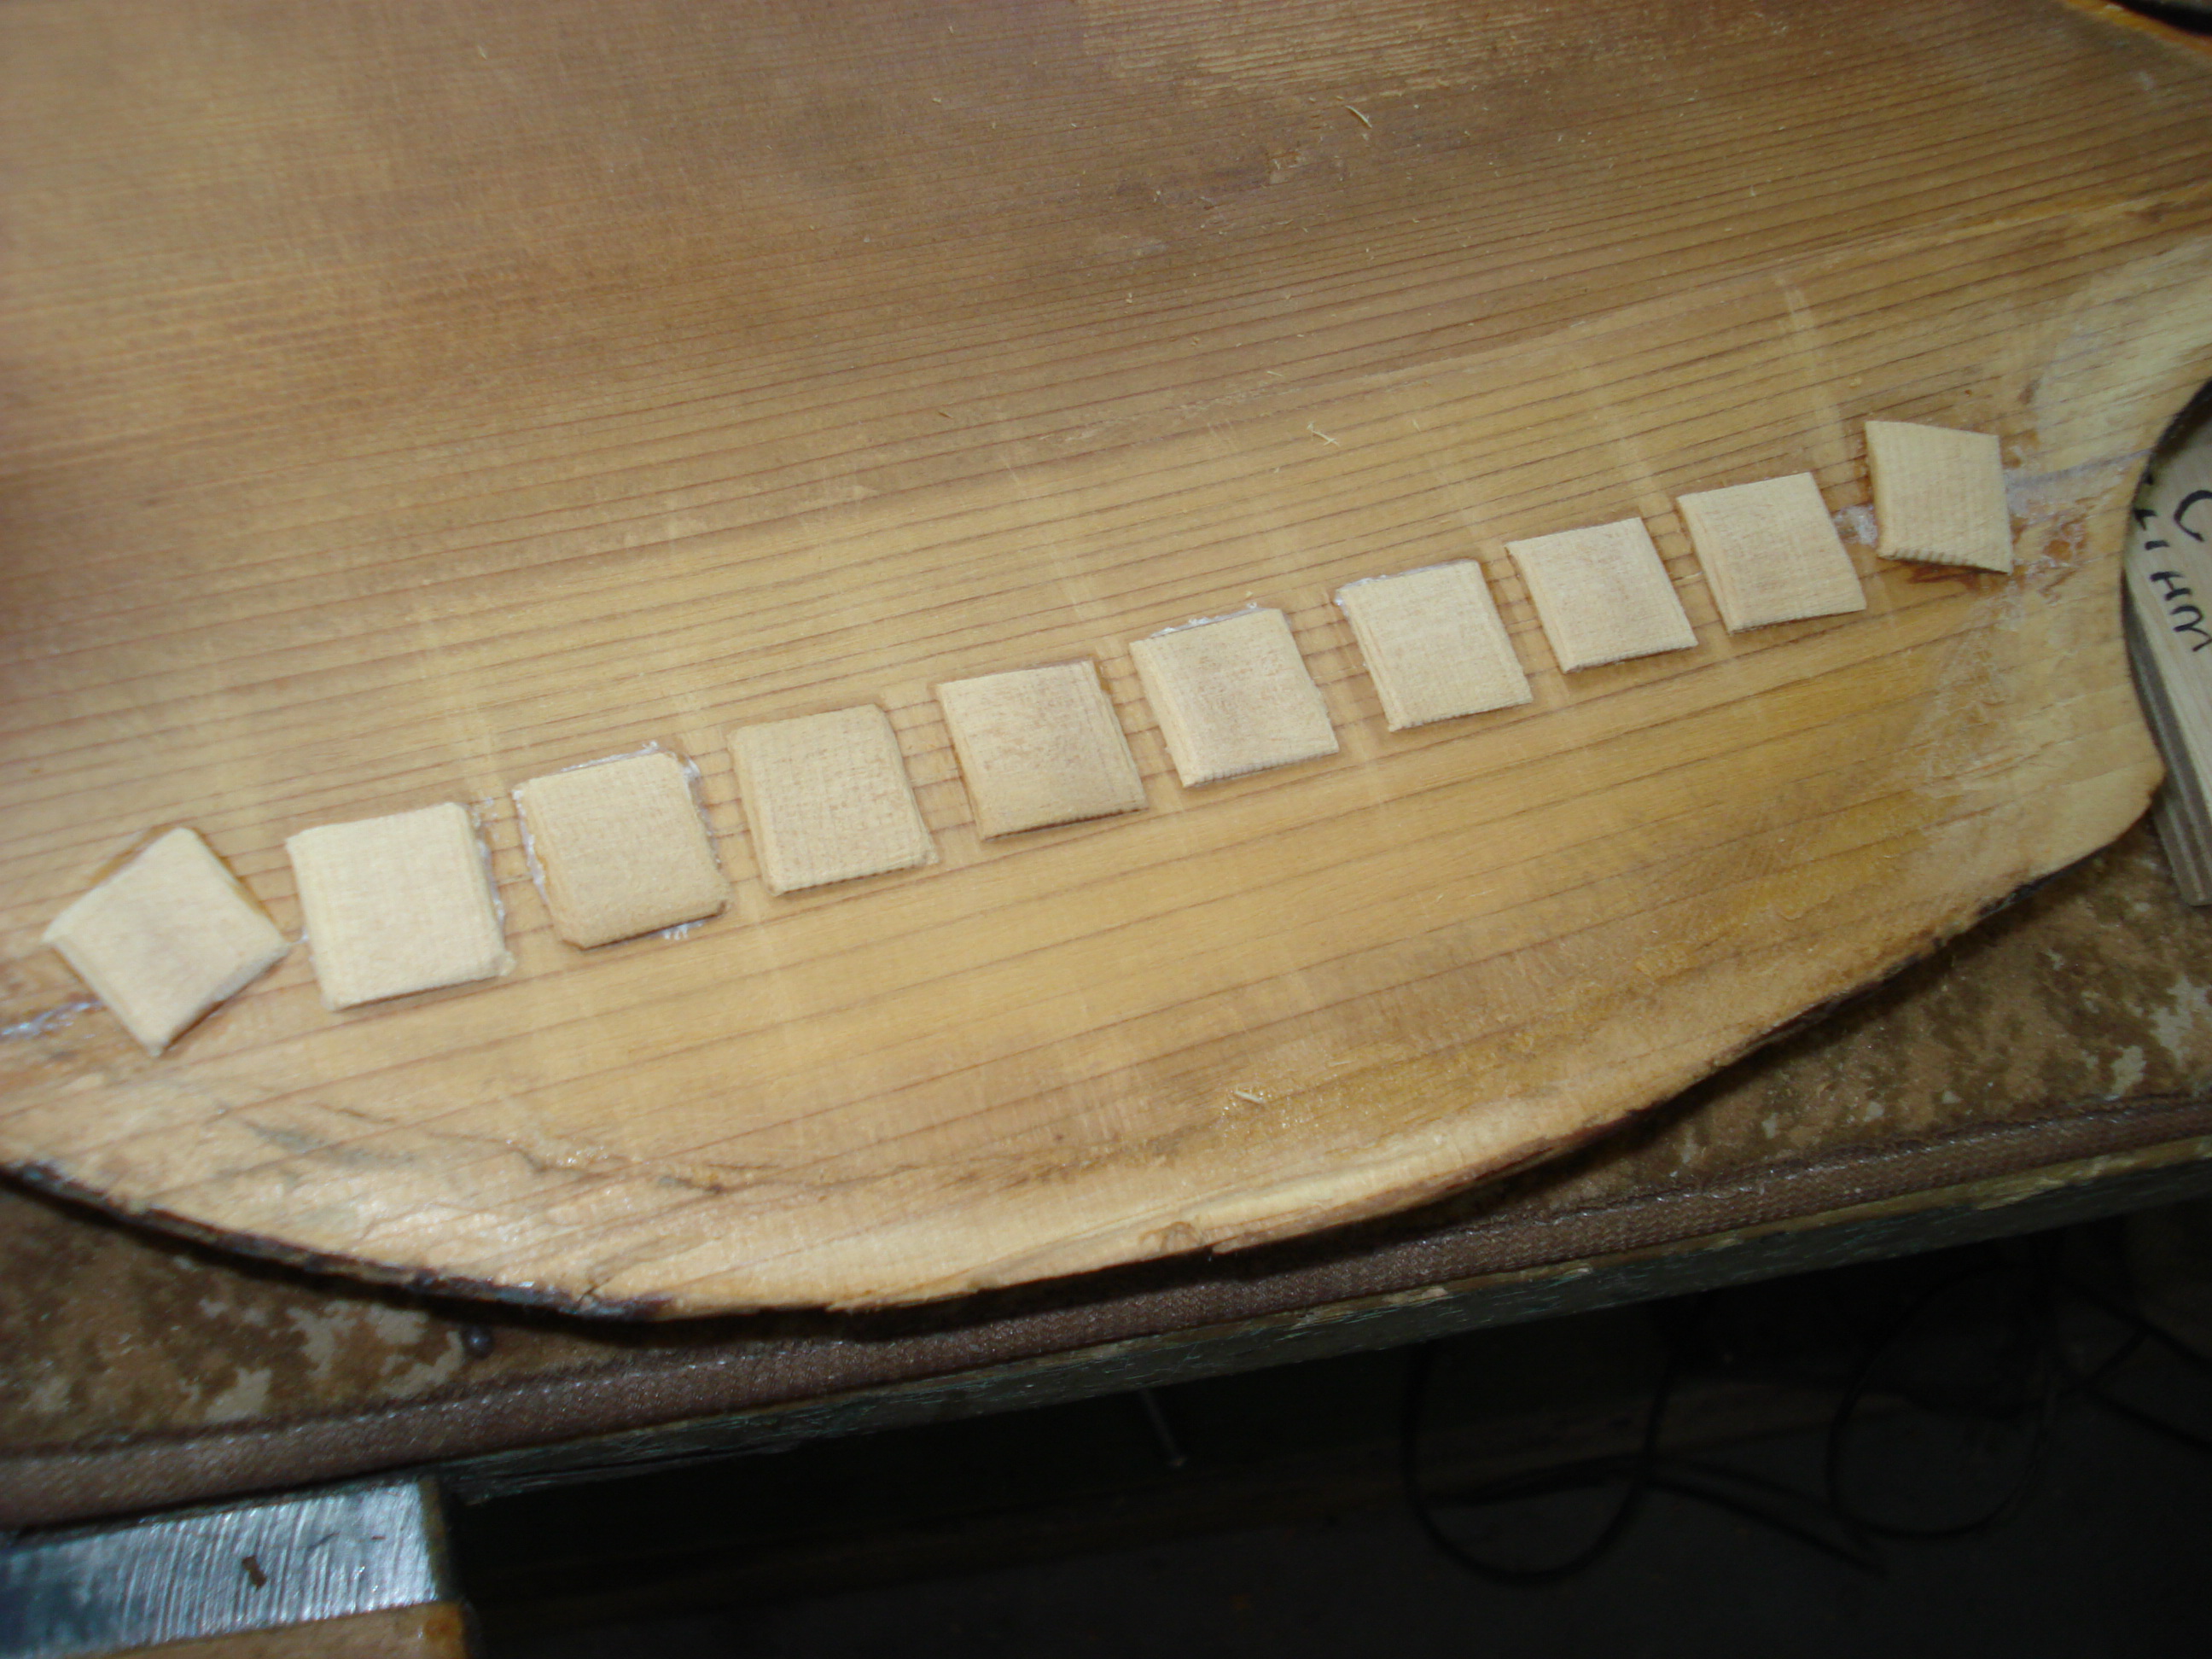
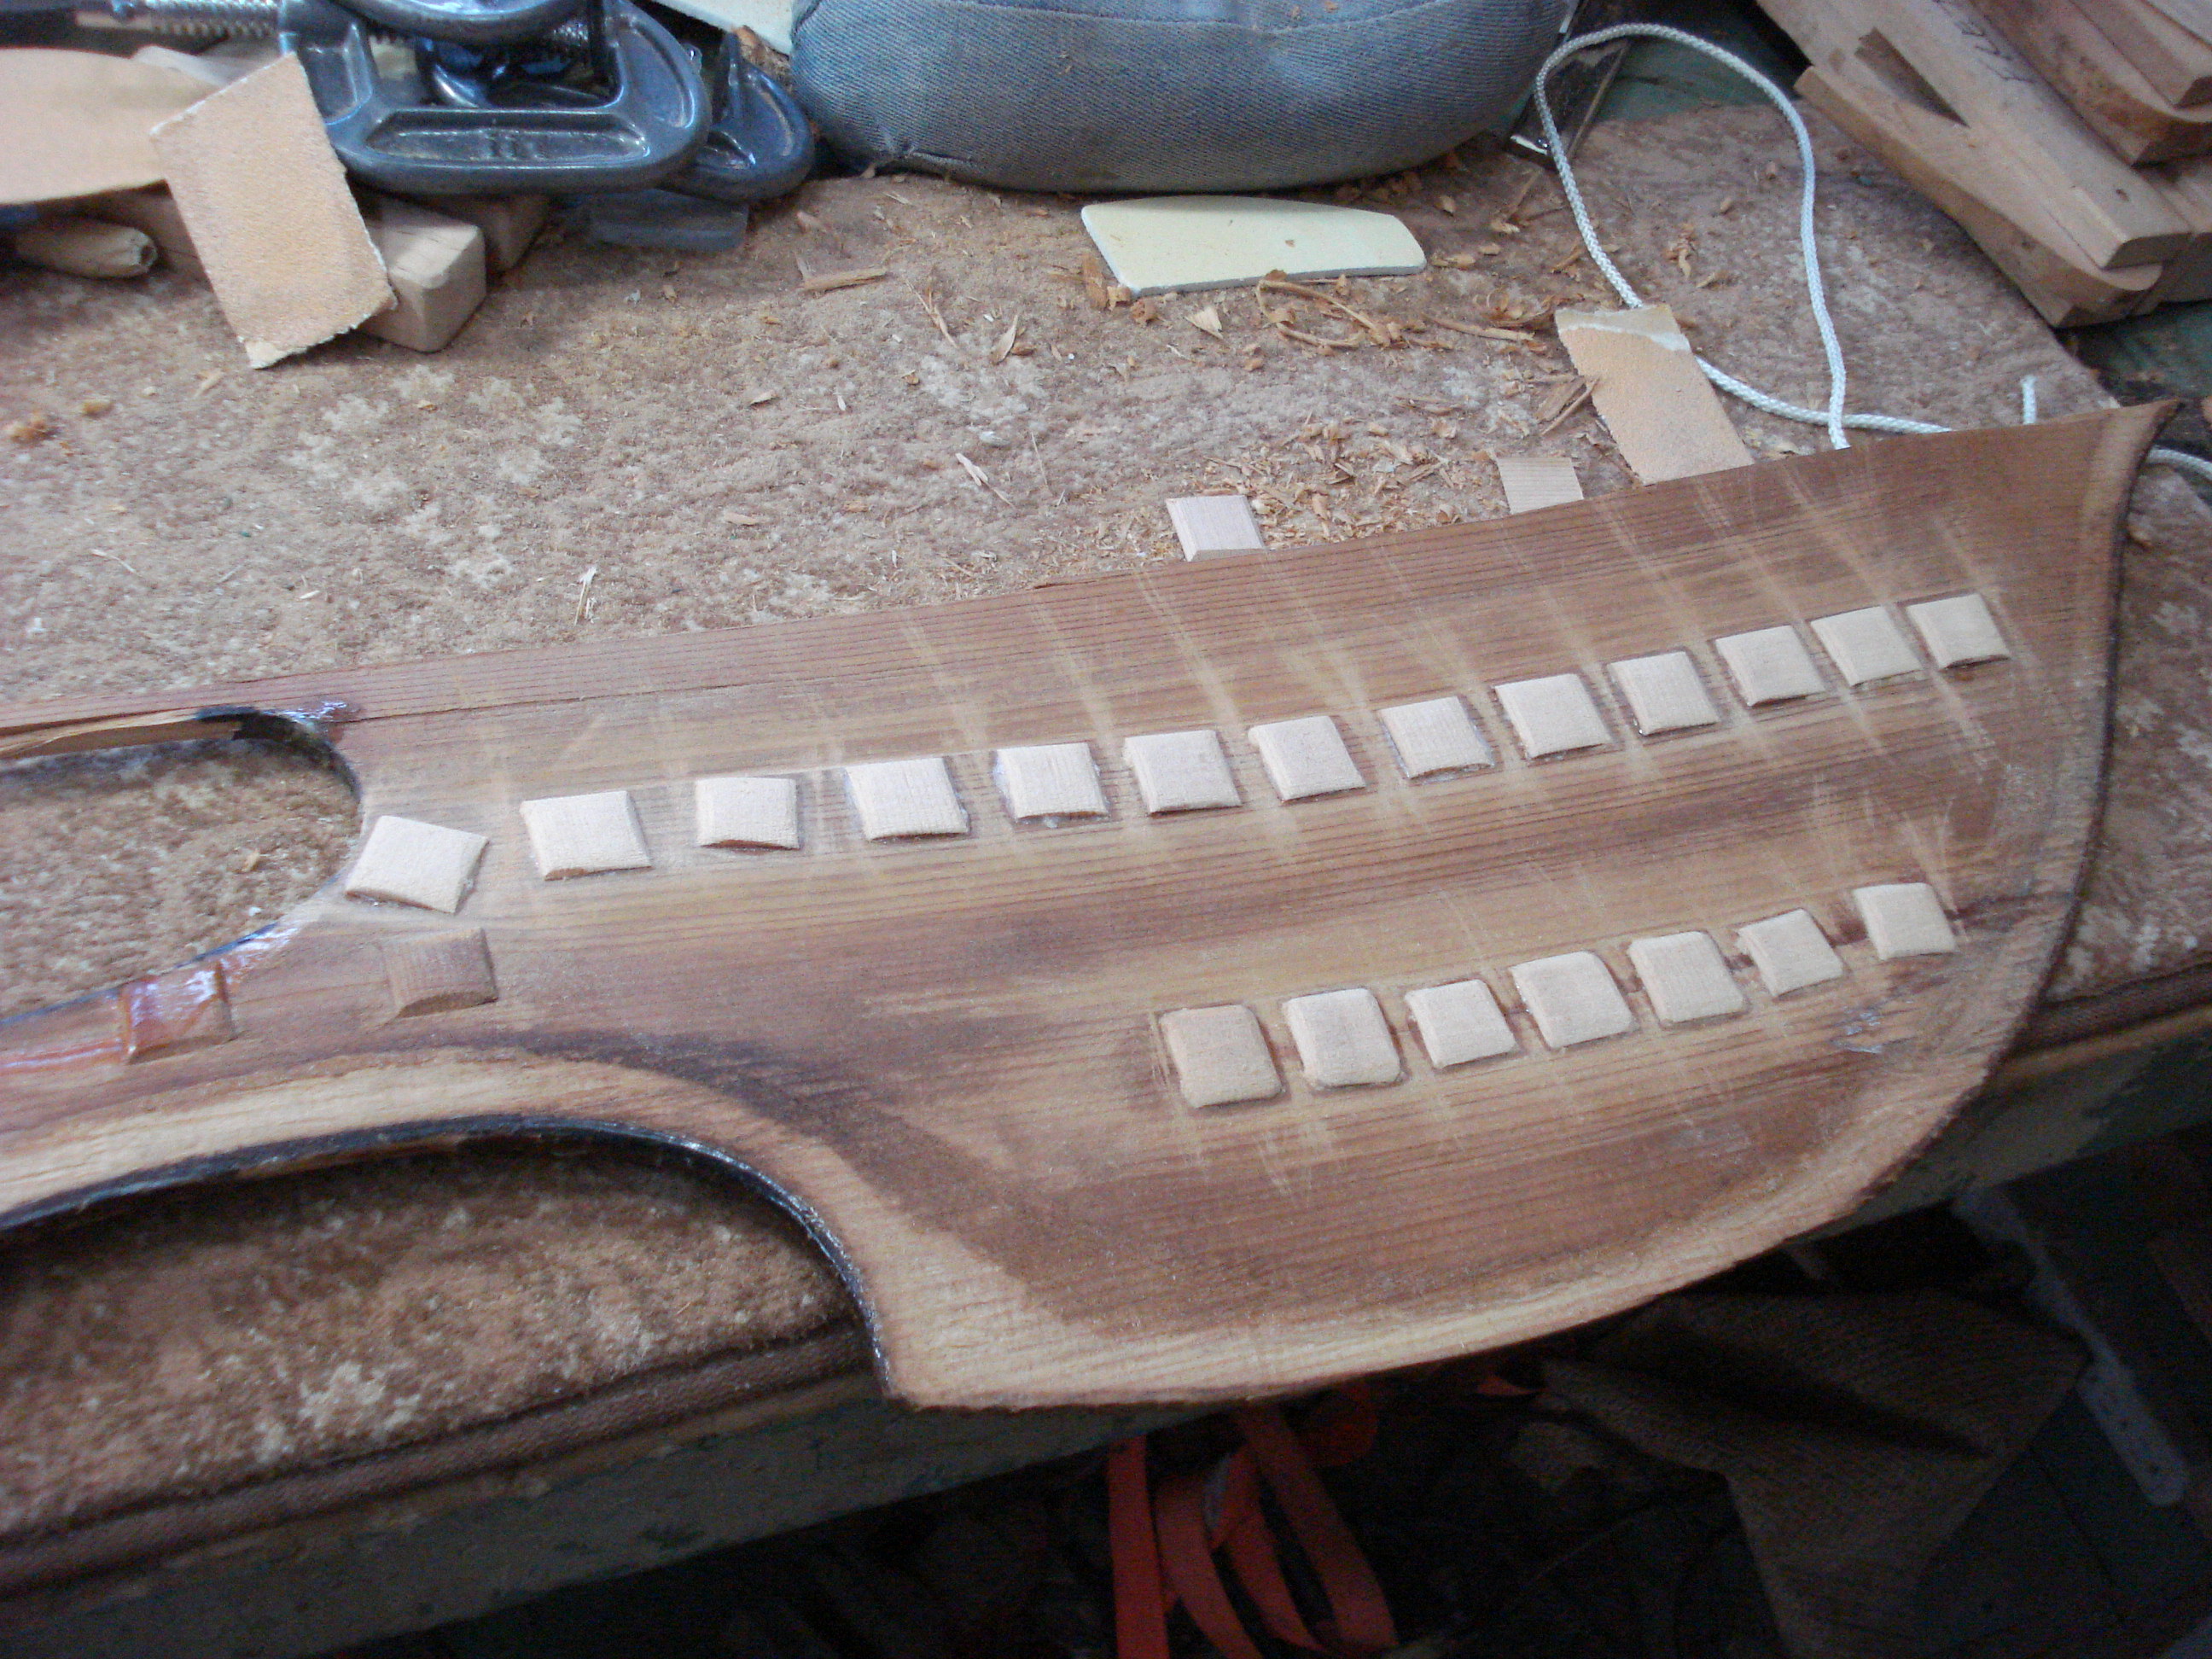
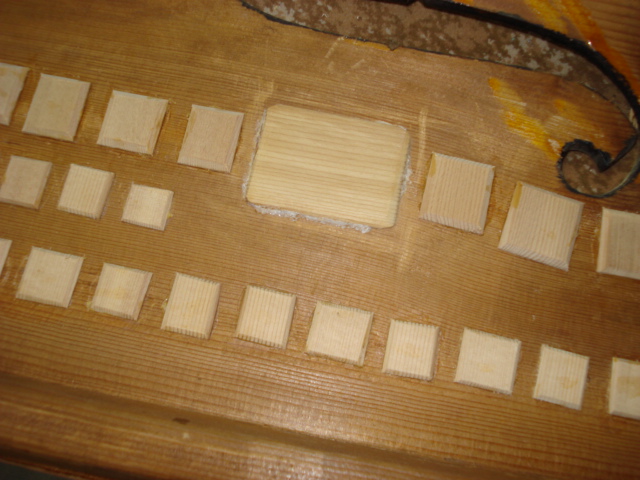
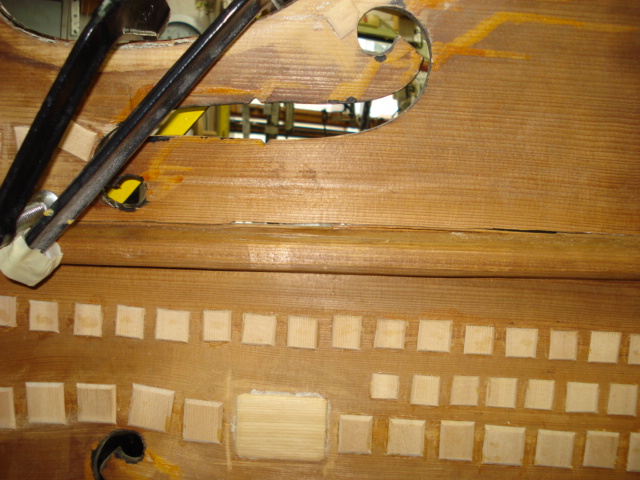
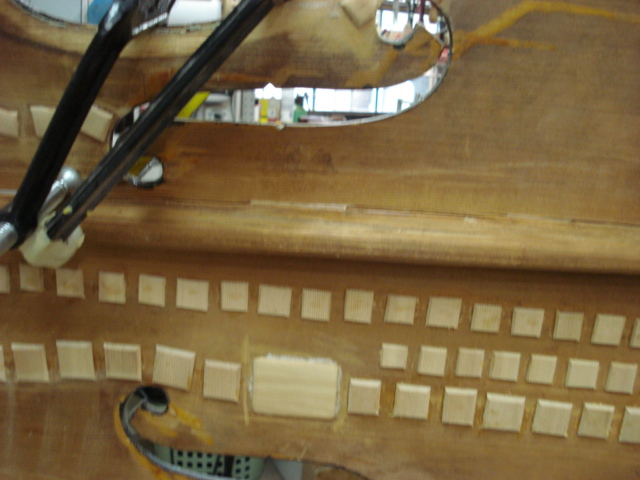
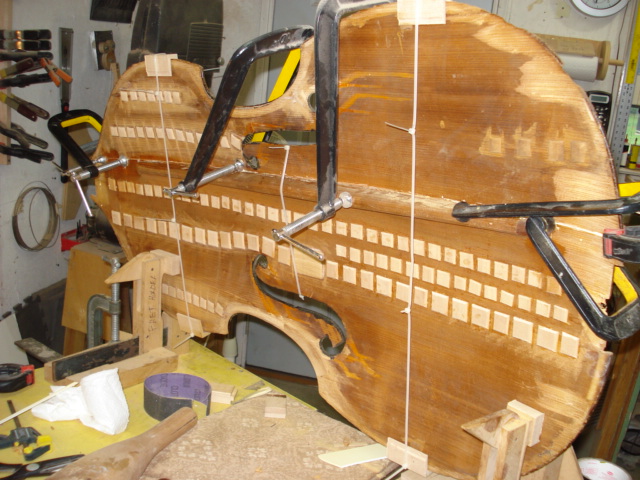
I started with a small section and installed some spruce cleats. I ended up using a lot of these cleats before I finished this job.
I tried everything I knew to hold these odd shaped pieces in place for glueing.
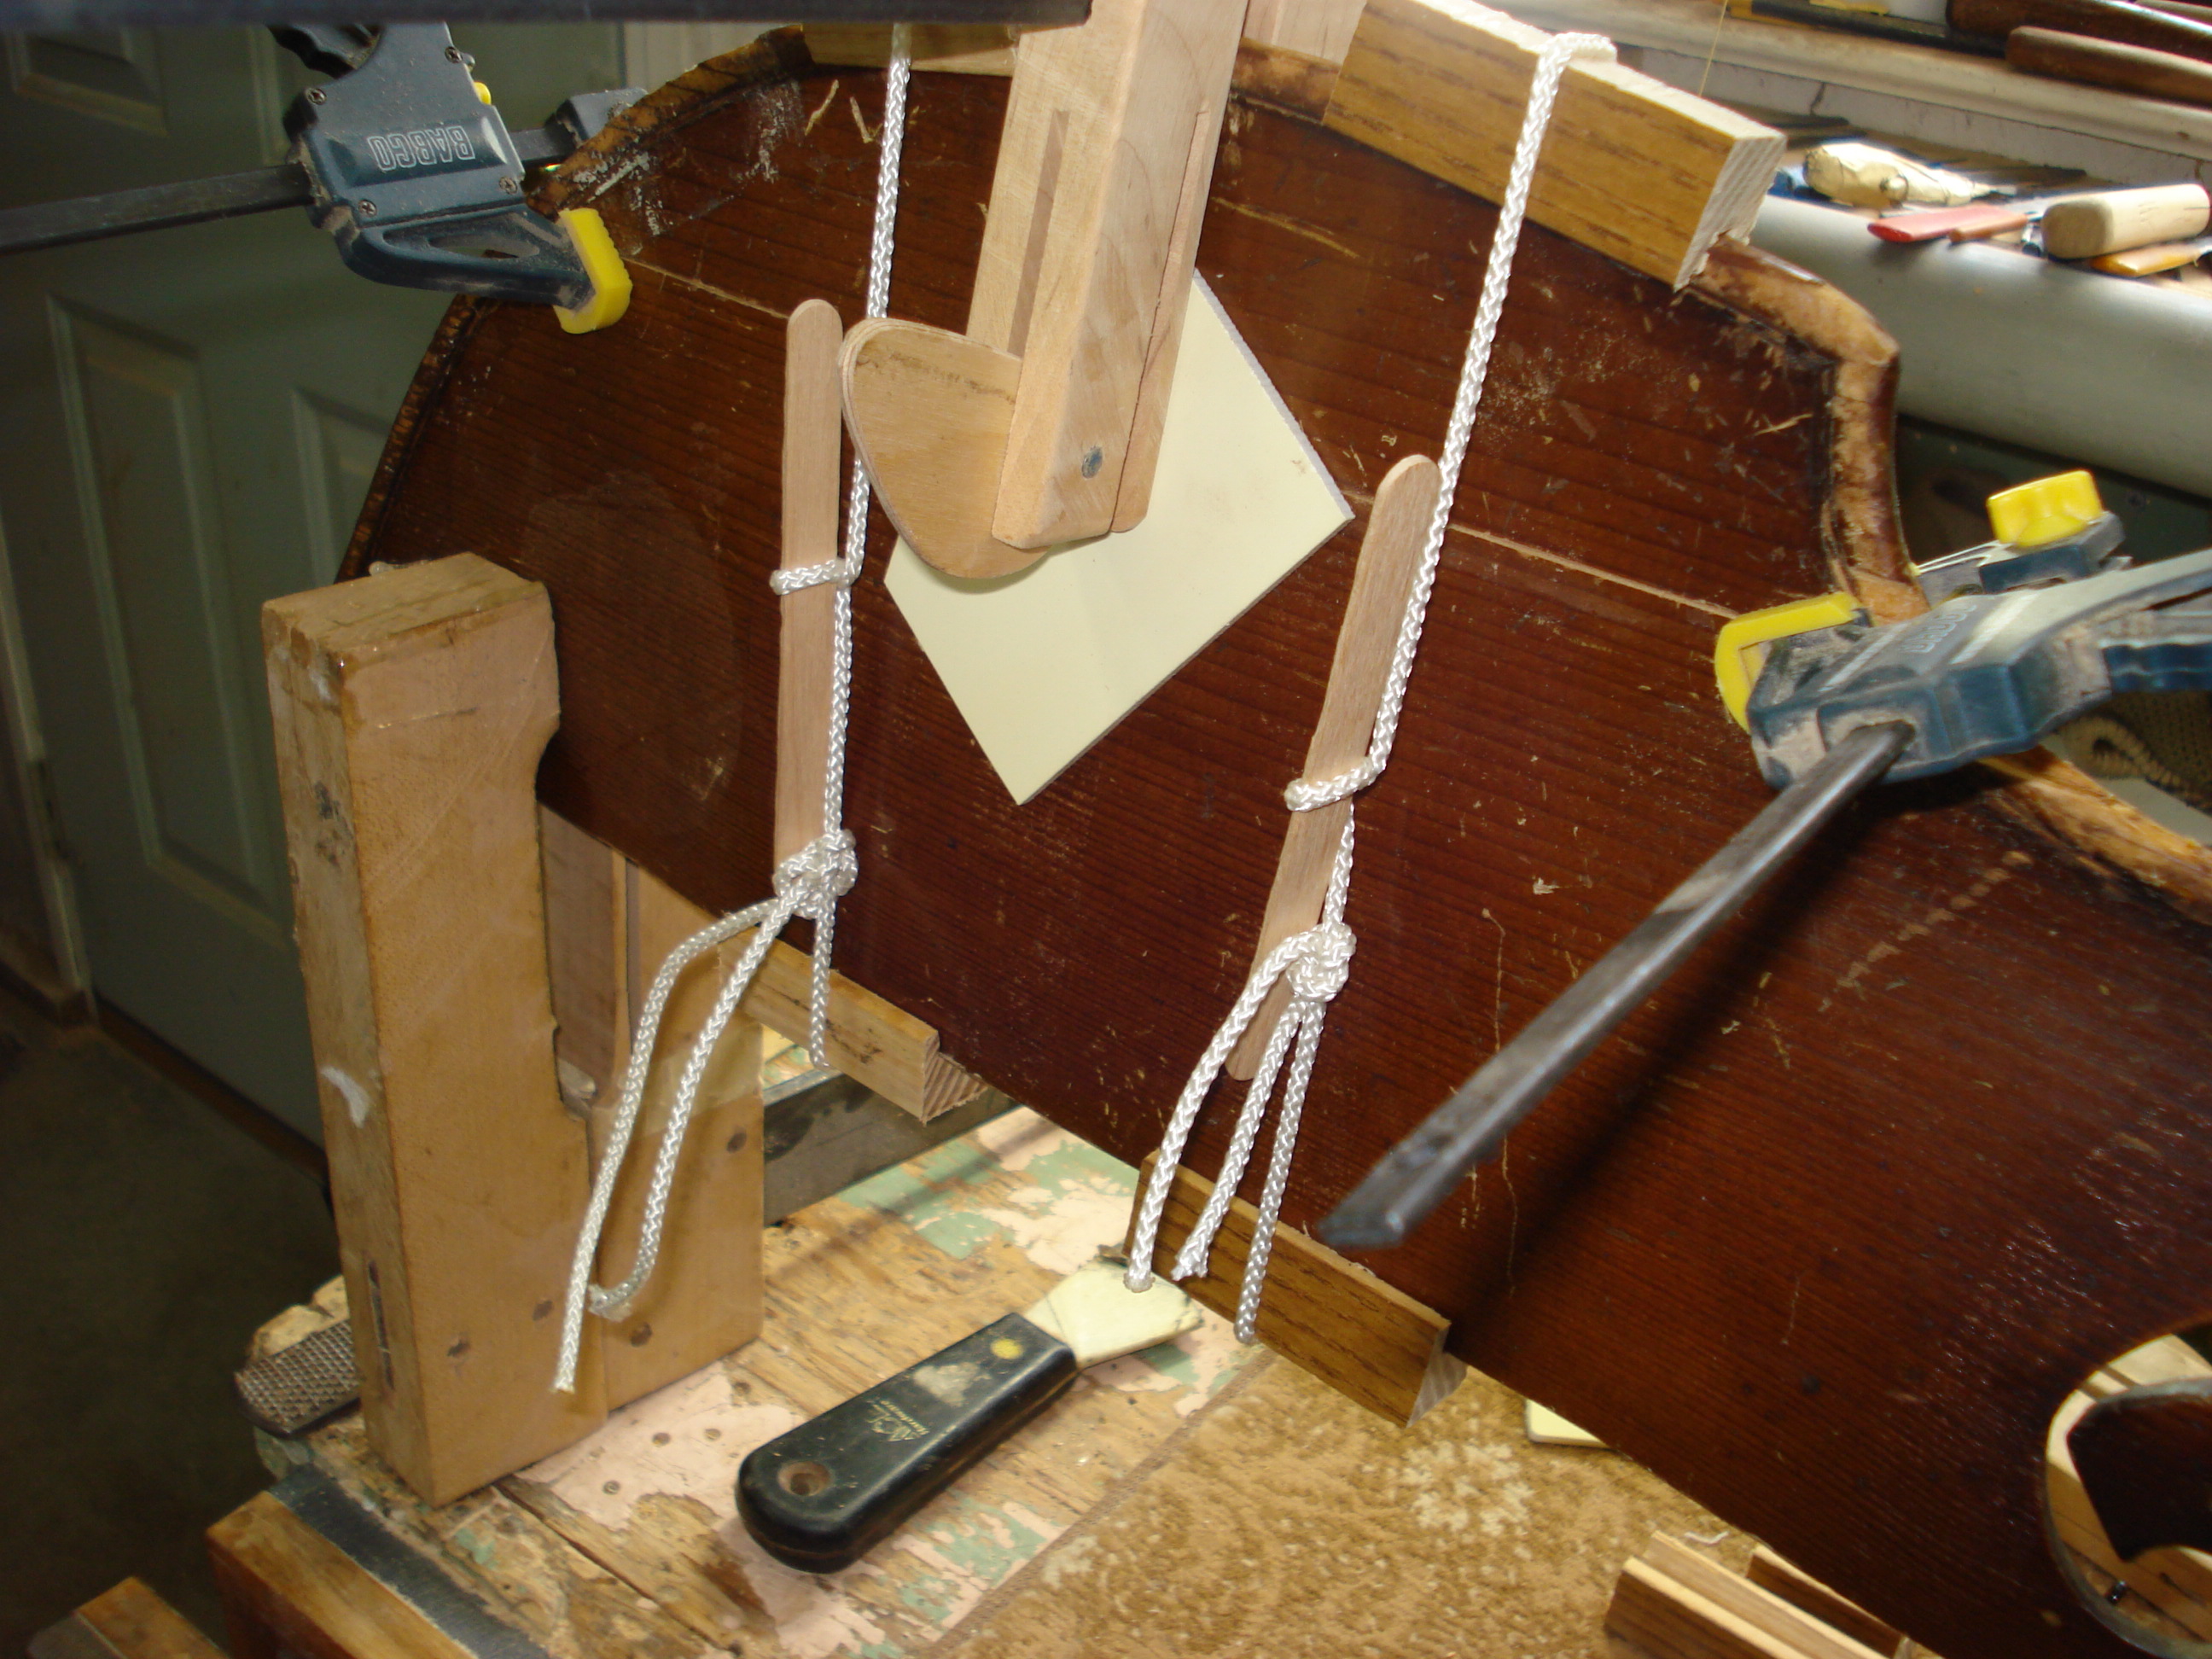
I even used some nylon cord twisted to pull the joint into place.
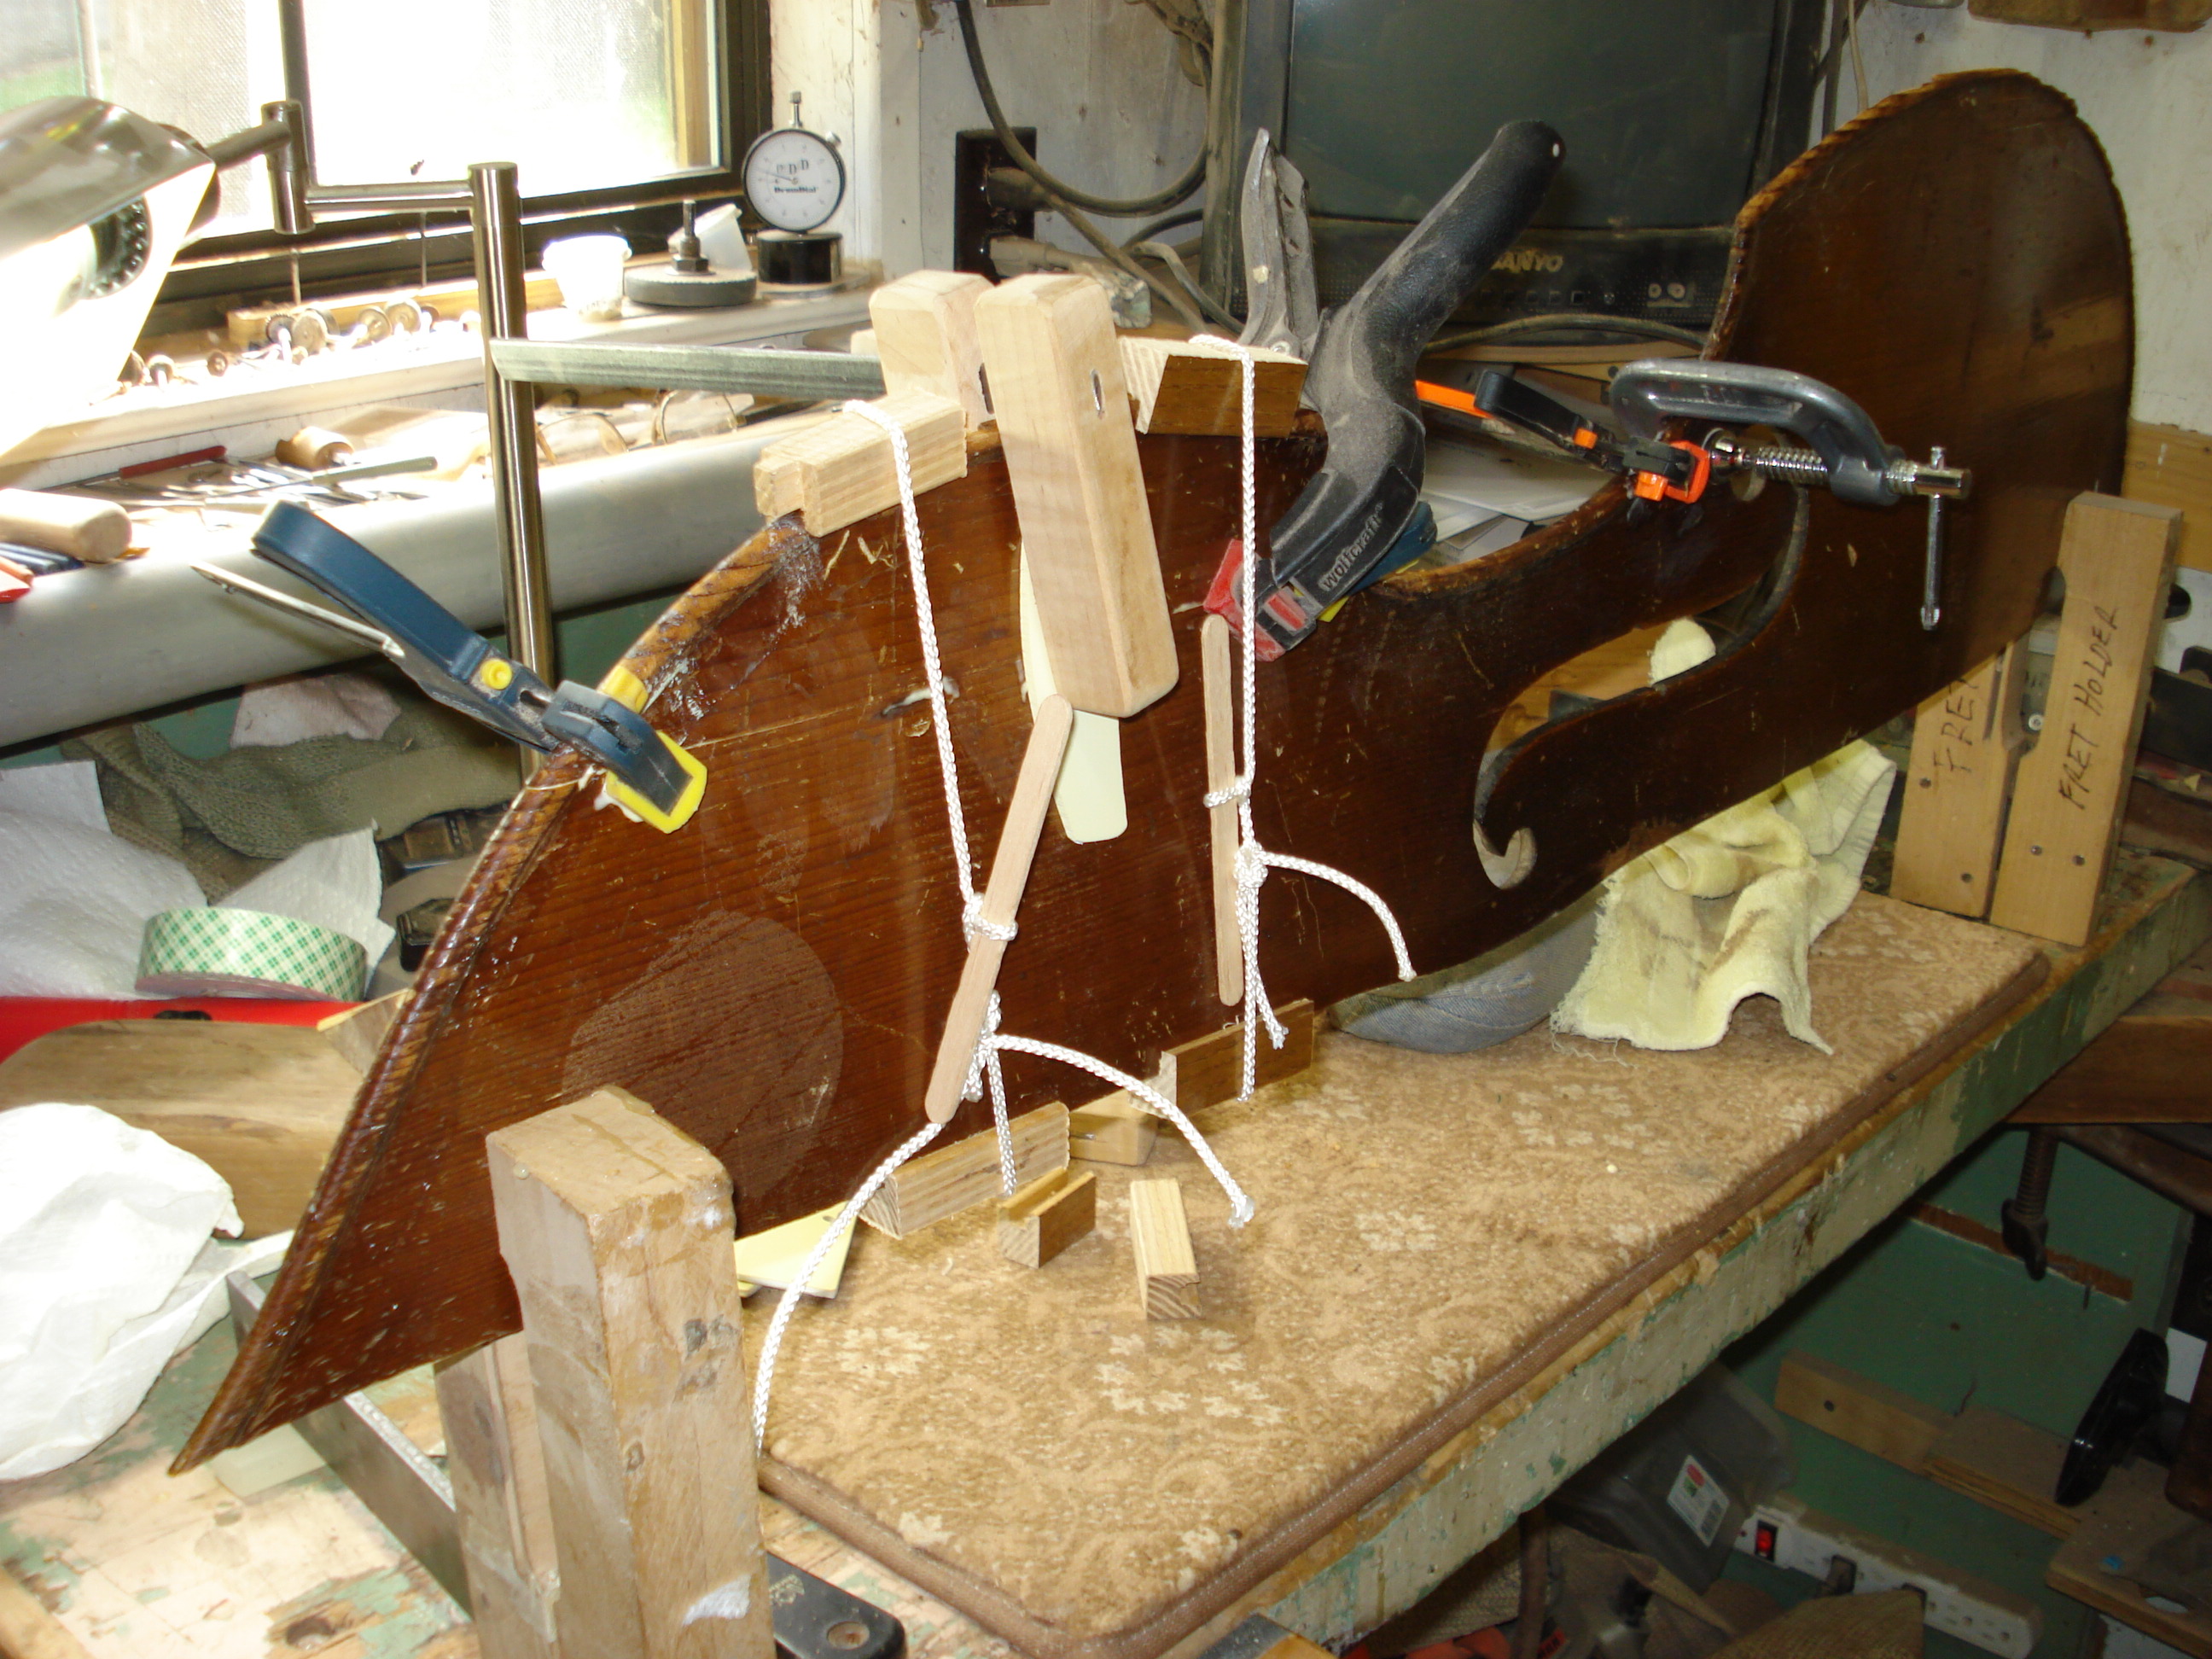
What a rig.
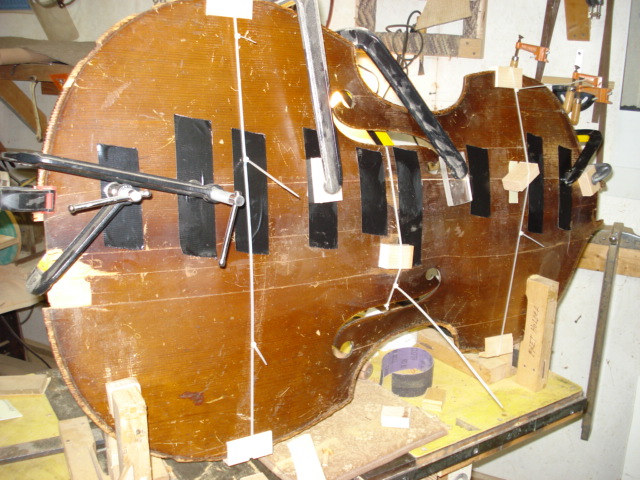
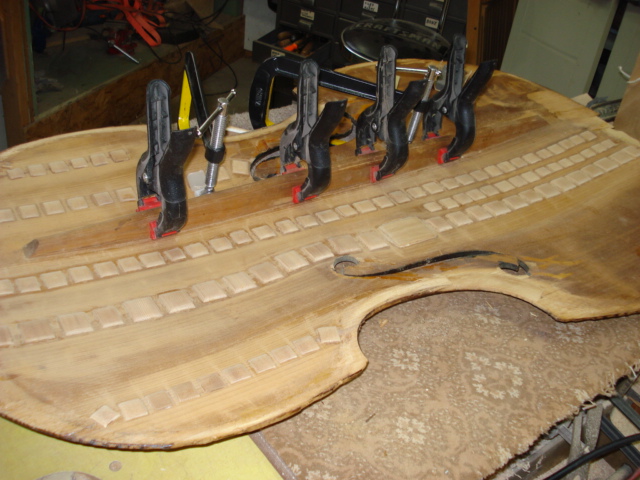
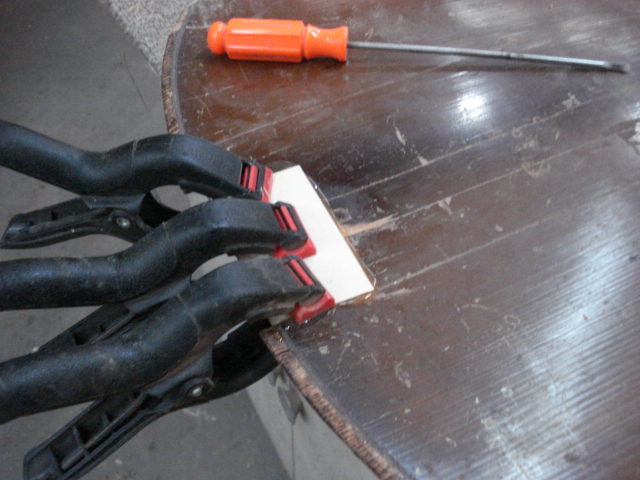
Clamps.
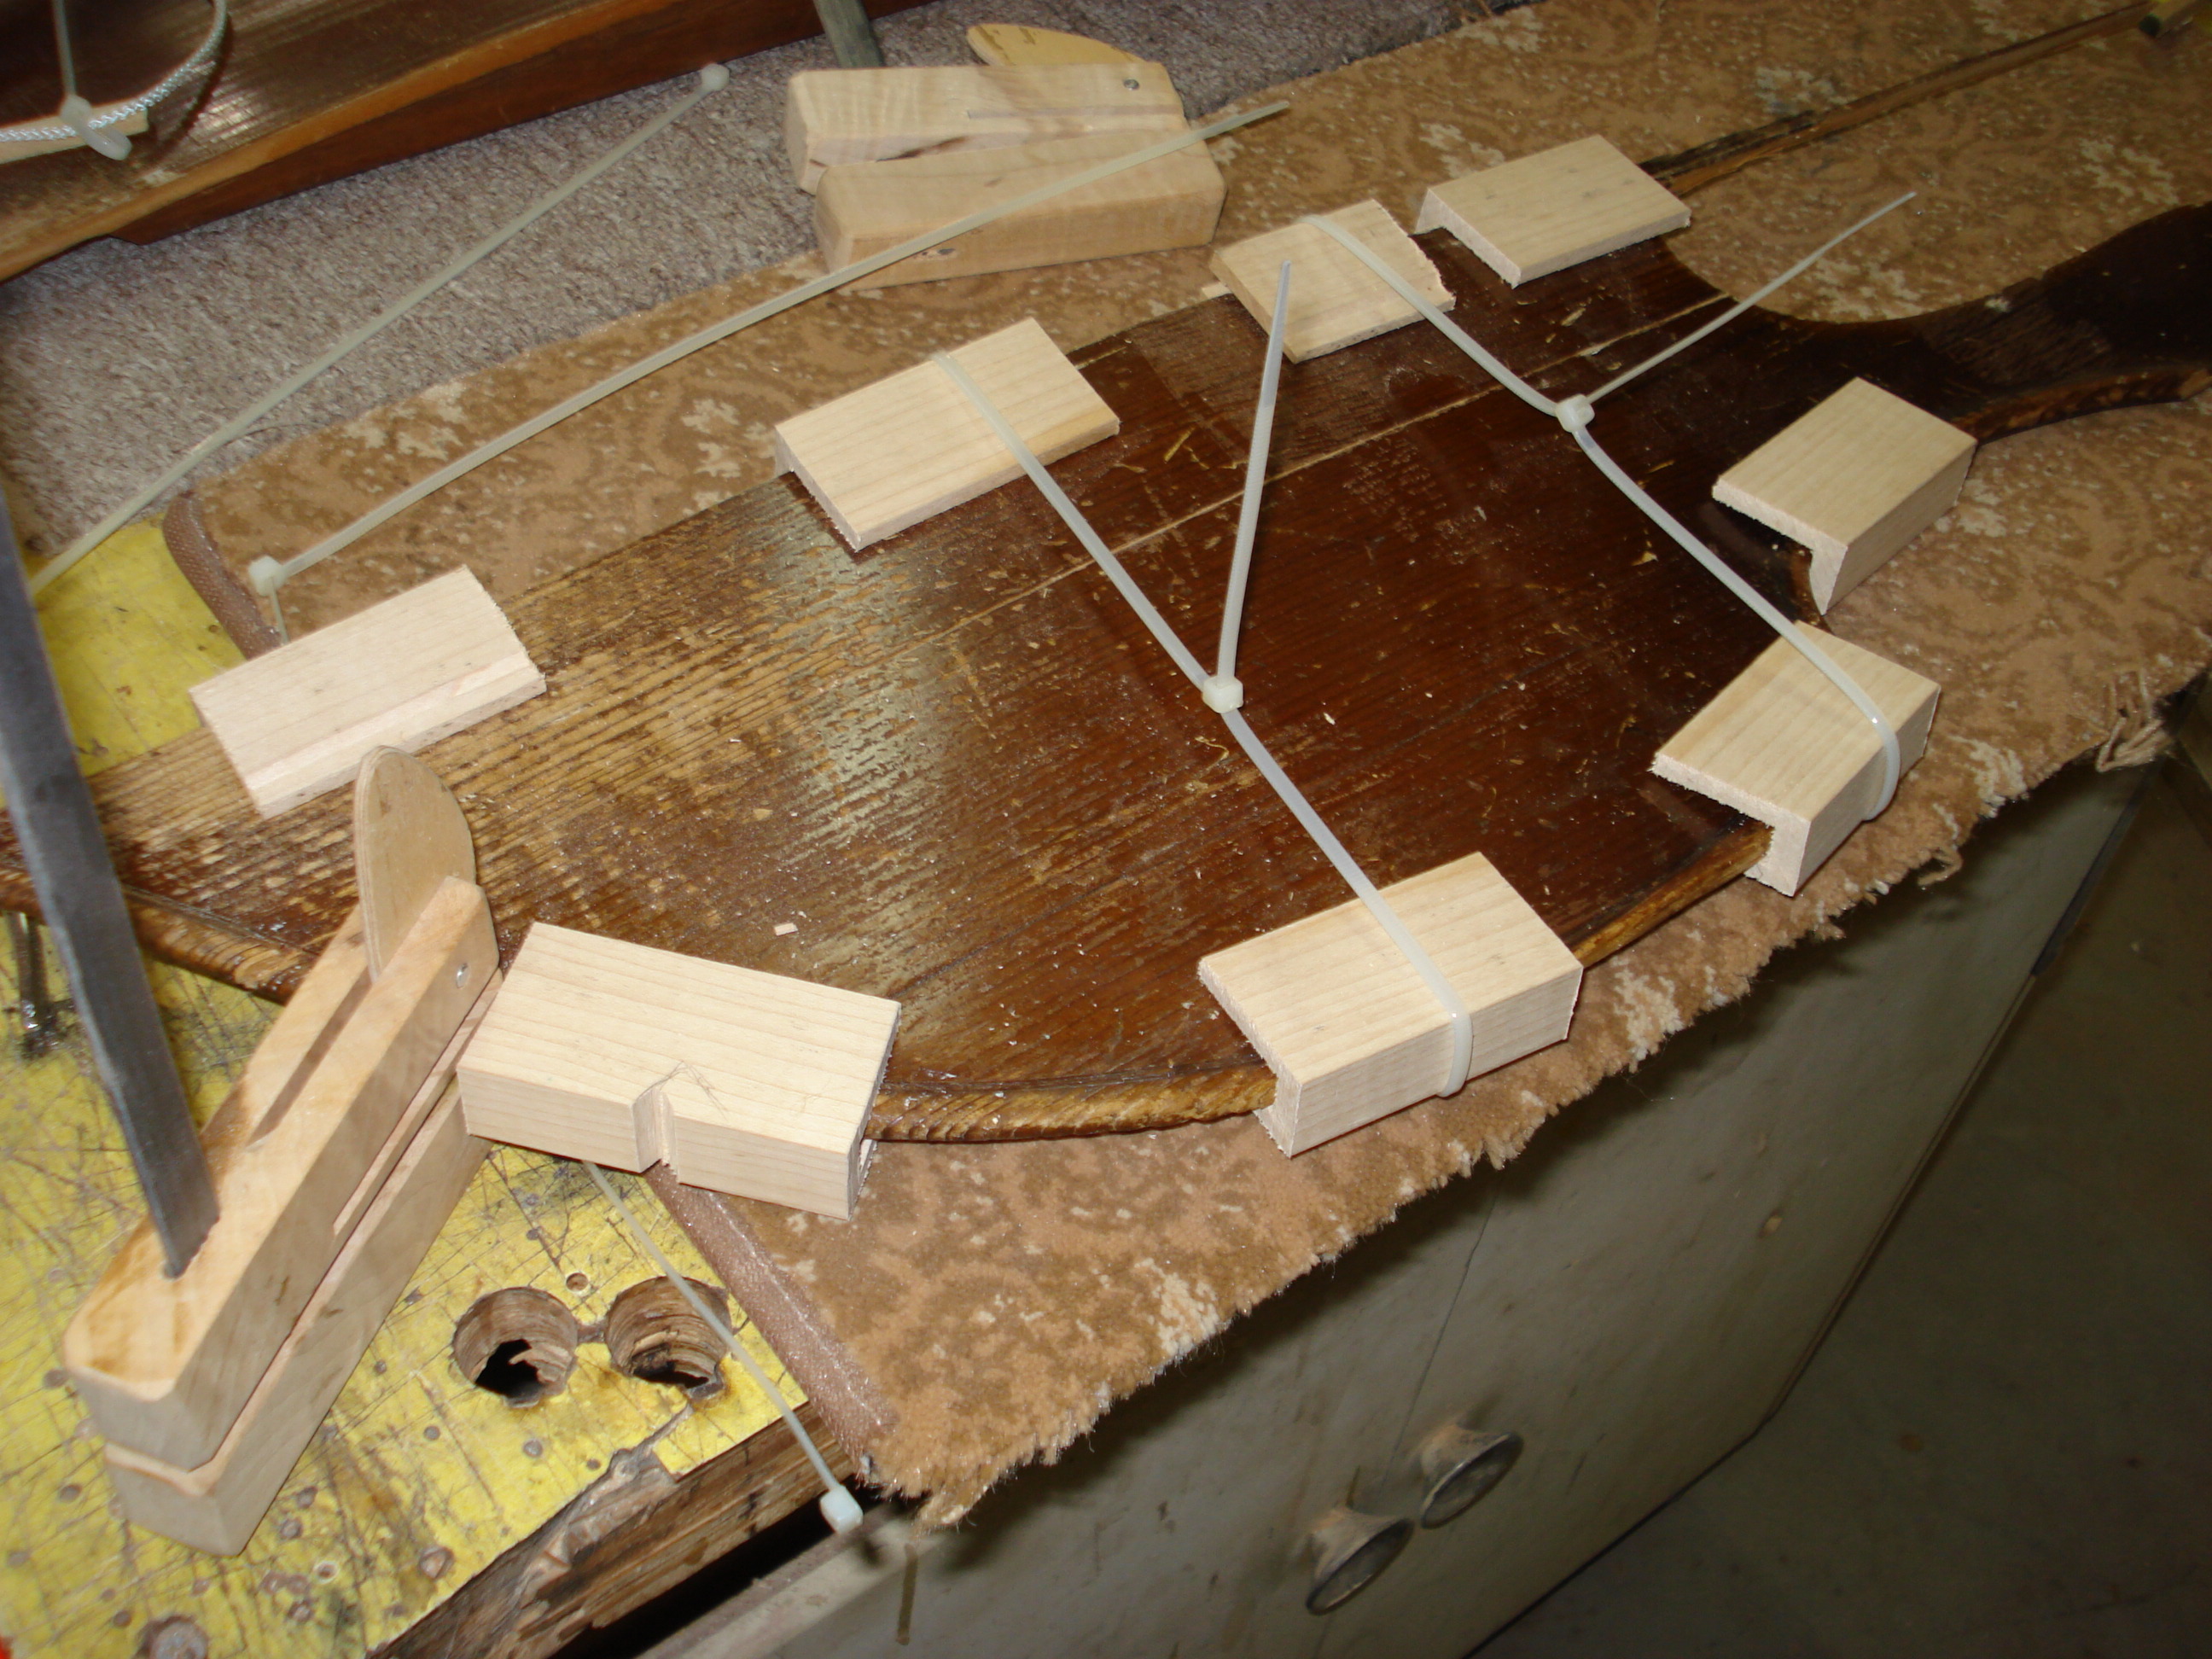
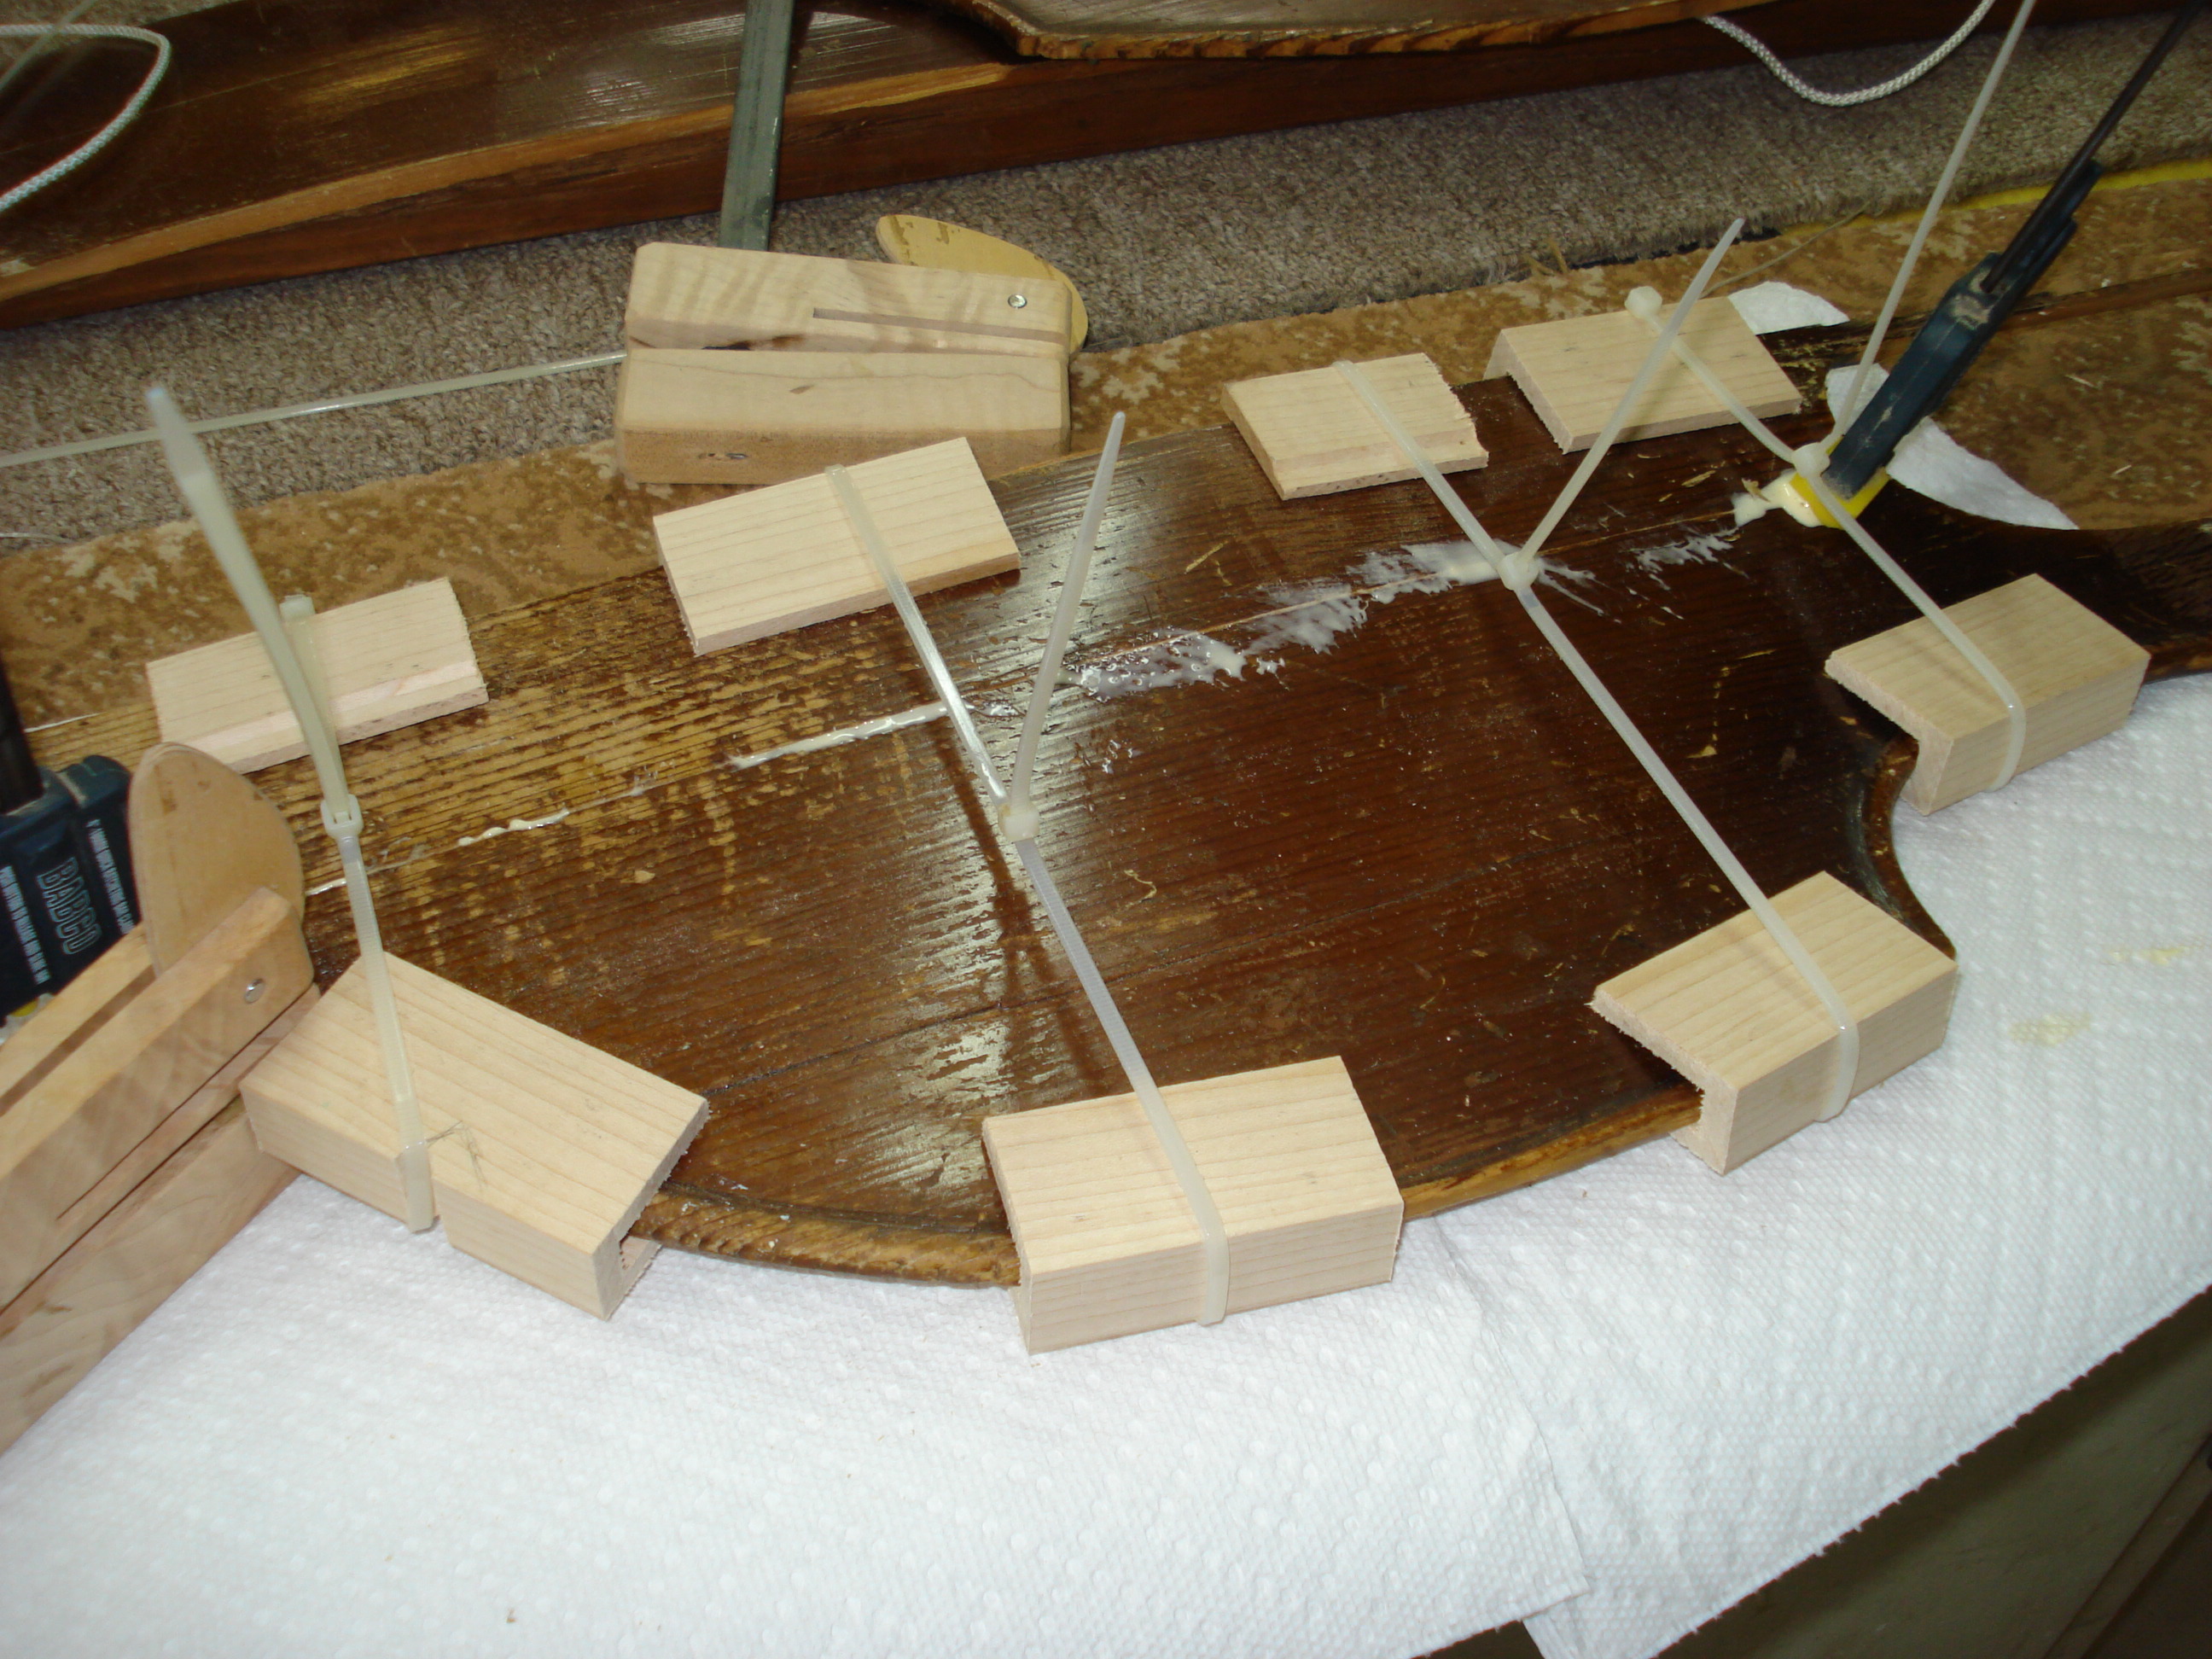
I tried something I’d never done before. These zip ties worked pretty well to hold the oddly shaped pieces. I made some blocks to go on the edges. I used pliars to tighten them. They seemed to work better than the twisted nylon cord.
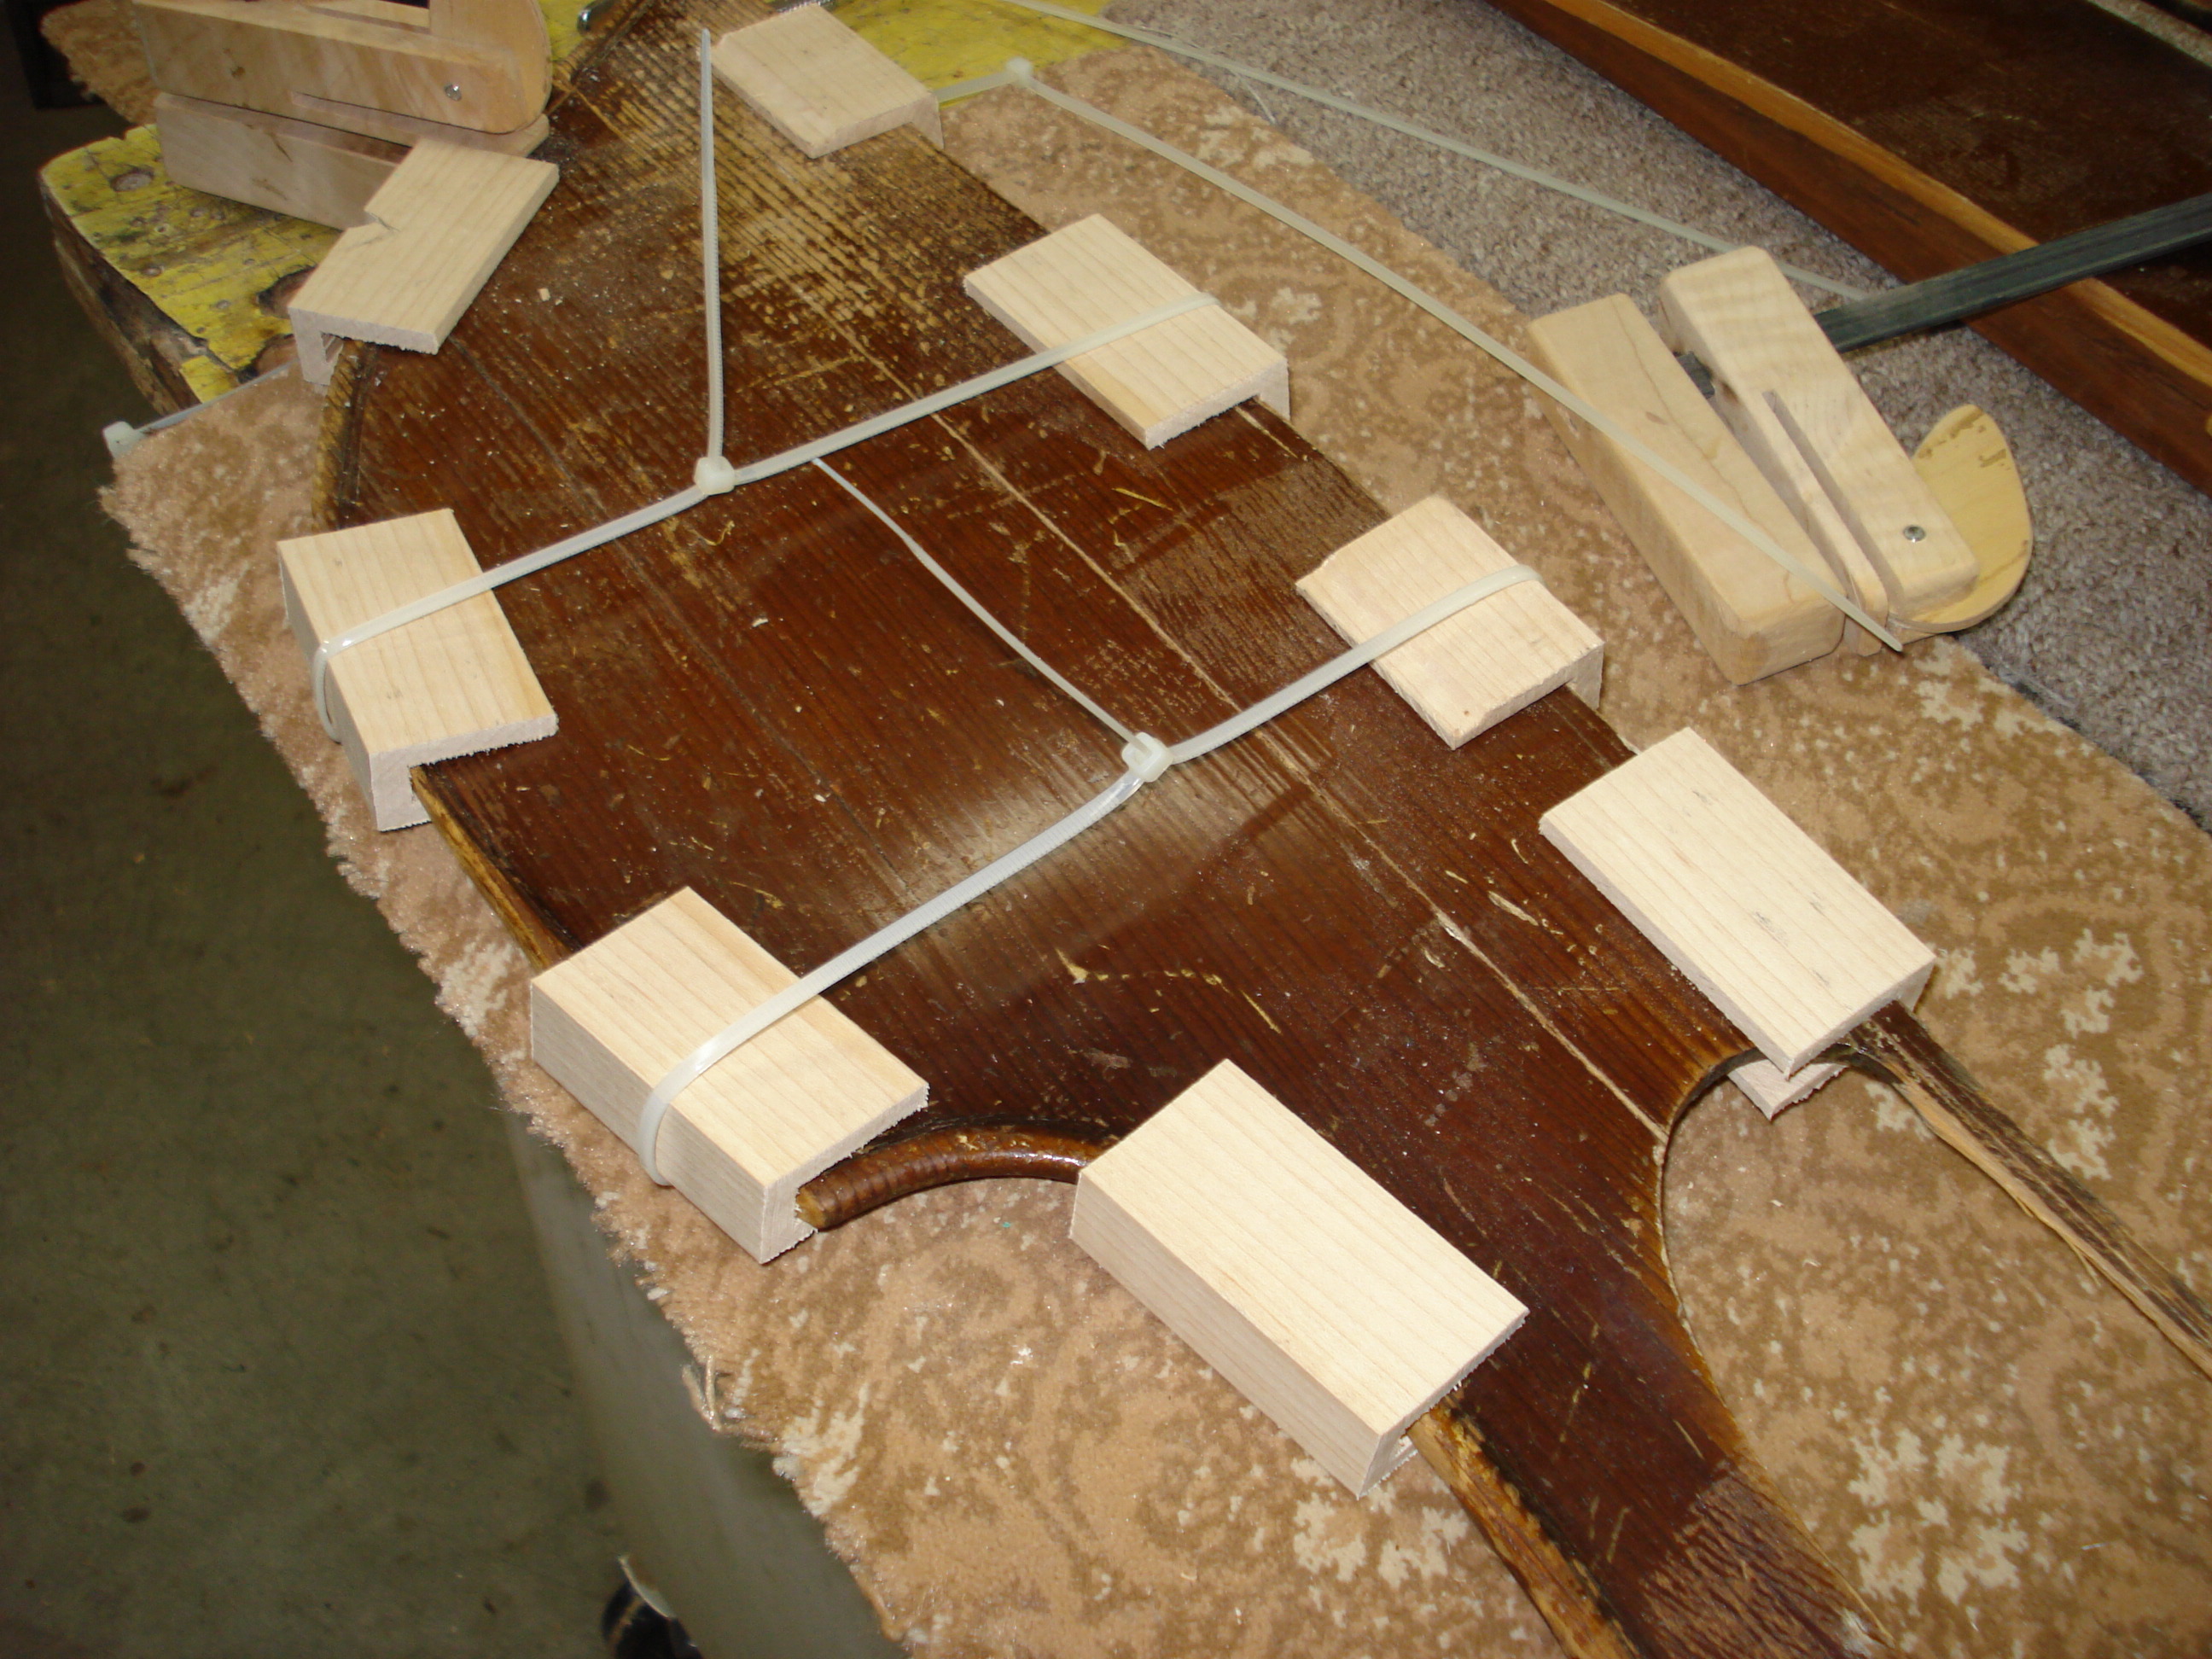
Zip ties and wooden blocks.
Anything I could find to pull it together.

Replacing some missing wood on the inside edge.
Glue and cleats.
More glue and cleats.
You guessed it. More glue and cleats.
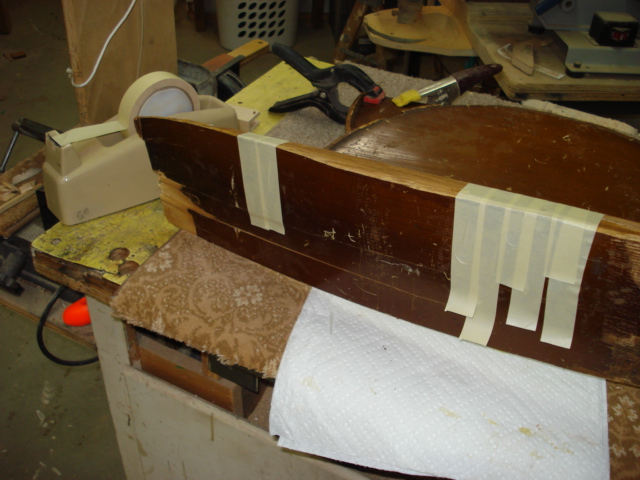
Masking tape too.
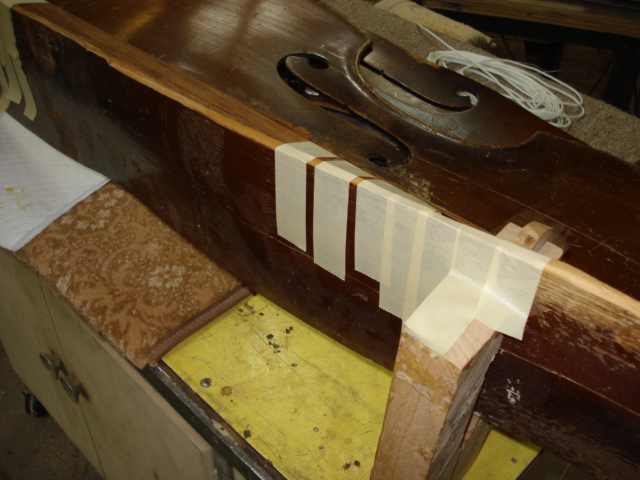
I didn’t have any of the blue masking tape.
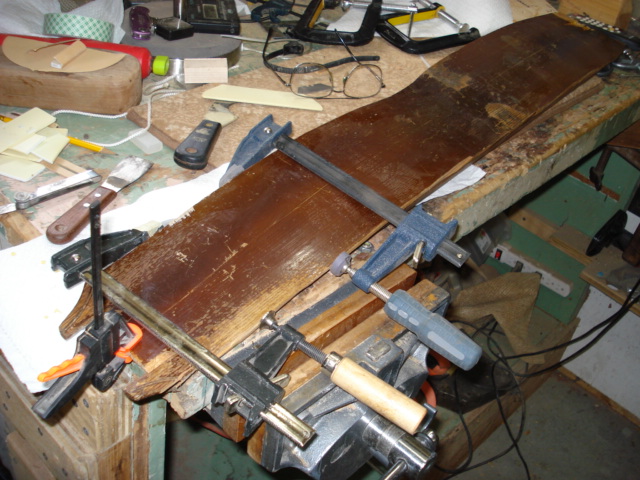
Clamps worked in some places.
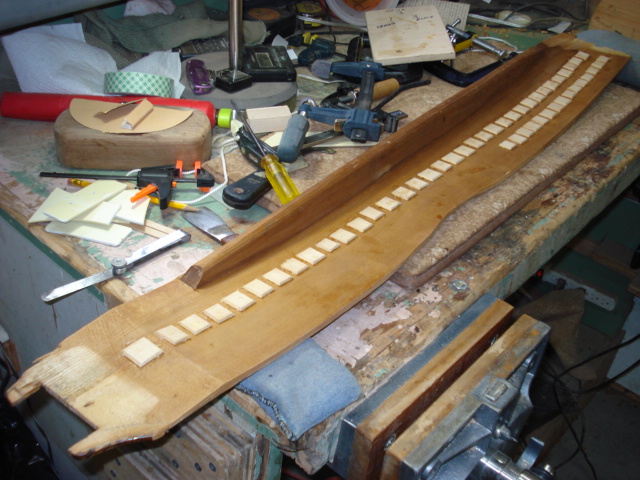
Working the jig saw puzzle with glue and cleats.
You guessed it. Cleats, cleats, cleats.
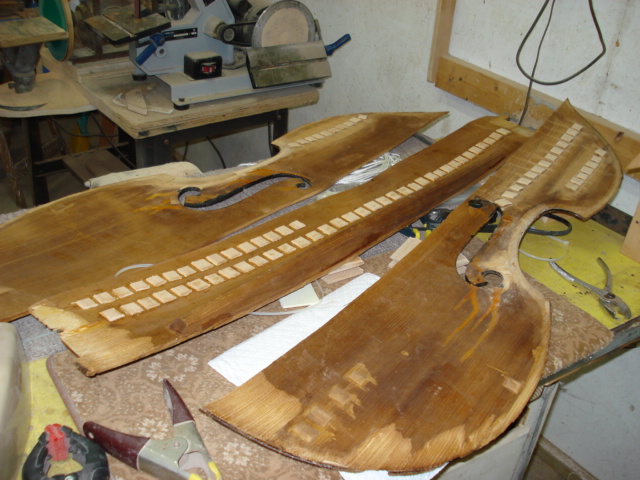
Now I’m down to just 3 pieces.
Will it ever be a top again?
Now it is only 2 pieces.
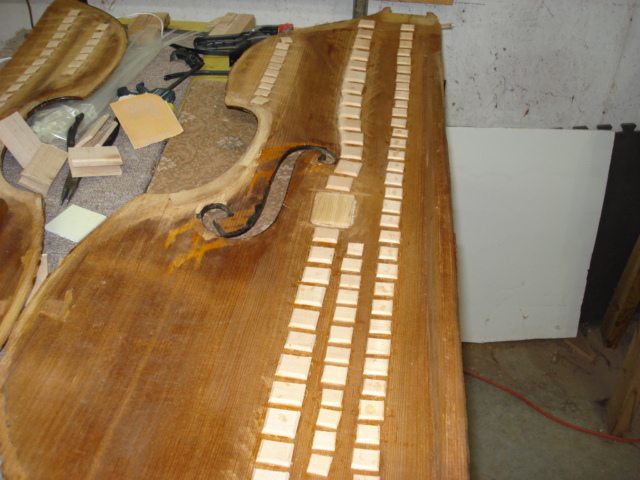
Now you have to admit that is a lot of cleats.
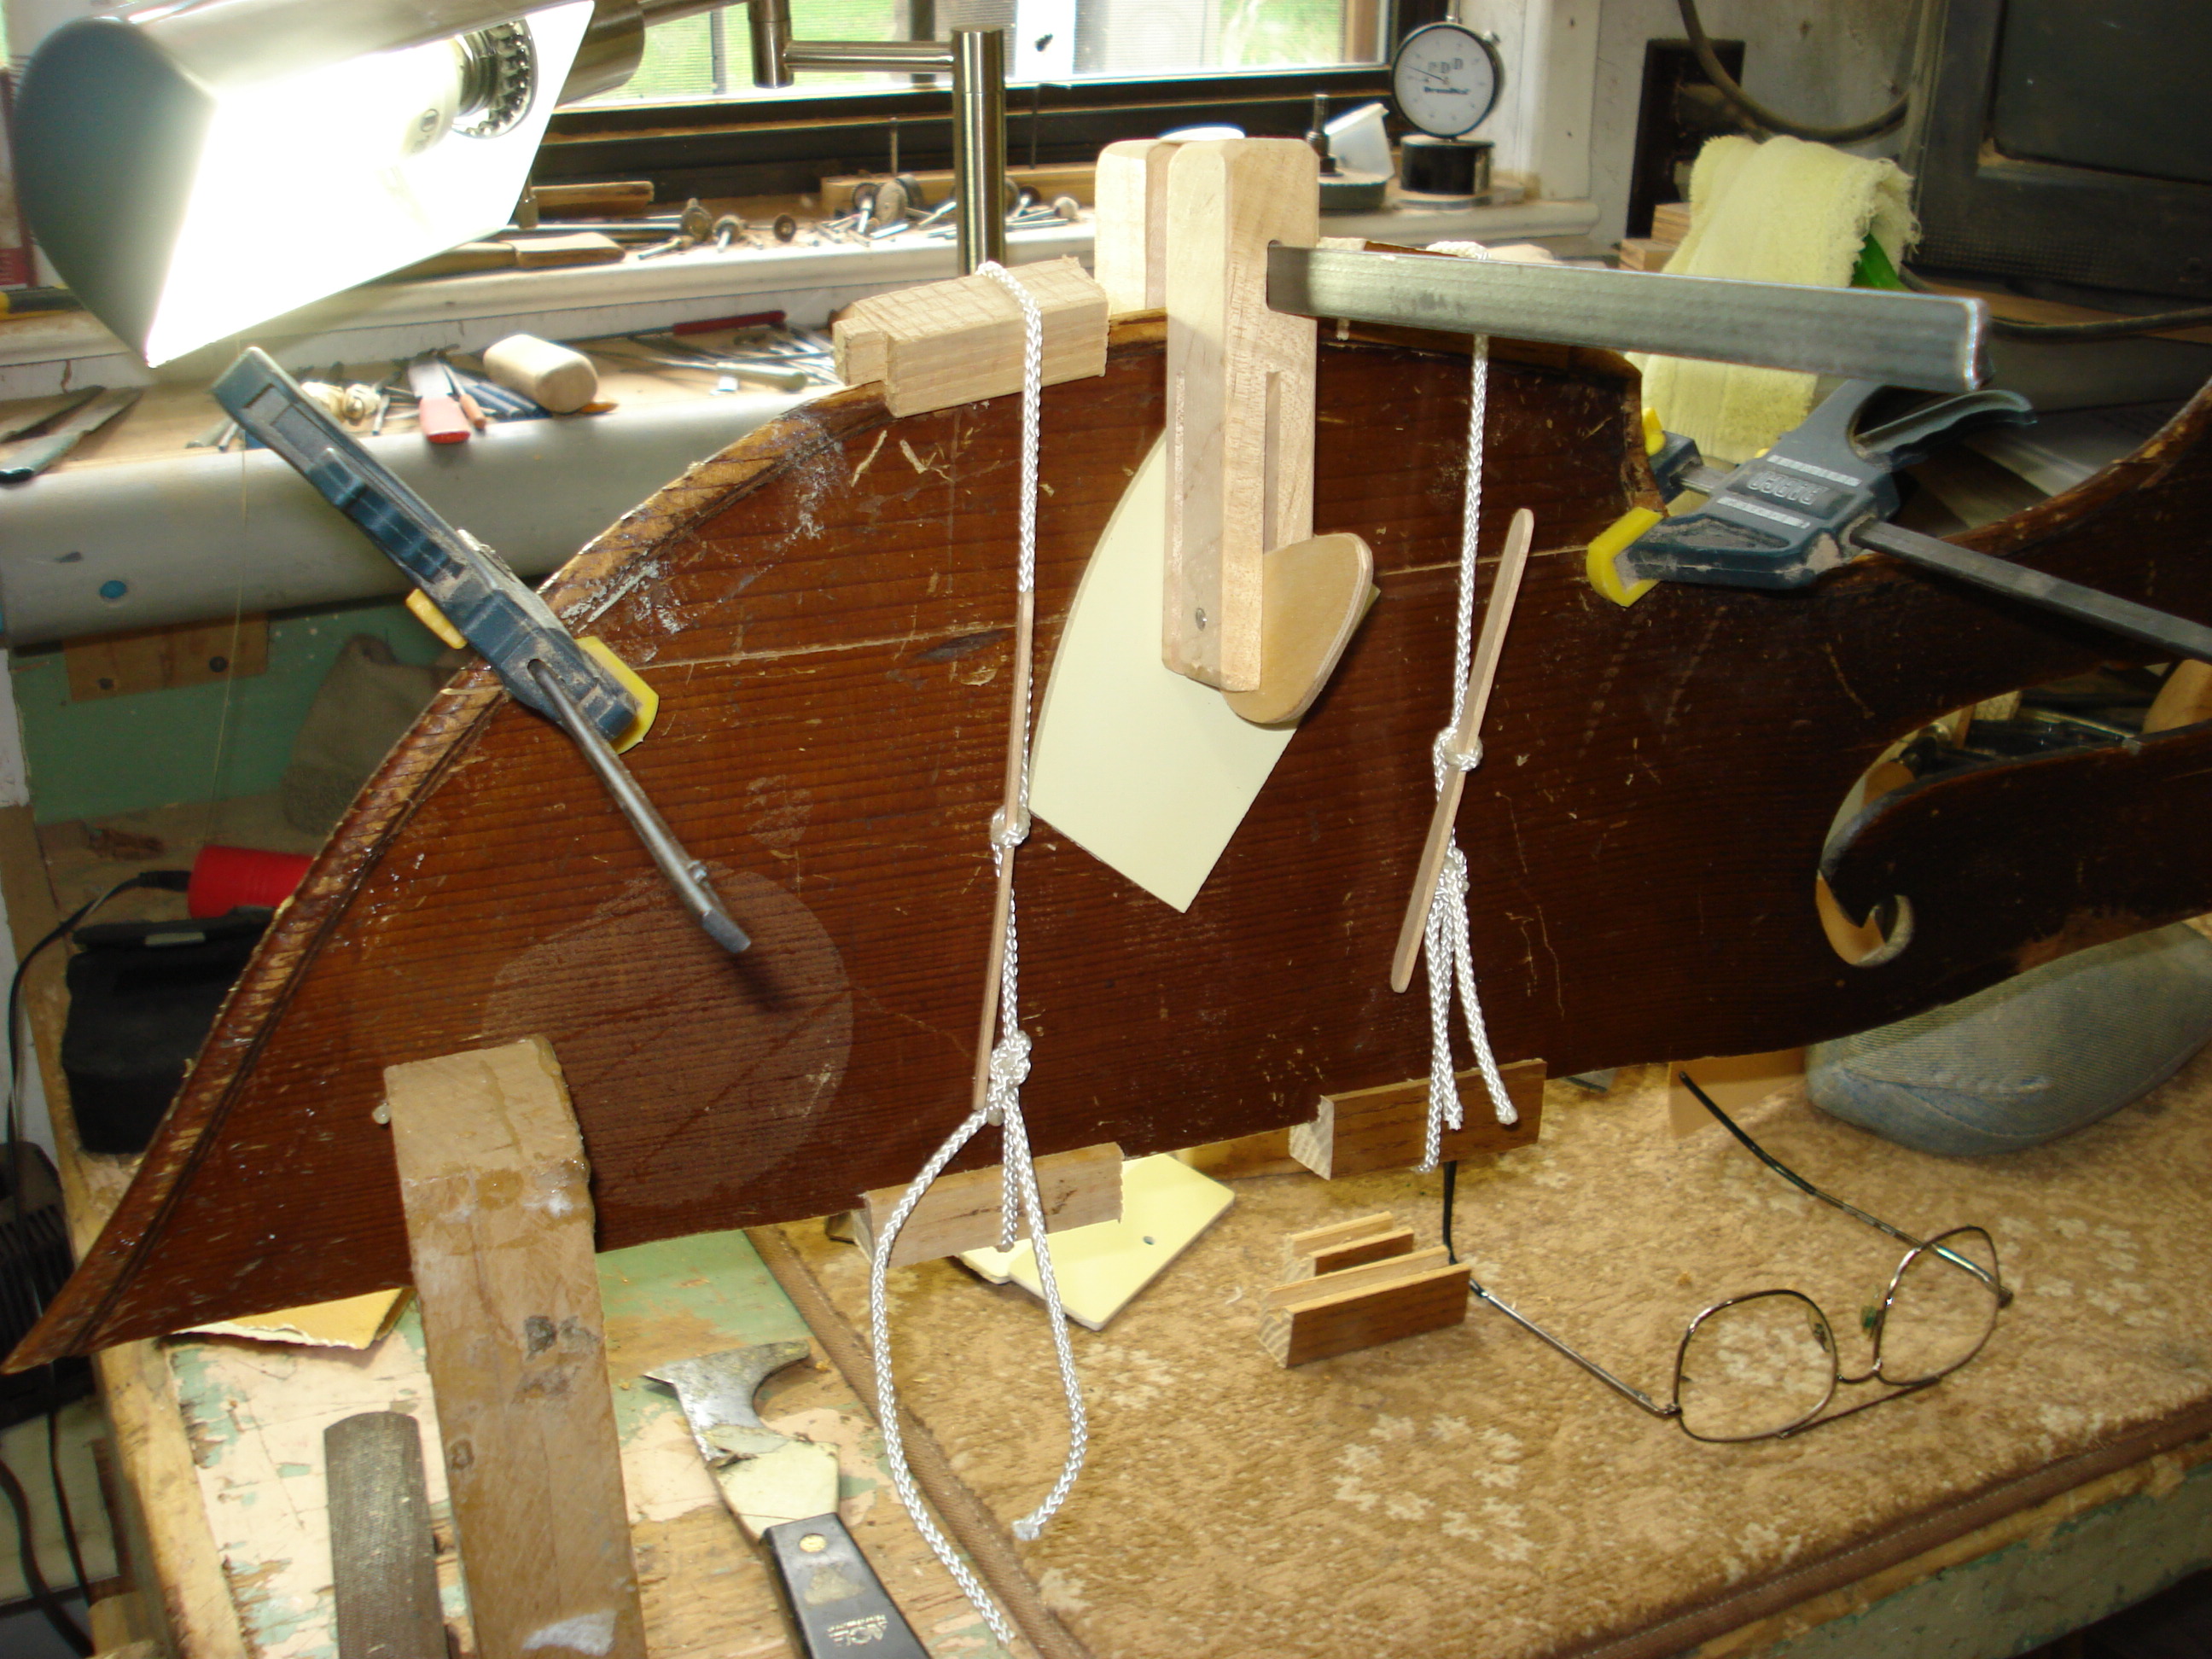
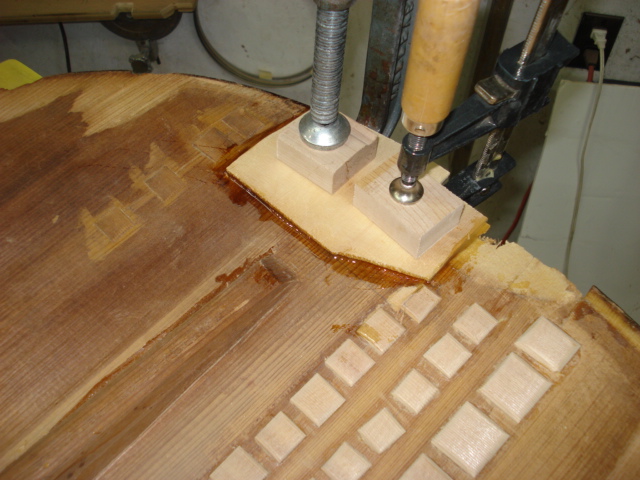
I made a small pad to hold the sound post.
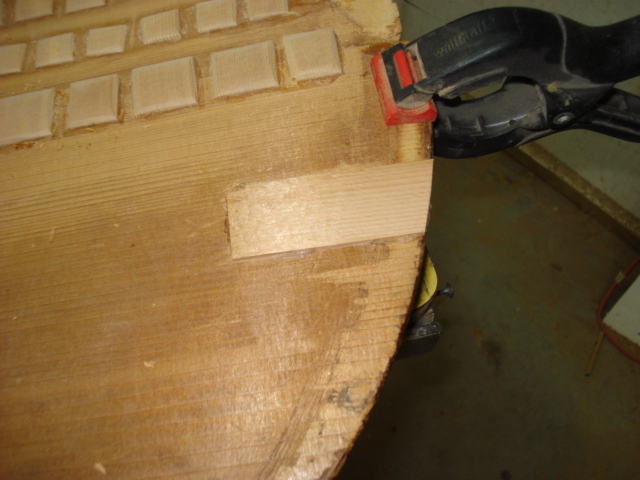
There was some missing wood in places.
Working the joint into place.
Fitting the pieces.
More cleats.
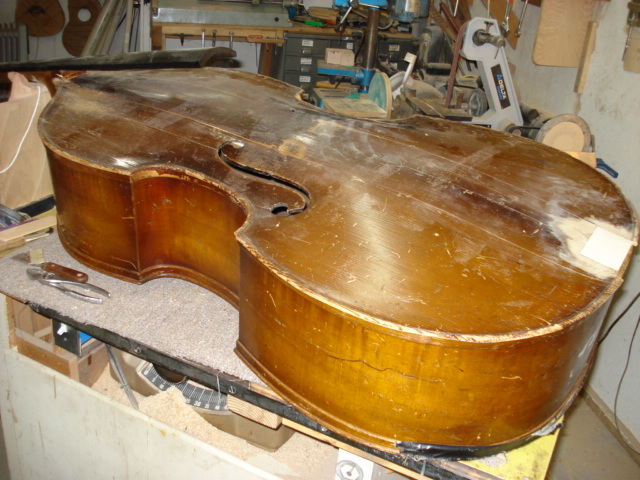
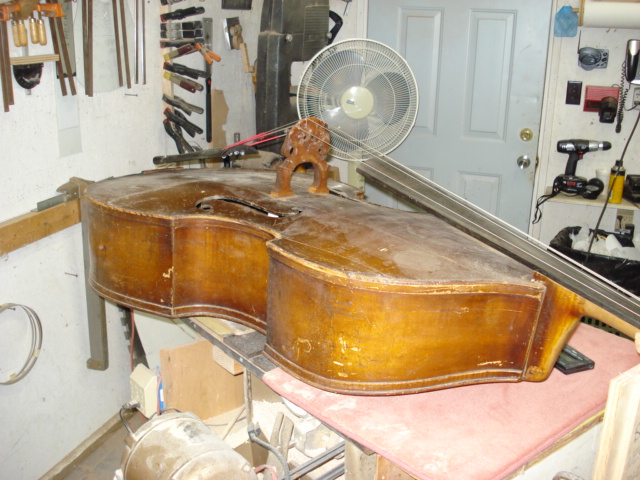
Back in shape.
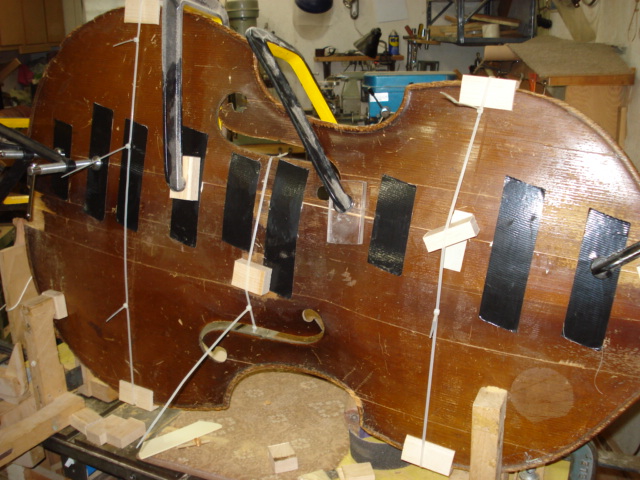
Duct tape, zip ties, clamps, and whatever I could find.
What a rig! Looks like Rube Goldberg.
We’re almost there.
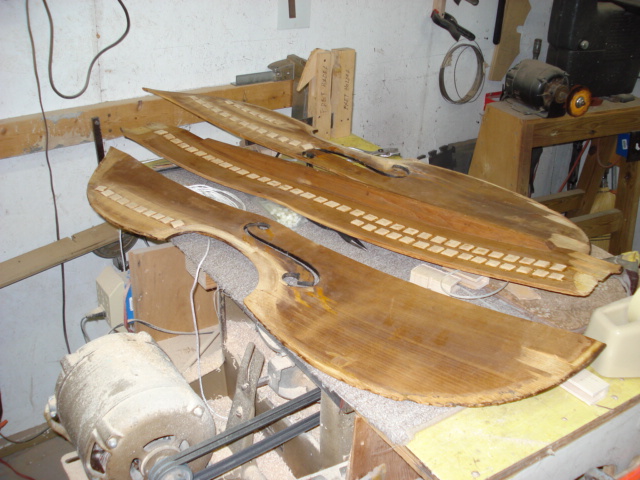
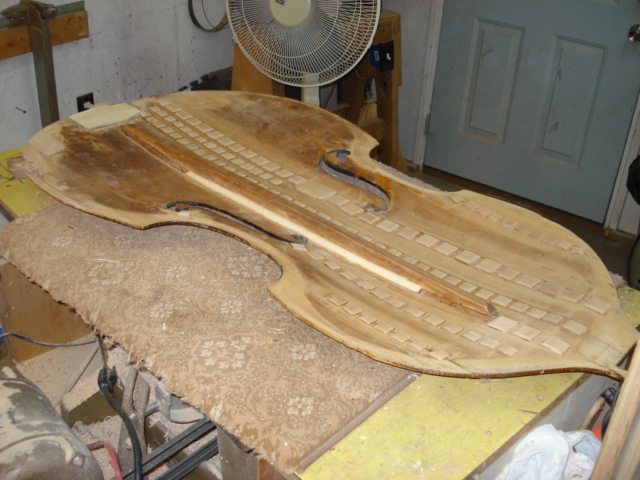
A one piece top again.
There is still a lot of work to do.

There was an area that didn’t go exactly into place. We fabricated a reinforcement to go in this area.
We’re getting closer.
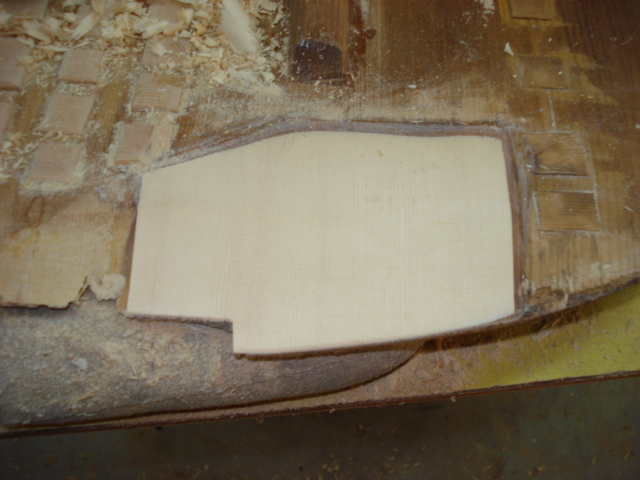
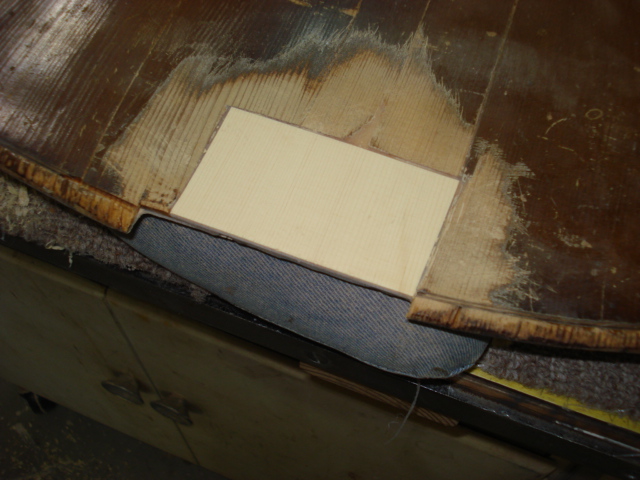
We replaced some wood in the rear area there is was missing a pretty sizable chunk.
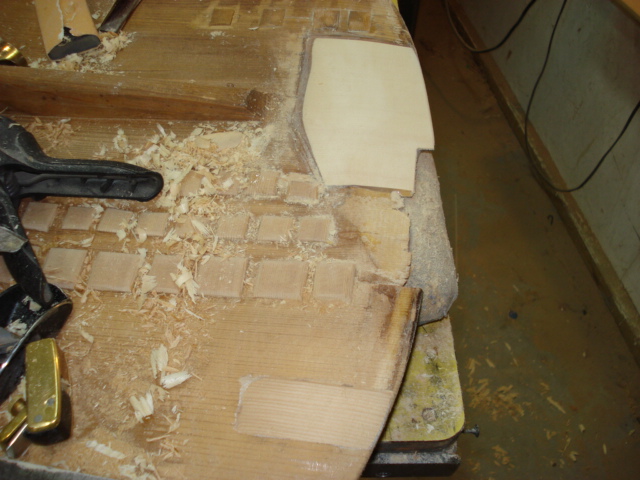
A bunch of cleats with a top around them.
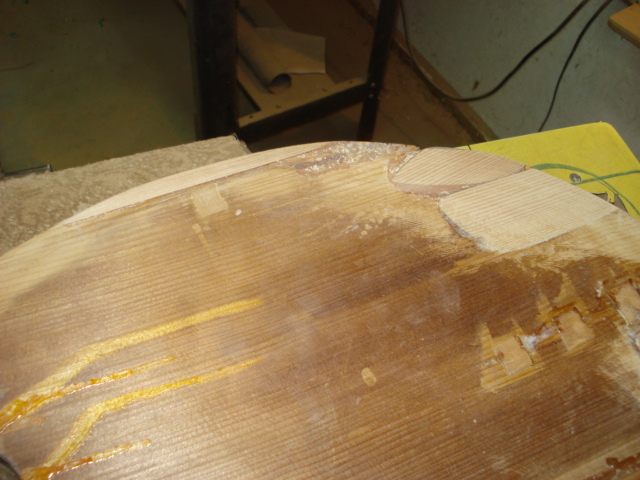
Here is another patch we fabricated.
Red spruce patch.
More patches.
And more patches.
These patches viewed from the underside.
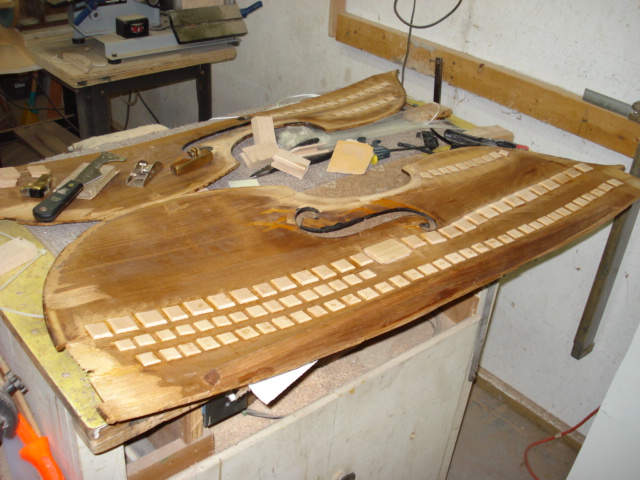
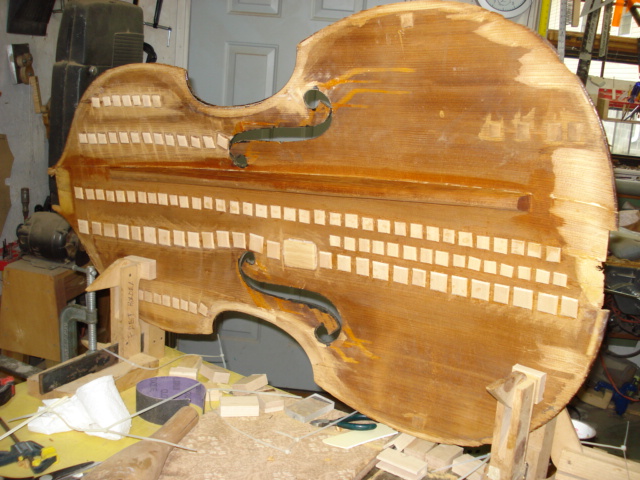
It is almost looking like a top.
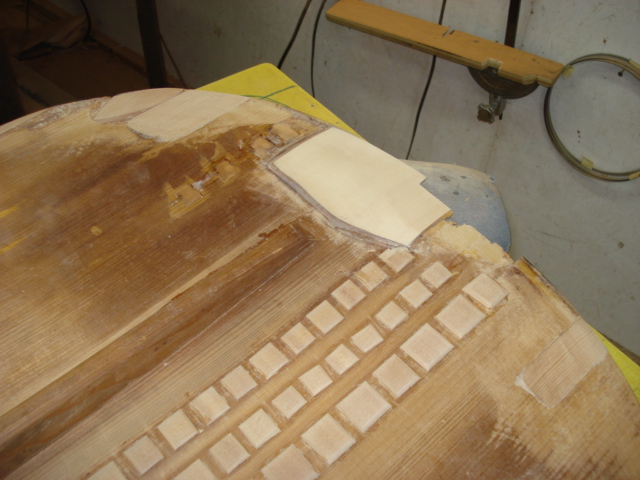
Another patch.
Patch.
Dry fitting the top.

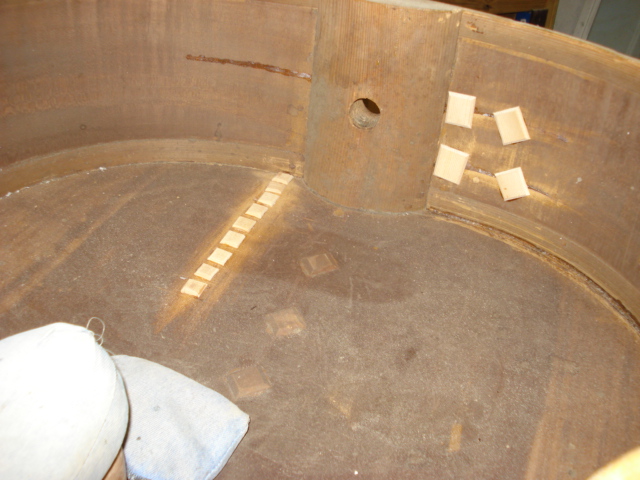
We also cleated several places on the back and sides.
Will we ever get through making these cleats?
We fabricated a block for the back. This is for the soundpost to rest on.
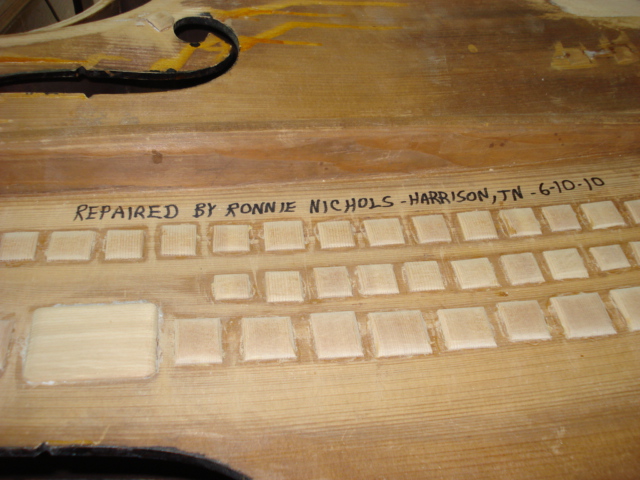
After all this work, I had to put my name in here somewhere.
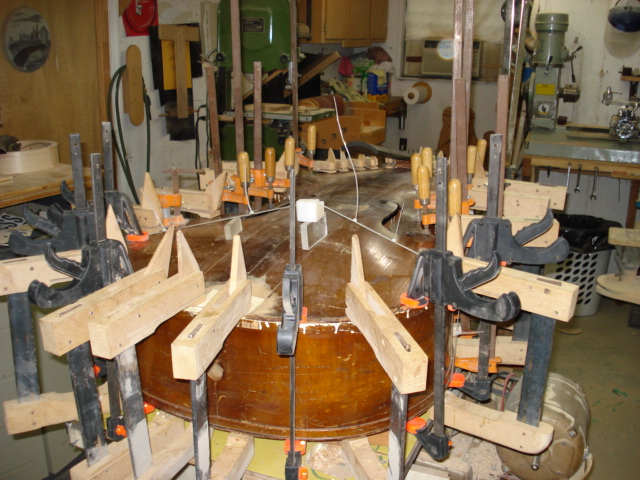
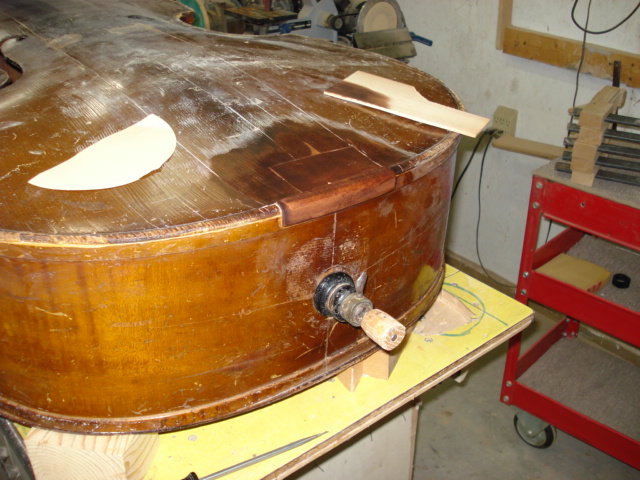
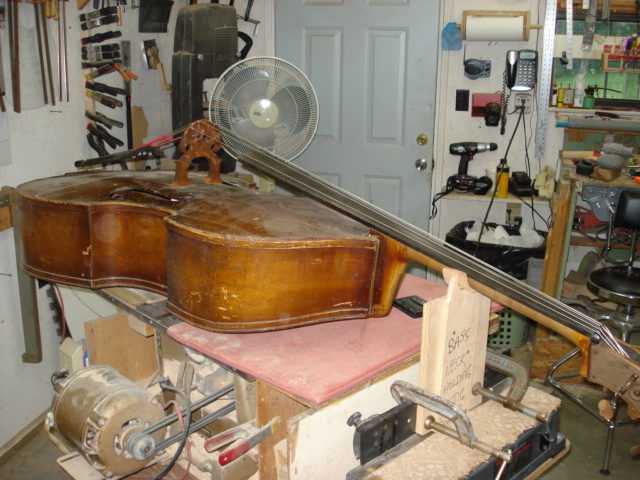
Attaching the top.
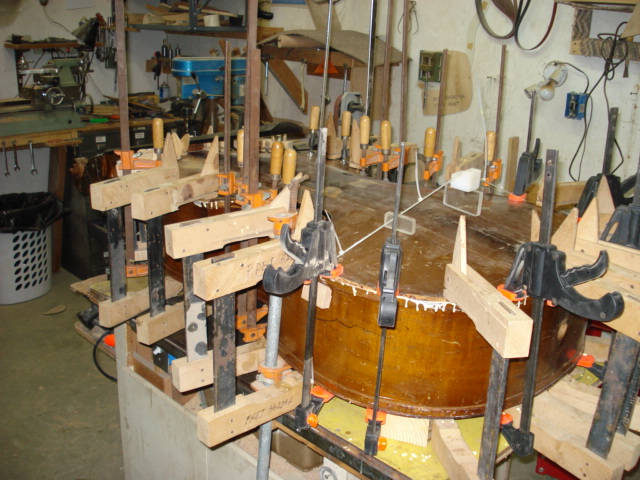
I used all the clamps I had.
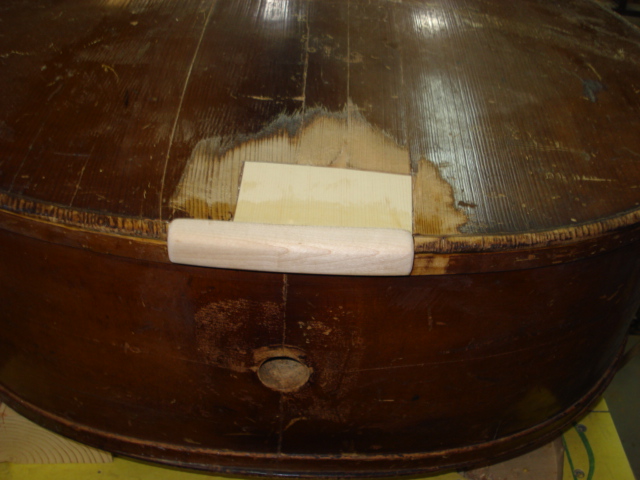
A new block for the tailpiece bracket to rest on.
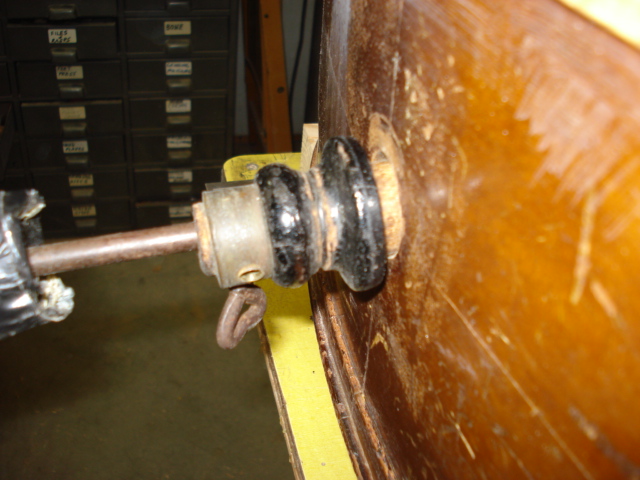
The end pin was loose and crooked.
We installed a wooden shim and reshaped the hole. for the end pin. Note that we stained the new piece of spruce. I will never look like the rest of the bass, but we did what we could for it.
Tailpiece and bracket. I think I made a new bracket from some rods I had laying around.
Restringing.
We used the old bridge.
We also trued up the fingerboard. It was badly worn.
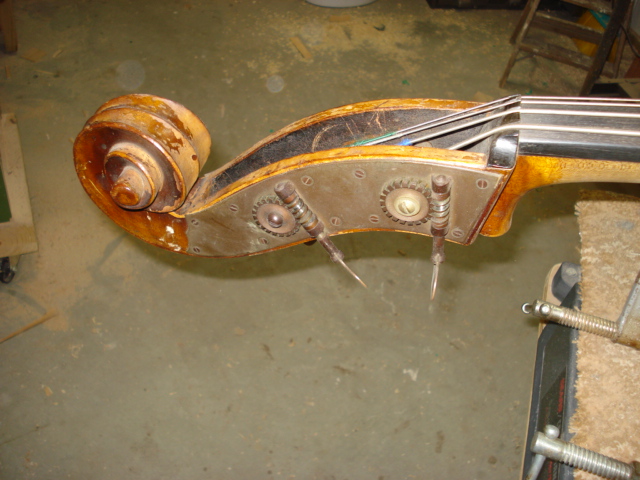
Scroll and keys. We sold this bass to the first ones who looked at it. That has been over 11 years ago, now. The owners apparently are still happy with this old bass and they actually have been offered a pretty tidy sum from someone who wanted to purchase it……
Update-April 14, 2021–Note: Some fellow asked me about using a technique with sewing thread and epoxy to repair these pieces. I wish I had thought of that when I was doing this repair. It’s amazing what some folks come up with to do some of these repairs. He said the fellow who repaired Bill Monroe’s mandolin used this technique. I’m sure this technique could have been useful on this bass. Thanks for the idea!! Maybe I can use this technique on something in the future. I doubt if I’ll ever attempt this big a repair again, but it’s good to know.
![]()
Be the first to comment on "Repairs On An Old Solid Wood Bass"