The Nichols Air Banjo Built In 2008

How do you tighten the head on that banjo? That was the question the old man asked me. I was jamming at a bluegrass gathering in Cedar Bluff, AL a few years ago. This old man noticed that this particular banjo I was playing didn’t have any j-hook brackets on it like the traditional banjos have to tension the head. As a joke, I told him that it was an Air Banjo and you had to air it up like a tire on a car. I told him that you put 40 pounds in it for Scruggs picking and 60 pounds for Stanley picking. I think he believed me. I later added a tire valve stem assembly to it to make it look realistic and named this a Nichols Air Banjo. It does not use air to tighten the head. This was a joke.
This banjo was born from my desire to make a non-traditional banjo pot. I have built several banjos and stringed instruments in my life since the 1970’s. Almost all banjos built today seem to copy what Gibson or other manufacturers did. It seemed I was always searching and experimenting with different design ideas. The neck and resonator I incorporated into this banjo are the first ones I ever made back in the late 70’s. They are curly walnut and I have recycled them several times into different configurations. My desire to make a banjo that was not so heavy was one factor in the final design of this one. I was also inspired by the 10 1/2 inch ball bearing, tone tube banjos that Gibson made in the teens and early 1920’s (not the 25 and 26 models with the springs under the ball bearings). I always thought the idea of a tone ring setting atop these steel bearings was a good idea. I felt the ball bearings allowed the tone ring to vibrate better. I modified this ball bearing design and came up with the idea for this pot assembly. It is an 11 inch diameter pot.

The first shell I made for this banjo was maple and roughly the standard thickness for most shells. I fabricated a block style blank and then turned it to 11 inches o/d on my lathe and drilled it for some brass screws which went through the shell. Instead of pockets for ball bearings, I drilled a hole completely through the shell for a machine screw and nut. The slotted head screws could be tightened from the back side of the shell. On top of the shell were 24 brass nuts that the 10/24 brass machine screws go into. These machine screws are long enough to extend through the top of the shell and push up the tone ring to tighten the head. This is completely backward from other designs since the tone ring is the adjustable part of the pot and the tension hoop is stationary. After trying this first shell, I decided that it was too thin to take the extra pressure generated by the screws.
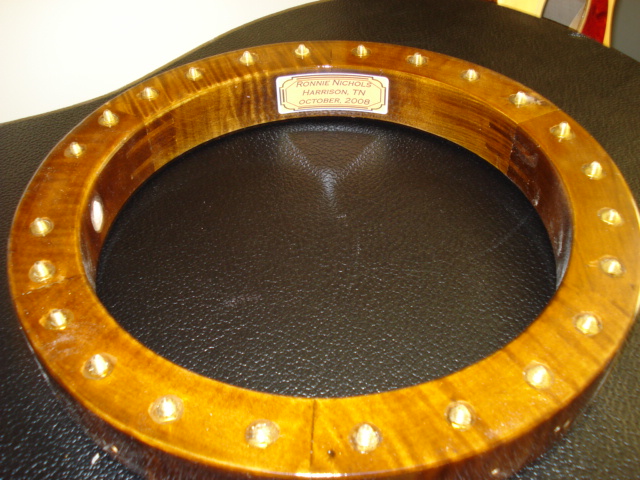
I then fabricated a thicker shell from maple. I made a hexagonal block shell which was much thicker and added plywood splines in all the joints to strengthen it. Then I turned it on my lathe. This thicker shell’s strength eliminated the need for coordinator rods. You may be able to see the brass nuts inlay-ed and glued into the top of this shell. This is where the brass screws come through and push the tone ring assembly up to tension.
The original configuration used a regular Gibson type 20 hole cast tone ring on top of a wooden shell which had brass discs to match the position of the screws. I felt the whole banjo was too heavy with this tone ring. As this instrument evolved, I changed to a Stew Mac light weight brass tone ring. It is about the same height and thickness as a traditional tension hoop but it is 11 inches outside diameter. By using this light weight brass tone ring, I was able to lessen the weight of this banjo by around 3 pounds. the loss of the extra weight didn’t seem to affect the sound much.
The first flange I made for this prototype was fabricated from some plastic mirror material just to fill in the space between the shell and resonator. I used this plastic material because I had it in stock. Also, it was light weight and looked shiny like the rest of the pot. I later fabricated a thin aluminum flange with decorative holes in it. This banjo was a prototype and many changes were made in it along the way. Some of these changes were made months later to improve what was already there. Paul Simon once said that a good song wasn’t written but it was rewritten. Maybe a good banjo isn’t built but rebuilt.
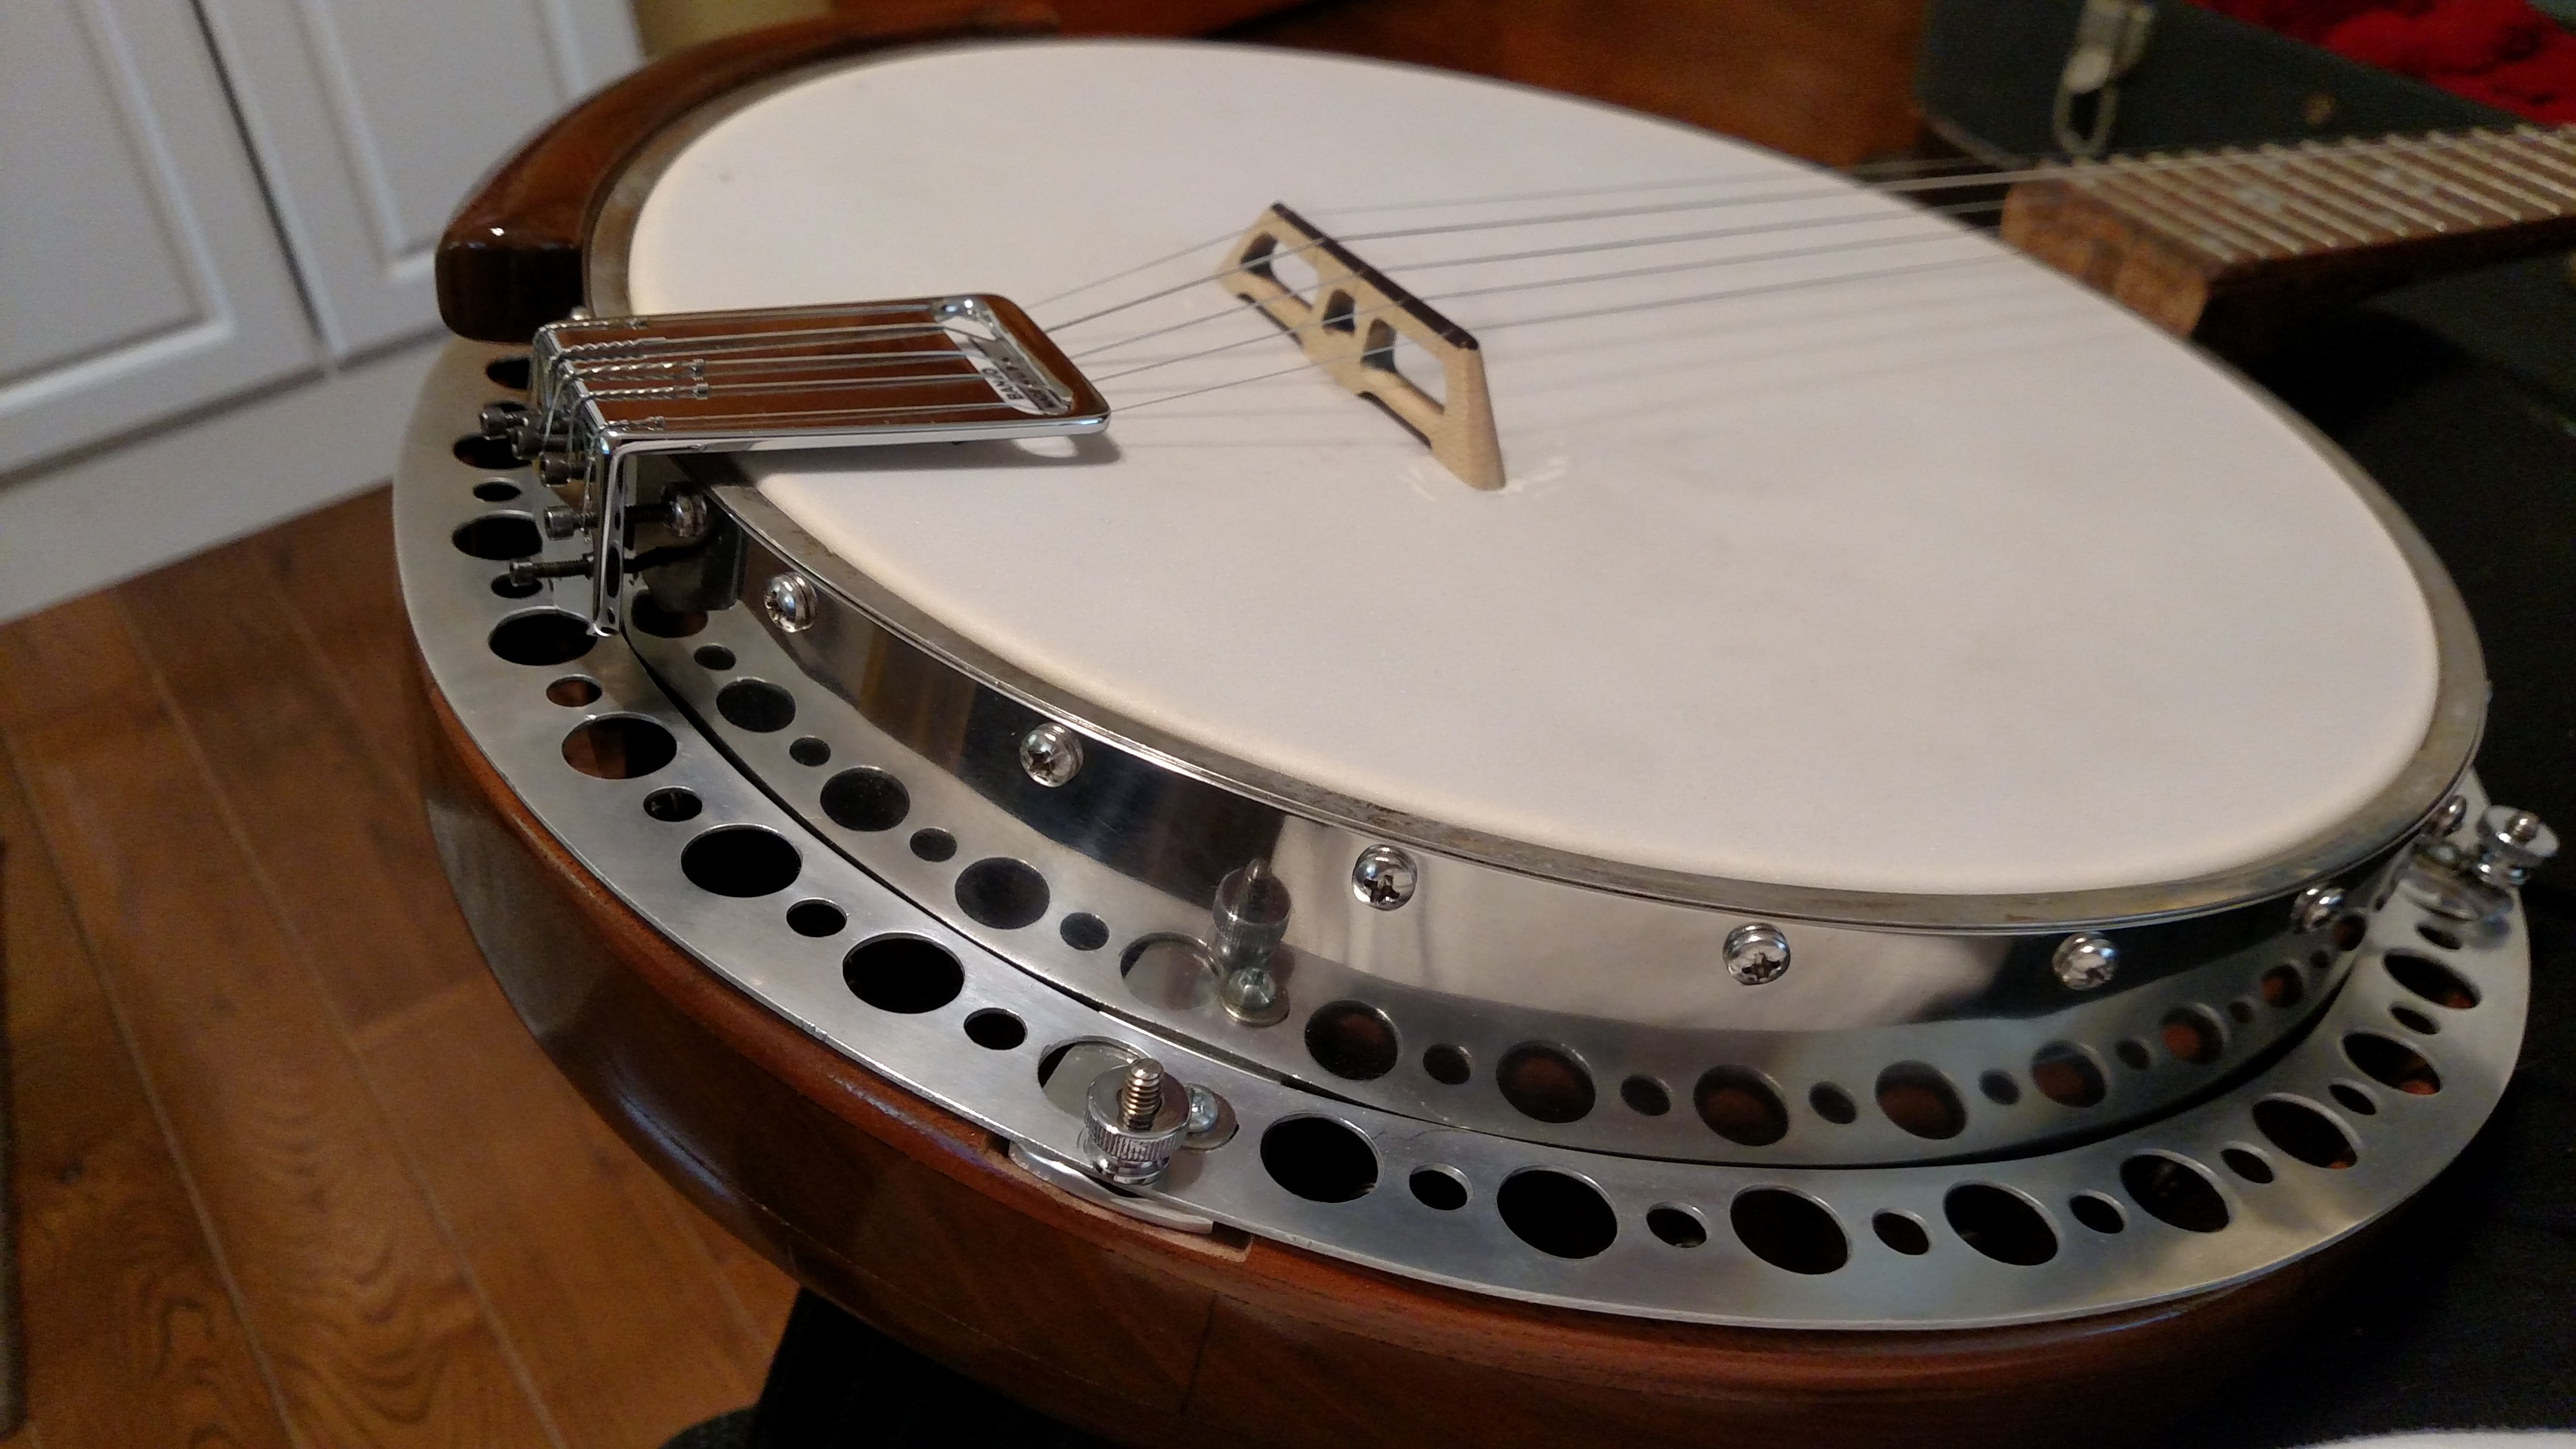
The outside metal piece which surrounds the shell and tension hoop is polished stainless steel about .050 inch. I originally made a brass piece to go around this shell. I had it chrome plated while it was flat. It looked great but when I bent it around this pot, the chrome started popping off. This is part of the many failures I encountered in this design process. This stainless piece is attached to the shell and the tension hoop with metal and machine screws.
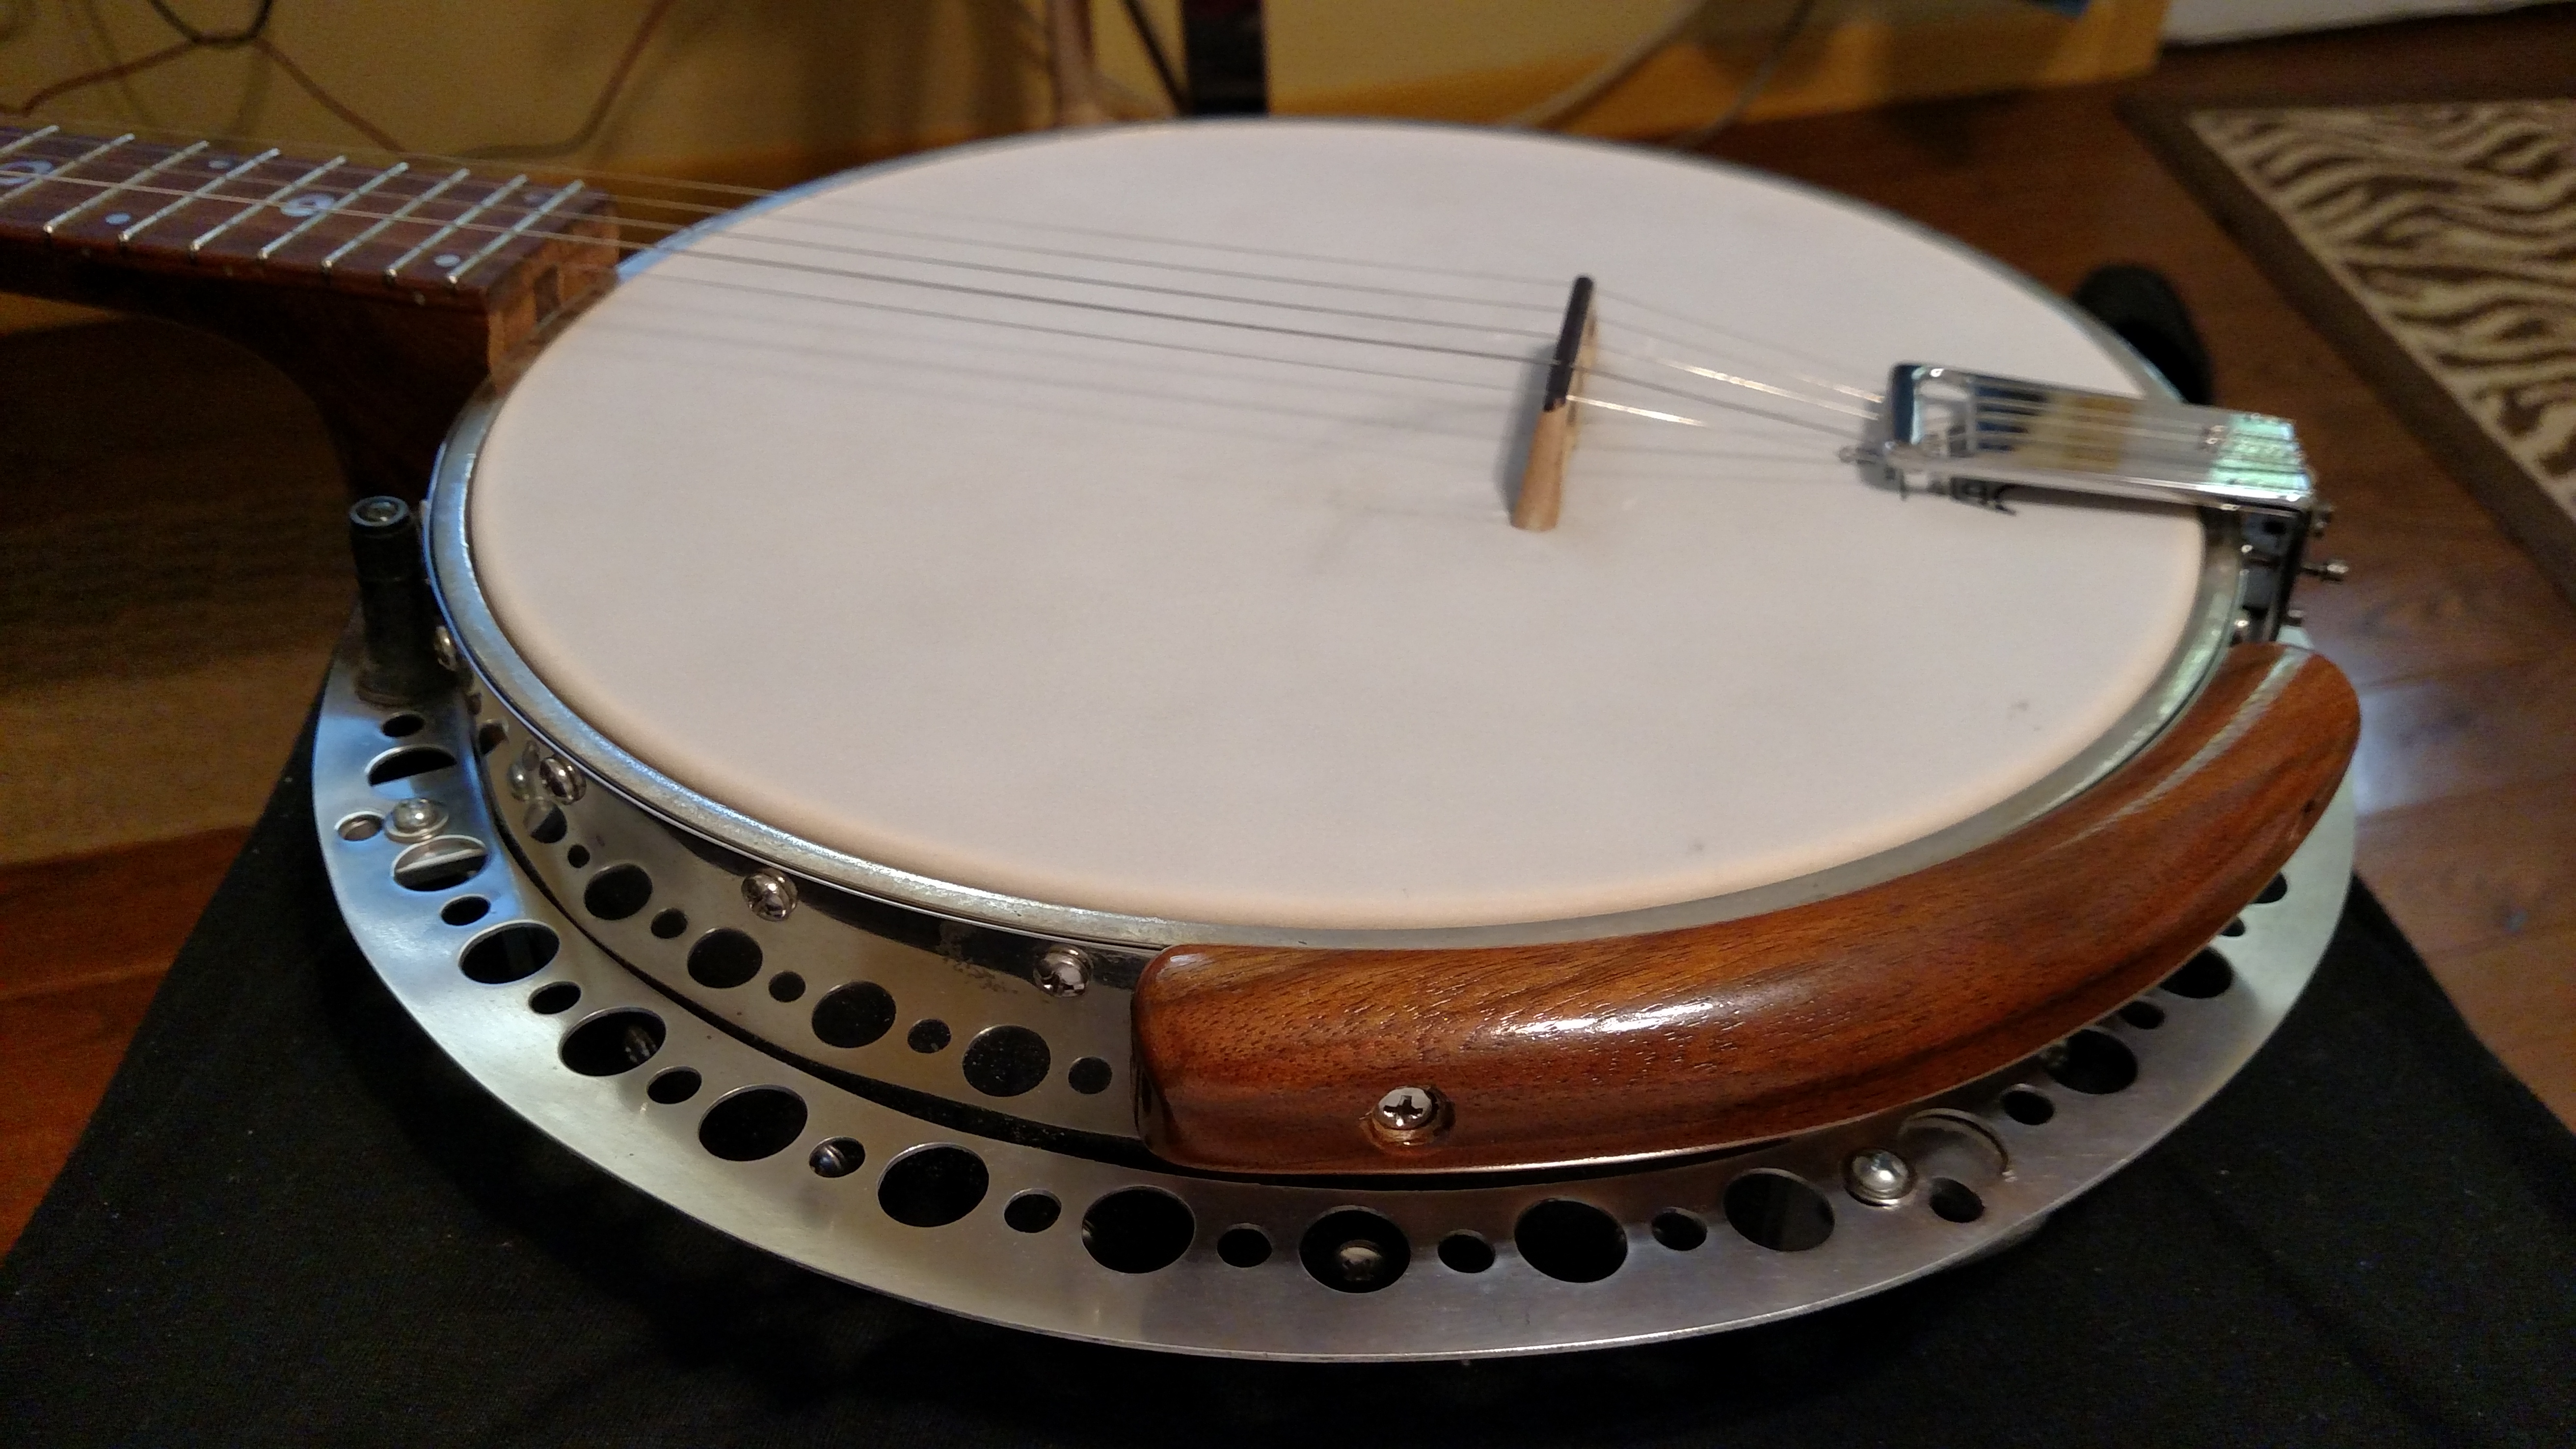
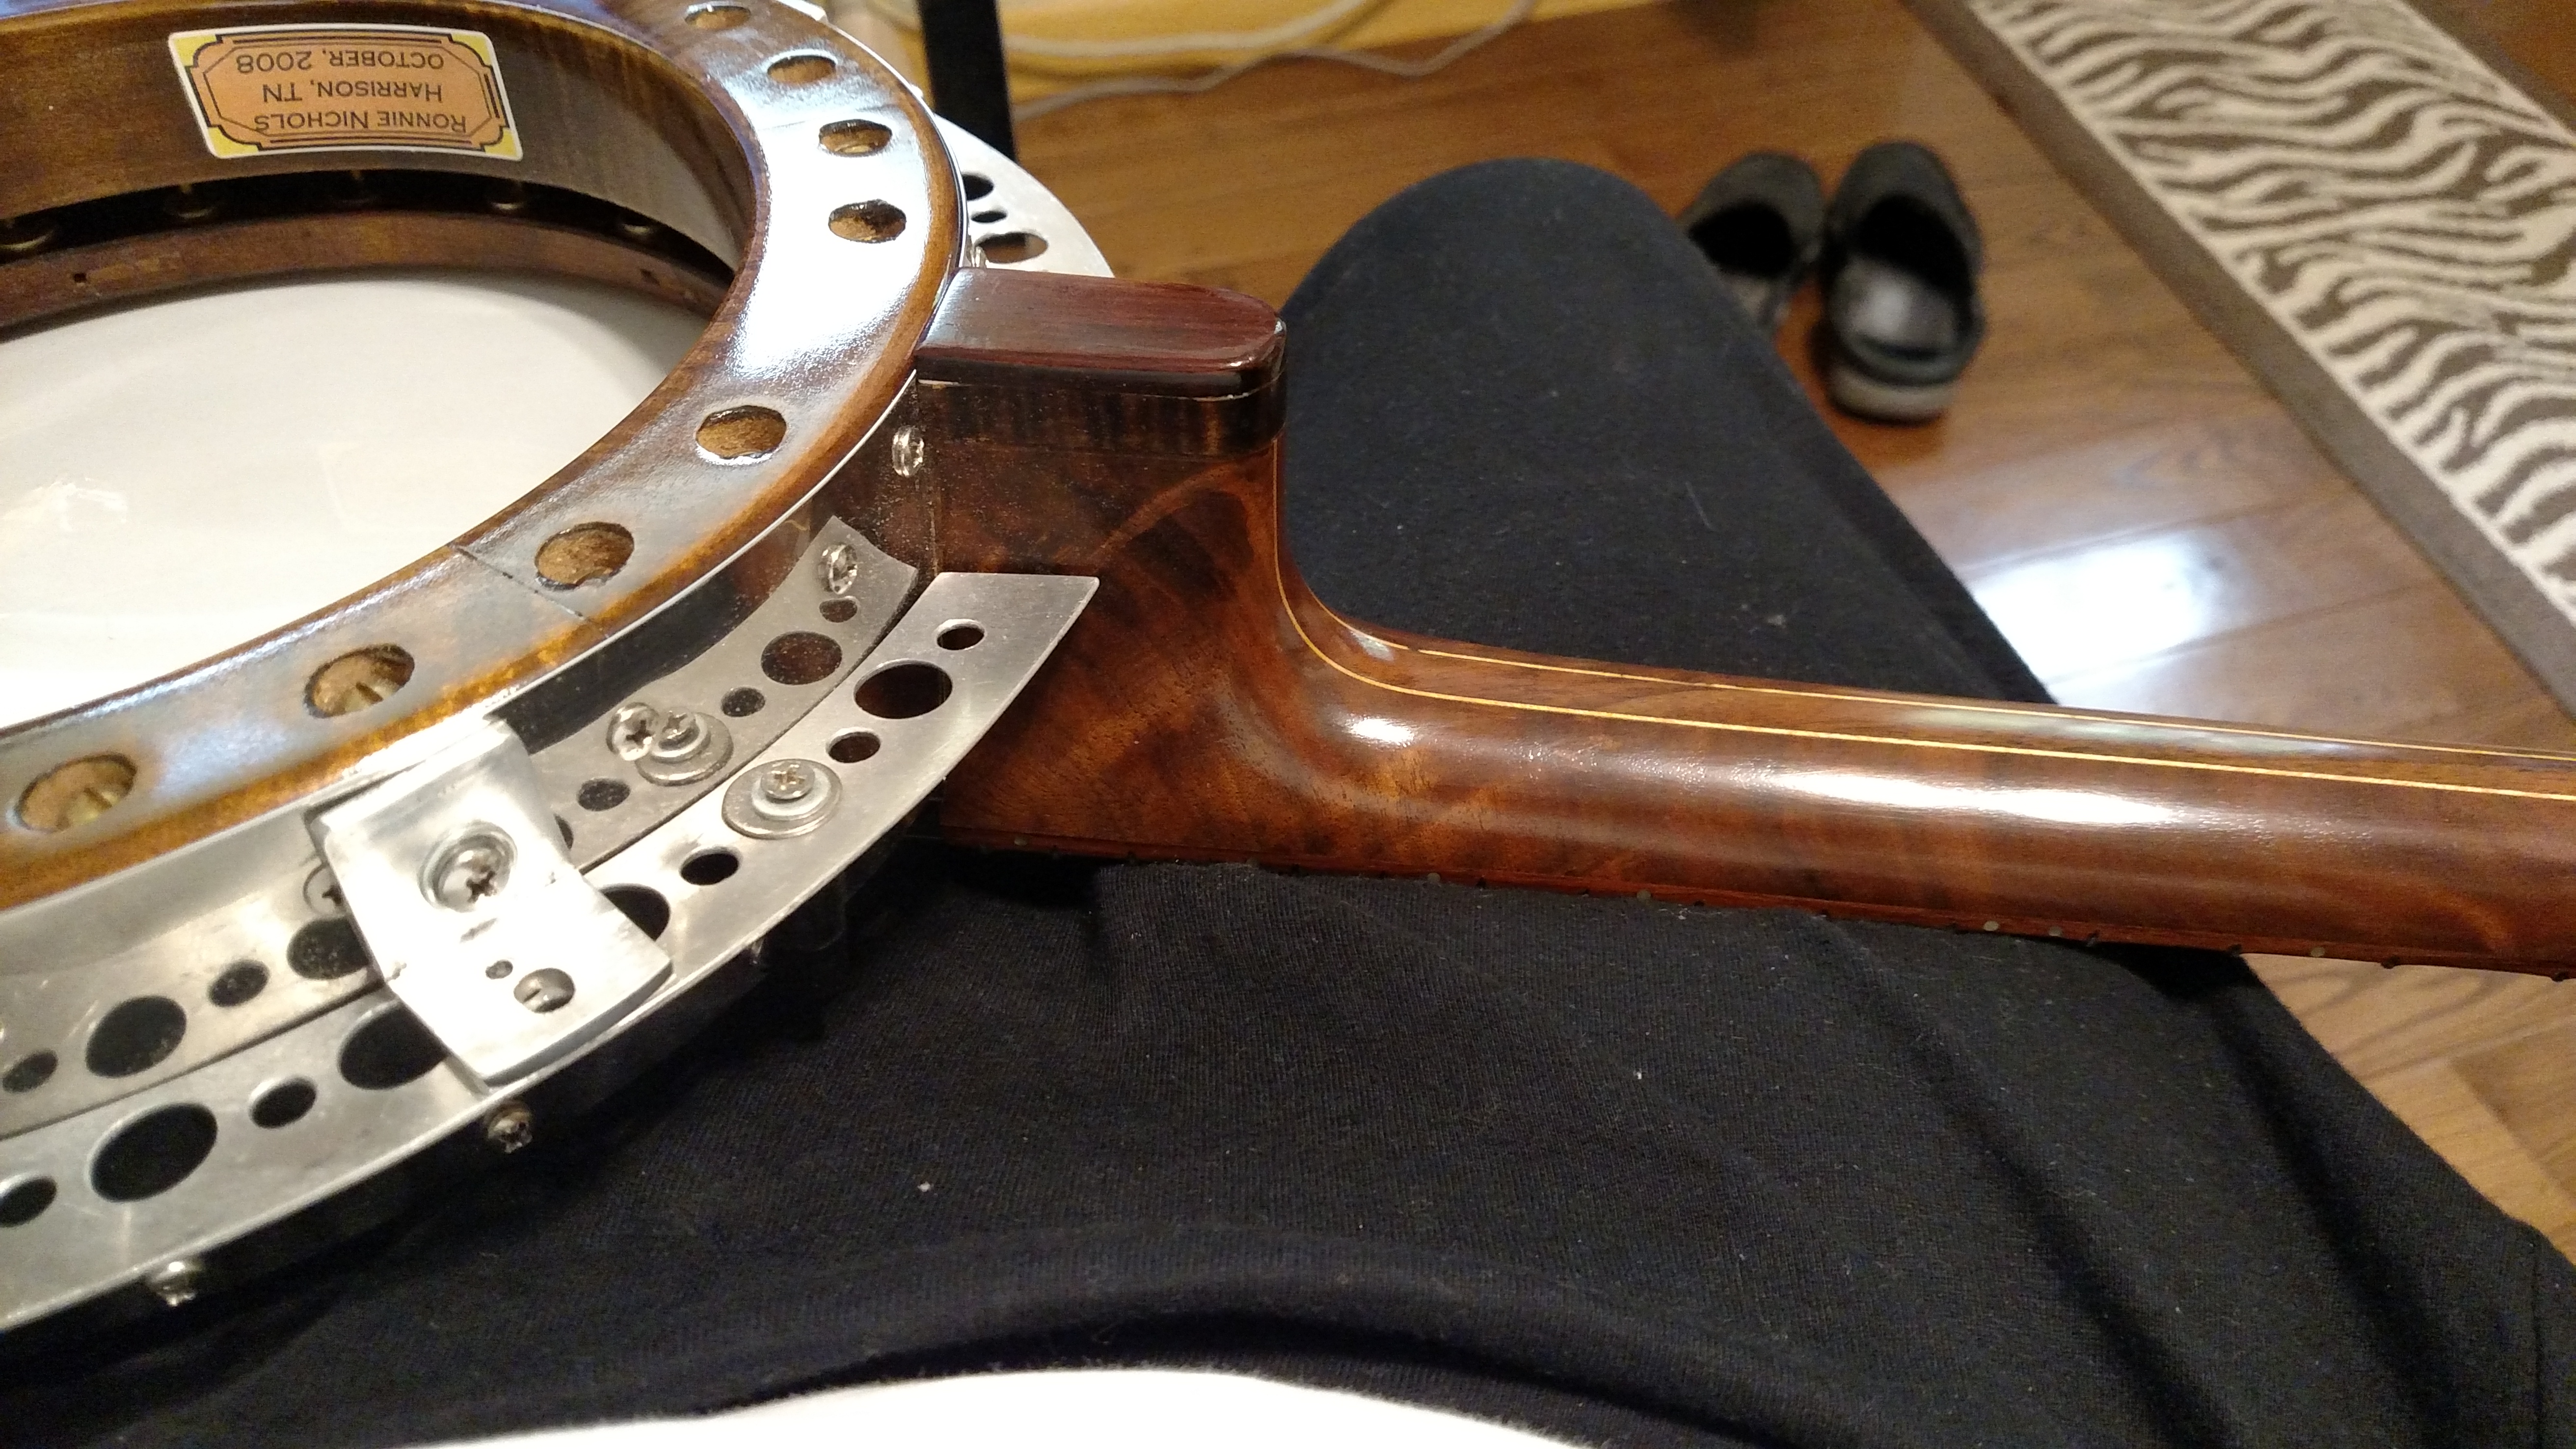
I made a walnut Nichols Armrest for it. The comfortable shape of these Nichols Armrests was inspired by my good friend Rual Yarbrough.
The tension hoop is nickel plated brass and came off an old banjo that I had scrapped. I drilled and tapped this tension hoop so I could attach it to the stainless pot outer cover with machine screws.
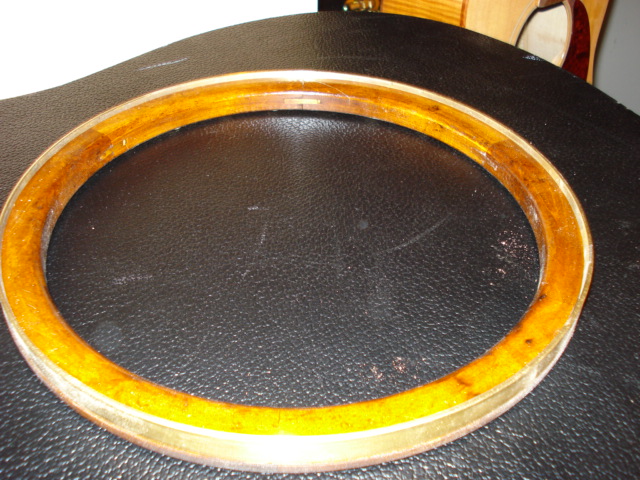
The Stew Mac tone ring I used looks similar to the tension hoop but it is 11 inches in diameter. It sits atop a maple piece that I also fabricated in a block method with plywood splines at the joints. I glued 24 brass discs into the top of this piece to give the brass machine screws something to bear against. These discs are there as a bearing point to keep the screws from sinking into the wooden piece.
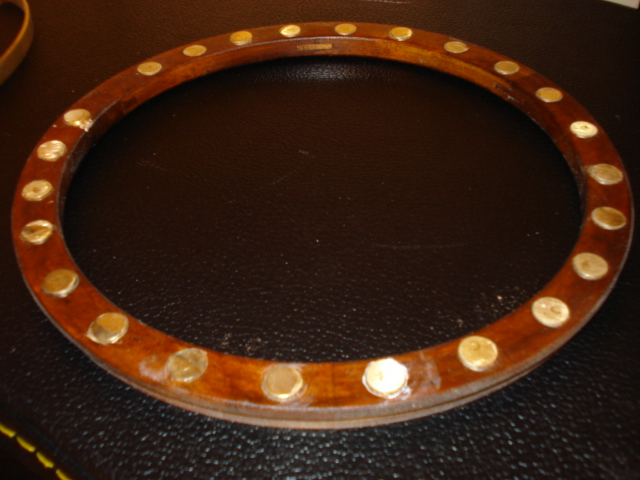
This maple piece has 24 round brass discs to accept the brass screws which tension the head. I used brass because it is relatively hard and I think it contributes something to the overall sound.
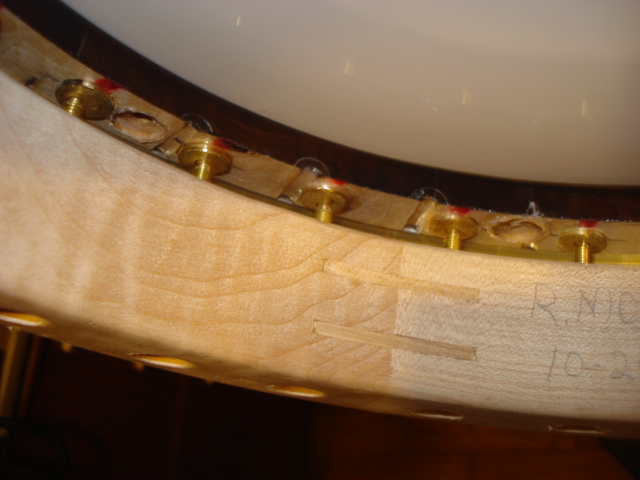
This picture shows how these screws come through the shell and bear against these discs. This action pushes the tone ring assembly up to tension. This top shell bears on these brass screws much like the ball bearings did on the old Gibson tone tubes. The slotted head brass screws are adjustable through the holes in the shell with a screwdriver or a straight slotted bit.
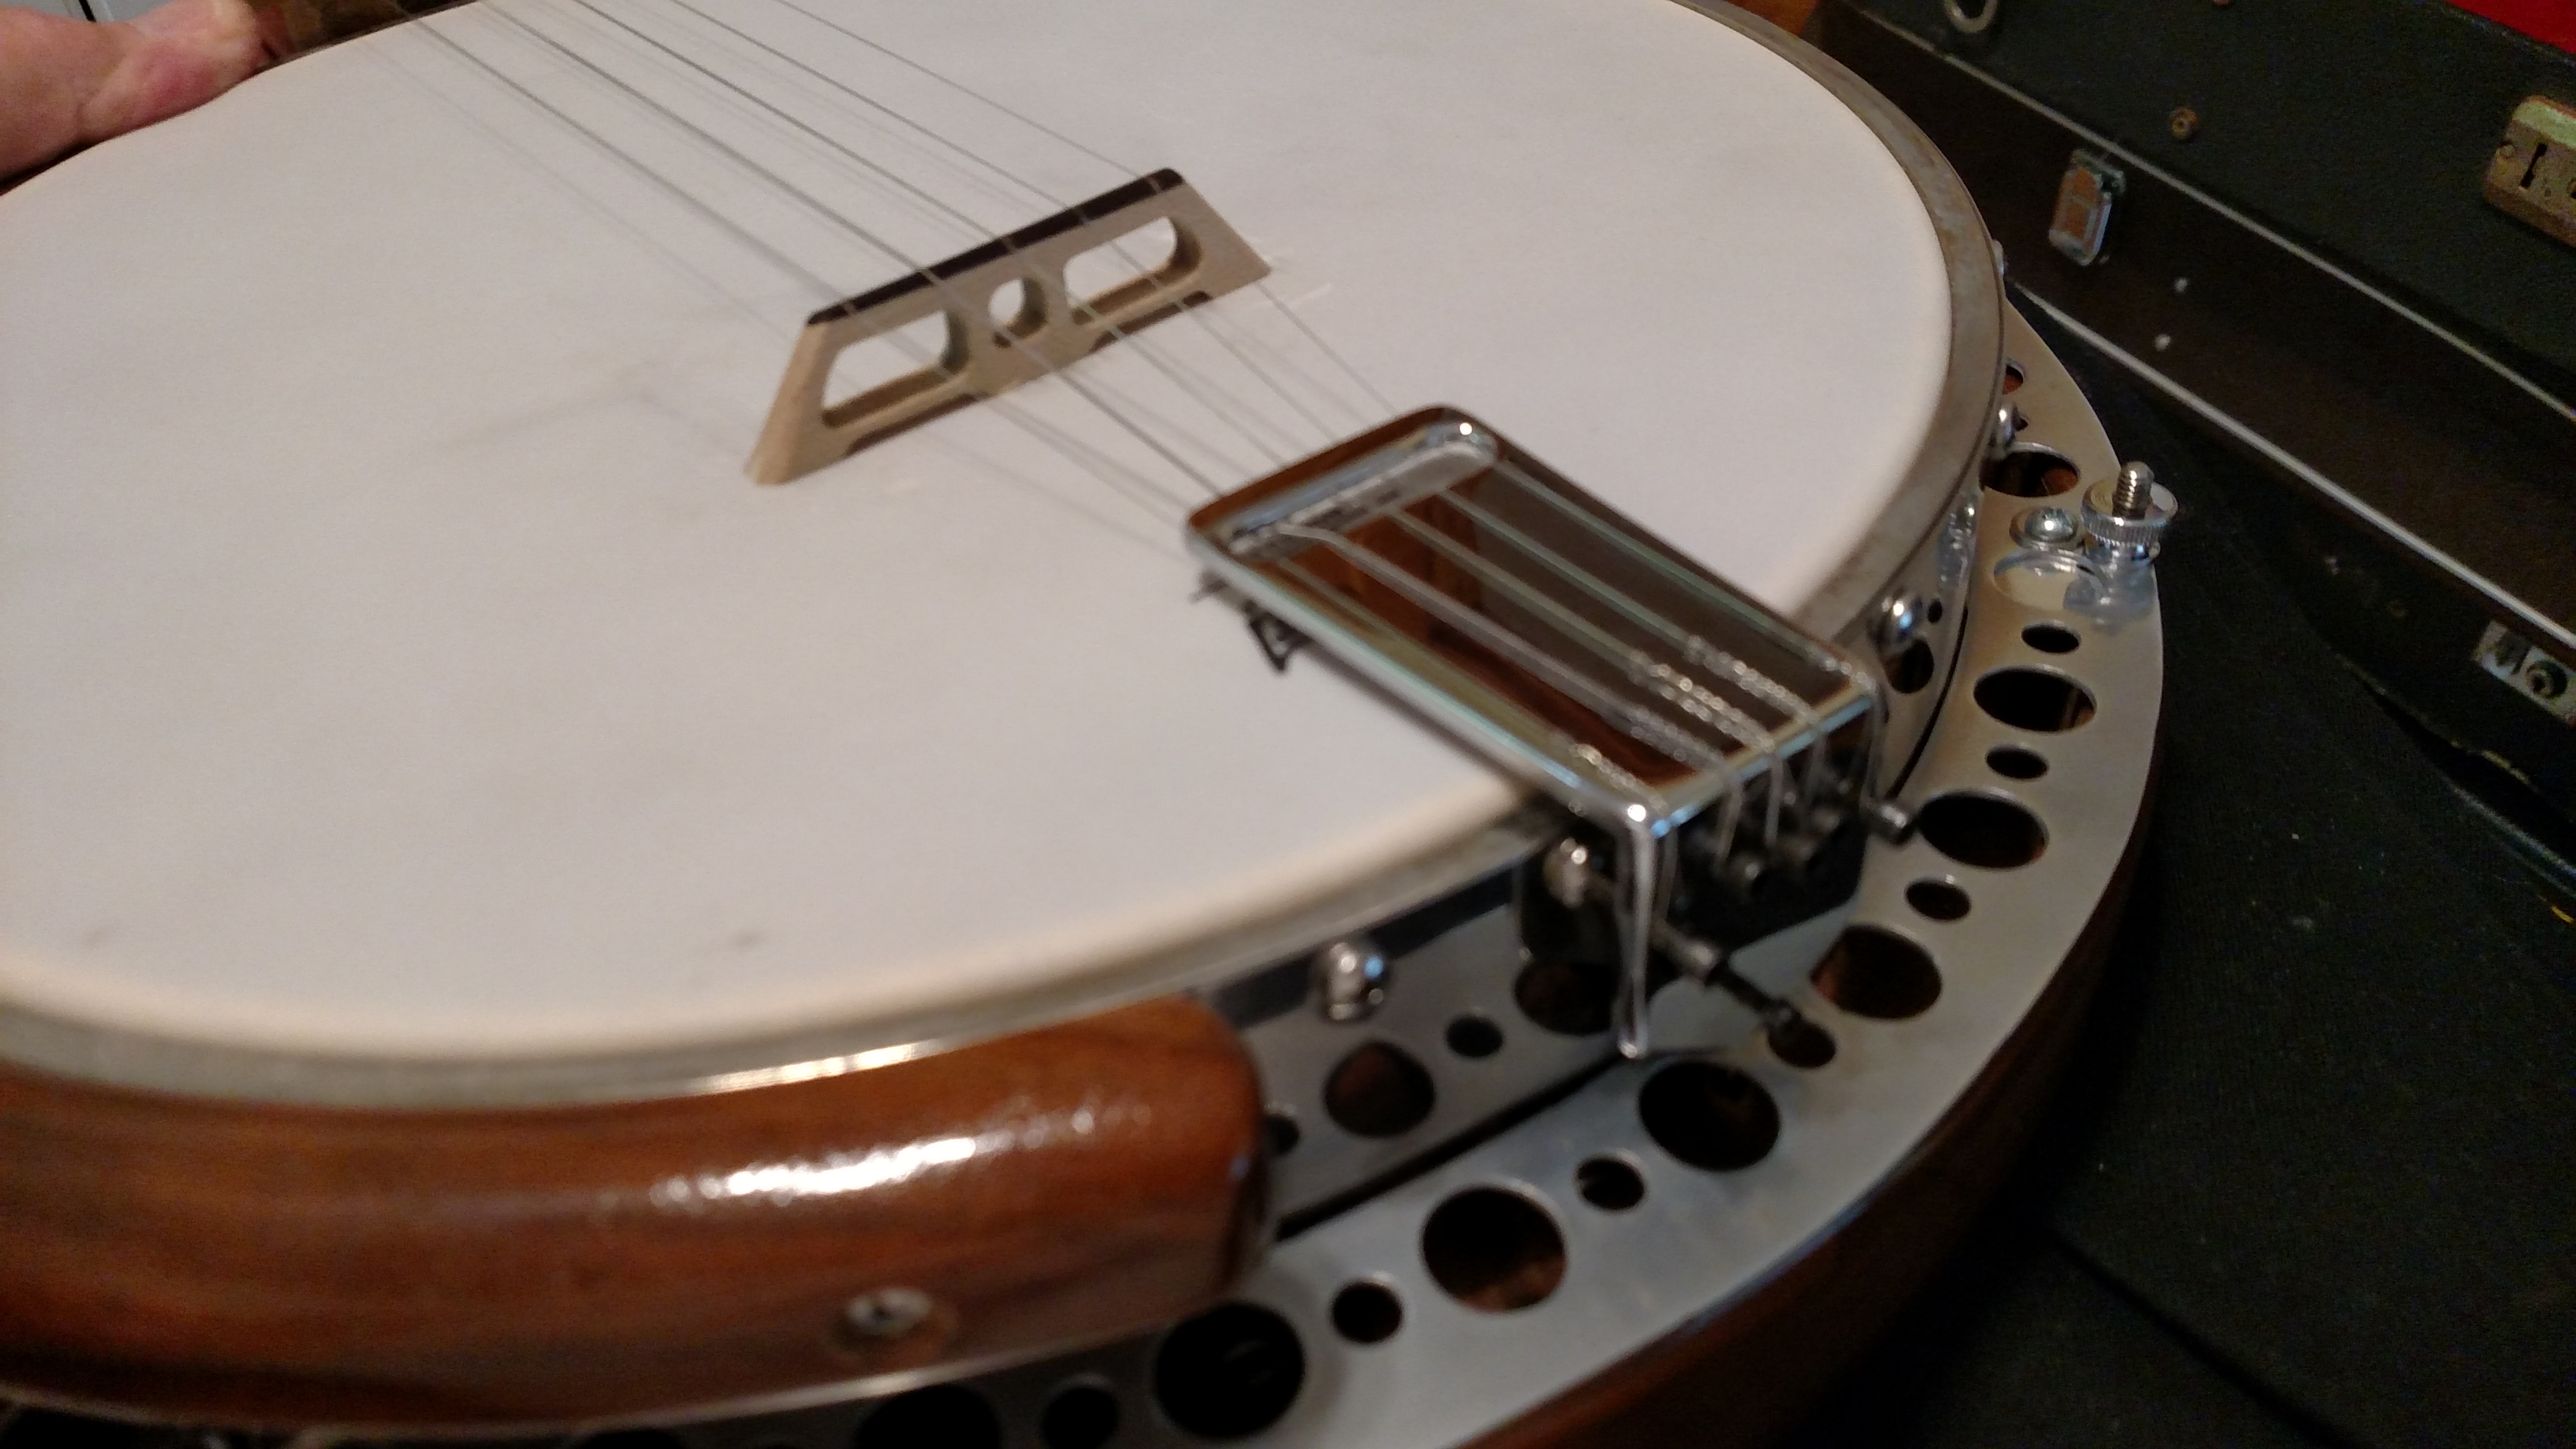
This is a brass tailpiece that I made and had plated. It attaches to 2 of the screws that hold the tension hoop in place. I used a 5 Star smooth white head.
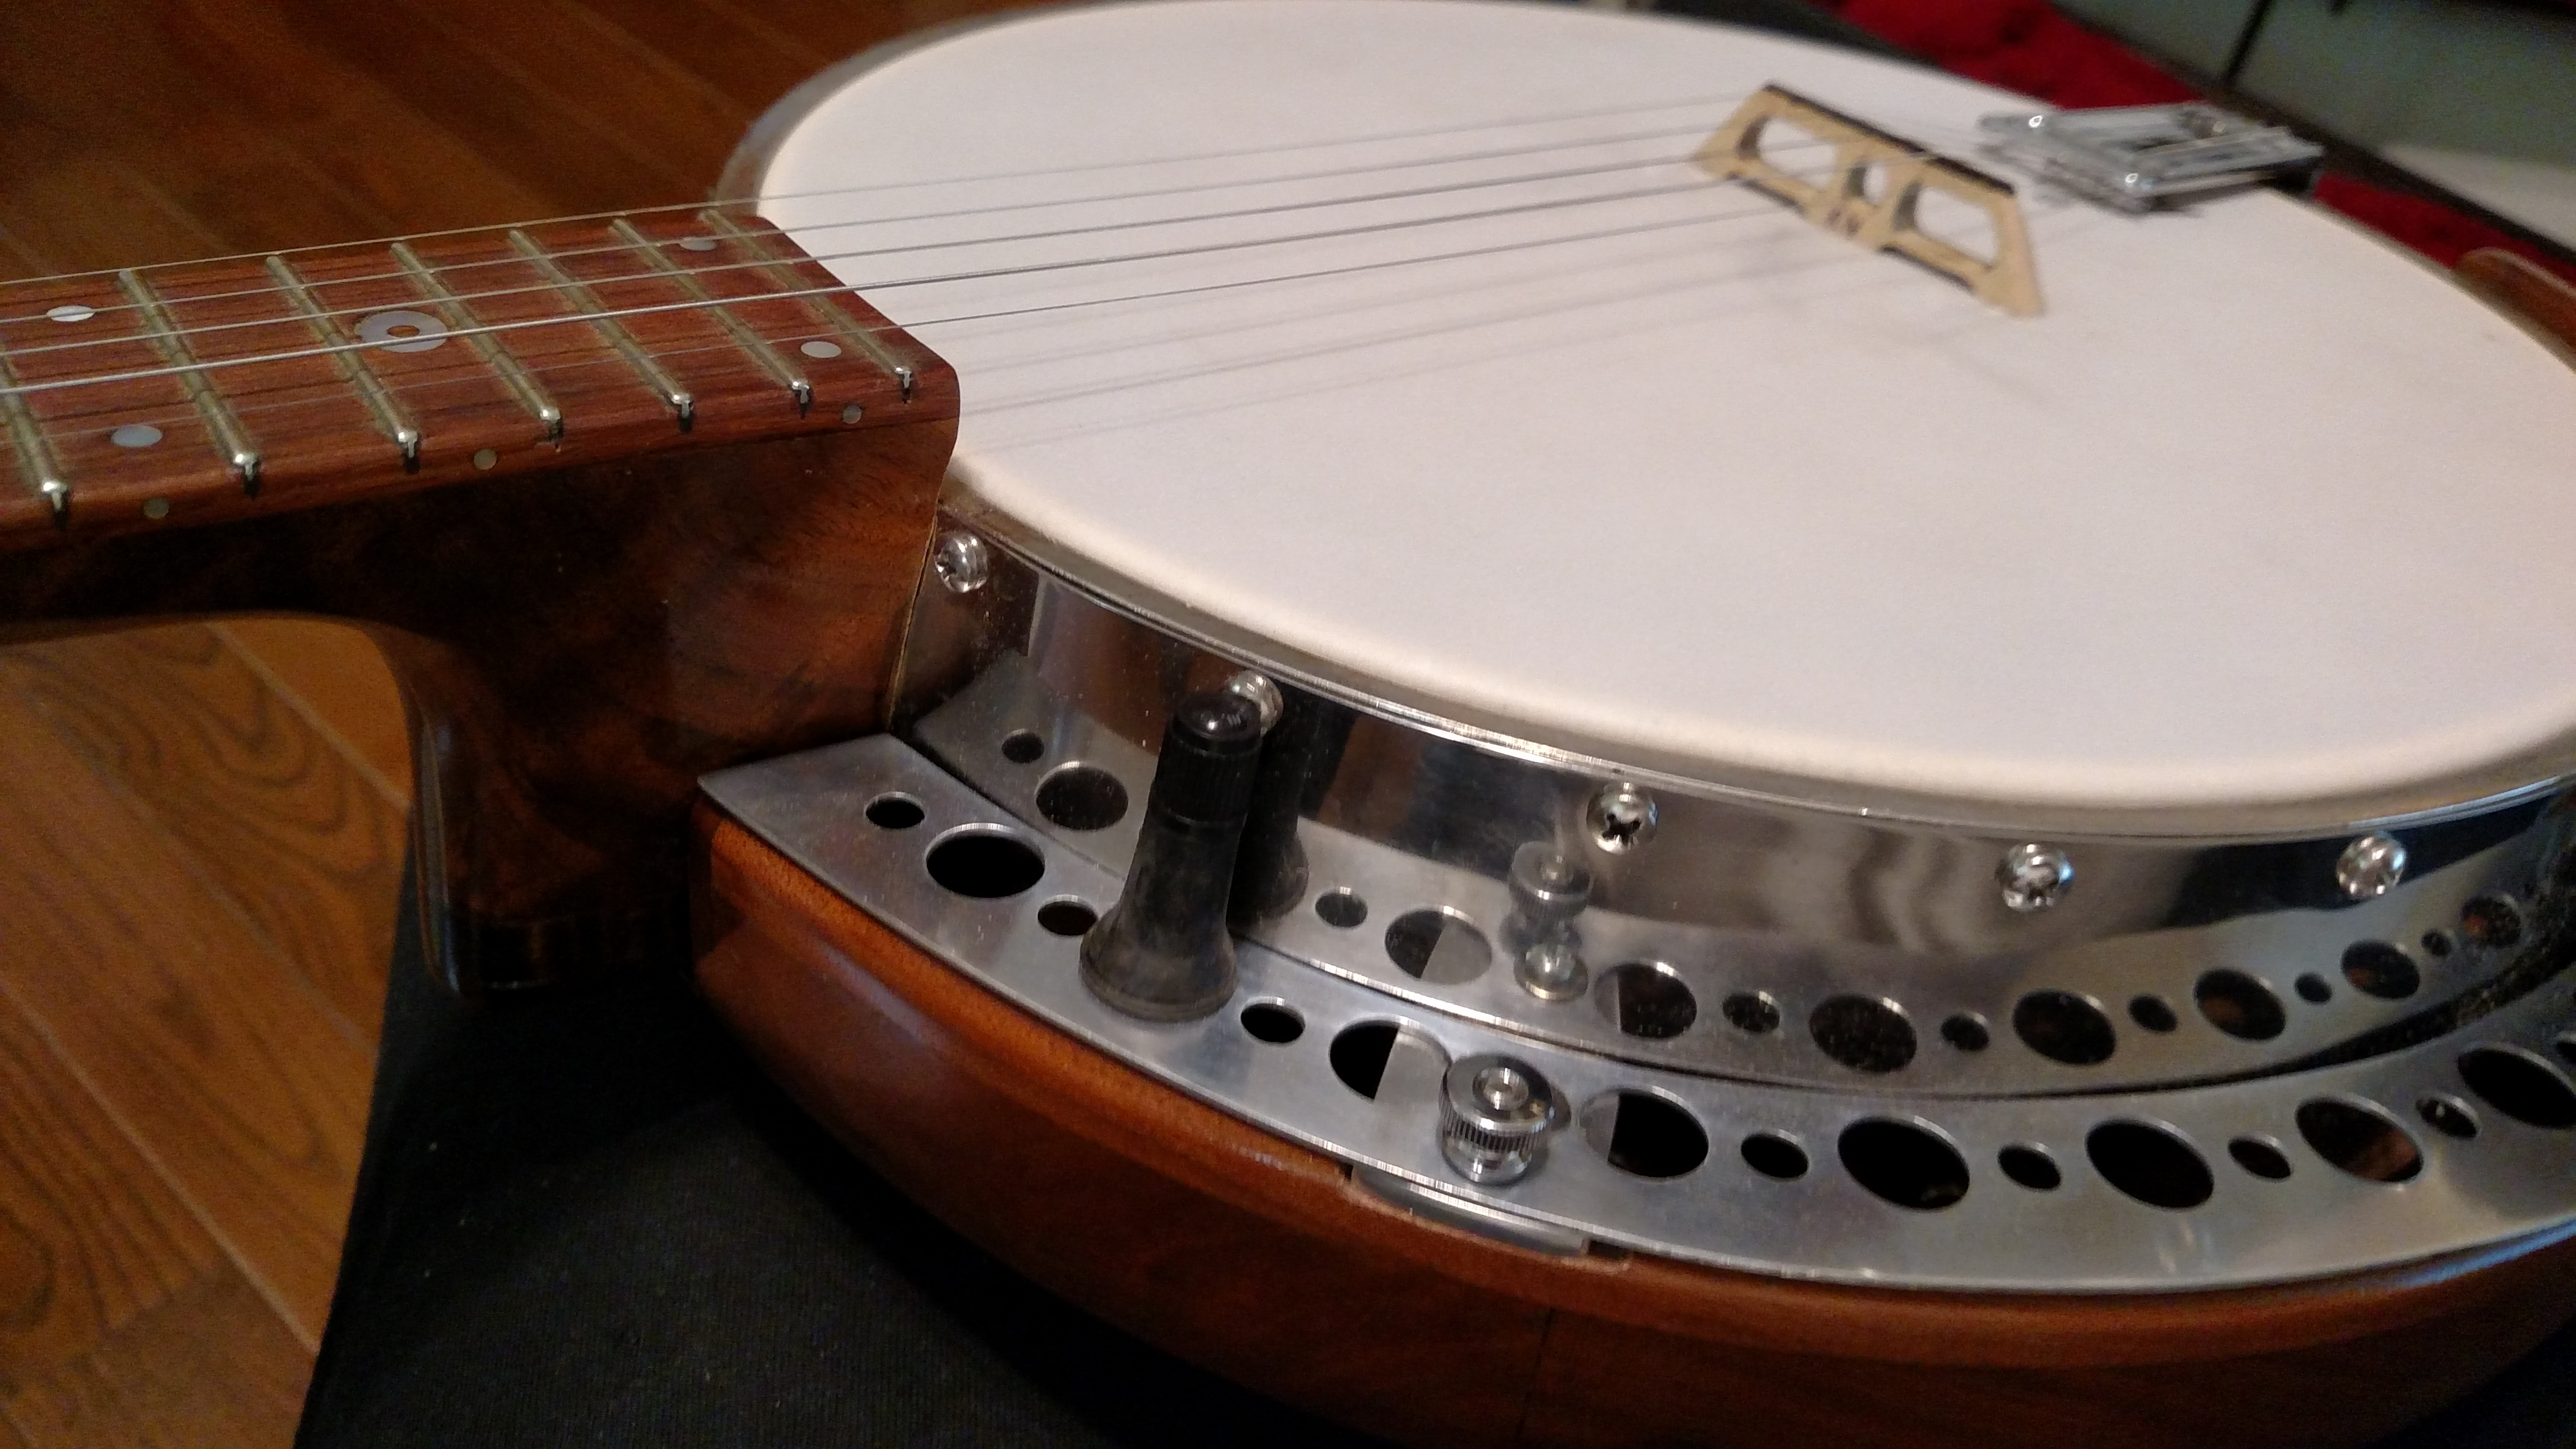
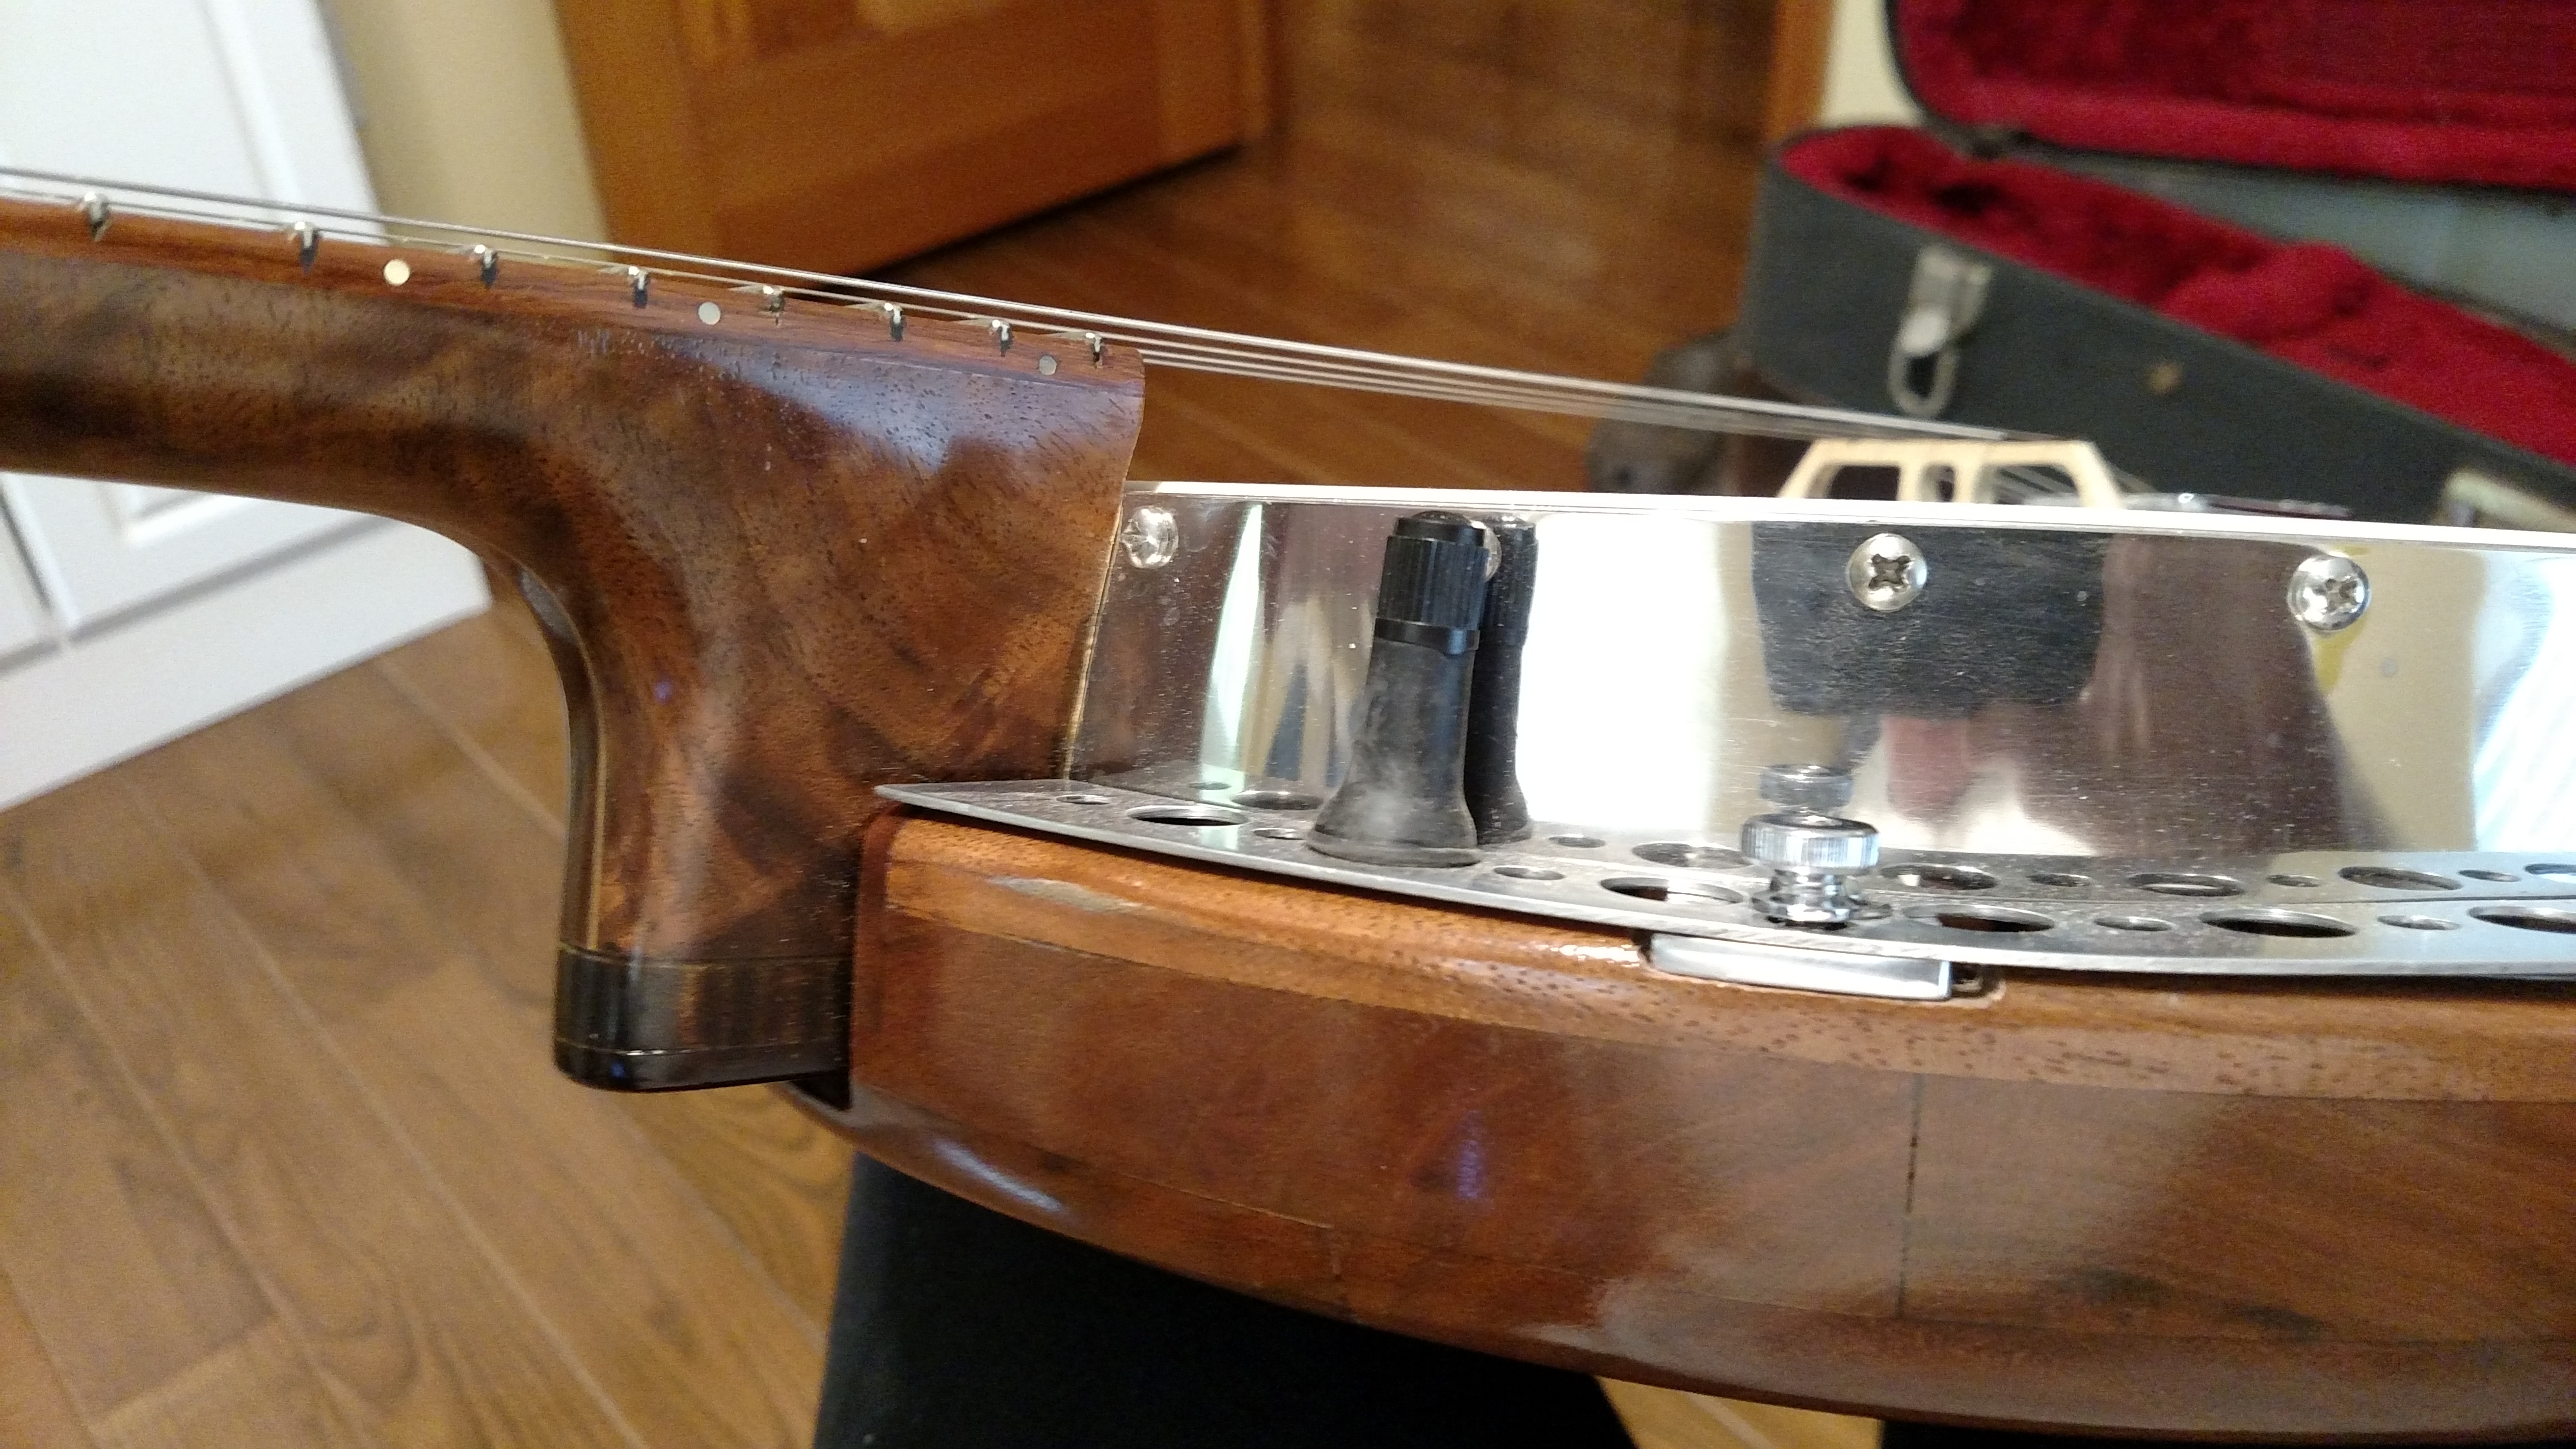
Of course, I had to add the air valve stem. This flange is shaped from some thin aluminum that I later drilled and polished. It only serves to fill in the gap between the shell and resonator. It has no role in the pot structure or the head tensioning process.
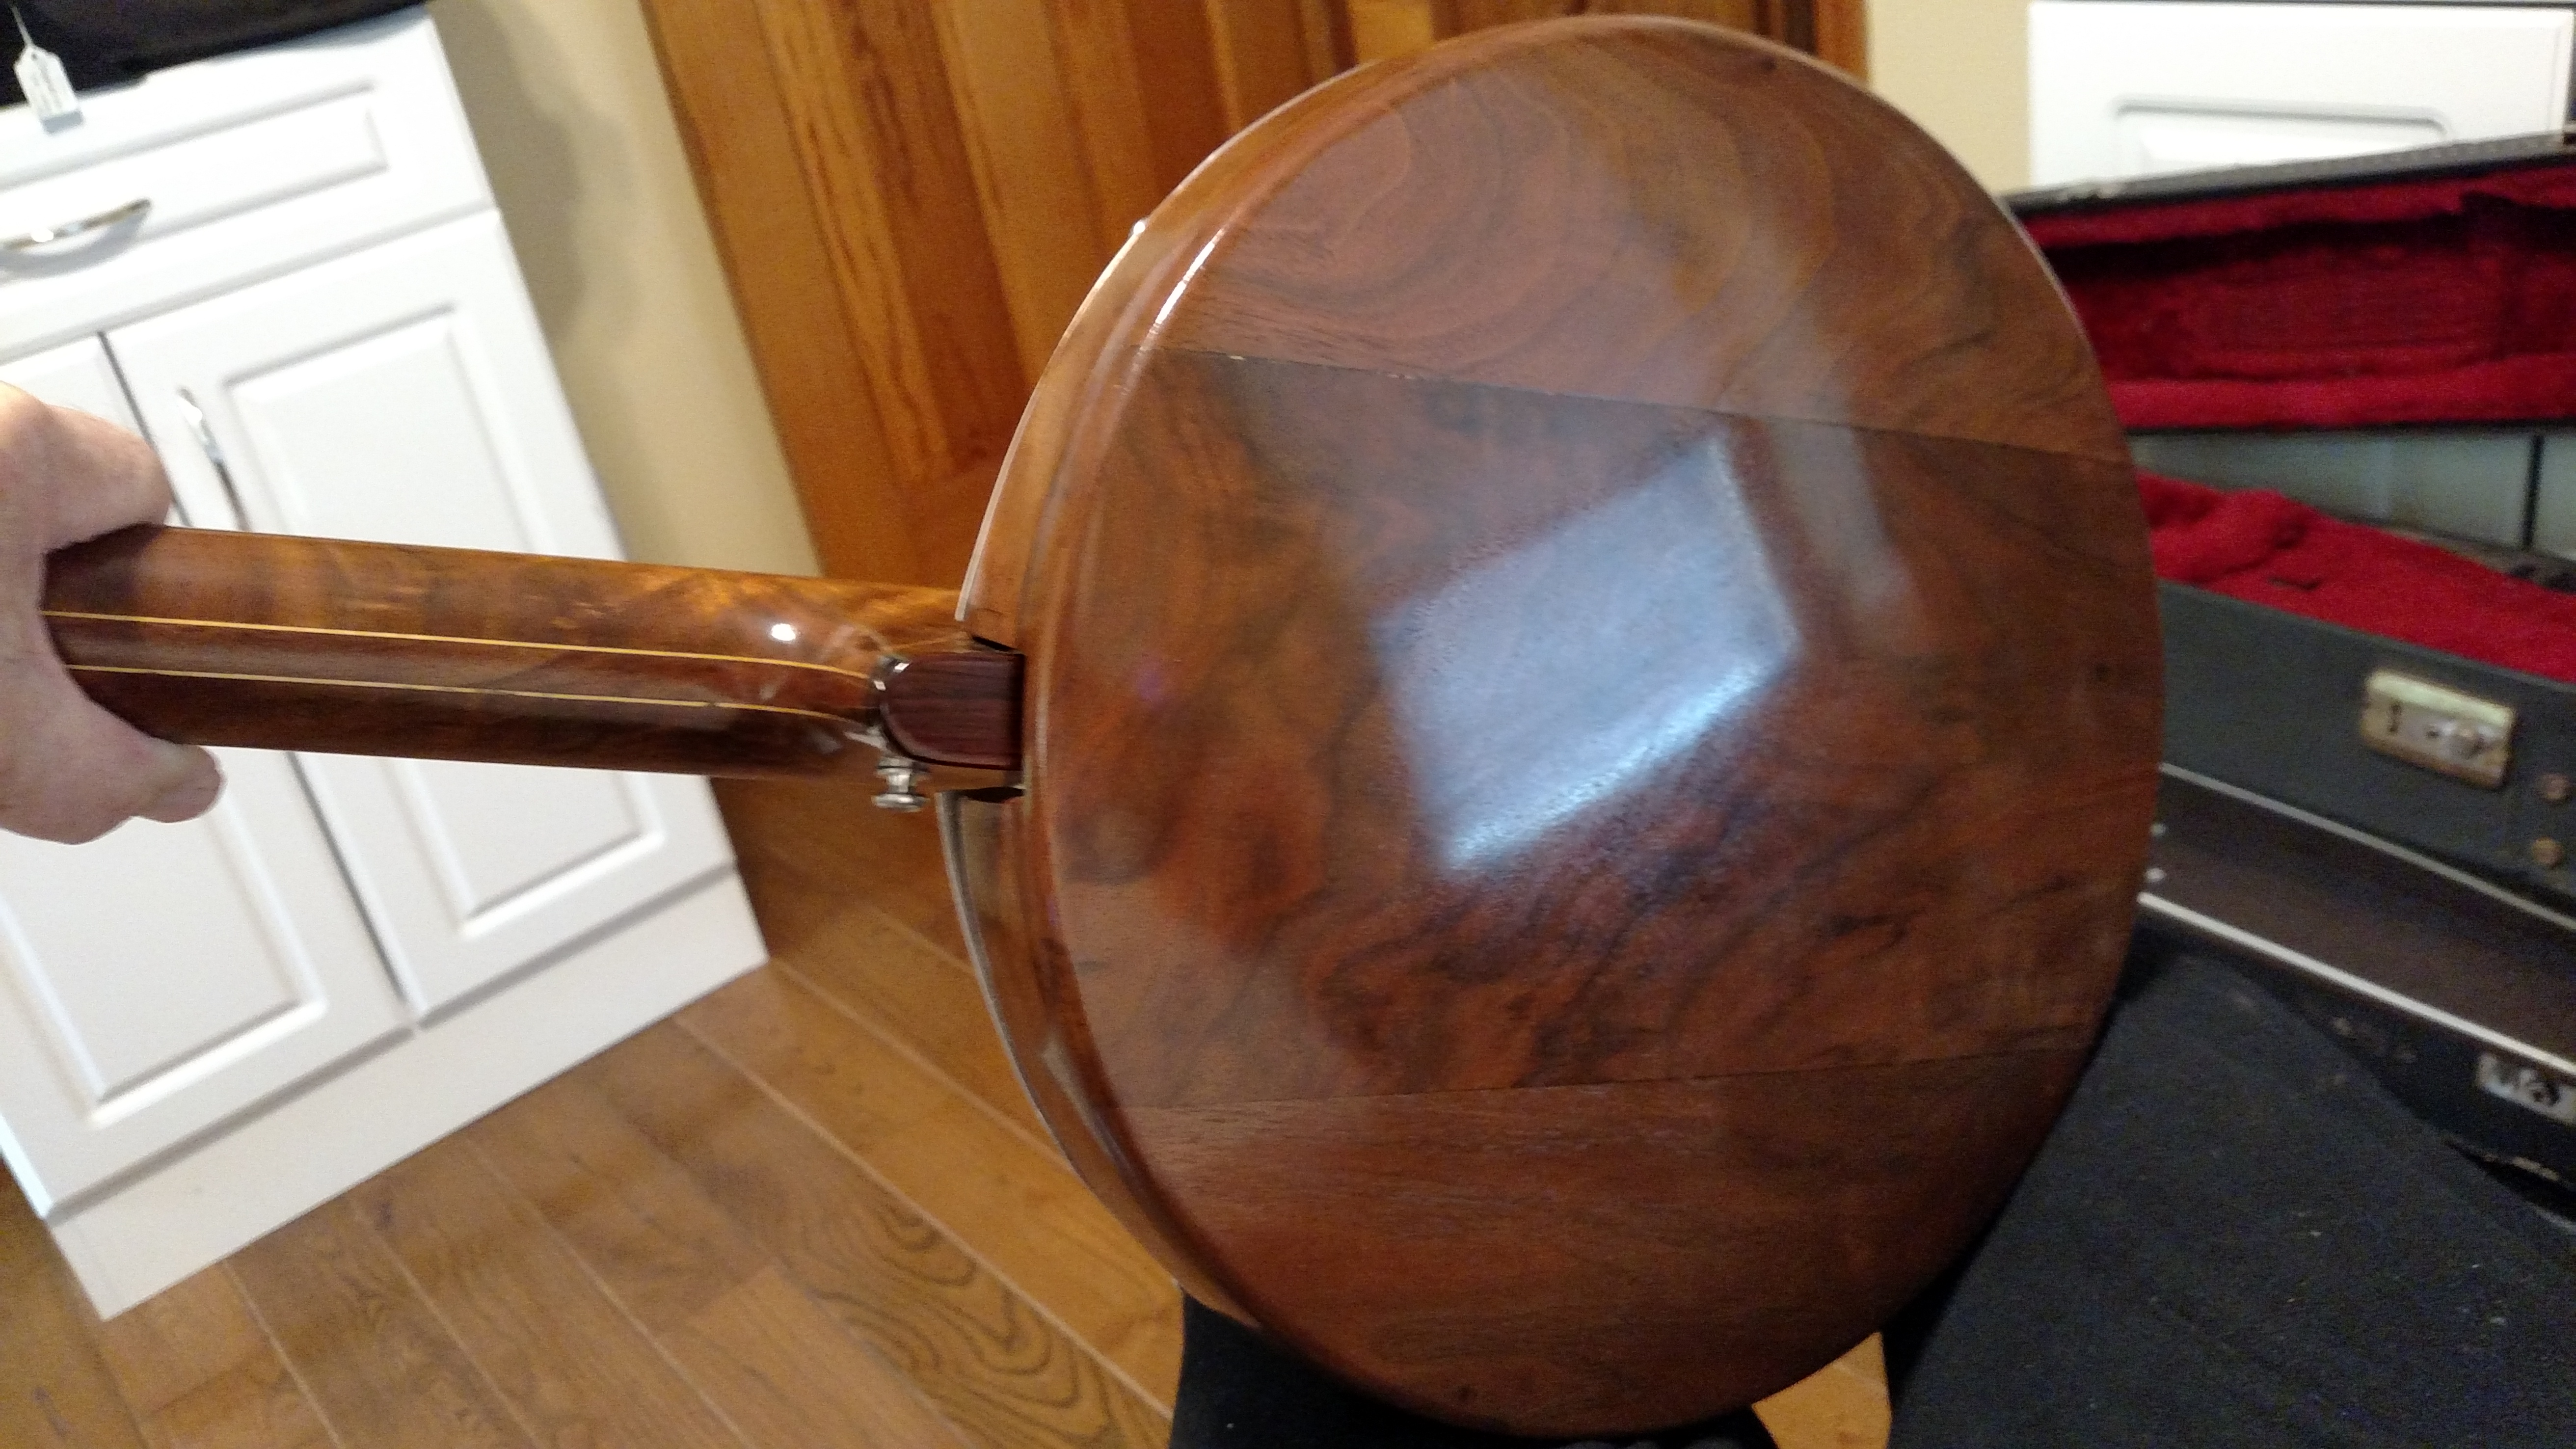
I recycled this old resonator that I made back in the 70’s. It is lathe turned from 3 pieces of solid walnut with some curl in it. It features my Nichols ultra smooth rounded edges with no binding. Unlike a lot of banjos I’ve played, you can rest this resonator on your leg while playing it without it feeling like it will cut into your leg.

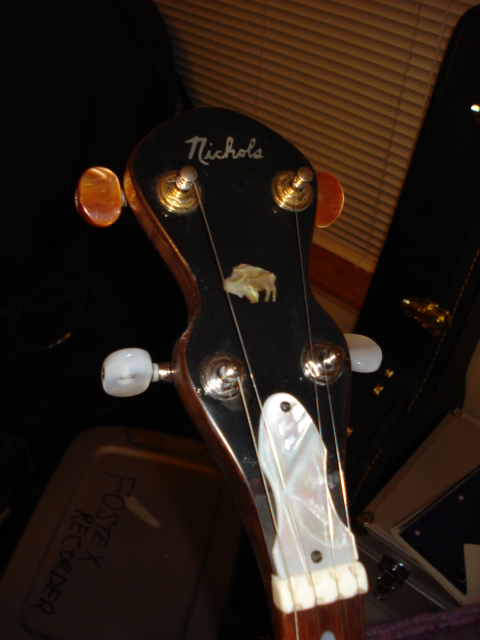
This neck was the first neck I ever made. It had a different fingerboard on it originally and a different shape peghead. It is made from 3 pieces of curly walnut with some holly strips in between them. It has gone through a lot of changes through the years.
I used a Nichols Maple Bridge on it. This banjo has a mellow sound with plenty of punch. It may surprise a lot of pickers that it has the sound it does with this light weight tone ring. I don’t believe a banjo’s sound is directly related to how heavy it is. How many old banjo pickers do you see who have back problems from standing up on stage and holding an 11 or 12 pound banjo for years? This banjo only weighs 8.4 pounds.
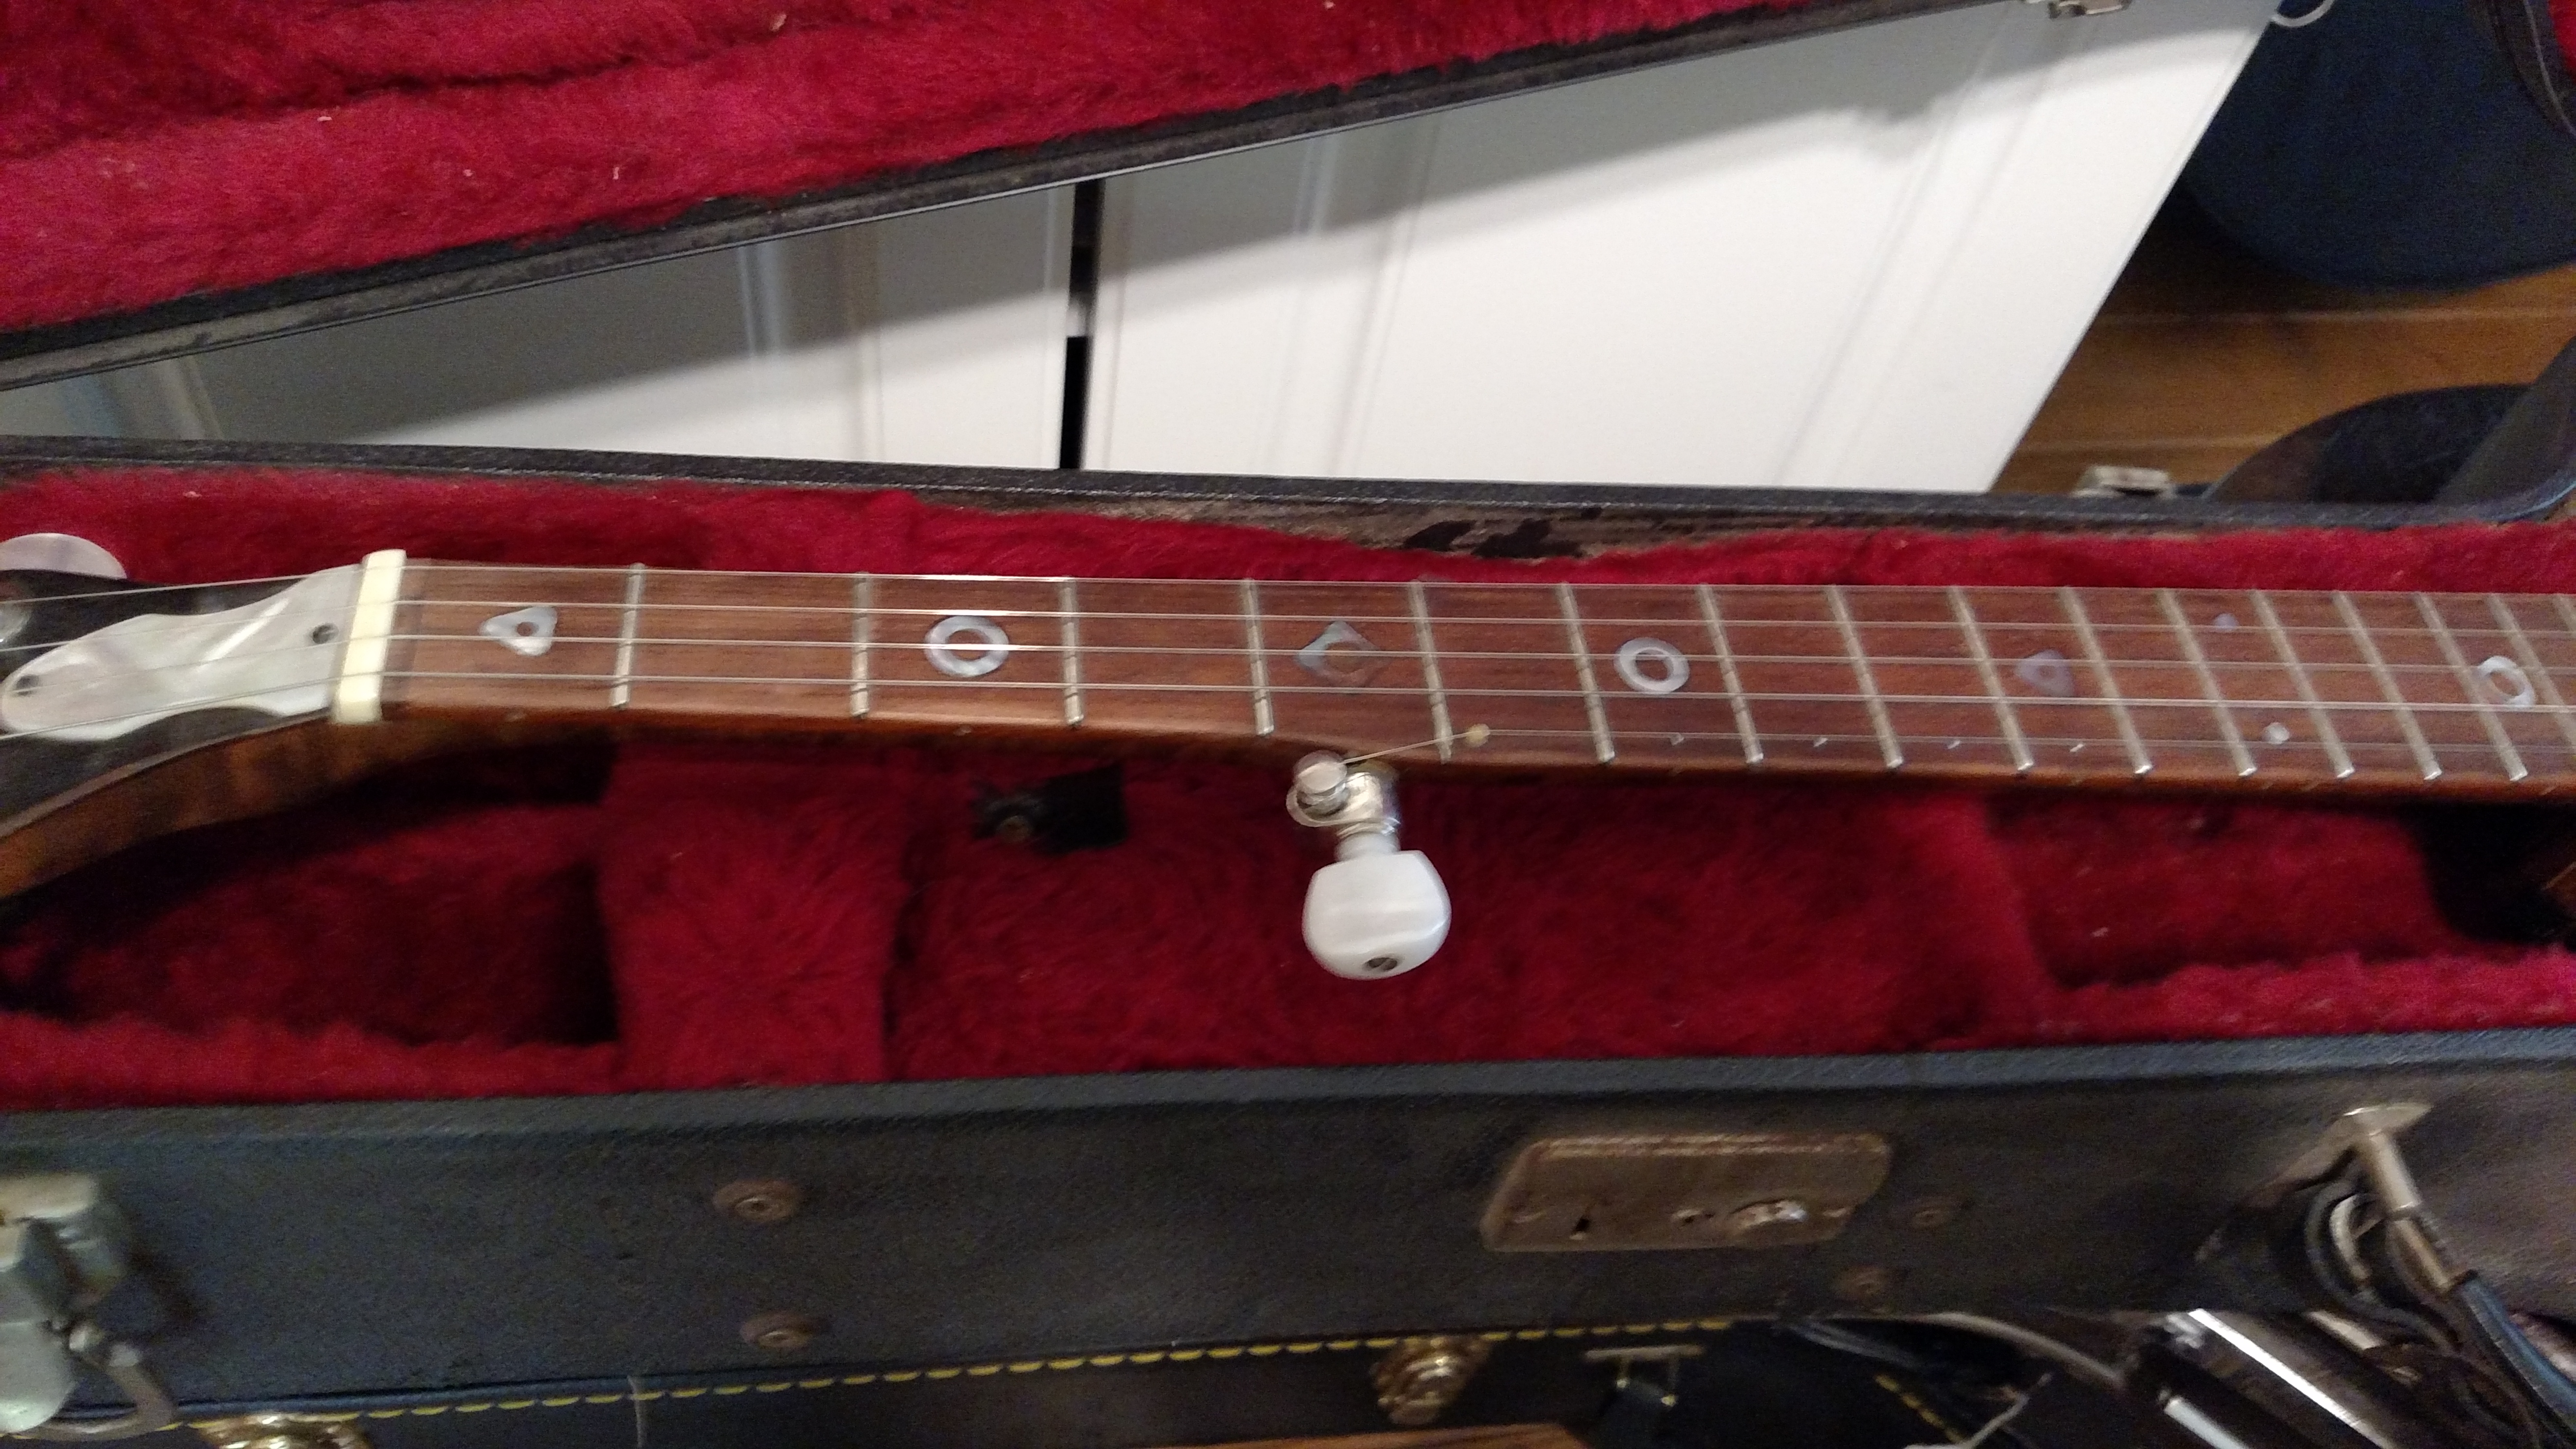
Above is a shot of the compensated nut that I experimented with. I found that compensating the nut often makes the banjo note out better. This shorter length compensates for the strings stretching when noted. This is just one of my experiments that I have done through the years. There is some merit to this idea, although it can create some other problems as it corrects some. In the picture below, you can see that I put a piece back in the end of the fingerboard and made a more traditional looking nut. The nut is still moved a little from it’s original position. Frank Ford, a man I highly respect, said that it wasn’t that uncommon for old time luthiers to shorten the fingerboard at the nut to help with the problem of noting too sharp.
This is just another chapter from the past in my banjo building and designing efforts. This banjo pot is different from any I’ve seen before. I have built 2 banjos with this type pot and they both sound good. They have been around for several years and appear to have passed the test of time. I don’t mean to suggest that everybody should ditch their traditional banjos and get one like this. As always, I designed and modified this banjo to please me. In the end, that’s all that matters since I didn’t design it with any idea becoming rich or famous because of it. Maybe it will end up in my banjo museum of failures, oddities, and near misses.
![]()
Be the first to comment on "003-The Nichols 2008 Air Banjo- New Article 4-17-19"