Flinthill Banjo Setup- December, 2014
I’d seen these banjos advertised and I thought they were pretty good. When one of my customers called and said he’d purchased one, I was interested in seeing what these banjos were like. He said he’d purchased this one online and it was apparently one someone had returned to a seller or music store. I told my customer to bring it up and we’d look at it to see if I could do anything for the play-ability problems.
He brought it to my shop and we laid it on my workbench. A quick check revealed that the head was extremely loose and the bridge was sunk down excessively. The neck had excessive relief and there were several problems that were contributing to the buzzes and weird noises it was producing.
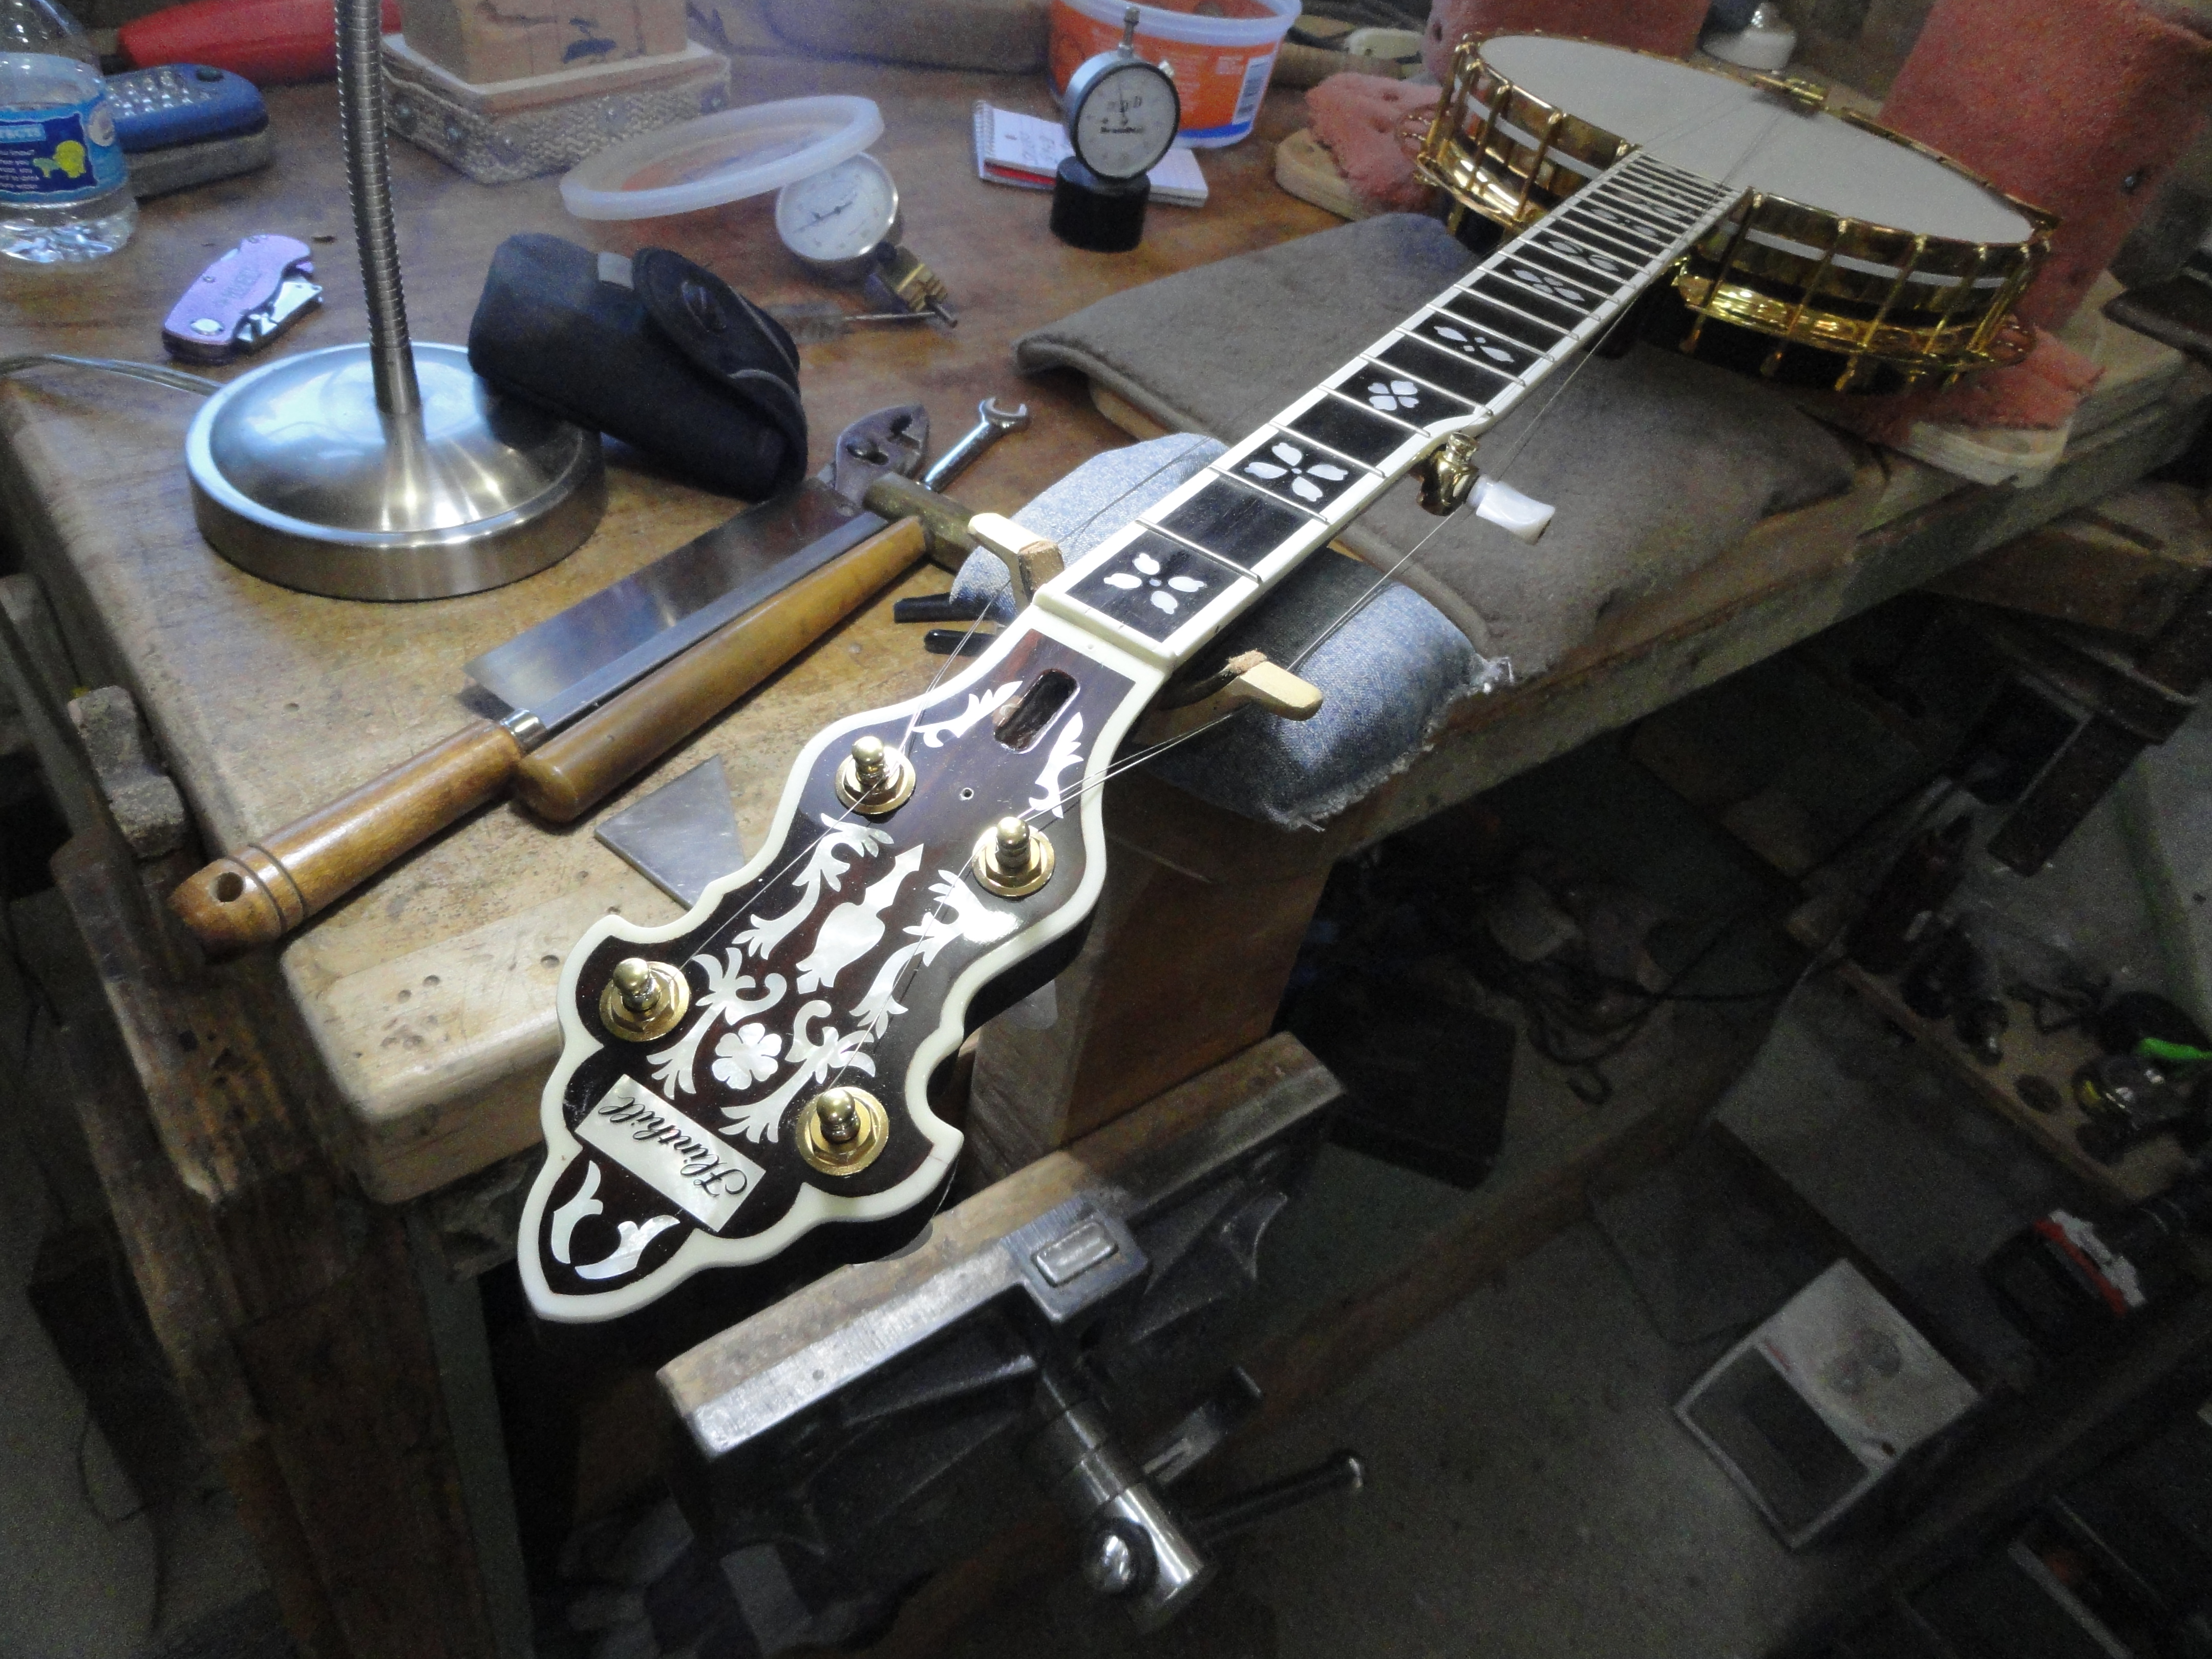
This banjo appeared to be well constructed. The finish appeared to be good. The gold plating had a funny color to it that appeared to be a fake gold color to me. I could detect a good sound coming from the pot and I felt it had a lot of potential. I do not particularly like the extra wide binding around the neck and peghead, but this is more a matter of my personal taste than a flaw. The first thing I did before the owner left it with me was to check whether the truss rod would correct the excessive bow in the neck. I have seen instruments where the truss rod was broken and this bow could not be corrected. The tightening of the truss rod brought the neck into normal tolerances. The owner left it with me and I did a closer inspection before calling him to tell him what the charges would be. He agreed to my repairs and I proceeded with the setup.

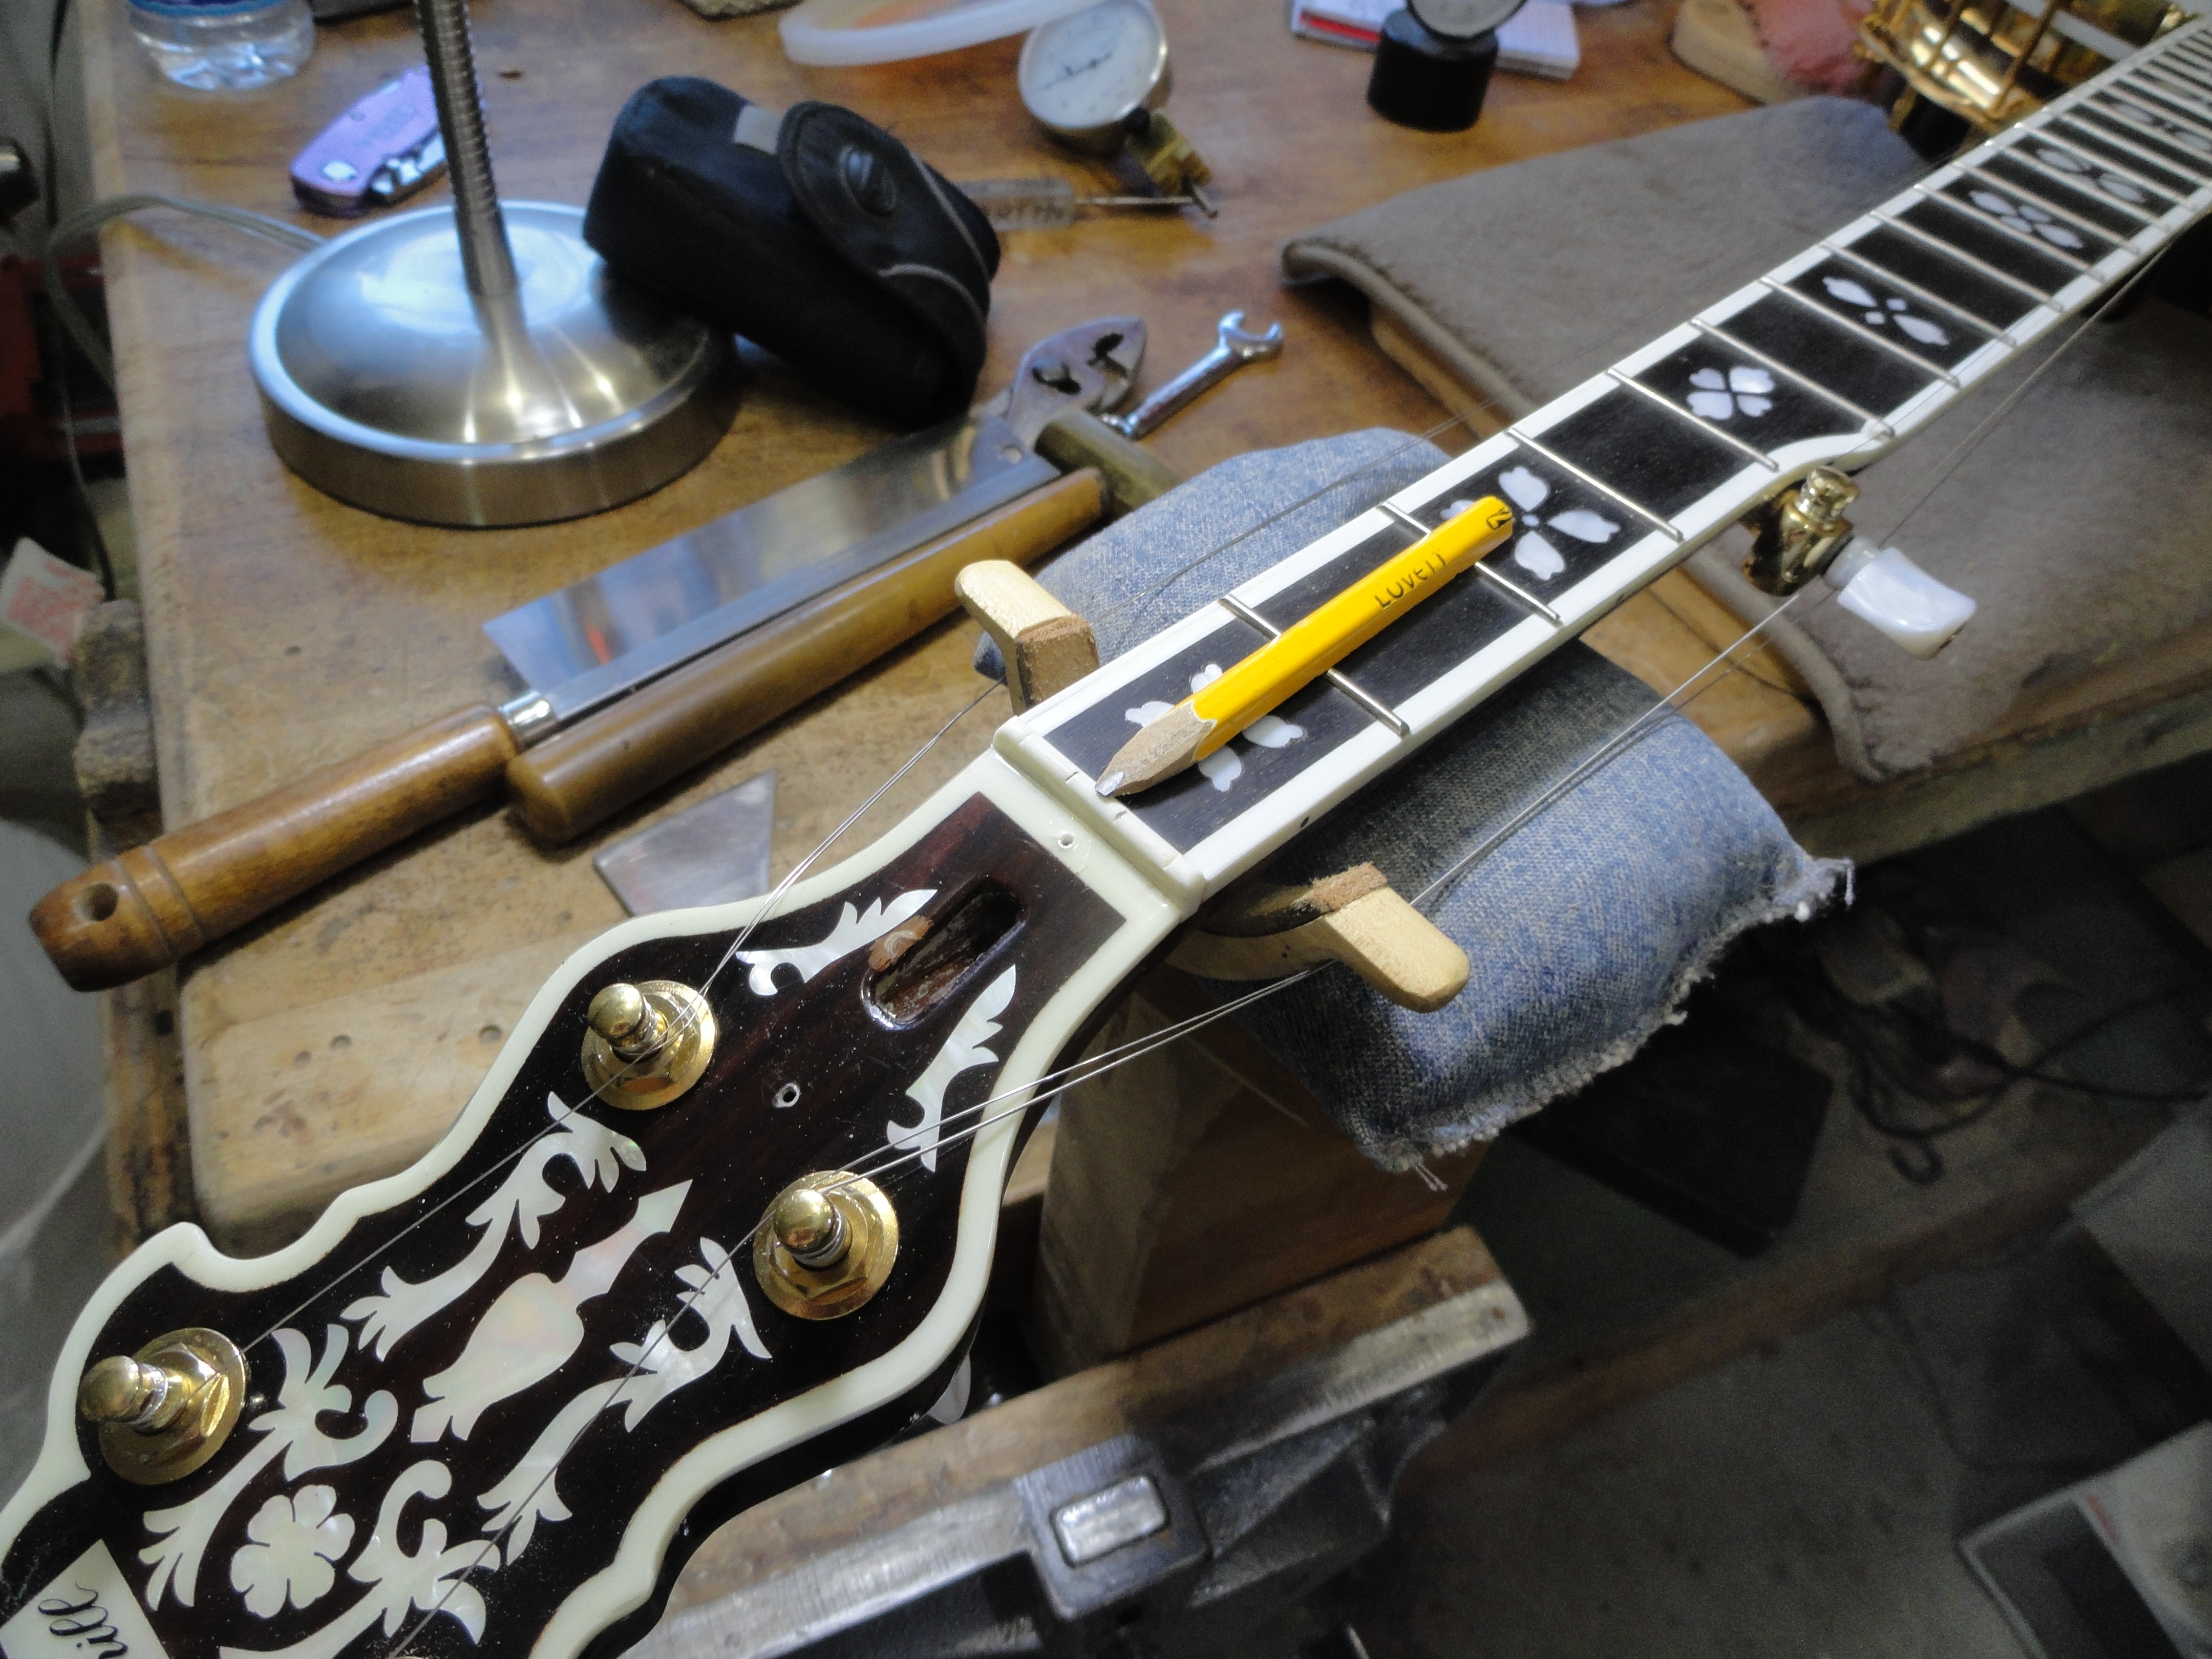
This is something I learned from Frank Ford. A half pencil is a handy tool for judging the height of the nut above the plane of the top of the frets. The slots in the nut should be just above the fret tops. This pencil would pass over the top of the entire nut when placed on the frets. We intended to level the frets, but it was apparent that the nut was too low. I determined that we needed to make a new nut.

This nut (made of bone) was narrow and tightly fit into a slot between the fingerboard and the peghead overlay. It appeared to have been installed prior to the finish being applied. I used another technique I learned from Frank Ford. I sawed a narrow slot between the nut and the peghead overlay. I normally just tap on a nut from the fingerboard side, but I knew that this one needed a little space to move without damaging something. The original nut was shaped funny with a rounded edge on the fingerboard side.
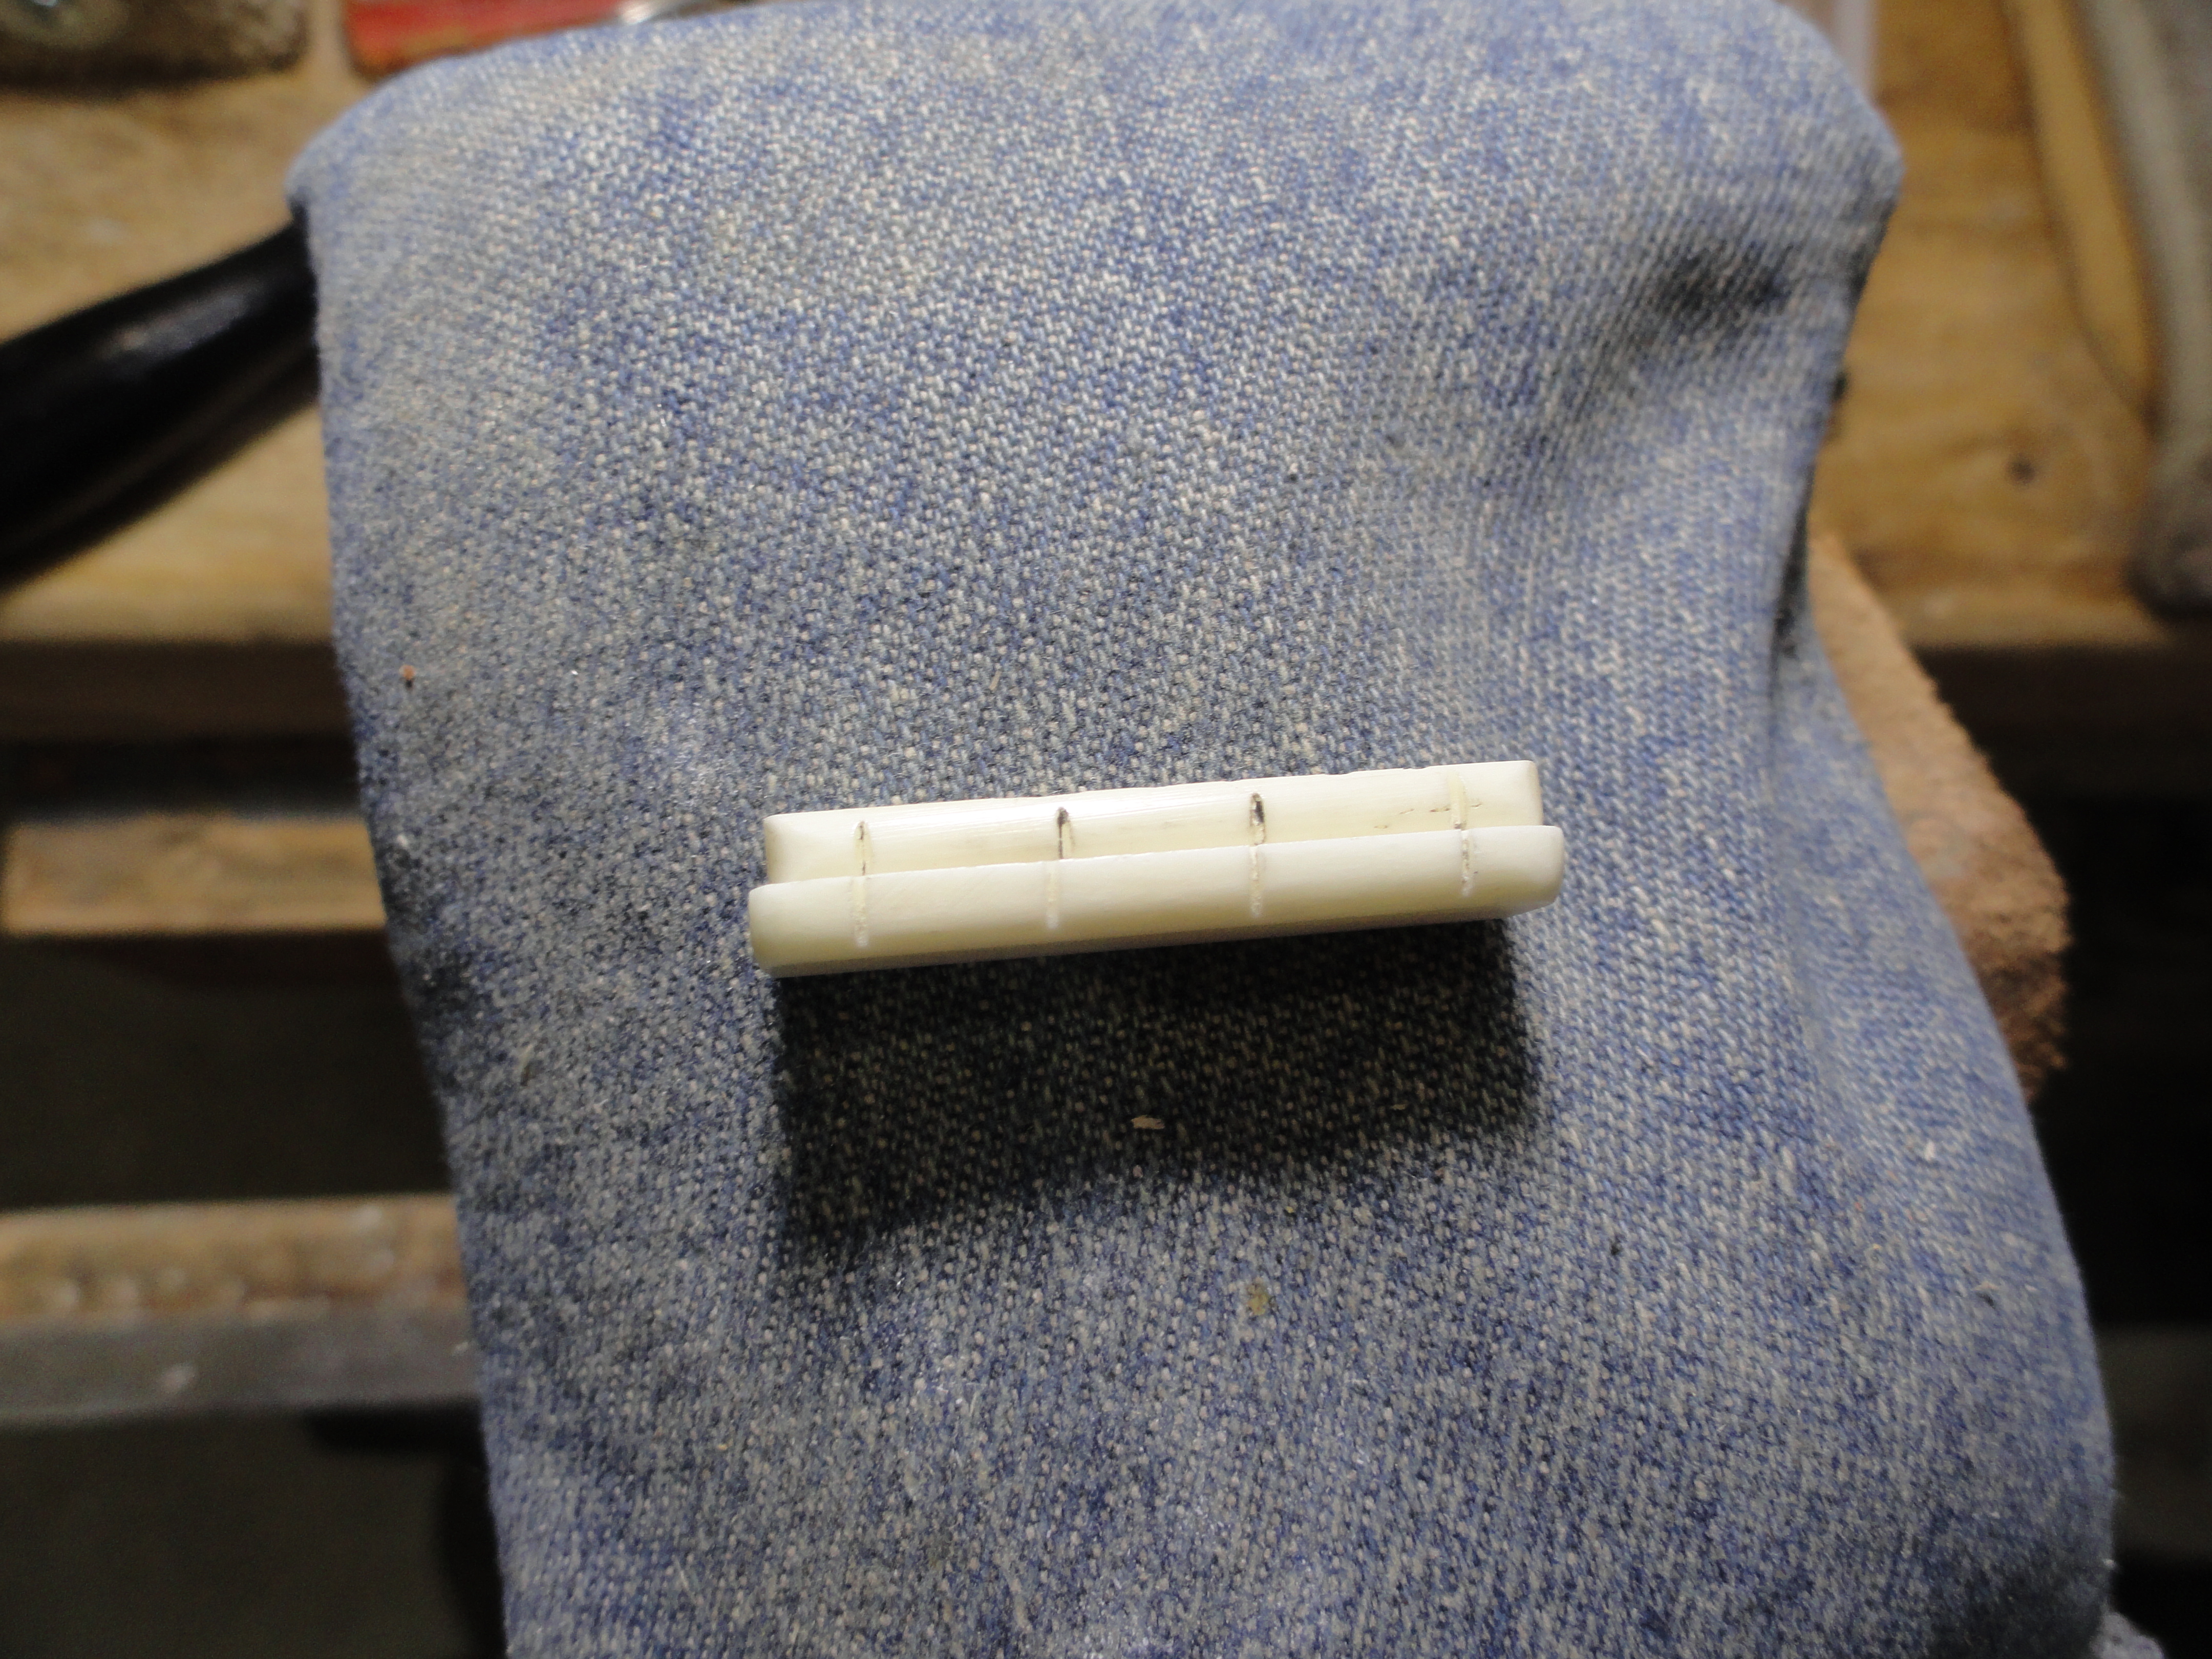
A sound rap with a hammer and a block of wood removed the old nut from its slot. I fabricated a new, taller nut from bone and fit it into the slightly wider slot created by the saw kerf. Here are the 2 nuts. I rough fit this nut in the slot and reserved the final shaping and slotting for after my fret leveling job.
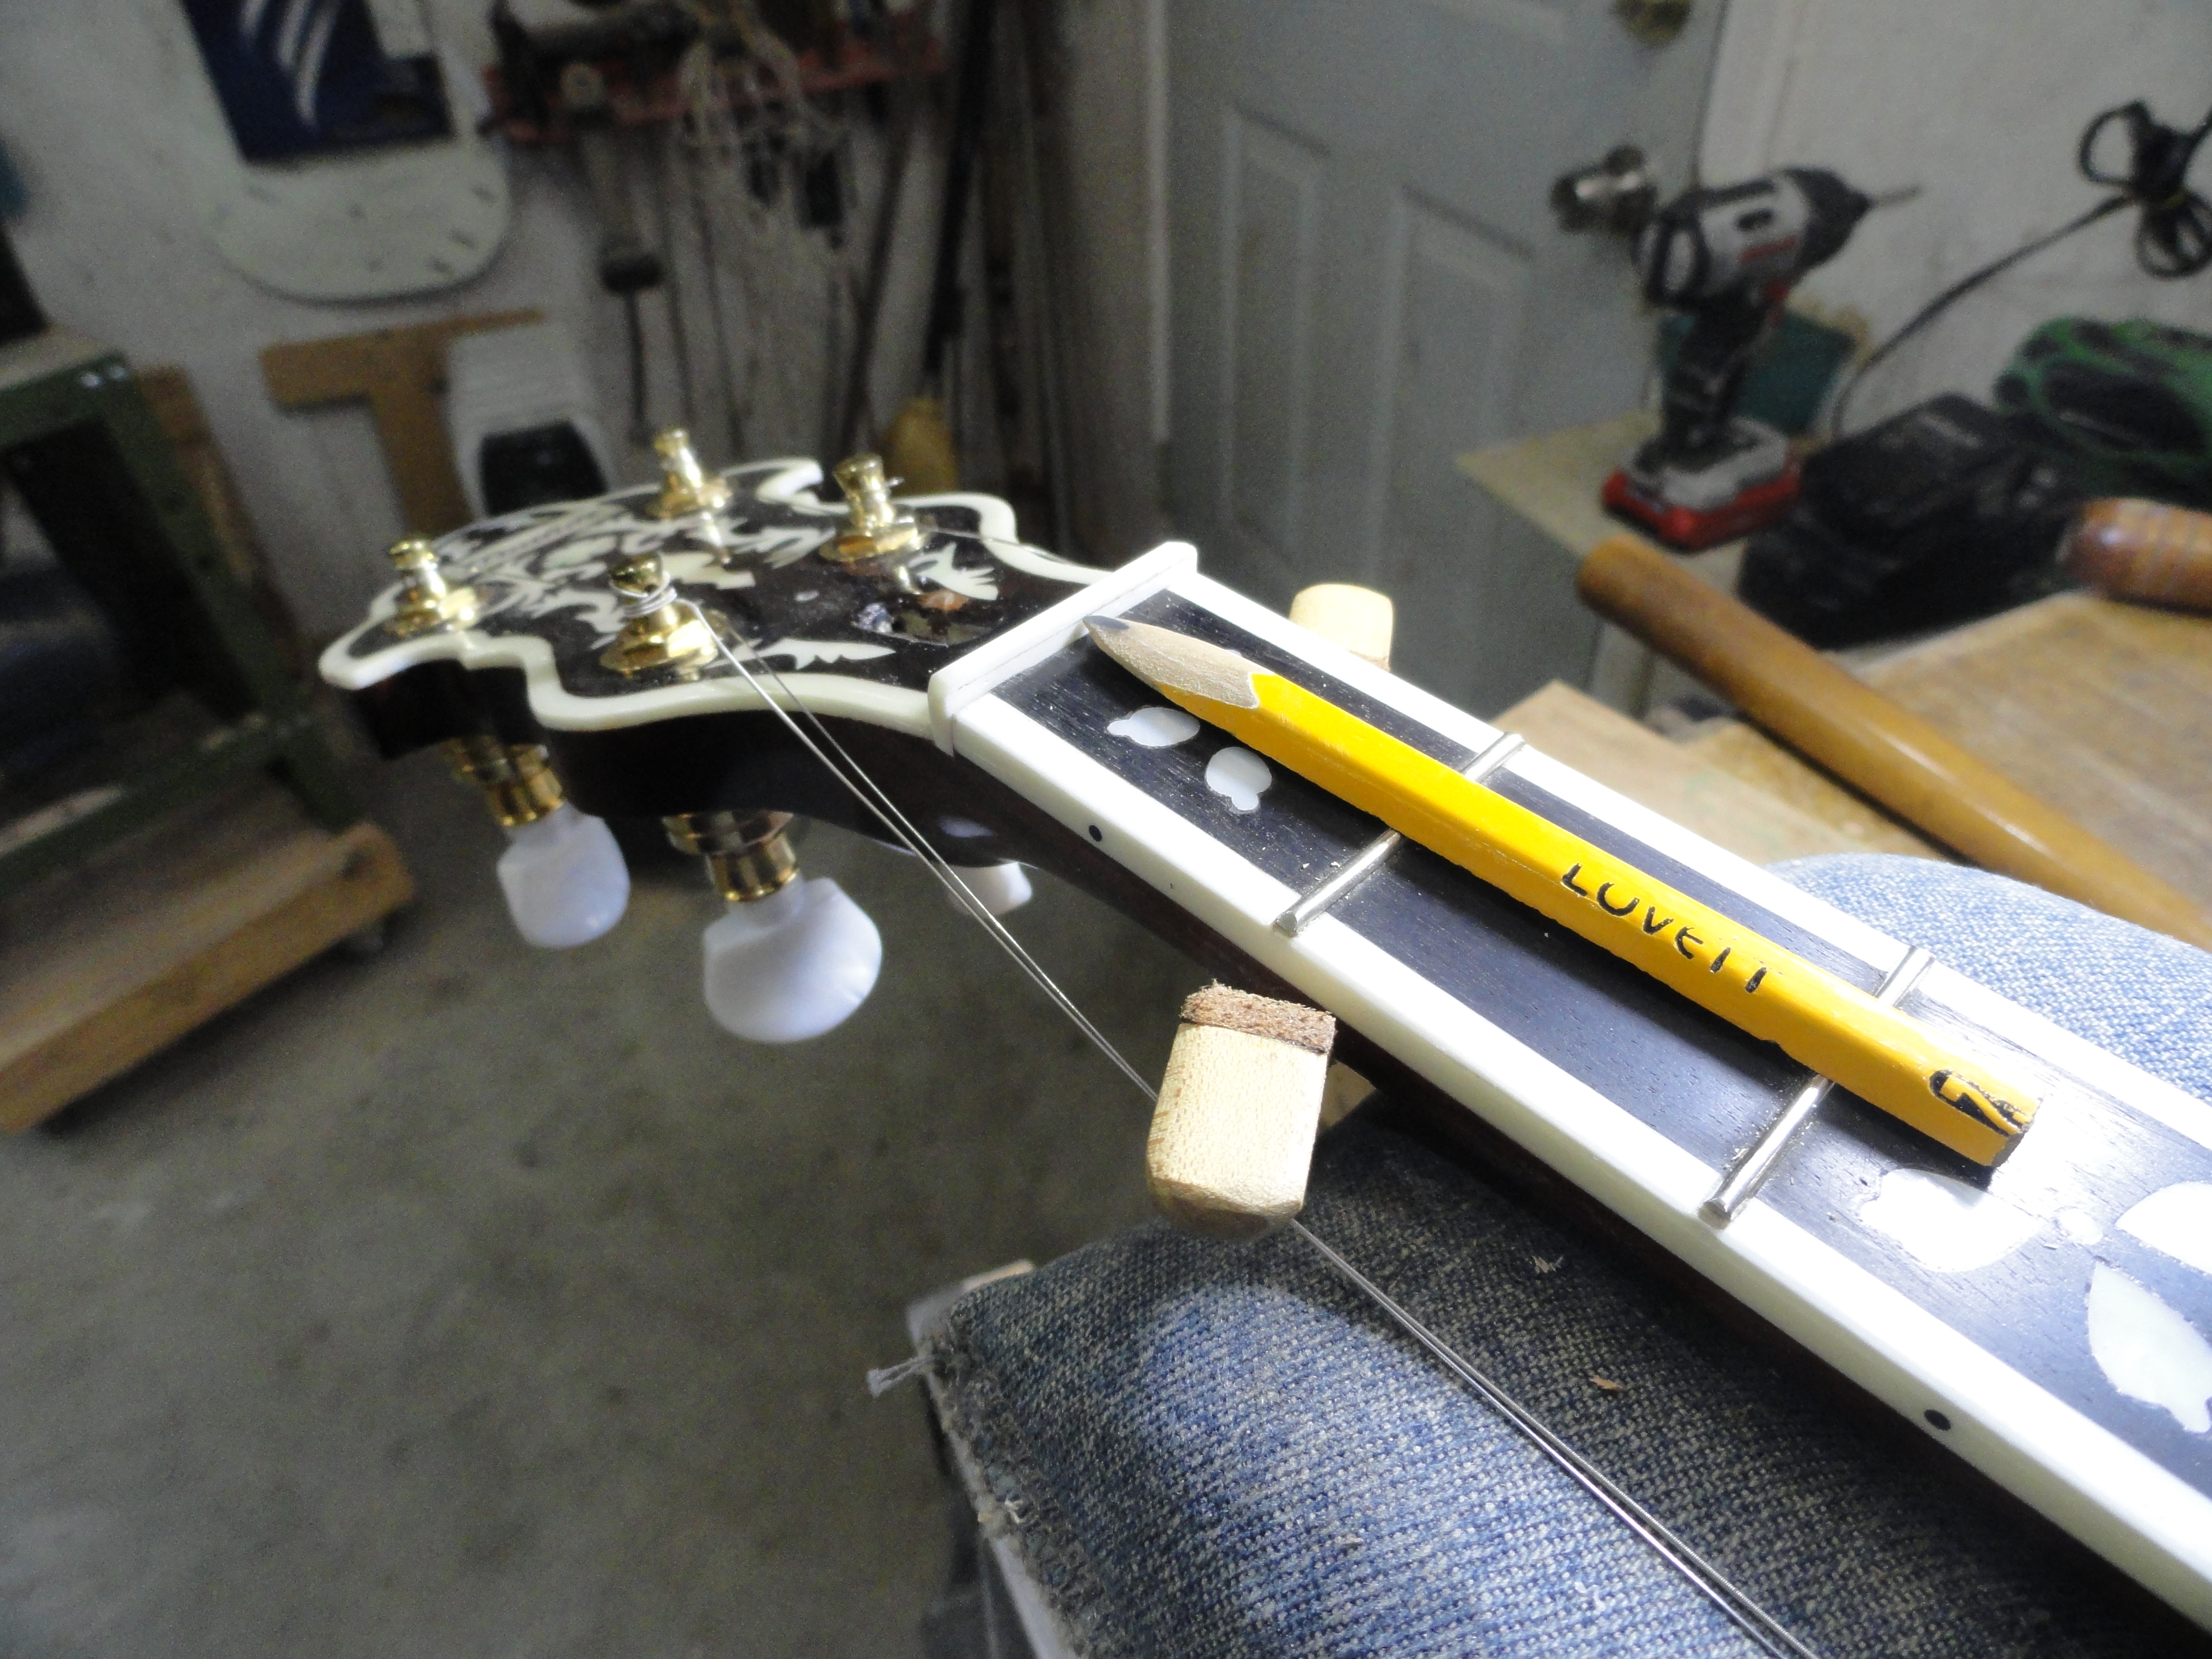
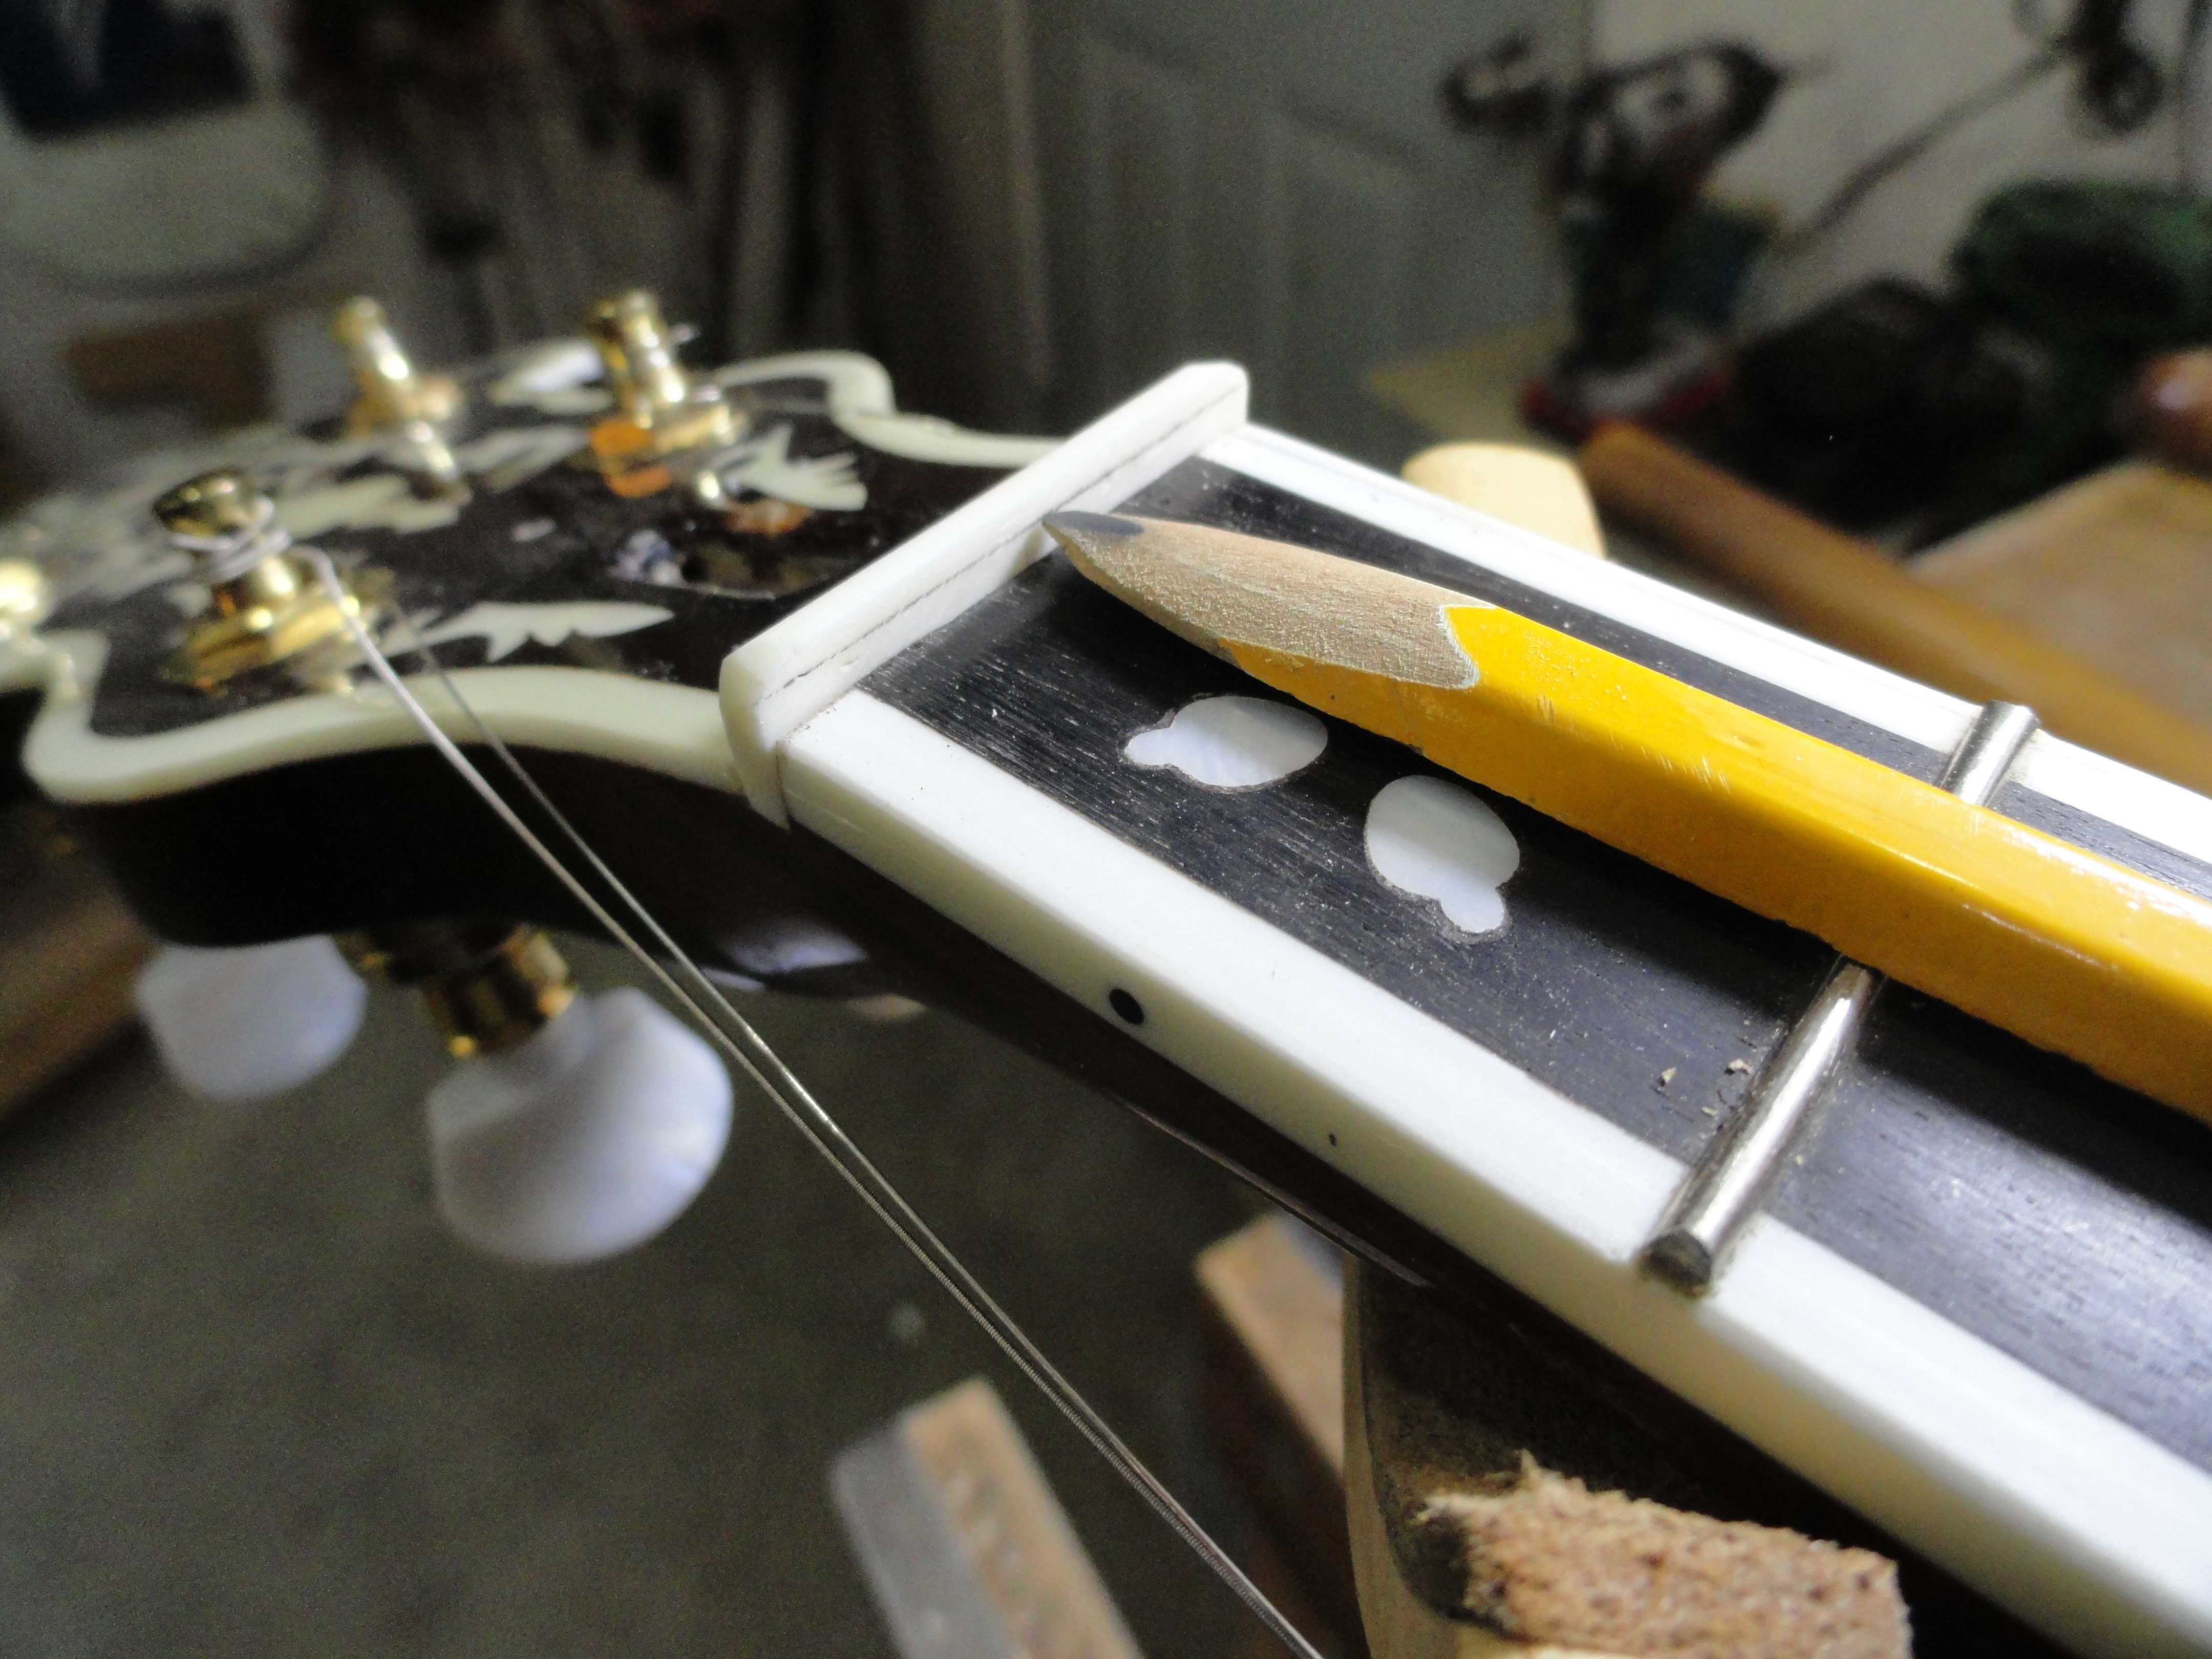
The half pencil gives us a mark that corresponds with the top of the frets (although it will be slightly different after the frets are leveled).This mark gives me a starting point for the actual height of the new nut.
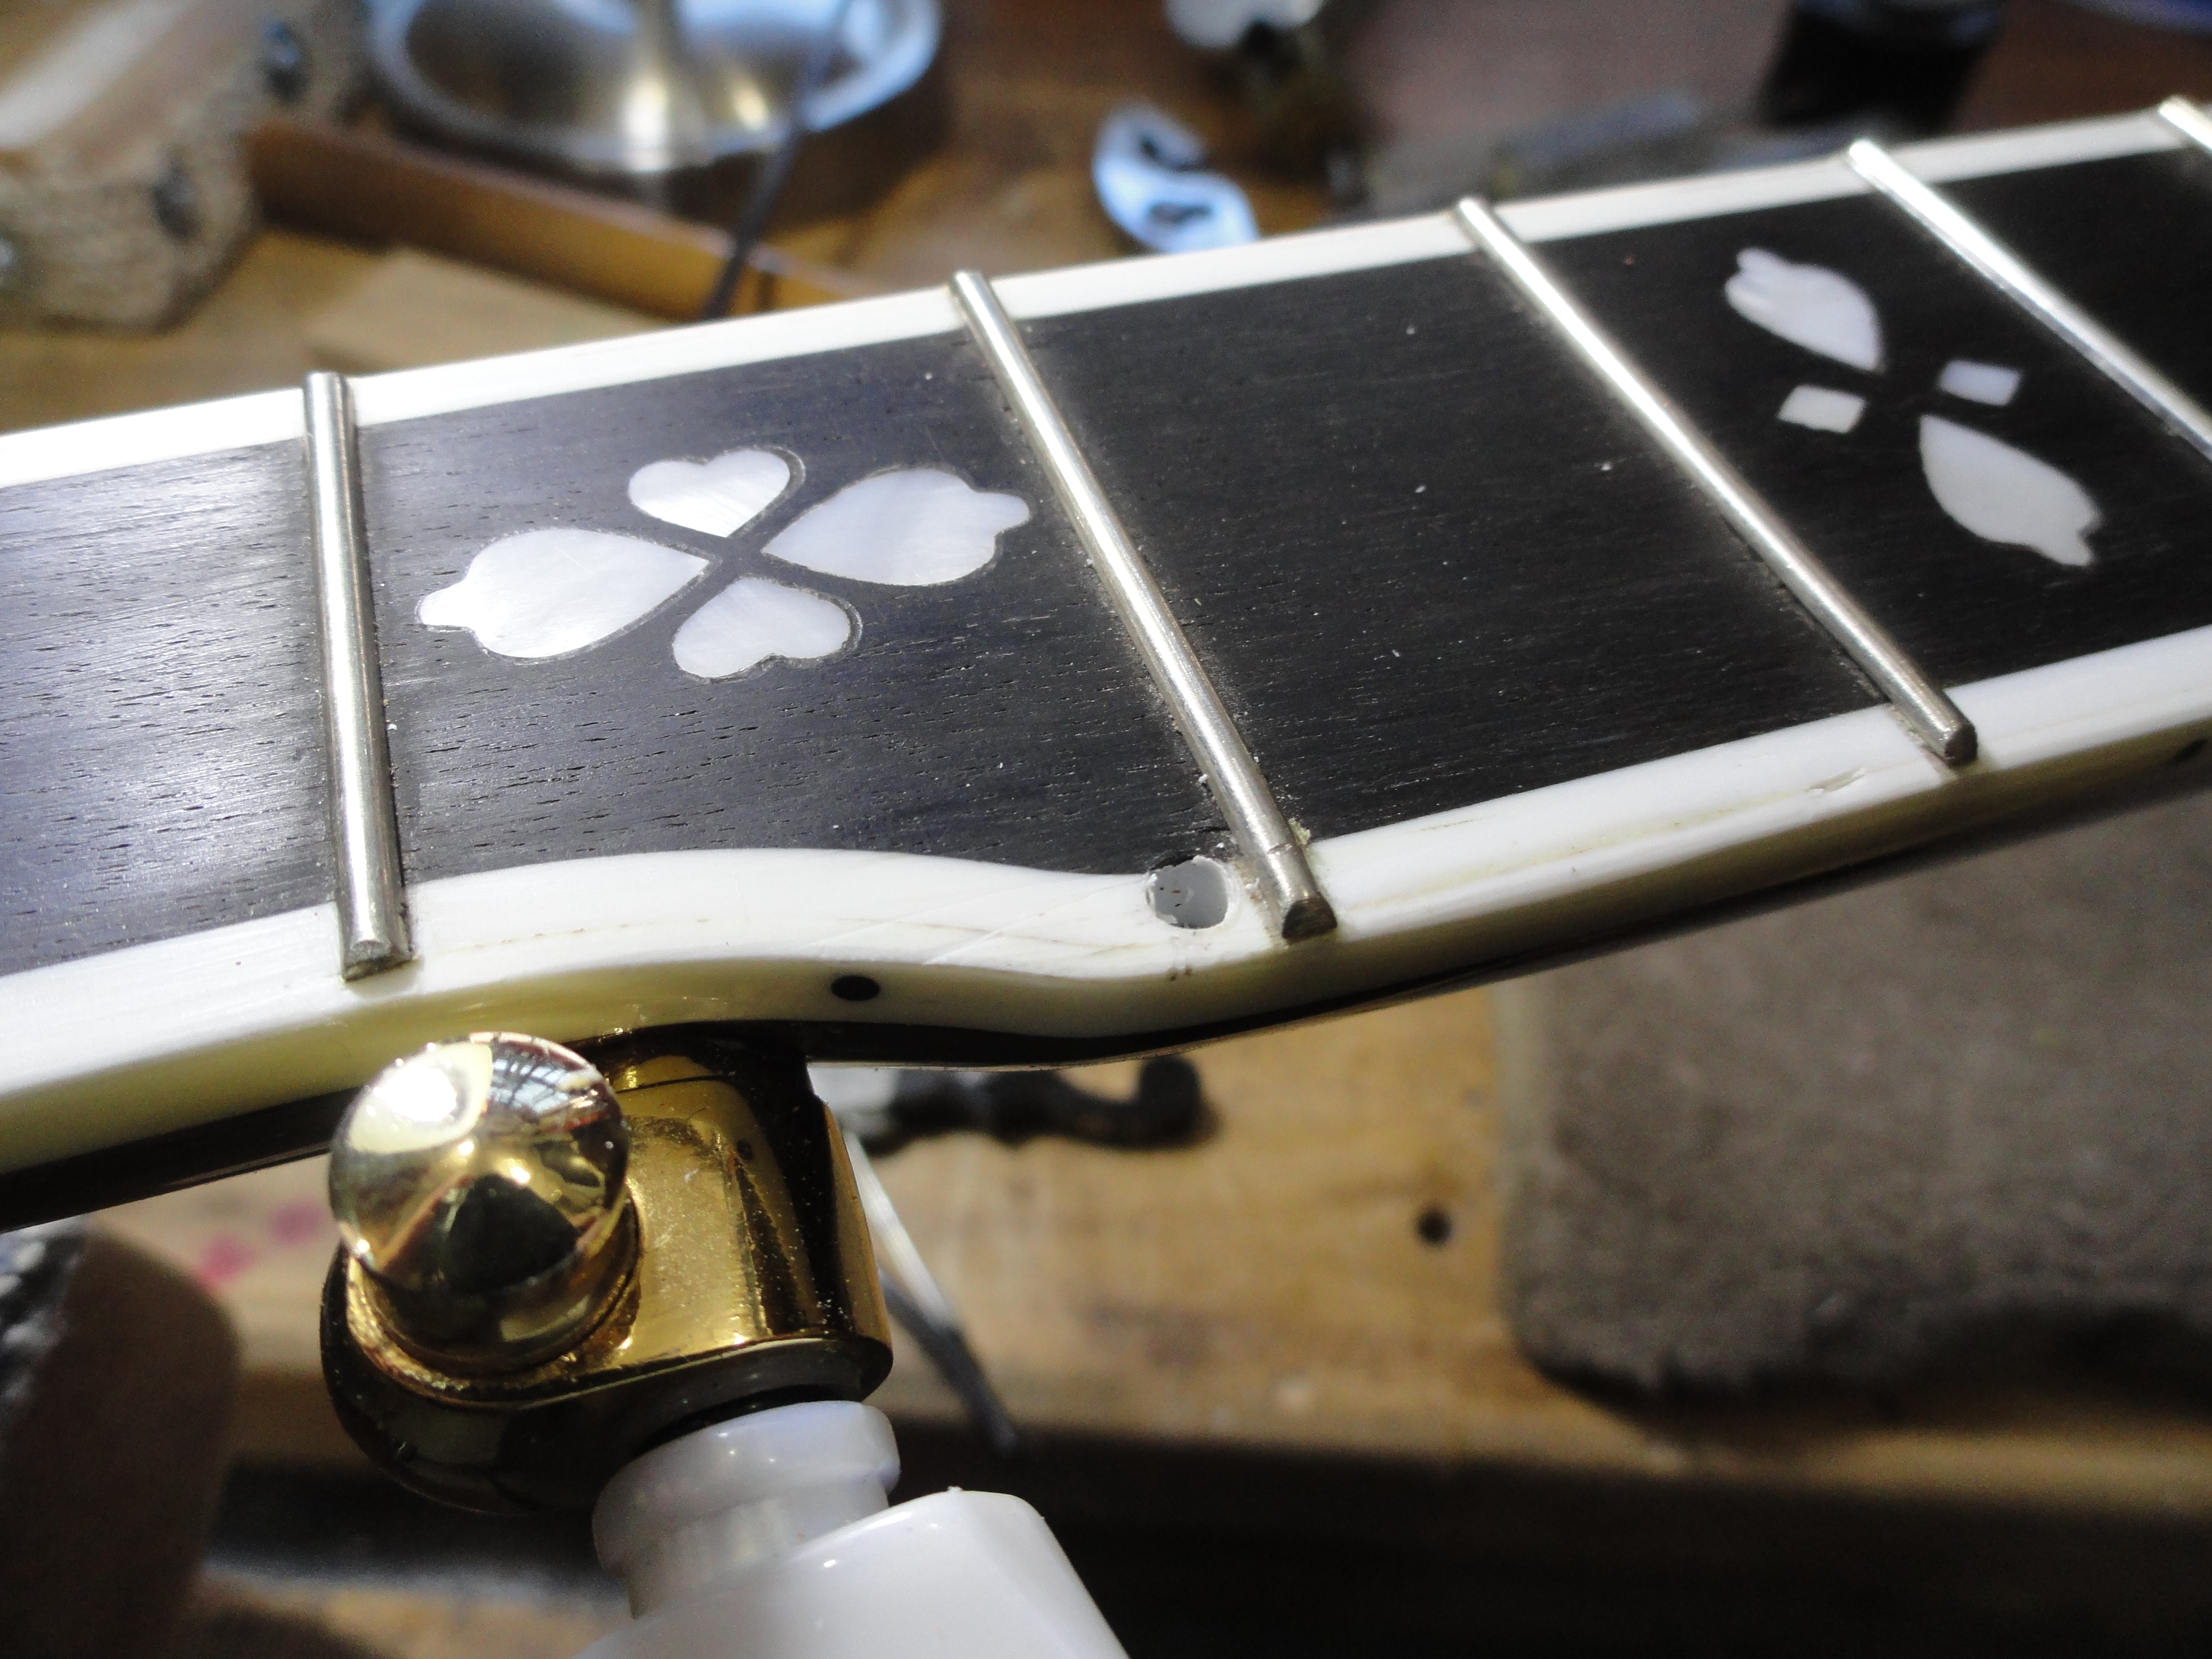
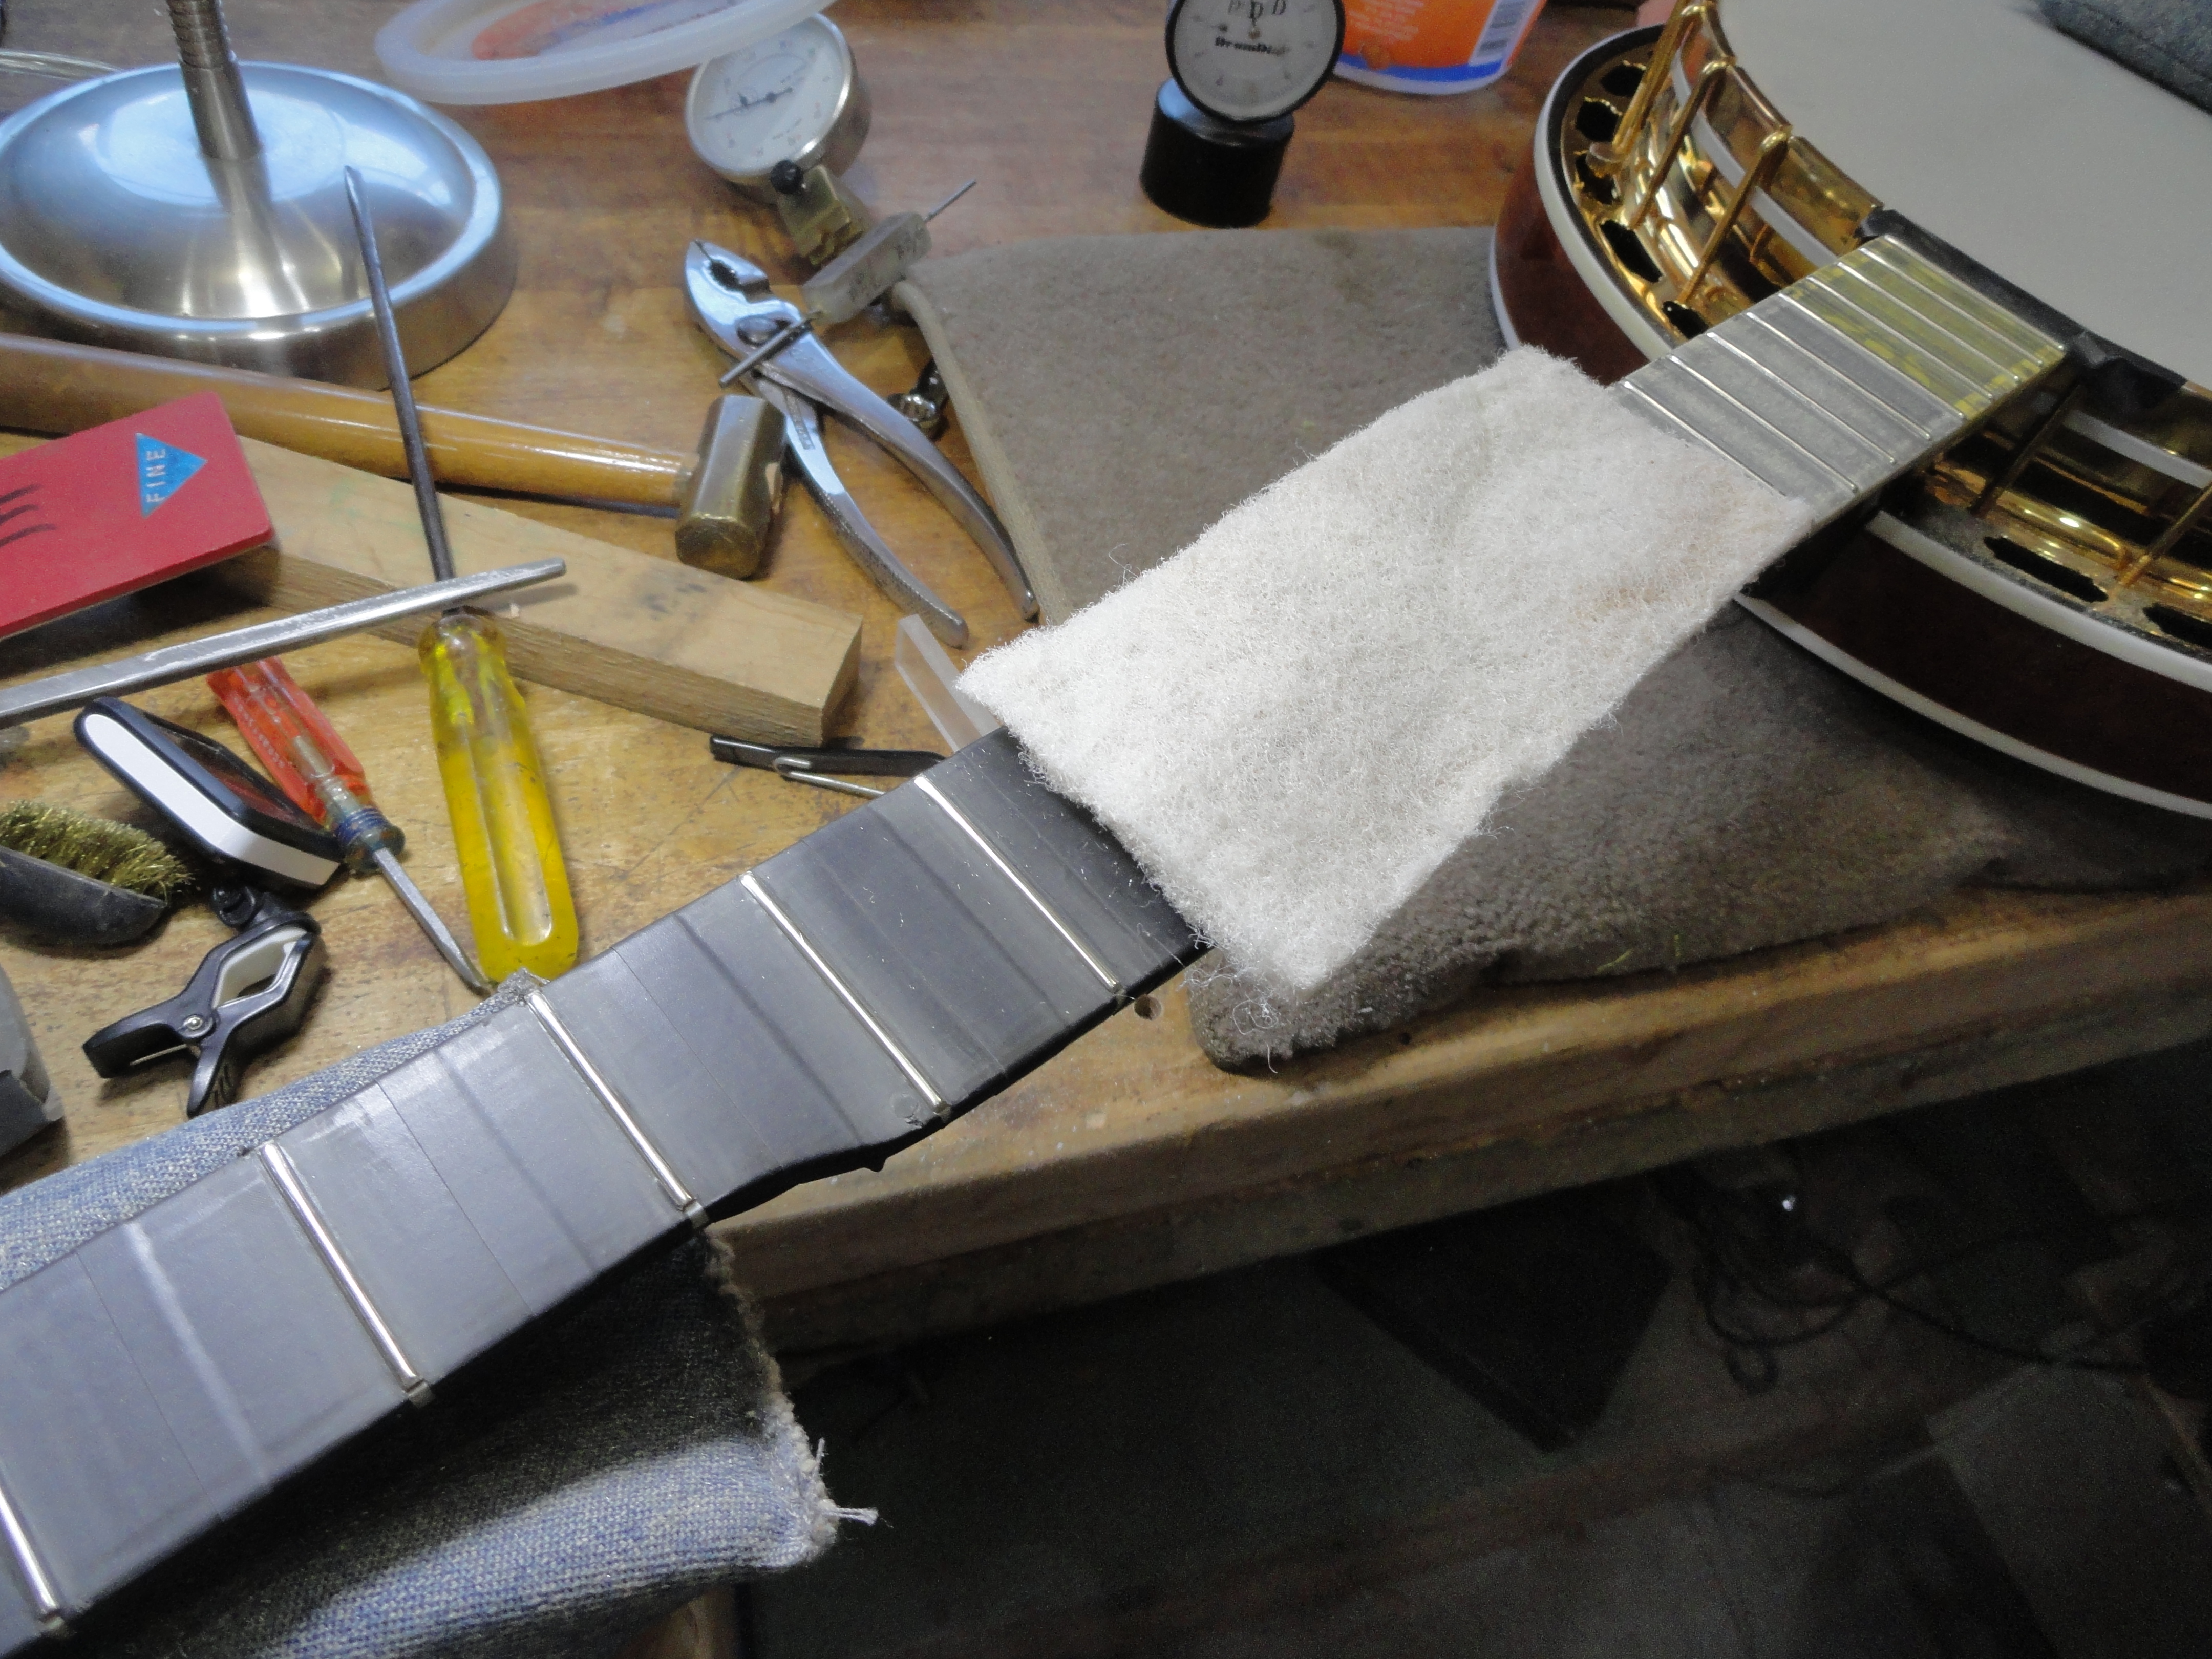
Before proceeding with the fret leveling, I needed to remove the plastic 5th string nut. It was slotted too low and it was producing that dreaded twang that only a 5th string can make when it is vibrating on a fret. I drilled a small hole in this nut and worked it from the hole. This will allow me to work with the frets to level them without having to dodge this nut. You might also notice that the 5th string key is installed in a manner that will not create any downward force on this string. We removed the 5th string key and put it back later in the proper position. A banjo has a way of picking up vibrations from any loose item or any string that is not tightly bottomed out in a slot. This translates into unpleasant sounds (at least to my ear).
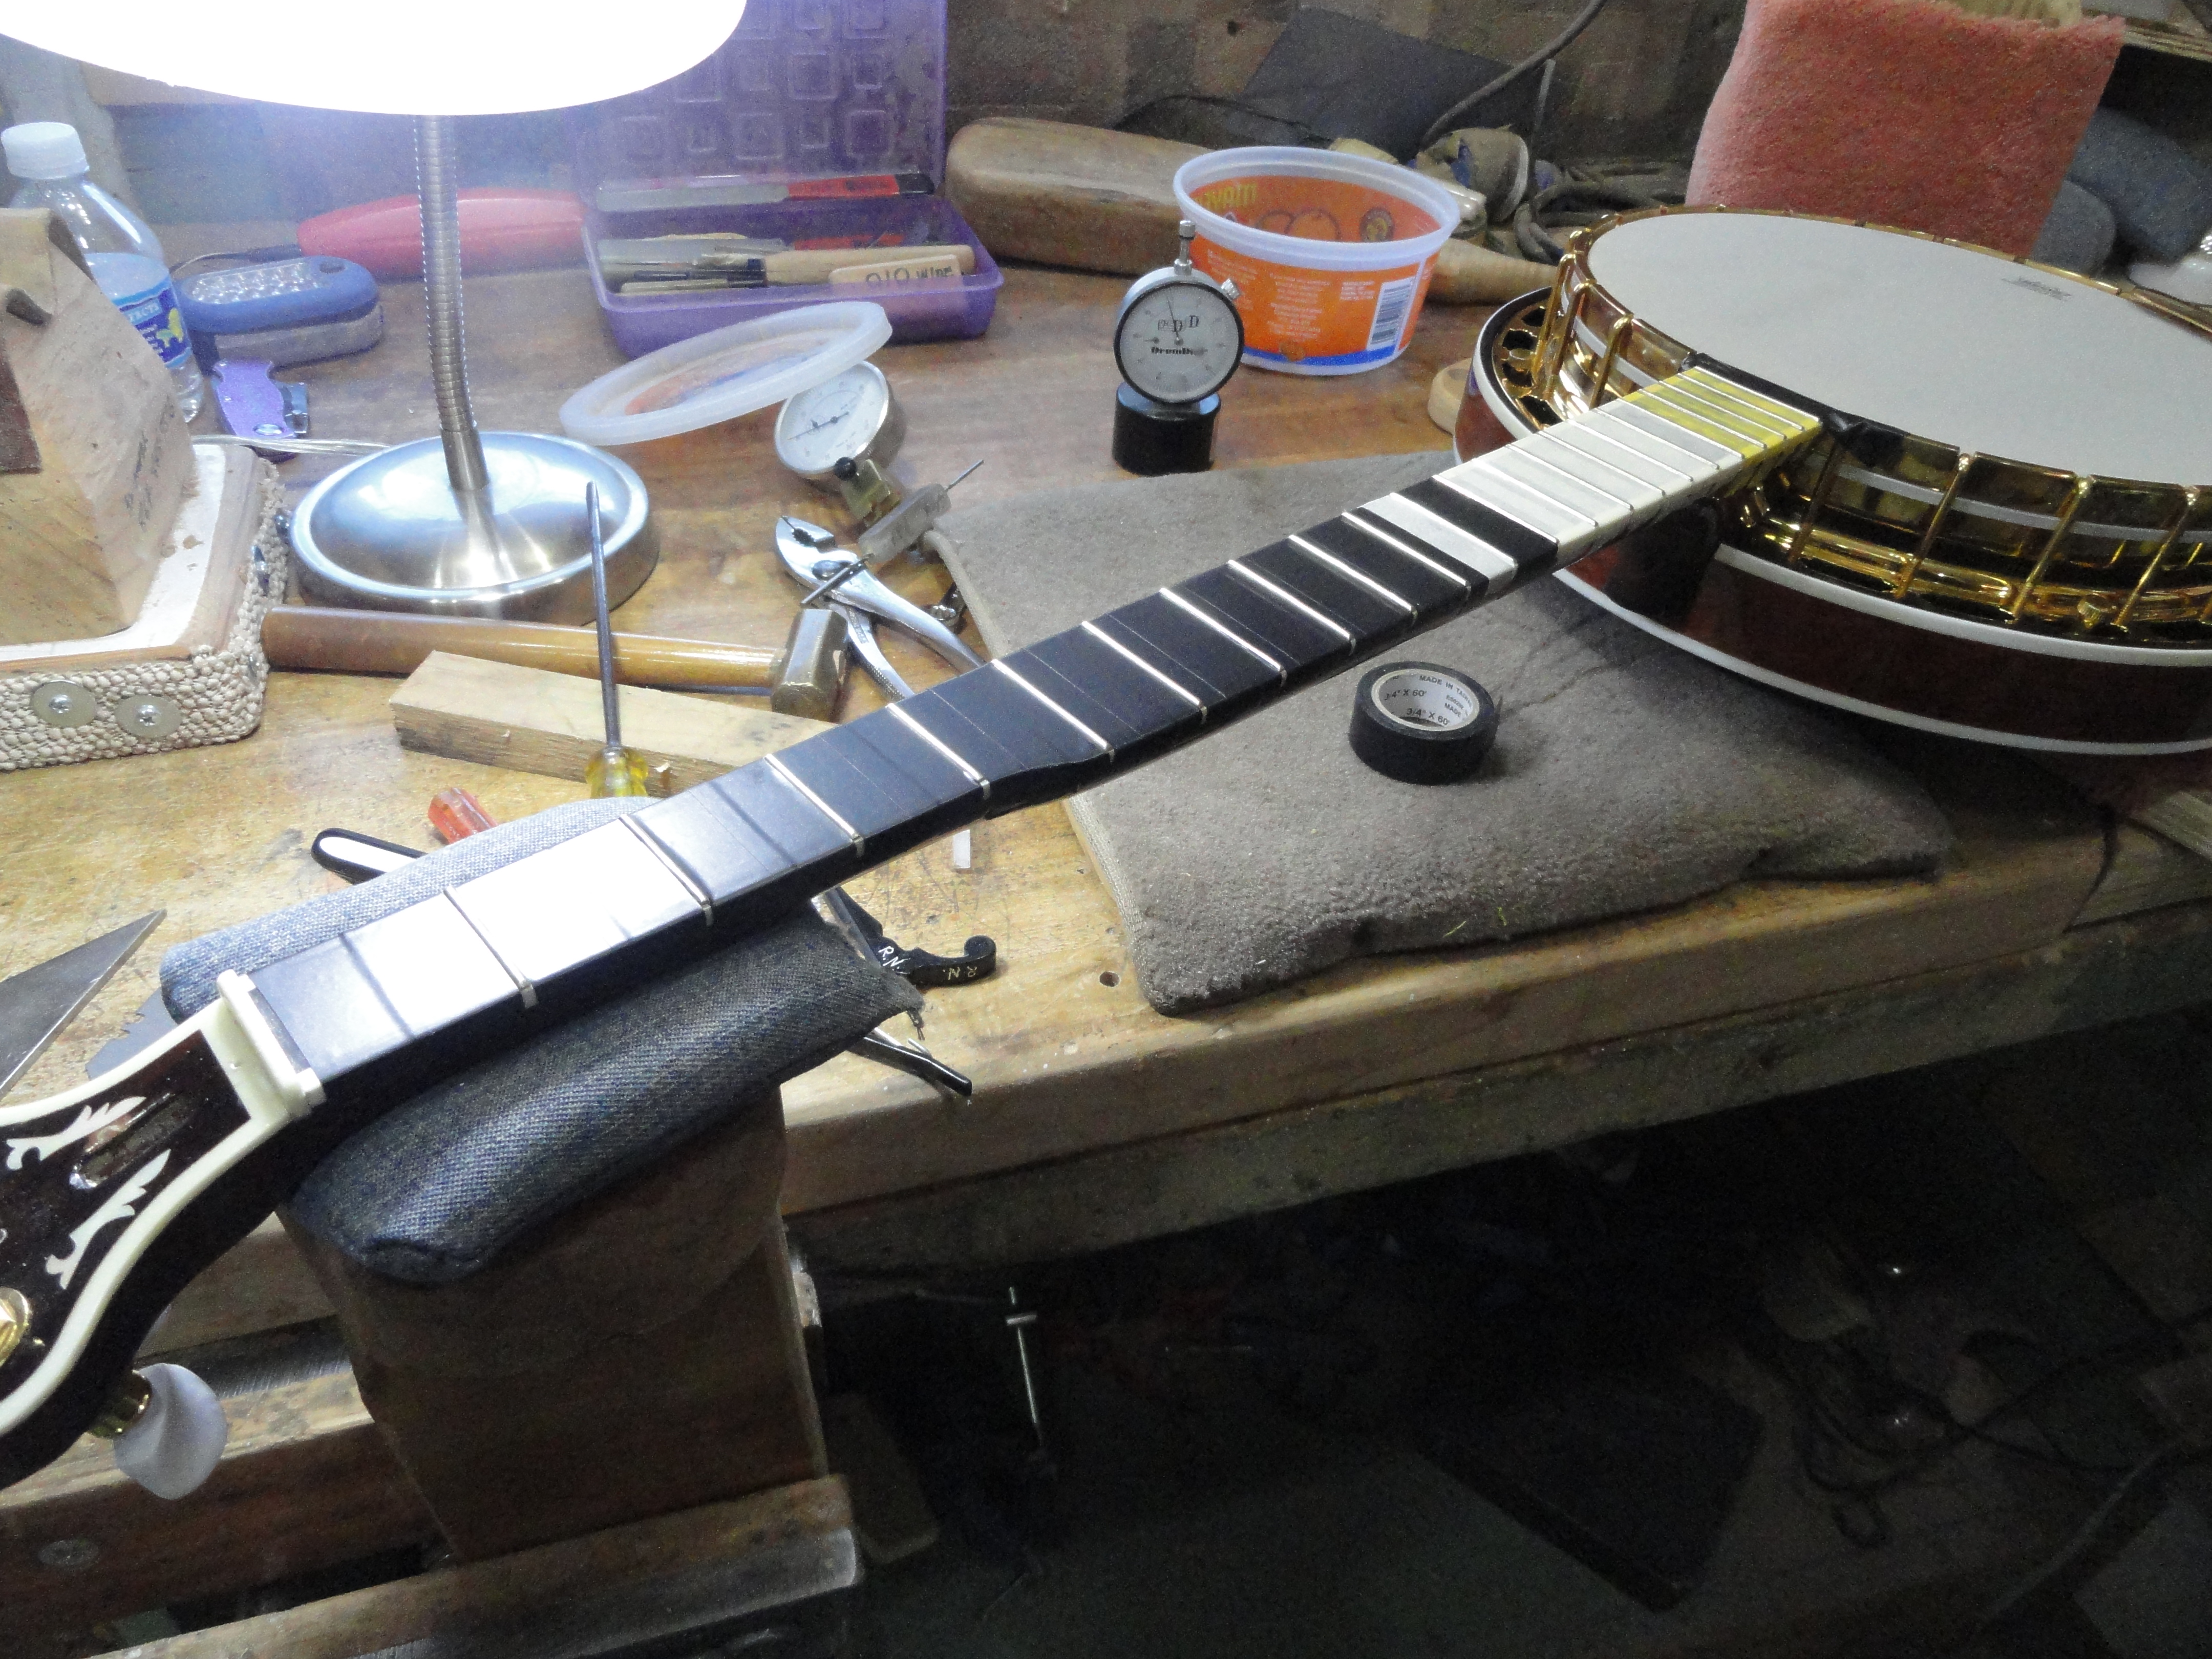
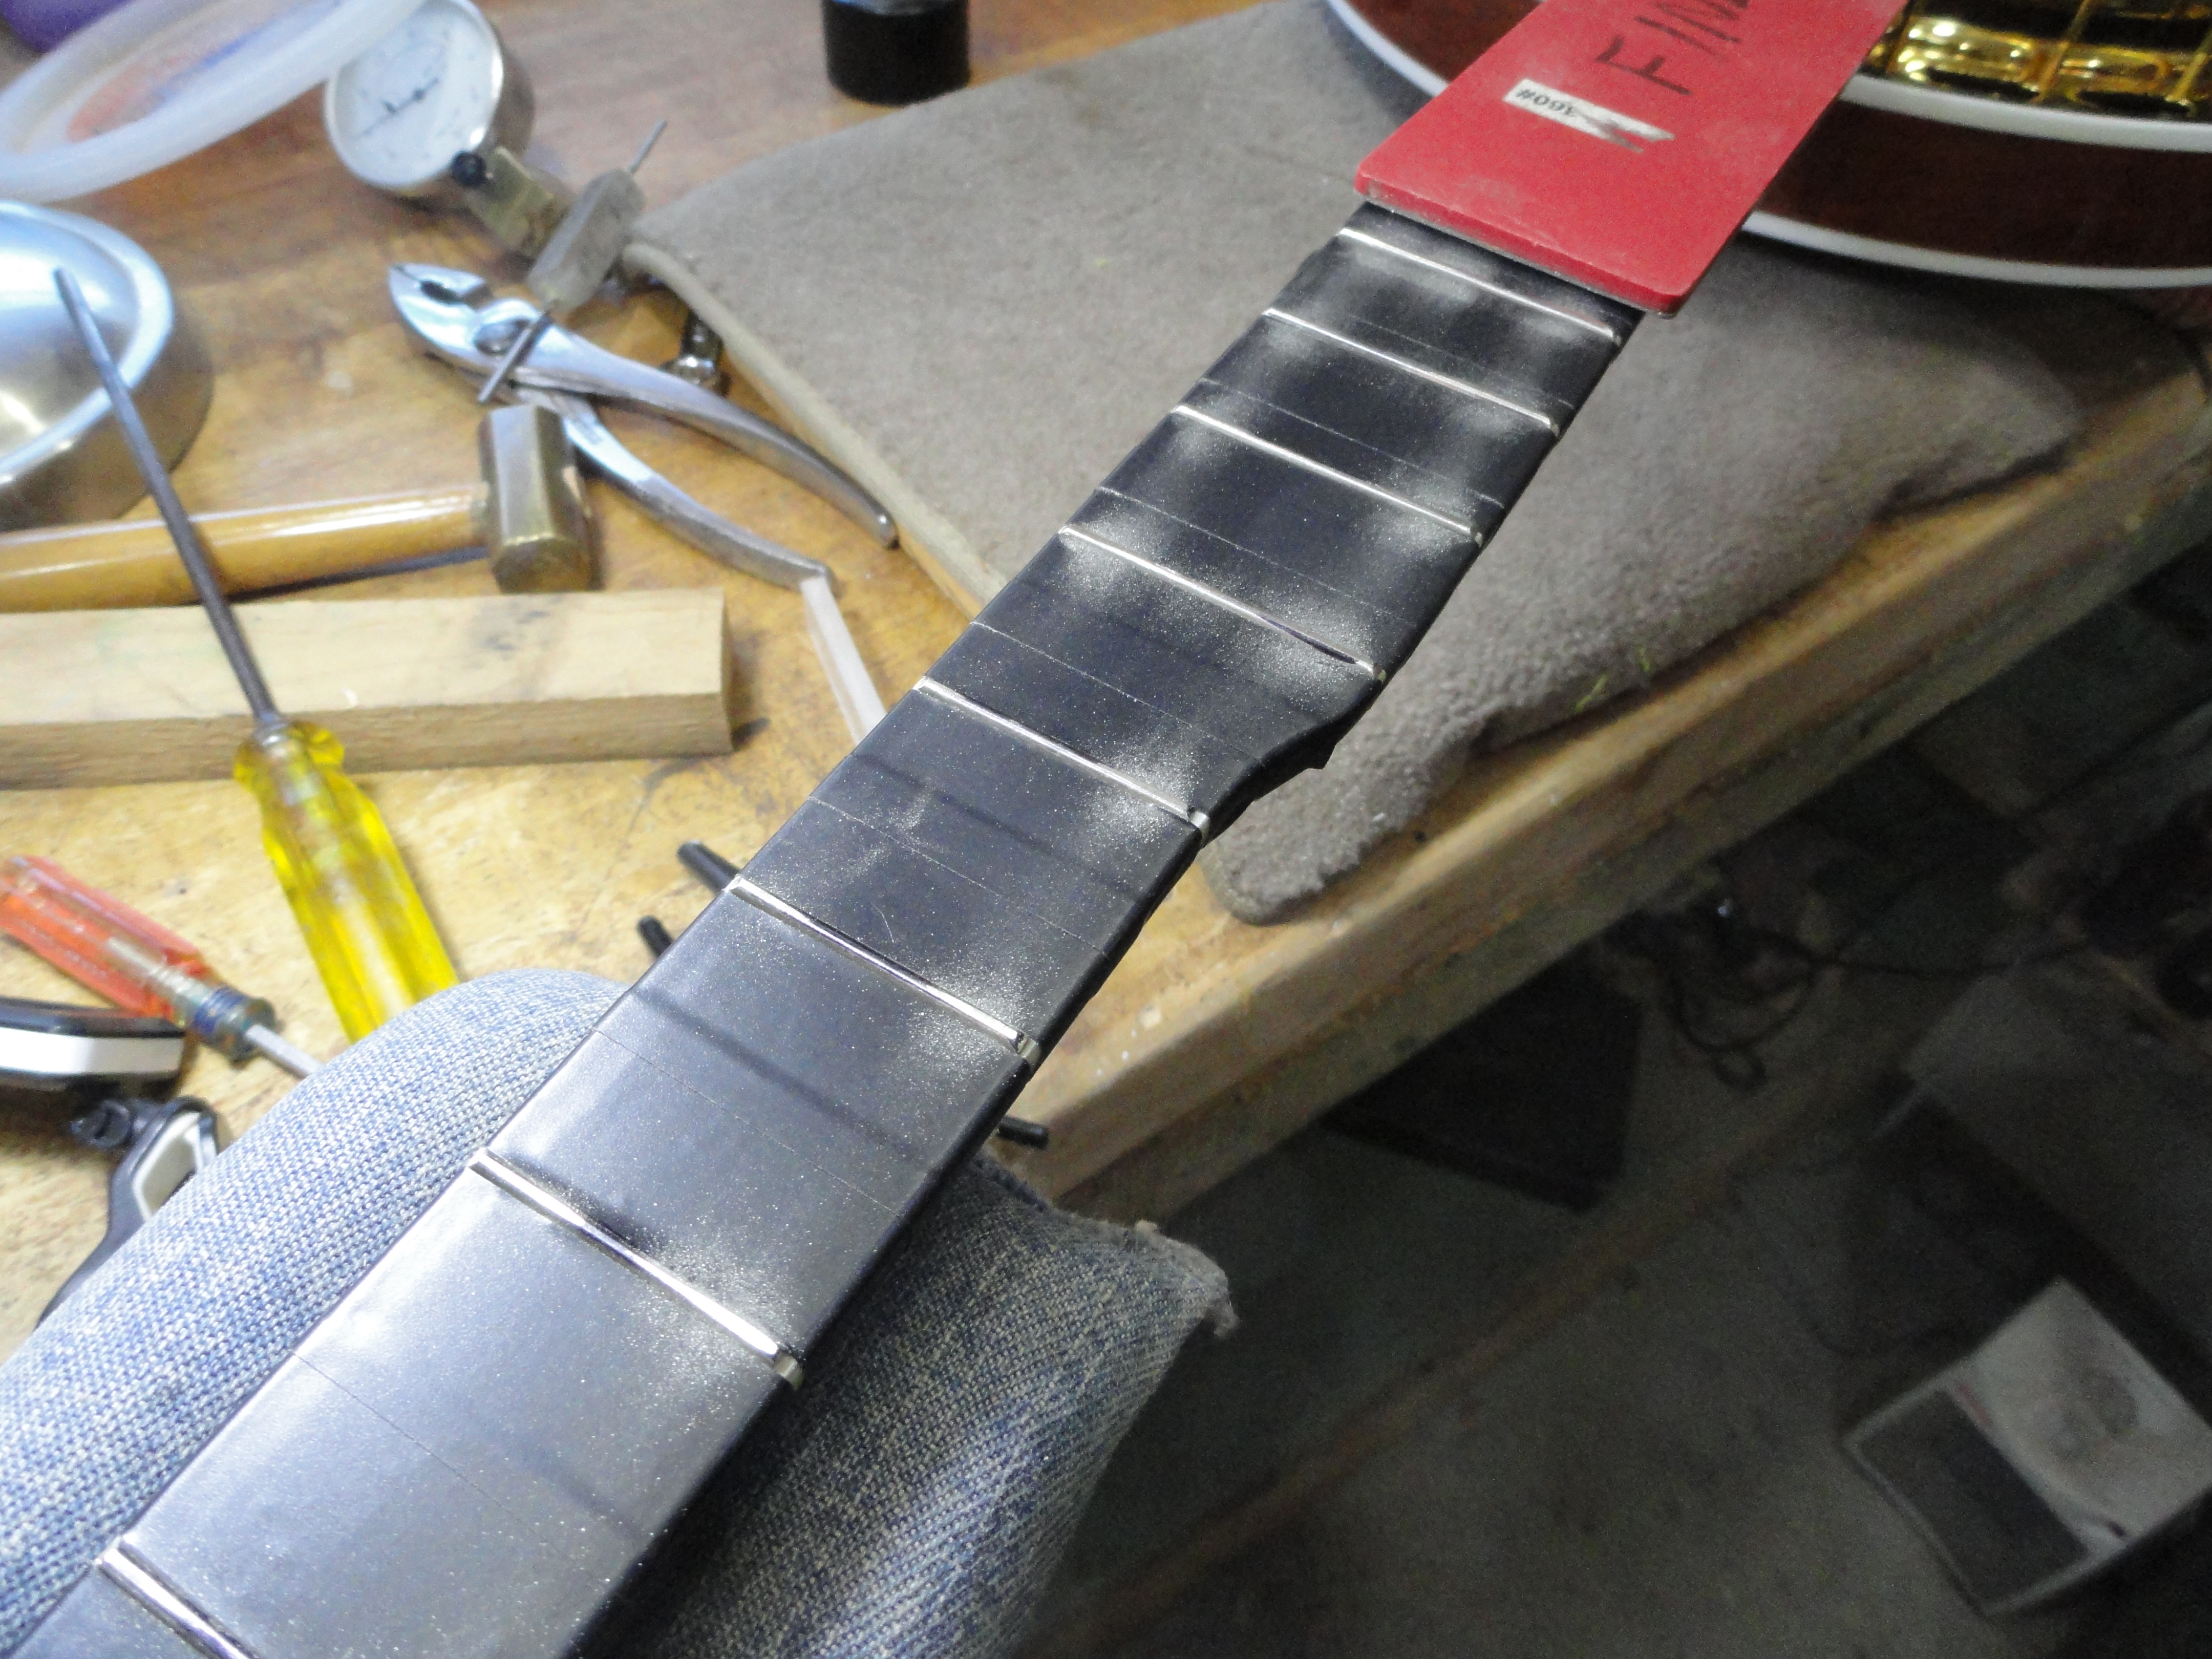
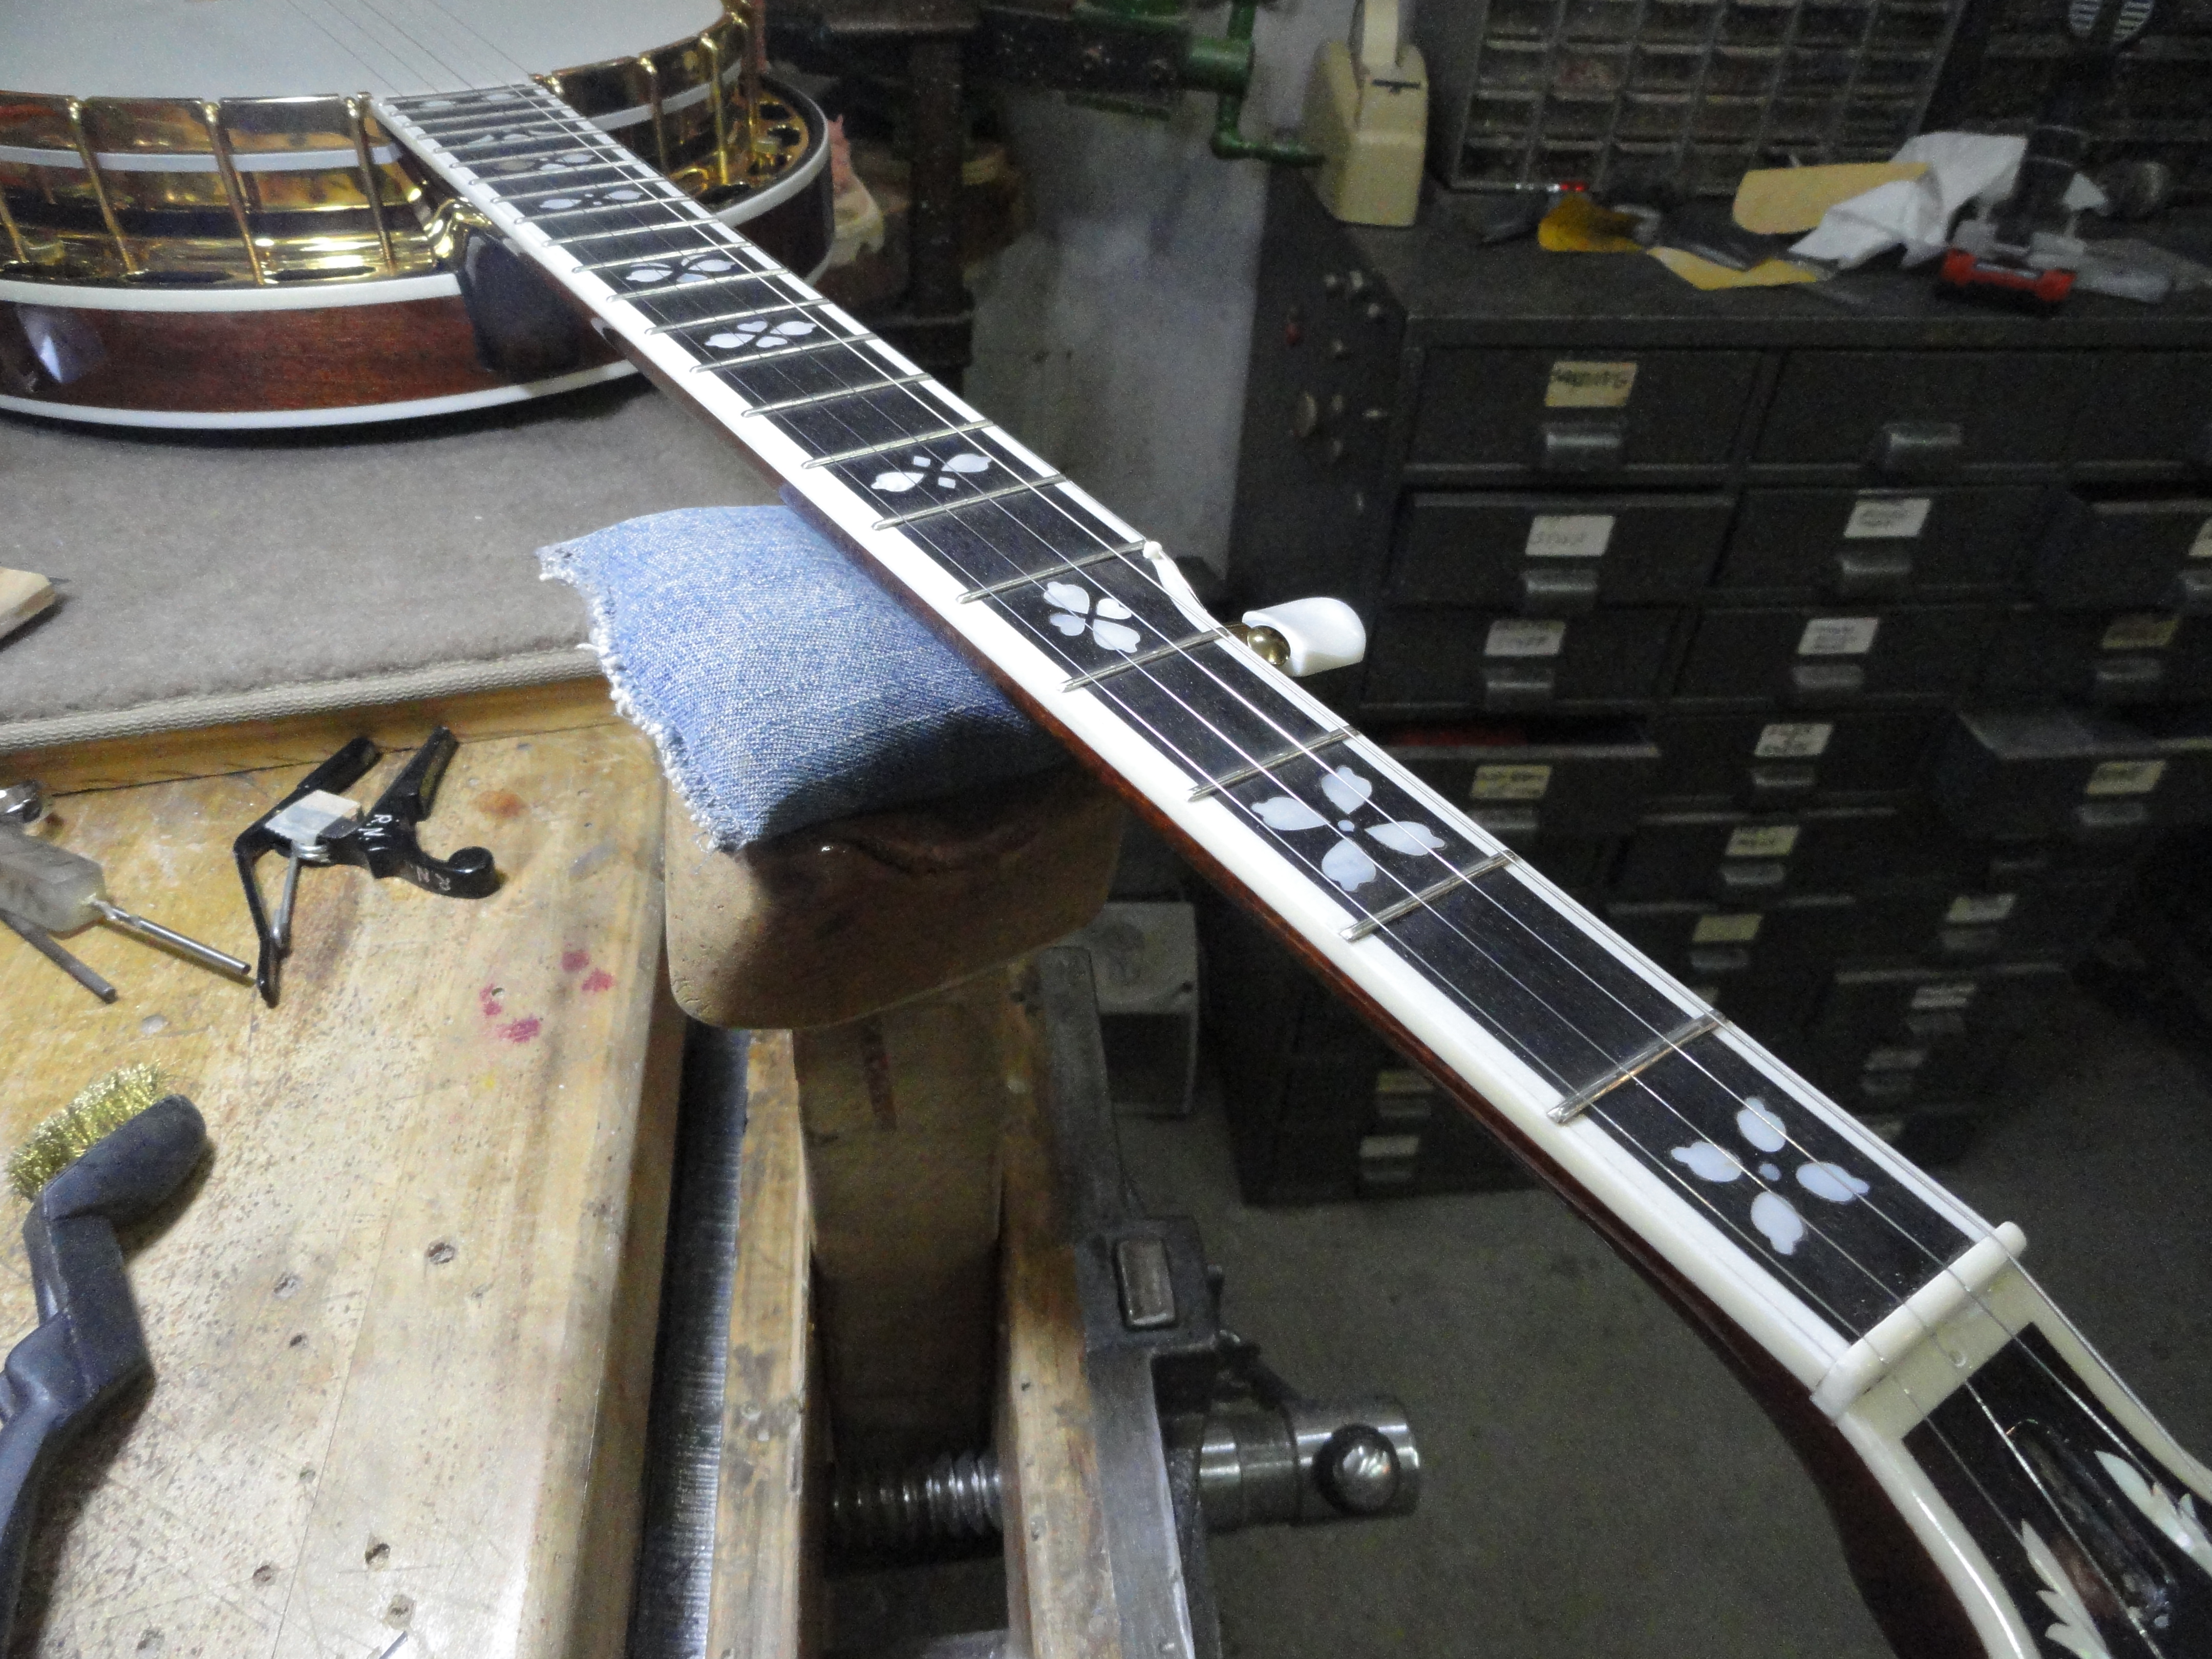
Here is the fingerboard covered in tape with the 5th string nut and key removed. The peghead nut is just temporarily there in this picture. I used masking tape for a lot of years to cover the fingerboard for this procedure. I’ve discovered that electrical tape works better. It is not as easy to sand through as masking tape. When I get to the place where the frets are too closely spaced for electrical tape, I sometimes cut the electrical tape and other times I use some 1/2 and 1/4 inch masking tape.

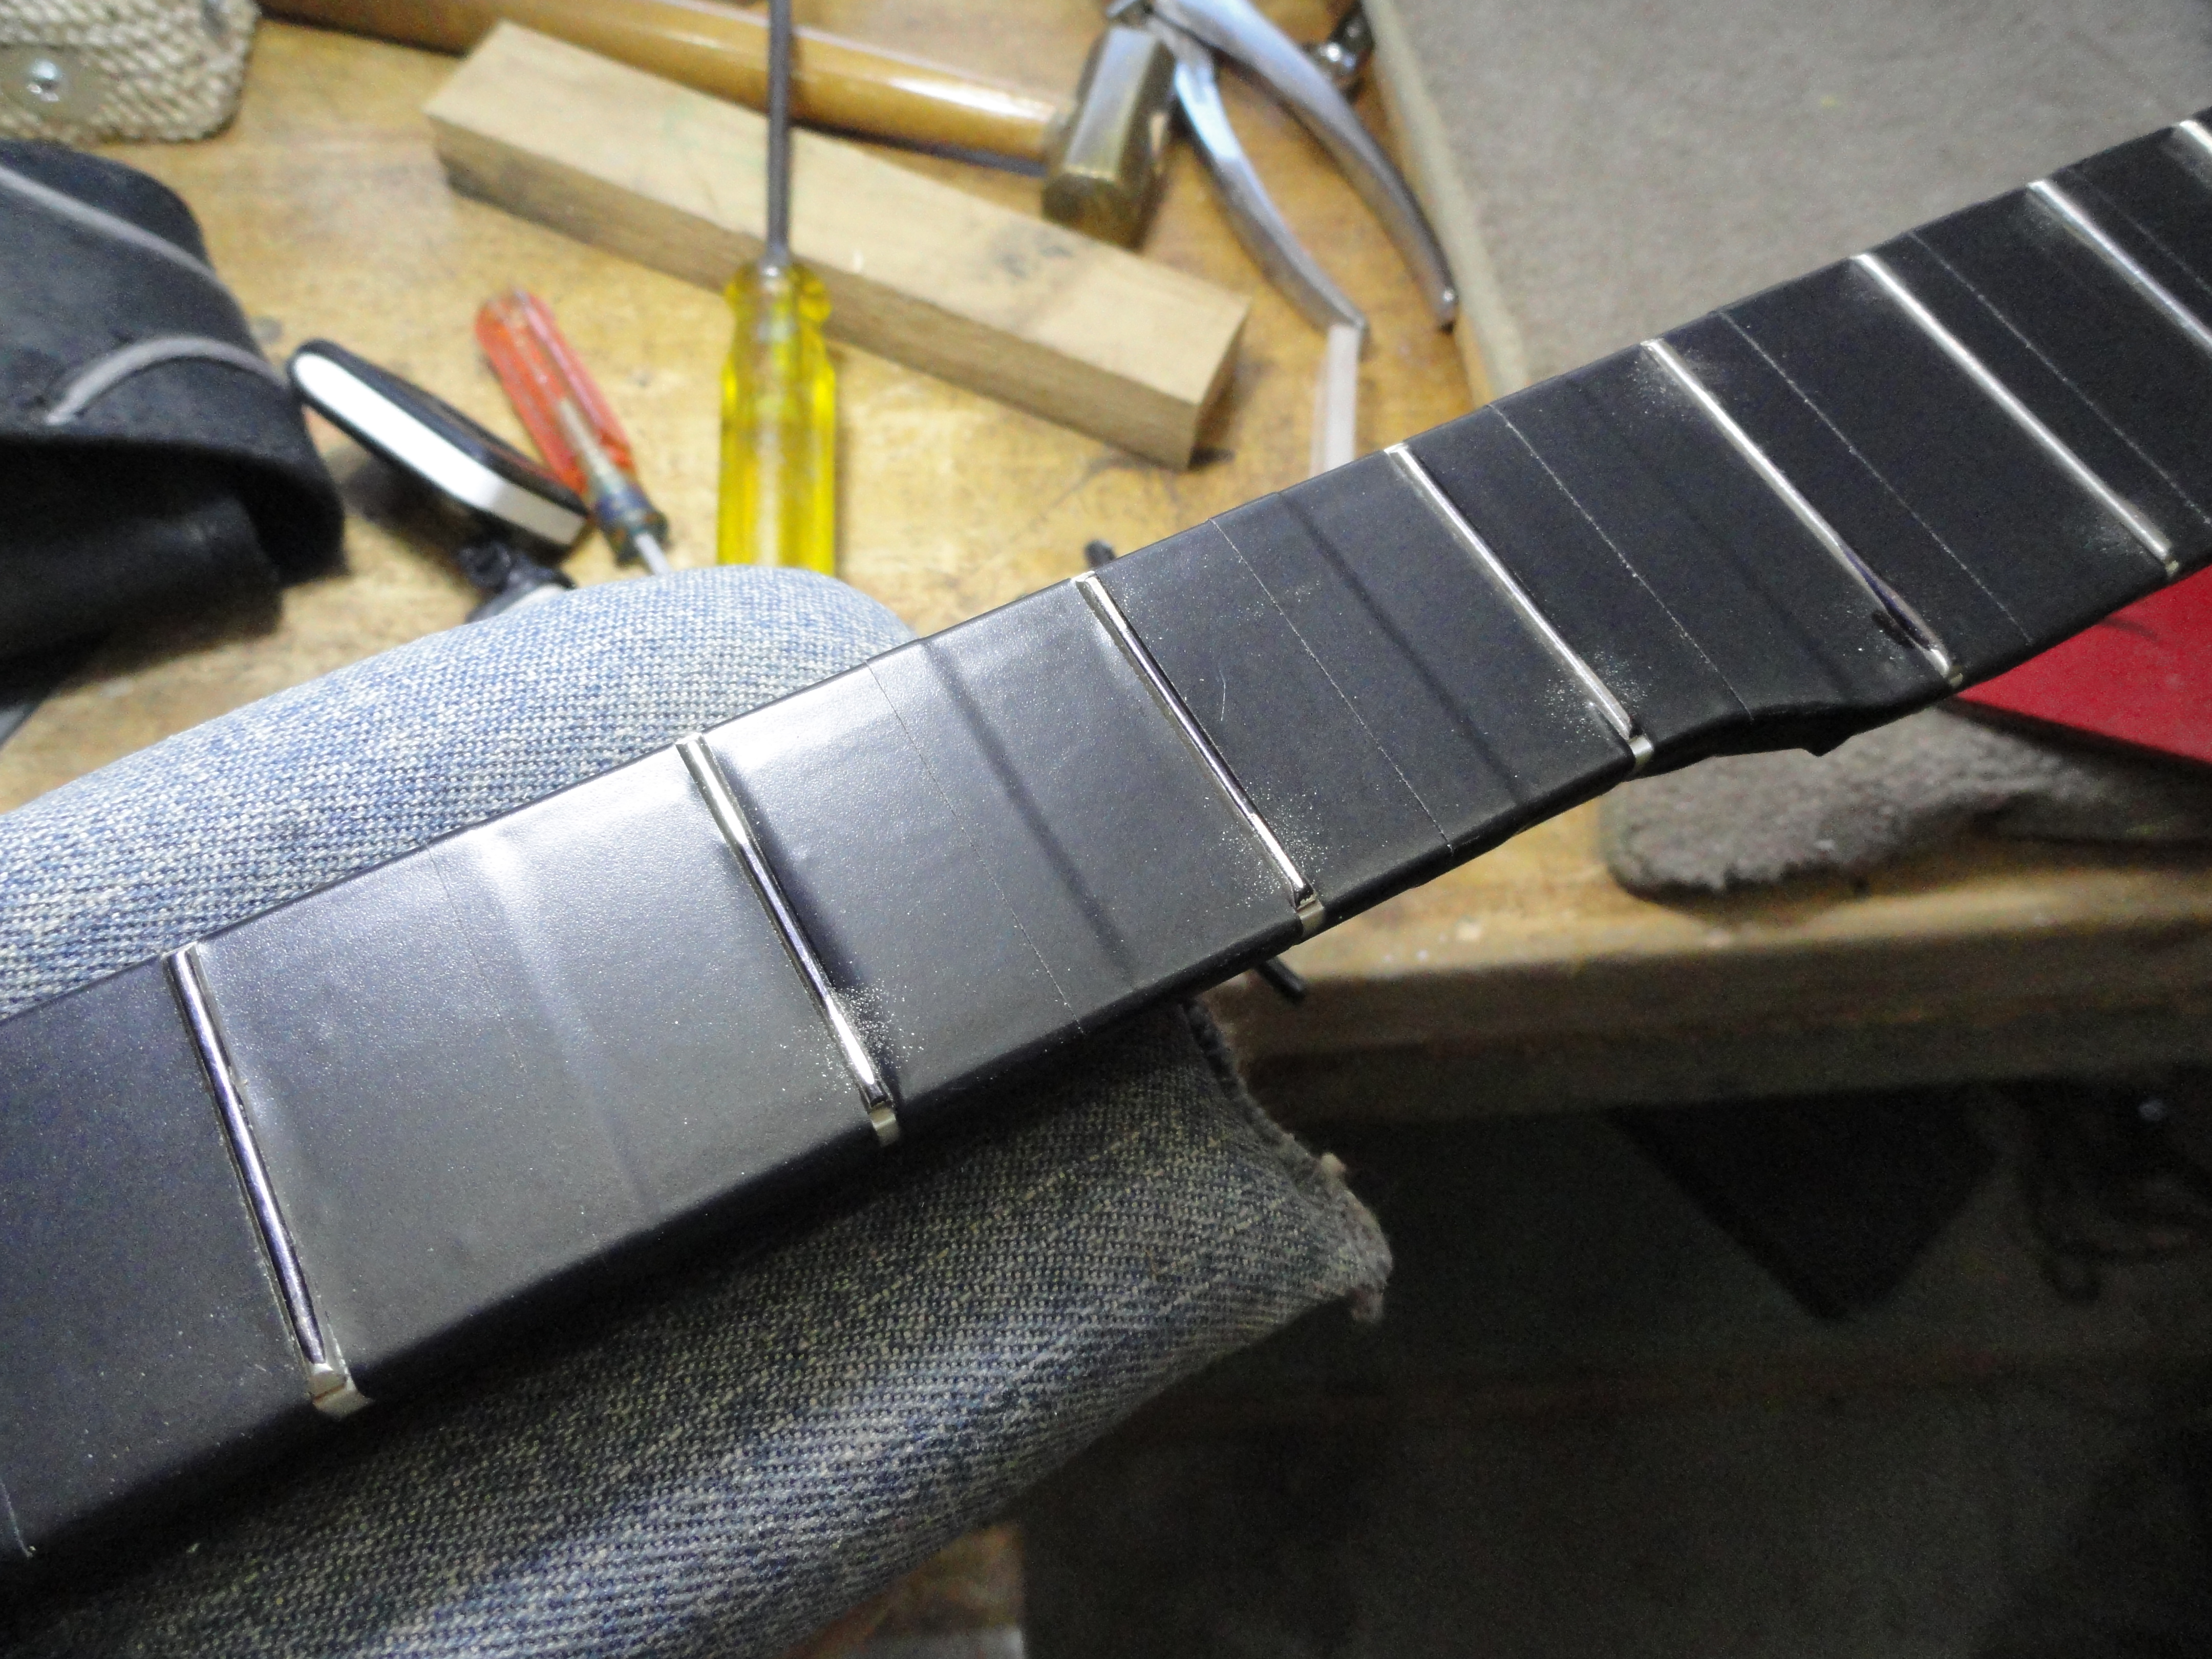
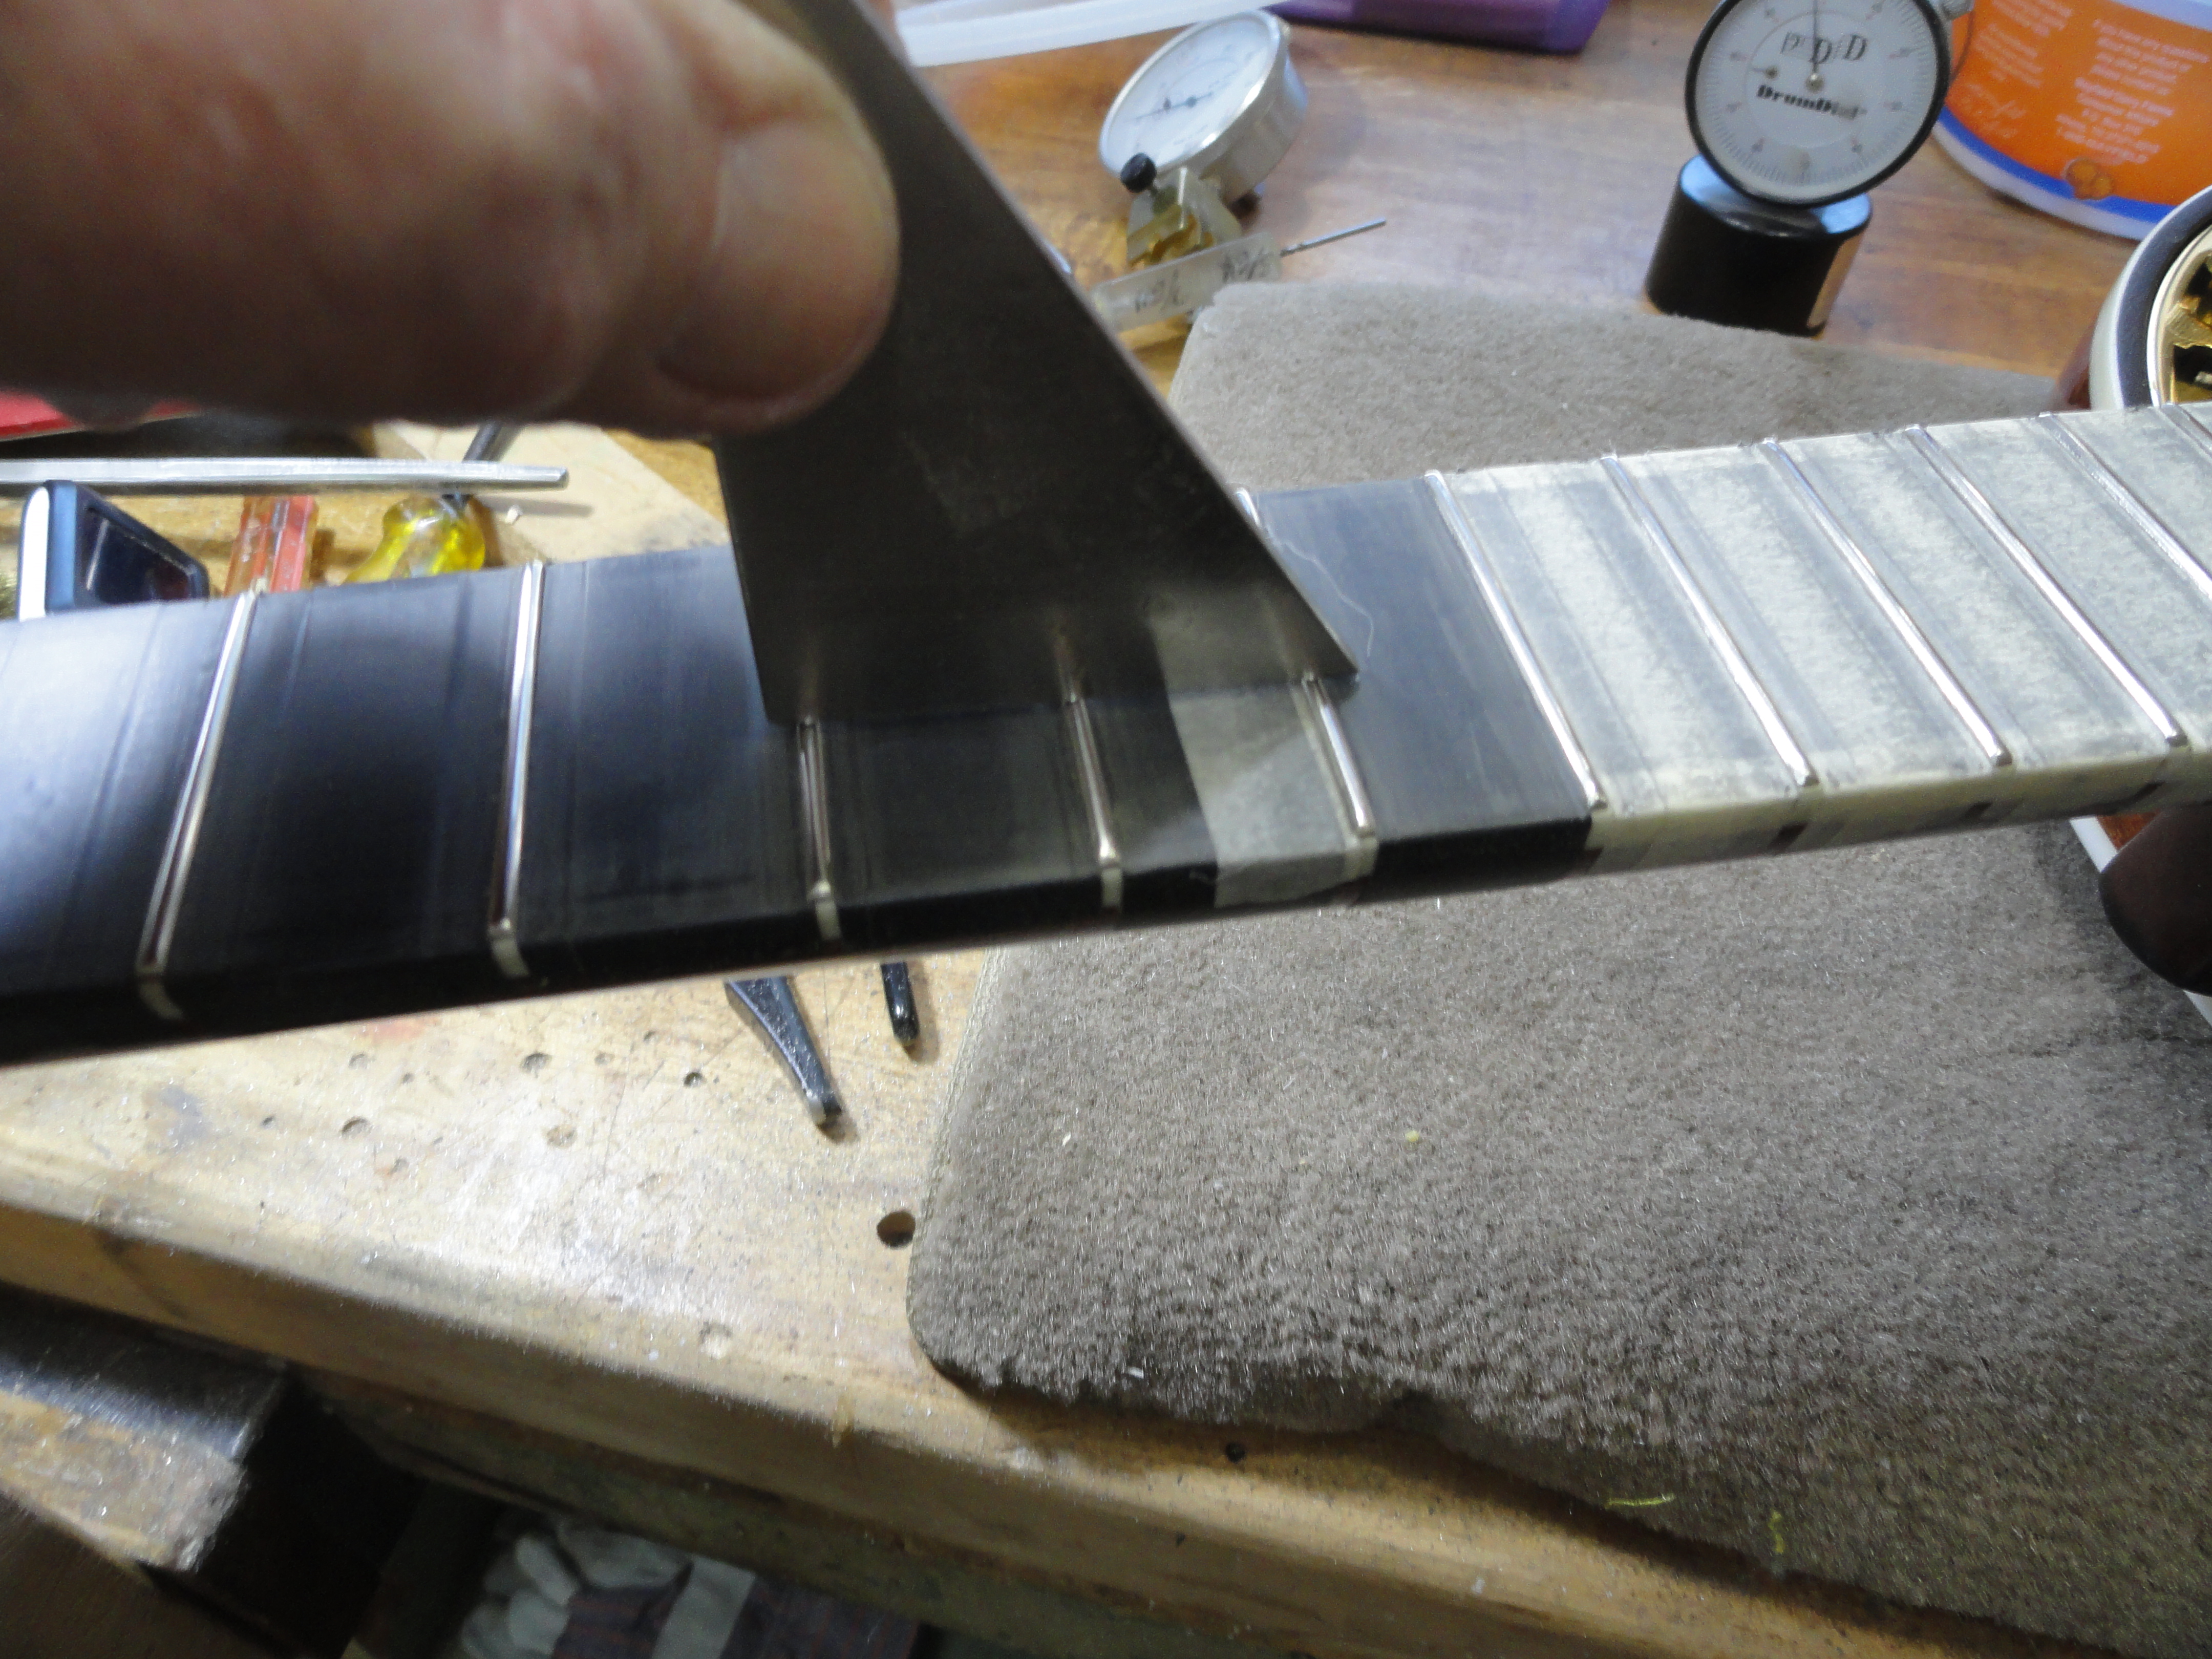
I use a little home-made 3 sided fret rocker to check the fret heights. I usually take a hammer and strike a steel plate and make sure the frets are down as far into the slots as they will go. Before I start leveling, I use a black magic marker to color the top sections of the frets. When the black marker is gone, I know that the frets are level.
I sometimes use a file and sometimes I use these little diamond tools. These flat diamond tools are handy and they come in different grits. This is a fine grit I’m using here. Look closely and you can see the high spots and the low spots on these frets.
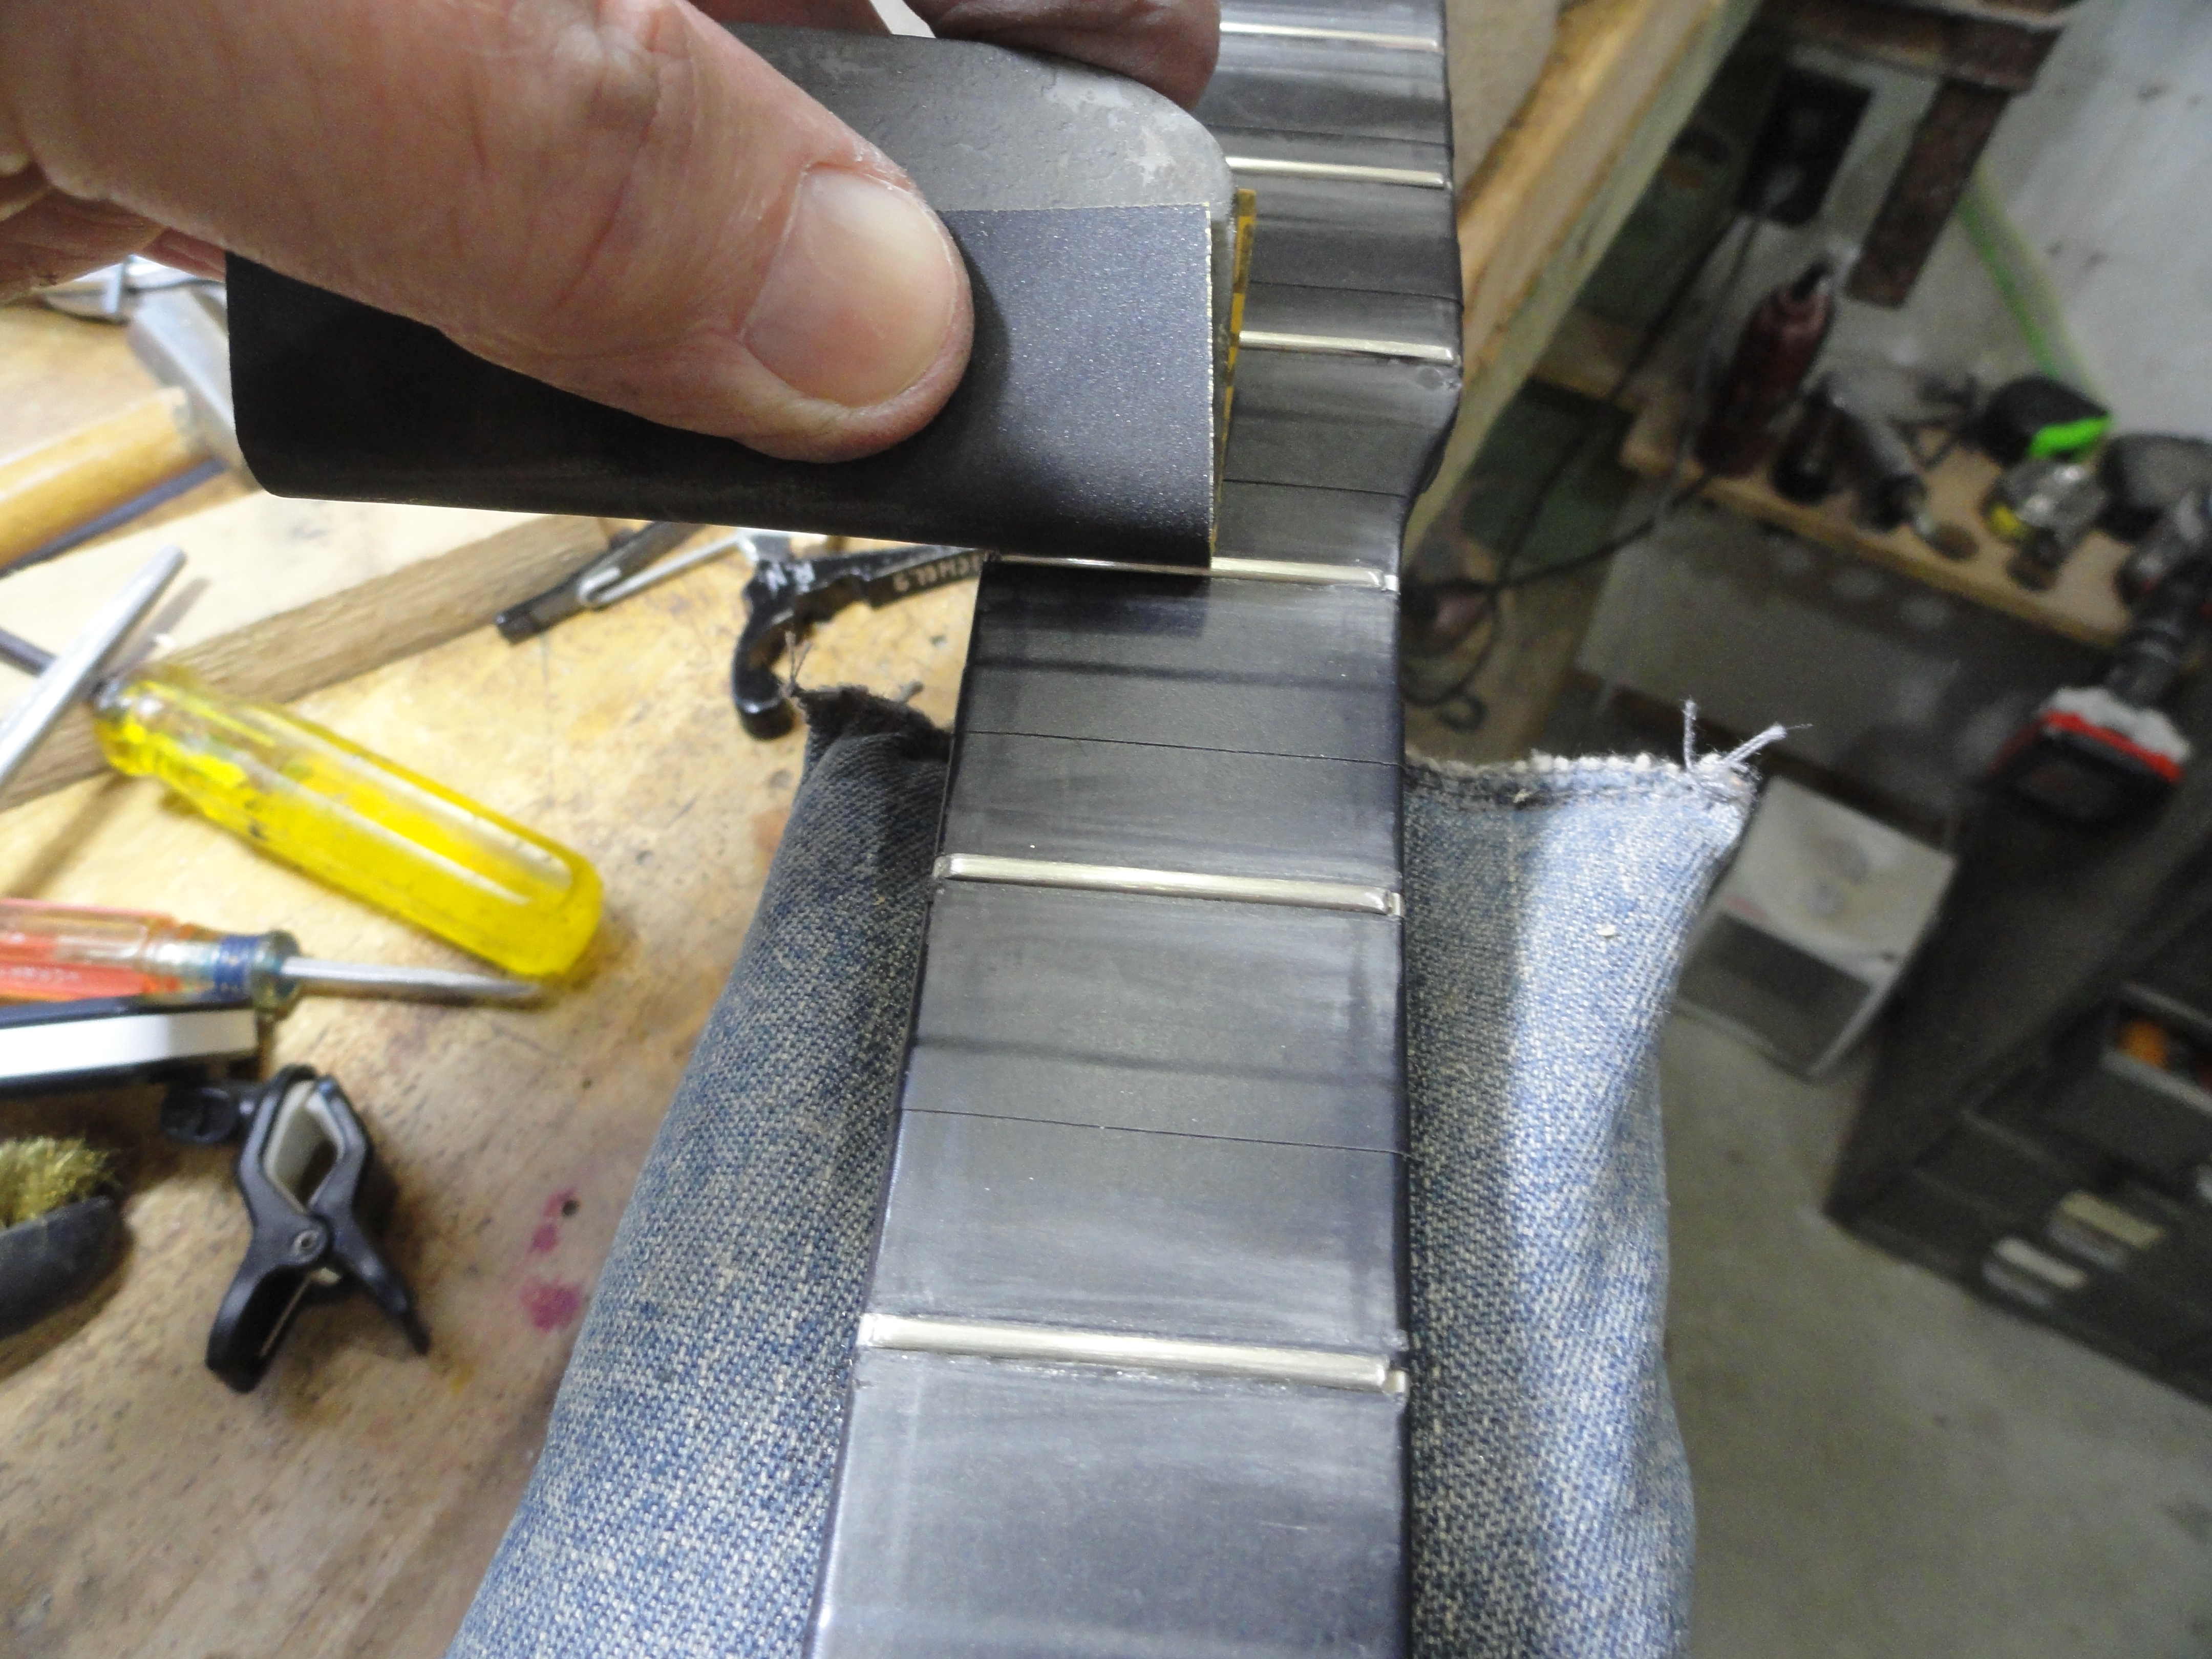
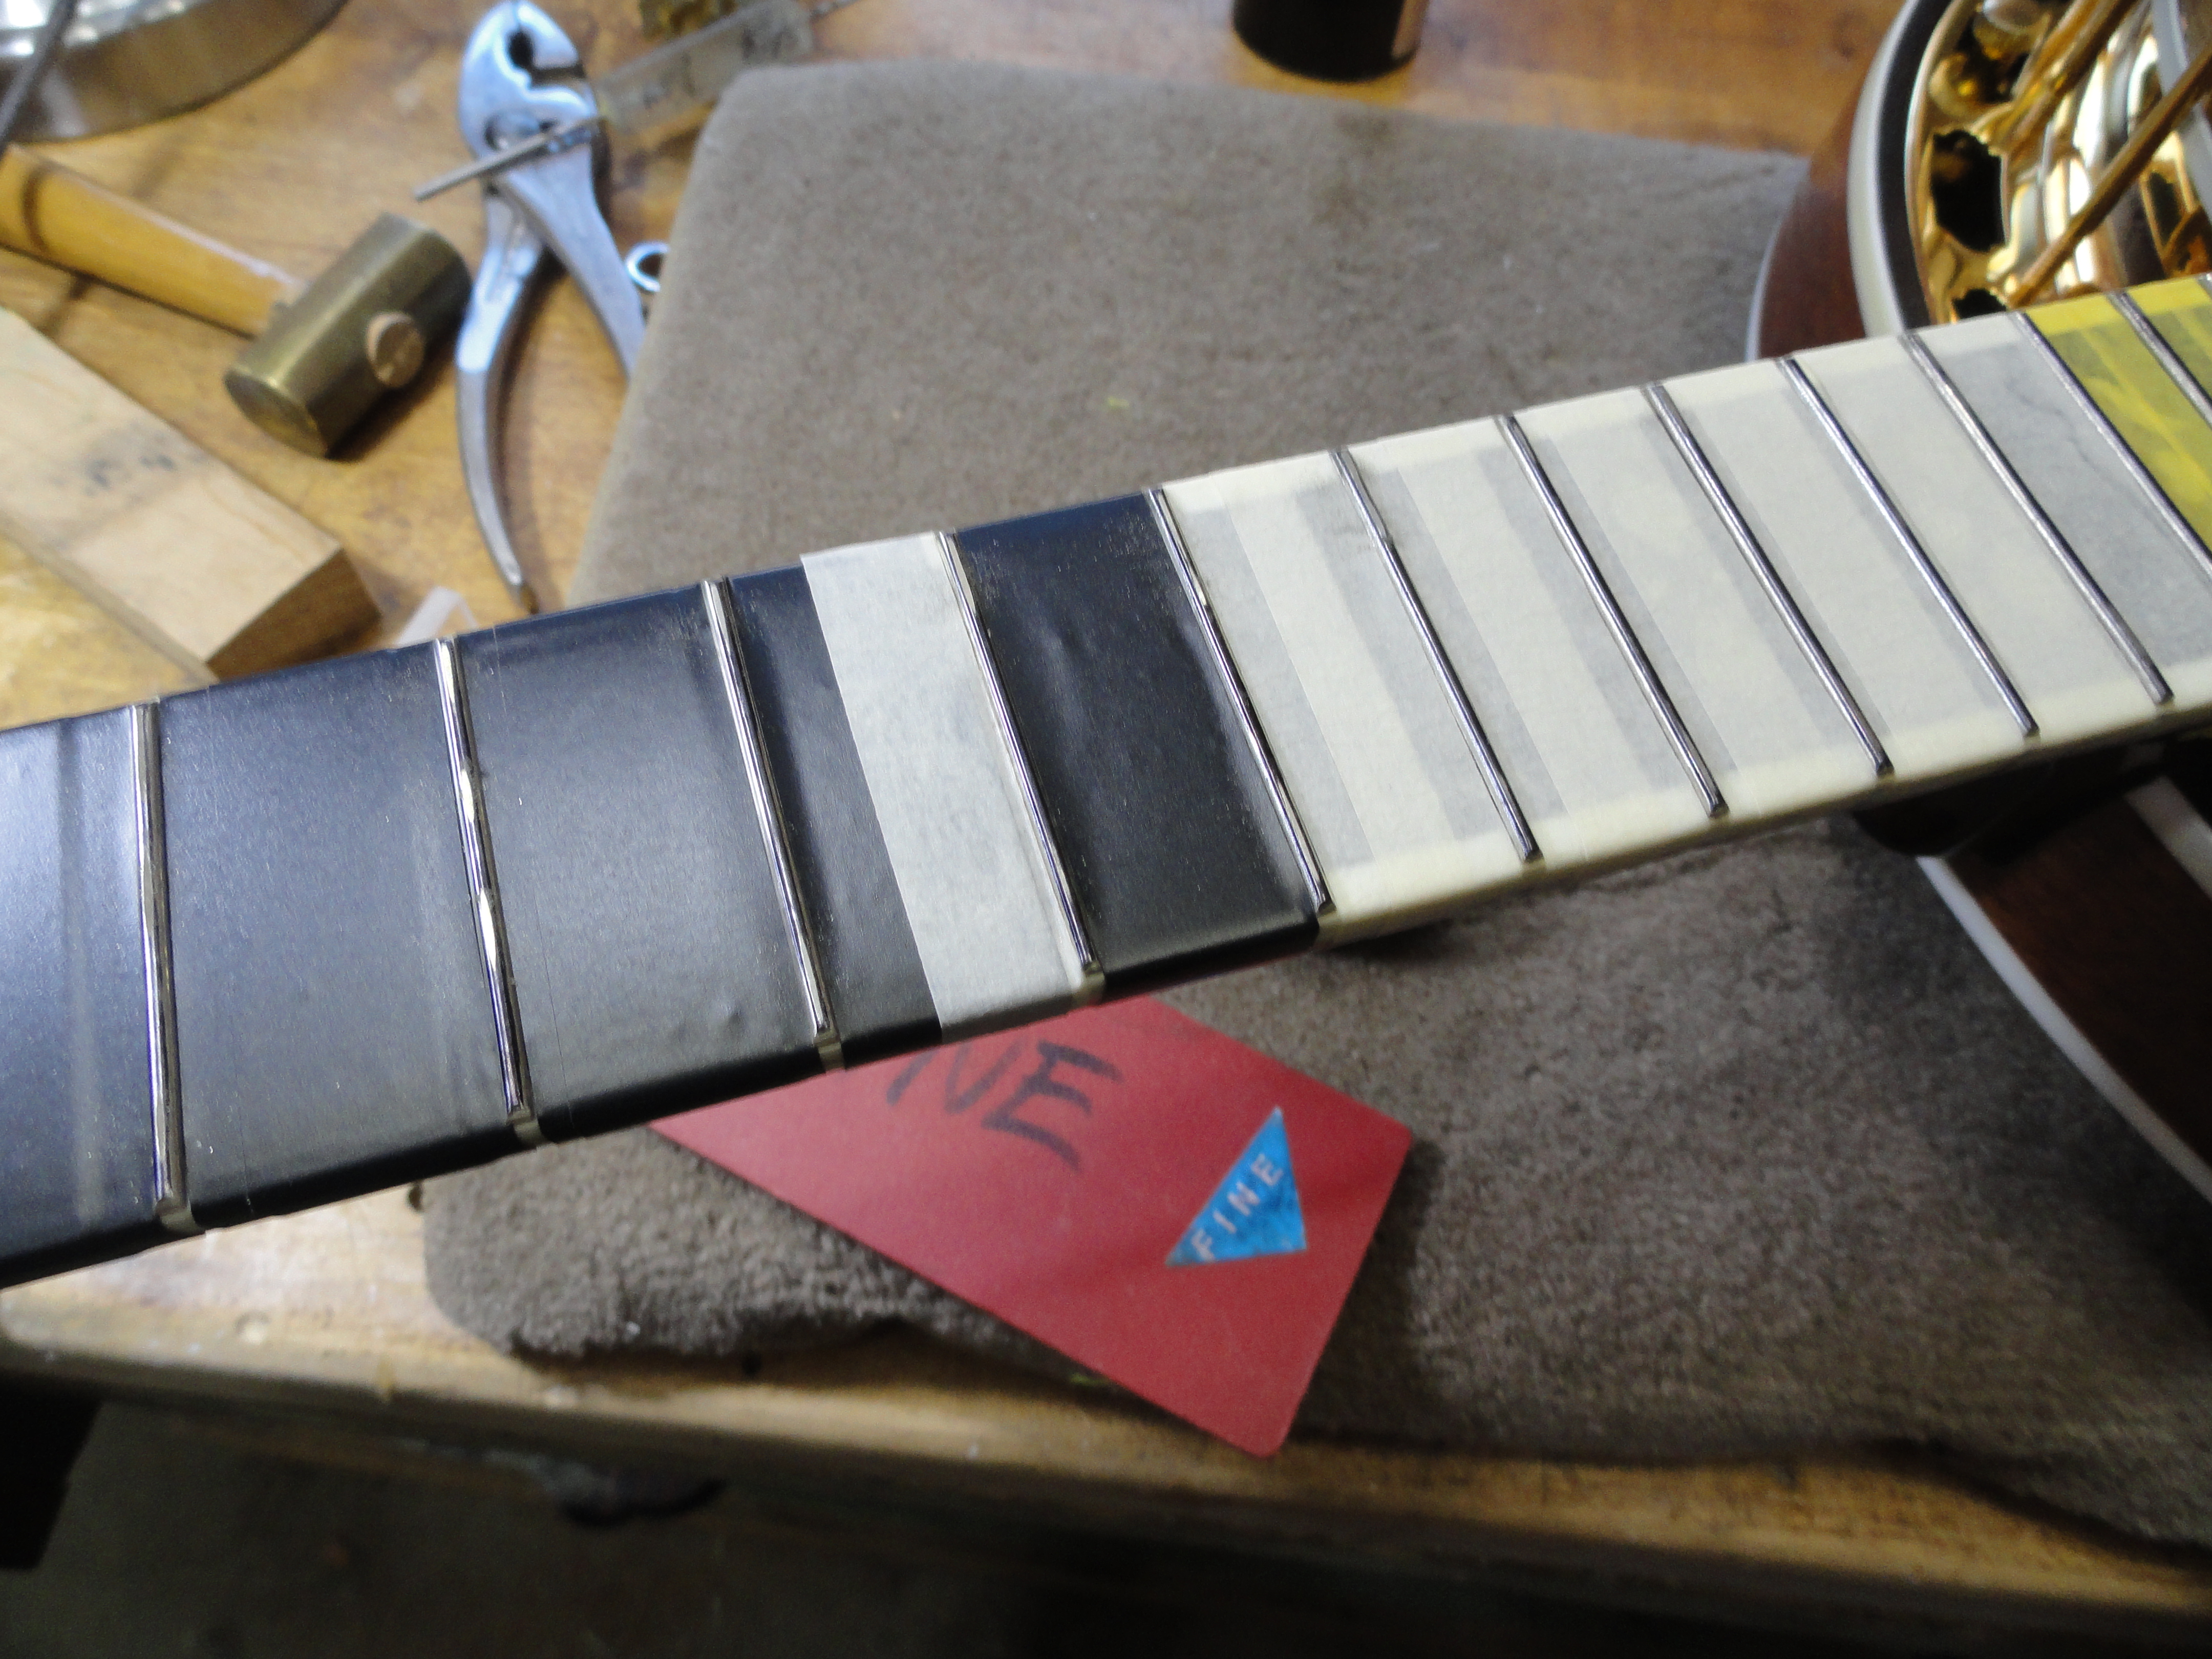
After leveling, the frets are flat on top. There are several tools made for crowning frets. Stewart Macdonald and other suppliers sell a crowning tool. Frank Ford says these tools are good for rounding a saddle. Like Frank, I prefer to use a 3 cornered file to do the initial rounding. Then I use some diamond tools to further round the frets. I finish with a rubber eraser wrapped with sandpaper. I usually start with about 400 grit and work my way down to 1500 or 2000 grit.
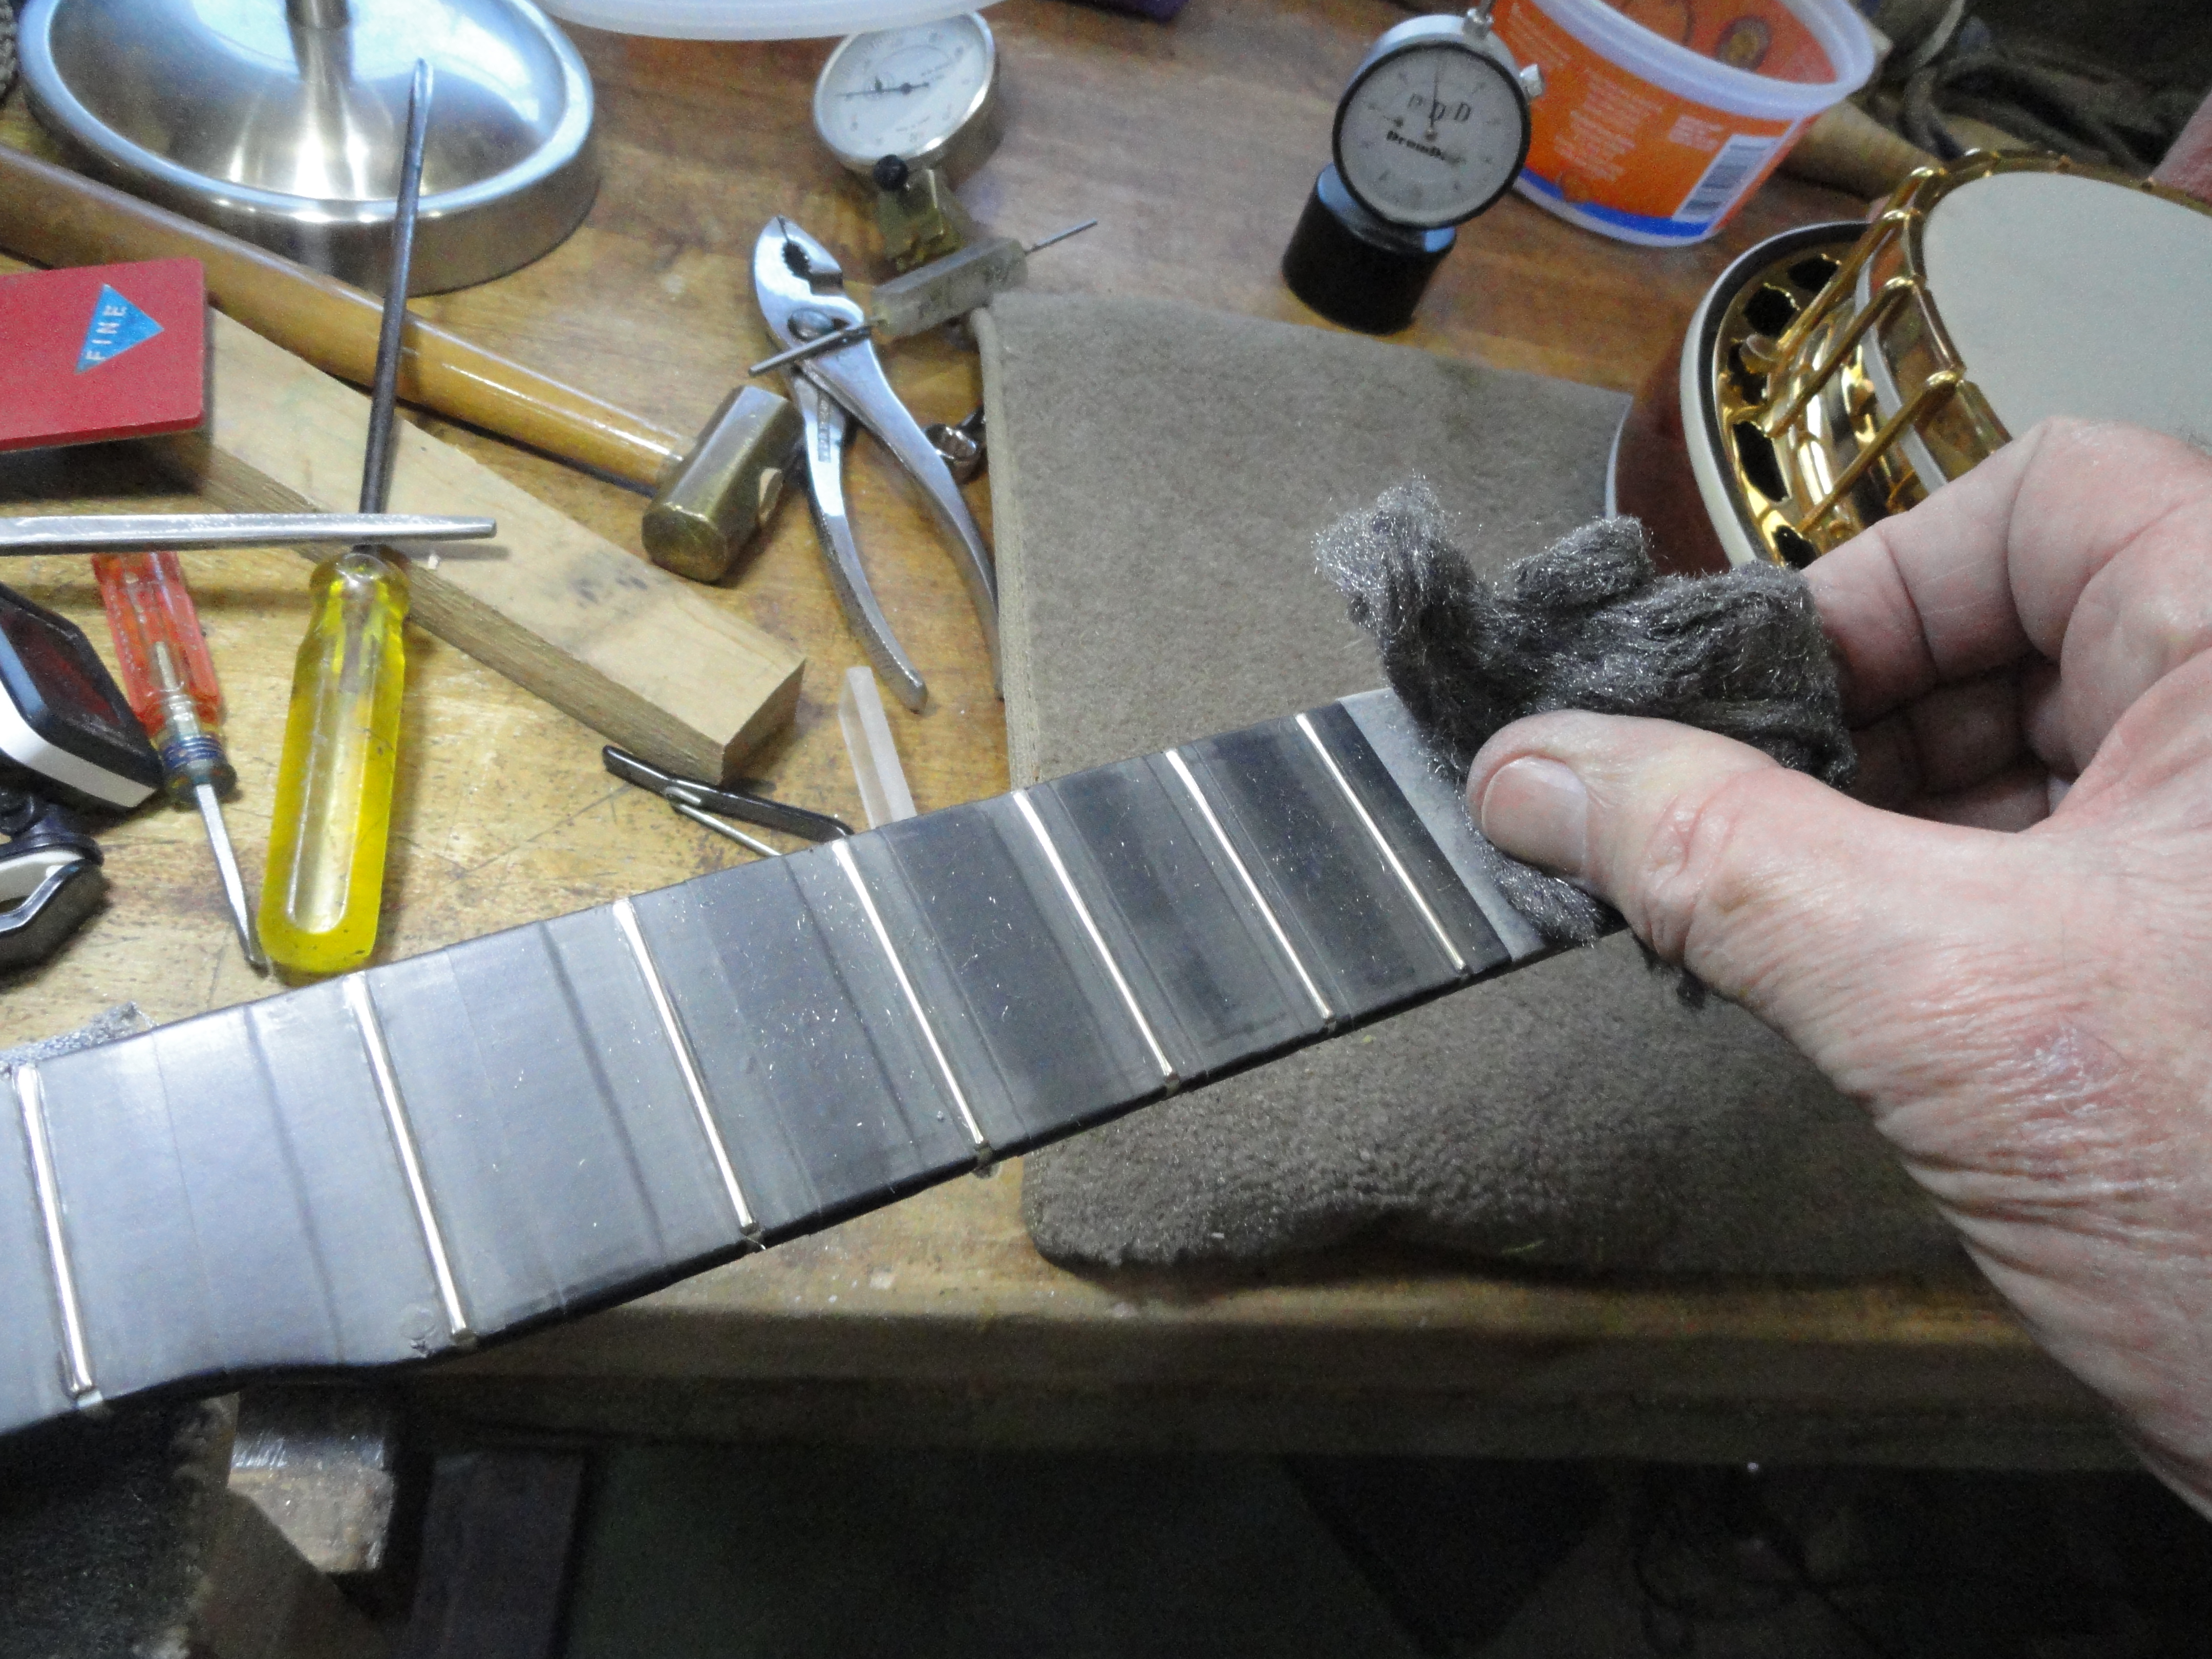
I like to finish with fine steel wool and a white scrubbing or polishing pad. I take a lot of time to round over the ends of the frets and make them finger-friendly.
A final check with this fret rocking tool confirms that there are no high spots.
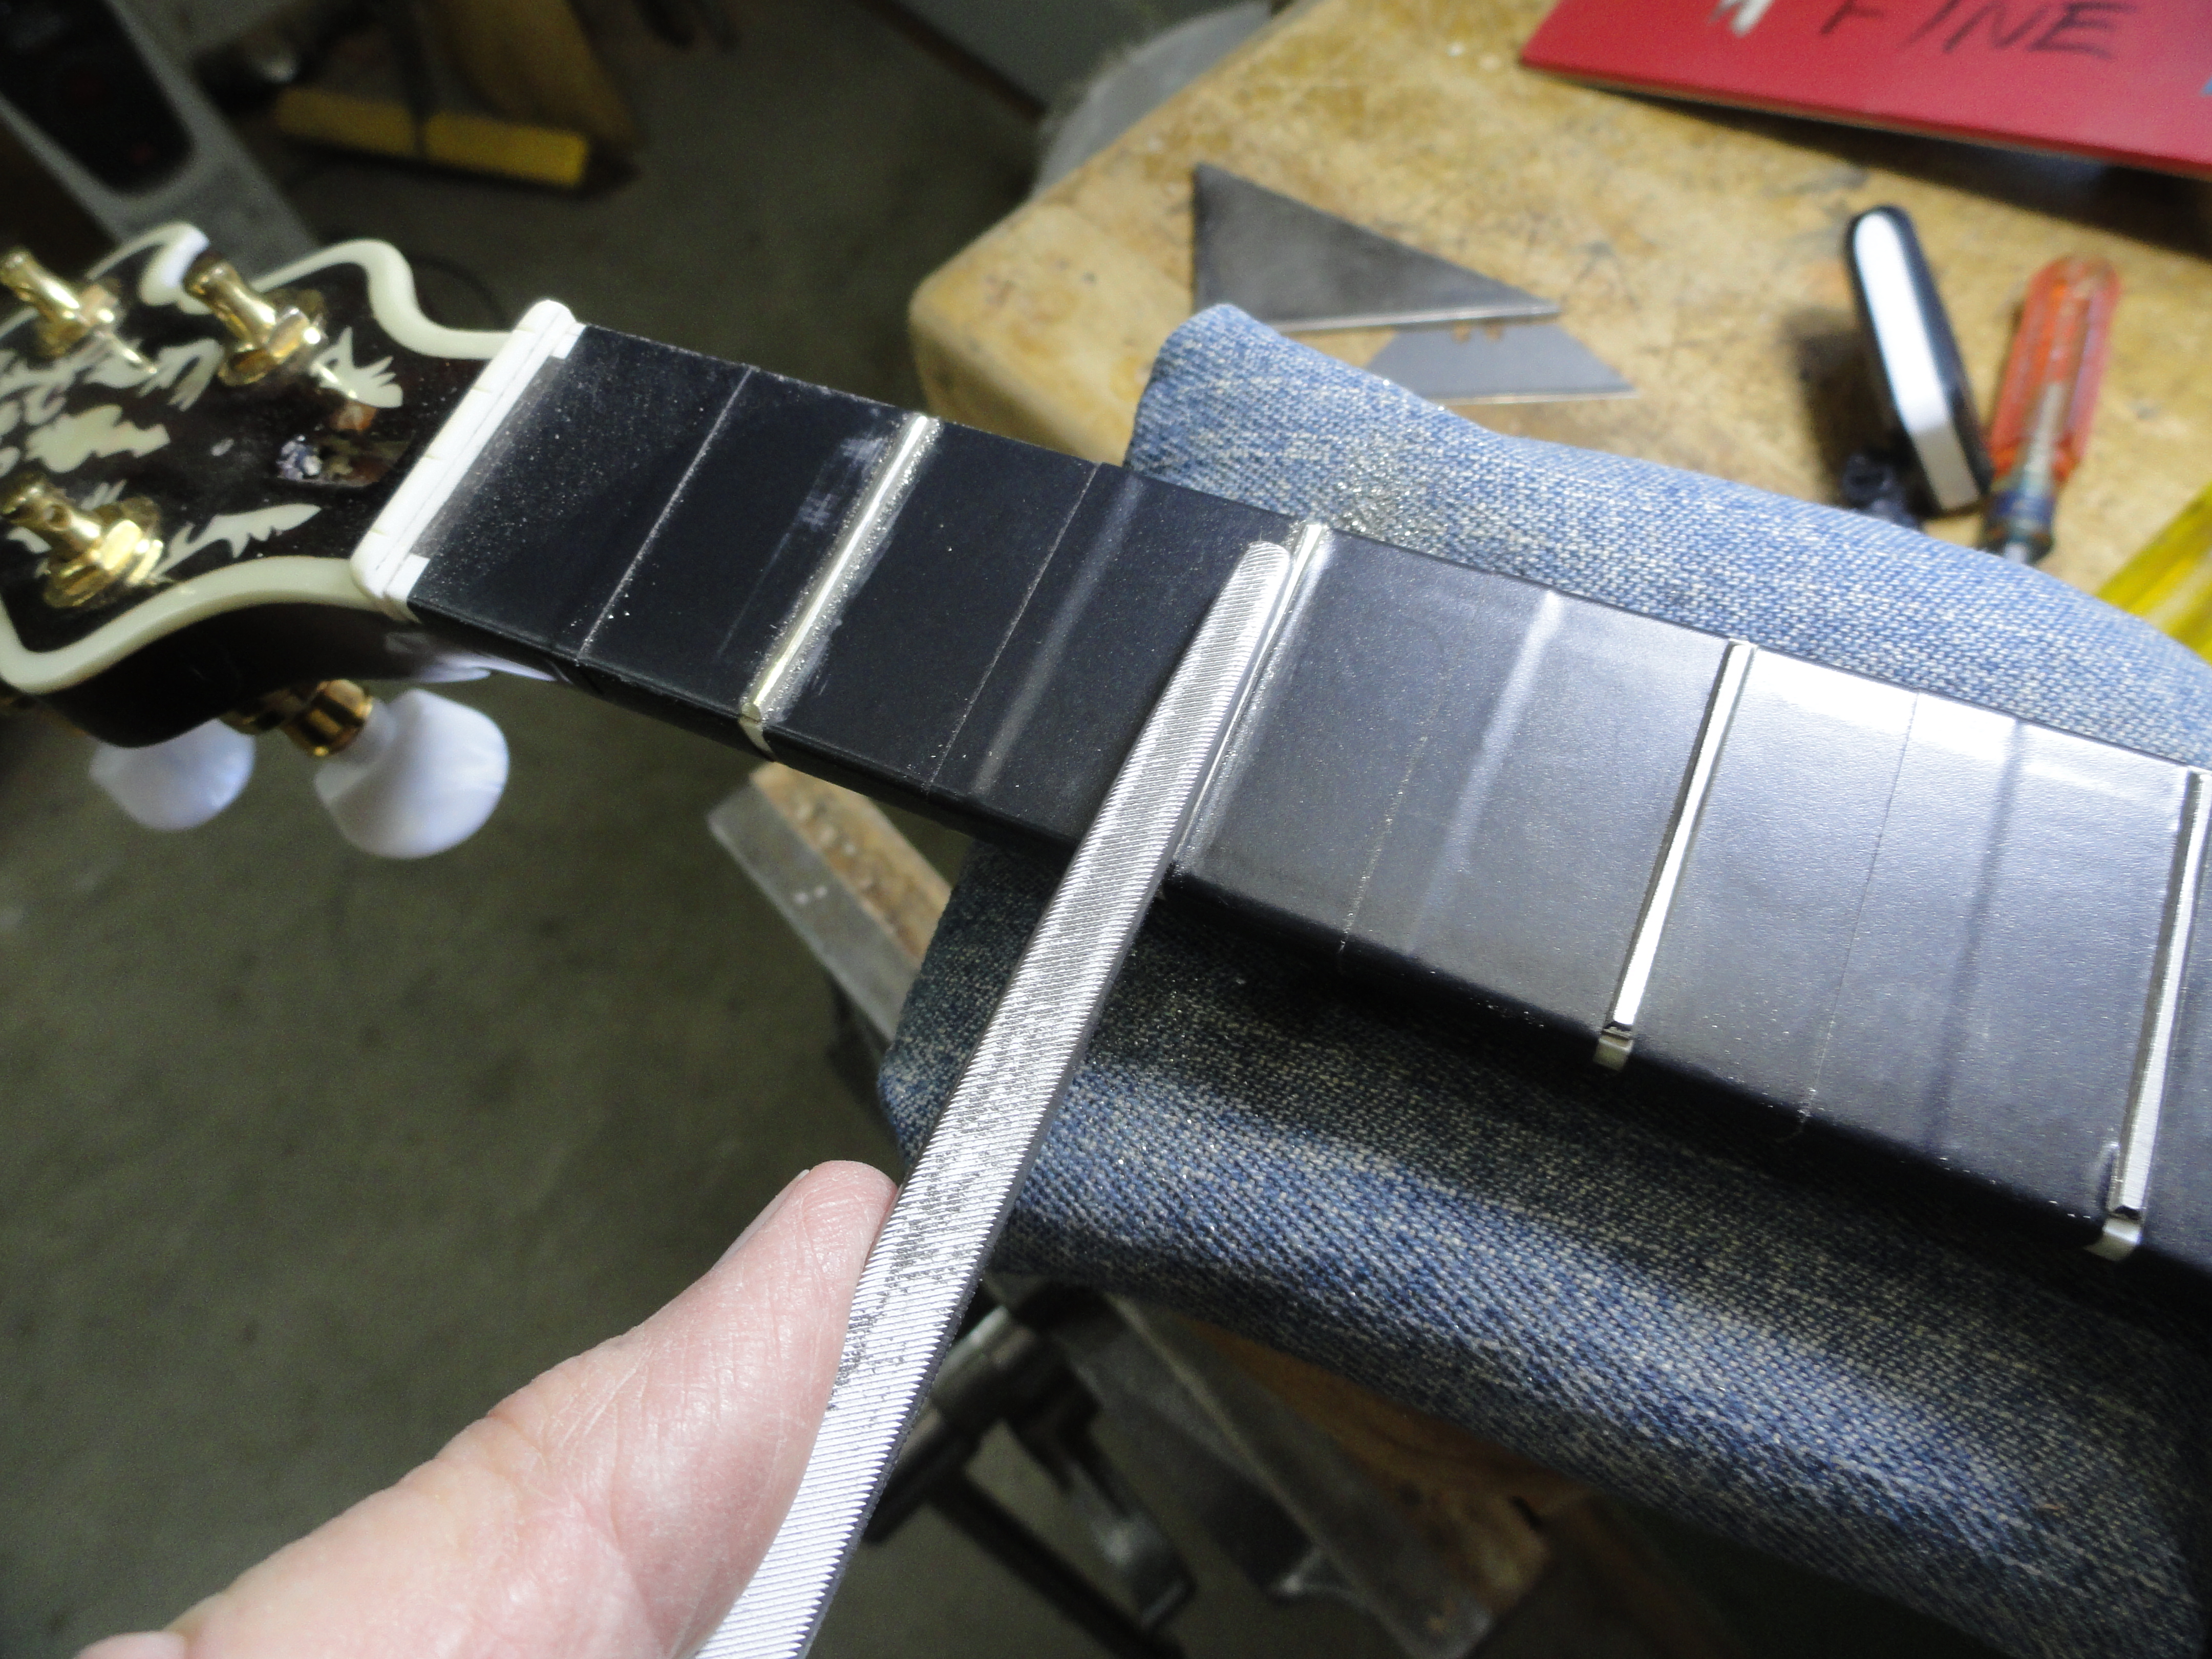
Now we remove all the tape and re-string the 4 bottom strings. The nut slots can now be taken down to their final height. I use the Stewart Macdonald dial indicator tool to check the slot’s height in relation to the top of the first fret. I like to shoot for around .015 to .020 inch height. This is a critical measurement. It has a lot to do with how much the string pulls sharp when it is noted or when it is capoed. After getting the slots to the right depth, I trimmed the final height and polished the bone nut to give it that sheen that nothing else can duplicate. I like to slot these strings at full tension.
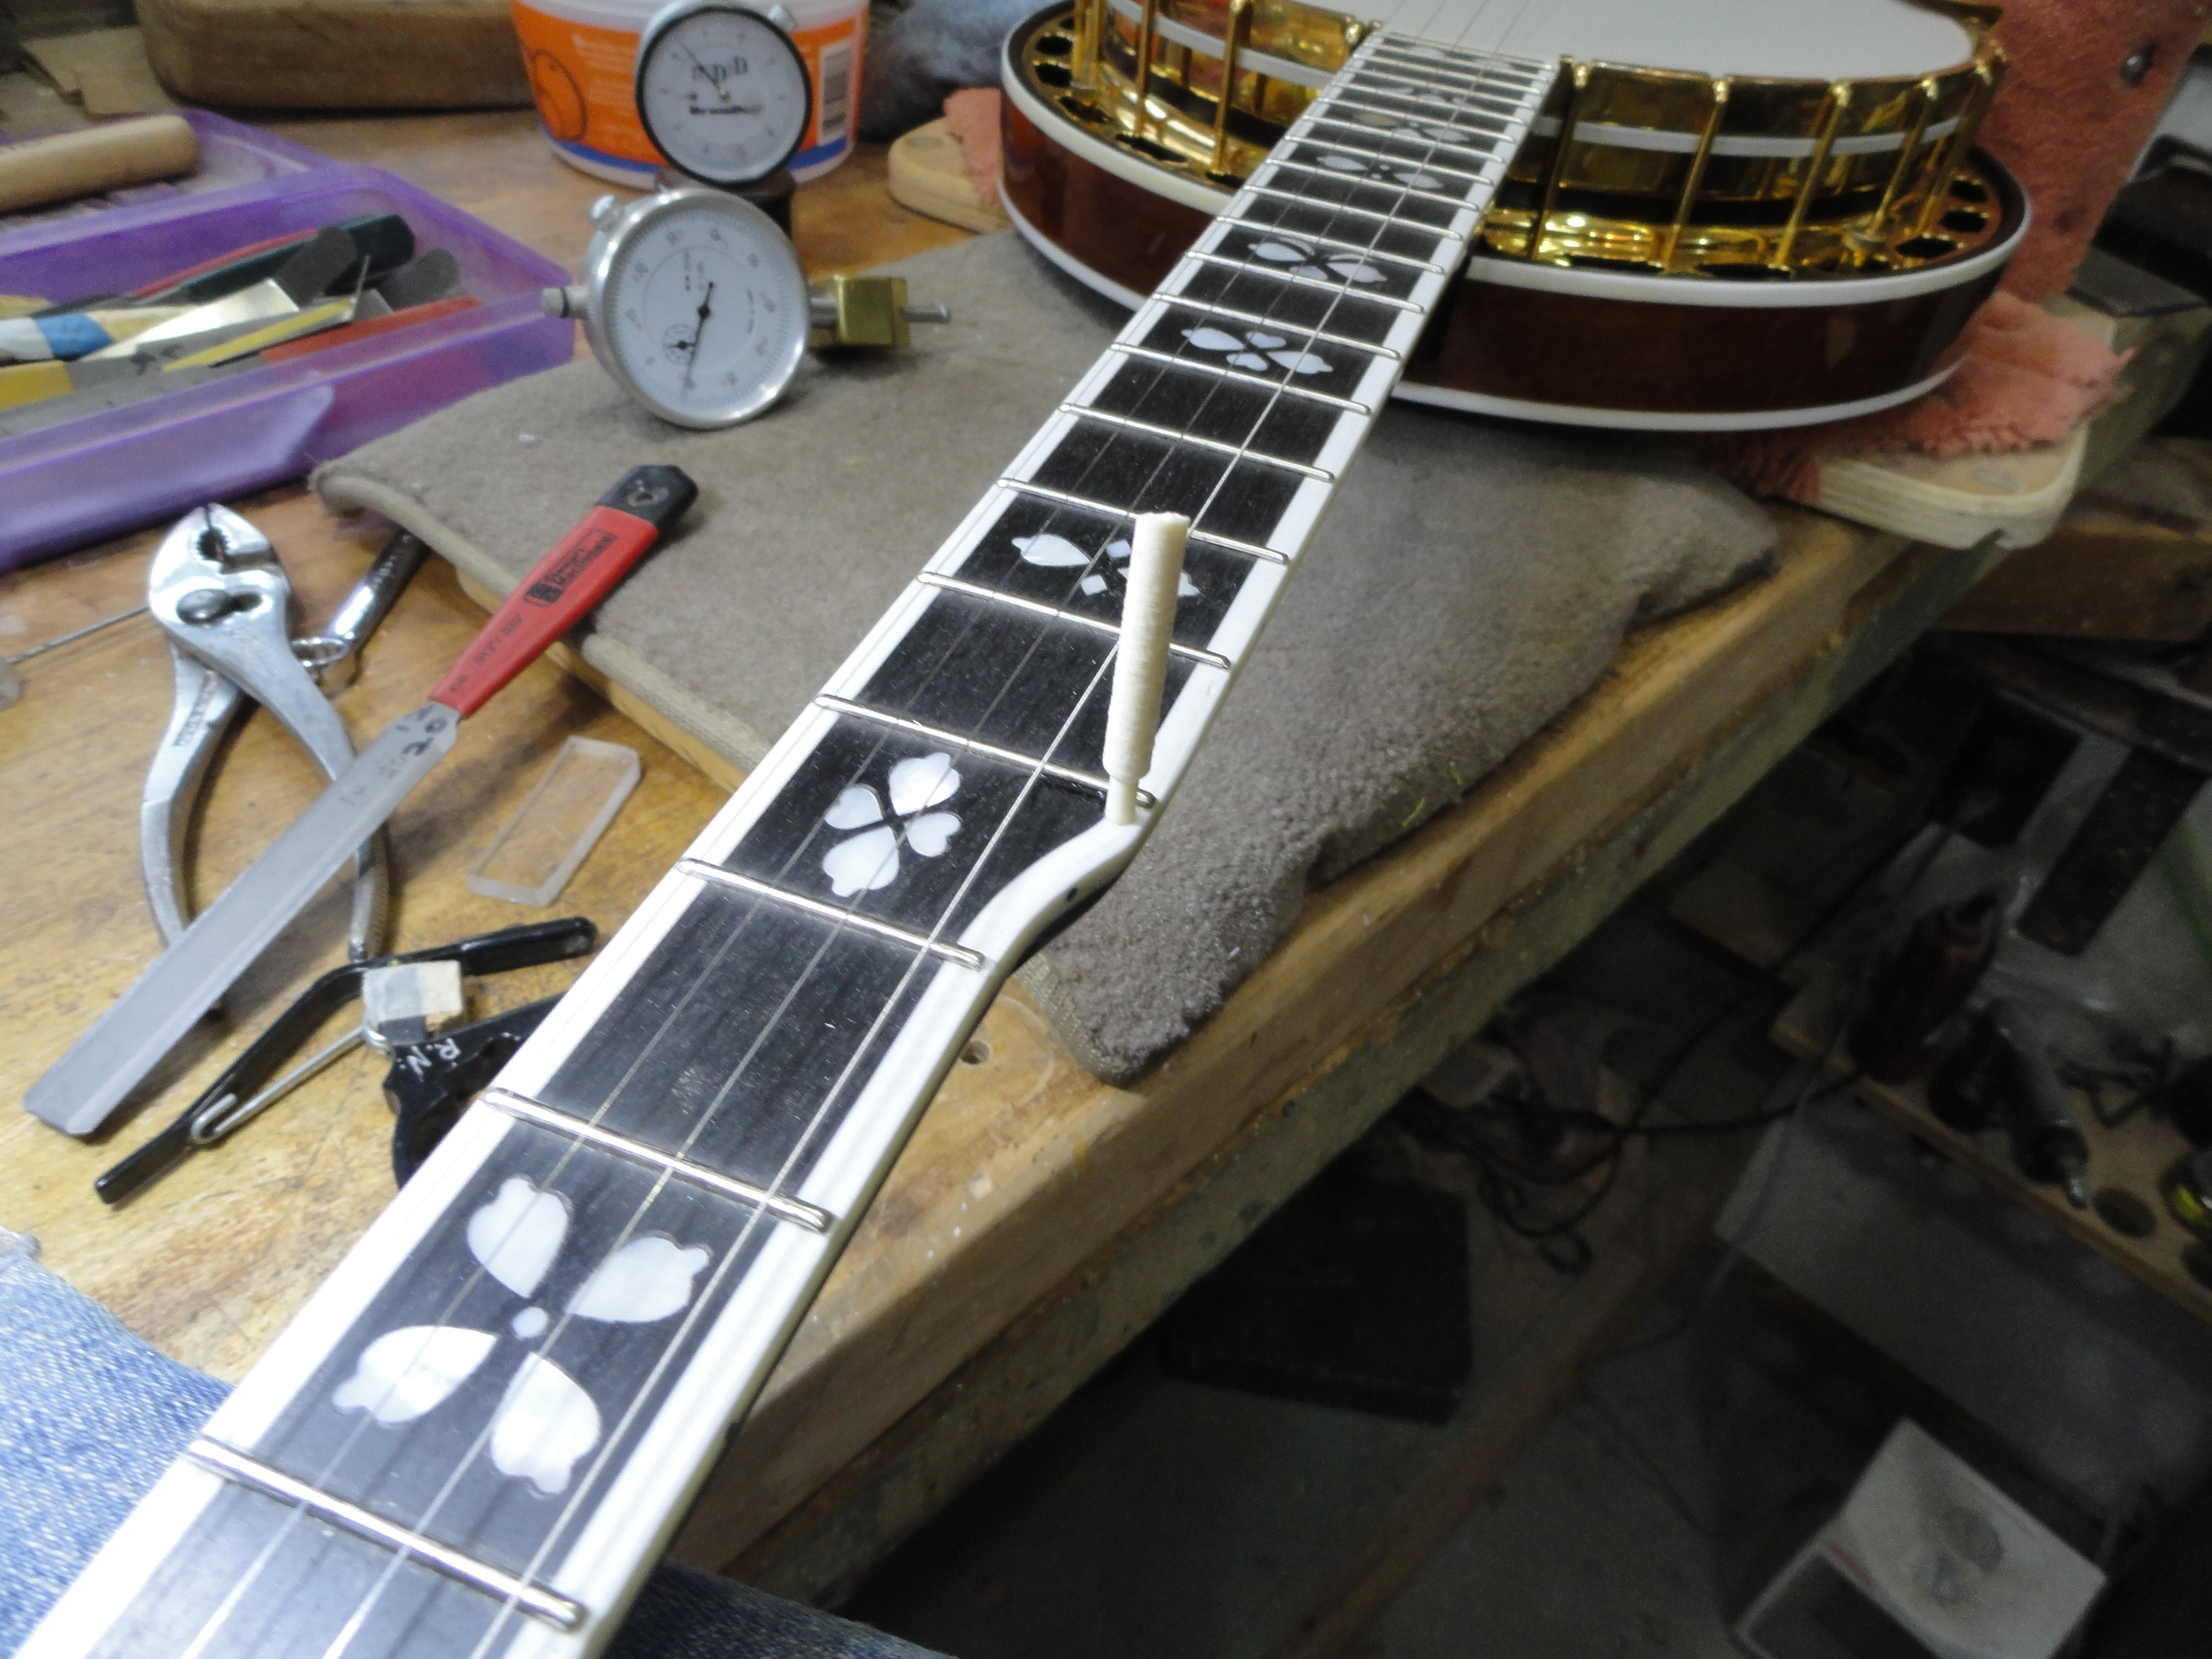
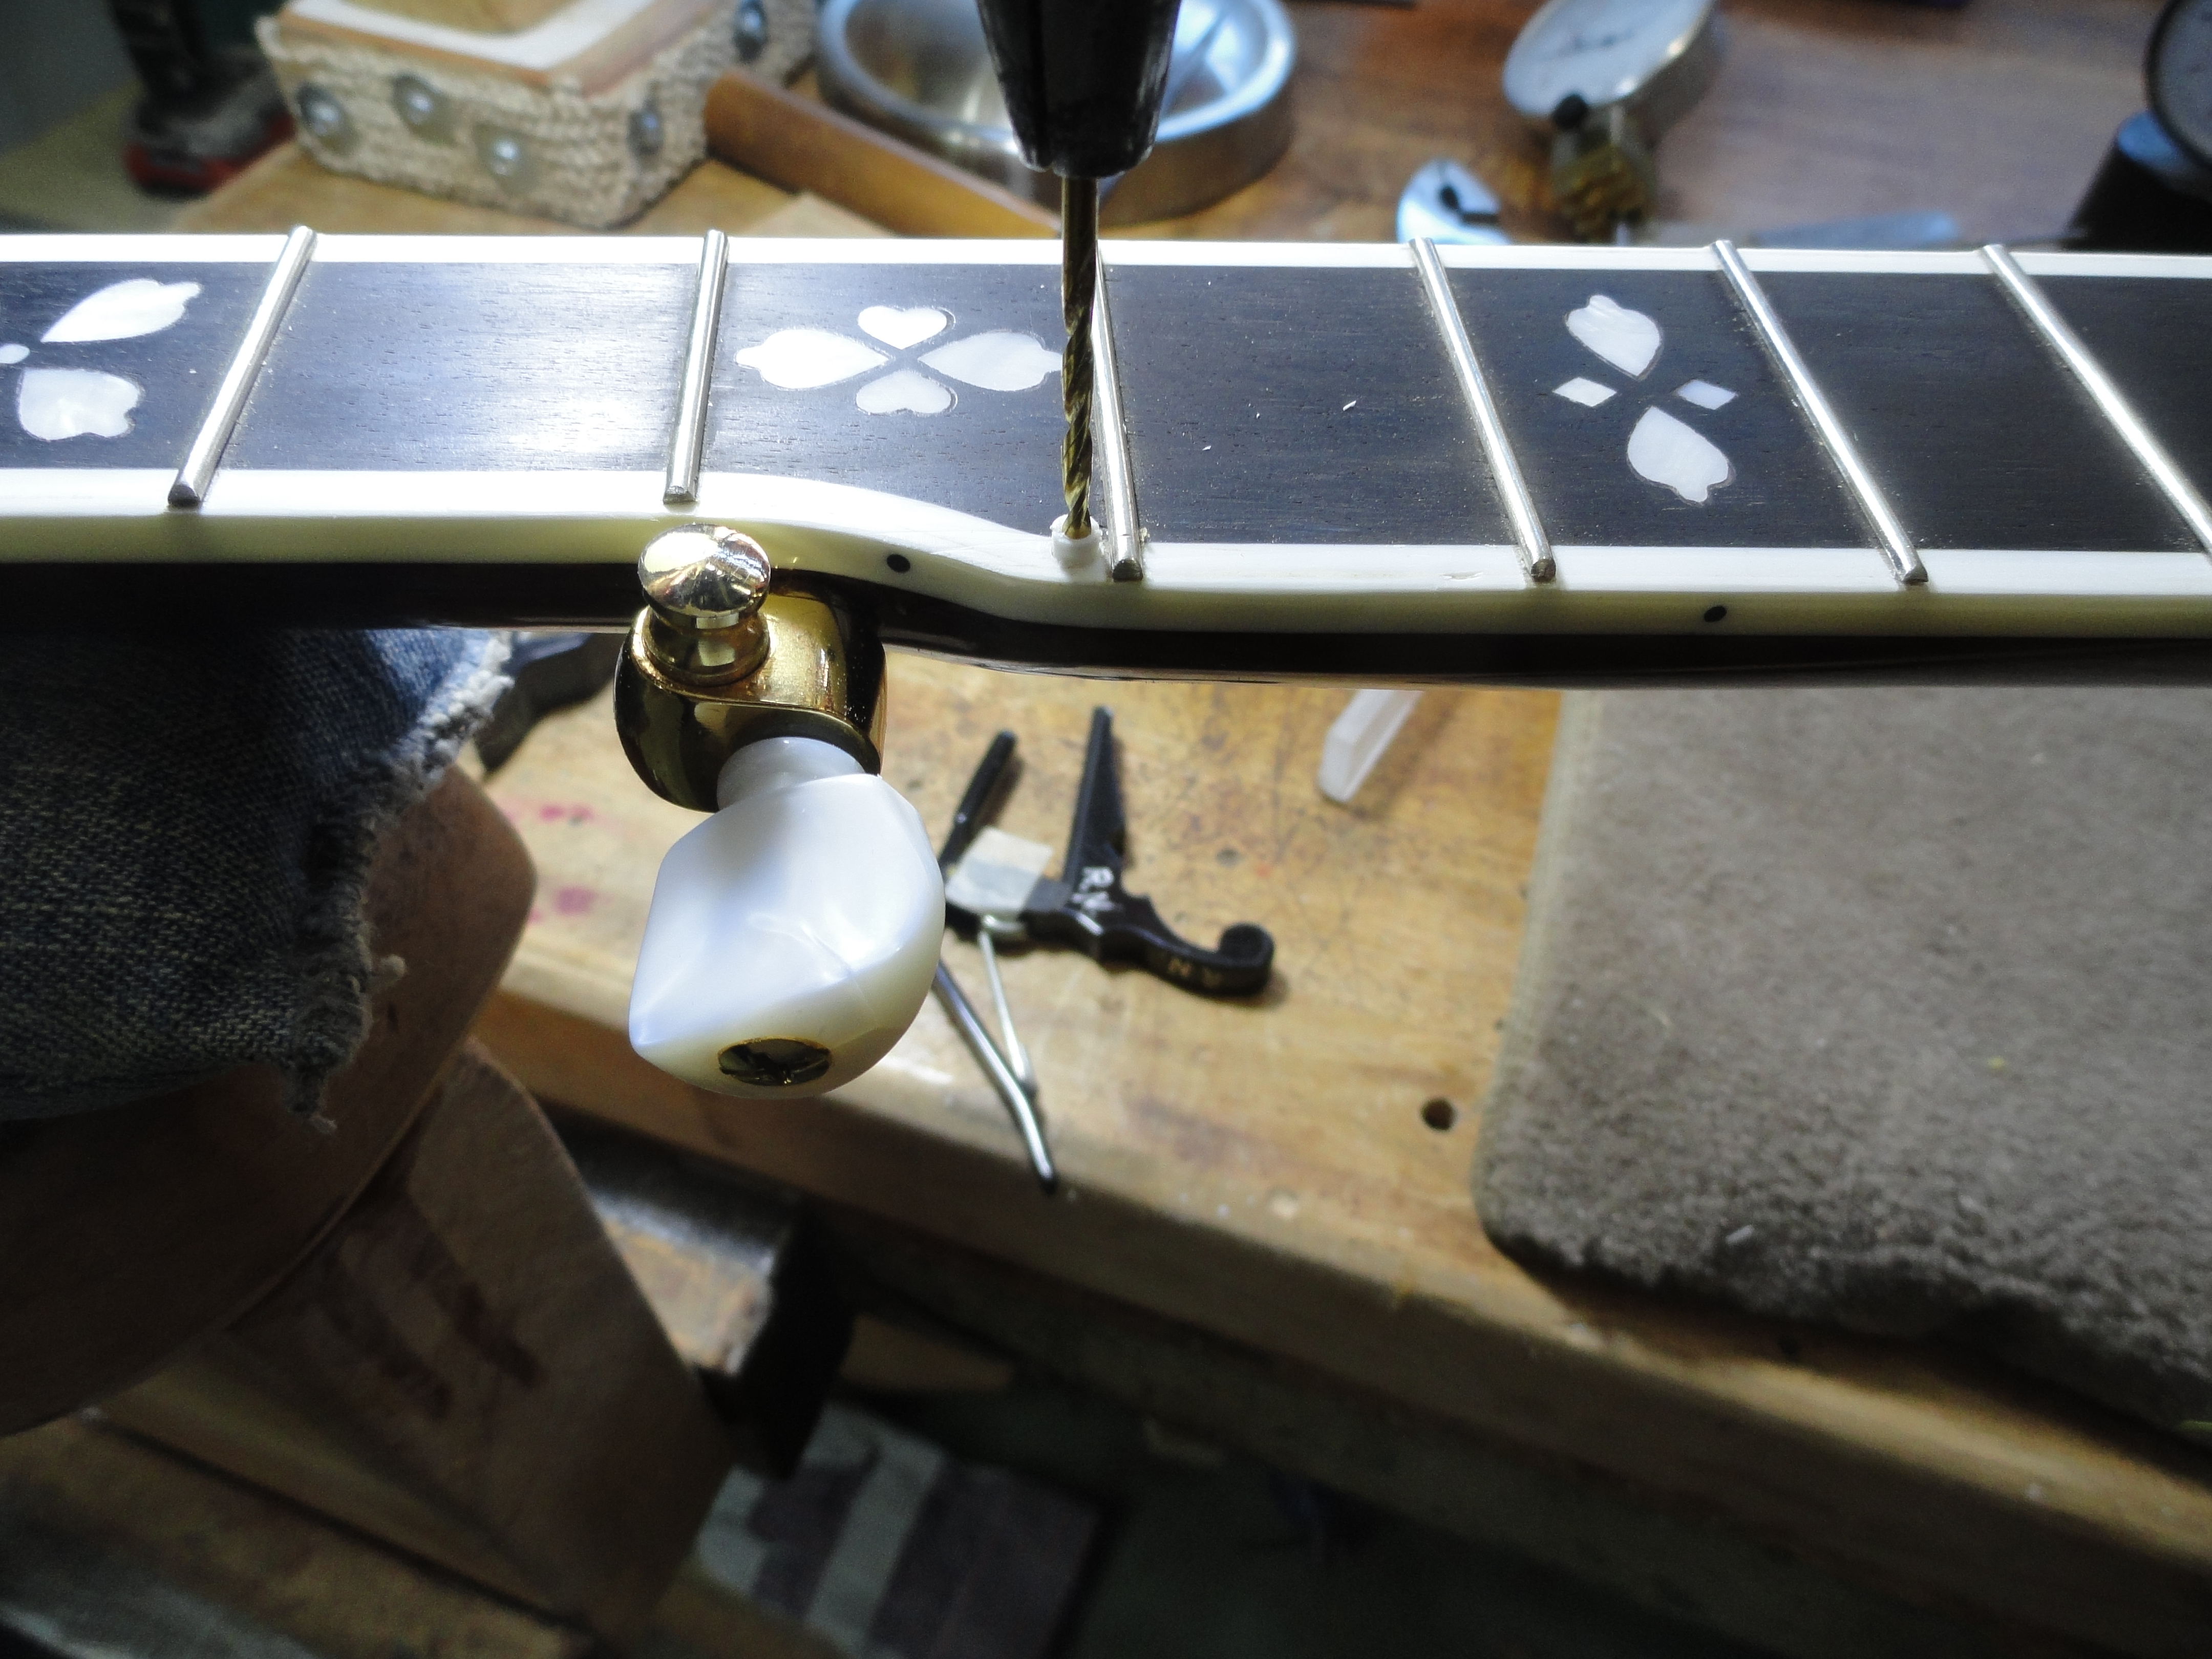
Now it is time to install the 5th string nut. I rough turned a blank on my metal lathe. It is roughly 1/8 inch in diameter. Than I sawed it off above where it needed to be and glued it in the hole.
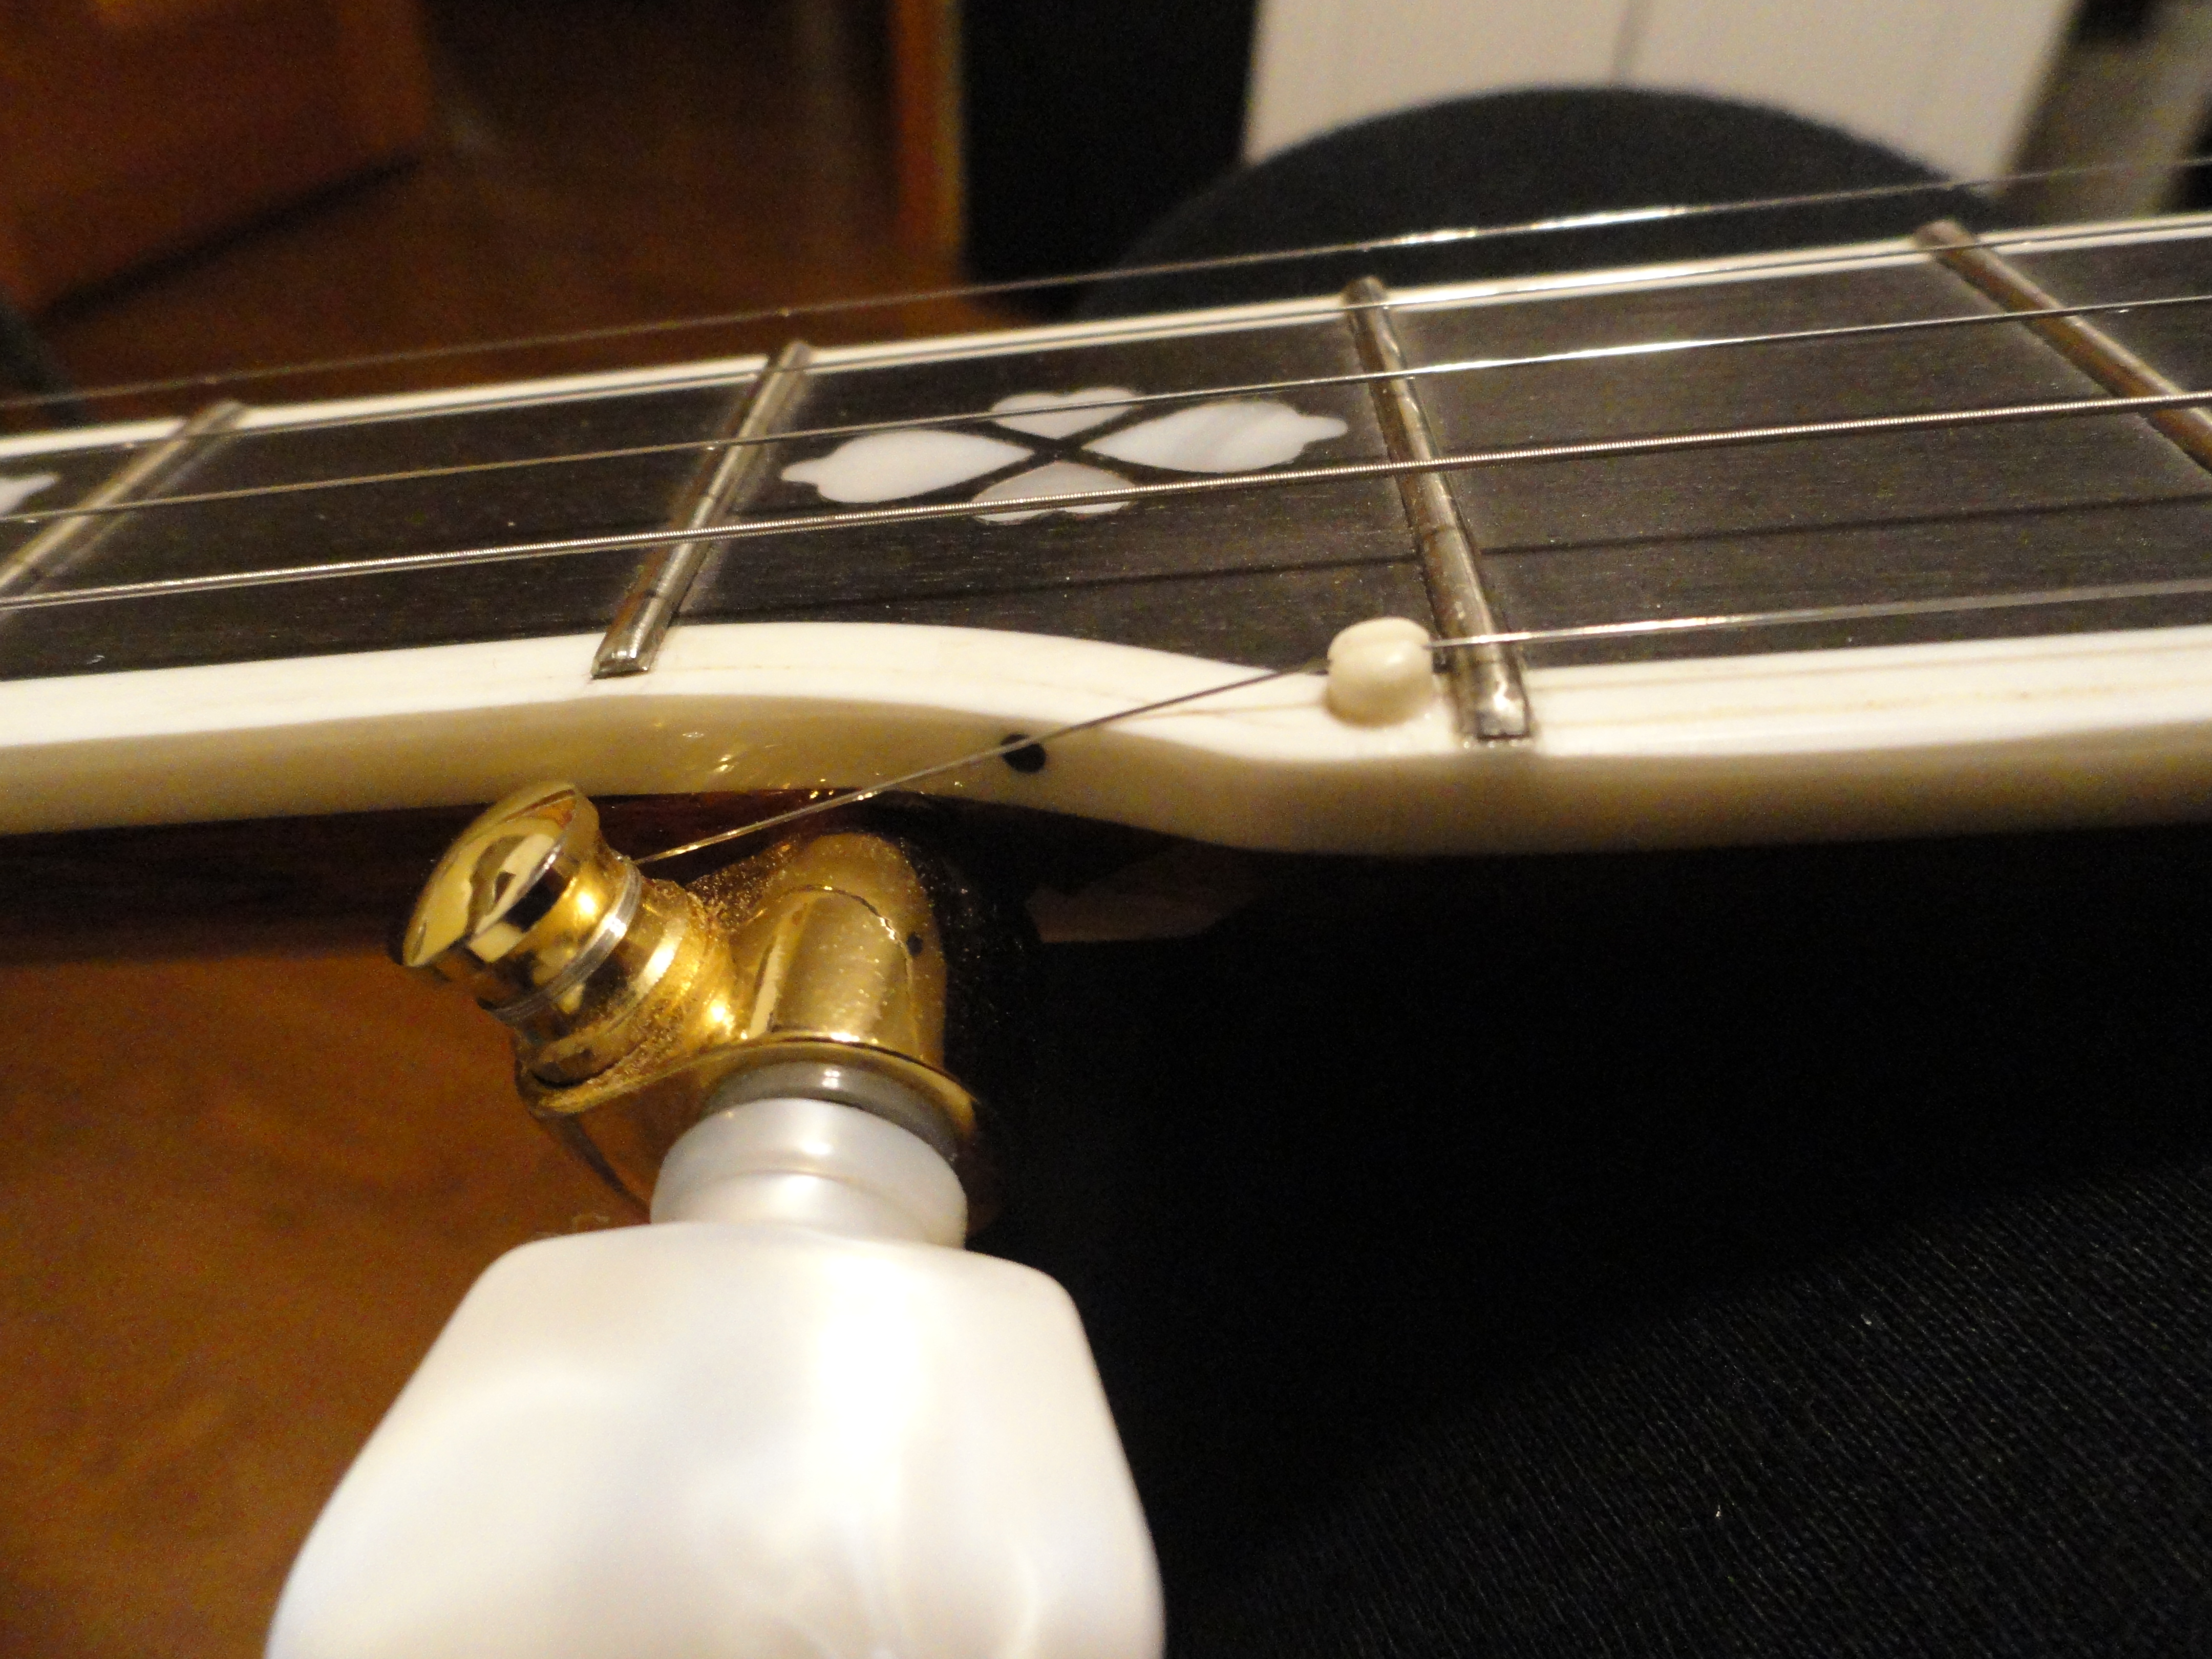
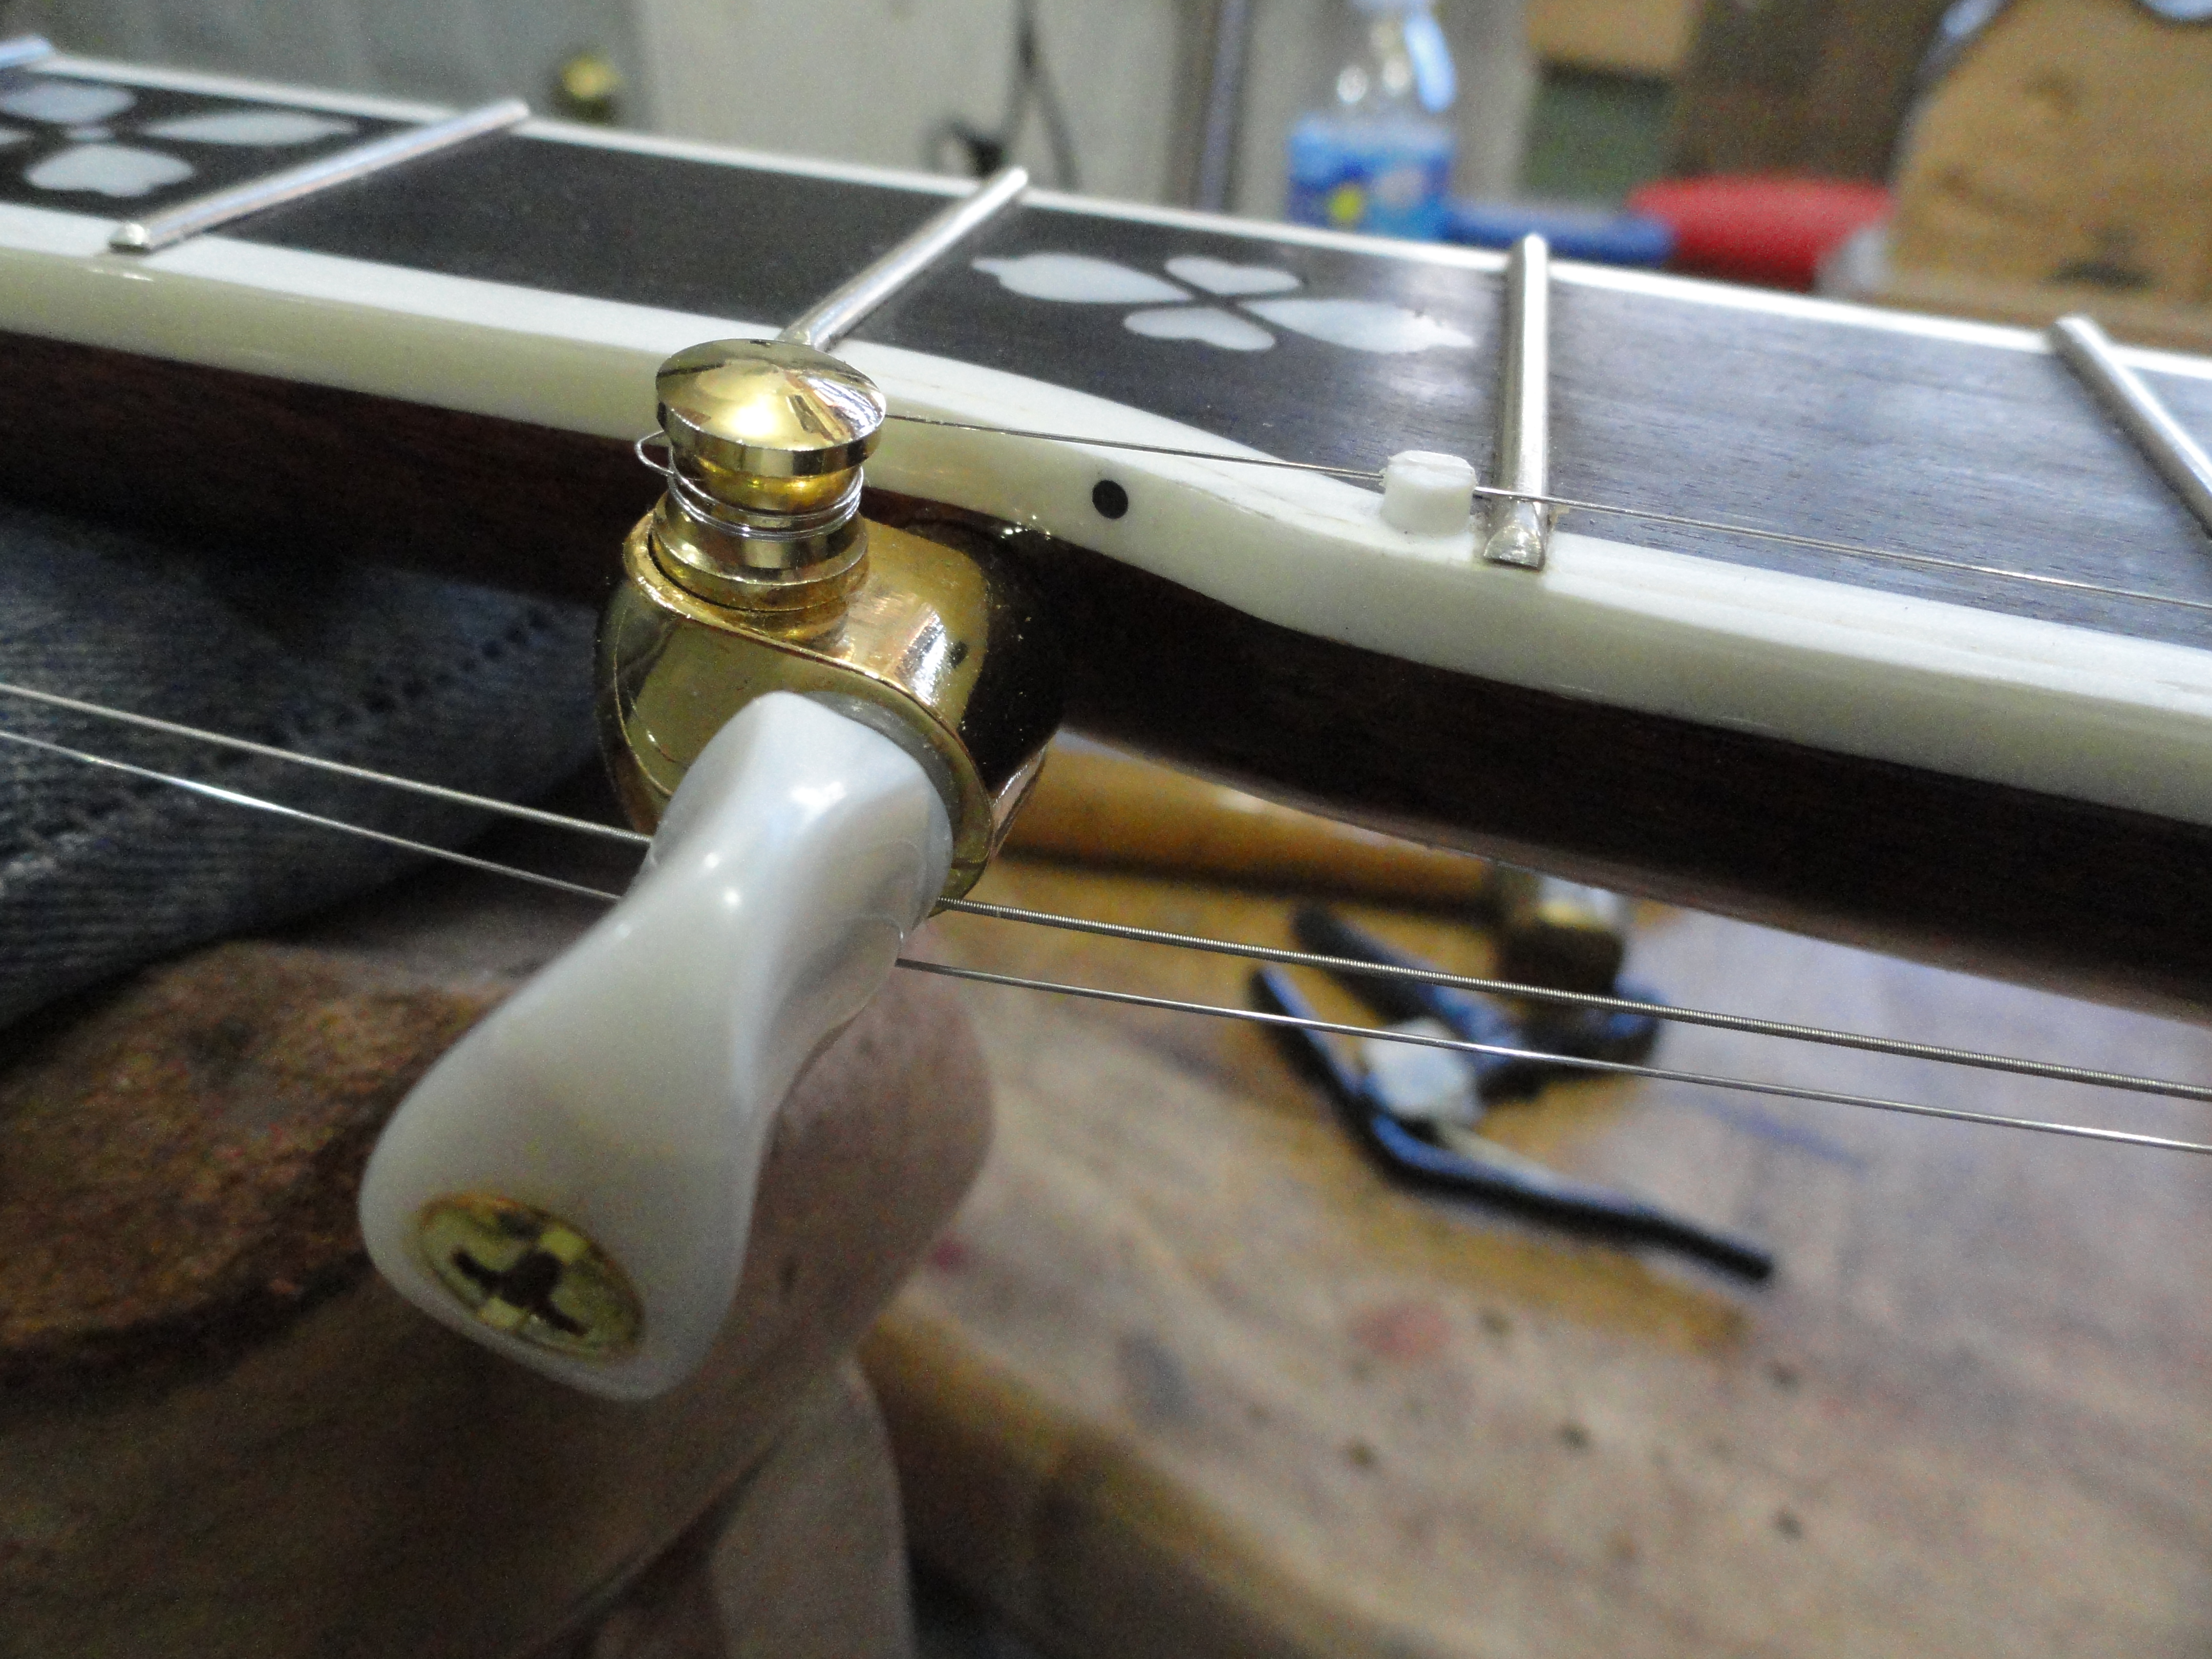
Here is a shot of the nut after slotting and polishing. I like to round these nuts and get them polished to a sheen to match the other nut. I shoot for around a .015 inch height in this slot above the 6th fret. You might also notice that the 5th string key is installed so it will provide some downward pressure on the string.

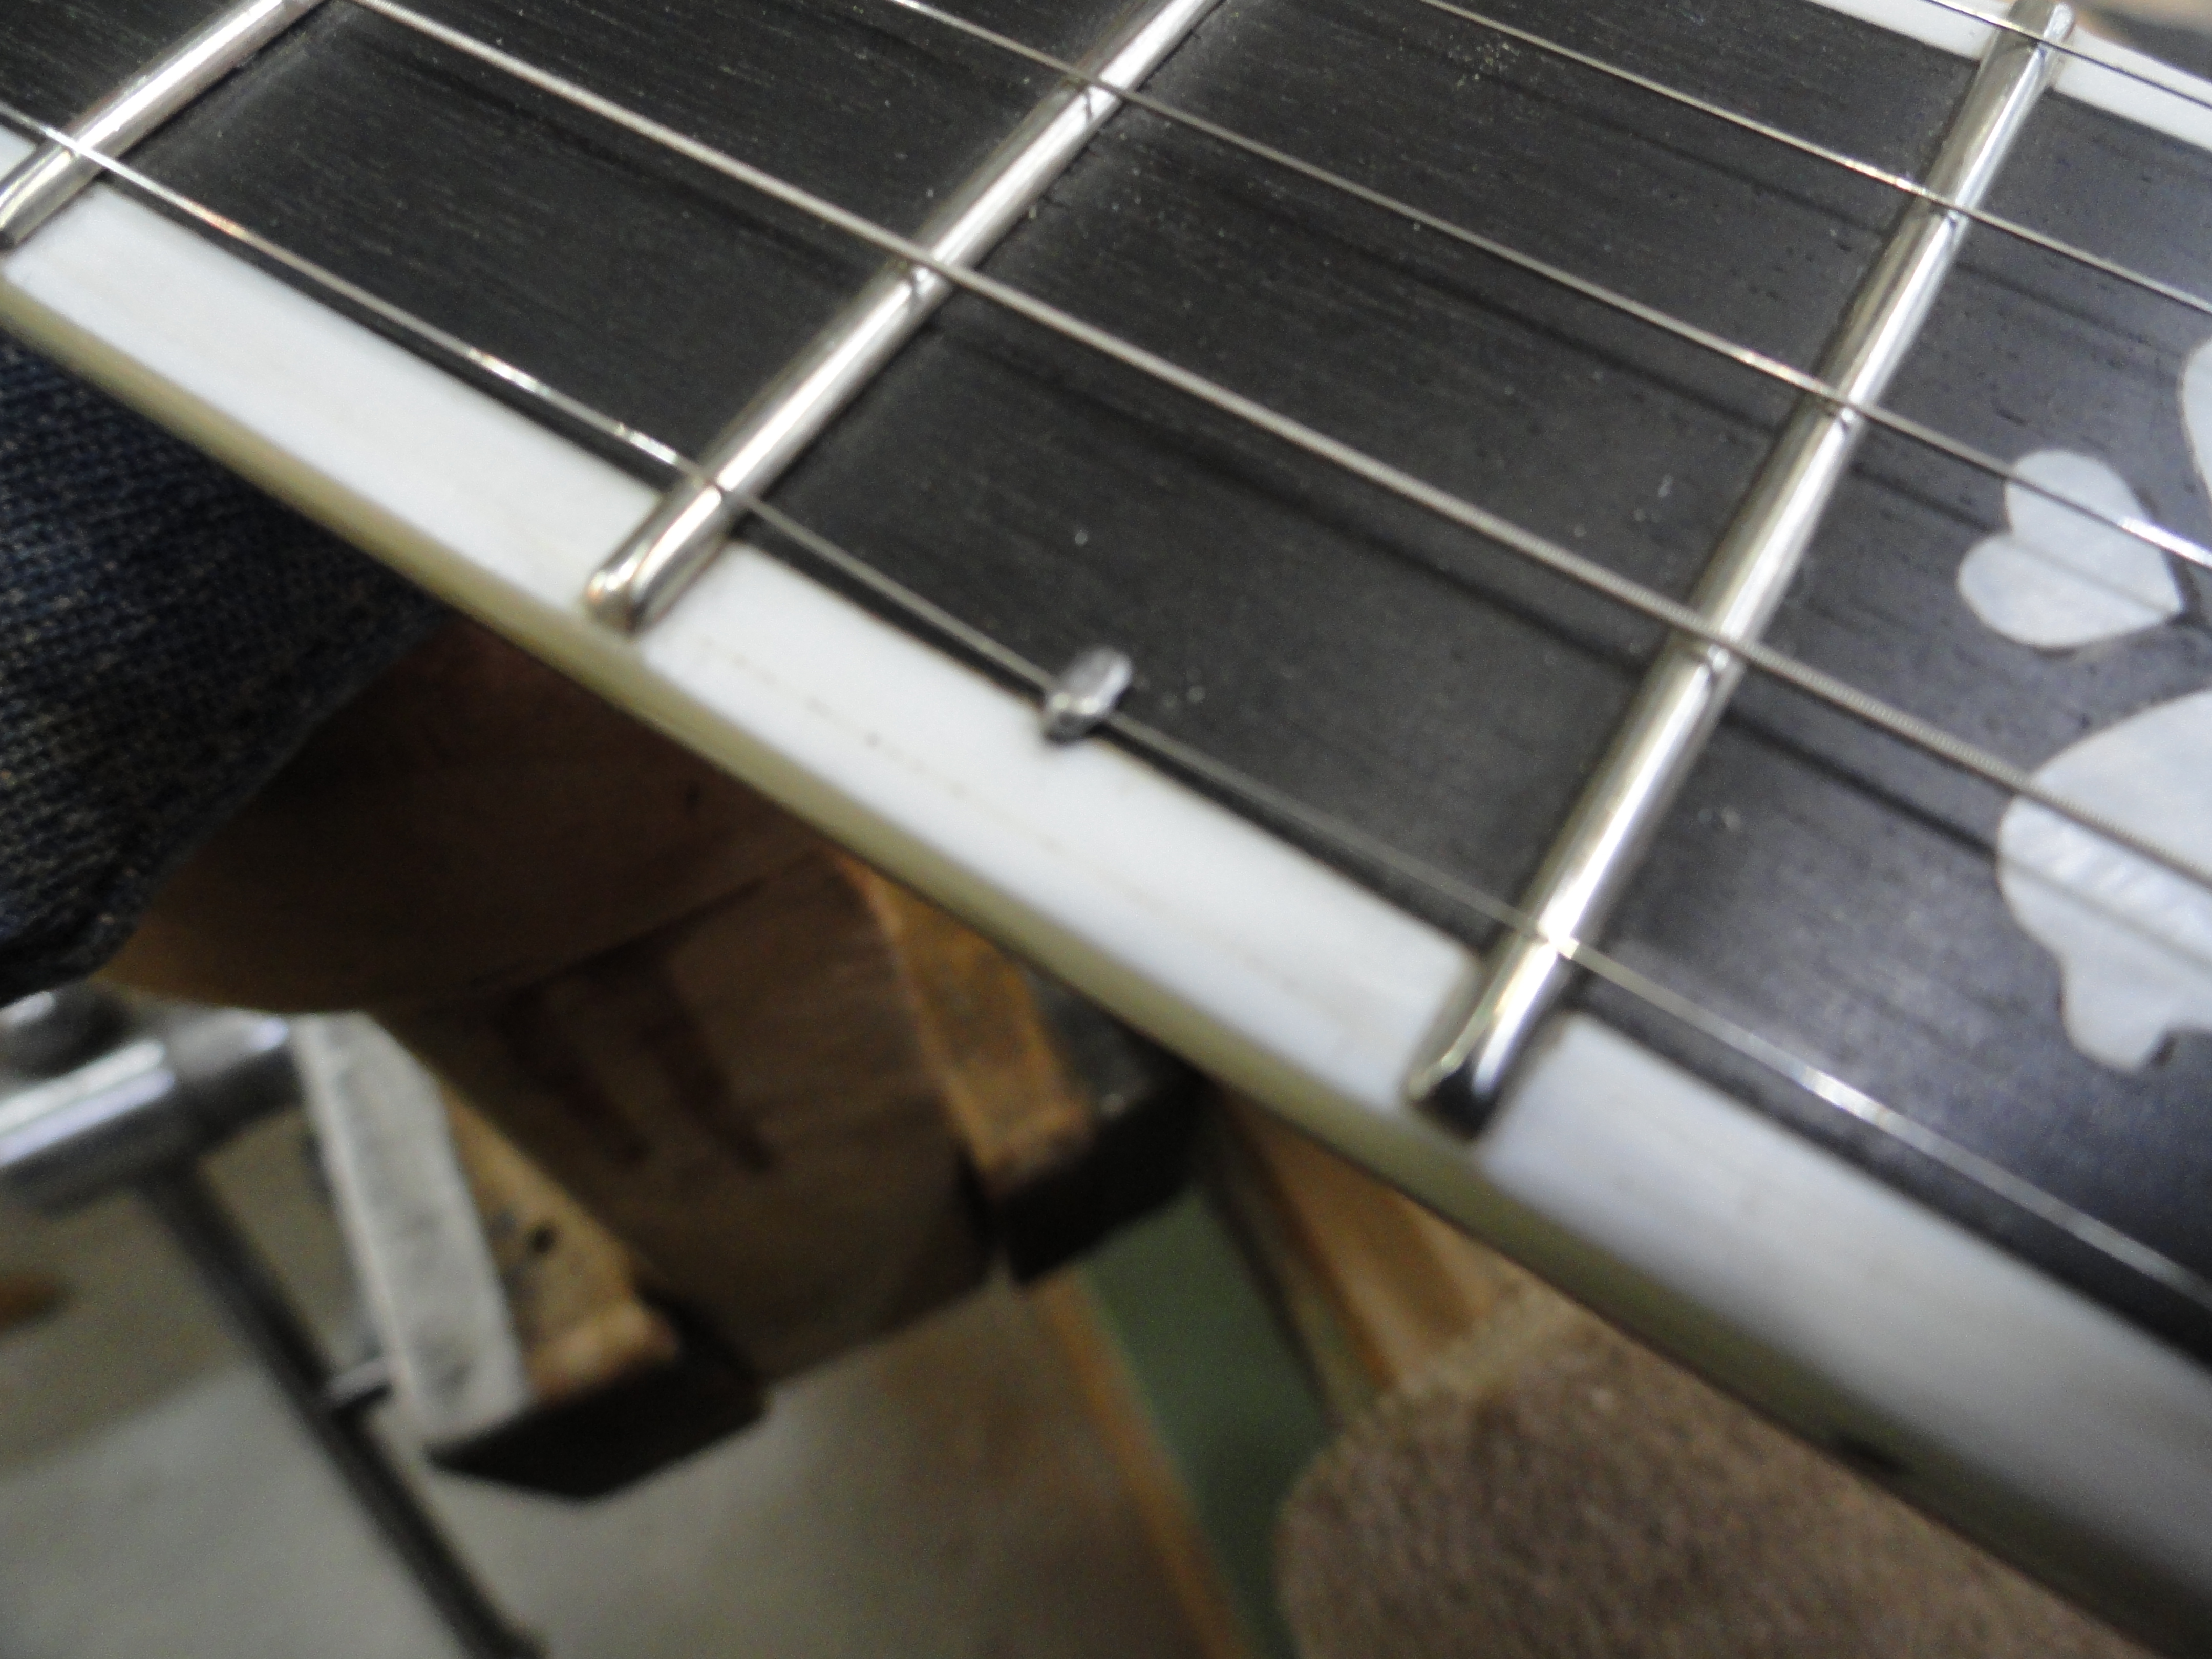
The owner wanted 2 spikes installed at the “A” and “B” positions. I’ve seen a lot of banjos that had spikes installed that would almost cut you when you ran your fingers over them. I learned years ago to round and polish these spikes before installing them. It is almost impossible to properly polish these spikes after they are in the fingerboard. Here are 2 spikes. The one on the left is what it looks like when it is made. The one on the right shows what a little filing, sanding, and polishing can do.
 \
\
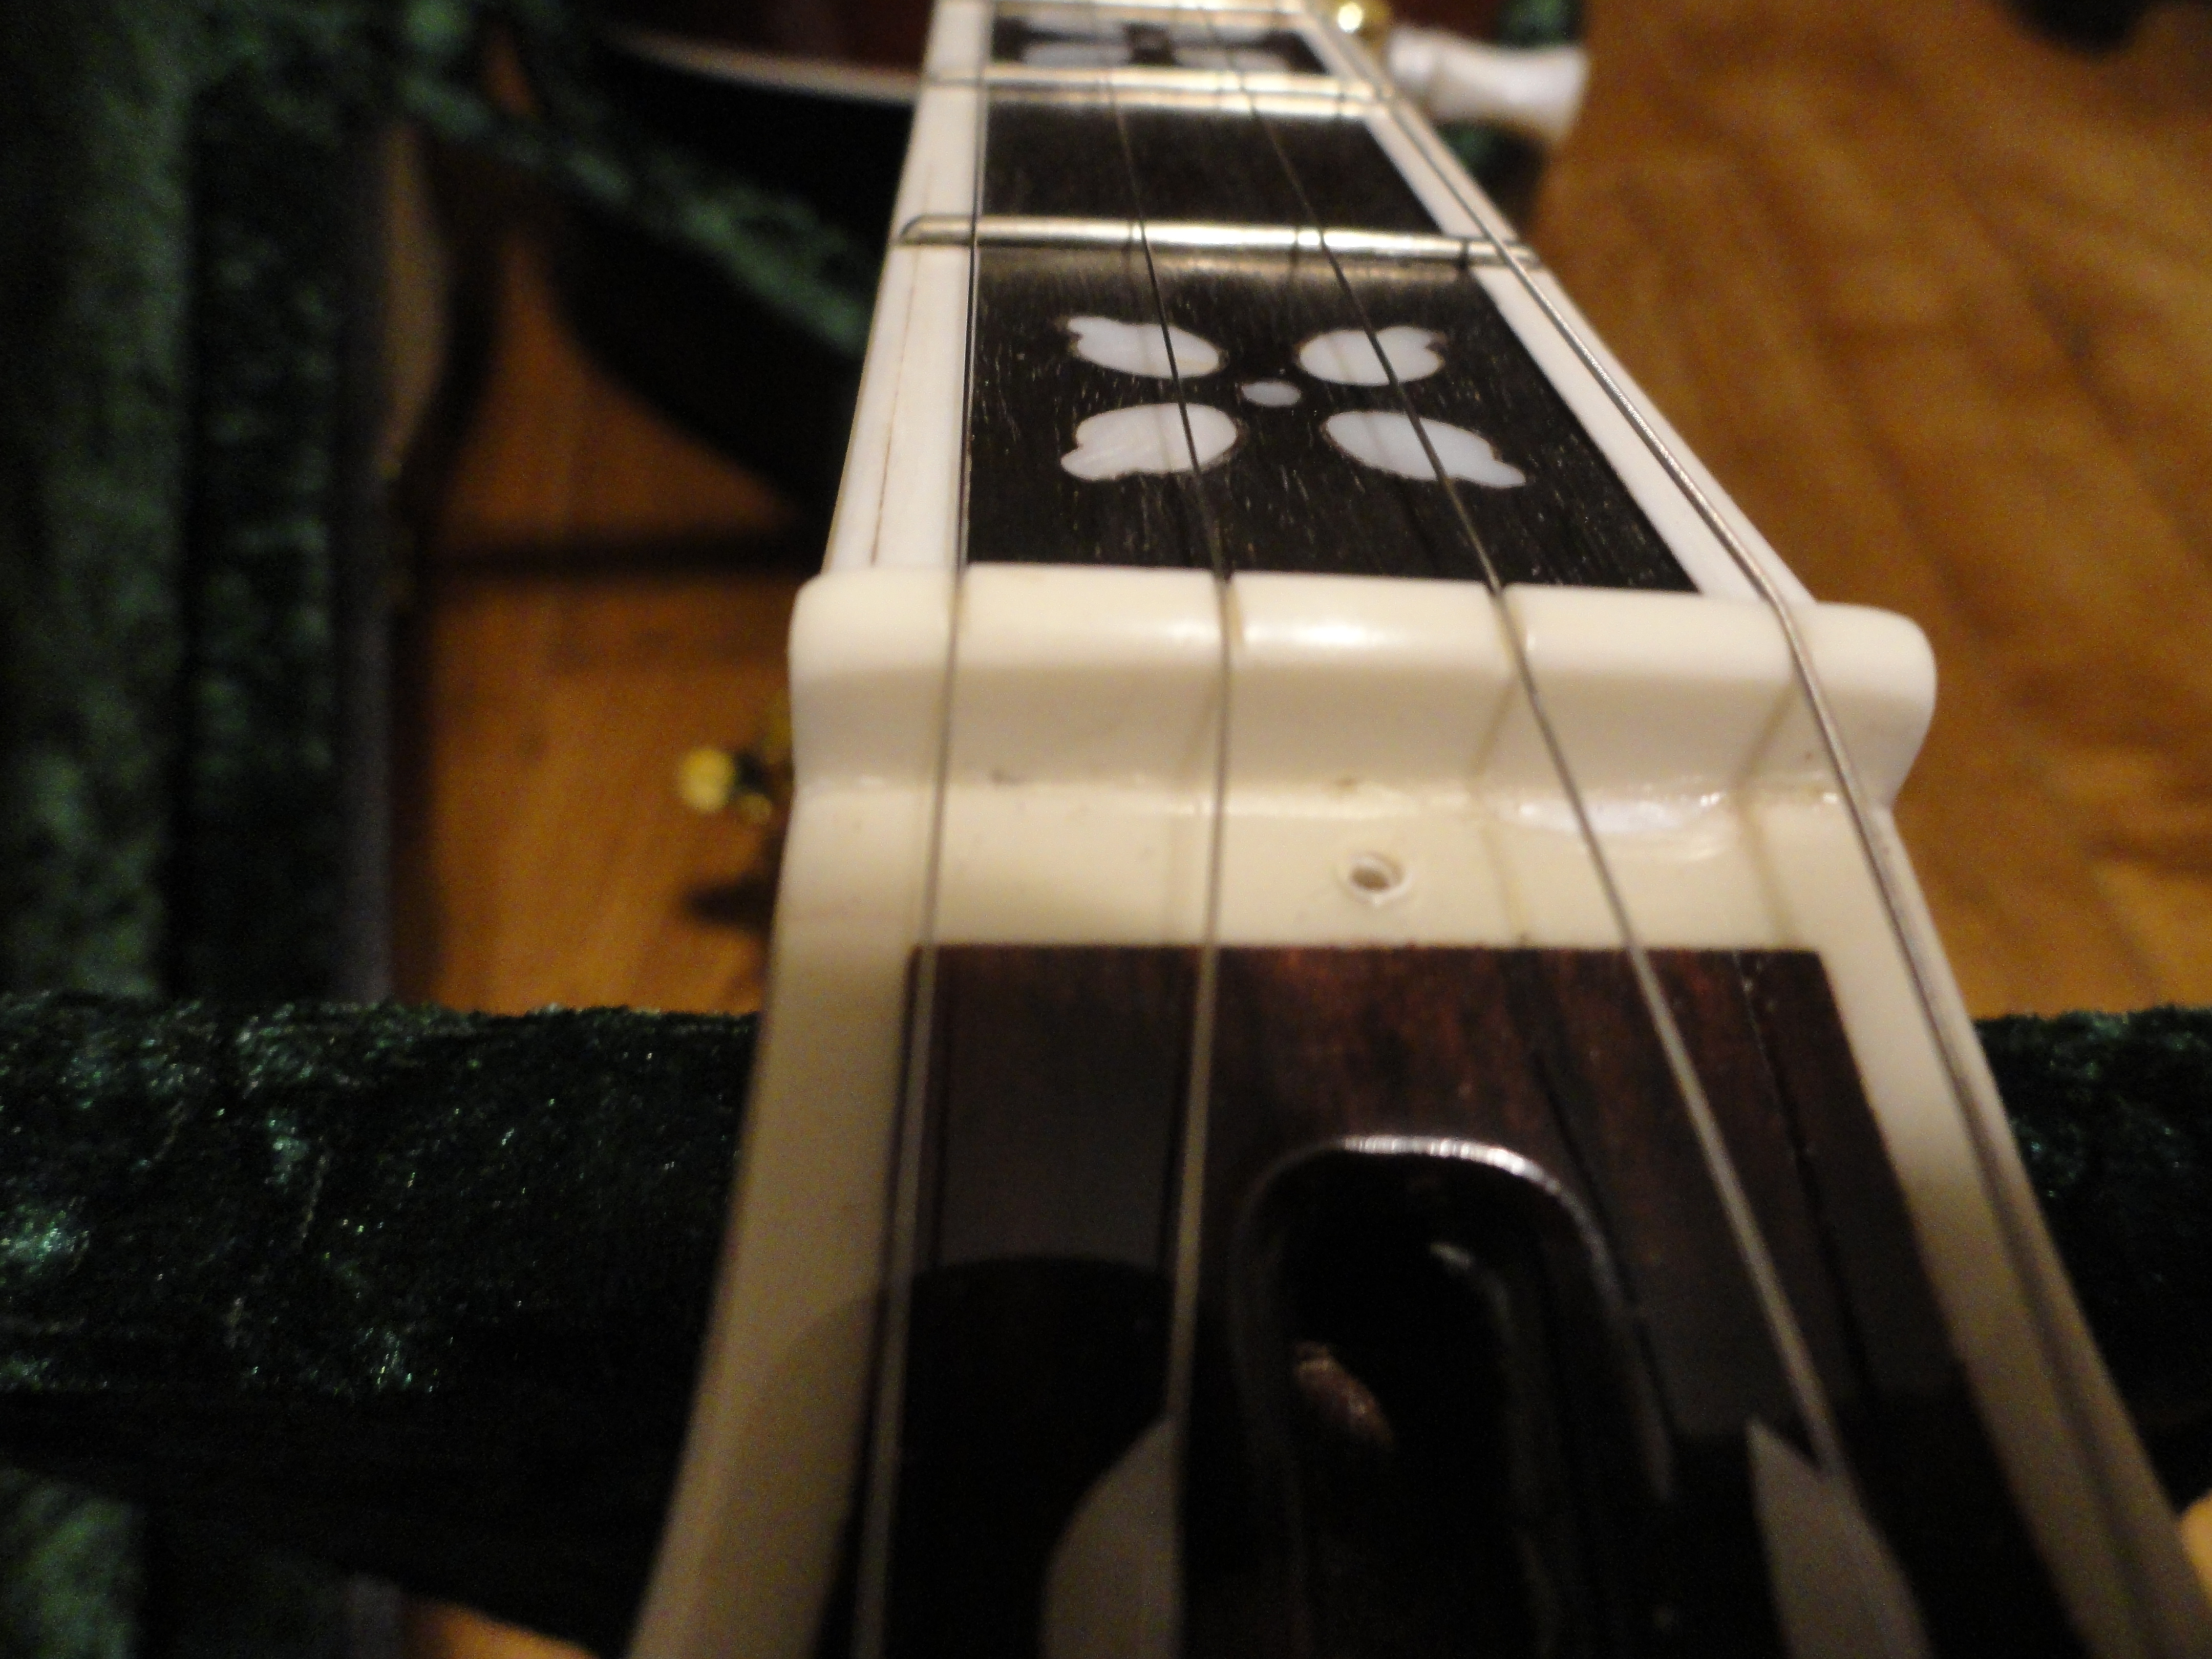
Here is a shot of one of the spikes after it is installed. I prefer to place them about the center of the two frets. The top of this spike must be below the plane of the 2 corresponding frets. I use a .010 inch feeler gauge positioned on the fingerboard and under the spike head to tell how deep to drive it. I drill a small hole with a little hand drill for these spikes. This extra wide binding forced me to place these spikes very near the joint between the binding and fingerboard. Since the spikes go into the neck, I don’t anticipate a problem. You might also note these fret ends. They have the Nichols Edge on them. I hate sharp edges on anything.
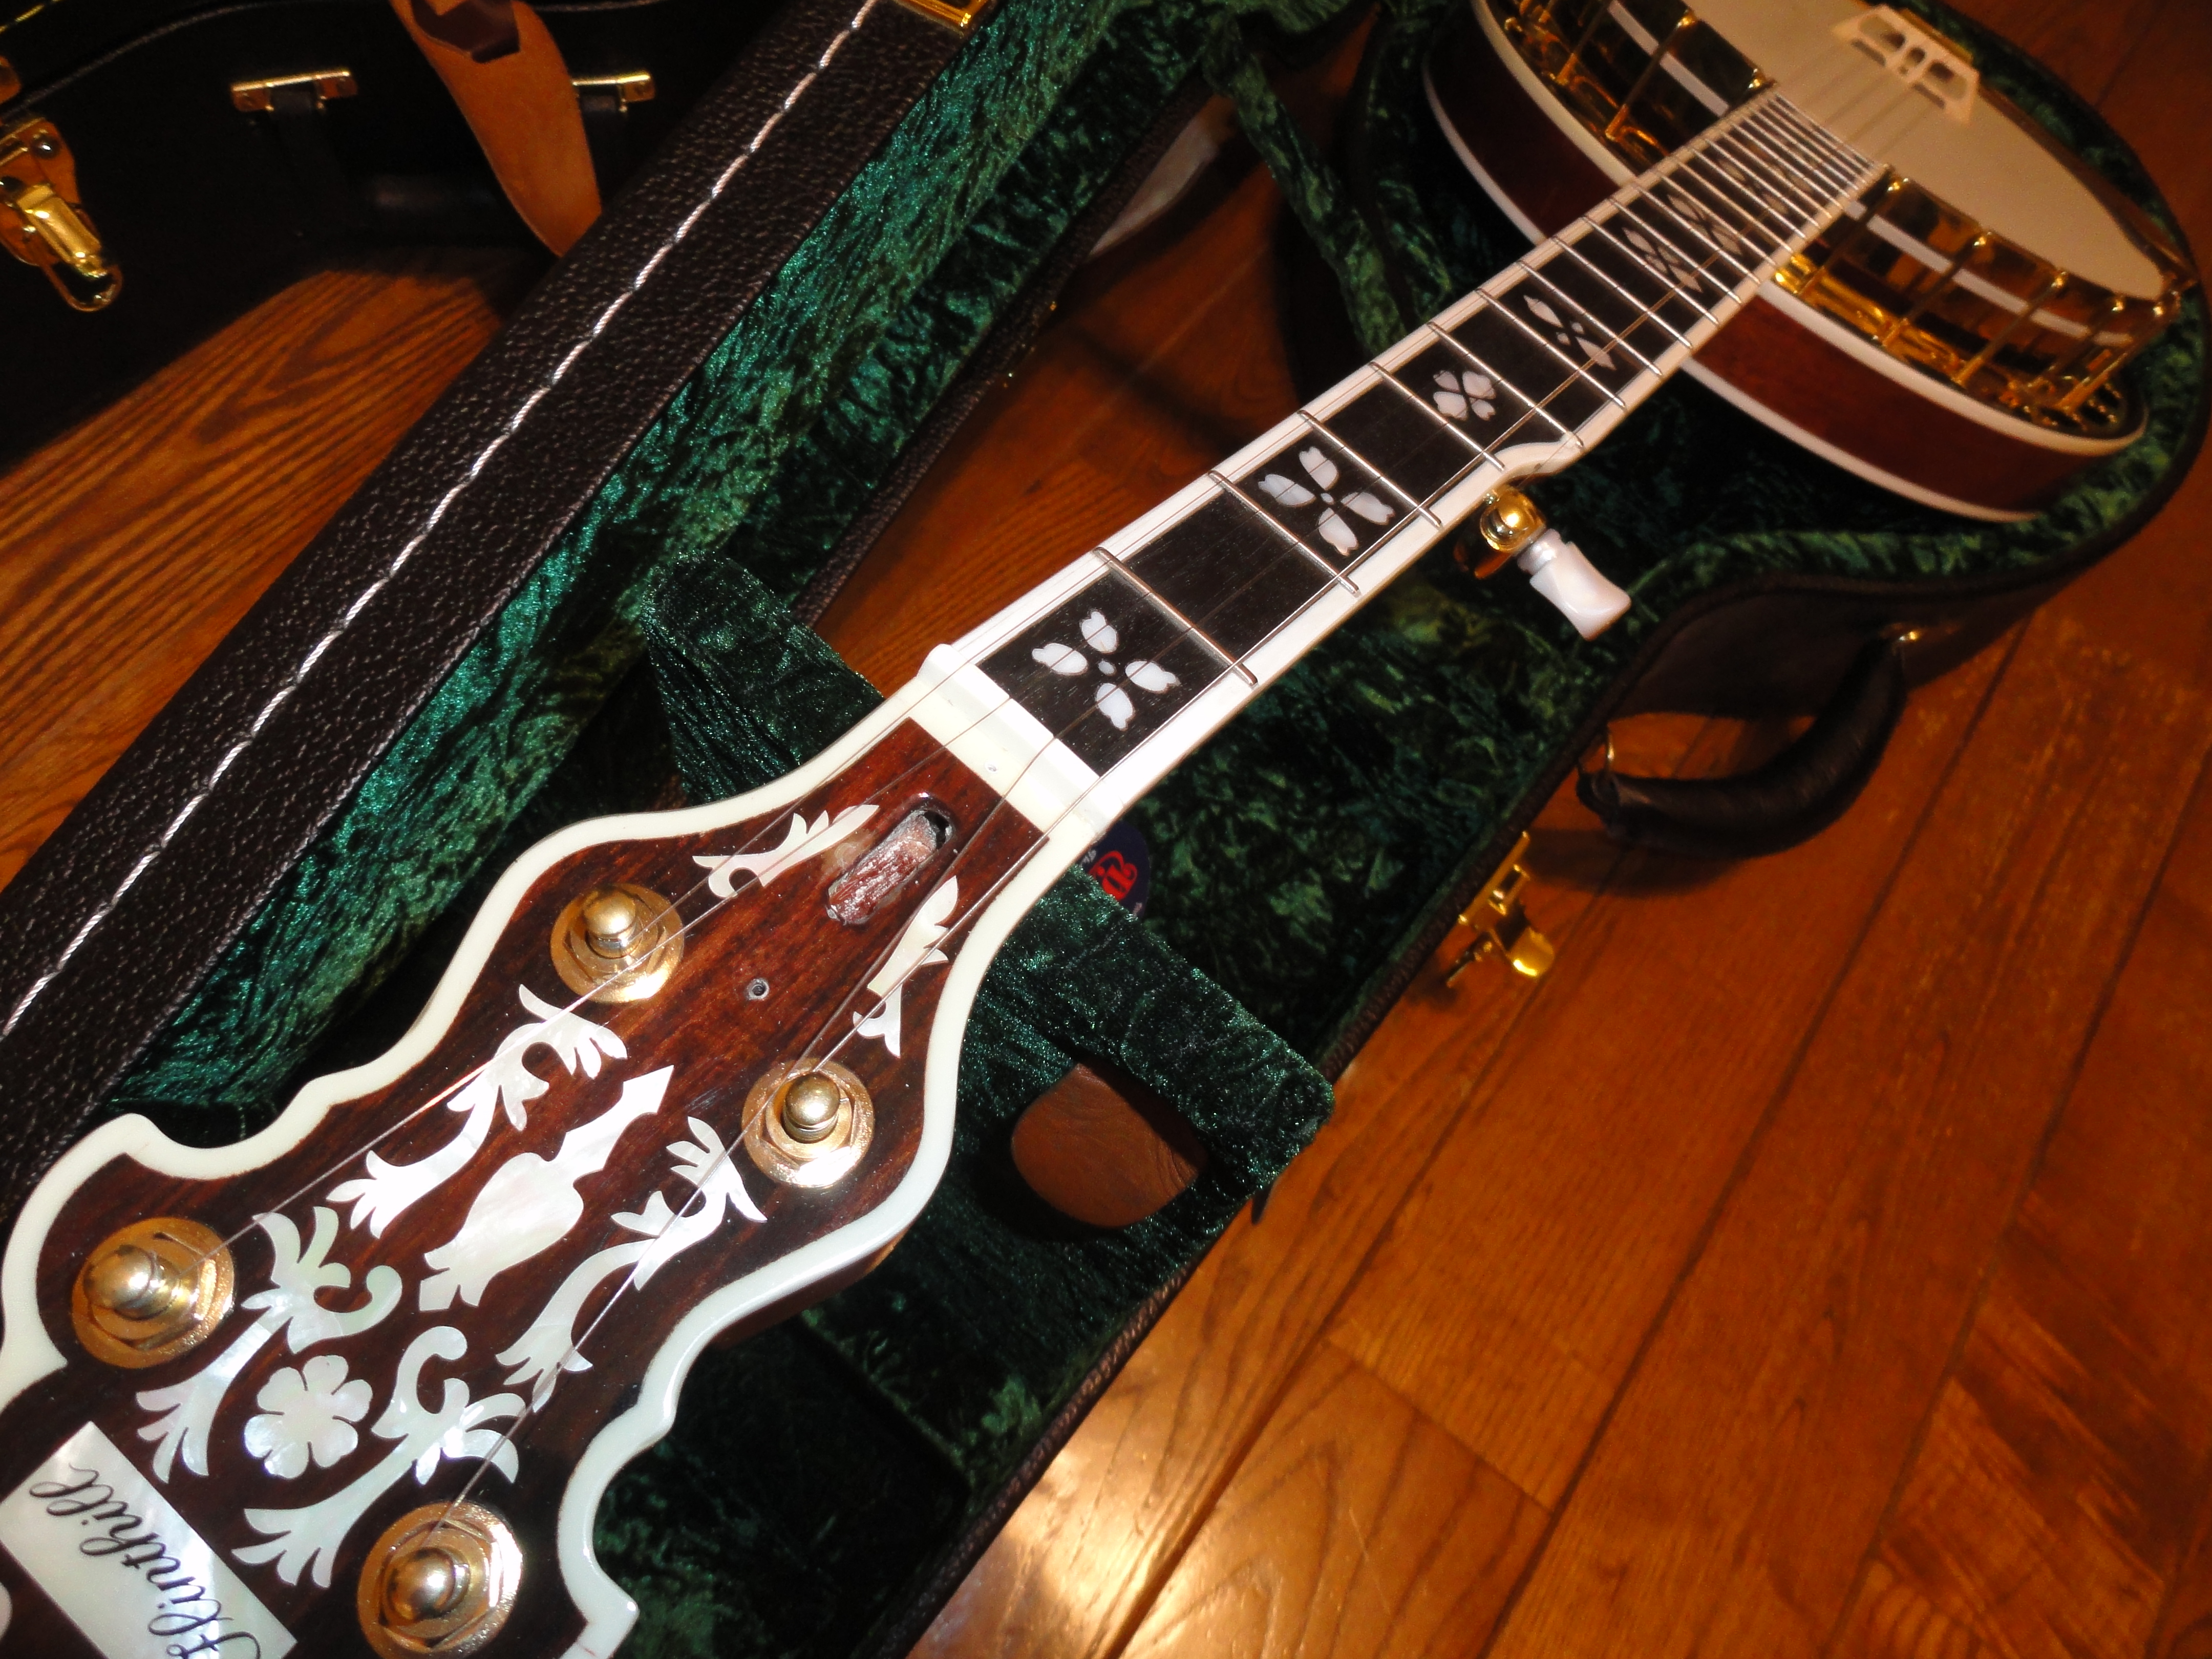
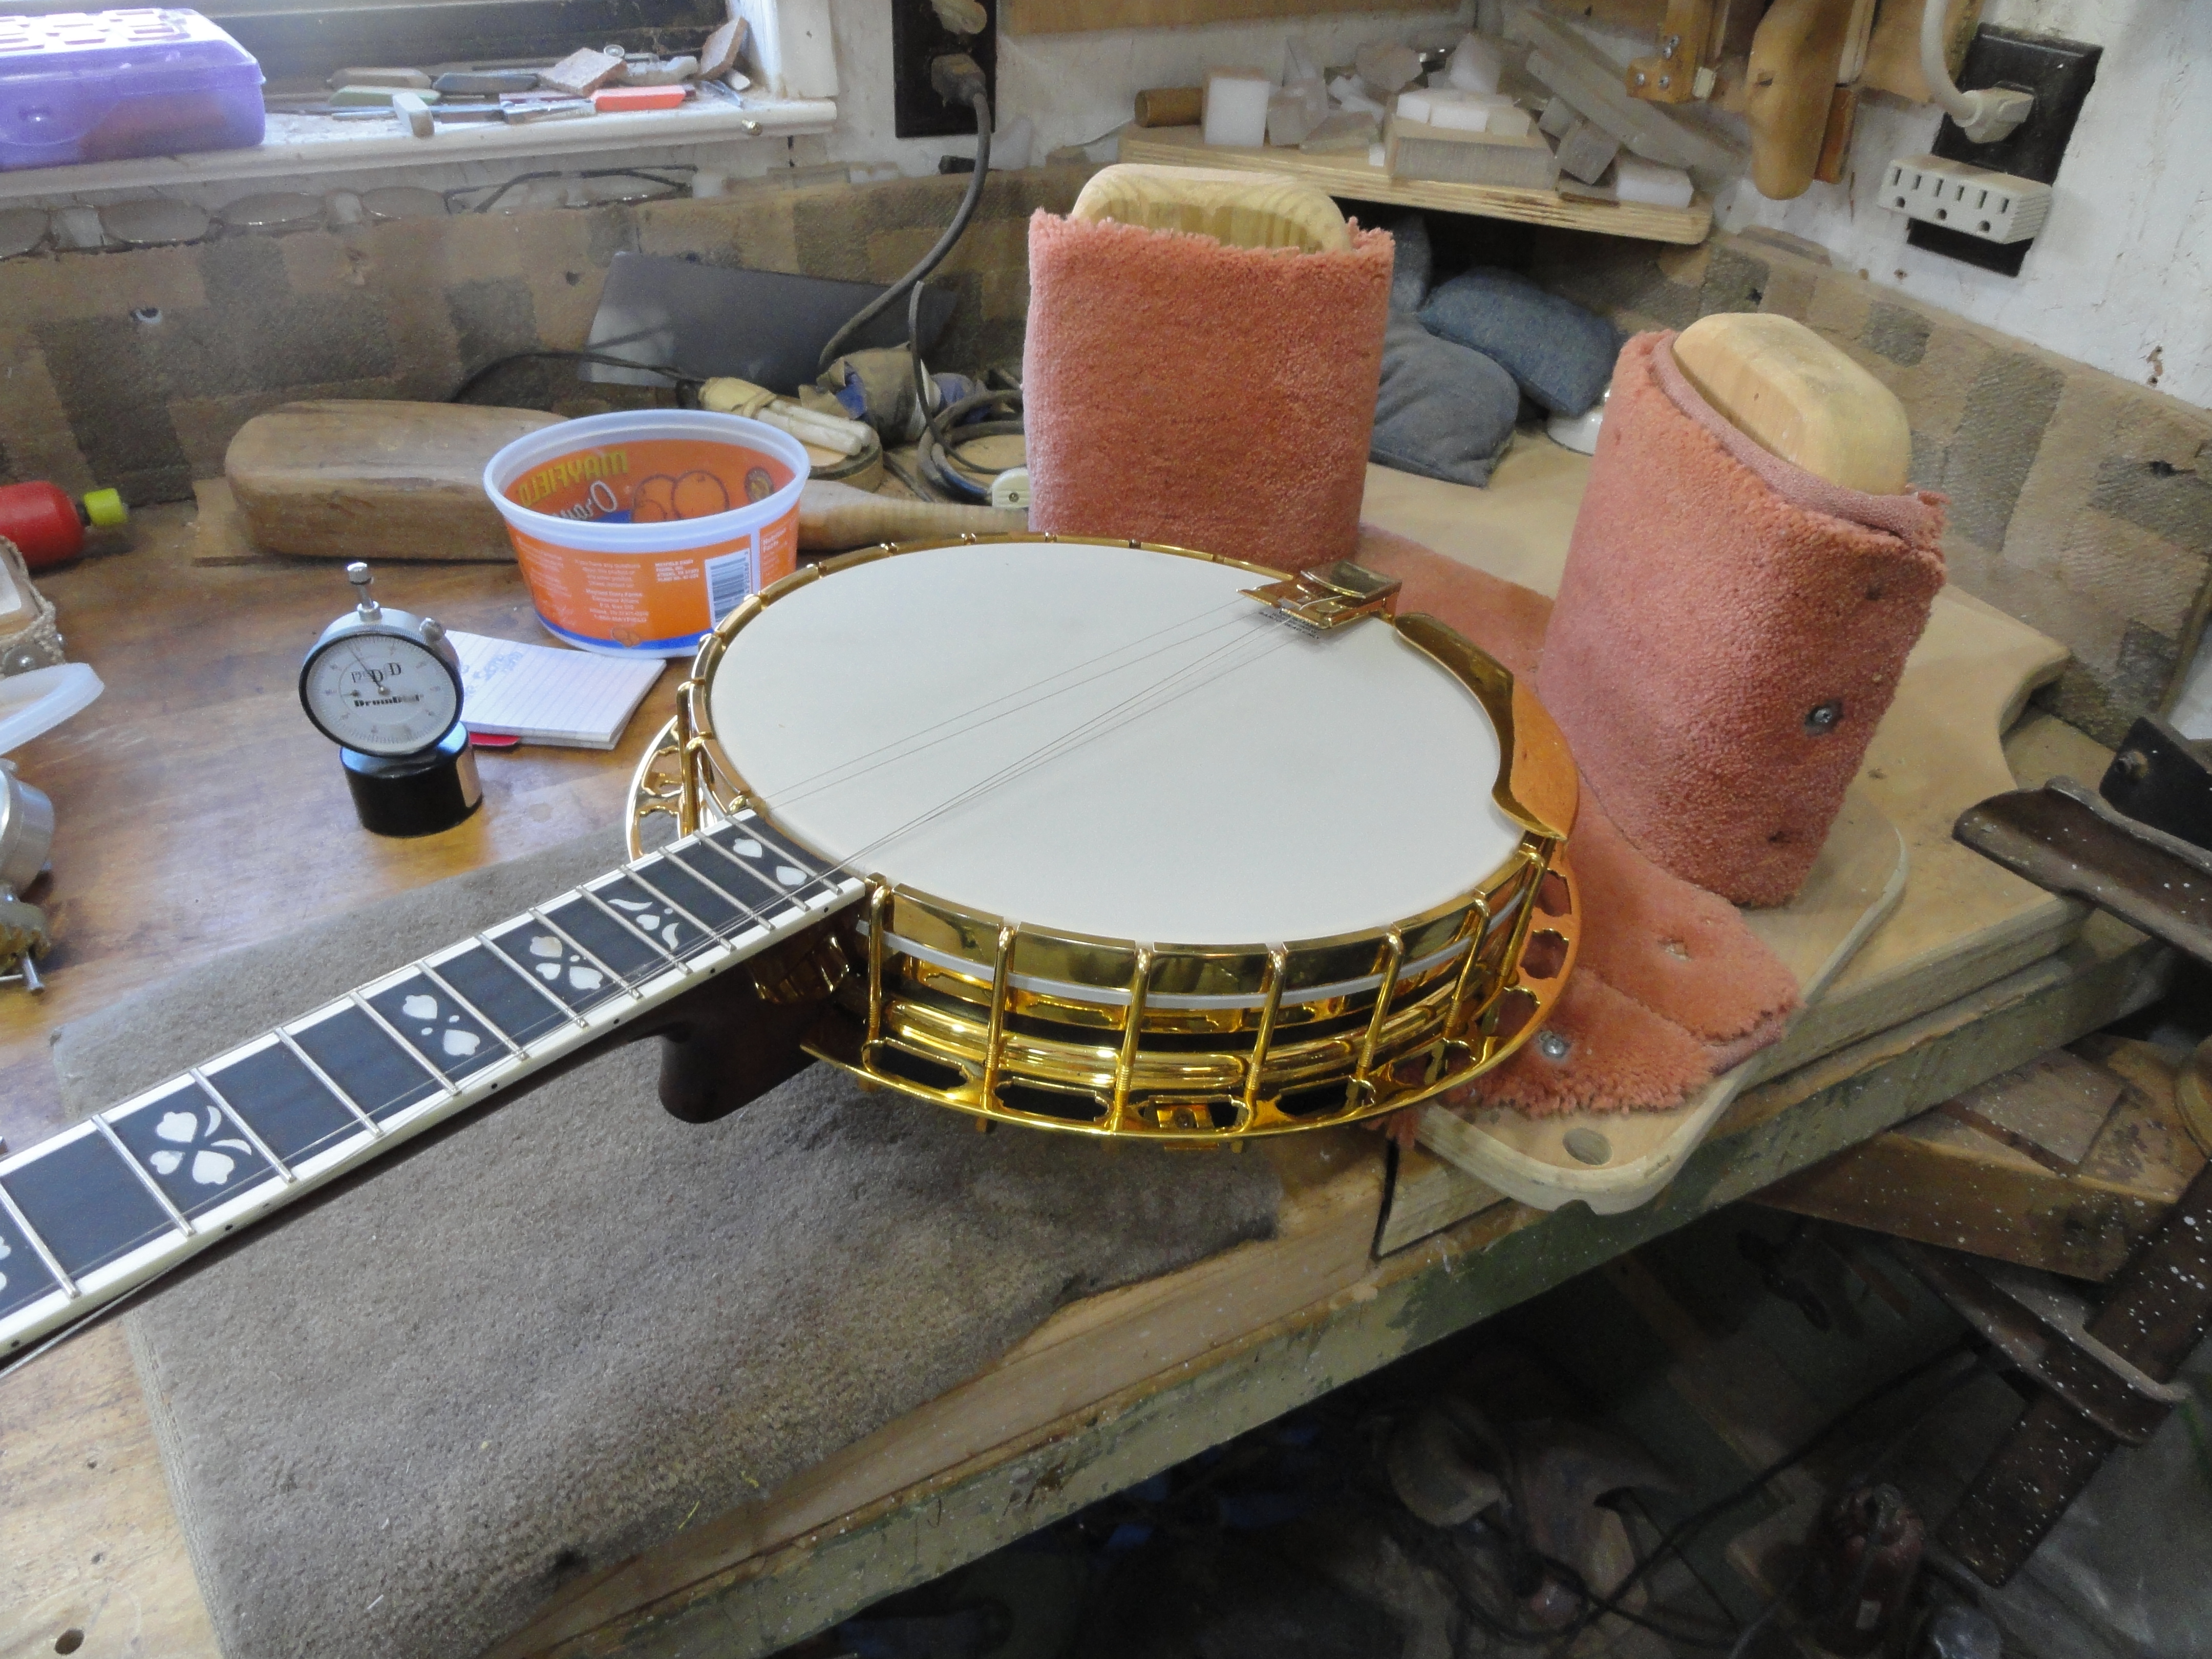
We completed the setup by tightening the head. I like about an 89 or 90 on the Drum Dial tool. I must admit that I tighten the head more by sound than by a mechanical measuring device. I believe the more measuring tools you have, the more accurate you can be in duplicating this setup at a later date. I installed a Nichols maple 11/16 bridge which weighed about 2.0 grams. The 5/8 bridge that came on this banjo made the action too low. With everything tightened on the pot to neck joint, the action was a little too low. The taller bridge is a simpler solution than re-cutting the neck. I don’t like to leave any space between the neck and pot. I believe the coordinator rods should be used for extra strength and not for adjusting the neck action.
This banjo had a good clear tone with plenty of growl when it was properly set up. It doesn’t matter how good a sound a pot produces, if it isn’t accompanied by some clear notes, it is all wasted. I’ve heard some high priced banjos that didn’t sound any better than this one. I don’t like the sharp edges these manufacturers leave in the back edge of the resonators. This one had this sharp edge, but all of the new banjos I’ve seen lately have this same sharp edge. I just doesn’t feel comfortable setting against my leg. One other thing I saw as a weakness on this banjo was the tailpiece. It was pretty flimsy and is not capable of applying any significant downward pressure on the strings. This type of tailpieces has always appeared weak to me. I think the owner is contemplating installing a stronger, slightly heavier tailpiece. There are a lot of differing opinions about banjo setup. This setup reflects some of my opinions and techniques. I’m not suggesting that this type setup would please everyone. The Good Lord in Heaven only knows what is that pre-war sound most banjo players say they are looking for.
![]()
I’m looking for some d tuners for my flint hill, curious if you know what diameter the tuning peg hols are so I get the right size?
I sent you an email with my answer. Thanks, Ronnie