The Patient
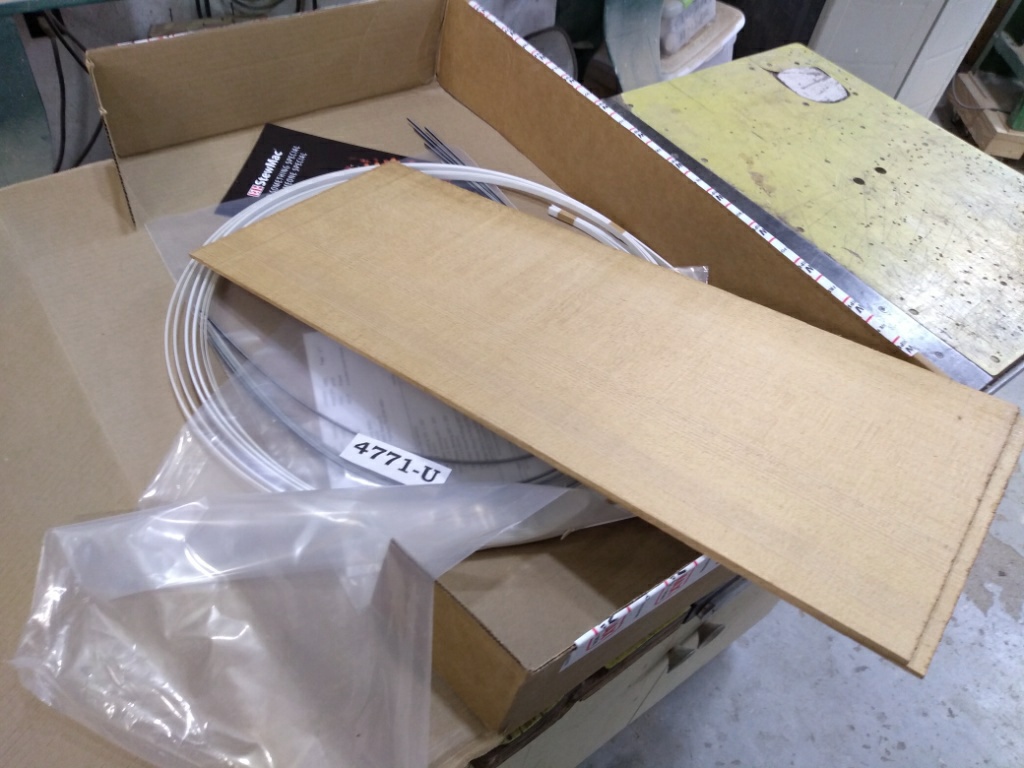
This guitar is a 1936 Washburn Model # 5257. It was brought to me by it’s owner and it had some serious play-ability problems. Someone had previously thinned the top and it was weakened considerably. The top plate was badly distorted around the bridge area. Further inspection revealed that someone had added some wood behind the bridge plate in an attempt to correct the problem. The owner and I decided that the best solution would be to replace the top. We discussed the possibilities and agreed on what I would do, a price, and a timeline.
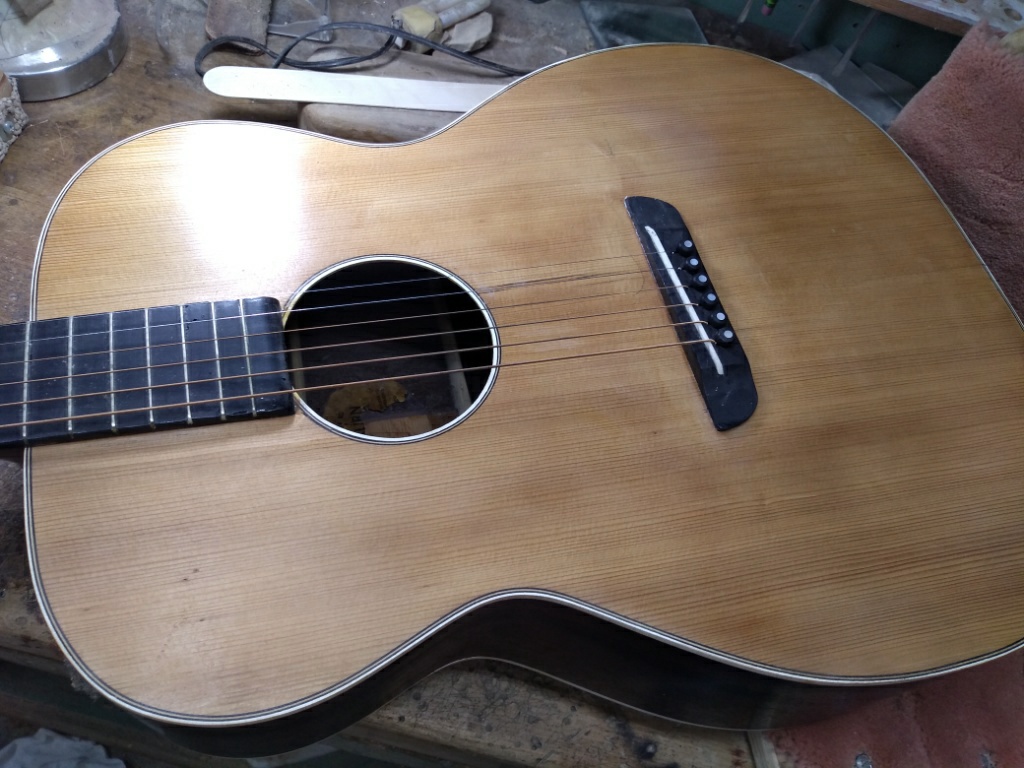
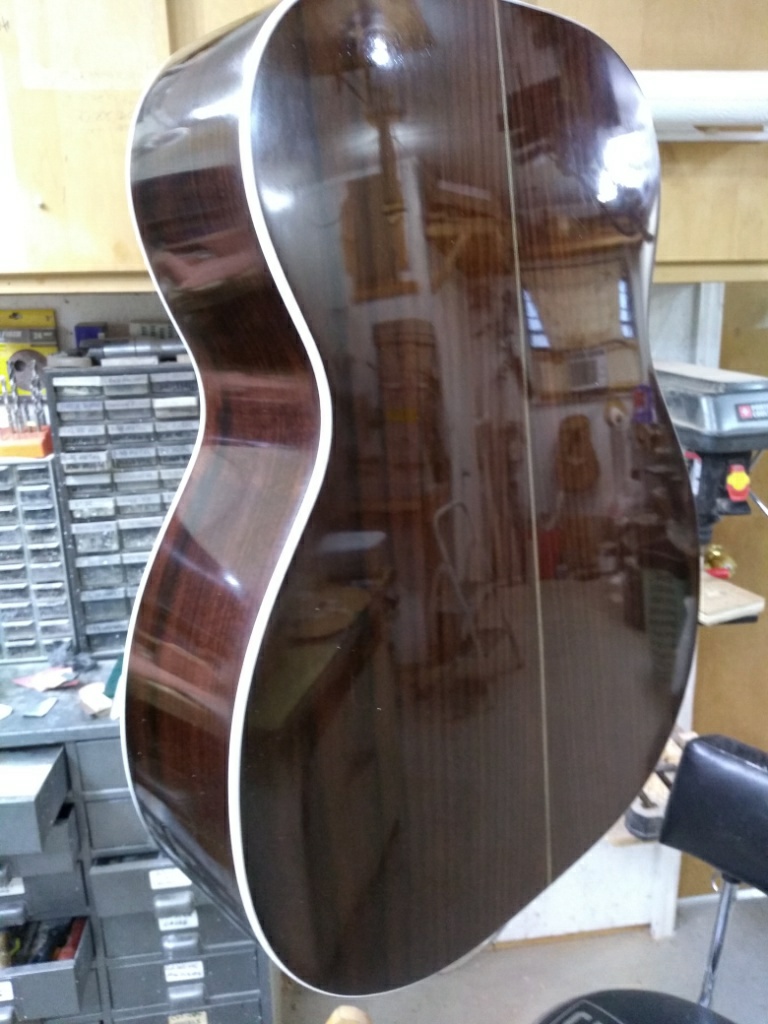
This guitar features a Brazilian rosewood back and sides. These guitars were shaped similar to some Martin 000 Guitars made in those days. The owner has done some research on these guitars and he says they were a Chicago made guitar and may have been made by the Lyon & Healy Company. It has the bar frets which were discontinued in the 1930’s. (Martin quit using them in about 1935). This guitar had a good sound and the owner was willing to spend the money to refurbish it and get it into playable condition. We normally don’t like to refinish a guitar, but in this case, that appeared to be the logical thing to do.
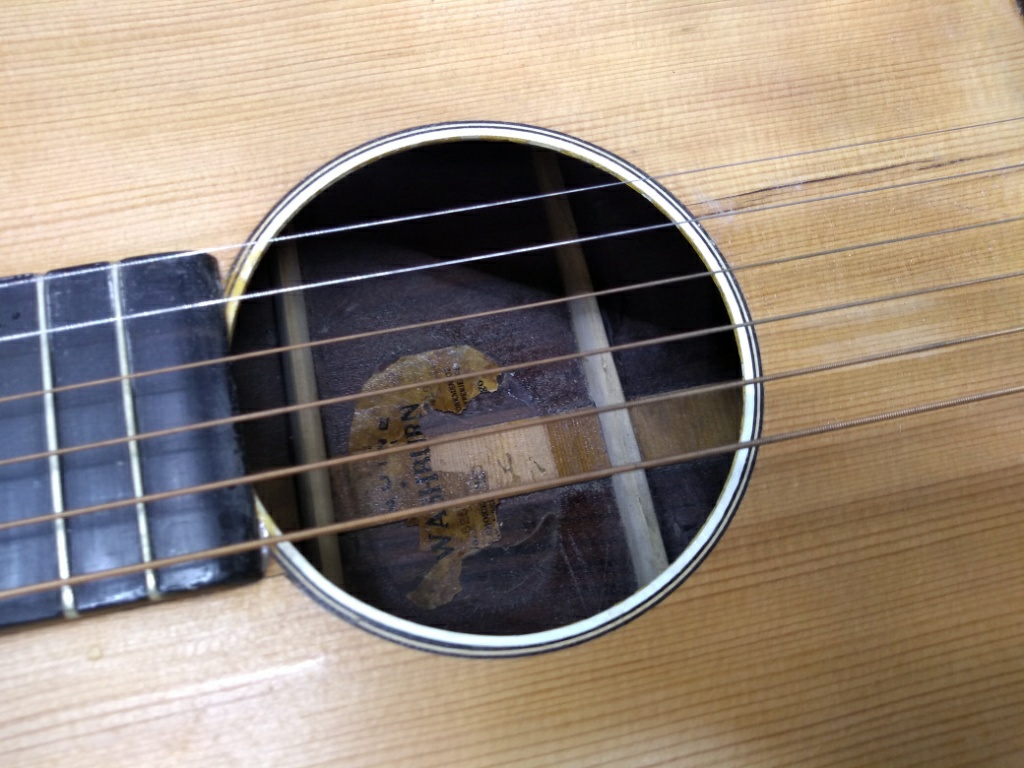
Apparently, someone had used a belt sander on this top and there was very little strength left in it. The old paper label was deteriorated but the model number was still readable.

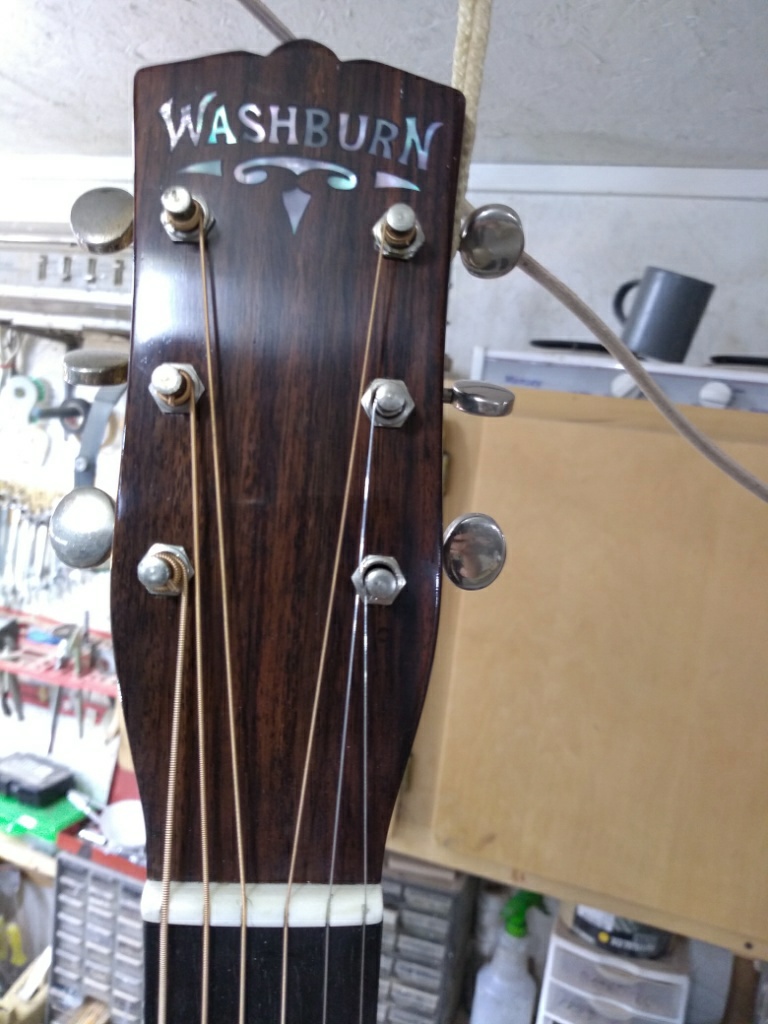
The peghead had a tastefully done logo inlayed with pearl. The old butterbean tuners appeared to work pretty smoothly and the edges of the buttons were very smooth feeling.
The old bar frets were in pretty good shape as were the dot inlays.
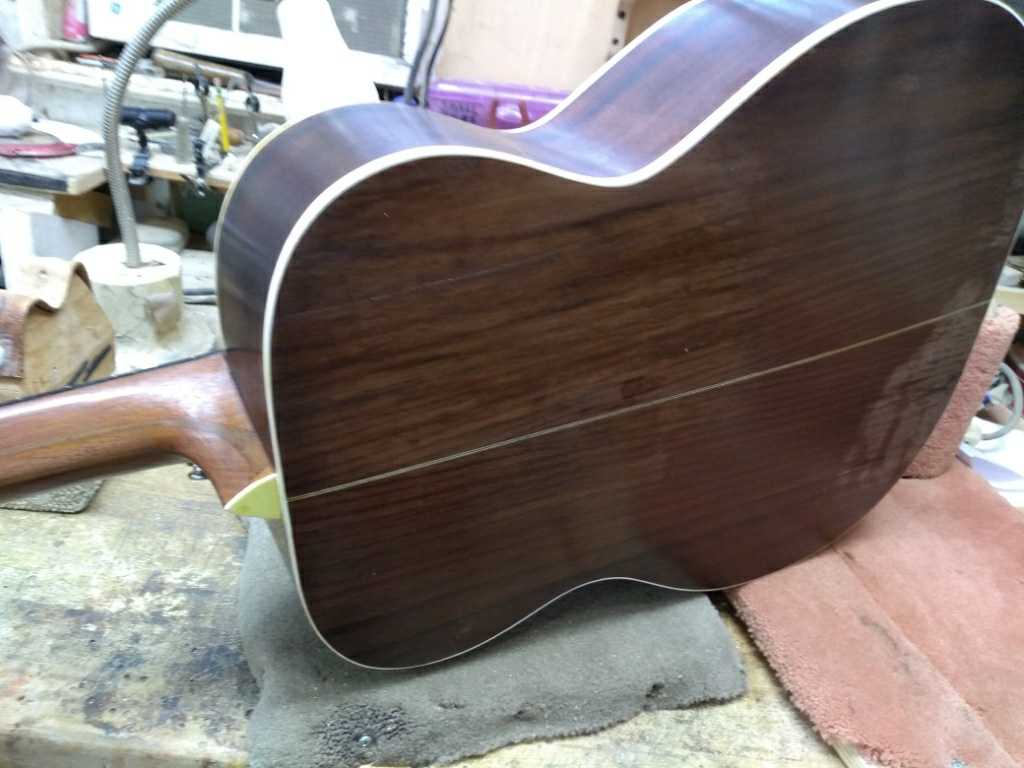
The Brazilian Rosewood was very attractive but had several cracks in the back which had been glued before and cleated. The binding on the top plate was very thin from the sanding that had been done to the top.
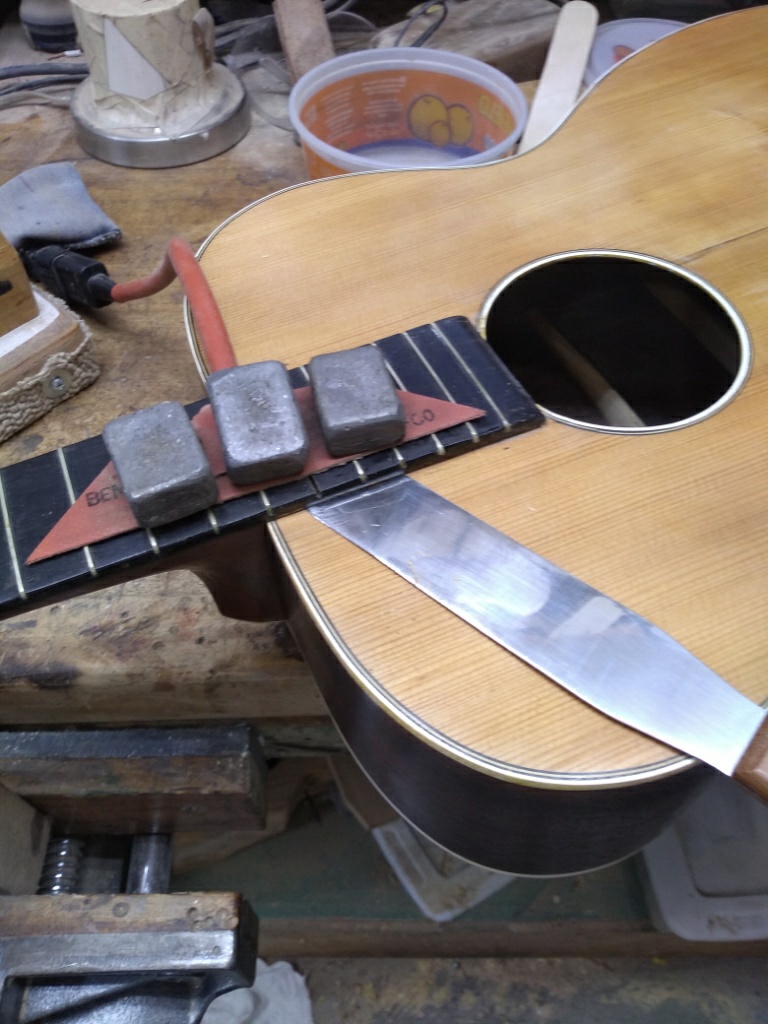
We began this repair by heating the fingerboard with our silicon blanket. We first removed the 15th fret and drilled a small hole through the slot in an attempt to access the dovetail joint to inject some steam. We have encountered this problem in the past with some Kay Guitars. On a Martin, the hole at the 15th fret will come out in the joint, but these guitars do not work out that way. The hole ended up behind the joint and would not allow me to inject steam or heat into the proper place. So, I decided to remove the entire fingerboard.
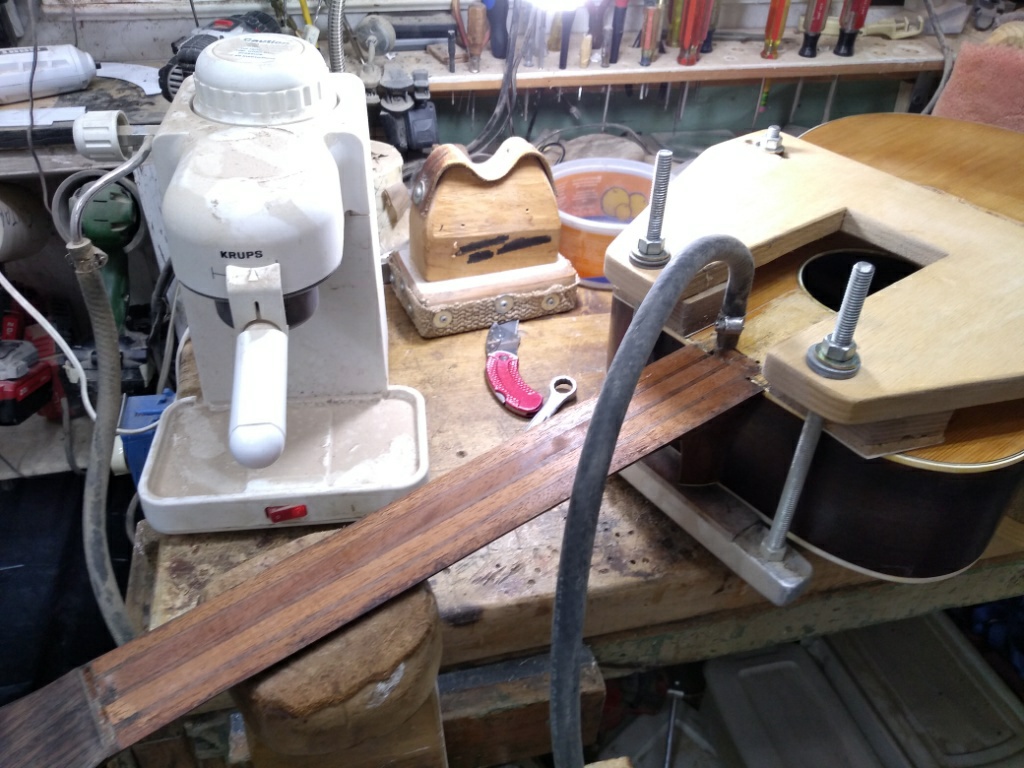
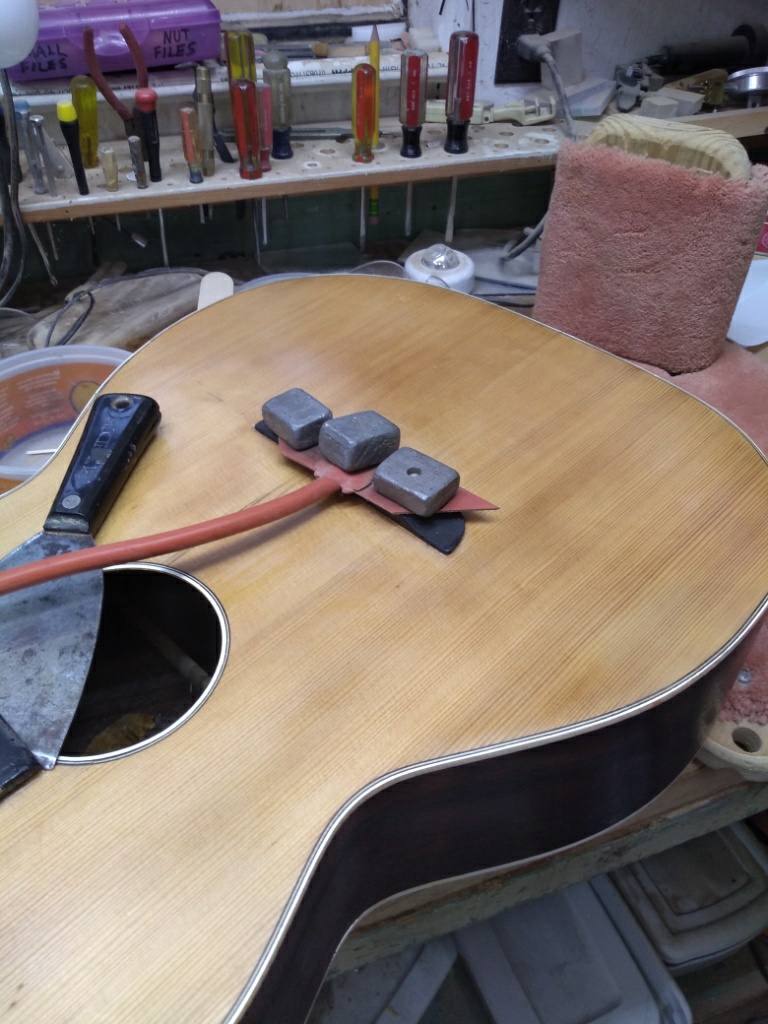
These silicon blankets work really well for heating the fingerboard to soften the glue. These home made lead weights hold the blanket down to help transfer the heat.
The picture above shows the neck after the fingerboard was removed. The fingerboard came off cleanly. We discovered that this neck had no truss rod in it. It had a slight bow in it when it was strung up, (with light gauge strings) which was a little more than would be desirable for the neck relief. The neck appeared dead flat without the string tension. I talked it over with the owner and we decided to add 2 carbon fiber rods to strengthen the neck. We didn’t want to add an adjustable truss rod or something that would alter the originality of this guitar. These old guitars are collectible.
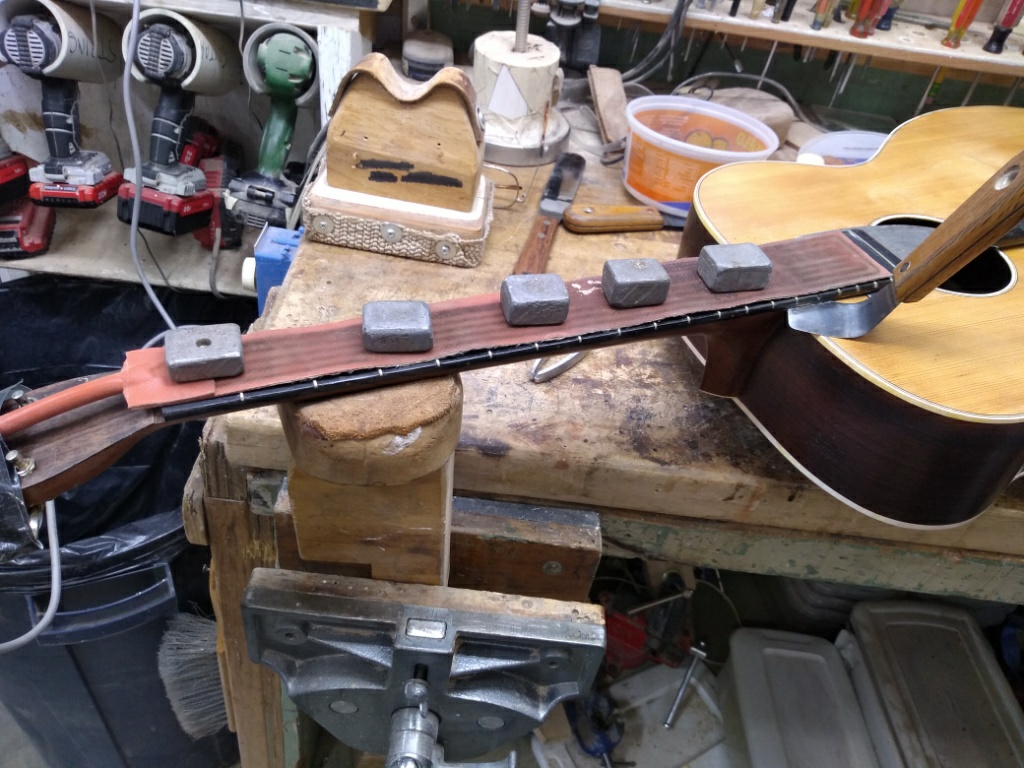
The above picture shows the hole I drilled in my search for the dovetail pocket. As you can see, it missed the mark. I was able to inject steam into the pocket since the fingerboard was not blocking the view.
Here is a shot of my steam generator and football needle which gets the steam into the joint. Also shown in the picture is my home made jig to put pressure on the neck to remove it. These items have worked well for me through the years. The neck came out pretty easily with a little heat and pressure.
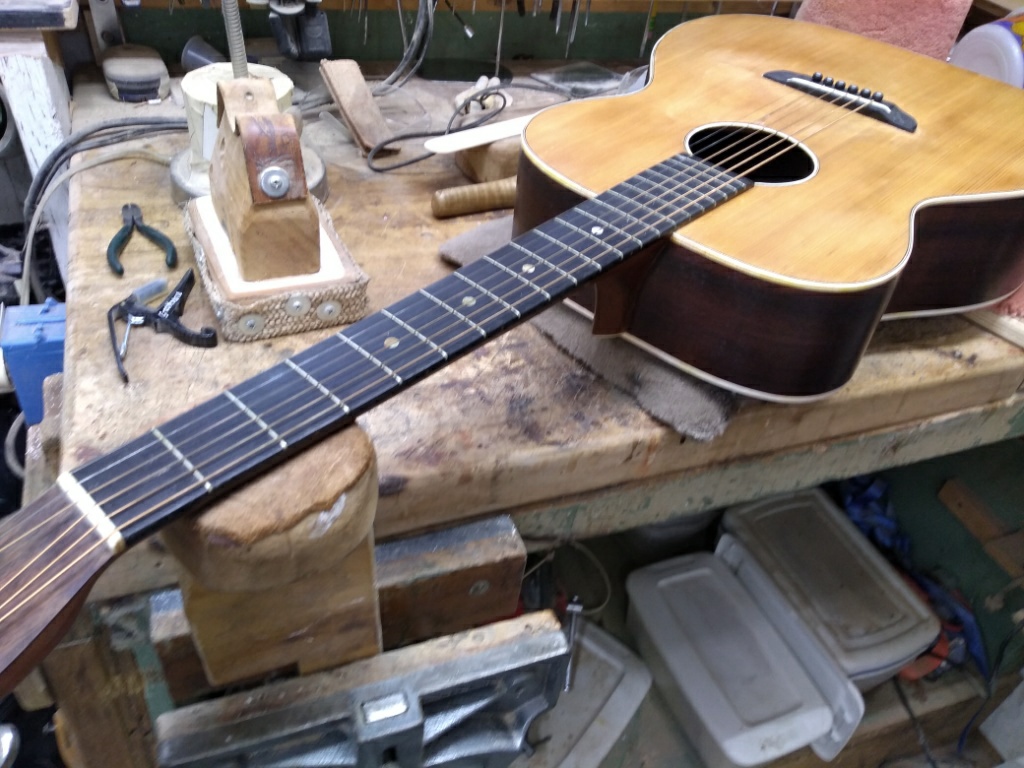
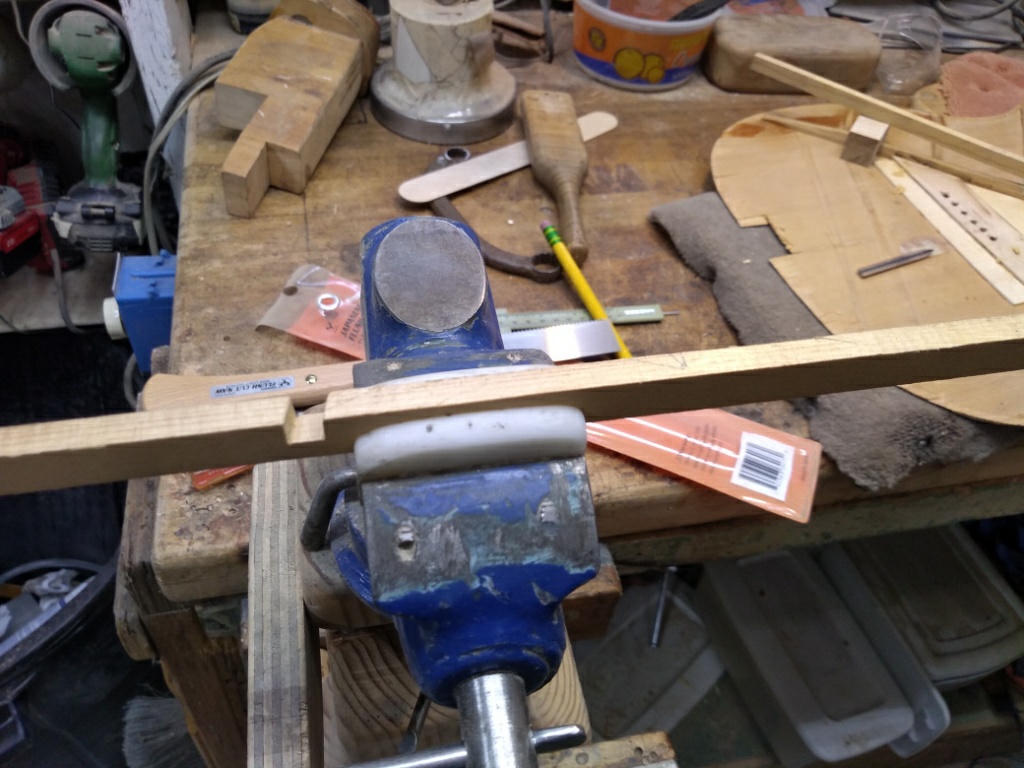
Now, I heated the old bridge to remove it. It had been thinned a lot and this contributed to the top being deformed, too. Of course resetting the neck angle and fabricating a new bridge would be a part of this repair.
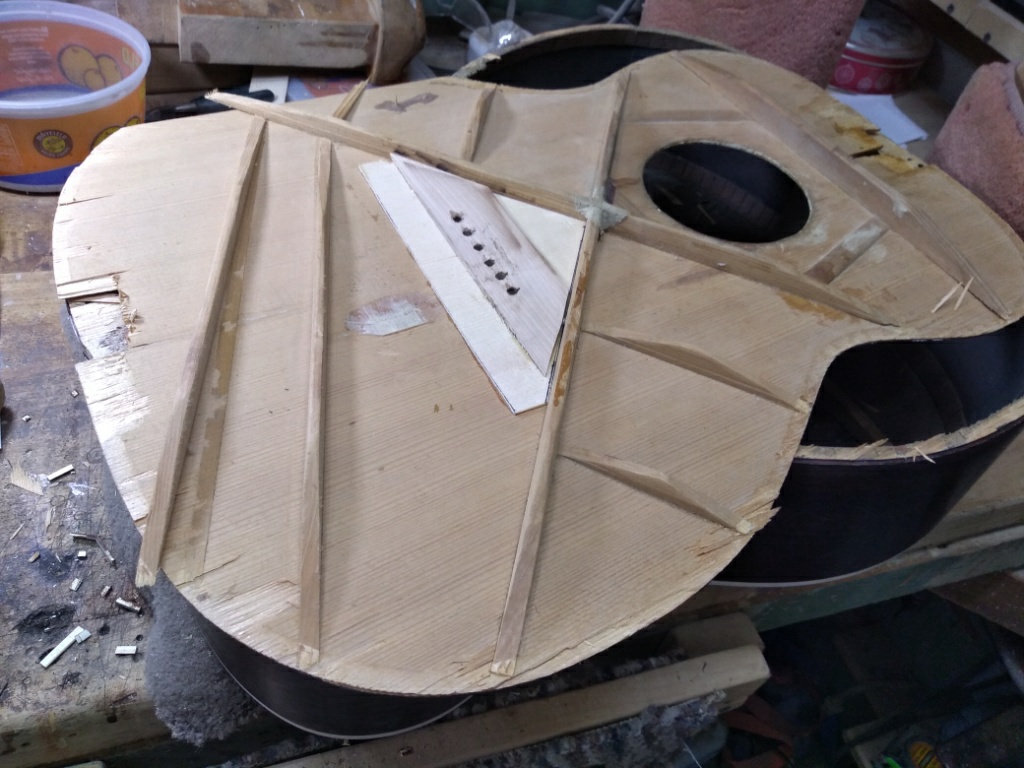
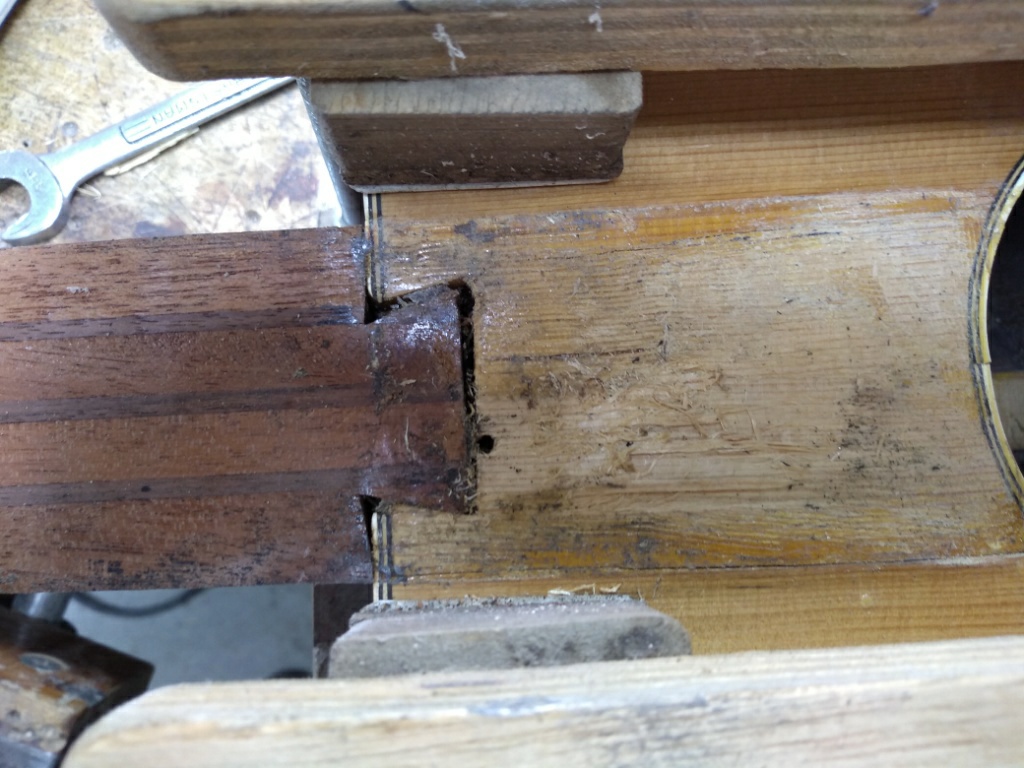
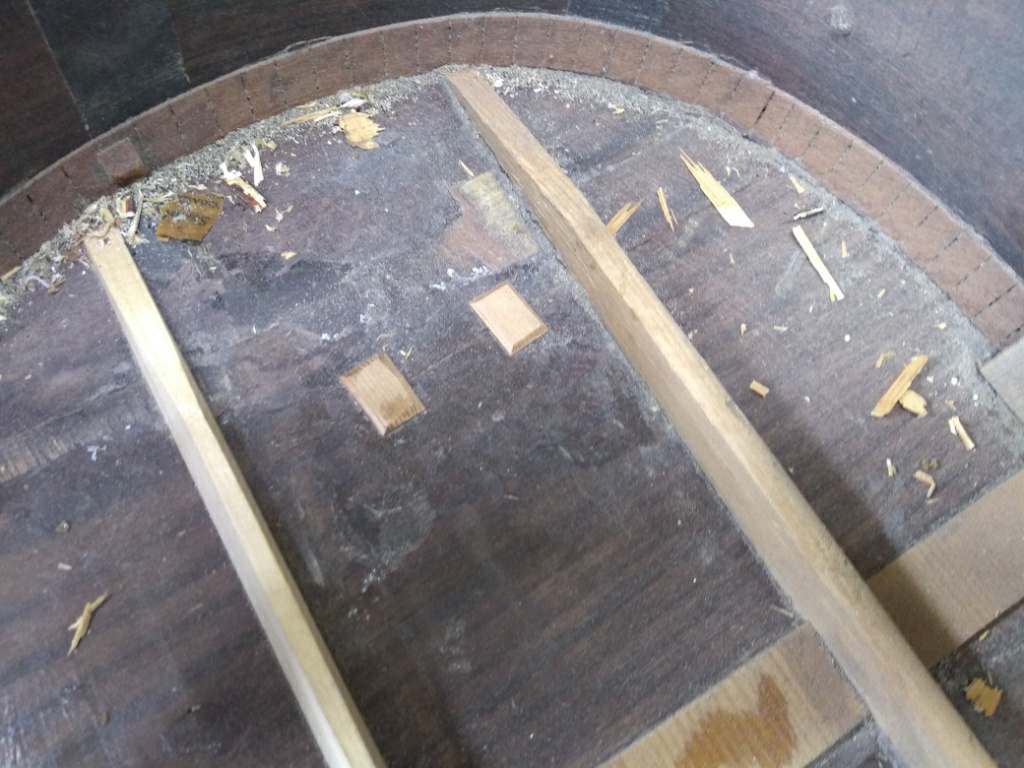
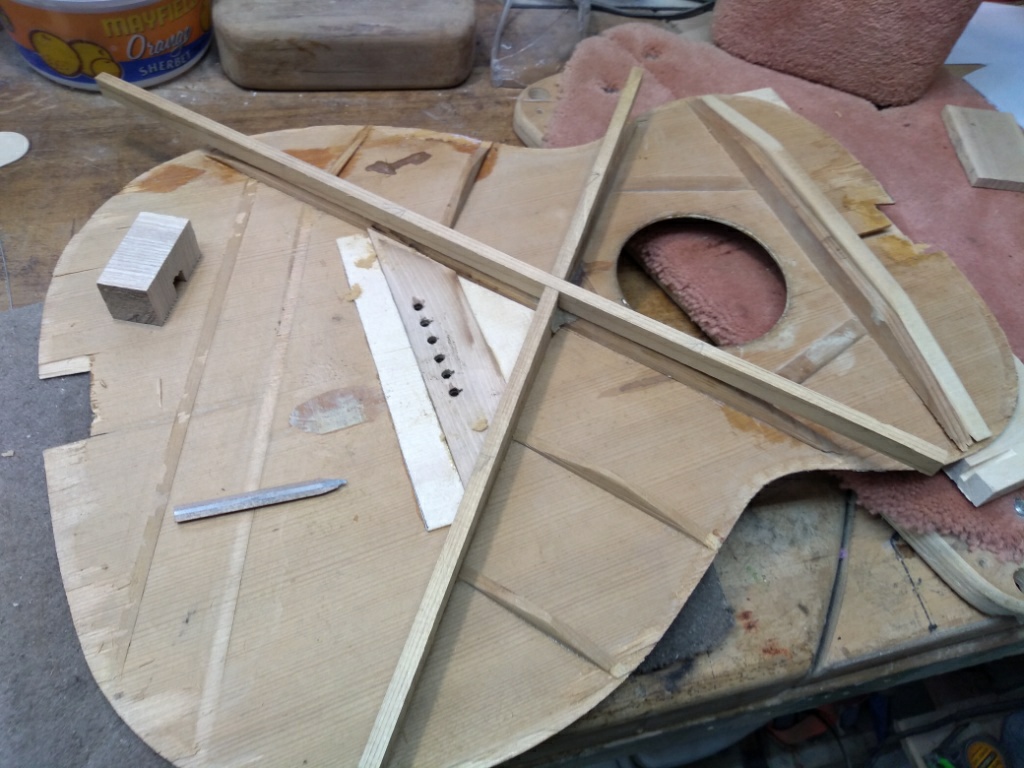
After the neck and bridge were removed, I set about removing the top from the body. Since I would be replacing the top, I didn’t waste too much time trying to get it off in one piece. The picture above shows someone’s attempt to correct the distorted top. They added some wood, but in my opinion, they oriented the grain in the wrong direction to add much strength. I’m sure they were doing all they could to help the situation. These x braces were around 1/4 inch wide as compared to most Martins which are 5/16 inch wide (except D-35’s). It looked like someone had attempted to scallop one of the braces at some point. The x braces had one major thing different from Martin’s system. The Martin x braces go right underneath the bridge but these x braces do not cross under the bridge. This factor may have contributed to this top’s demise.
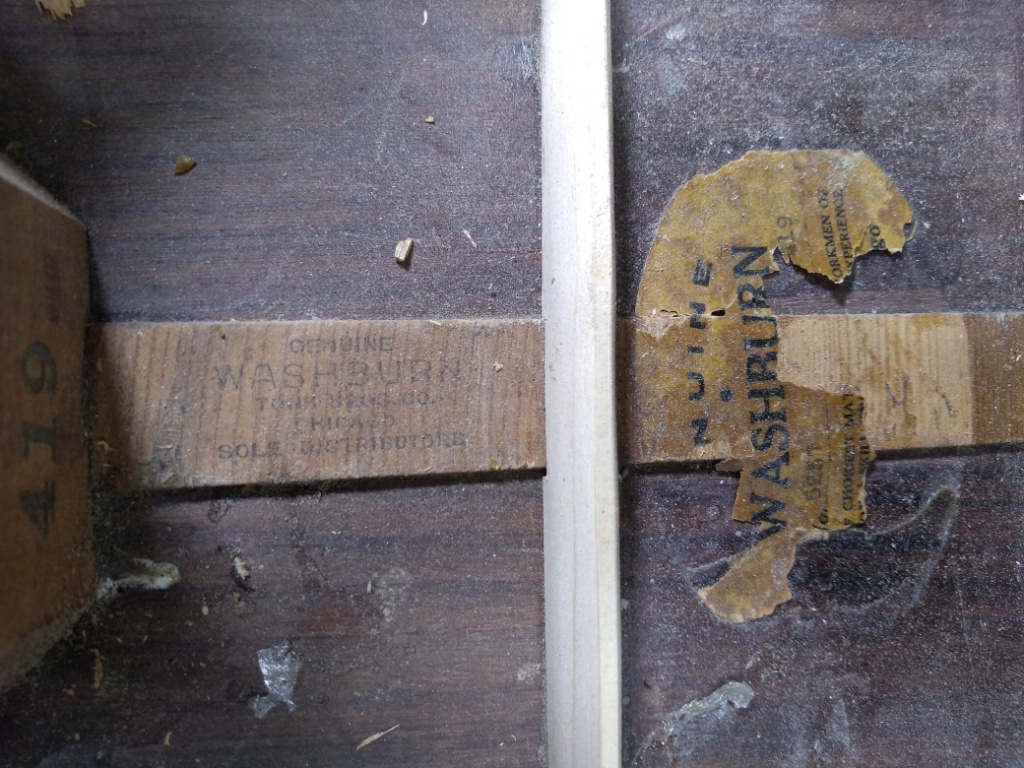
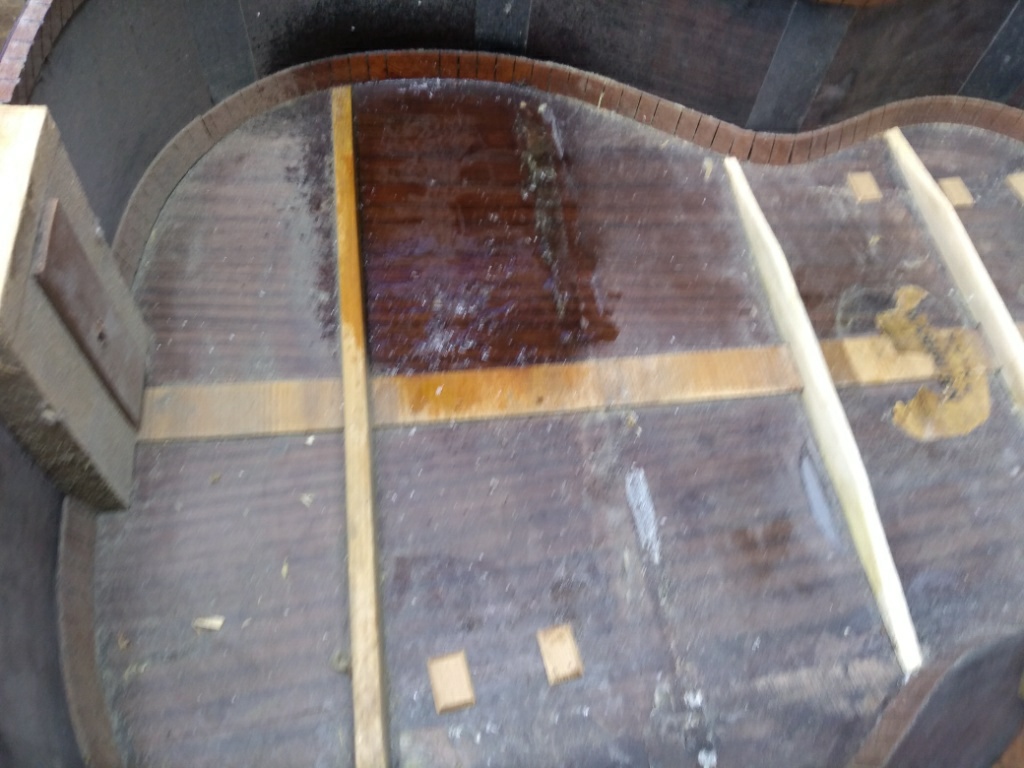
With the top removed, I had access to the back and back braces. Above is a shot of the paper label. The model and serial number were also ink stamped on the neck block.
Some previous repairman had repaired some cracks and inserted some spruce cleats. They had also slathered a LOT of glue around on the back between the braces. The braces were loose in places and I ended up replacing some of them and re-glueing others.
Here is a shot of my efforts to remove this mound of glue. I first thought it was hide glue, but it turned out to be CA glue, which is harder to remove. I removed the spruce cleats and cleaned the glue from inside the back.
 Here is a shot of the back after I got through cleaning off the mess.
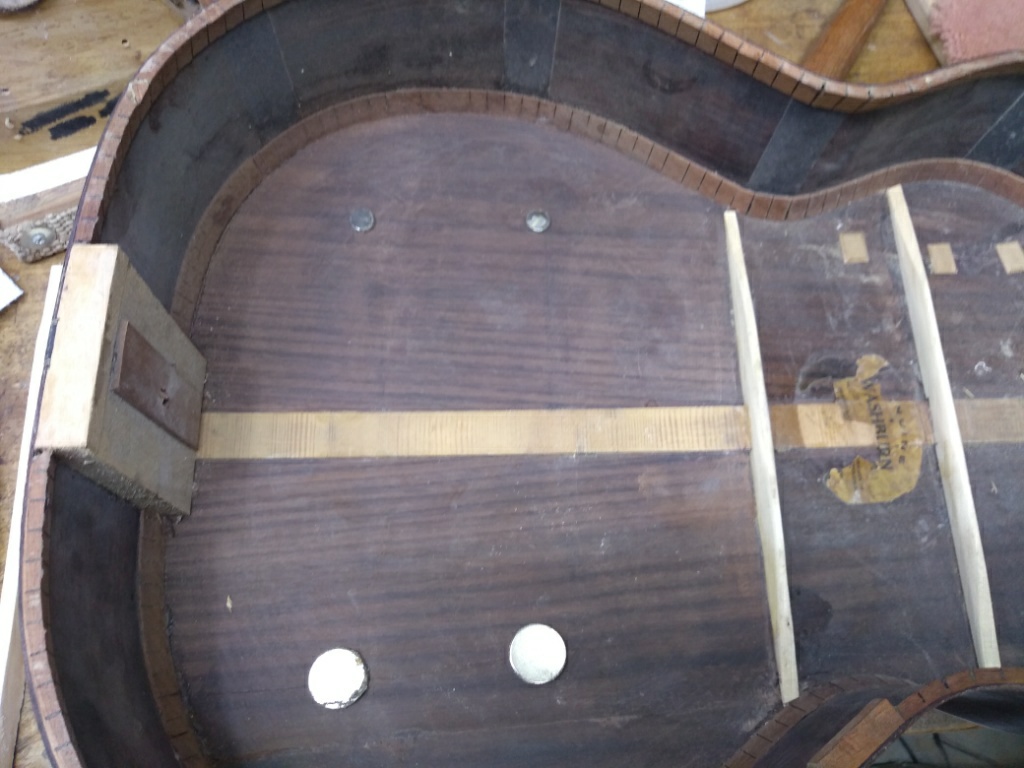
Here is a shot of the back after I inserted my rosewood cleats and replaced and re glued the back braces. I don’t like to leave glue residue inside a guitar body.
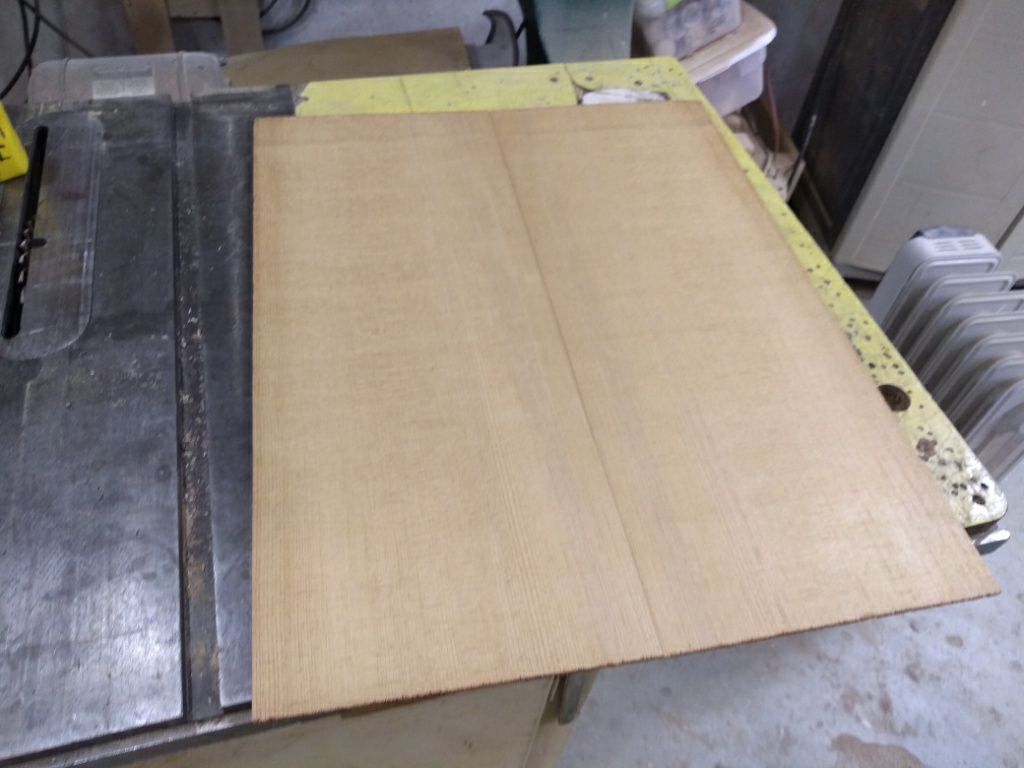
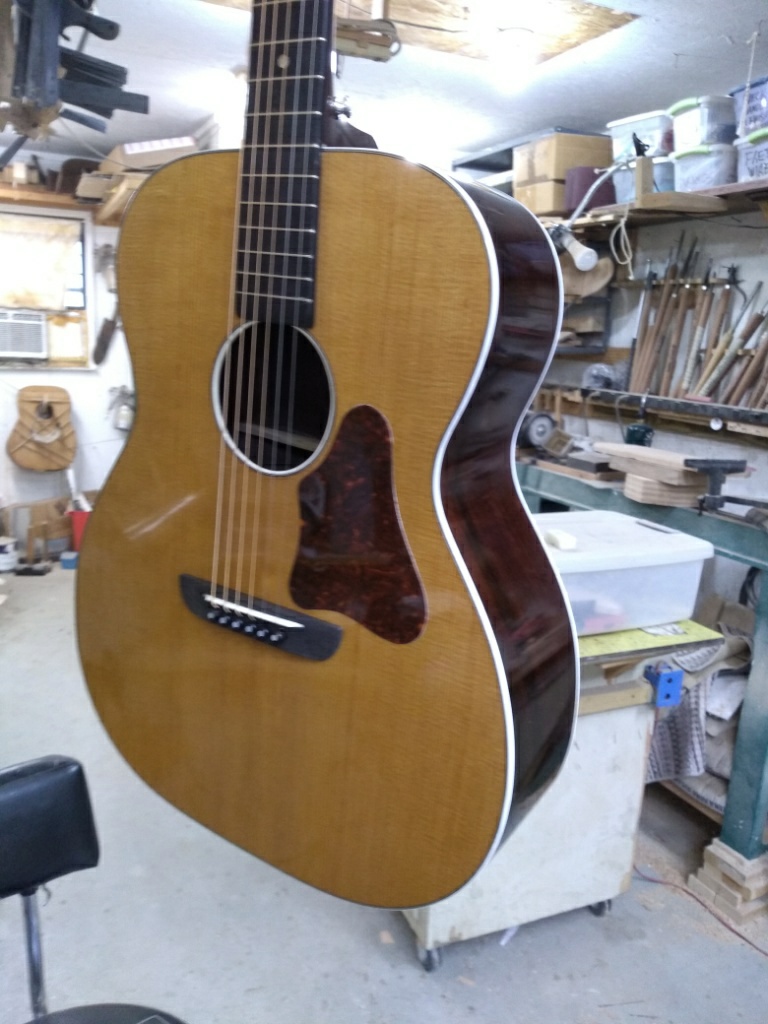
With the back braces and inside cleaned up, I started on the new top. I suggested to the owner that we put a torrefied Sitka Spruce top in this guitar. The torrefaction process involves heating the wood for about 2 days in an oven with no oxygen. This removes a lot of undesirable stuff from the wood. It is said to make the properties of the wood similar to an old piece of wood that has dried for 50 to 100 years. I had used one previously in one of my guitars and it turned out well. I ordered this wood from Stewart Macdonald and it came in pretty quickly. These tops have a nice golden brown color to them and they have a sound like an old guitar right from the start.

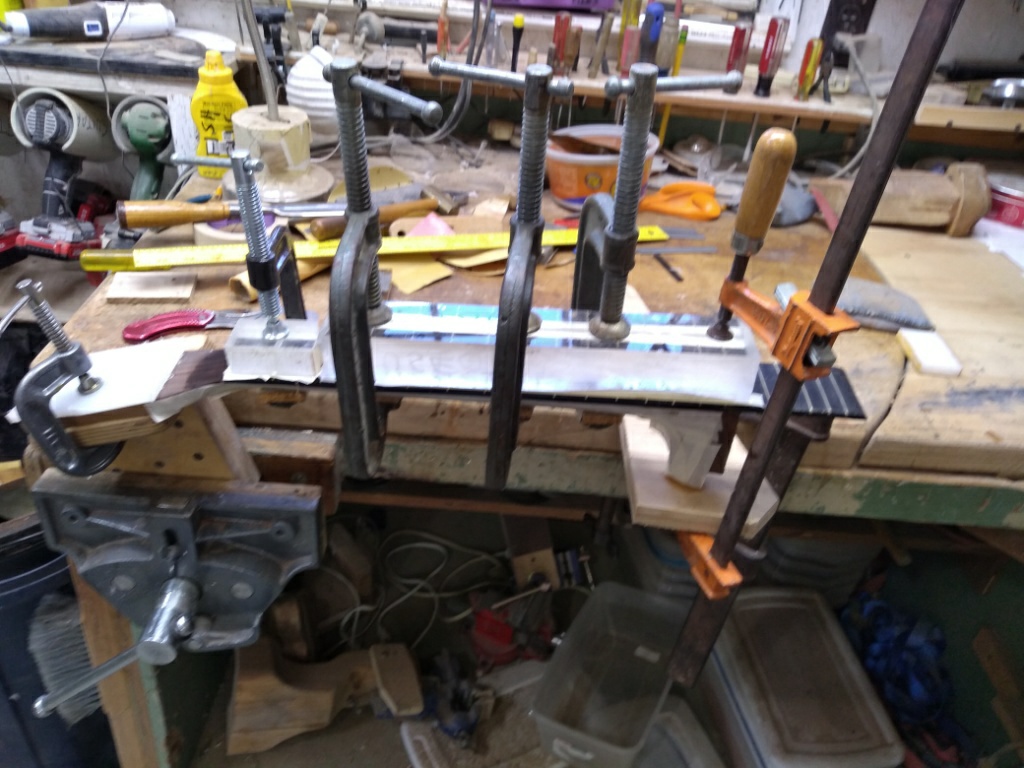
Above is my home made jig to glue tops together.
Above are the 2 halves joined together.
I copied the layout from the old top. Note my half pencil which I learned about from my hero, Frank Ford, of frets.com. If you are interested in fretted instruments, you need to check out his website.
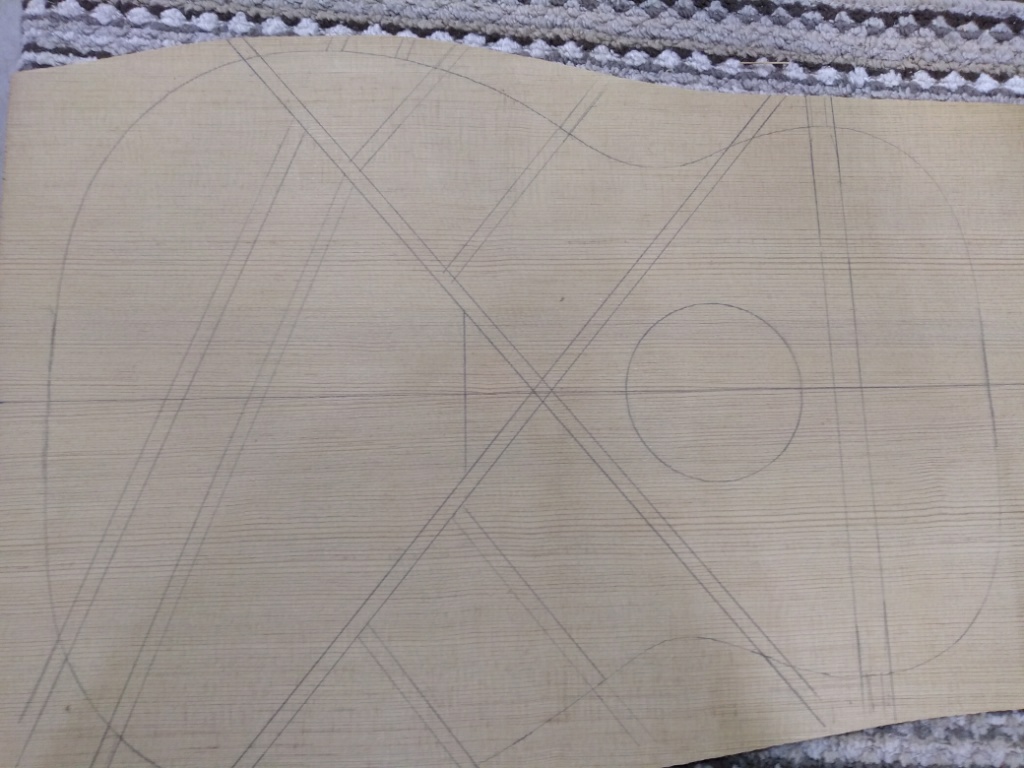
Here is the layout marked on the underside of the new top.
Cutting the slot for the x braces to cross.
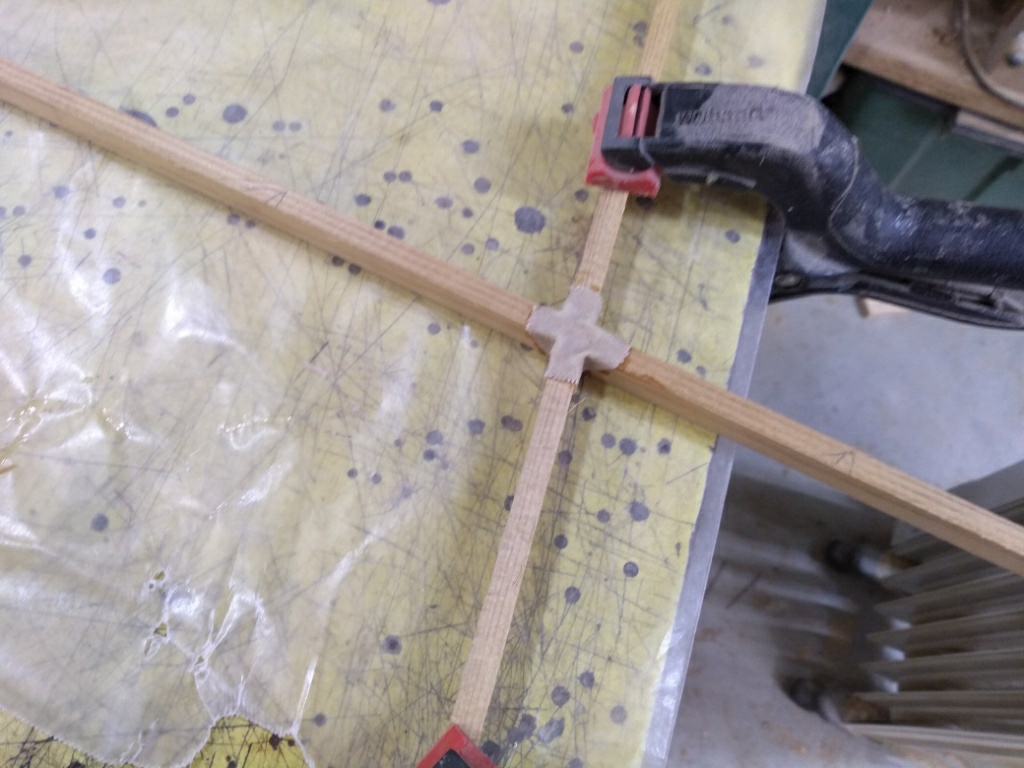
The x braces joined with the traditional cloth cover. I’m not a believer in this cloth and usually don’t add it to a joint. Since we were restoring this guitar, I felt I should copy what the original builder did.

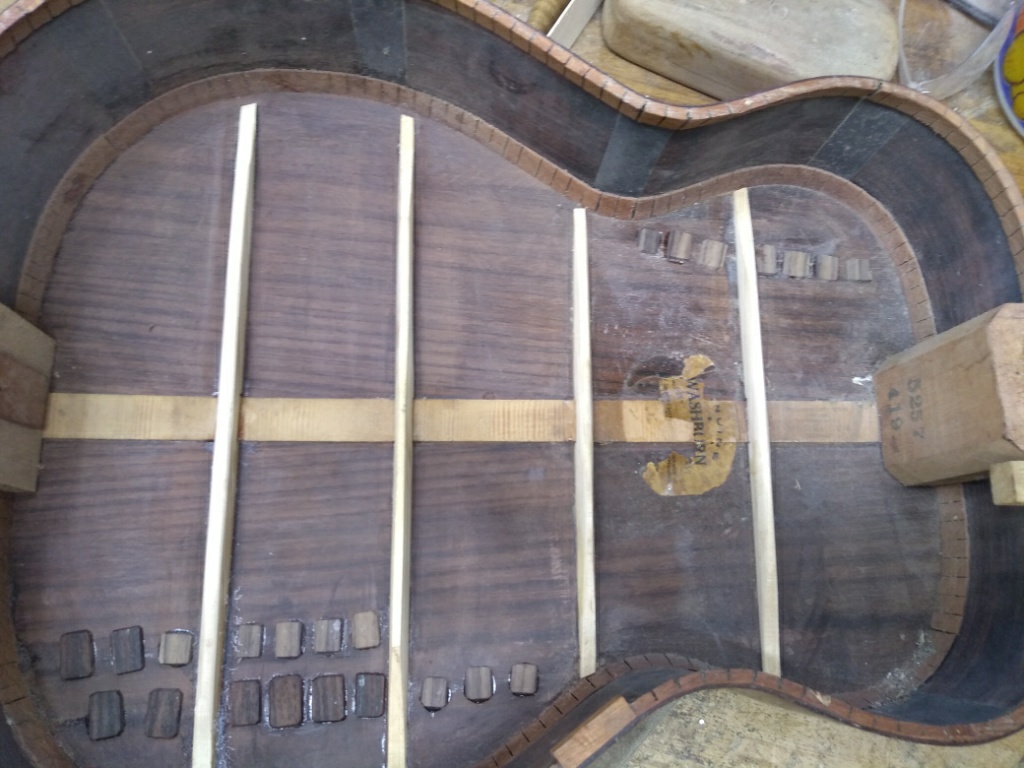
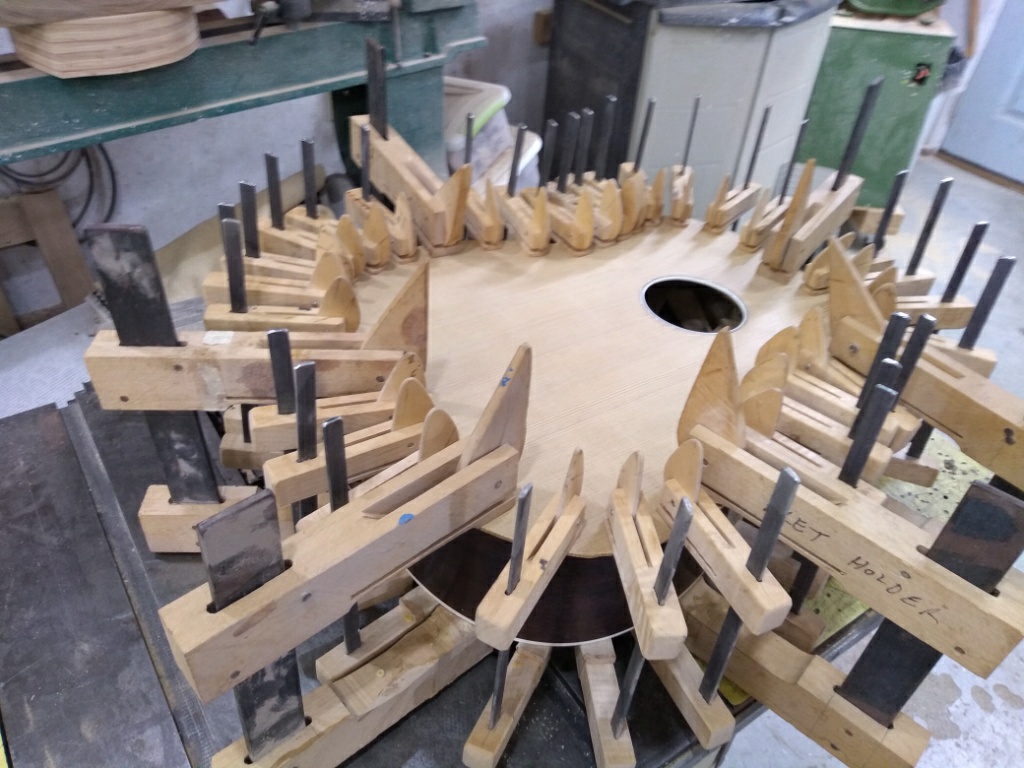
I was able to re-use the 2 rear braces. The others were fabricated from torrefied spruce. And, yes I do know what go bars are but this method works for me.
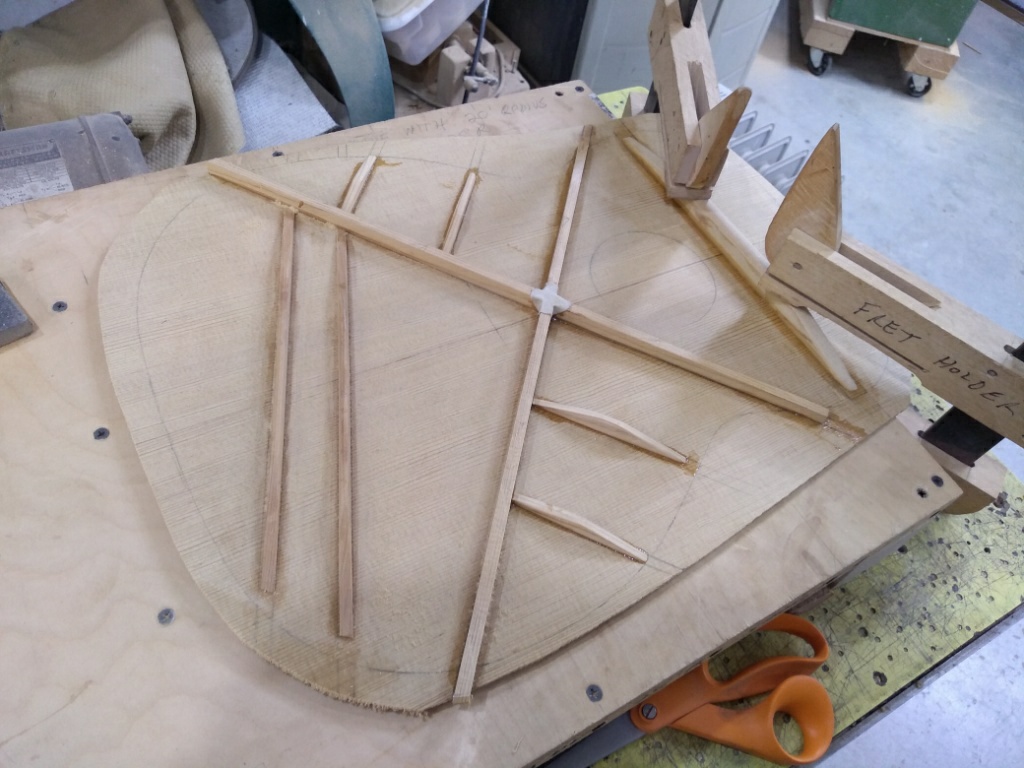
Installing the front brace.
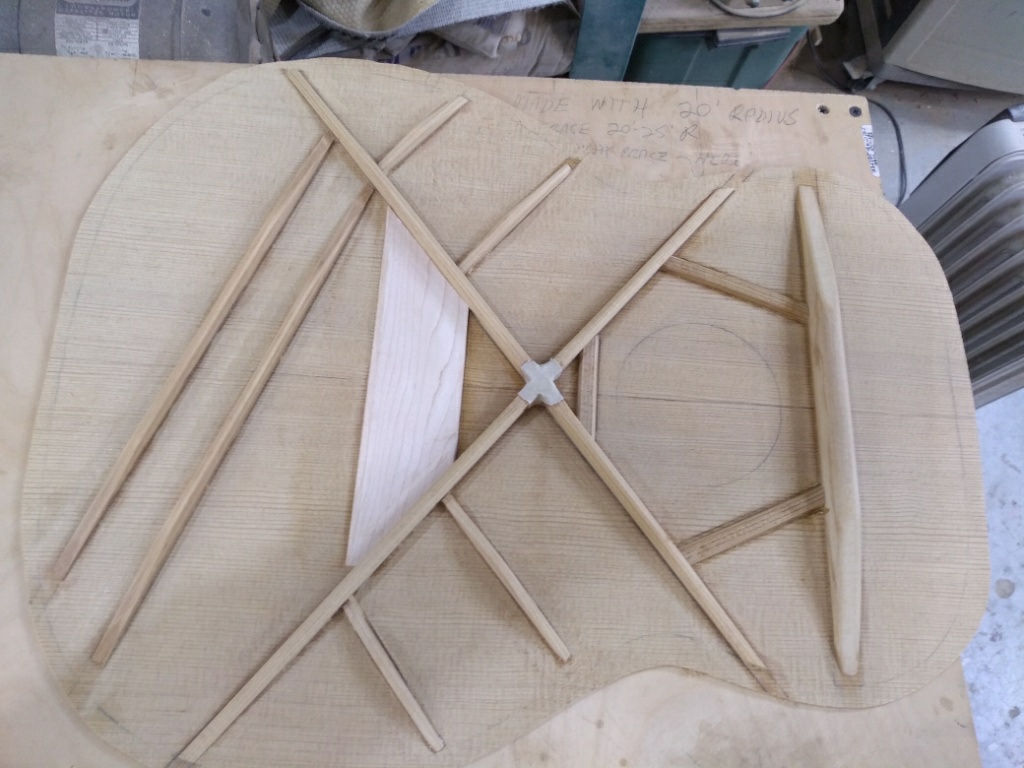
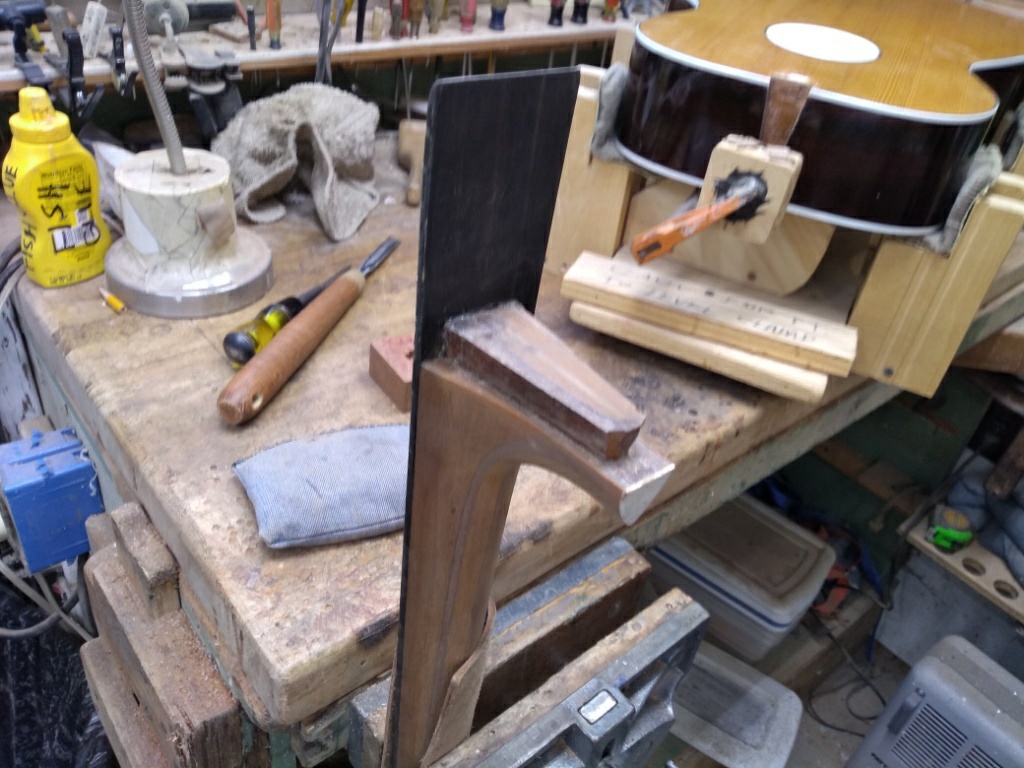
The completed top with the bridge plate.
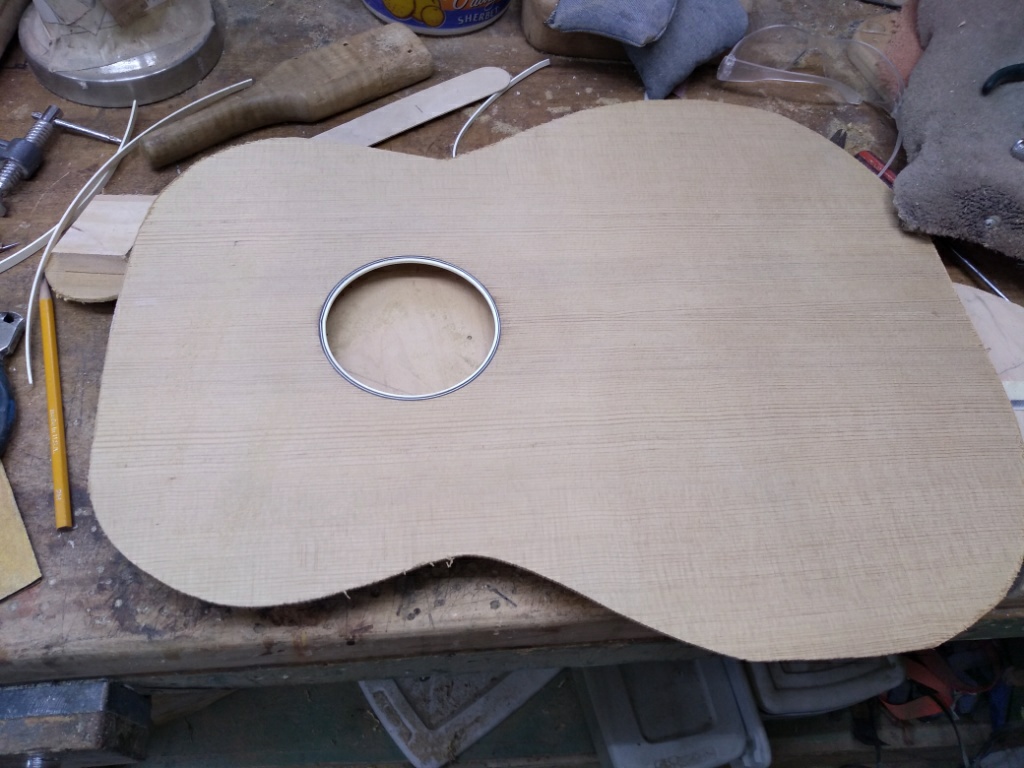
The picture above doesn’t accurately represent the time I spent applying the rosette. This style rosette was a challenge to me. It is unlike the Martin style rosettes, but I got it in there. I thought it was a good copy of the old one. This sound hole is slightly smaller than Martin’s.
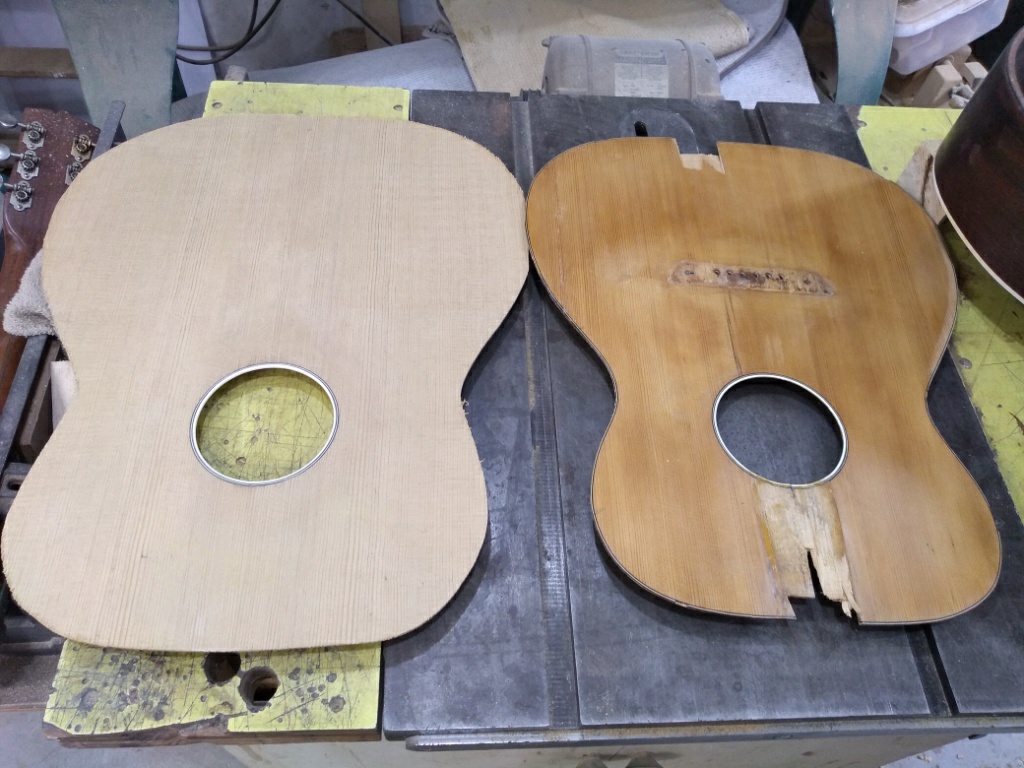
Above is a shot of the old and new tops. The new top is slightly oversized at this point. It will be trimmed after it is attached to the sides.
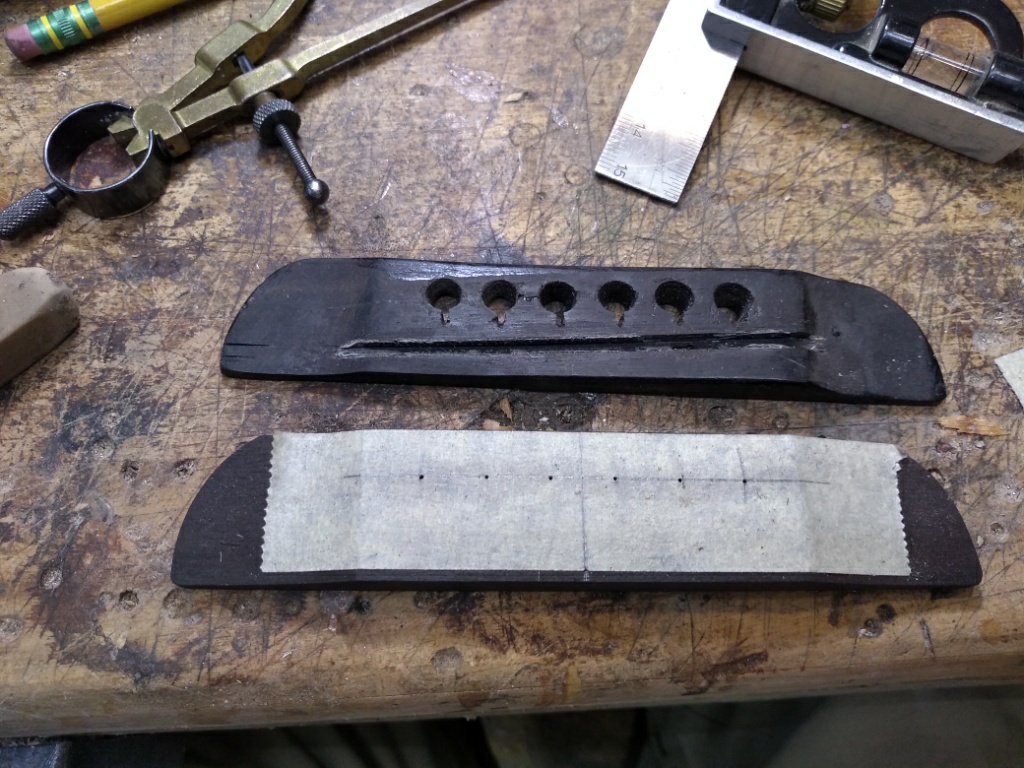
I fabricated a new bridge from some black ebony I had in stock. Of course I made the new bridge thicker than the old one that was excessively thinned.
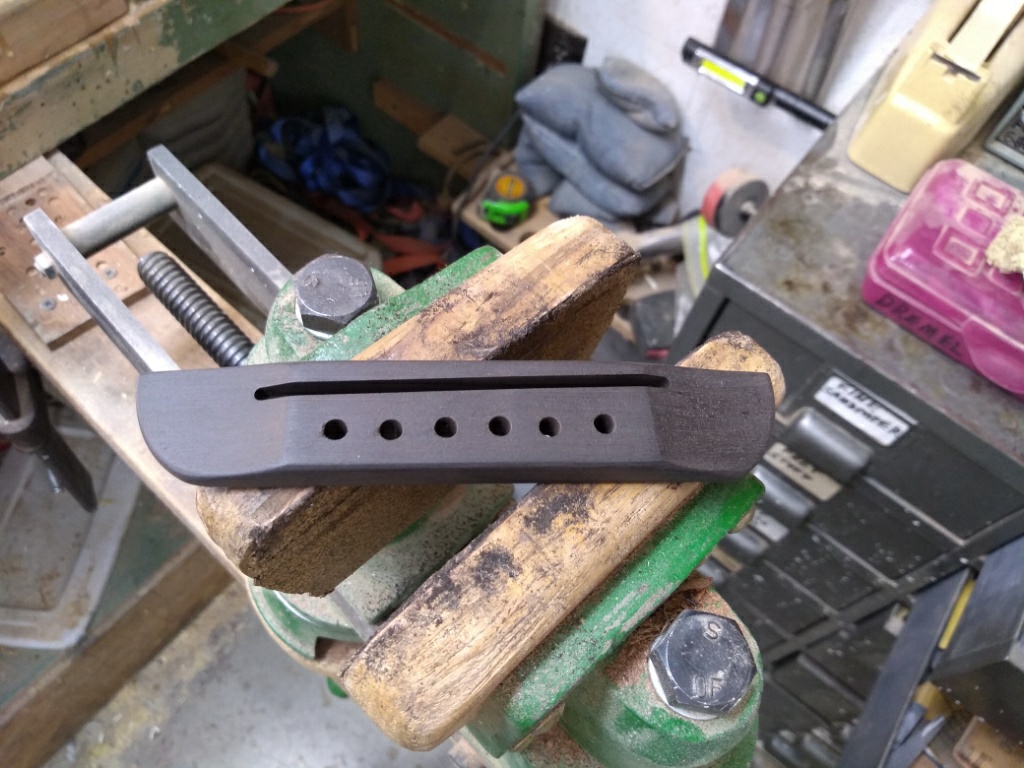
The new bridge.
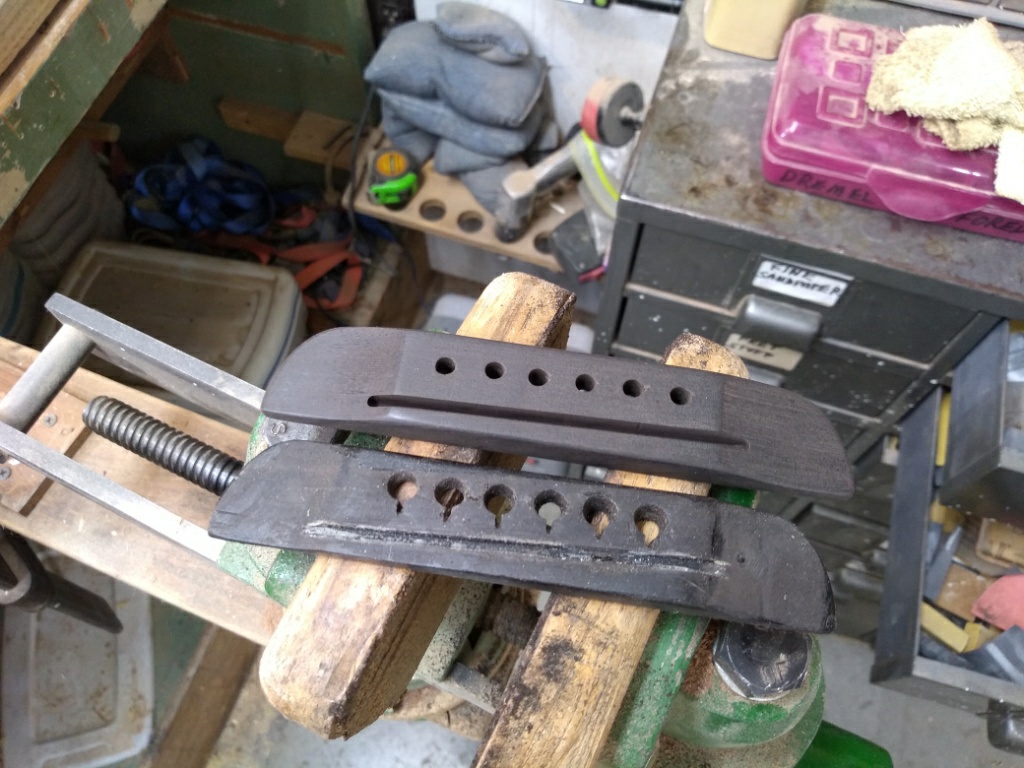
The old and the new.
The new top clamped in place with my home-made cam clamps.
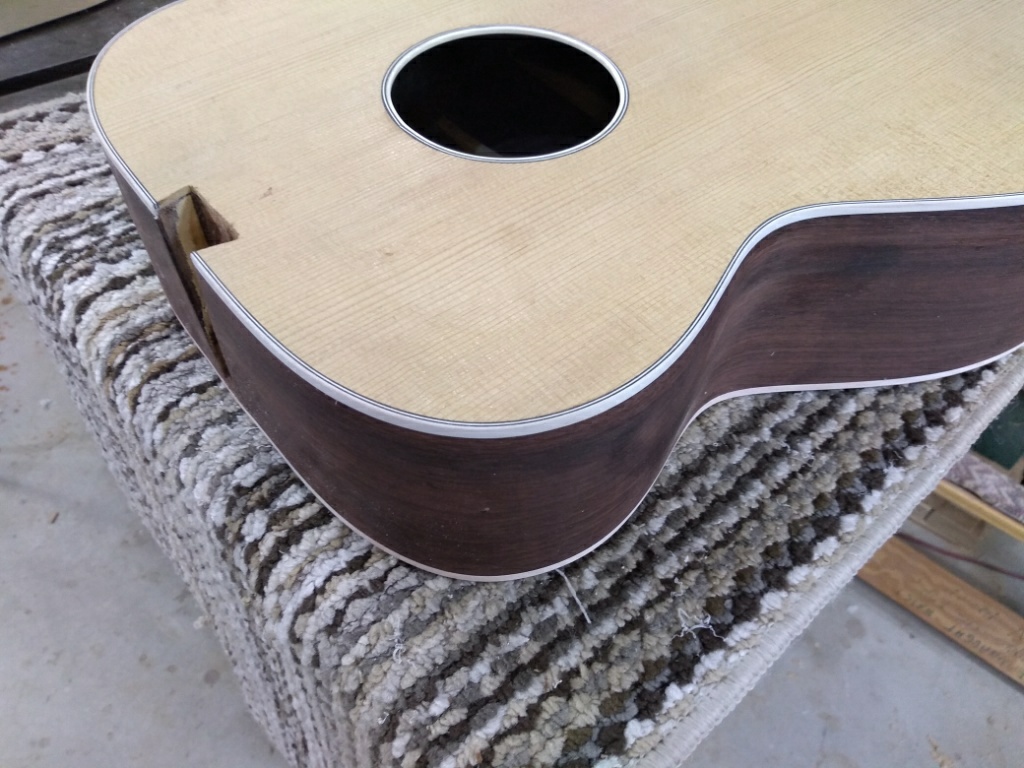
Above is a shot of the top with the binding and purfling installed and the dovetail slot cut.
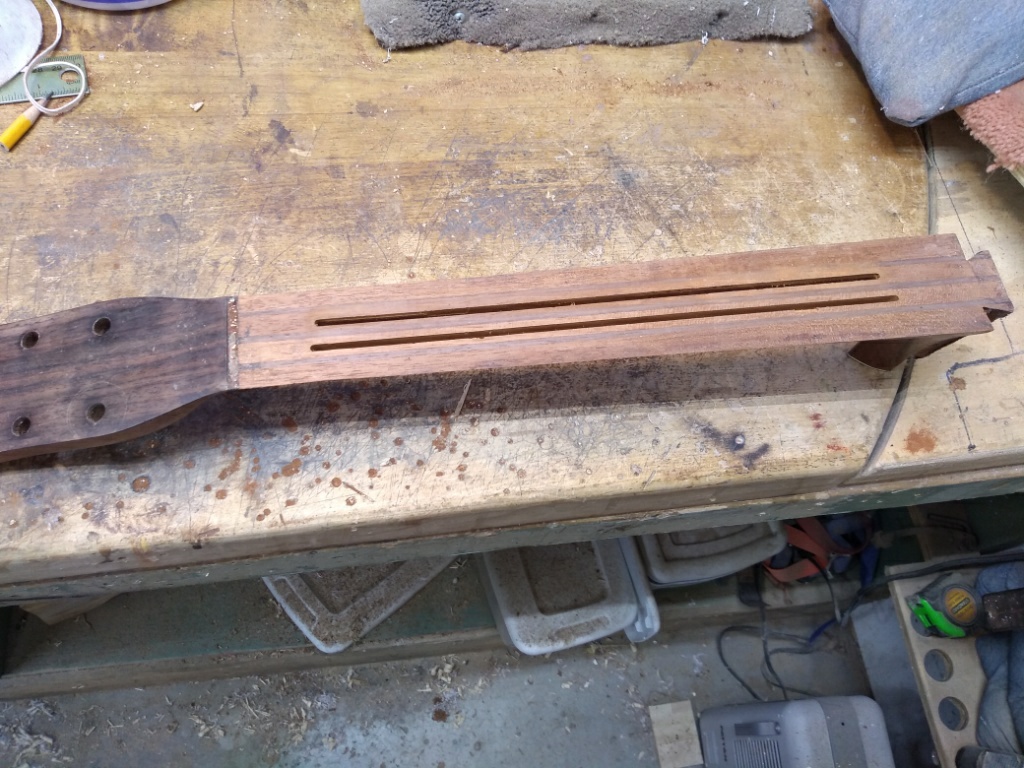
Now I concentrated on cutting slots and installing the carbon fiber rods to strengthen the neck. These rods will strengthen this neck and keep it straighter with the string tension. You may notice that this mahogany neck was made of at least 7 pieces of wood laminated together.
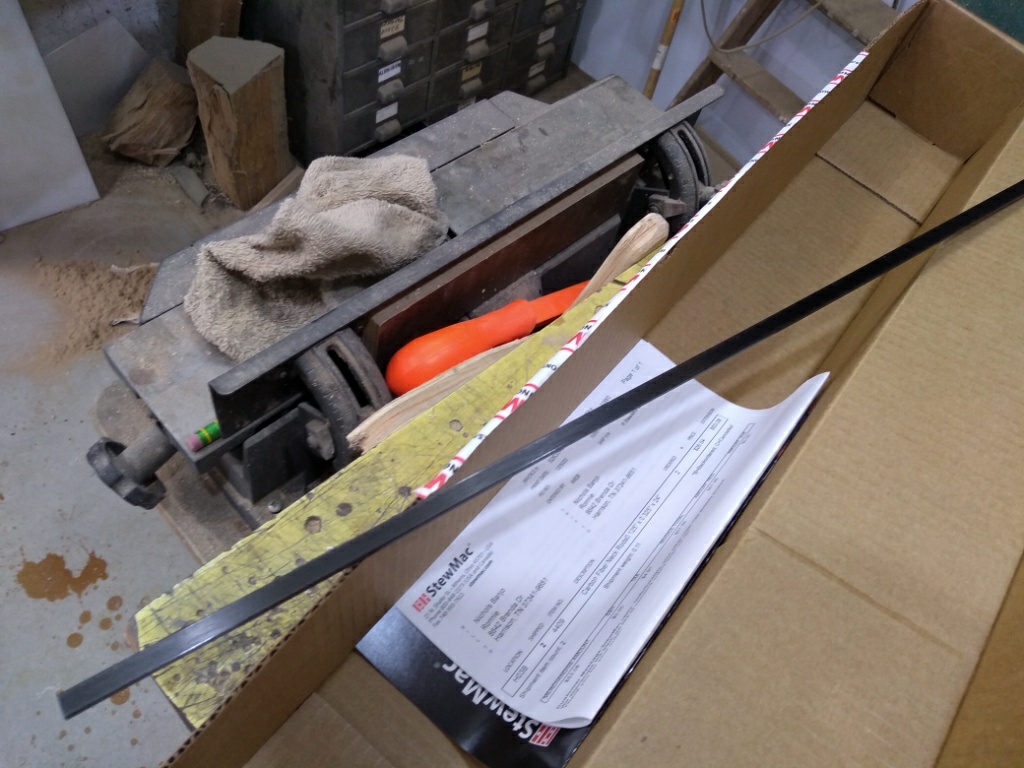
Carbon fiber rod from Stew Mac. The rod is 1/8 by 3/8 inch.
Reinstalling the fingerboard.
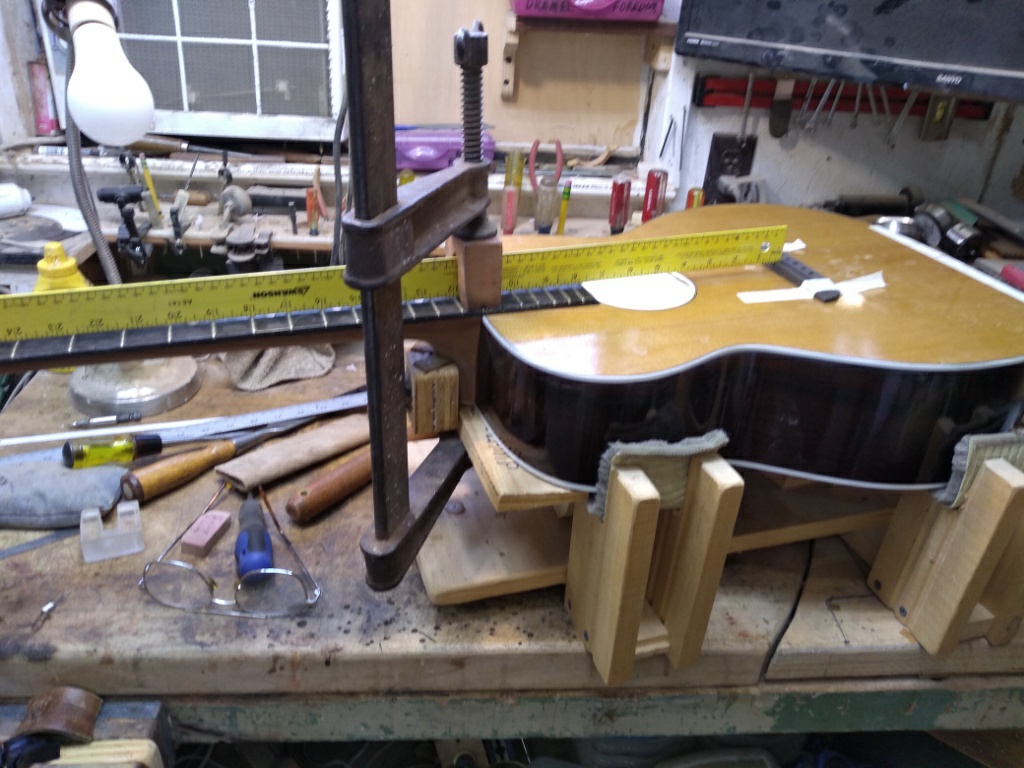
Now it is time to work on the neck angle and fit it to the body to match the new bridge and new top.
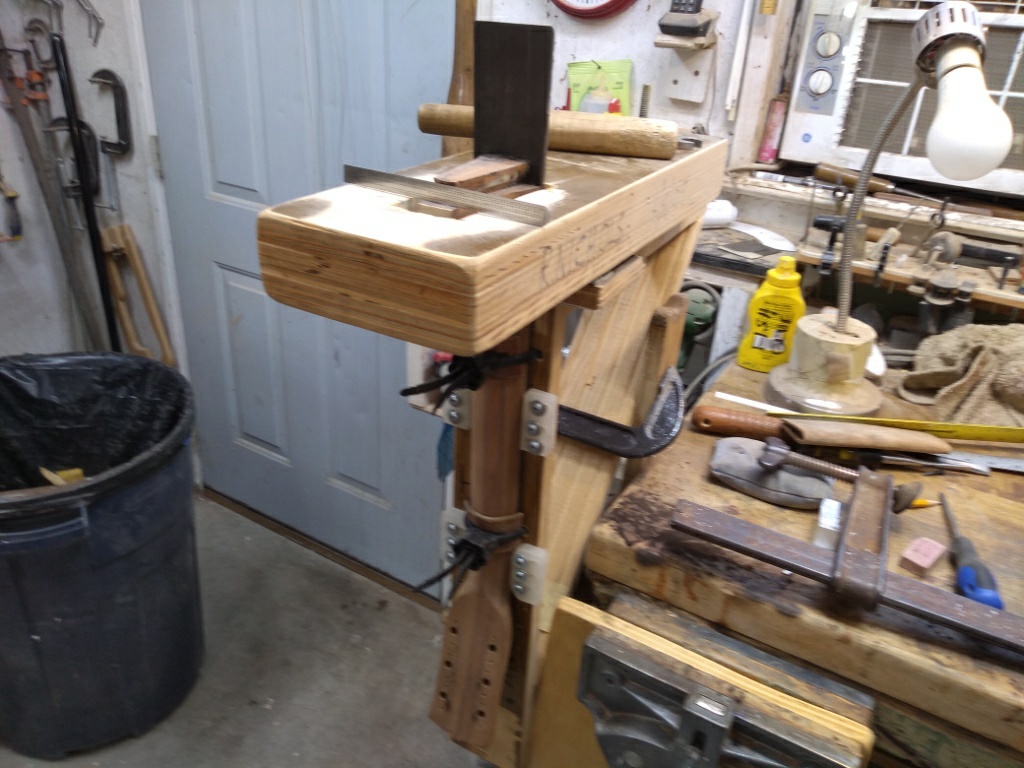
Here is my home made jig to measure and cut the neck angle. It has worked well for me through the years. It can be adjusted to accurately re-cut the neck to body angle on the heel of the neck.
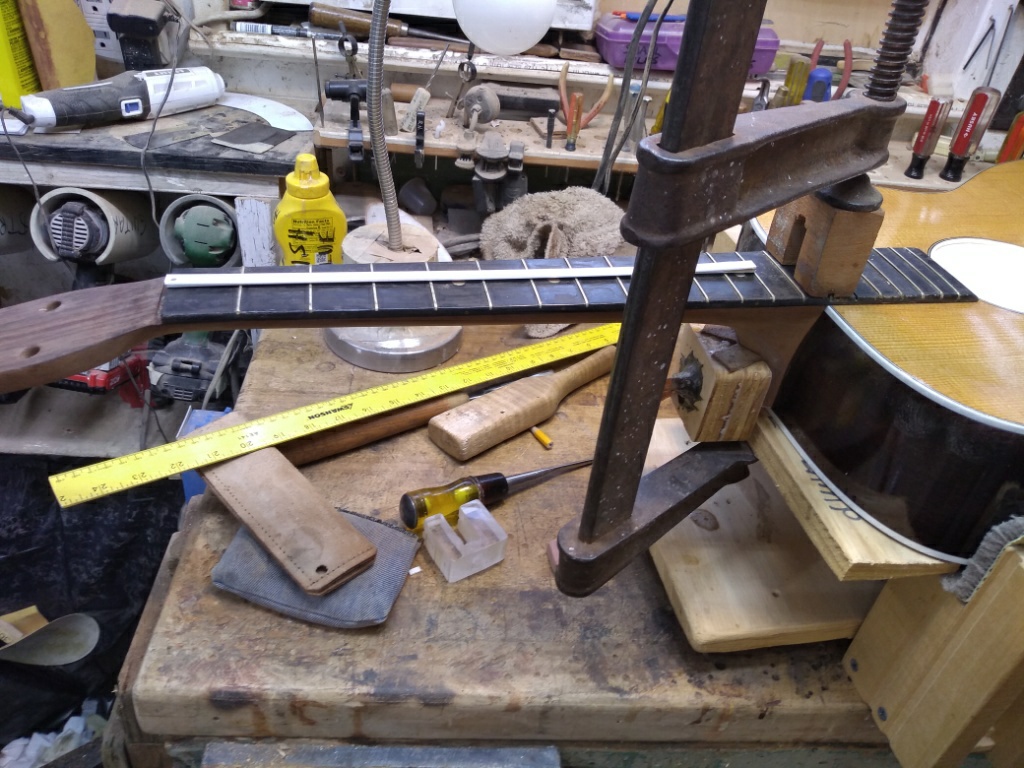
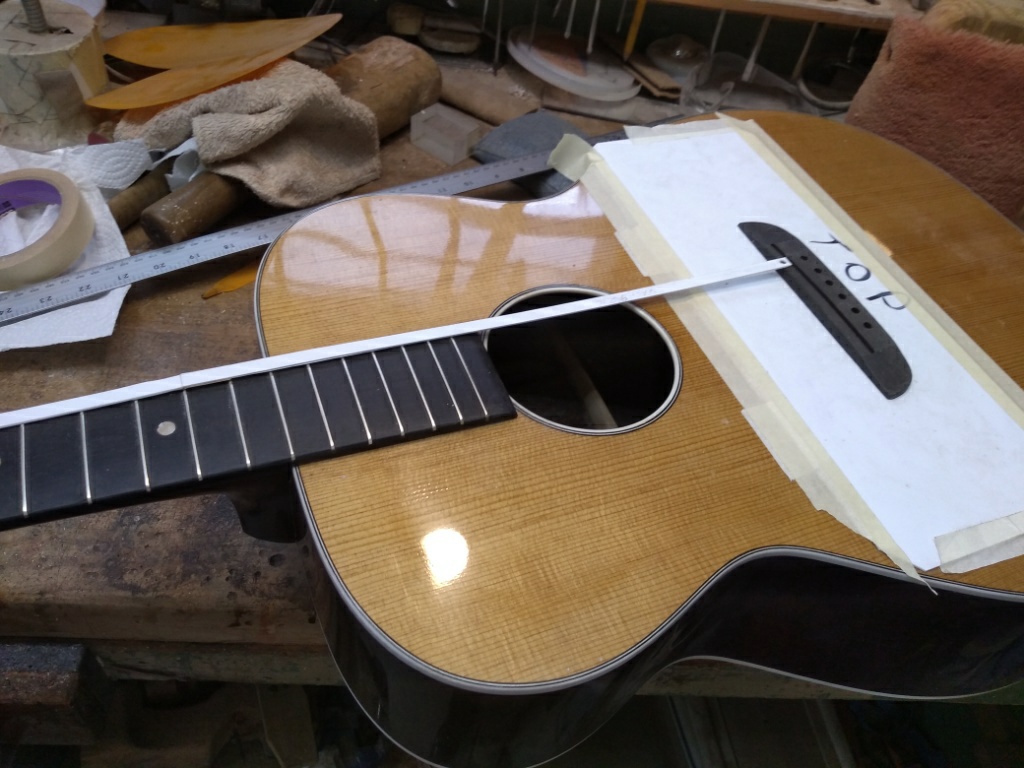
I make a plastic neck measuring piece that is the length of half the scale (which is to the 12th fret). I make 2 identical halves of this plastic measuring device which are joined with masking tape. The two halves are then laid end to end to create a measurement for getting the saddle in the correct spot. I don’t need to worry about the scale length with this little tool.
The actual measurement is made in line with the first string and this makes the other strings a little longer with the compensation.
The straight edge should set on the tops of the frets and slide up over the top of the bridge. The string action is created by the saddle.

Above is a shot of the neck and fingerboard being glued onto the body. The neck is shimmed to make it pull tightly into position in the sliding dovetail joint in the body.
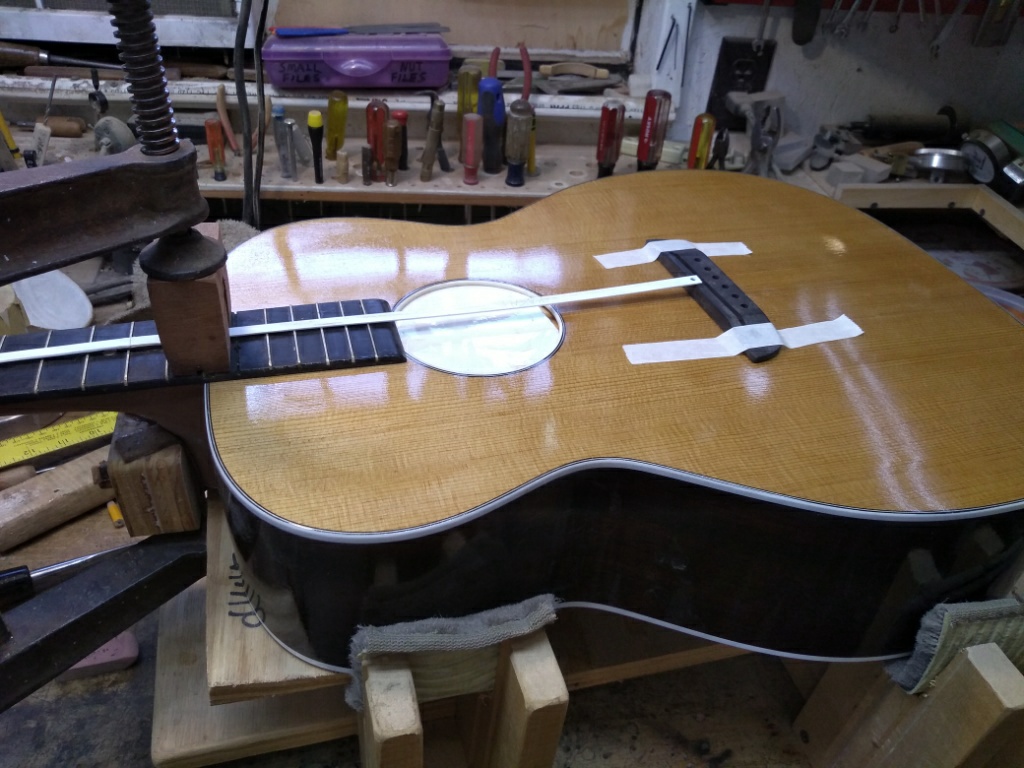
I learned the hard way years ago that a bridge will slip out of place very easily while clamping it. It is hard to get it back in place after it moves. I have learned to use a piece of thin plastic (about .040 inch) which has a hole cut out in the middle to fit the bridge. Then I locate the proper position of the bridge and tape the plastic into place with masking tape. This thin plastic holds the bridge in position until I clamp it. After this plastic piece is taped into position, I carefully remove the finish from where the bridge will attach to the top. I use razor blades, sandpaper, and some home made scraping tools to clean the finish off. This makes a clean looking bridge attachment with no rough finish around the edges. After I clamp the bridge, I remove the plastic piece and clean up the squeeze out around the bridge with a damp rag.
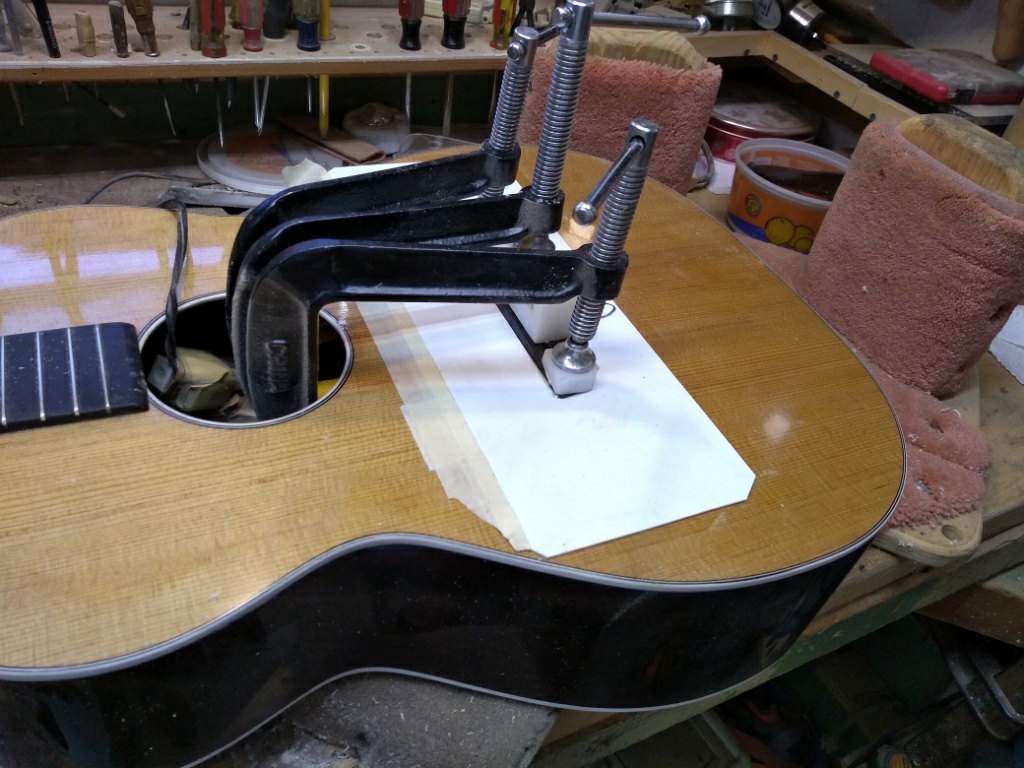
Above is the bridge clamped in place. I had already removed the masking tape from the rear portion of the plastic when this picture was taken. I usually cut a slot in this plastic to make it easier to remove.
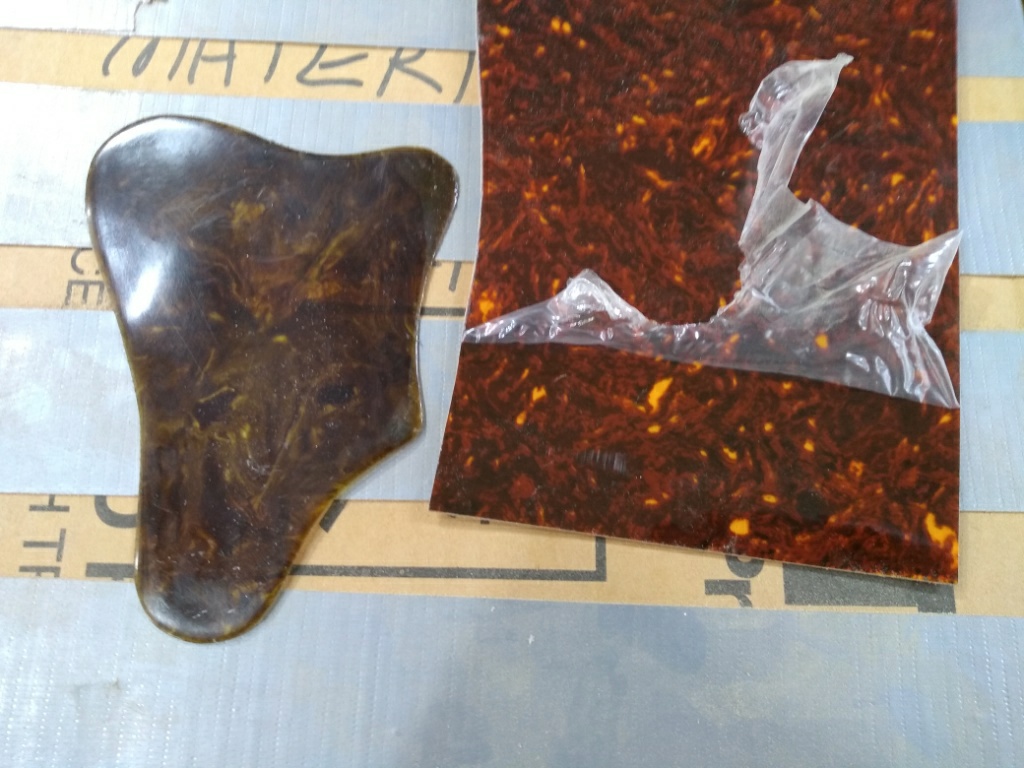
Inside the case was a pick guard which was taken off this guitar. It didn’t look like the right material to me so I fabricated a new one from some tortoise material I had in stock.
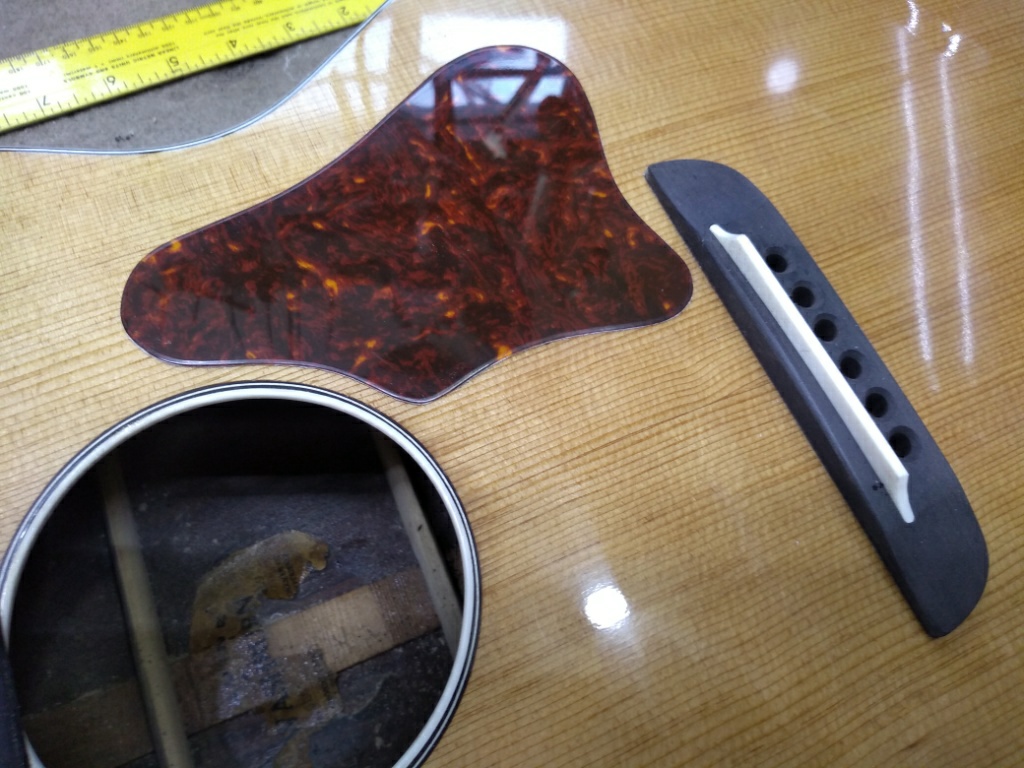
New bridge, saddle, and pick guard. This pick guard looked right to me. You might notice the smooth finish around the bridge. It is hard to make it that smooth if you install the bridge before you spray the finish.

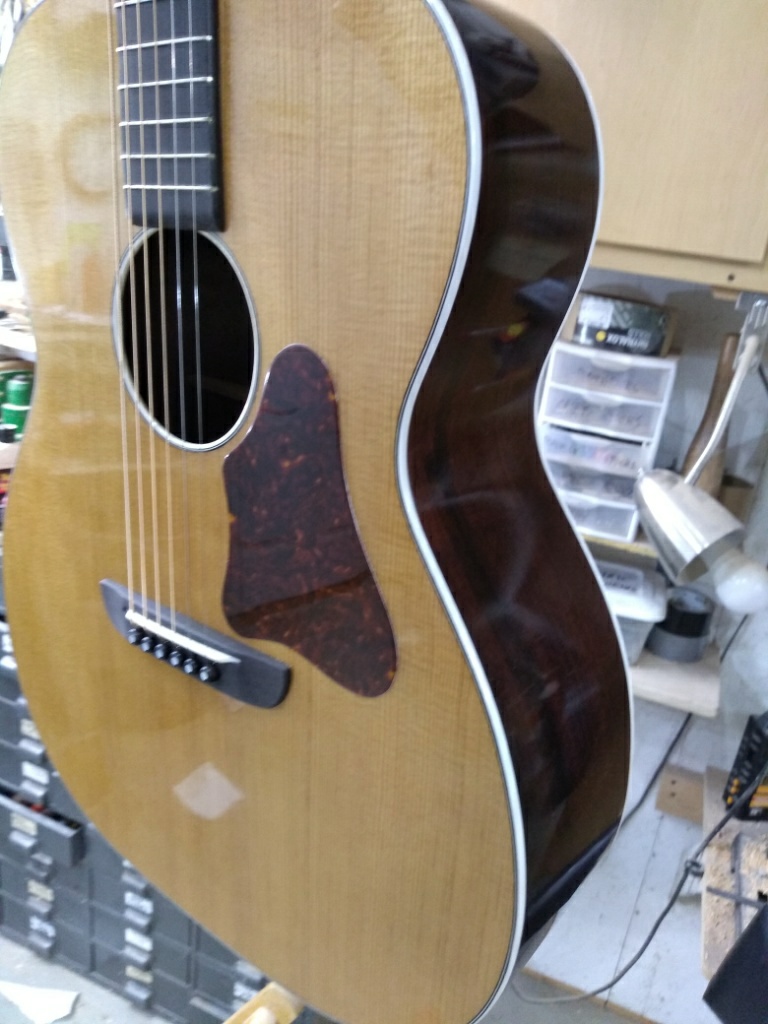
The Brazilian rosewood is pretty stuff. Above is a shot of the peghead and new polished bone nut. I reinstalled the old tuners. I strung it with light gauge phosphor bronze strings. The natural color of this top is not as white as most new tops and it retains the old look and the old sound. The following pictures are of the finished product. It is not perfect, but it is the best I know how to do. This guitar had a really good sound which compares favorably with any guitar I own including some Martins and Gibsons.

![]()
Be the first to comment on "00002- 1936 Washburn Model #5257 Guitar Repair-New January, 2021"