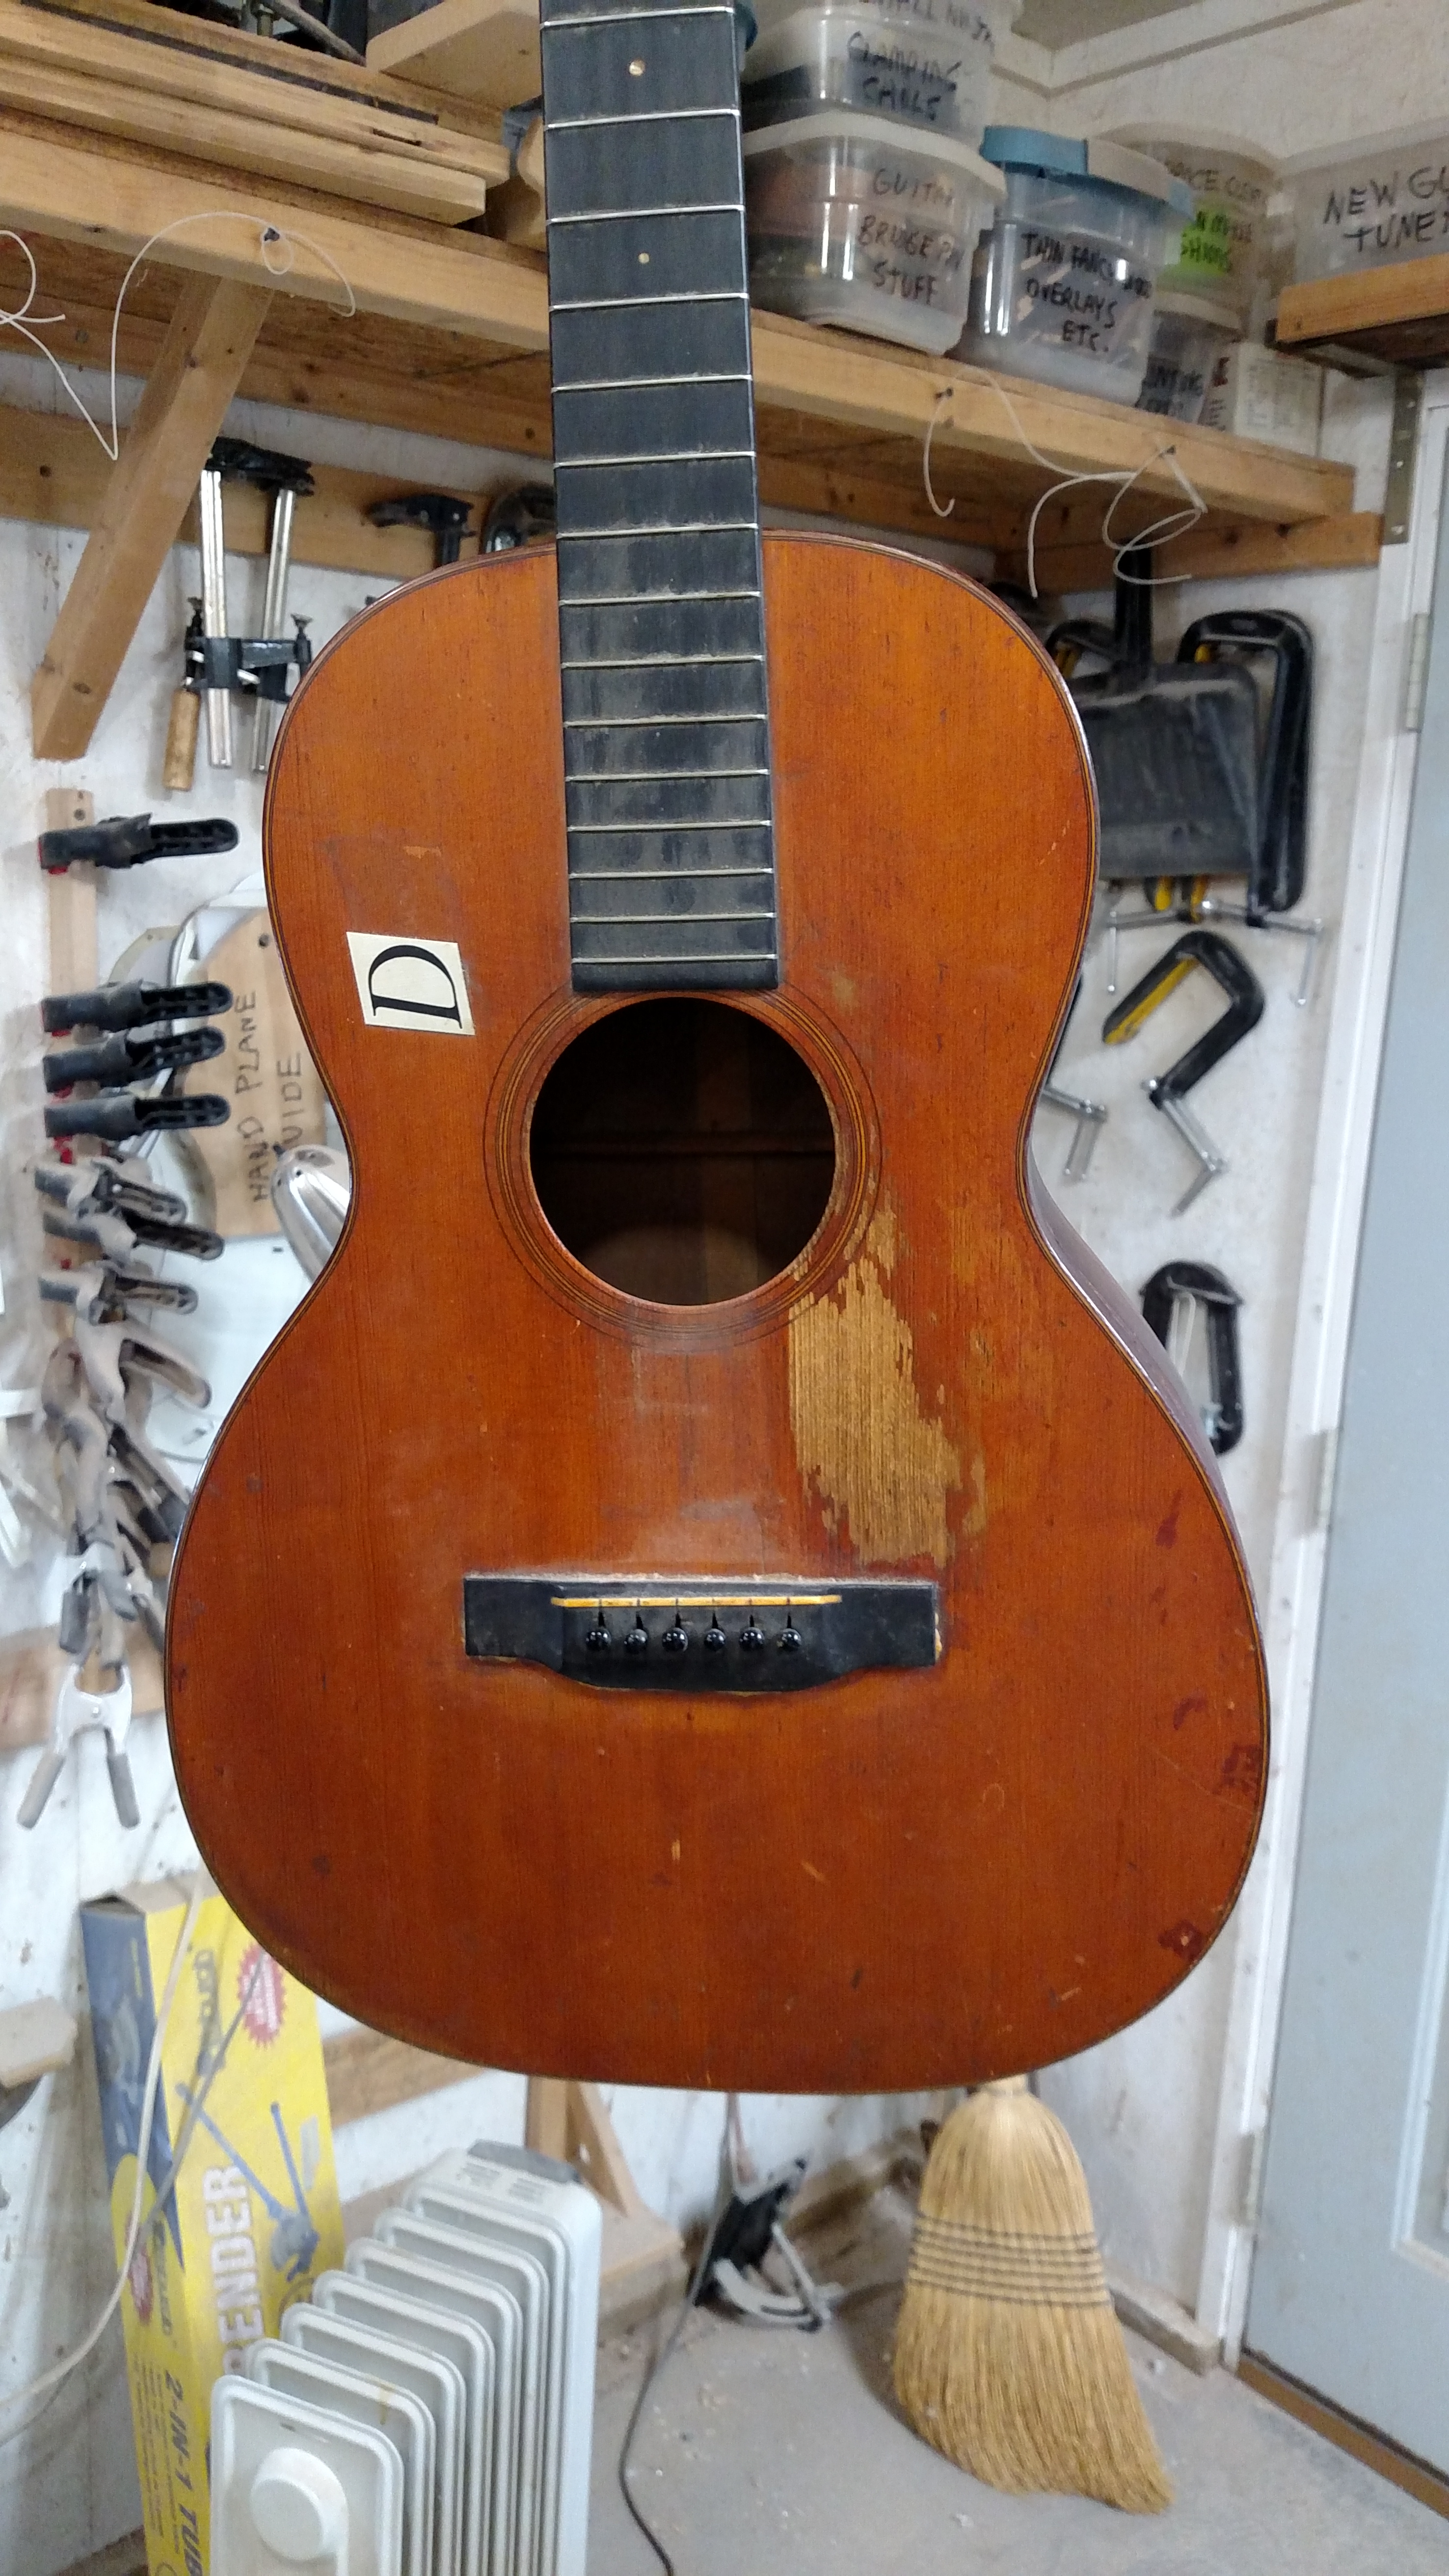
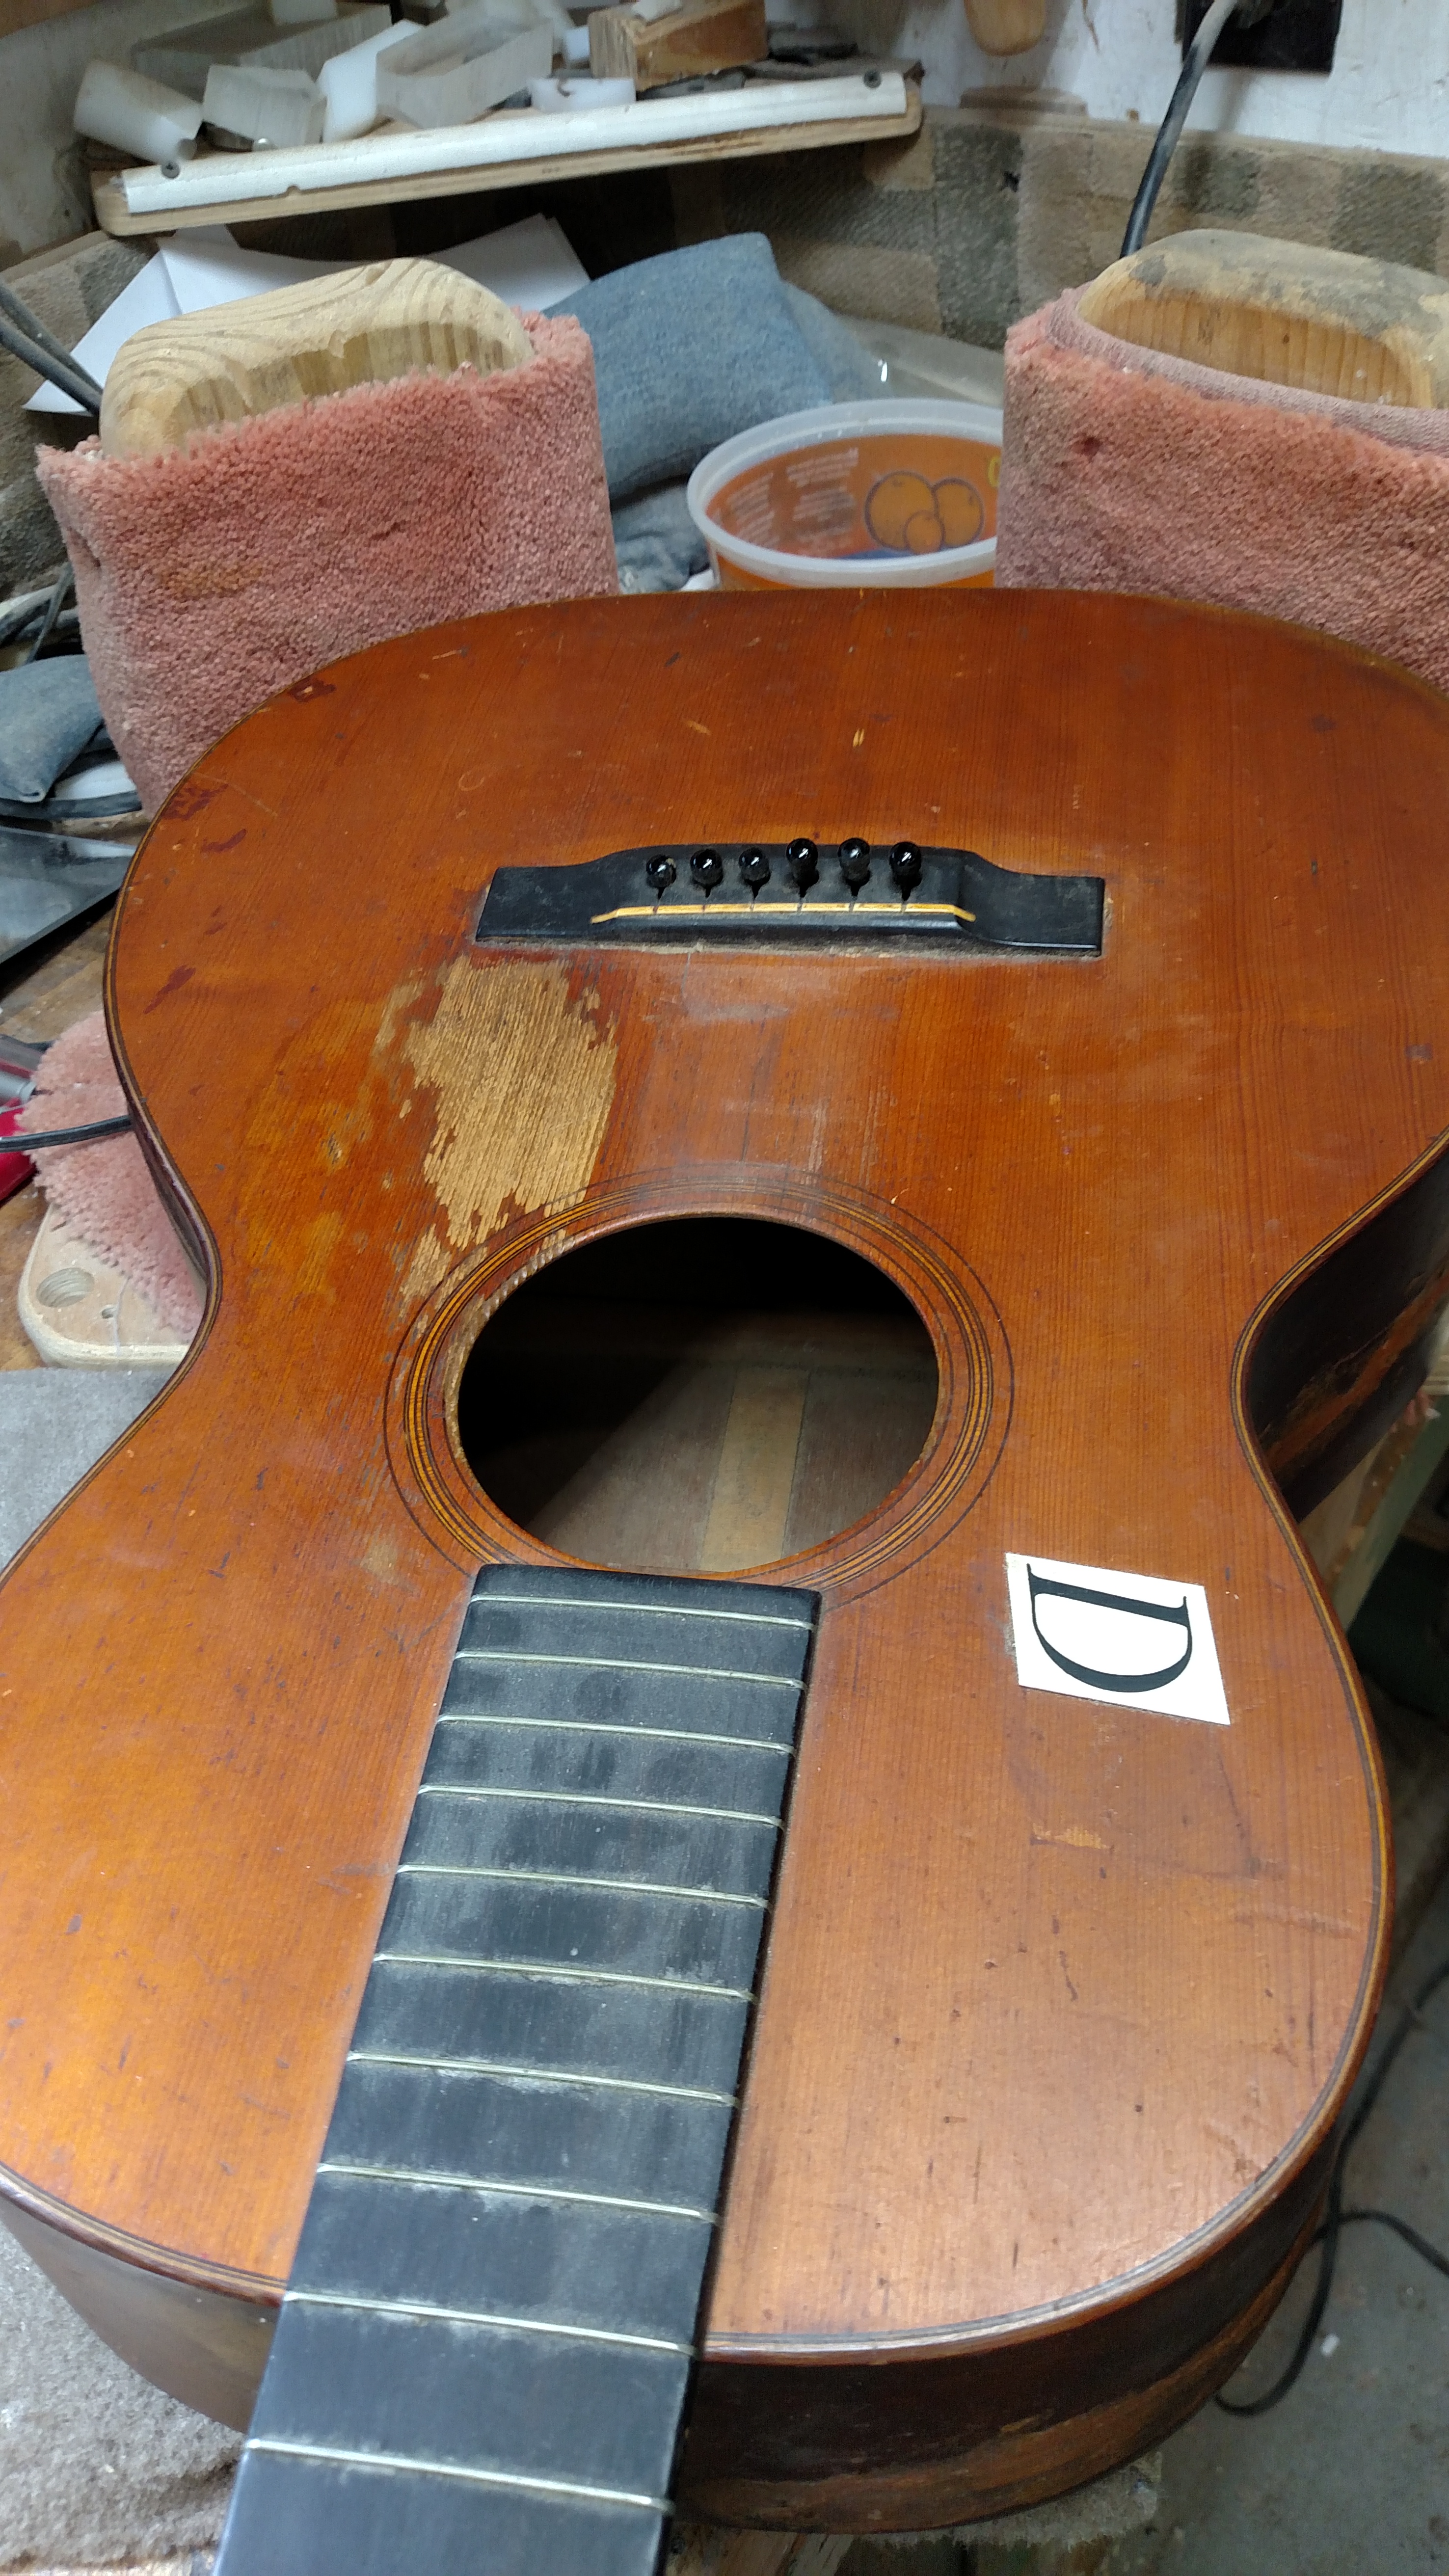
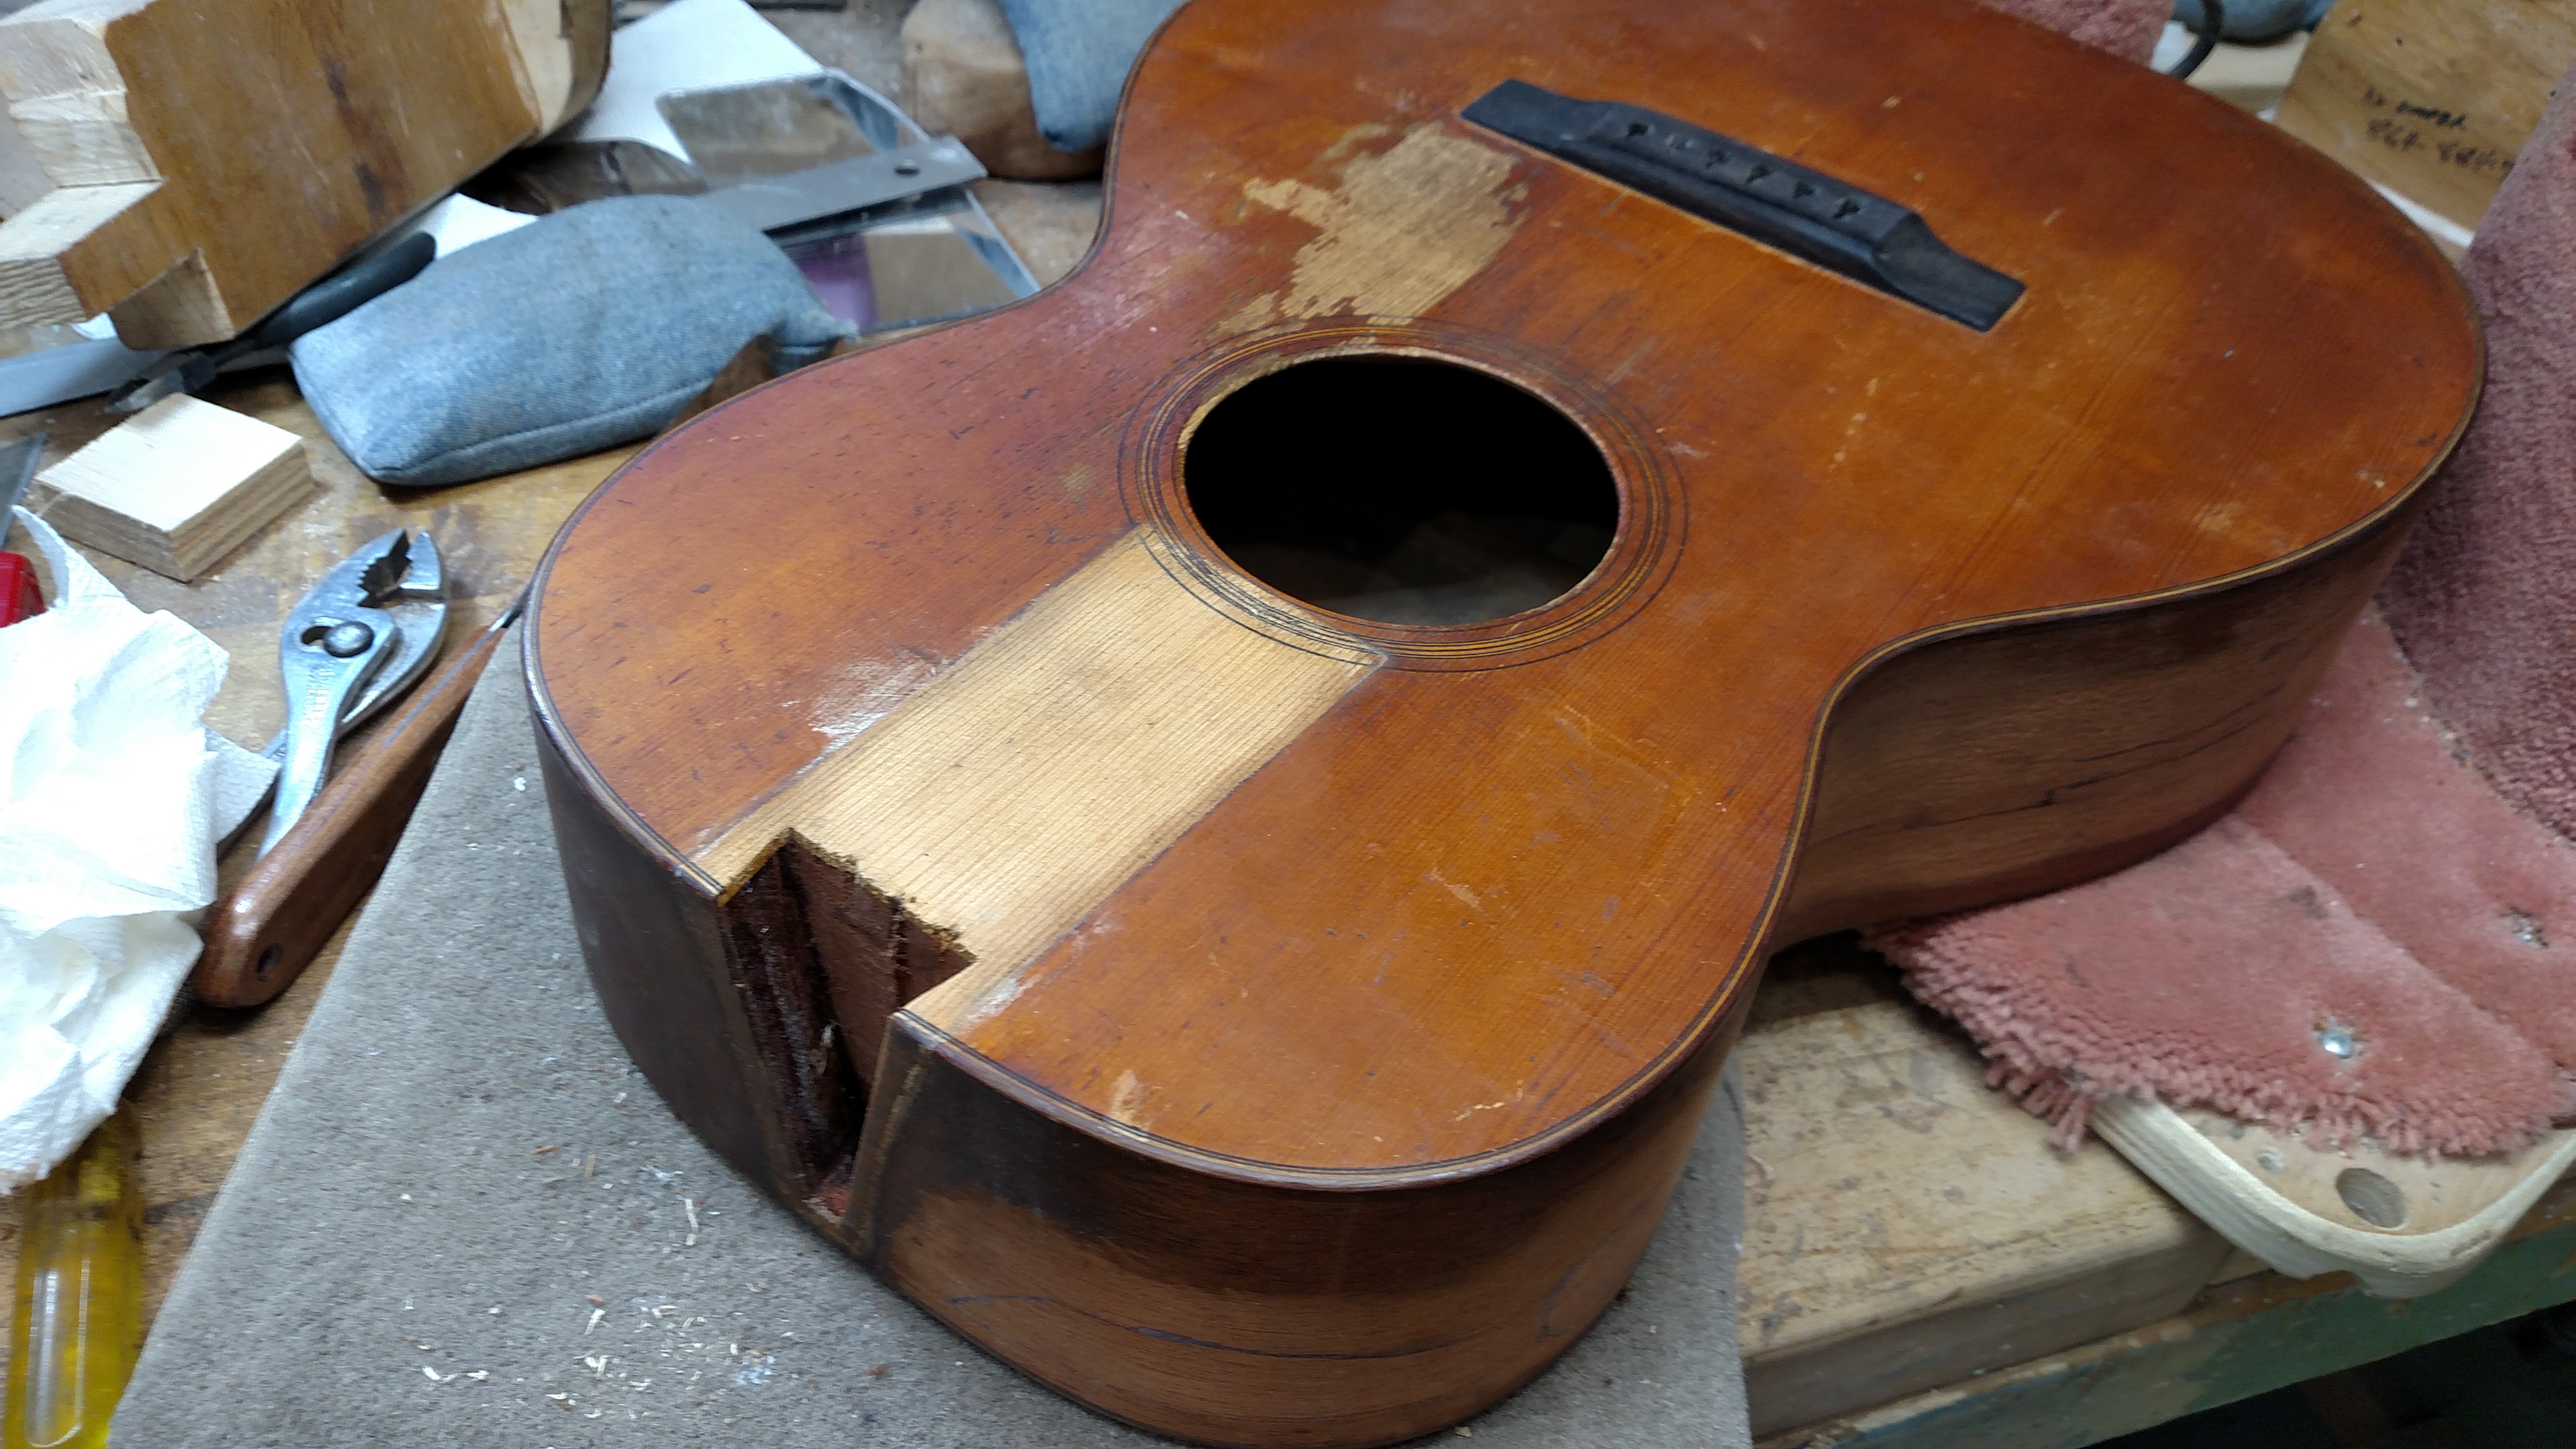
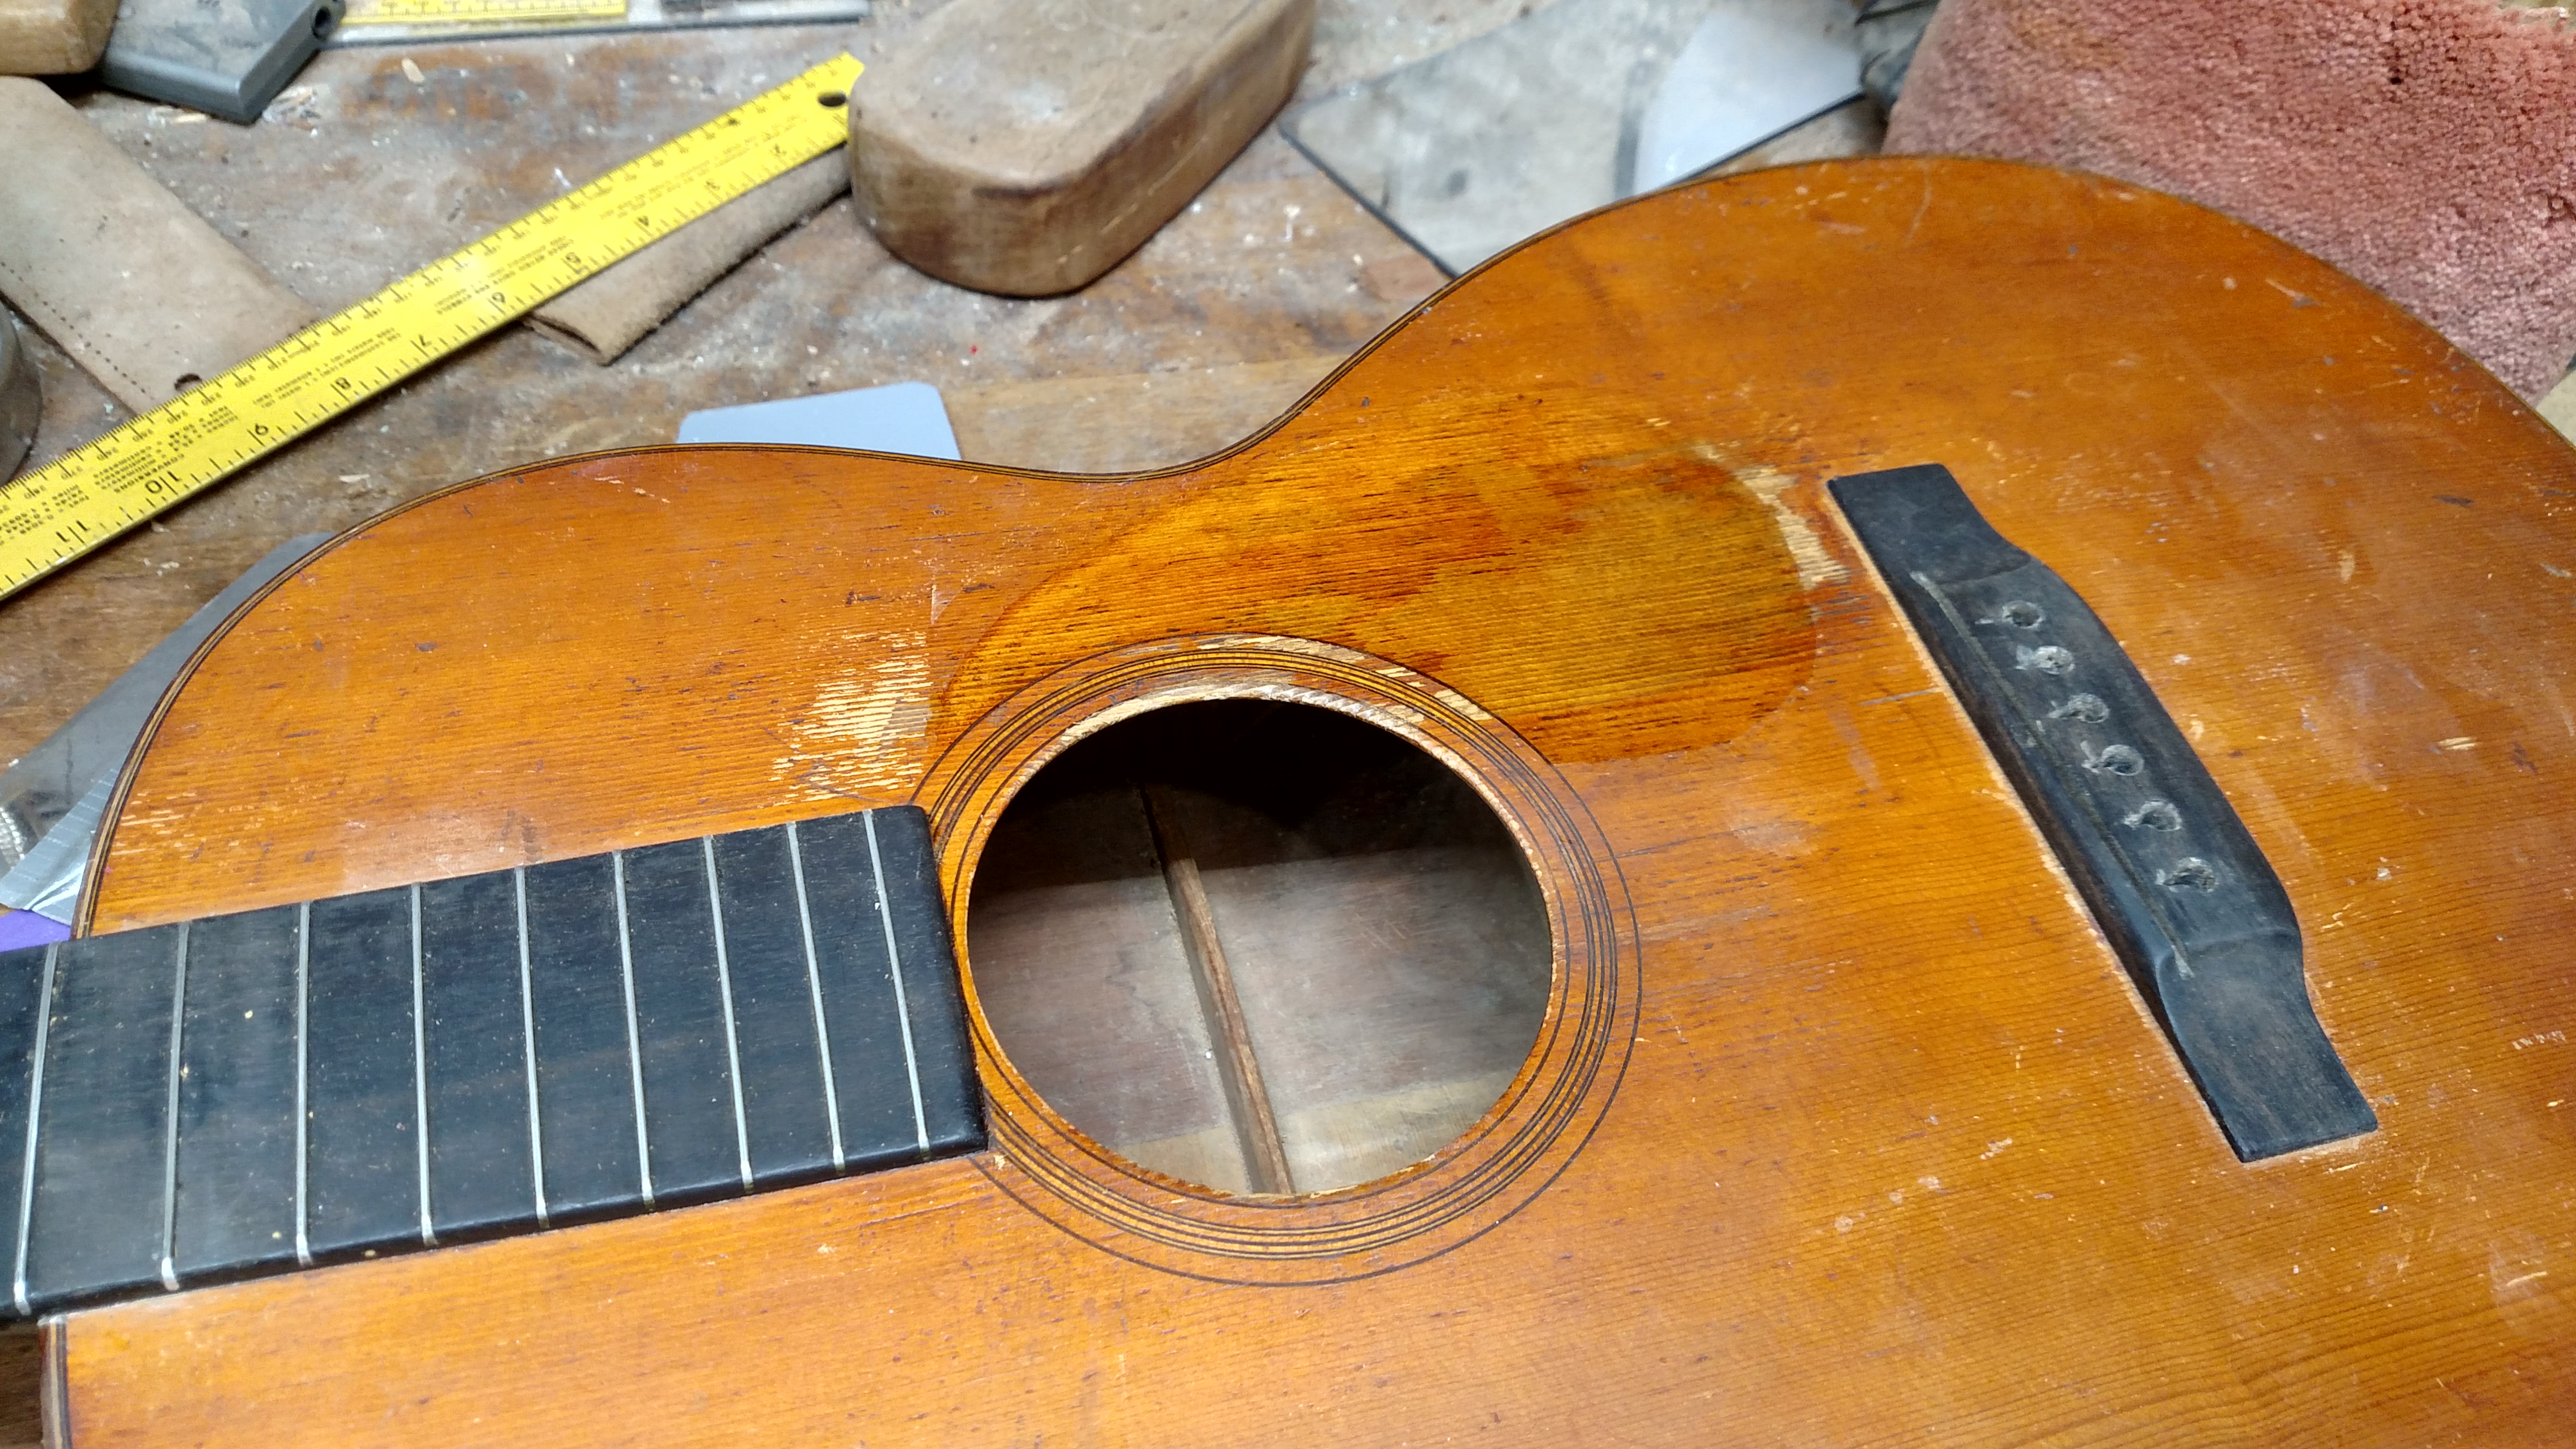
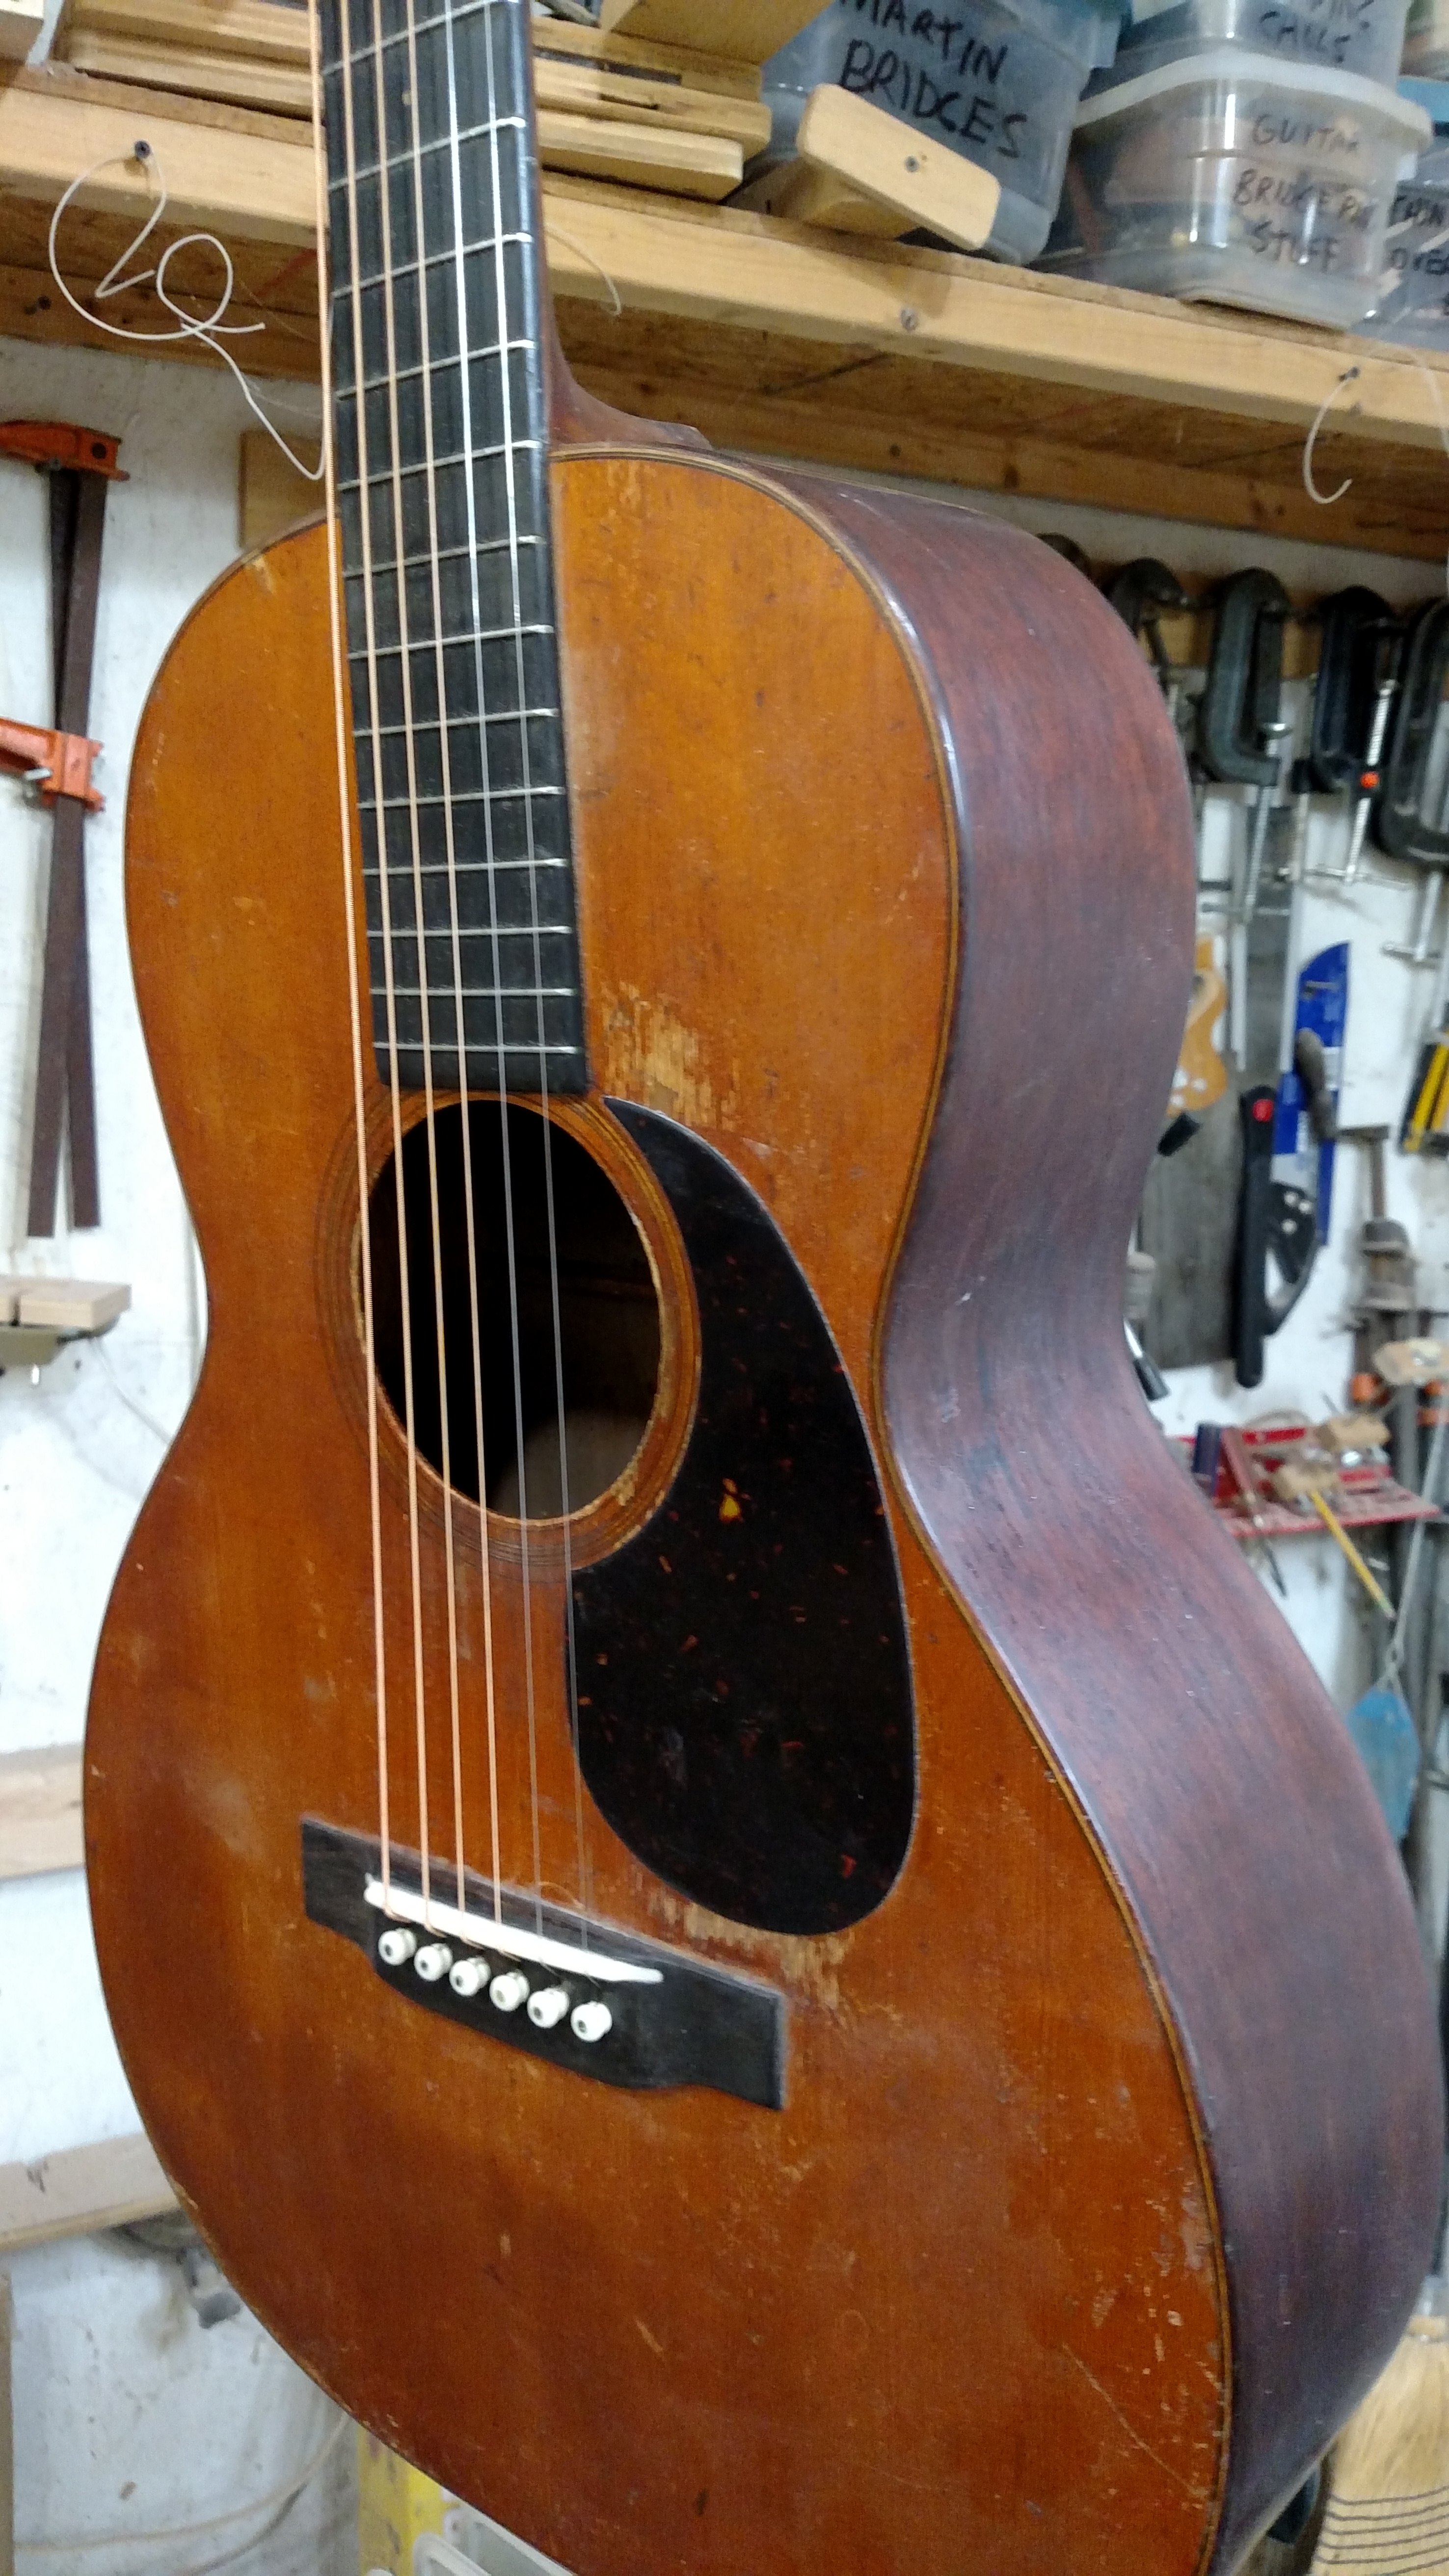
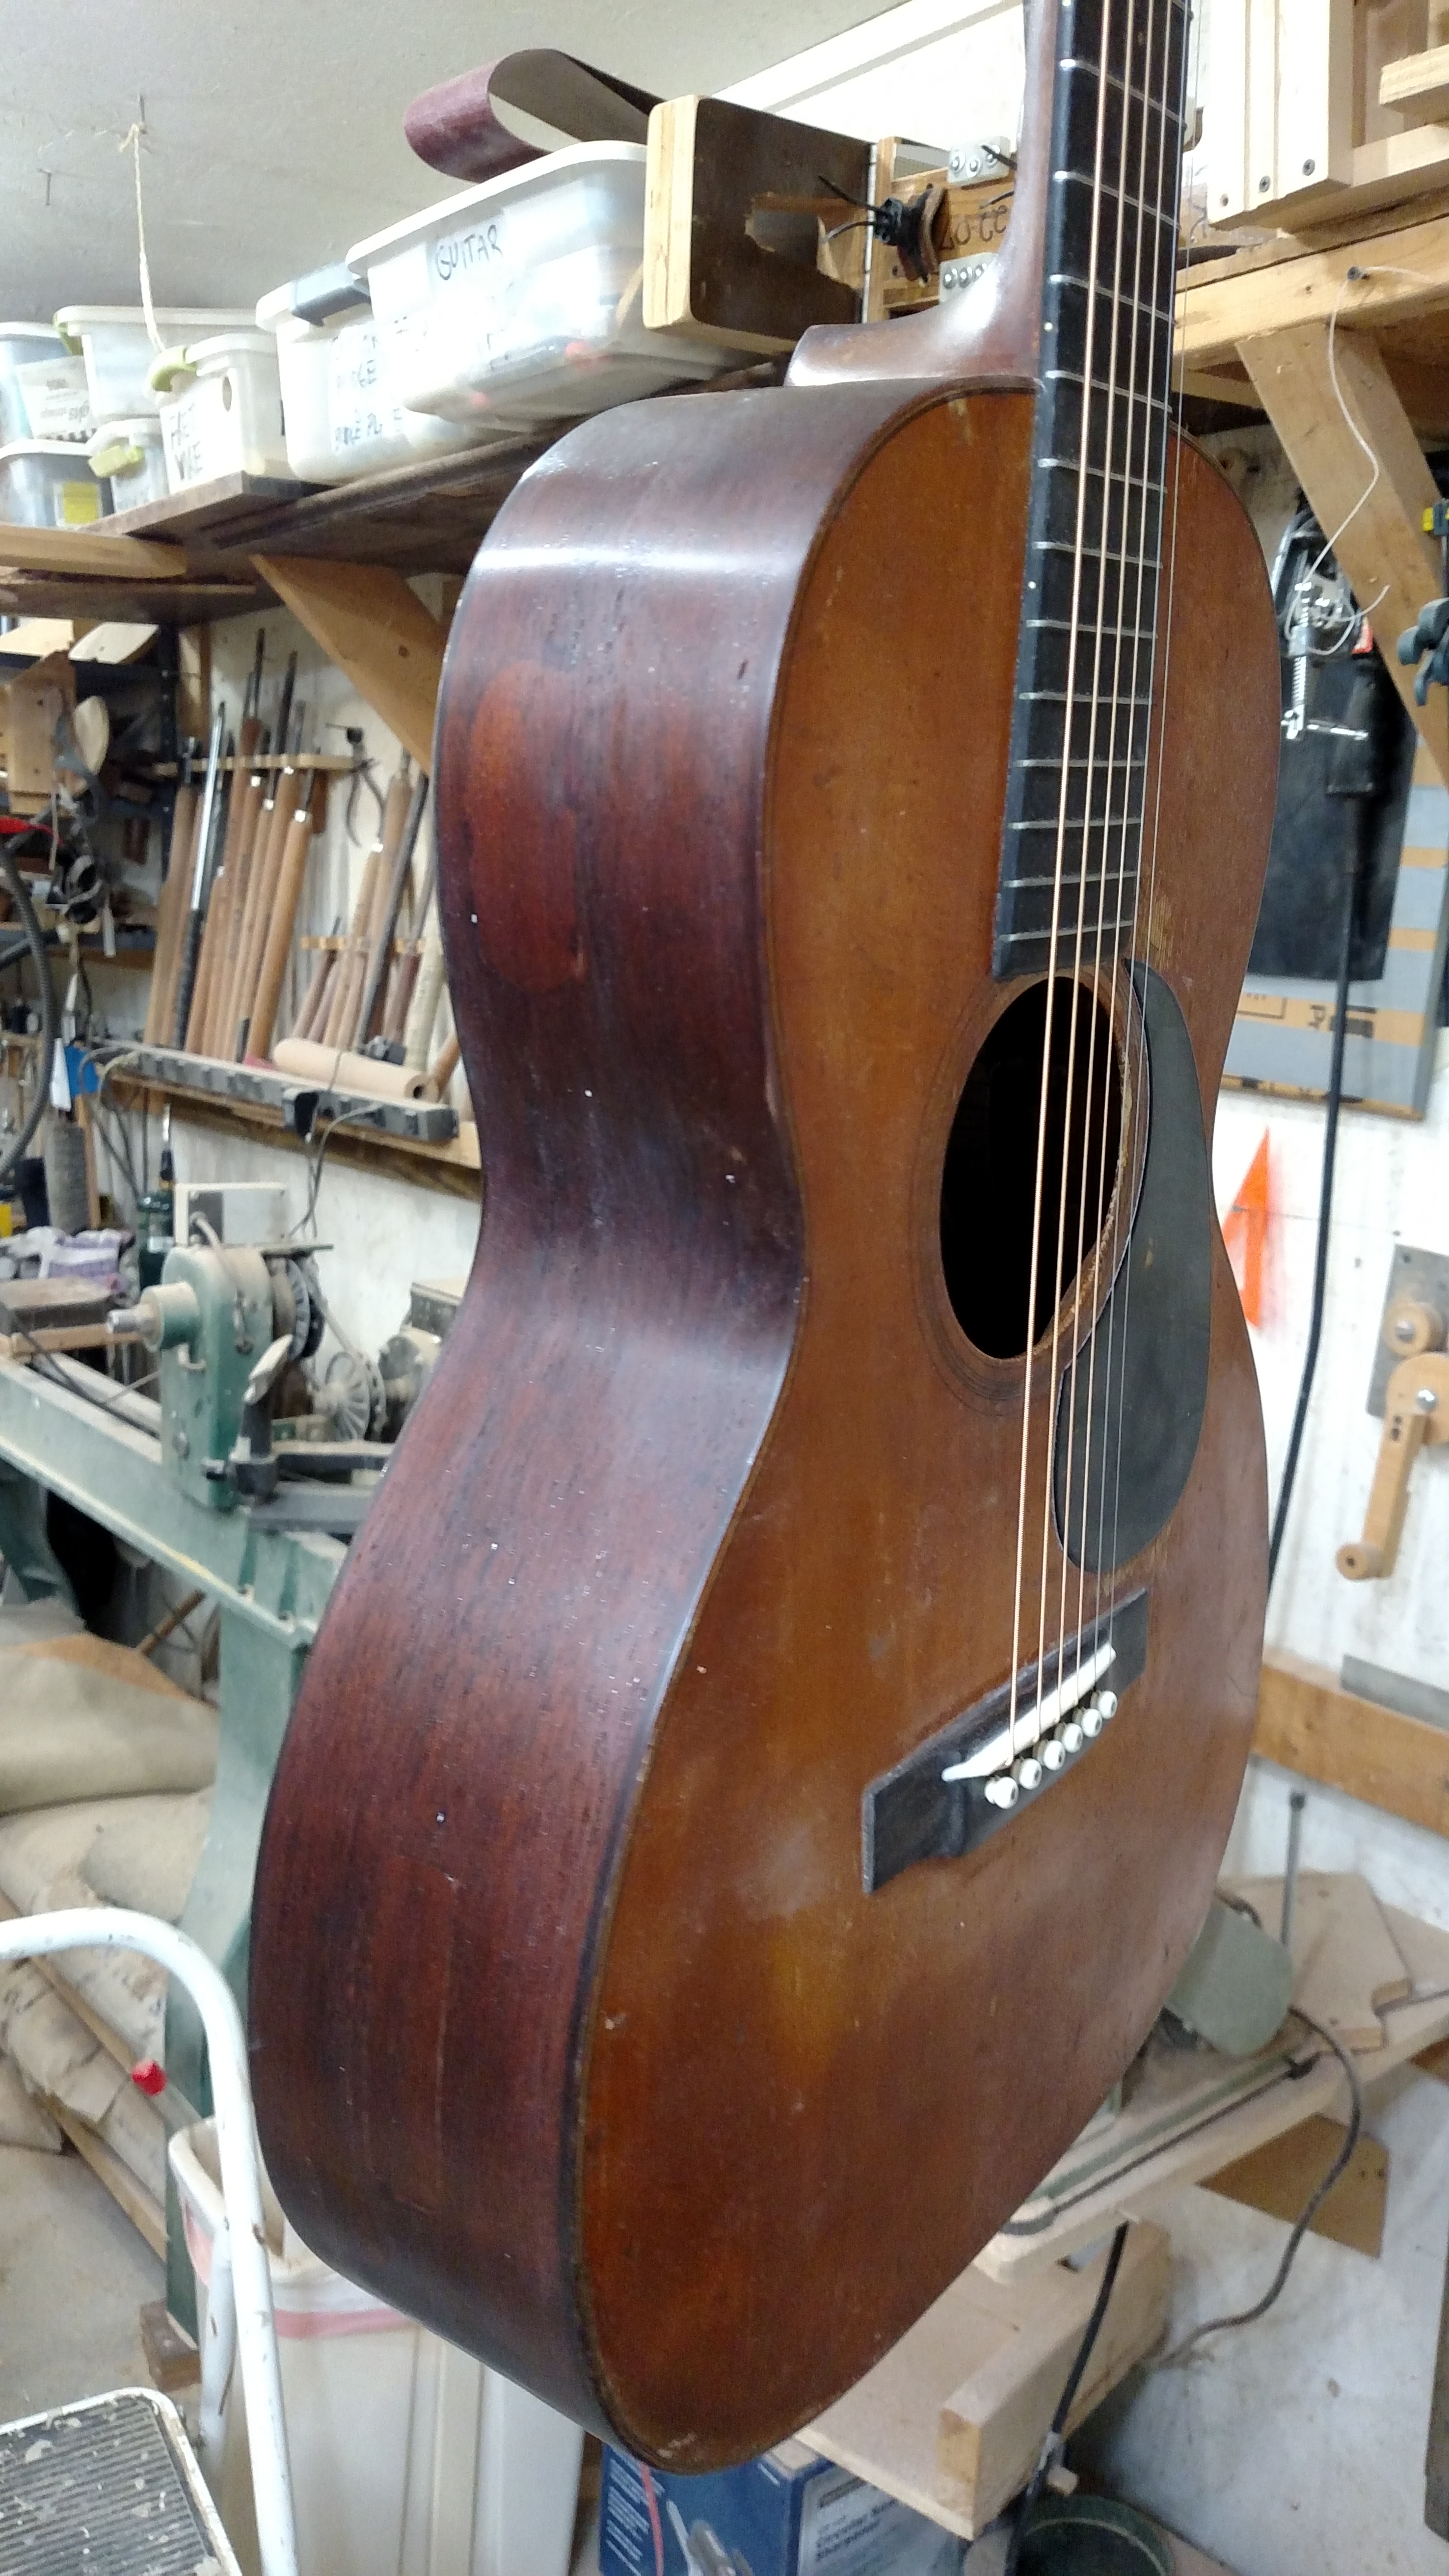
Here is the patient. I have known the folks who own this guitar for a long time. It has been in their family for a lot of years and I’ve heard them talk about the “Baby Martin” a lot. The owner told me that everybody in her family learned to play on this little guitar. The “D” on the top once spelled “DOT”
When they called and told me that she had inherited this guitar from her sister, Dot, I figured it was just an old mahogany topped, small sized guitar. When they brought it to my shop, I looked up the serial number and determined that it was indeed a prewar Martin made in 1931. According to Mike Longworth’s book there were only a little over 200 of these made in 1931. It has a spruce top and scalloped braces. It is a 12 fret model. Also, I looked on Martin’s website and saw that they had chosen the year of 1931 to do a reissue of these guitars. These 2 facts told me that this guitar was probably worth spending some time and money on. We agreed on a price and I told them that I would attempt to keep the guitar looking as original as I could. Any refinishing would ultimately devalue the guitar. We agreed to only refinish the sides of the body.
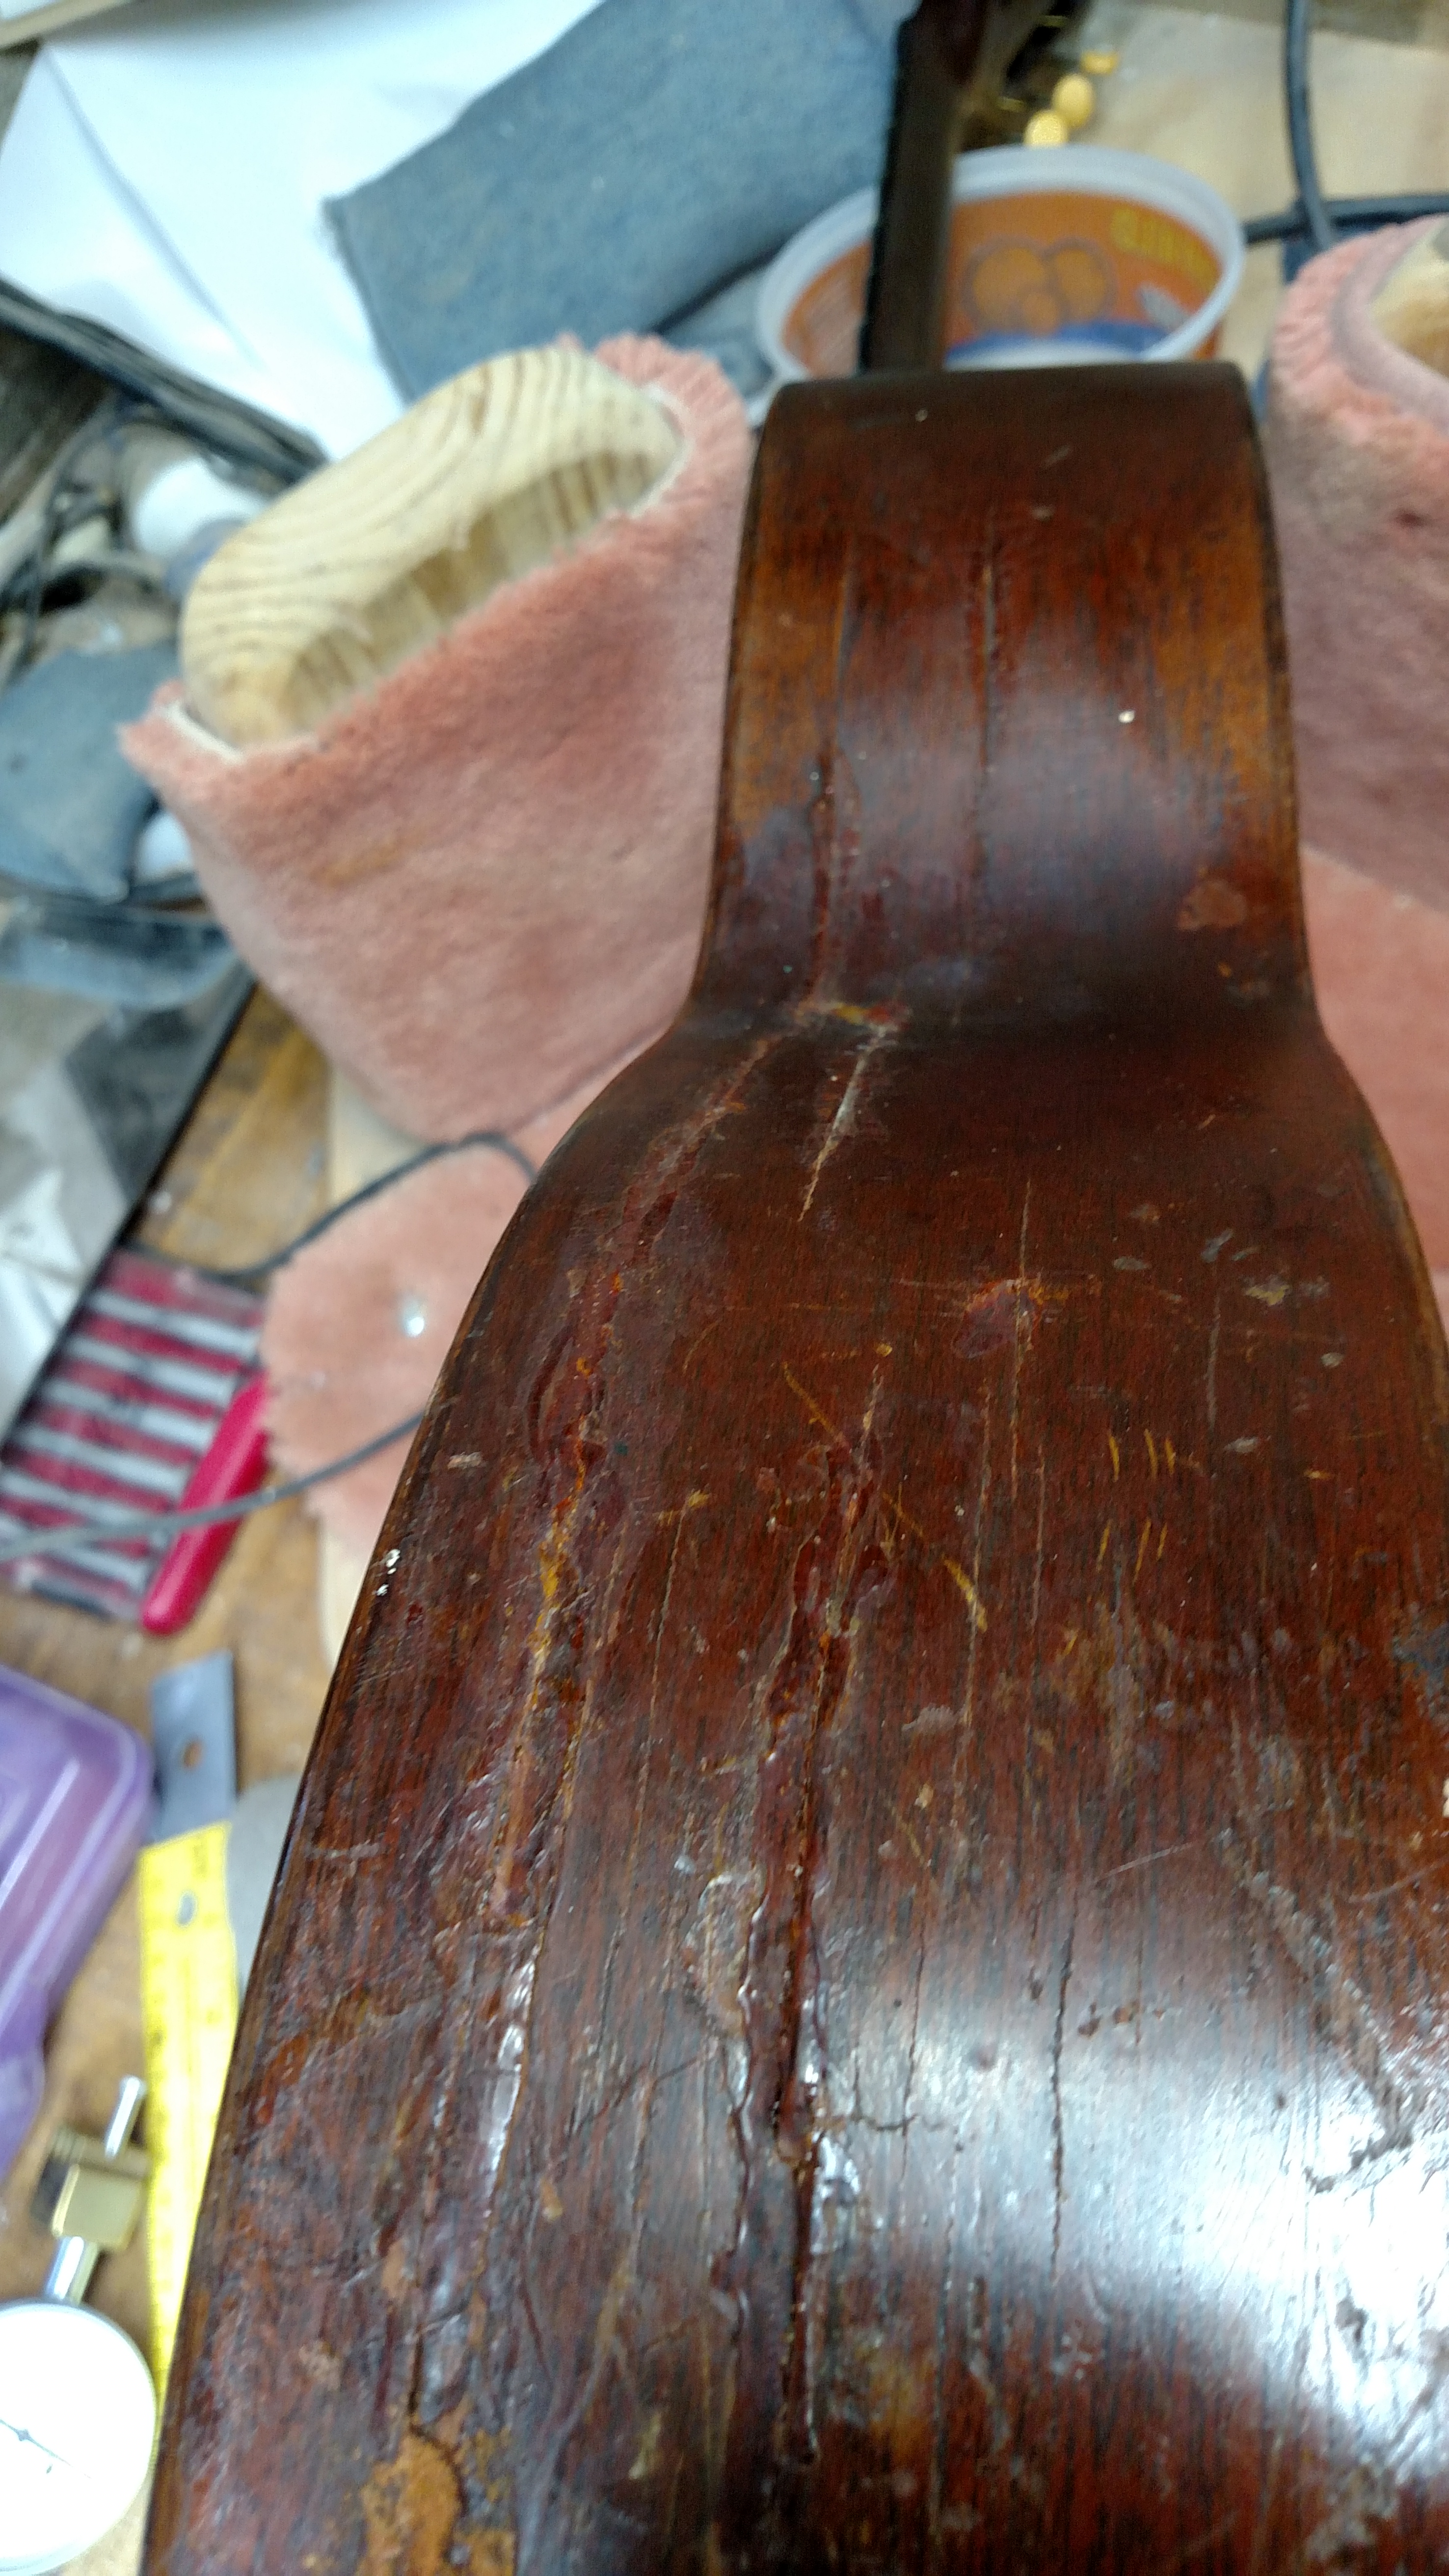
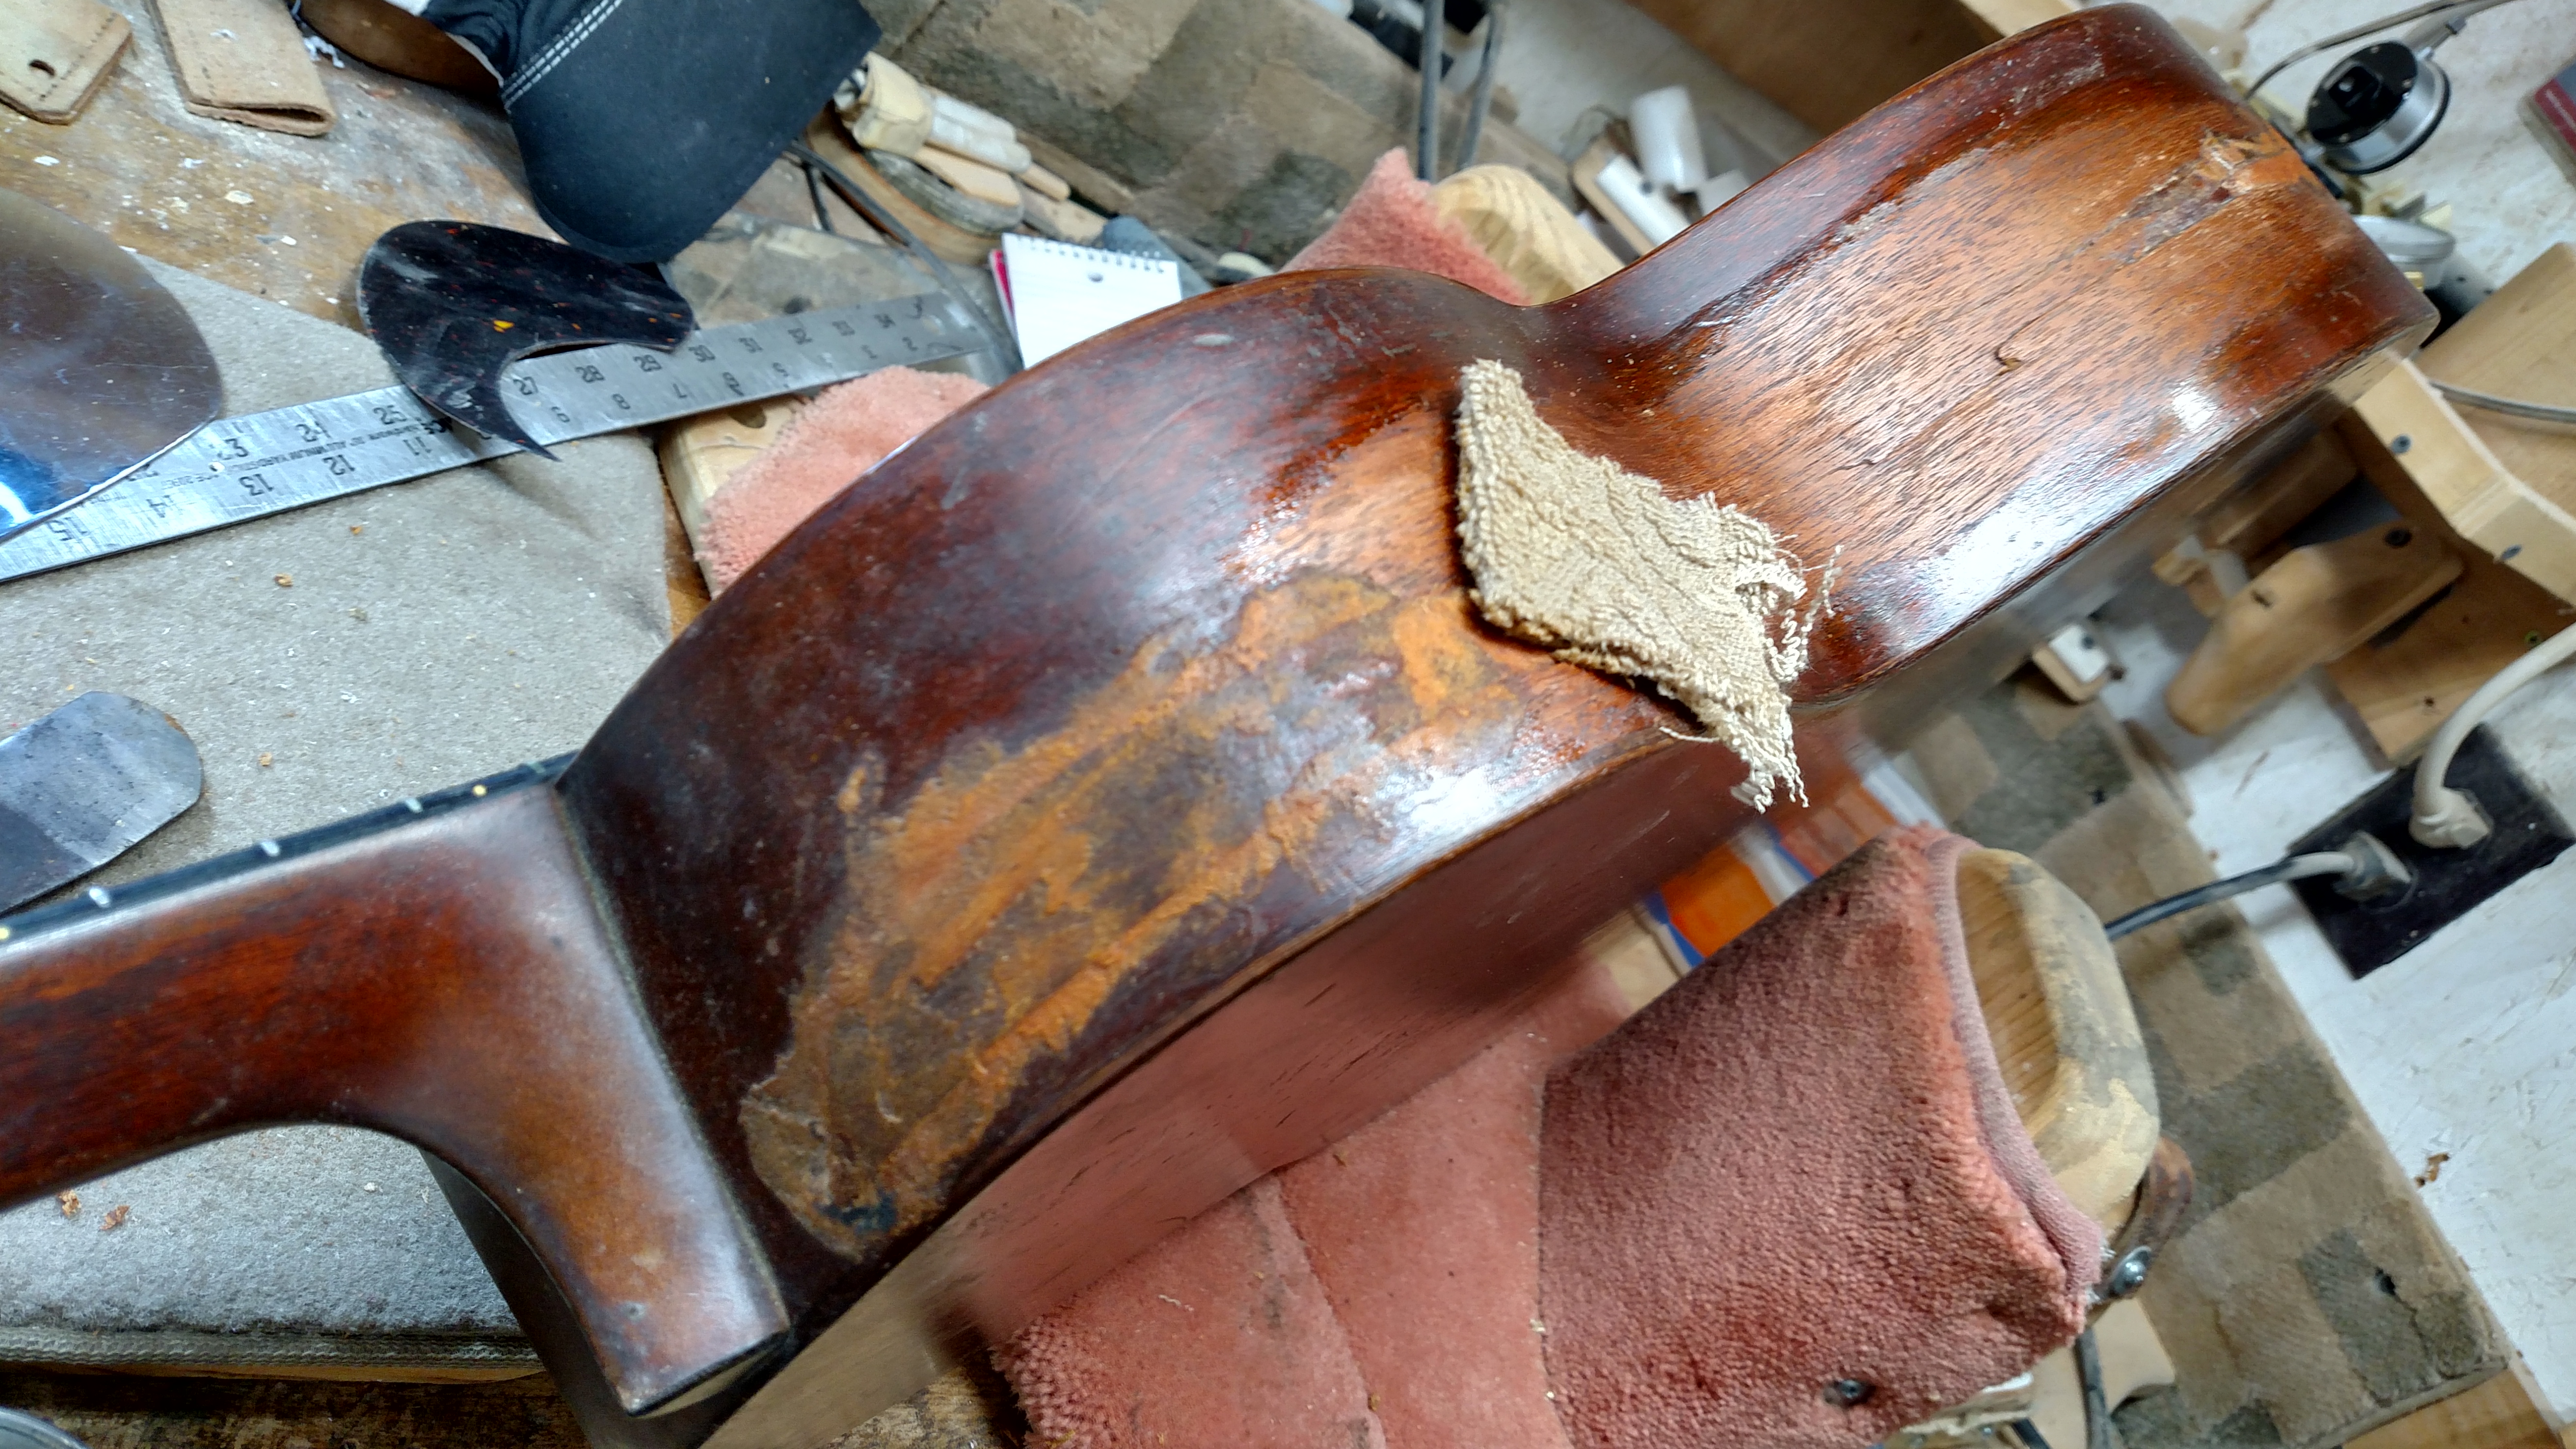
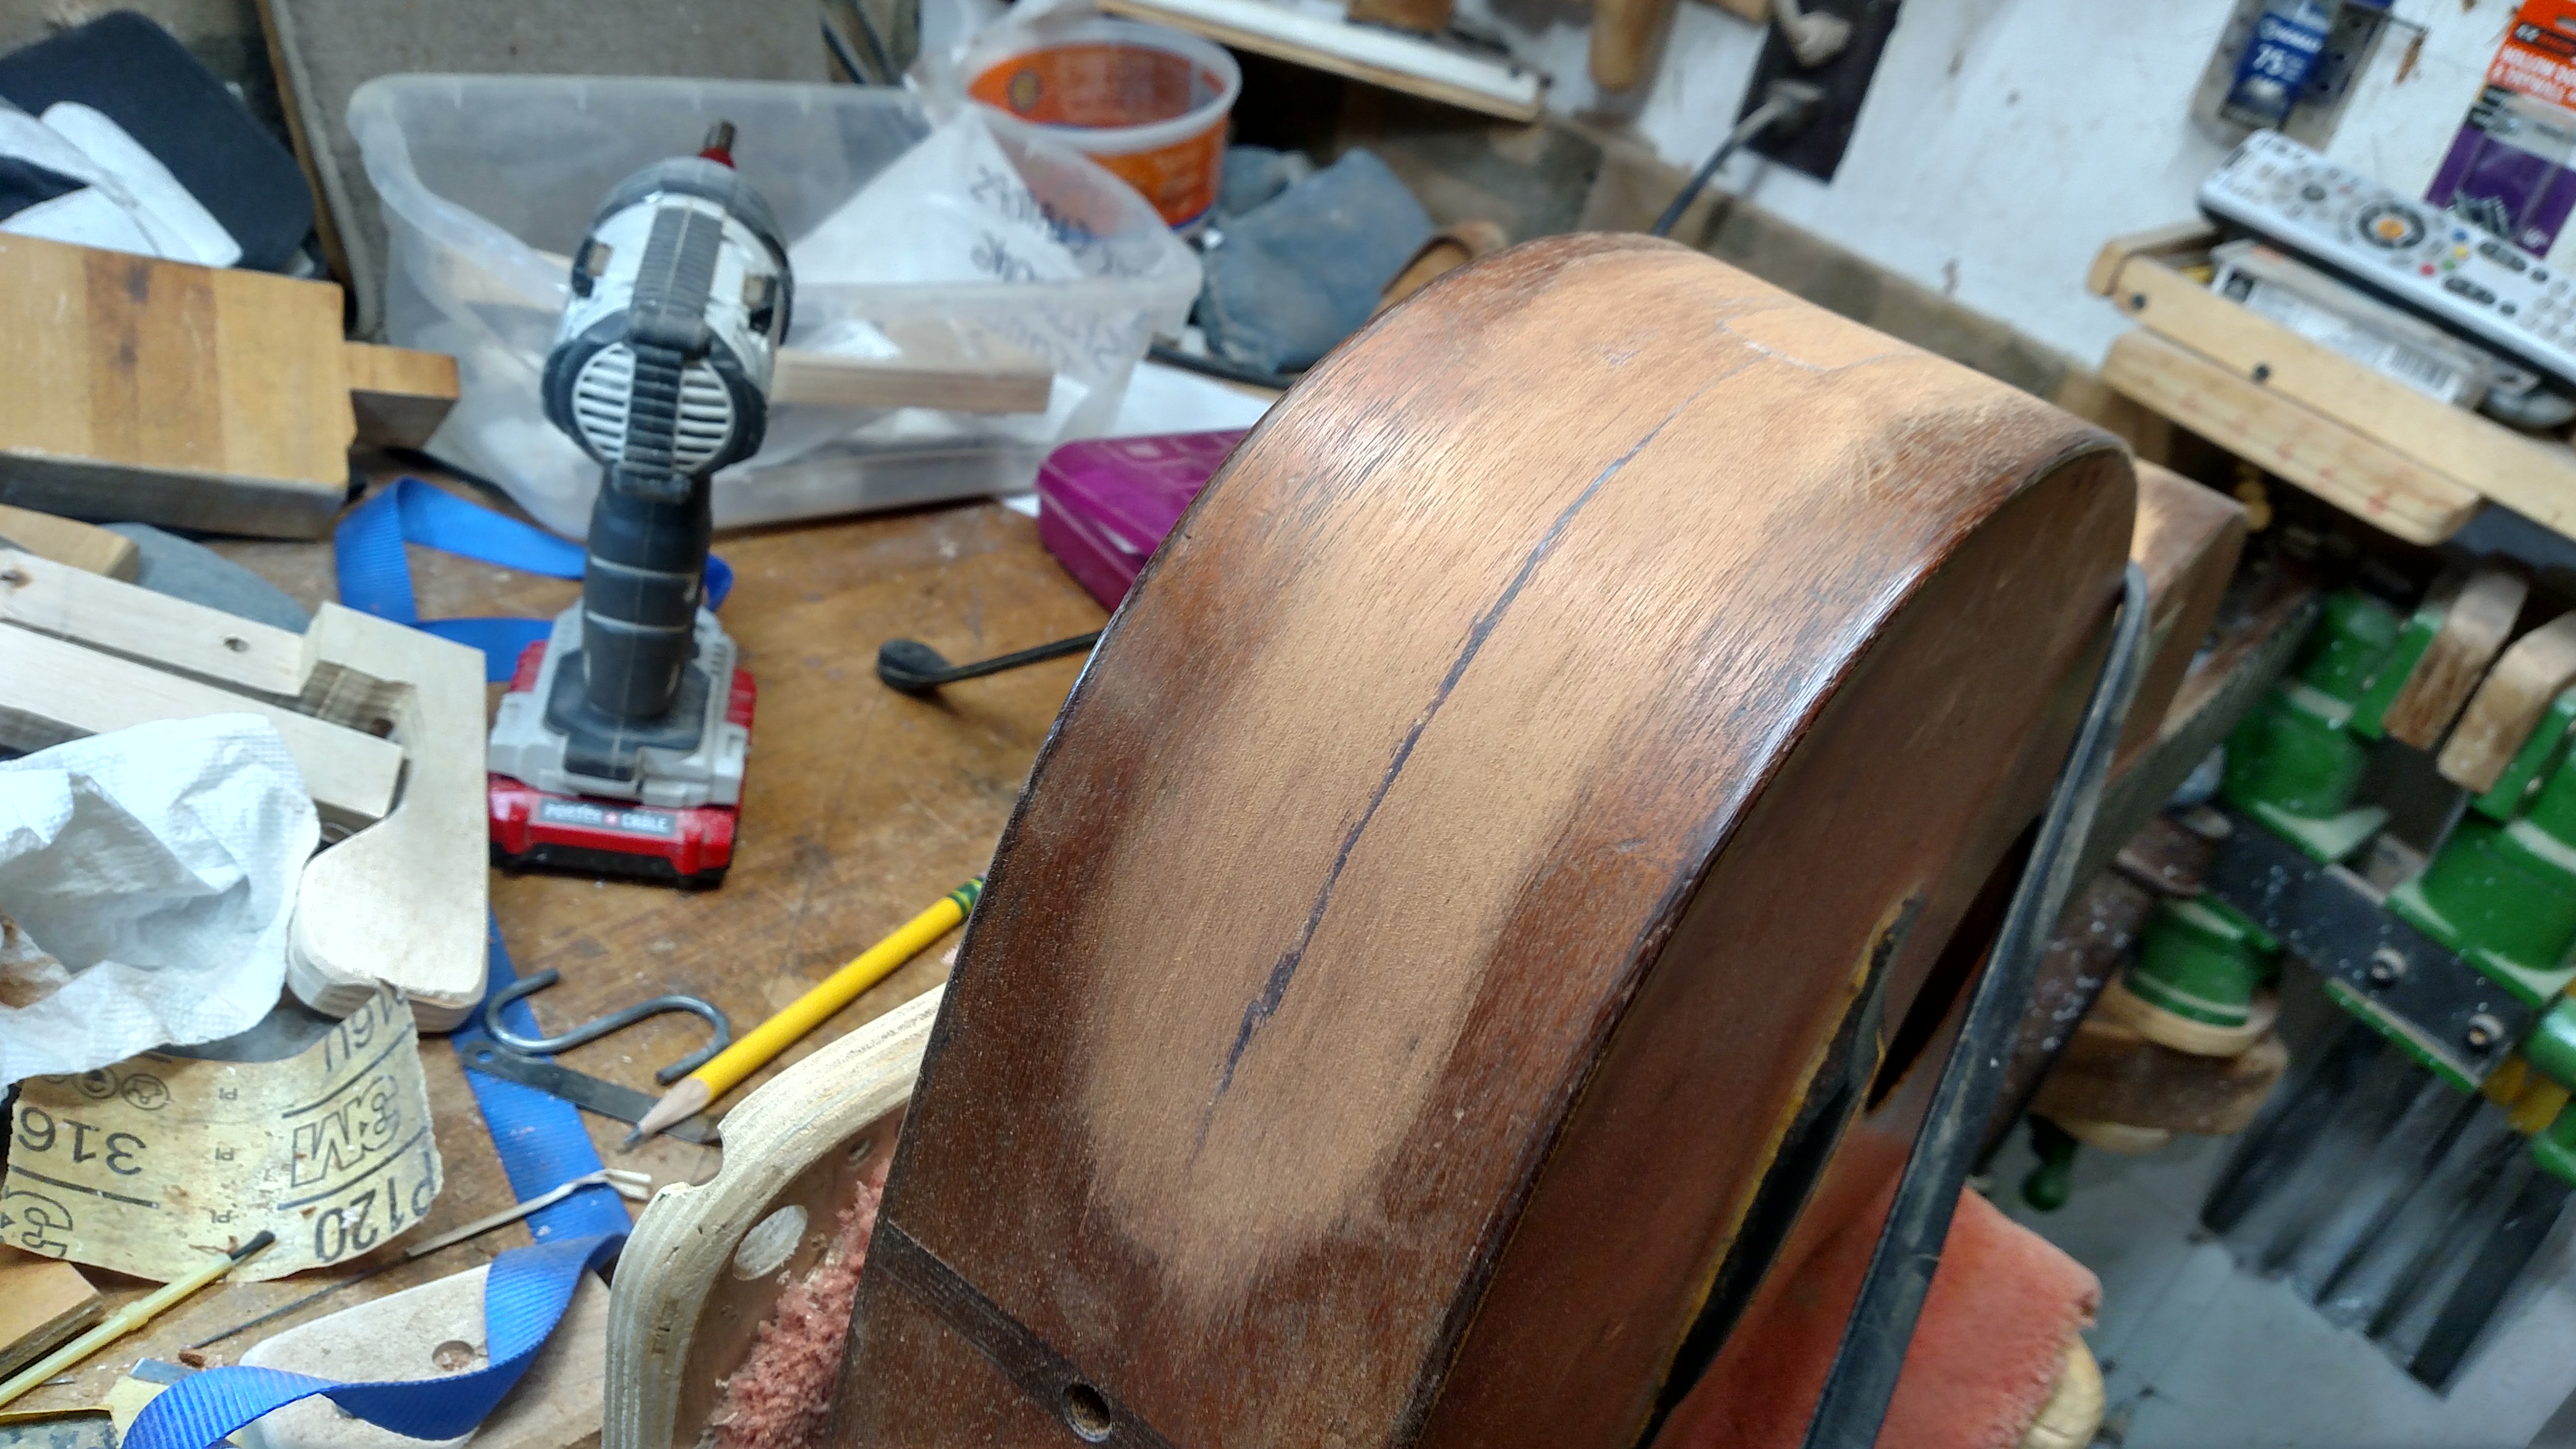
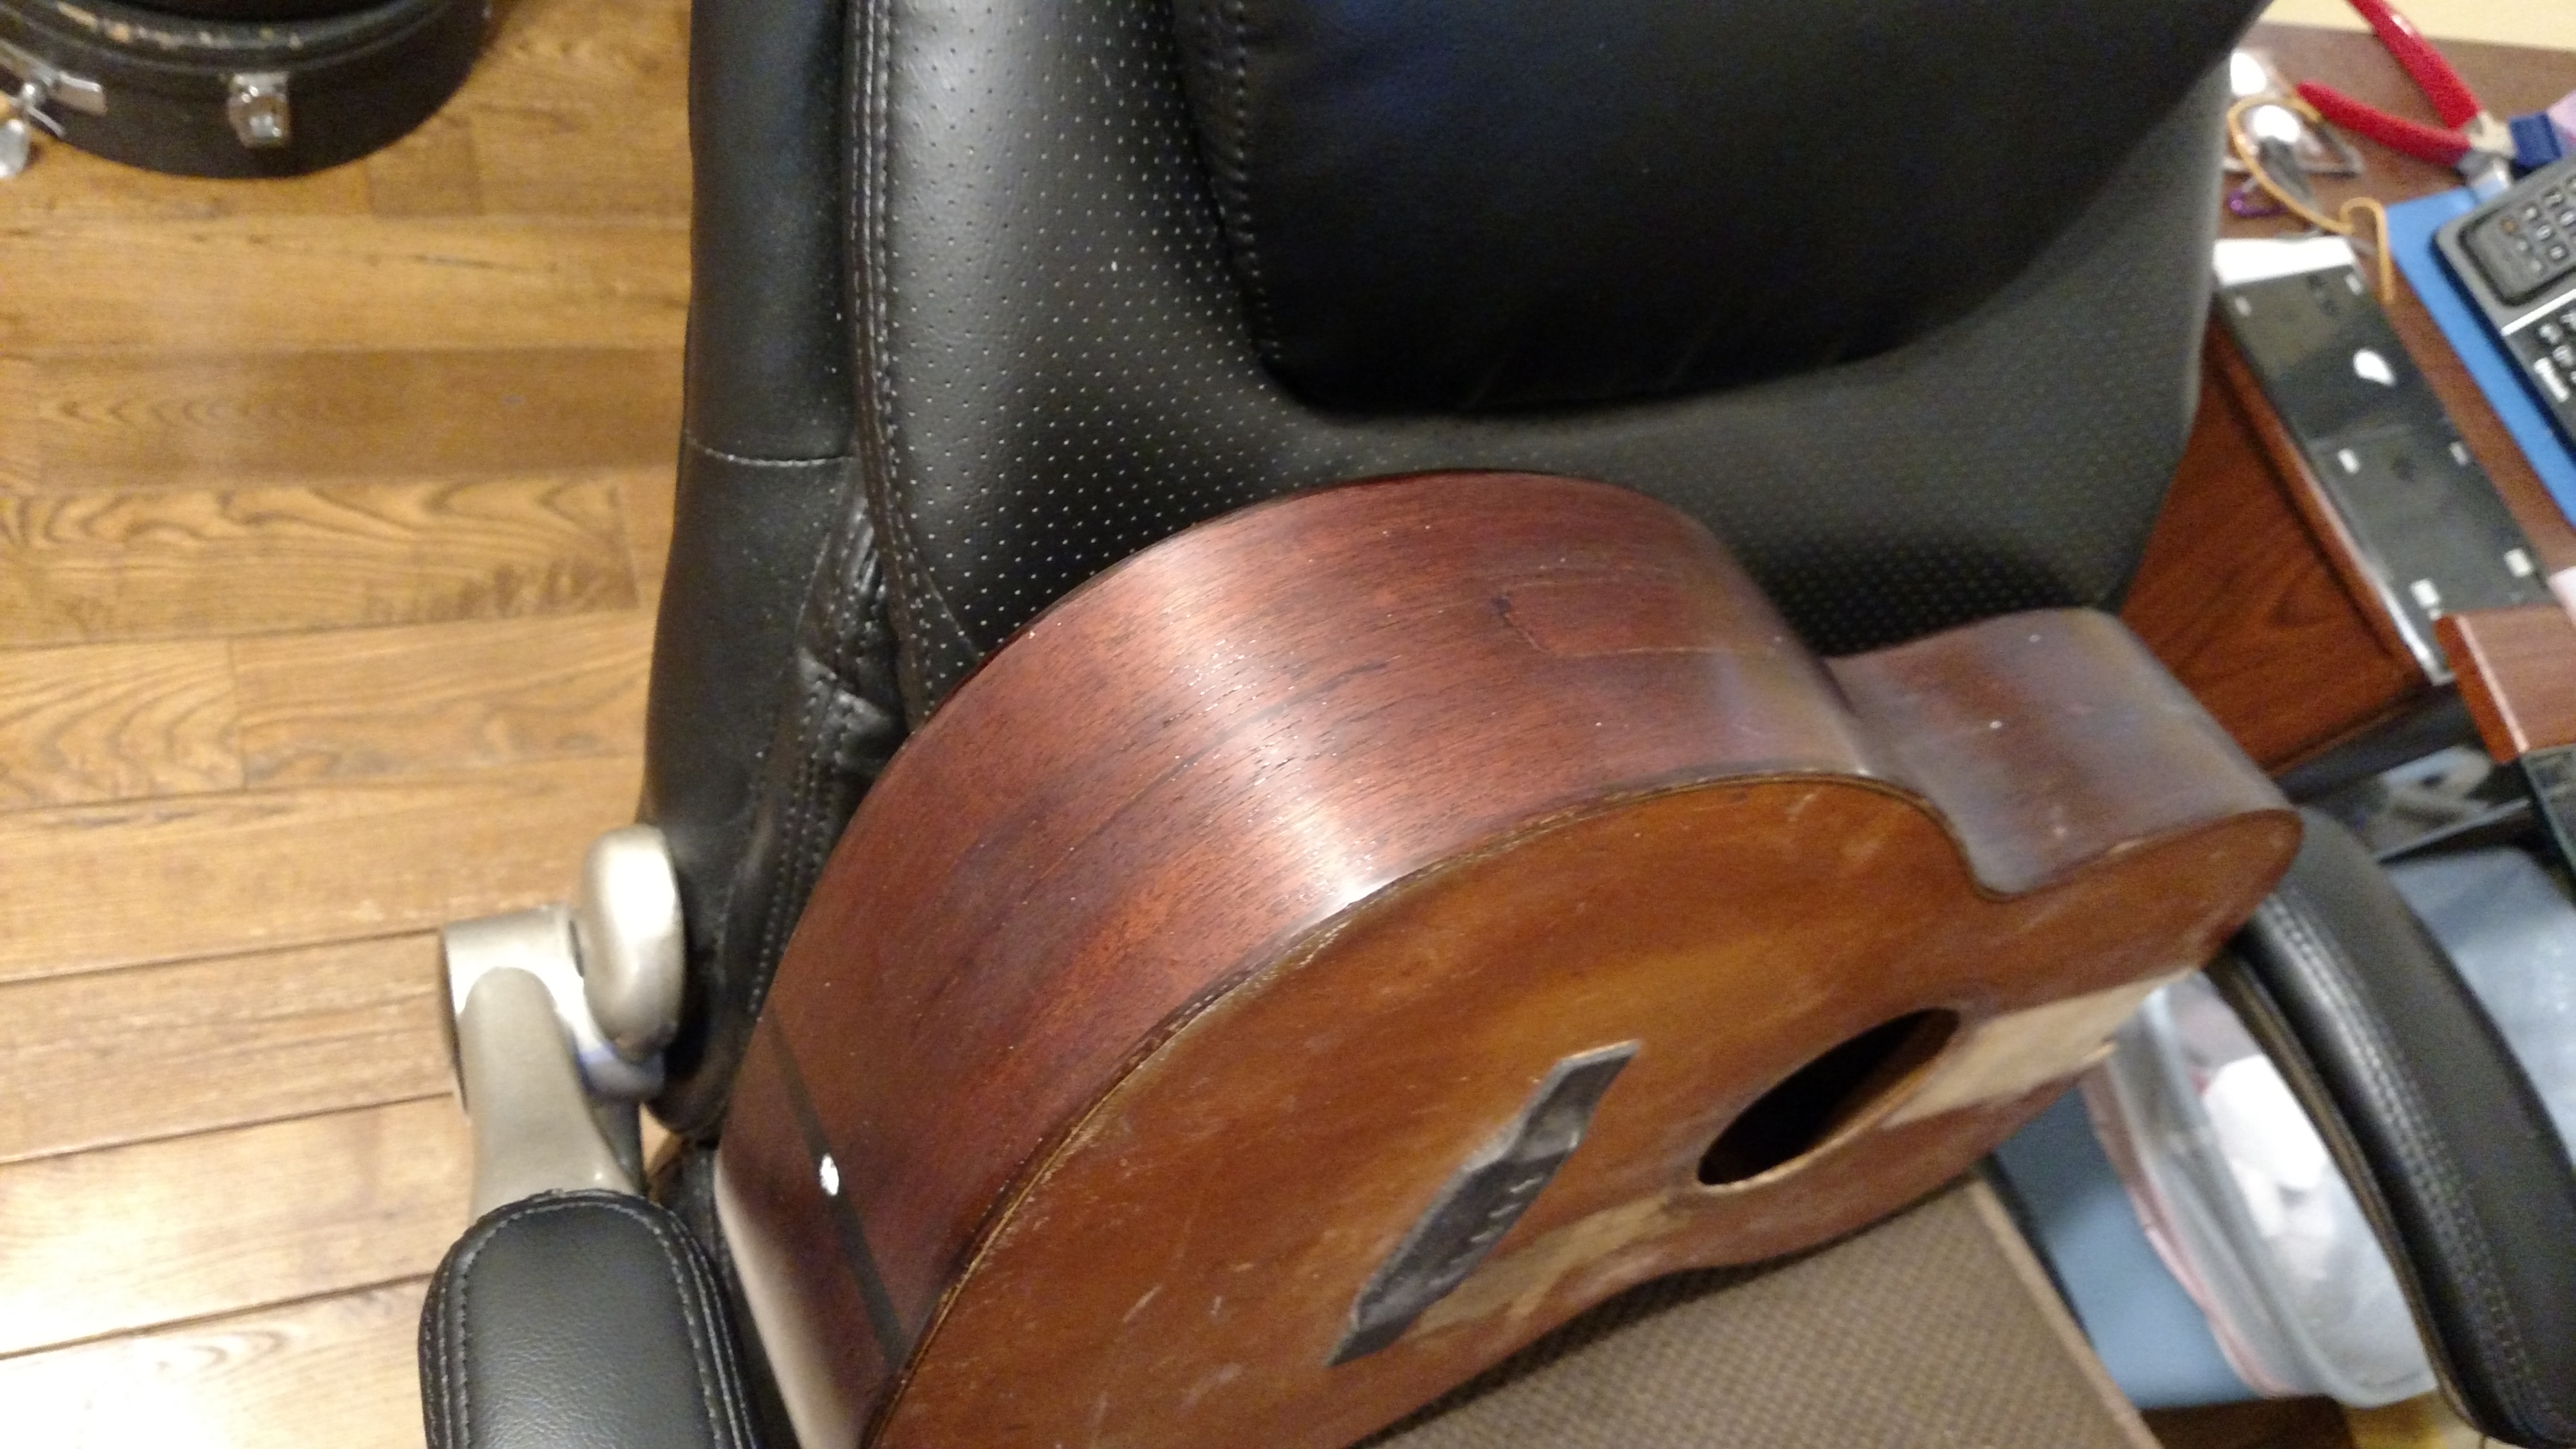
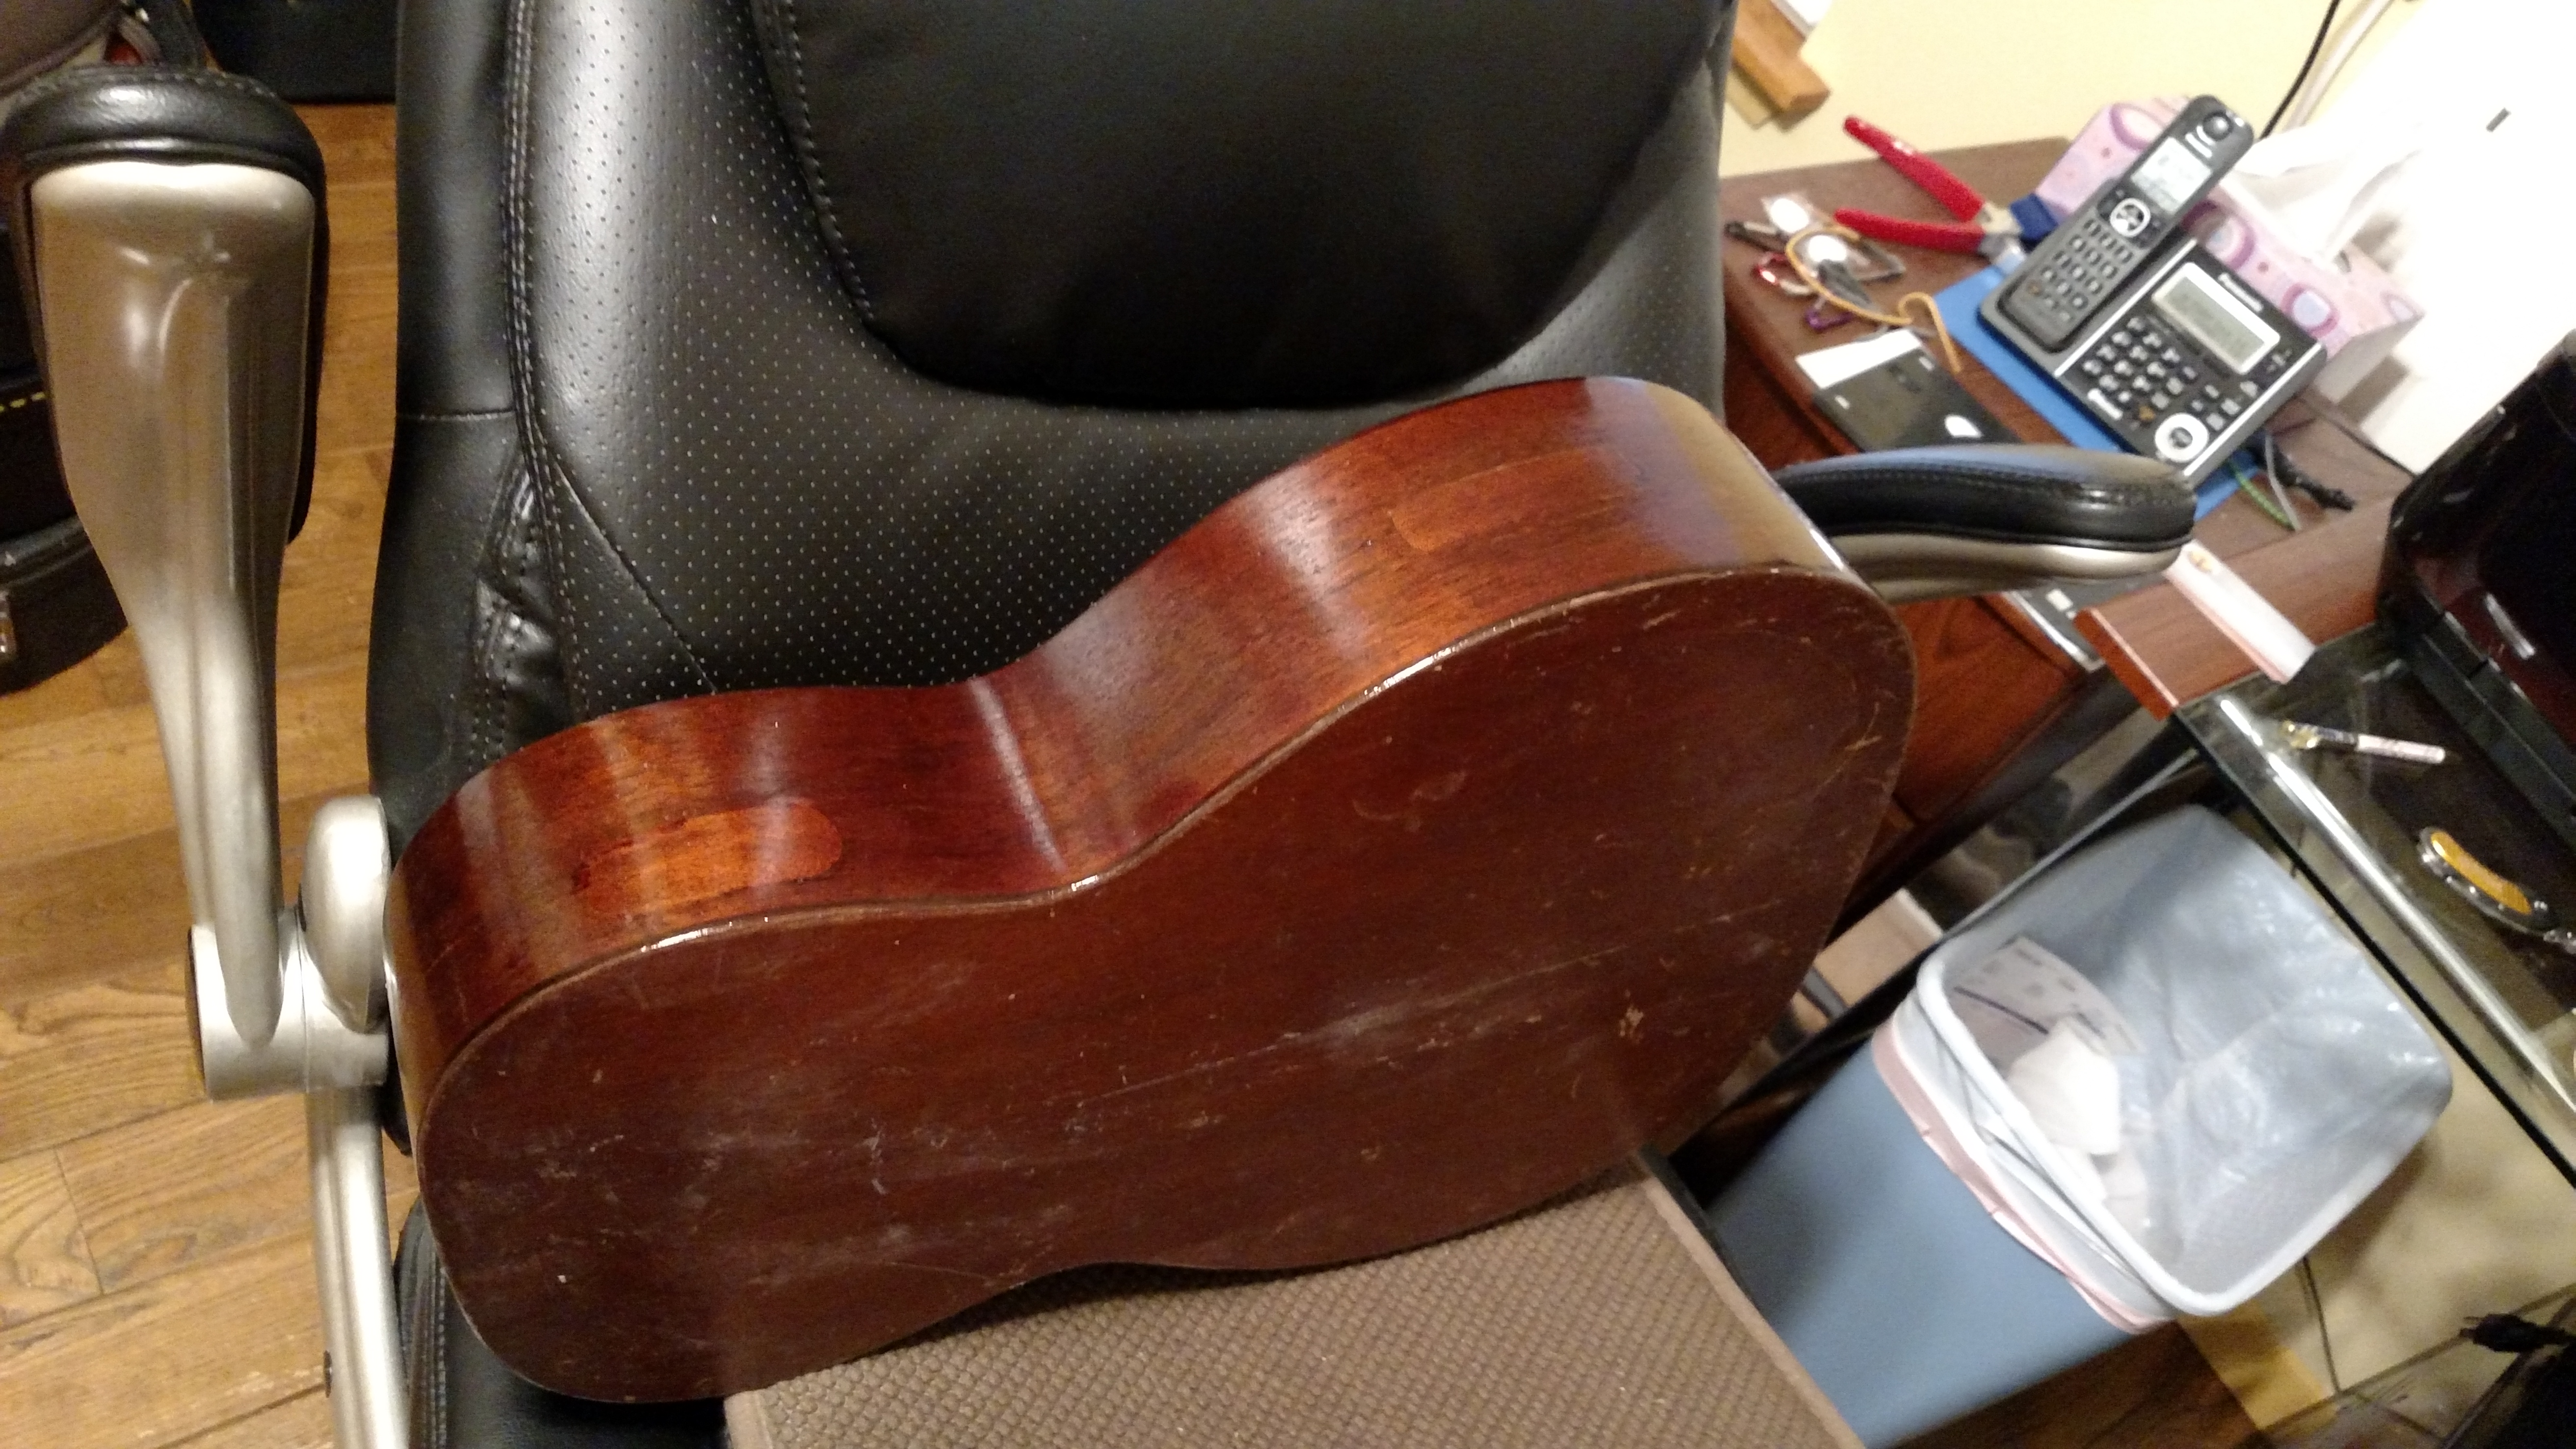
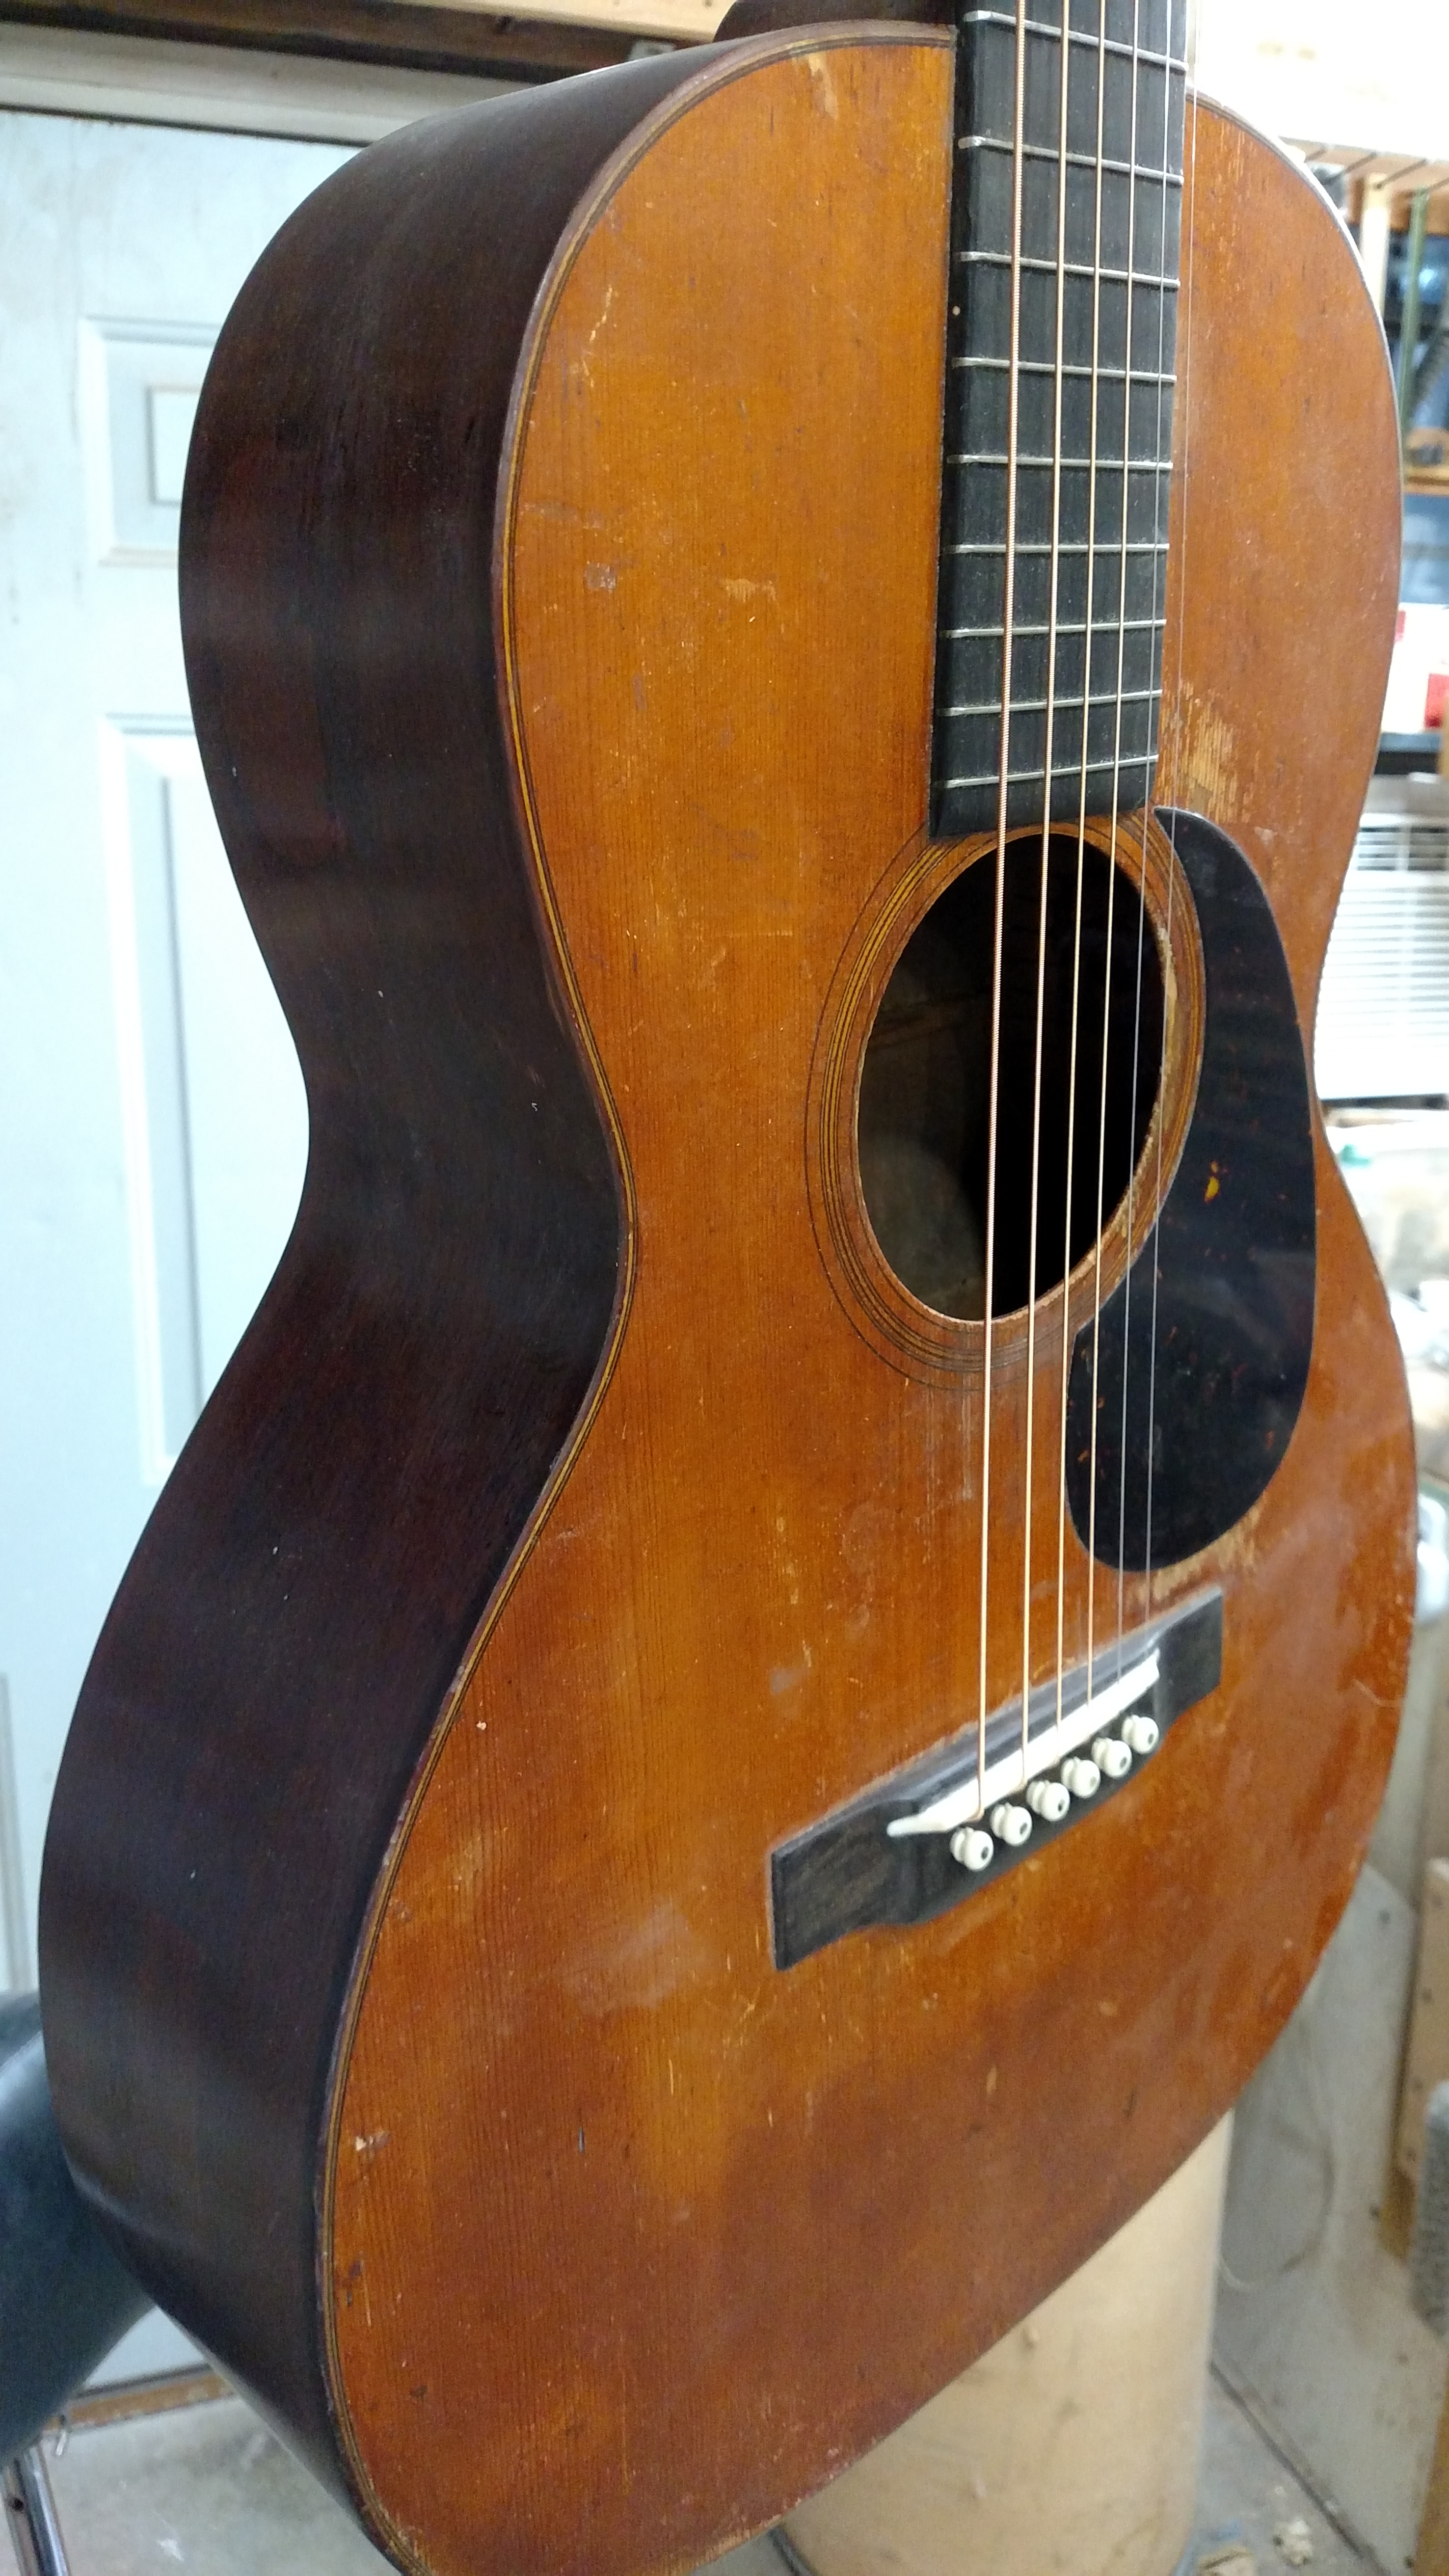
This guitar had seen some major damage in it’s 86 years. I’m sure it saw some abuse and a lot of playing through the years.
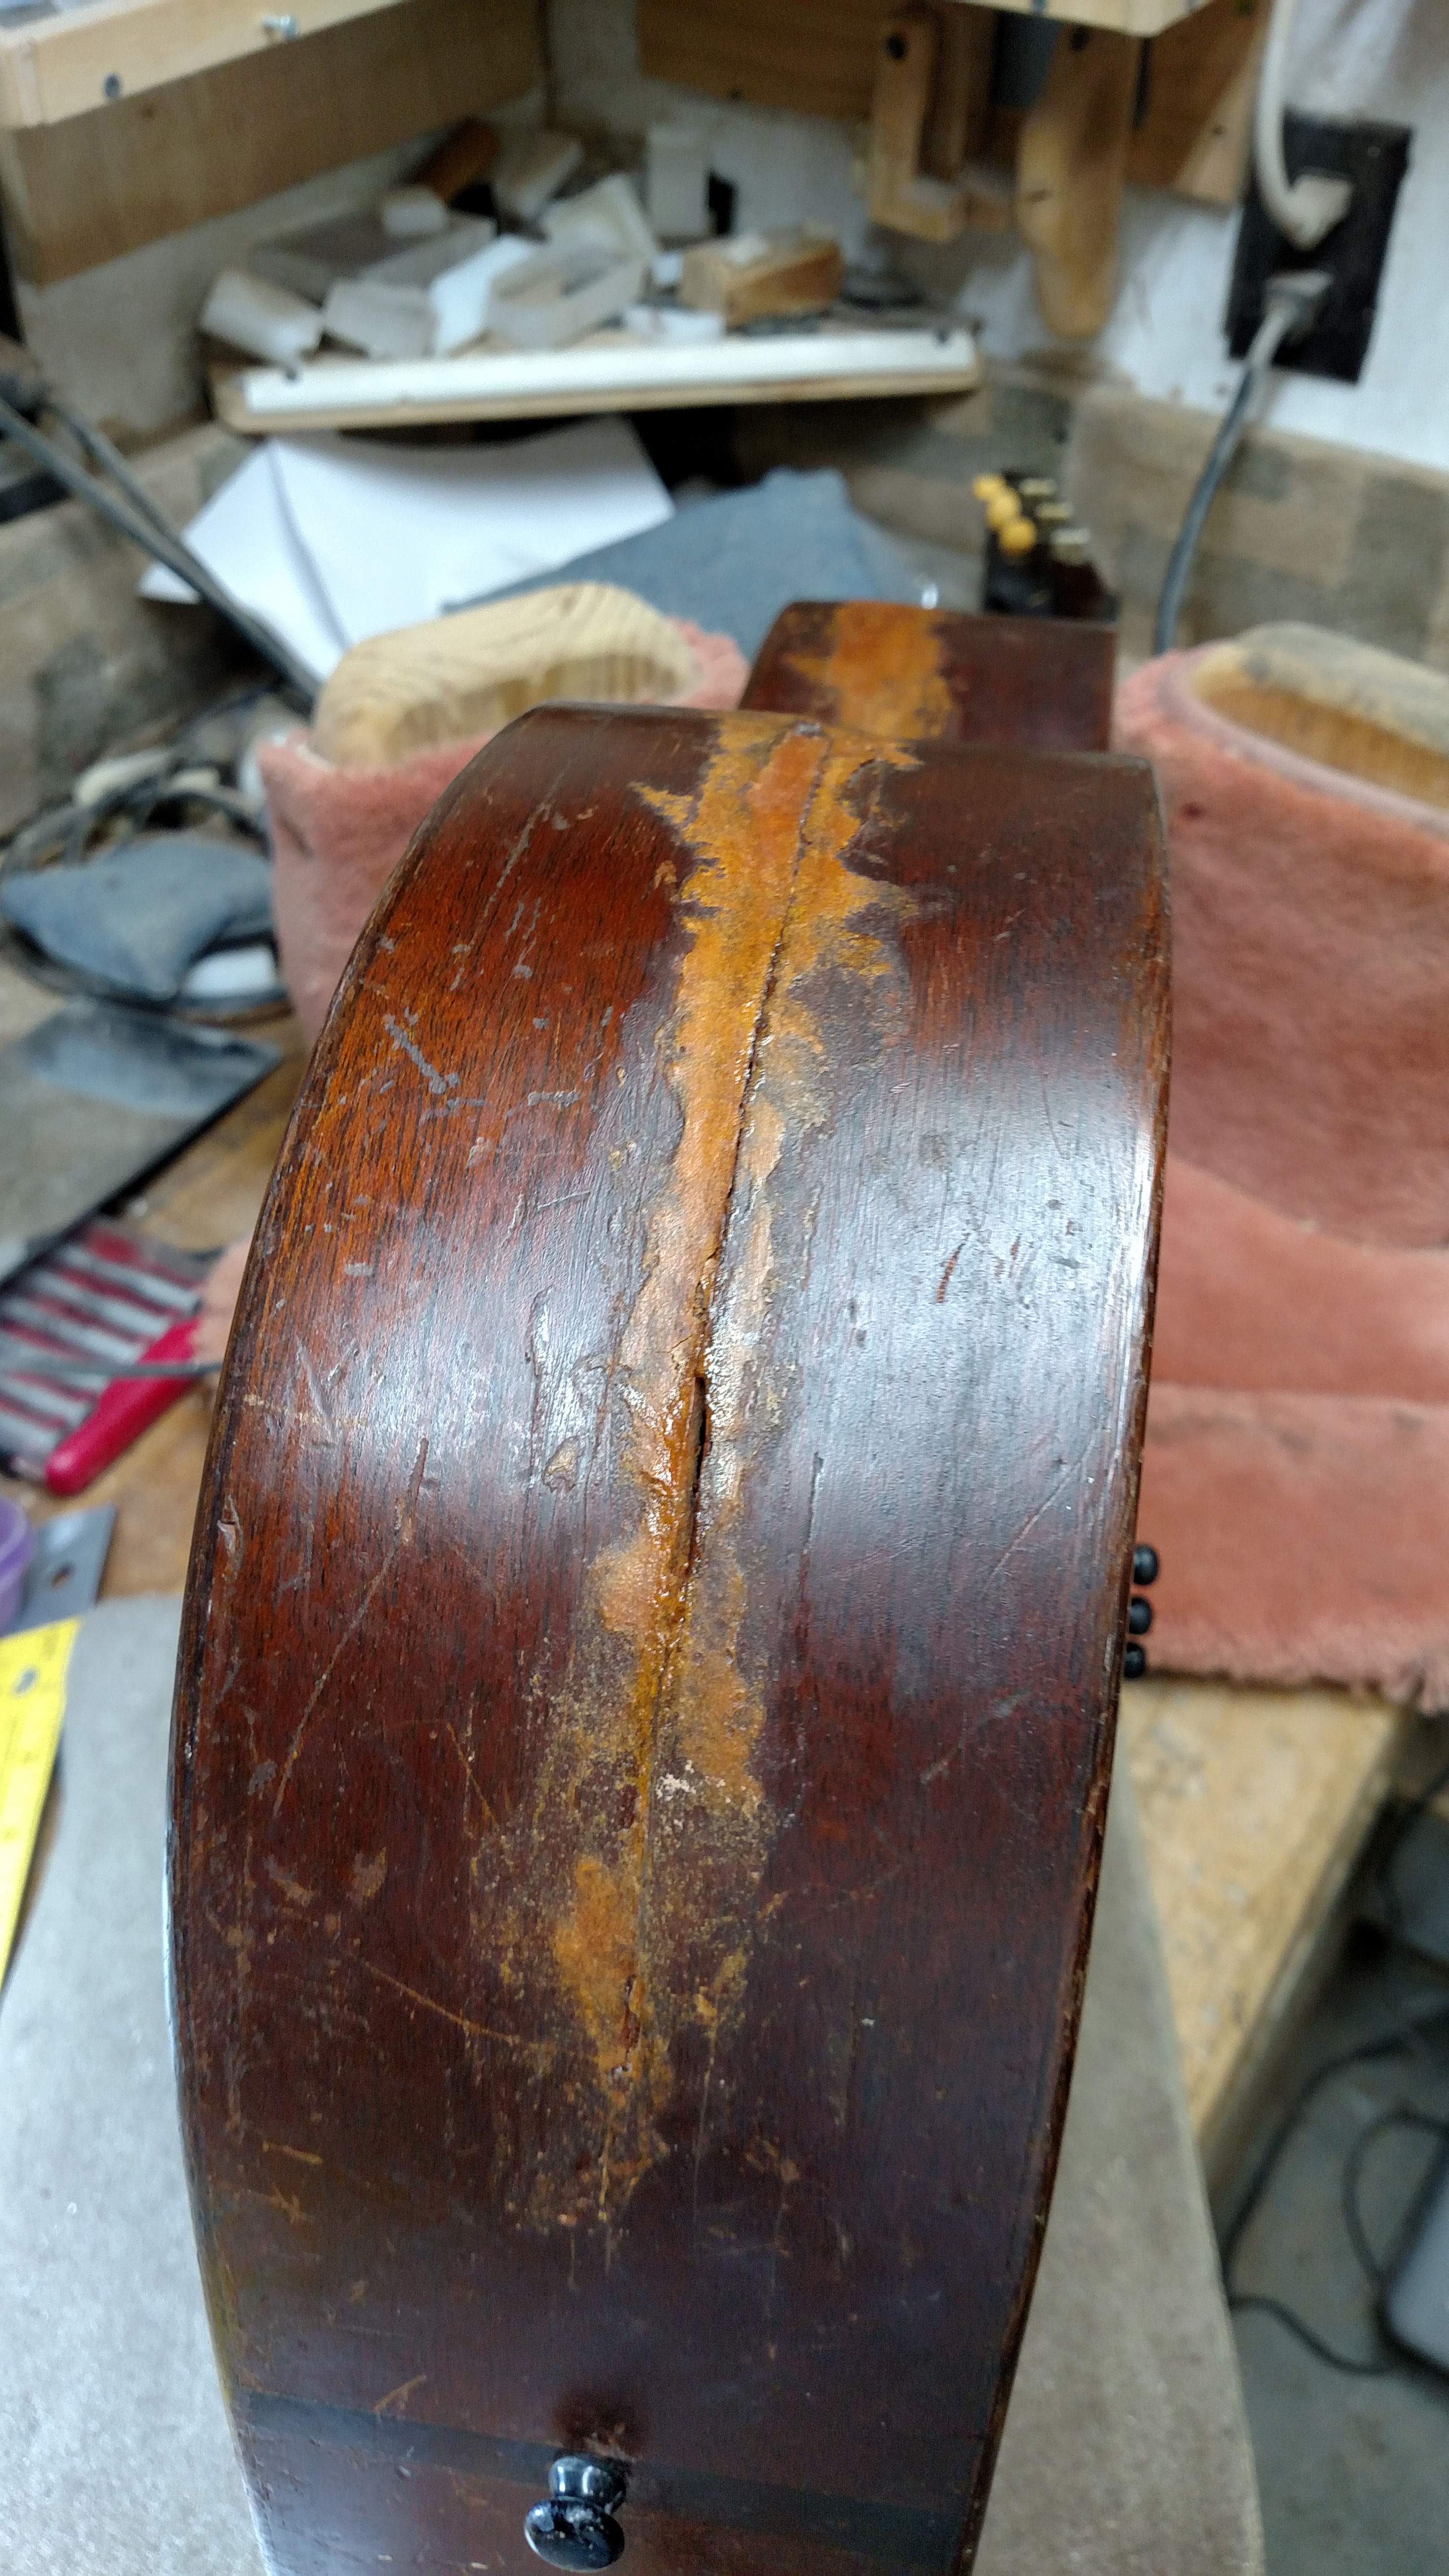
Both sides of the body had major cracks and someone had attempted a repair previously.
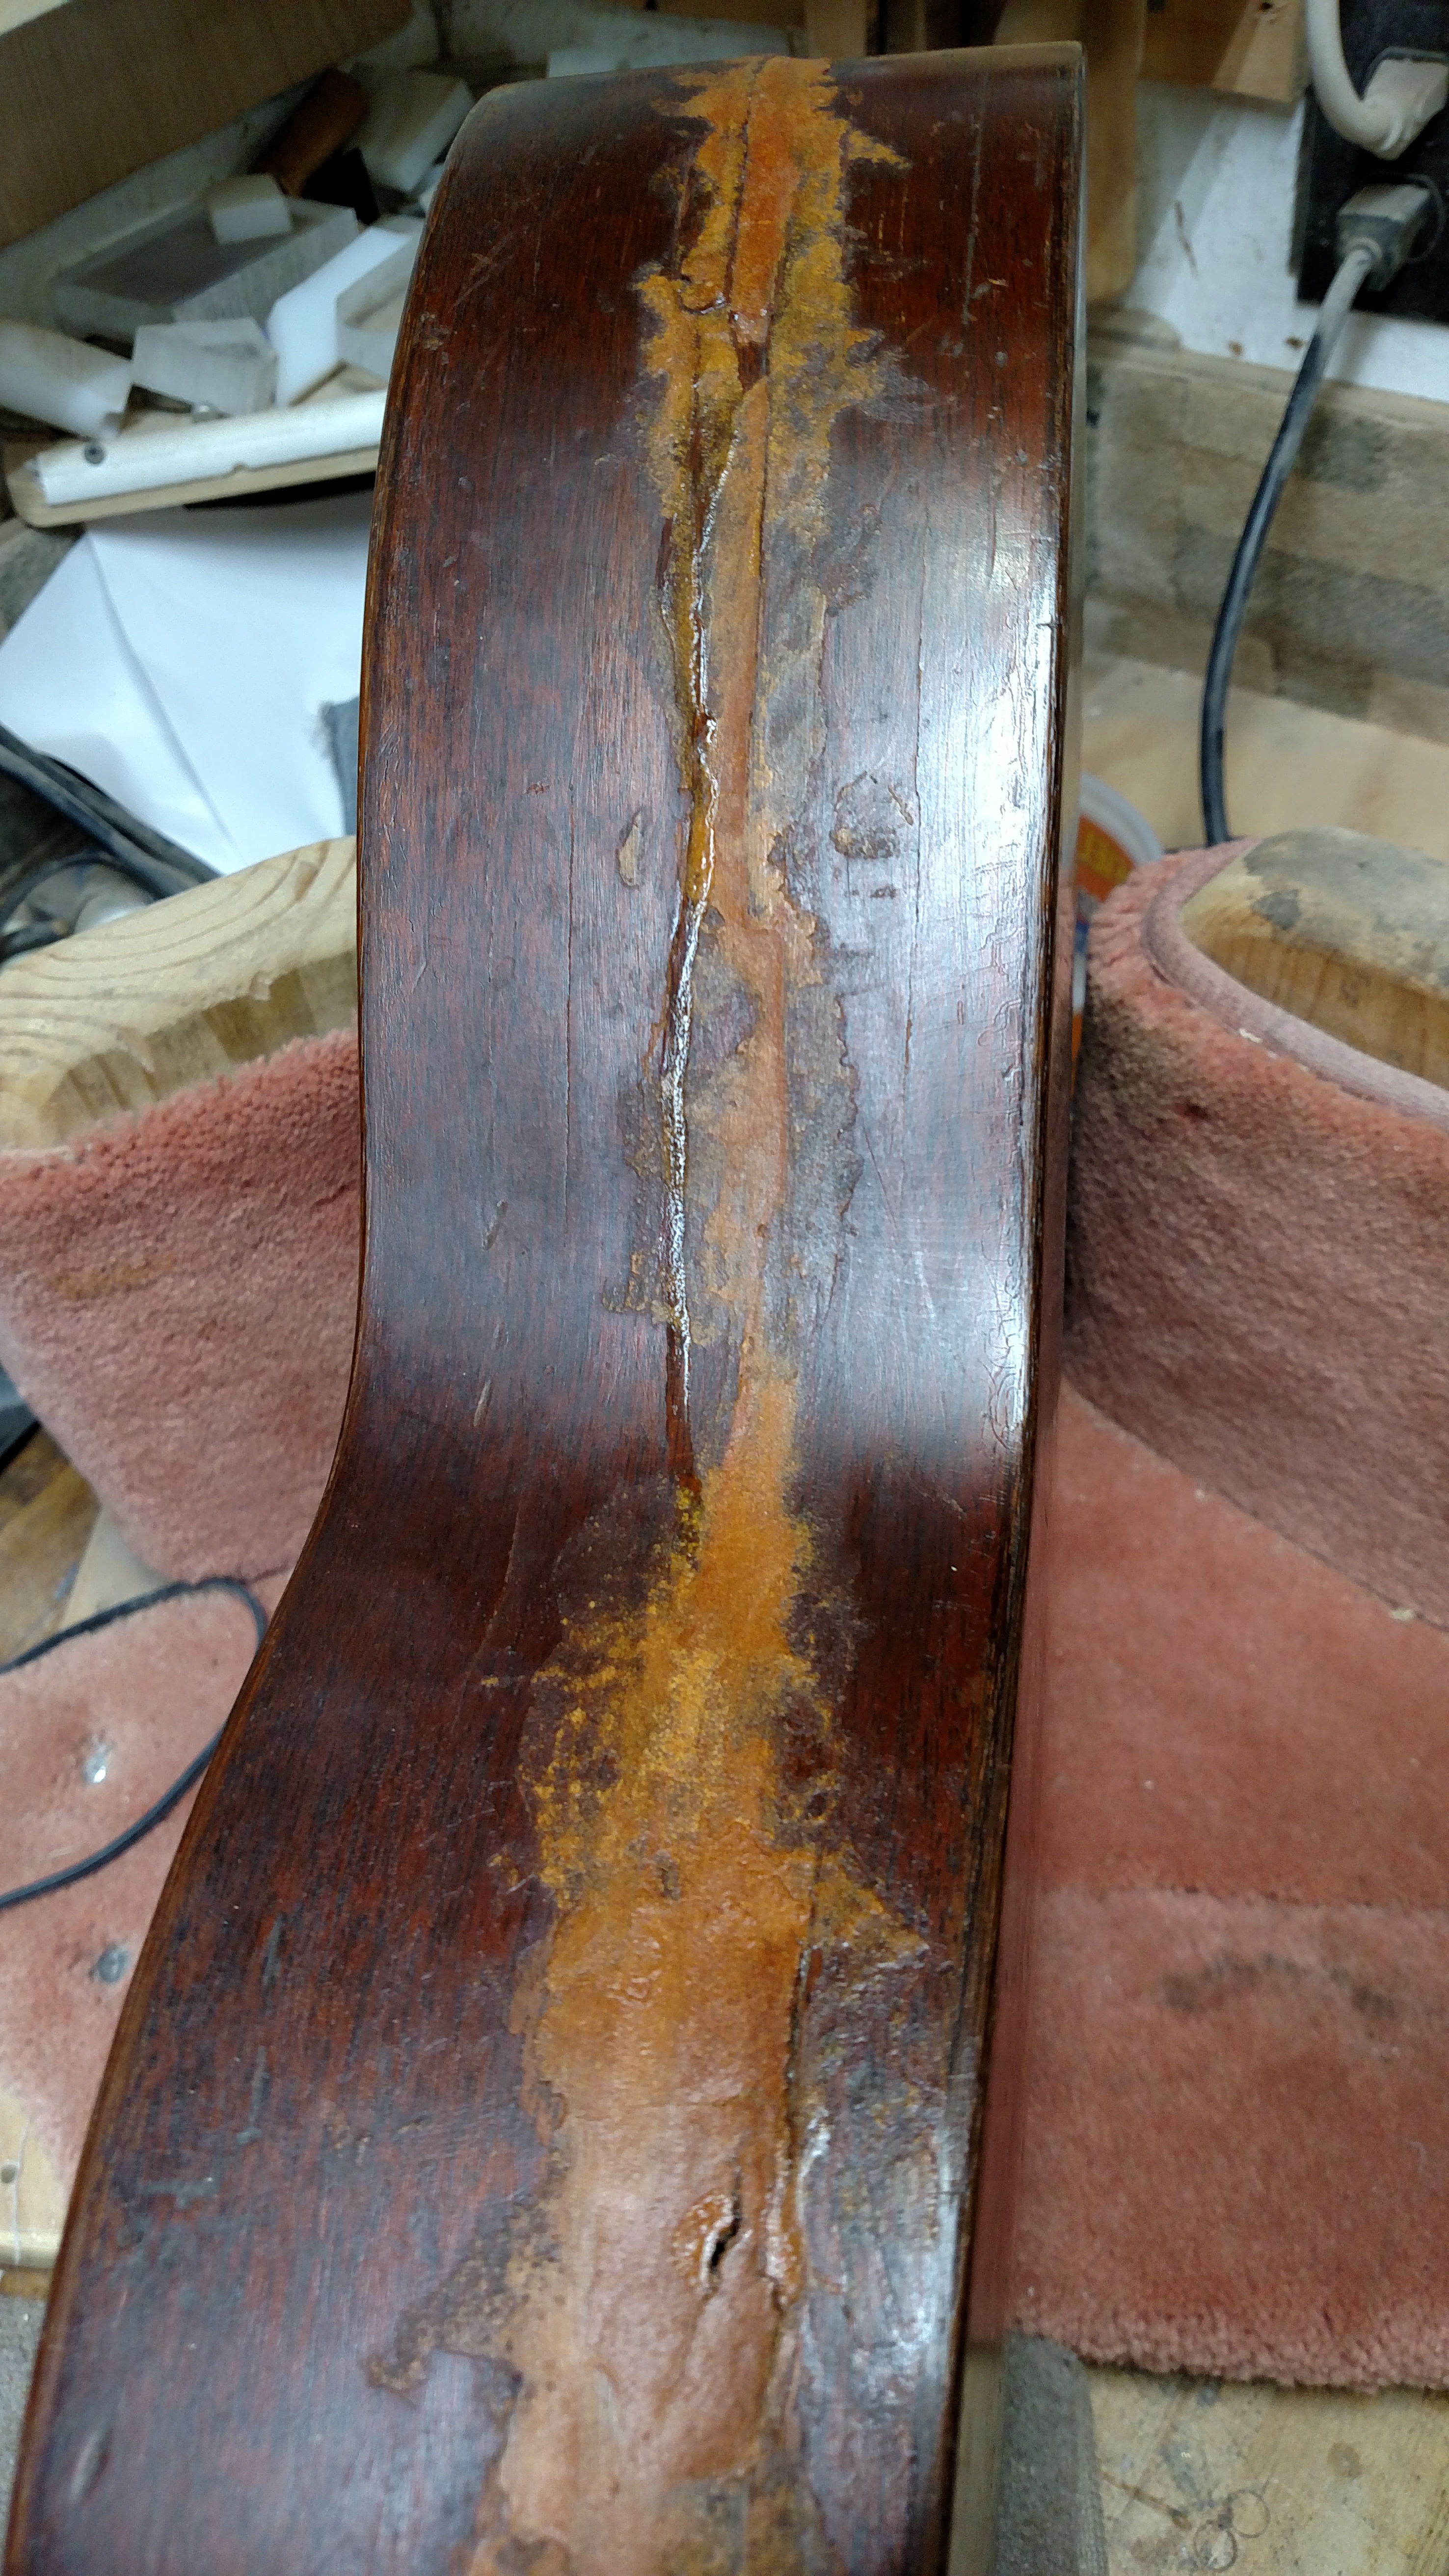
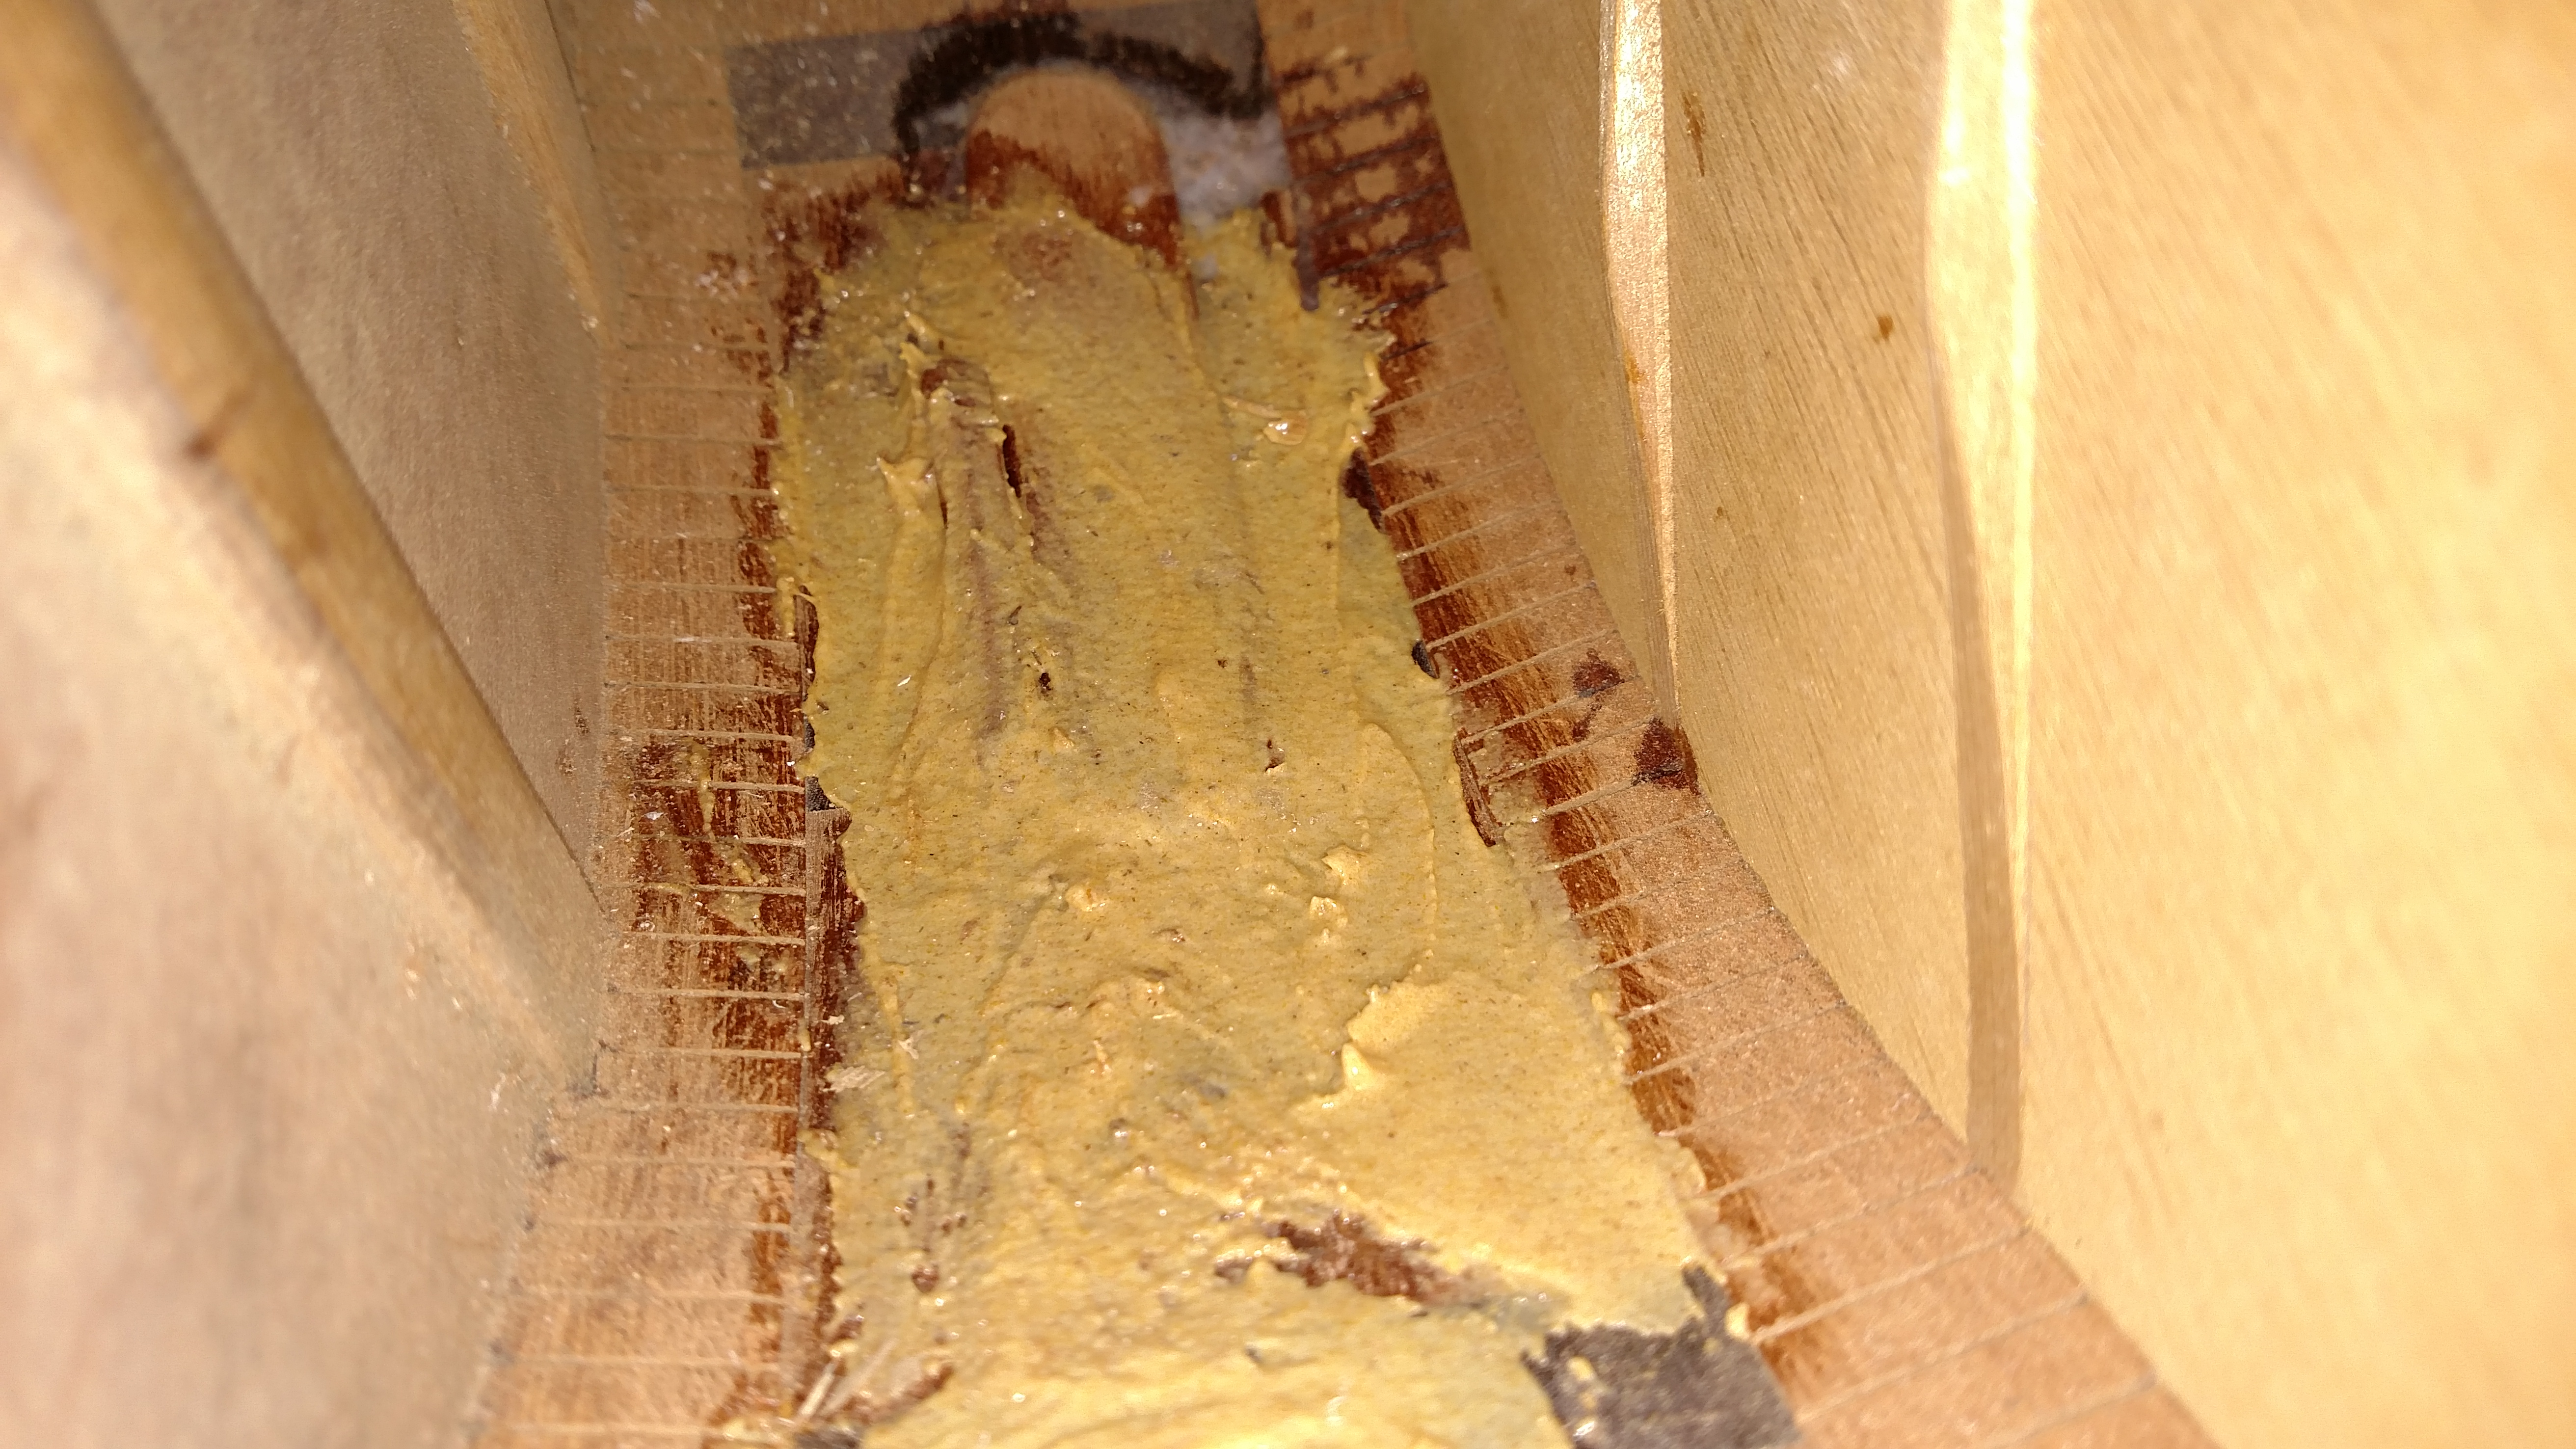
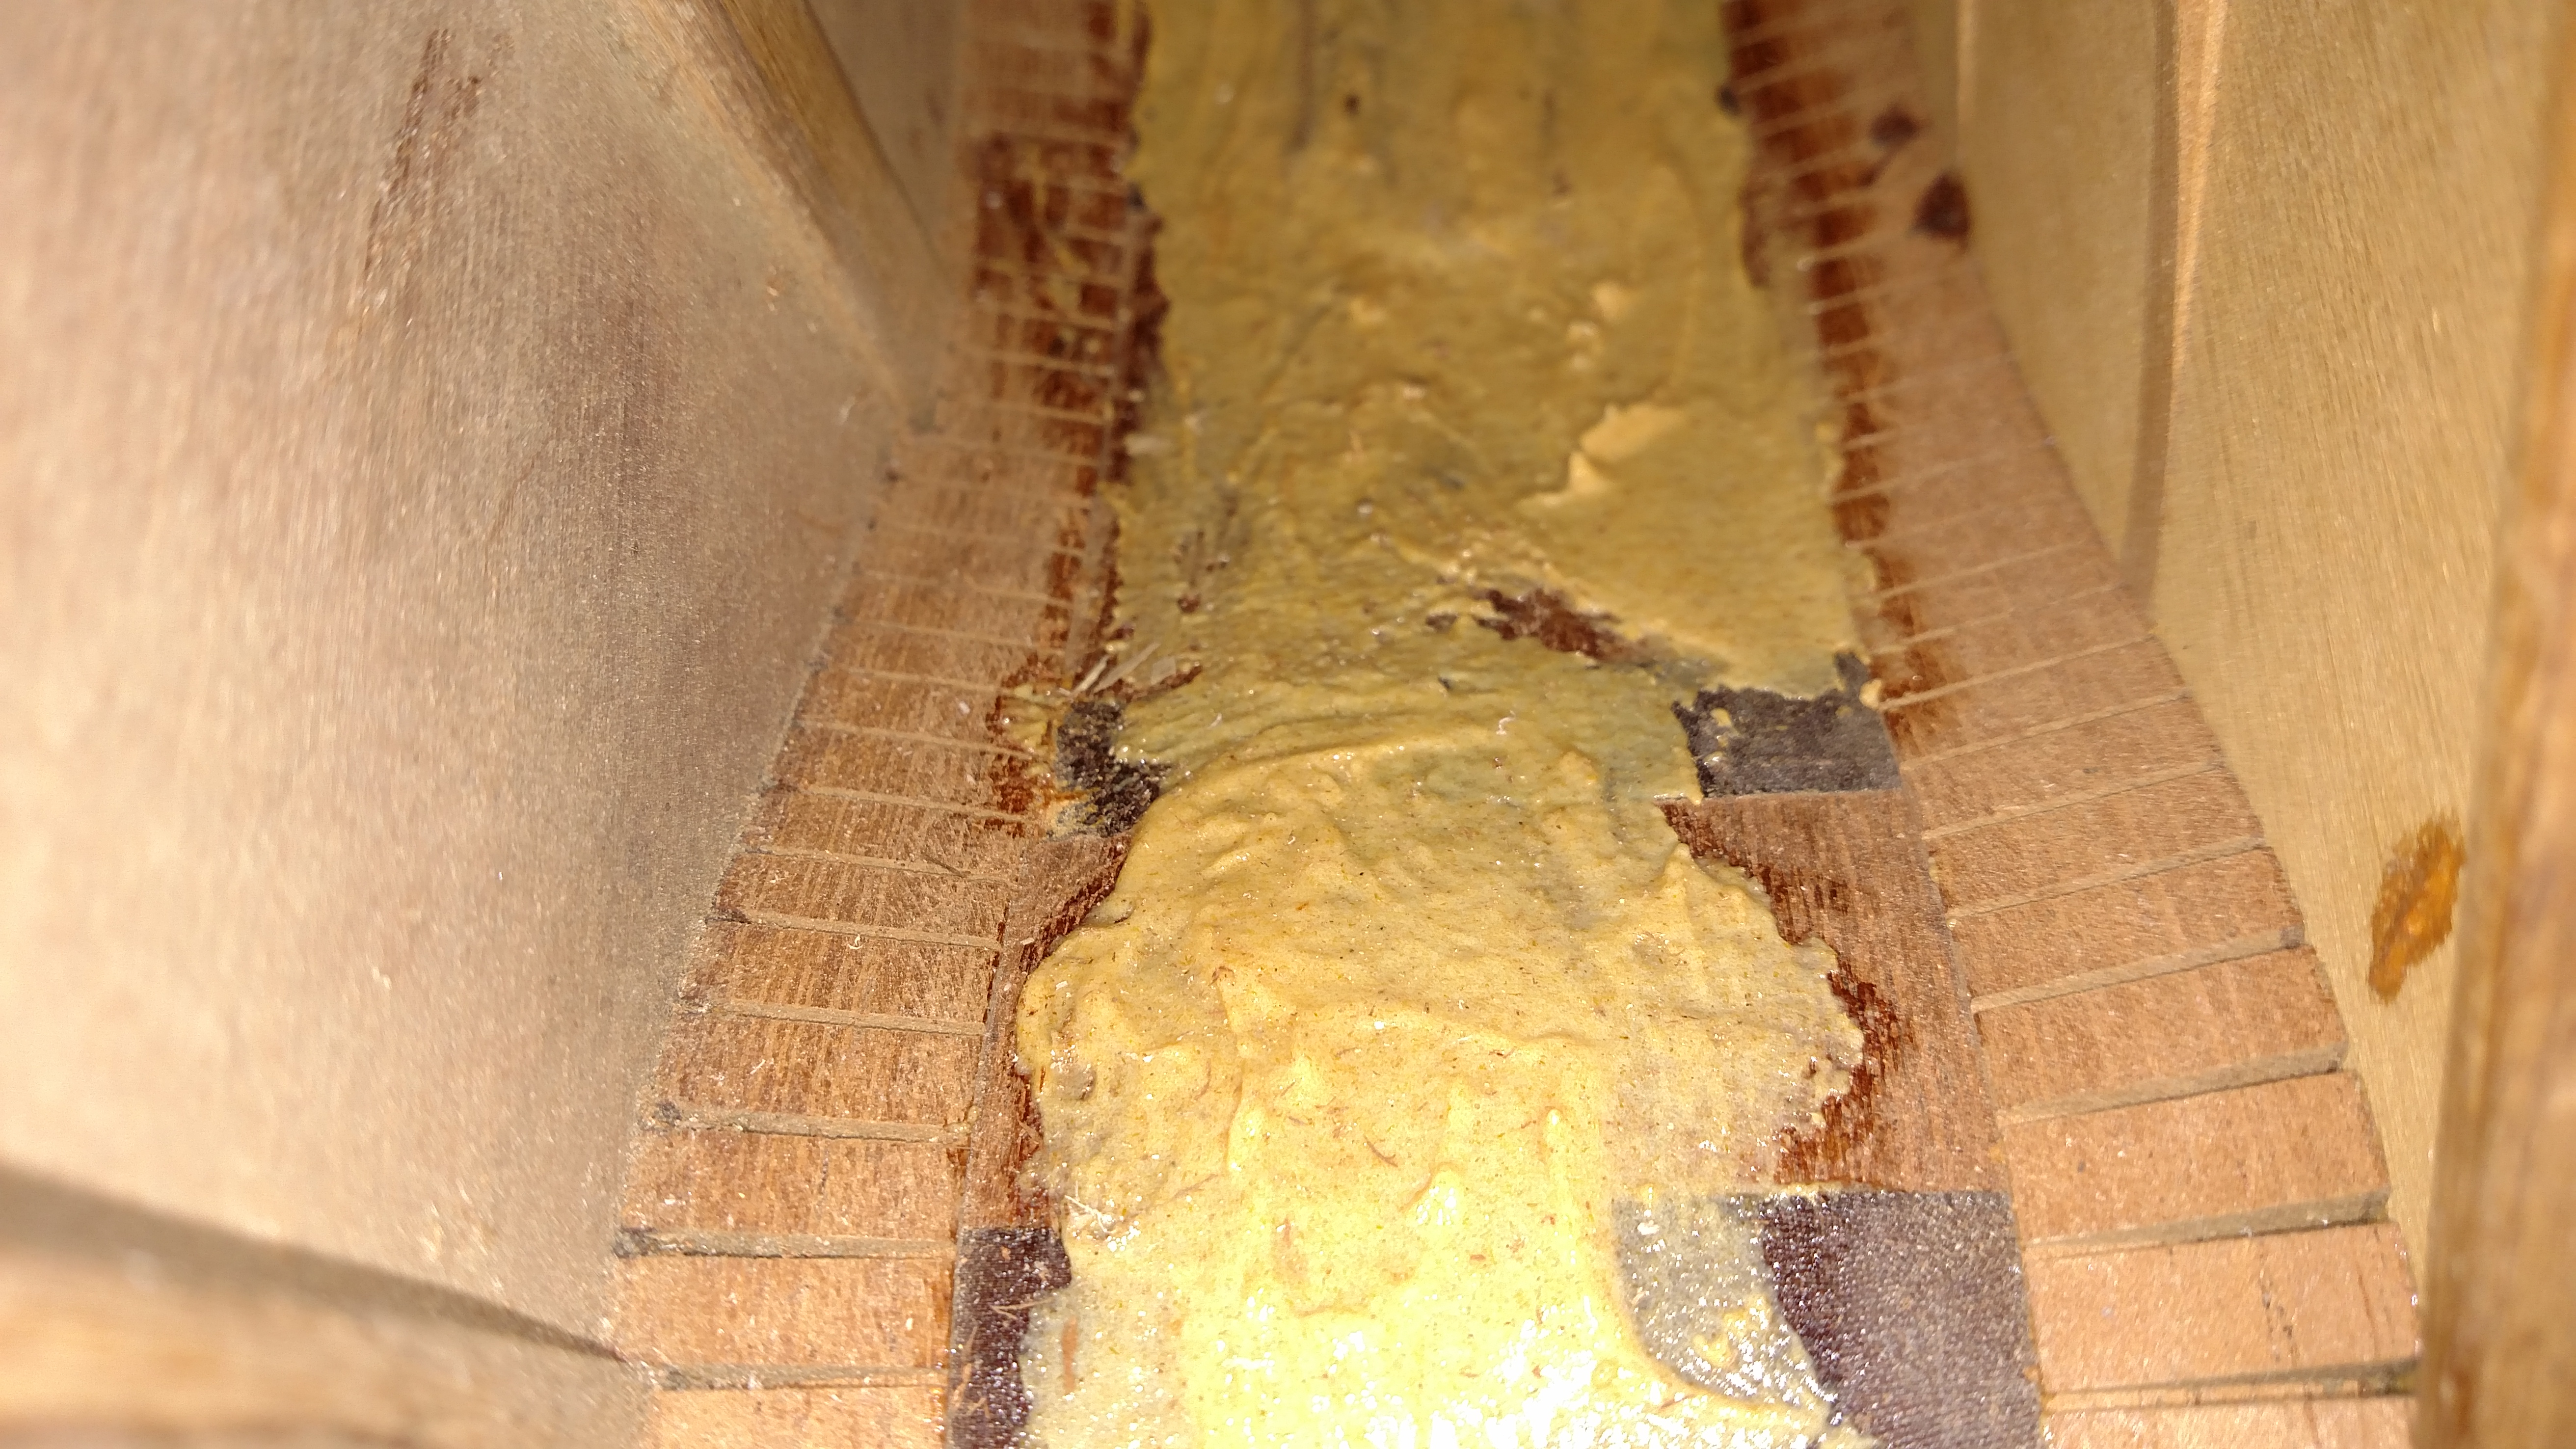
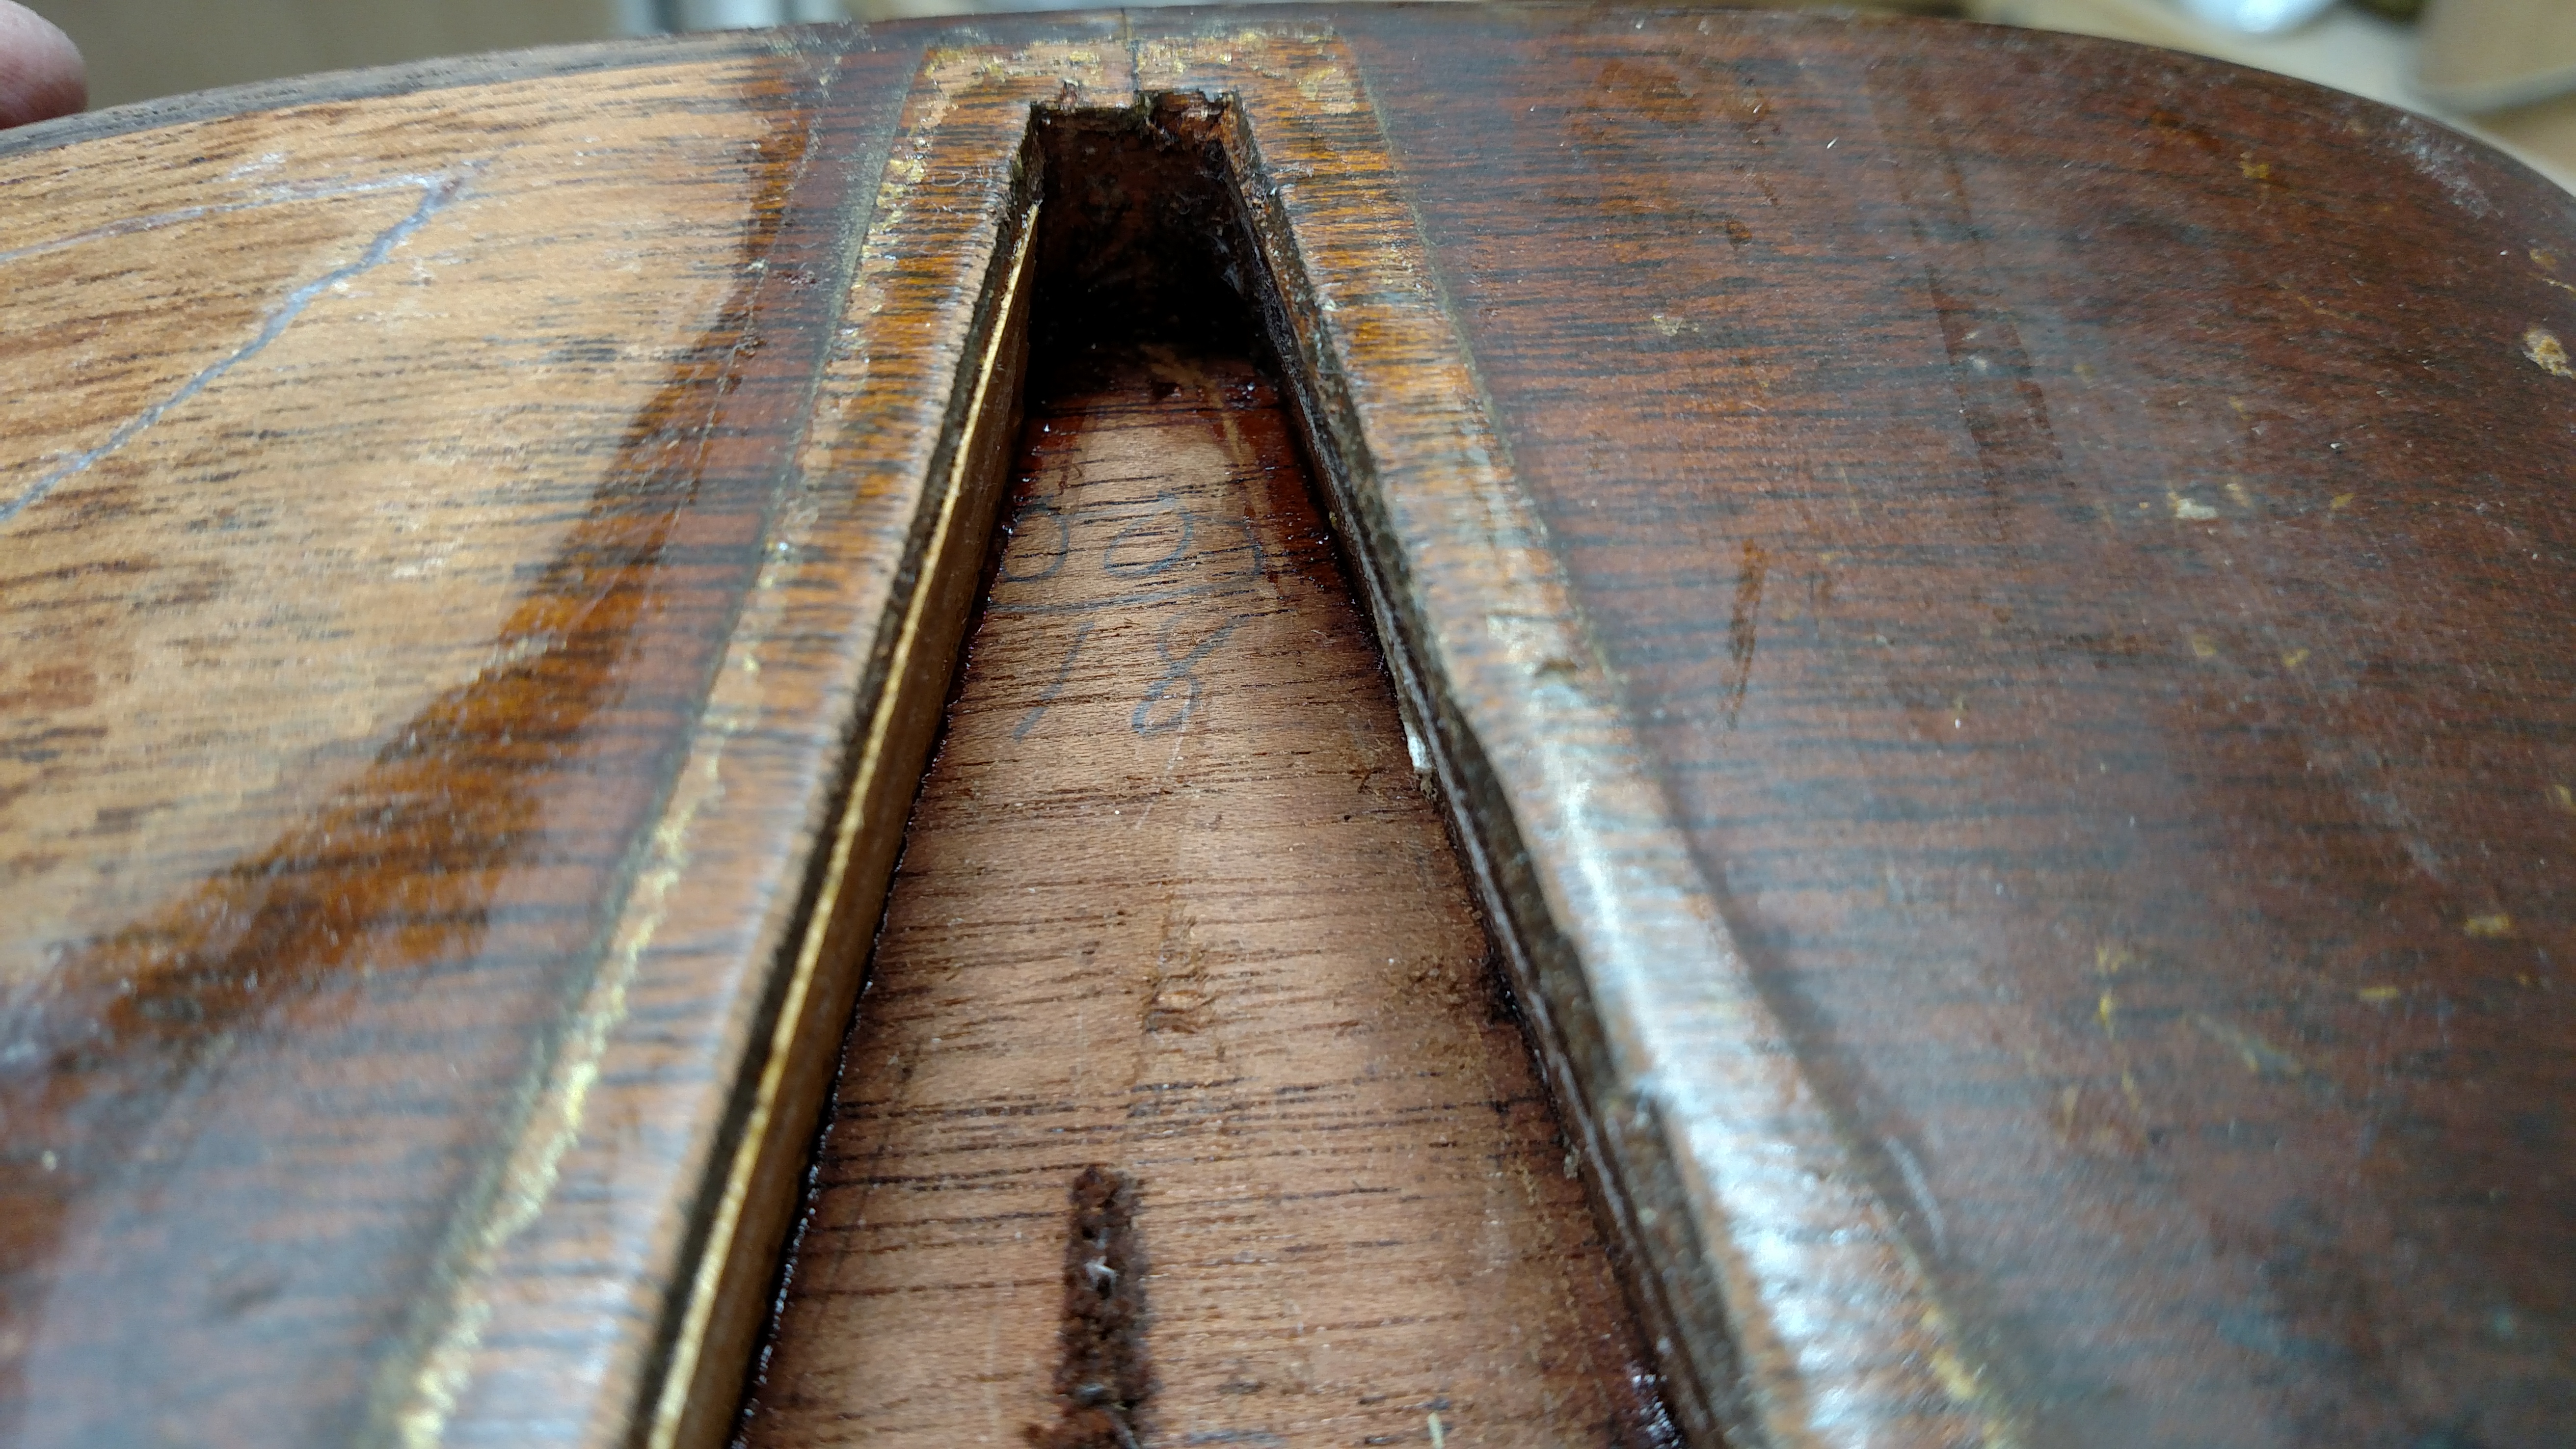
The repairs to the sides looked to have been done with some substance that I would guess to be plastic wood or maybe even some of that foam type Gorilla glue. There was also some evidence of some type of clear looking glue in some places.
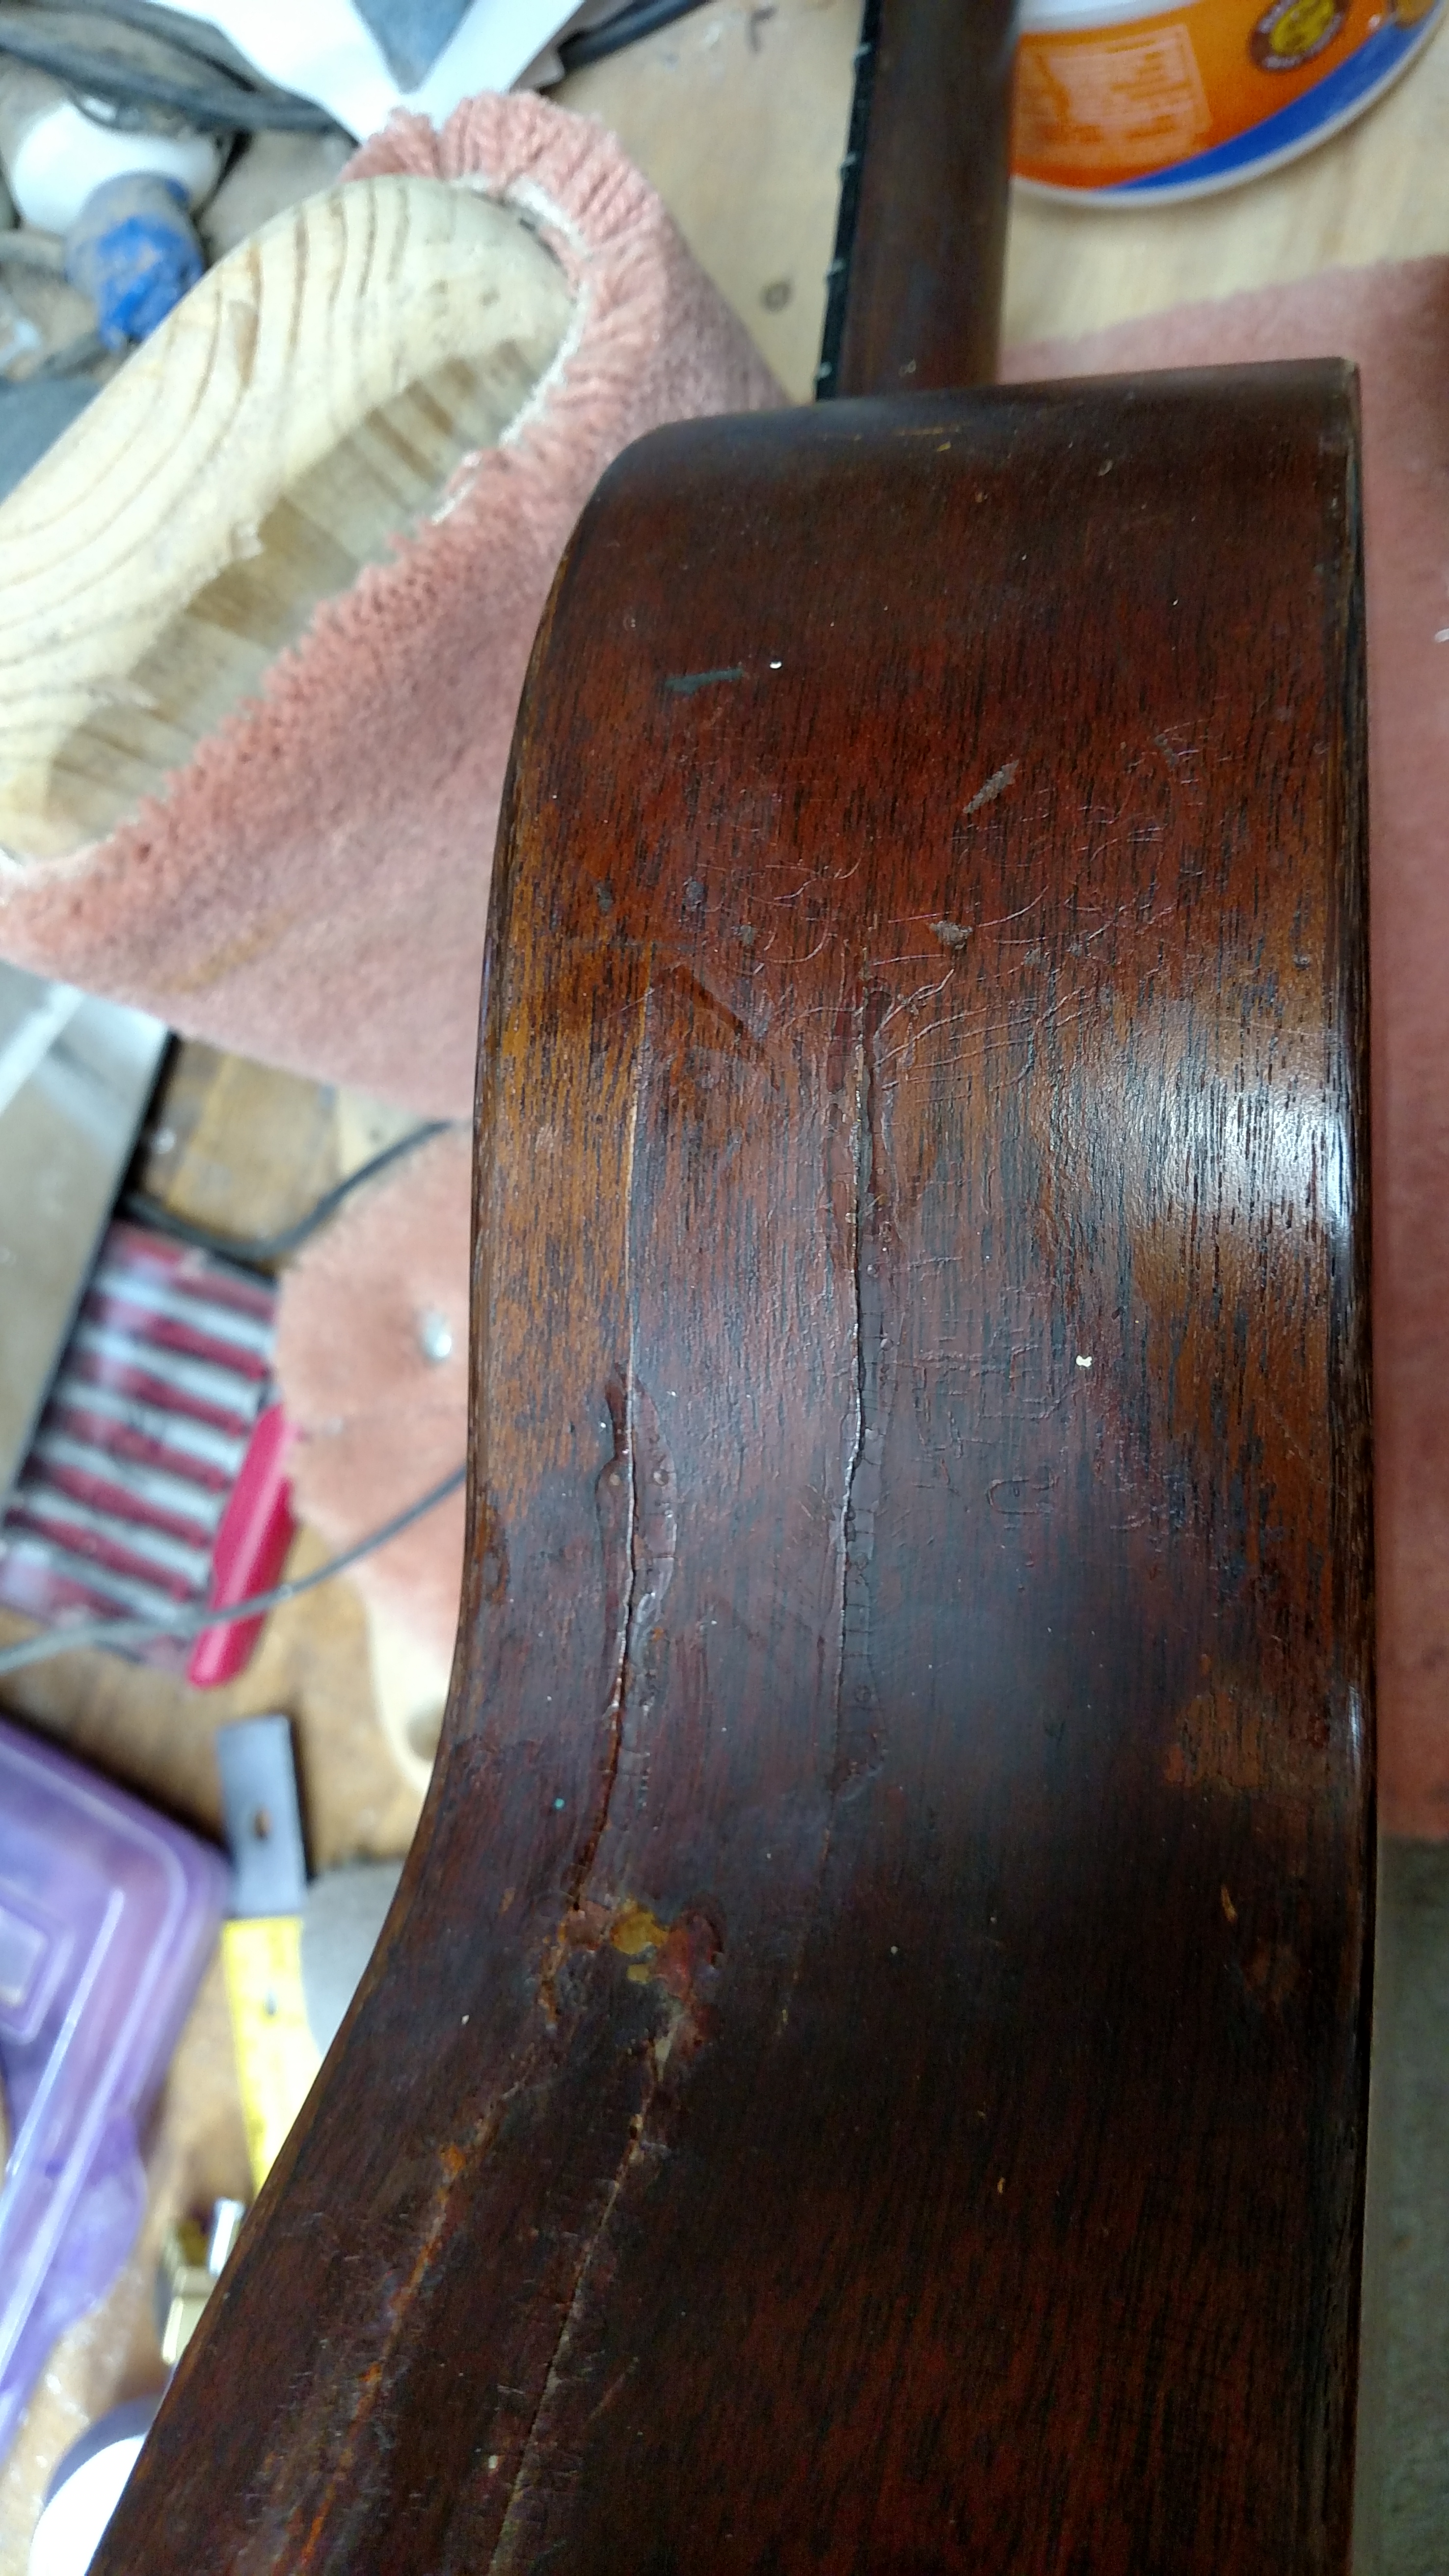
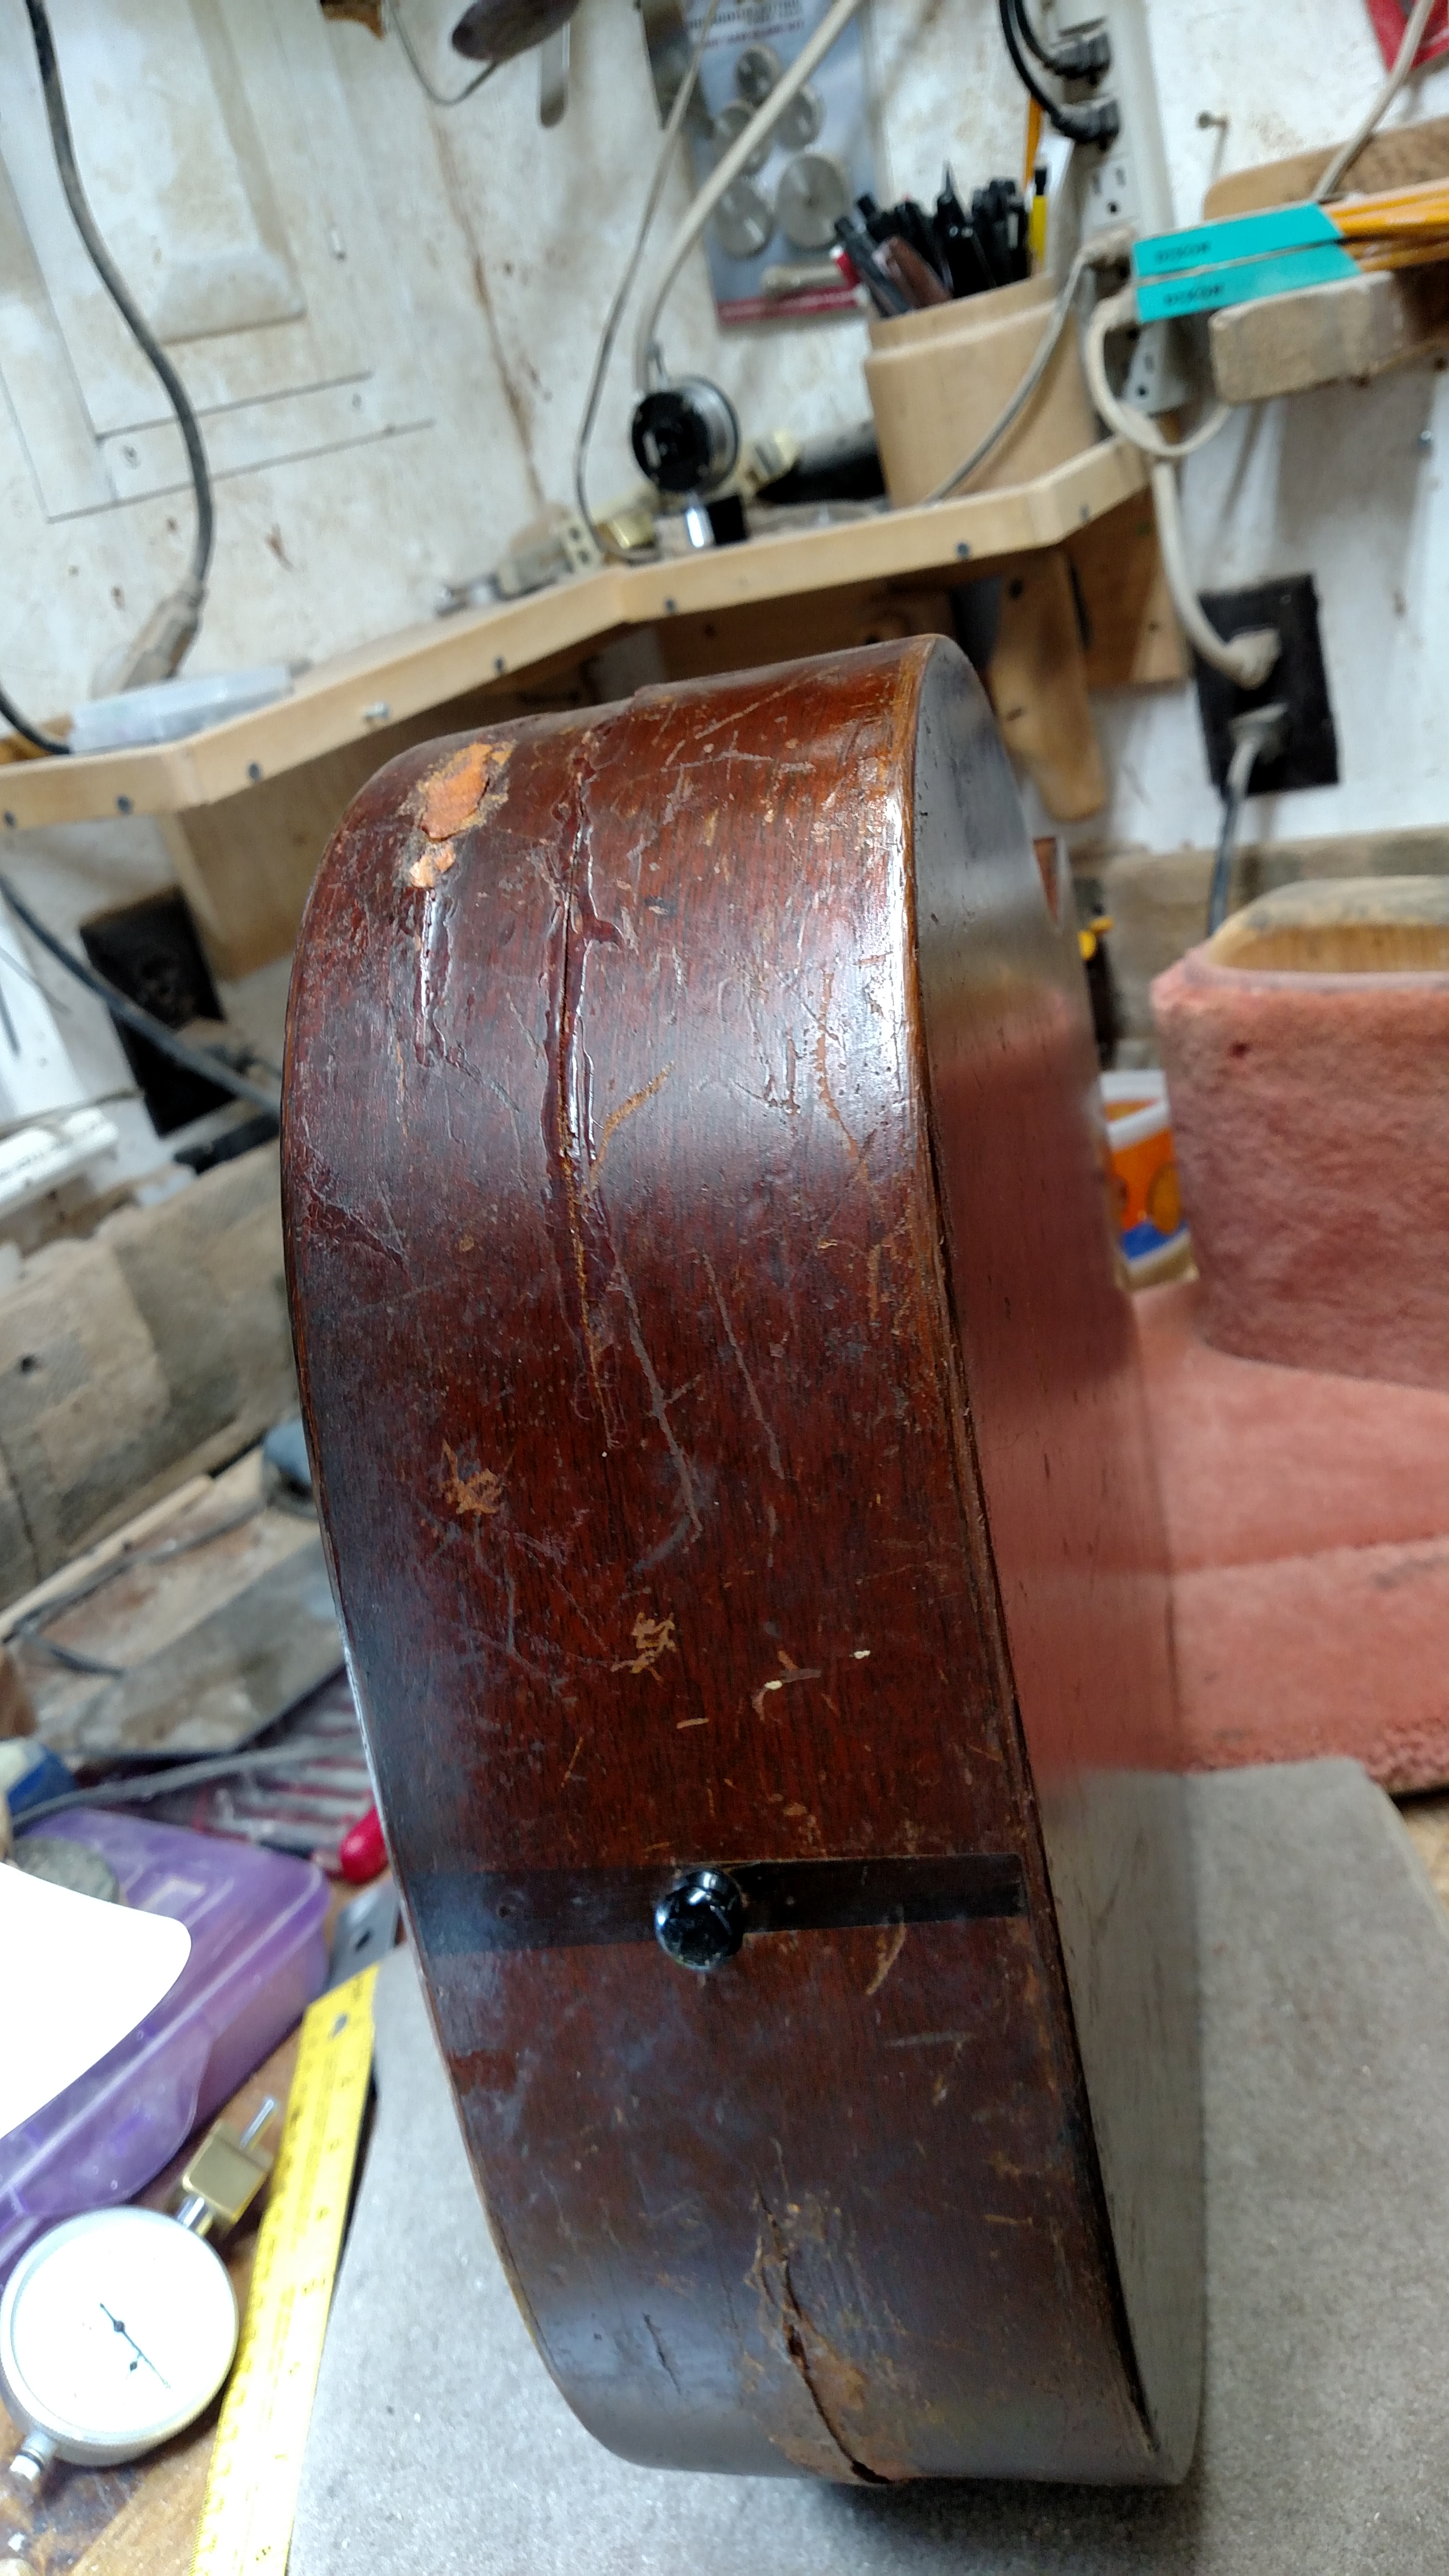
These sides would be a challenge to repair. After removing some of the repair substance, I discovered that several sections of wood were missing.
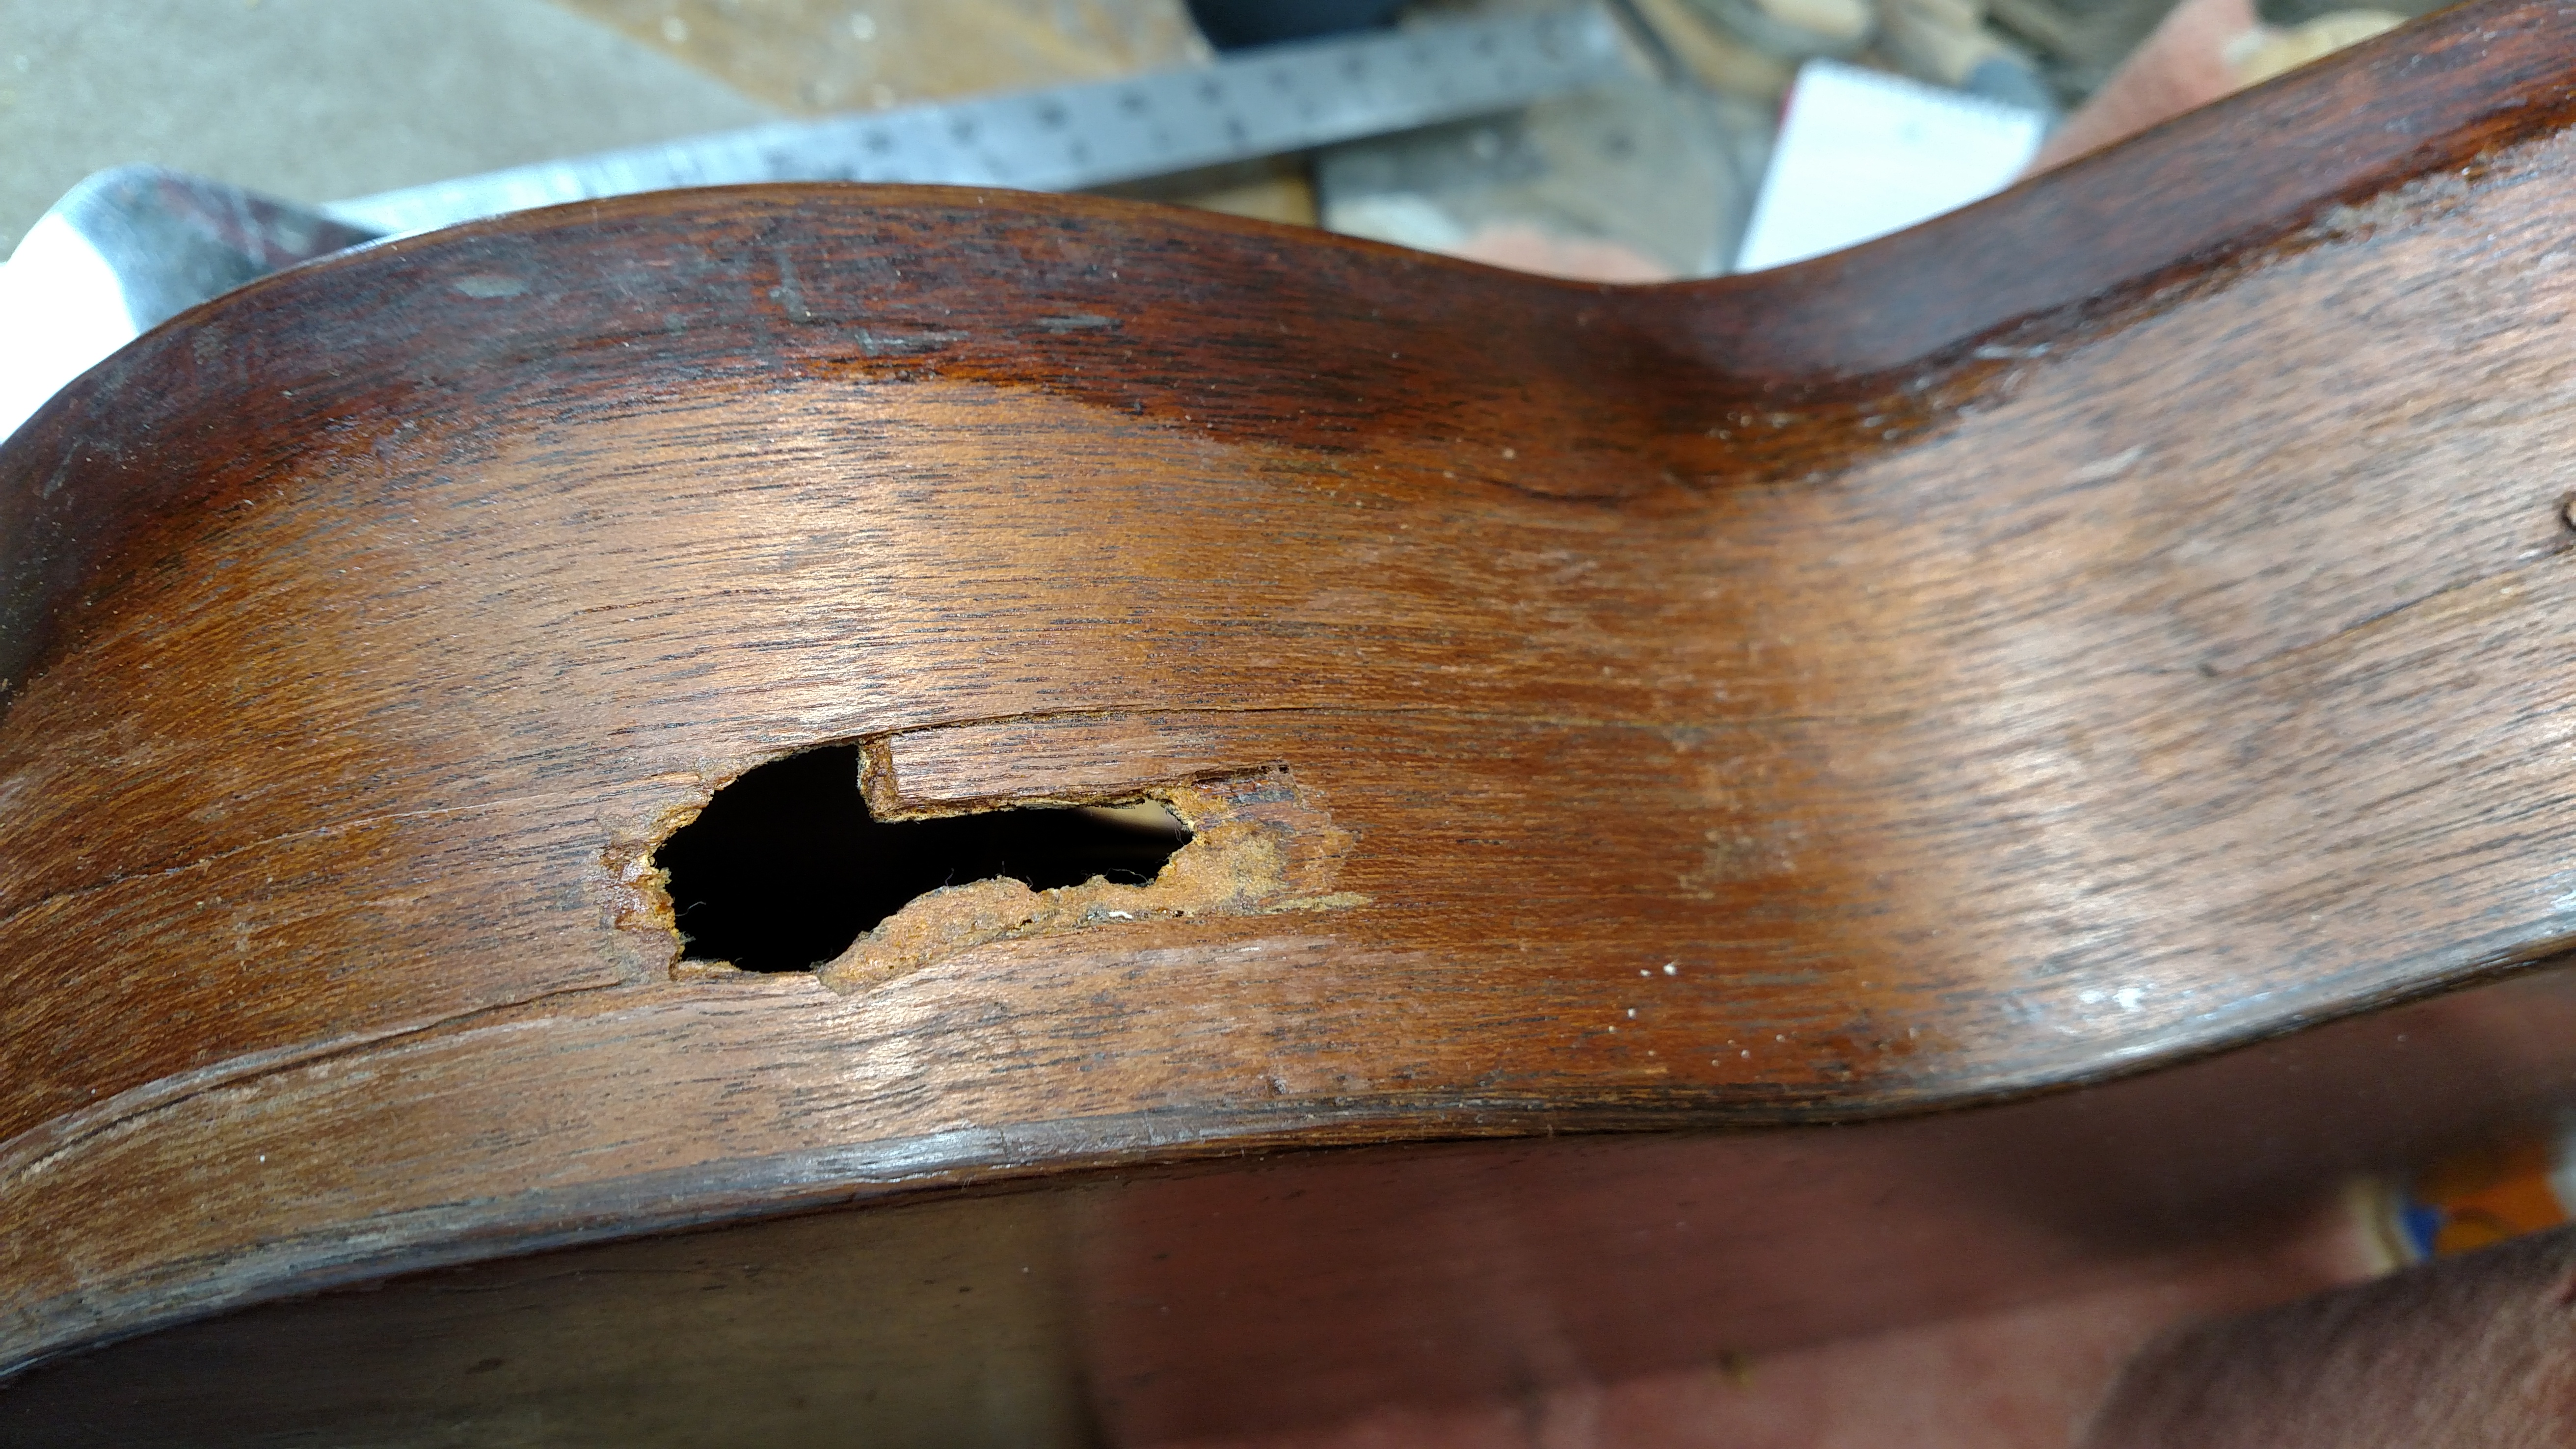
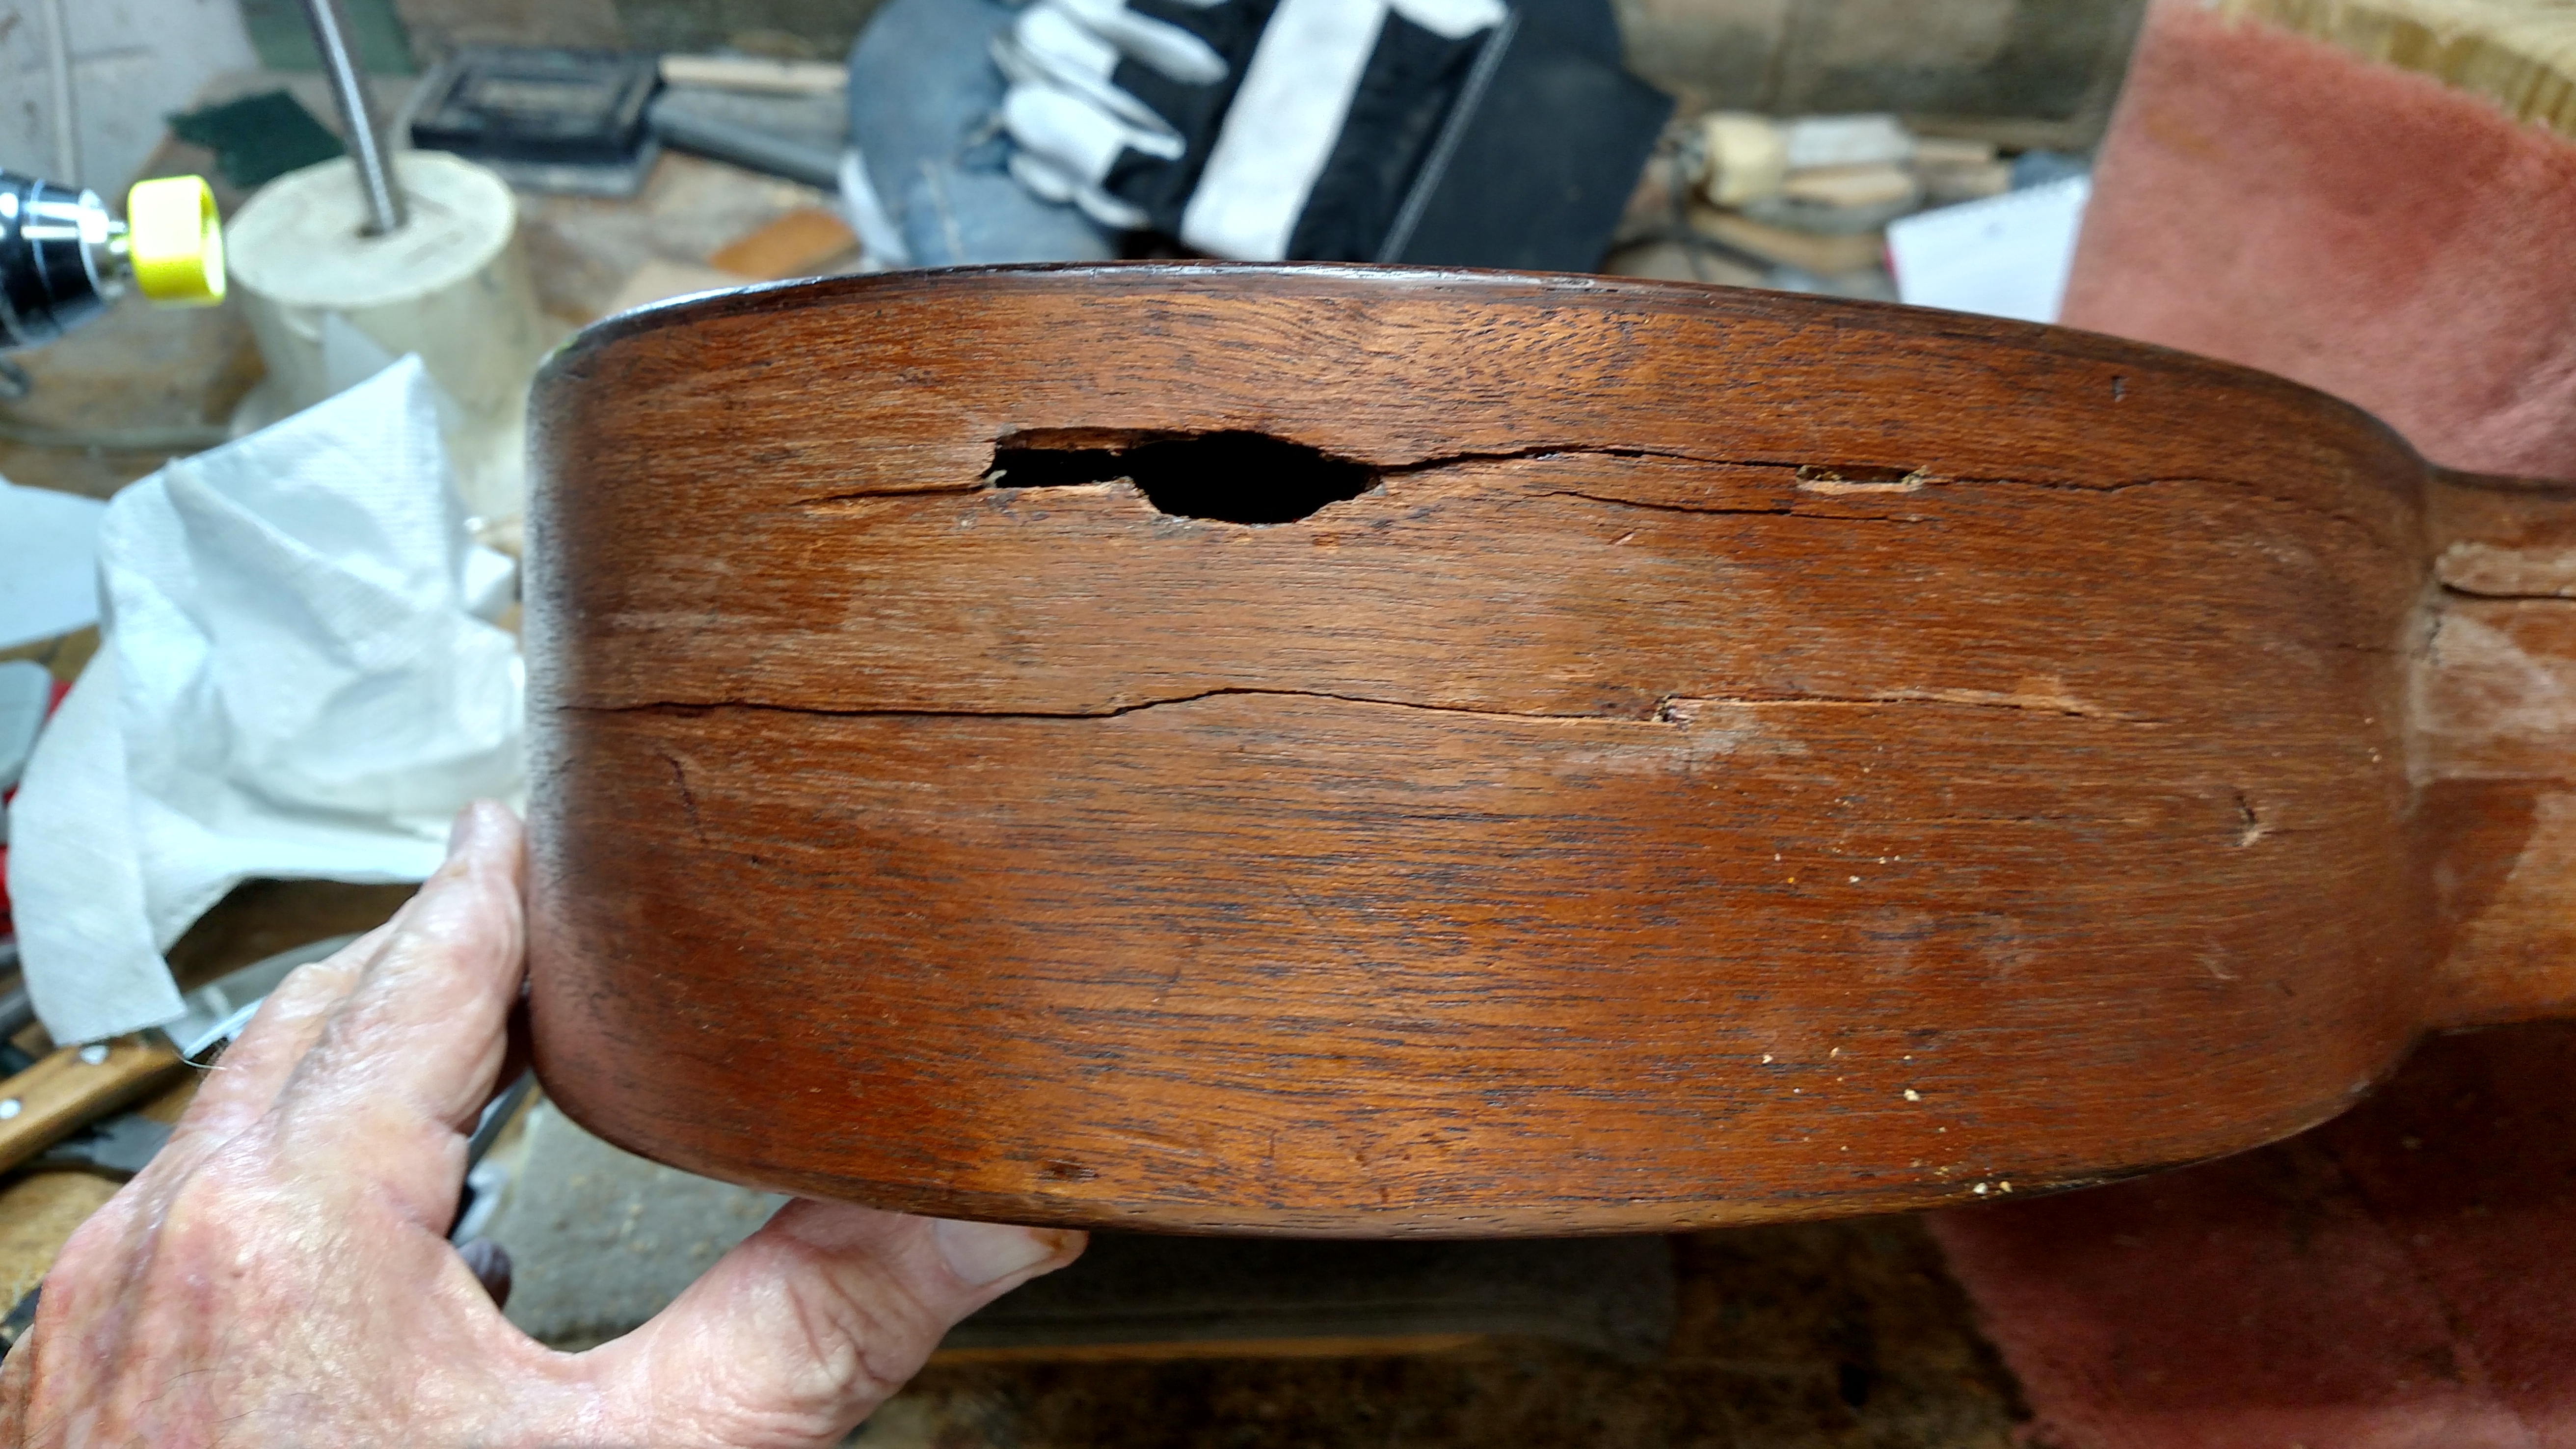
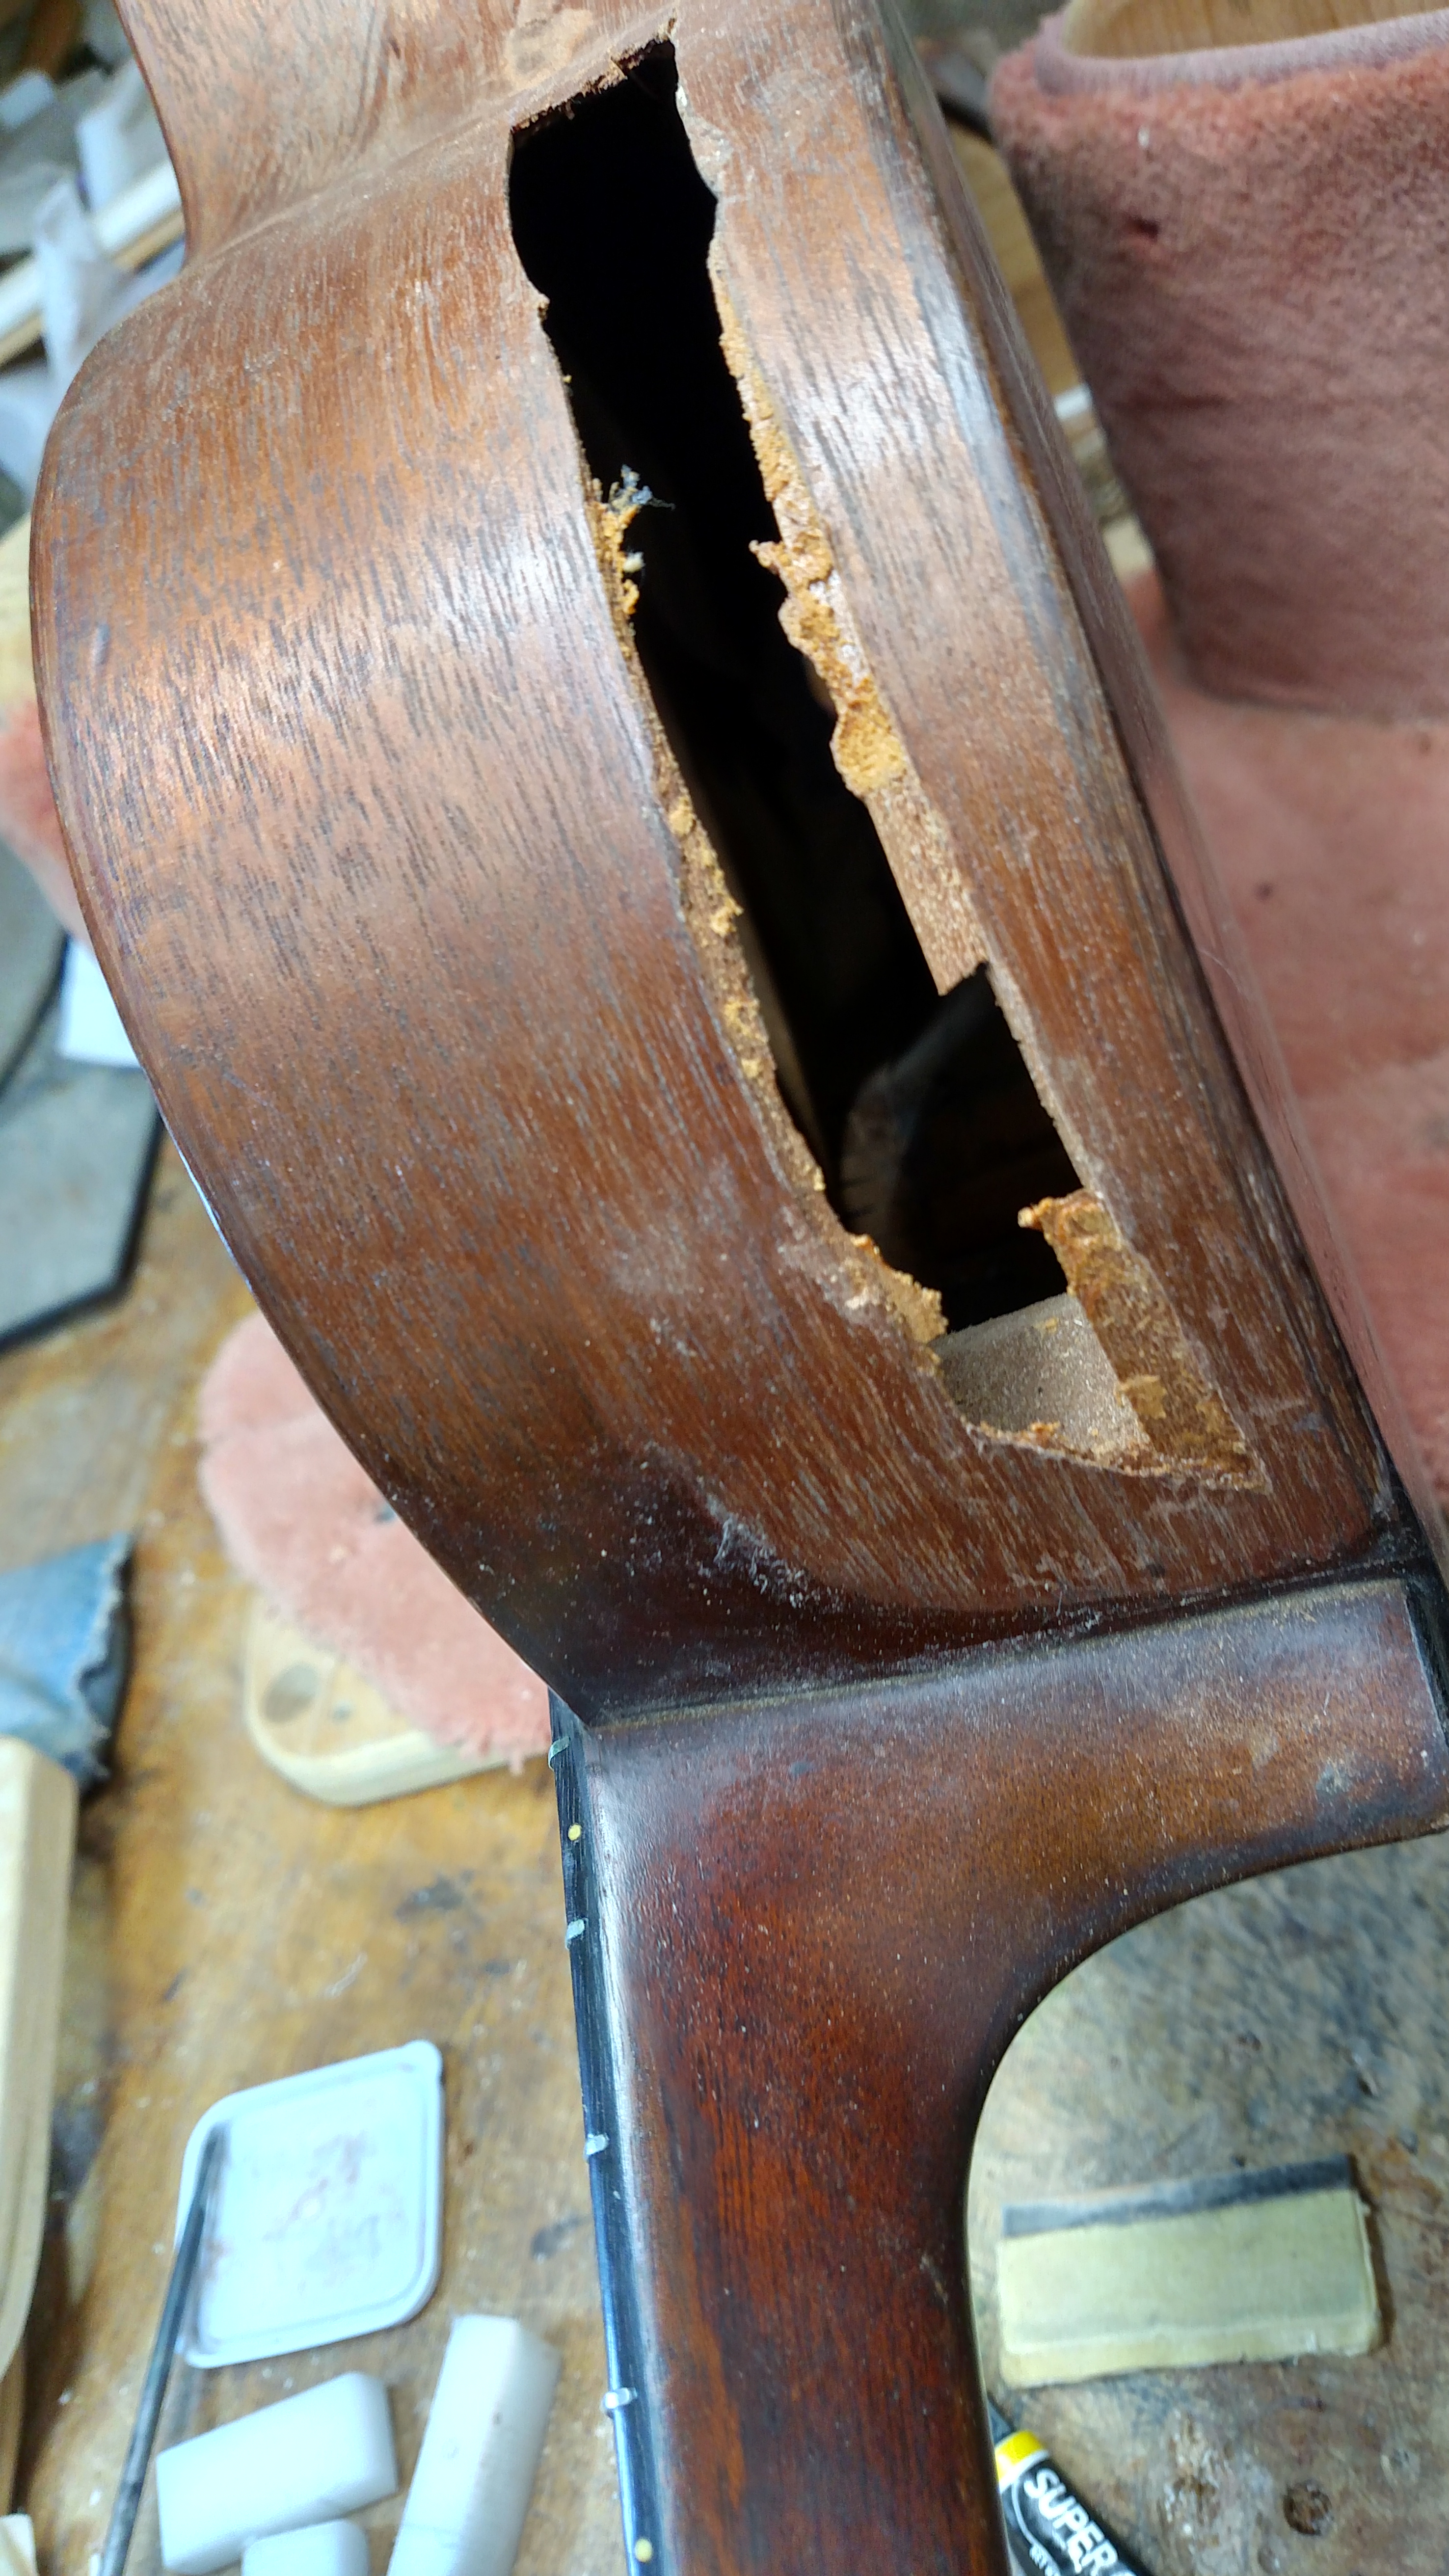
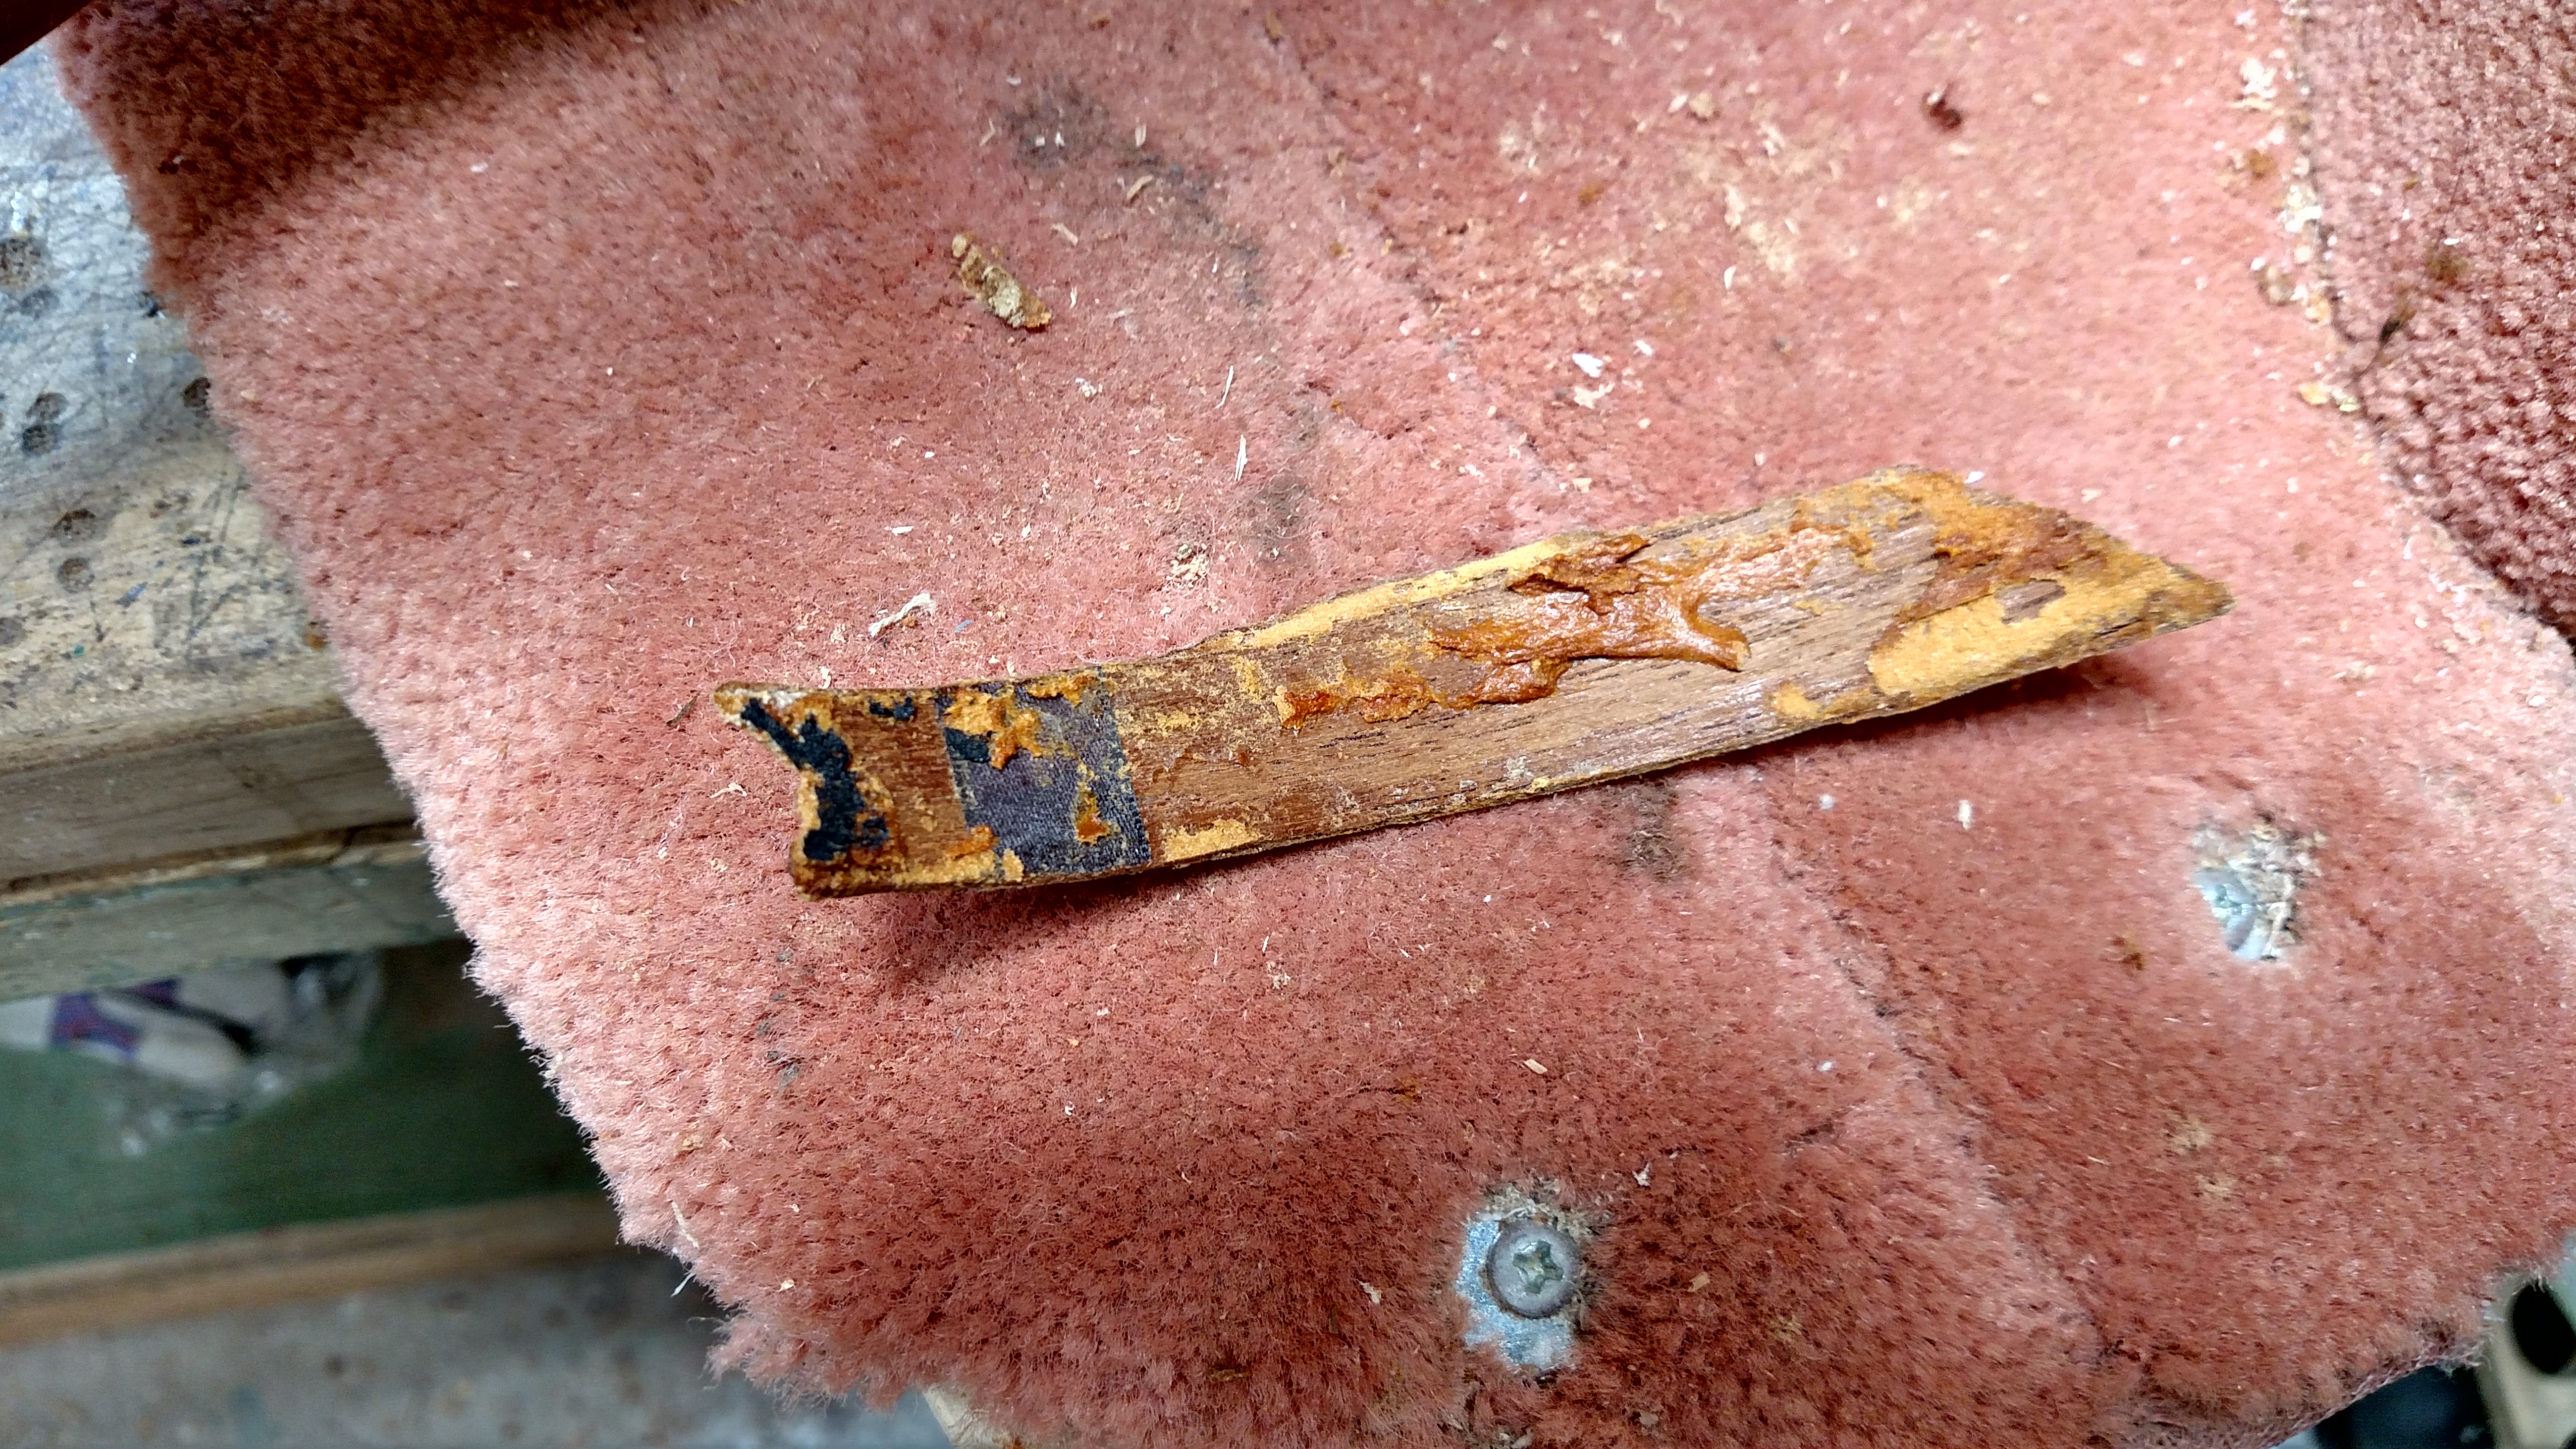
The previous repair person had used electrical tape on the inside to hold this filler in while they packed the filler in.
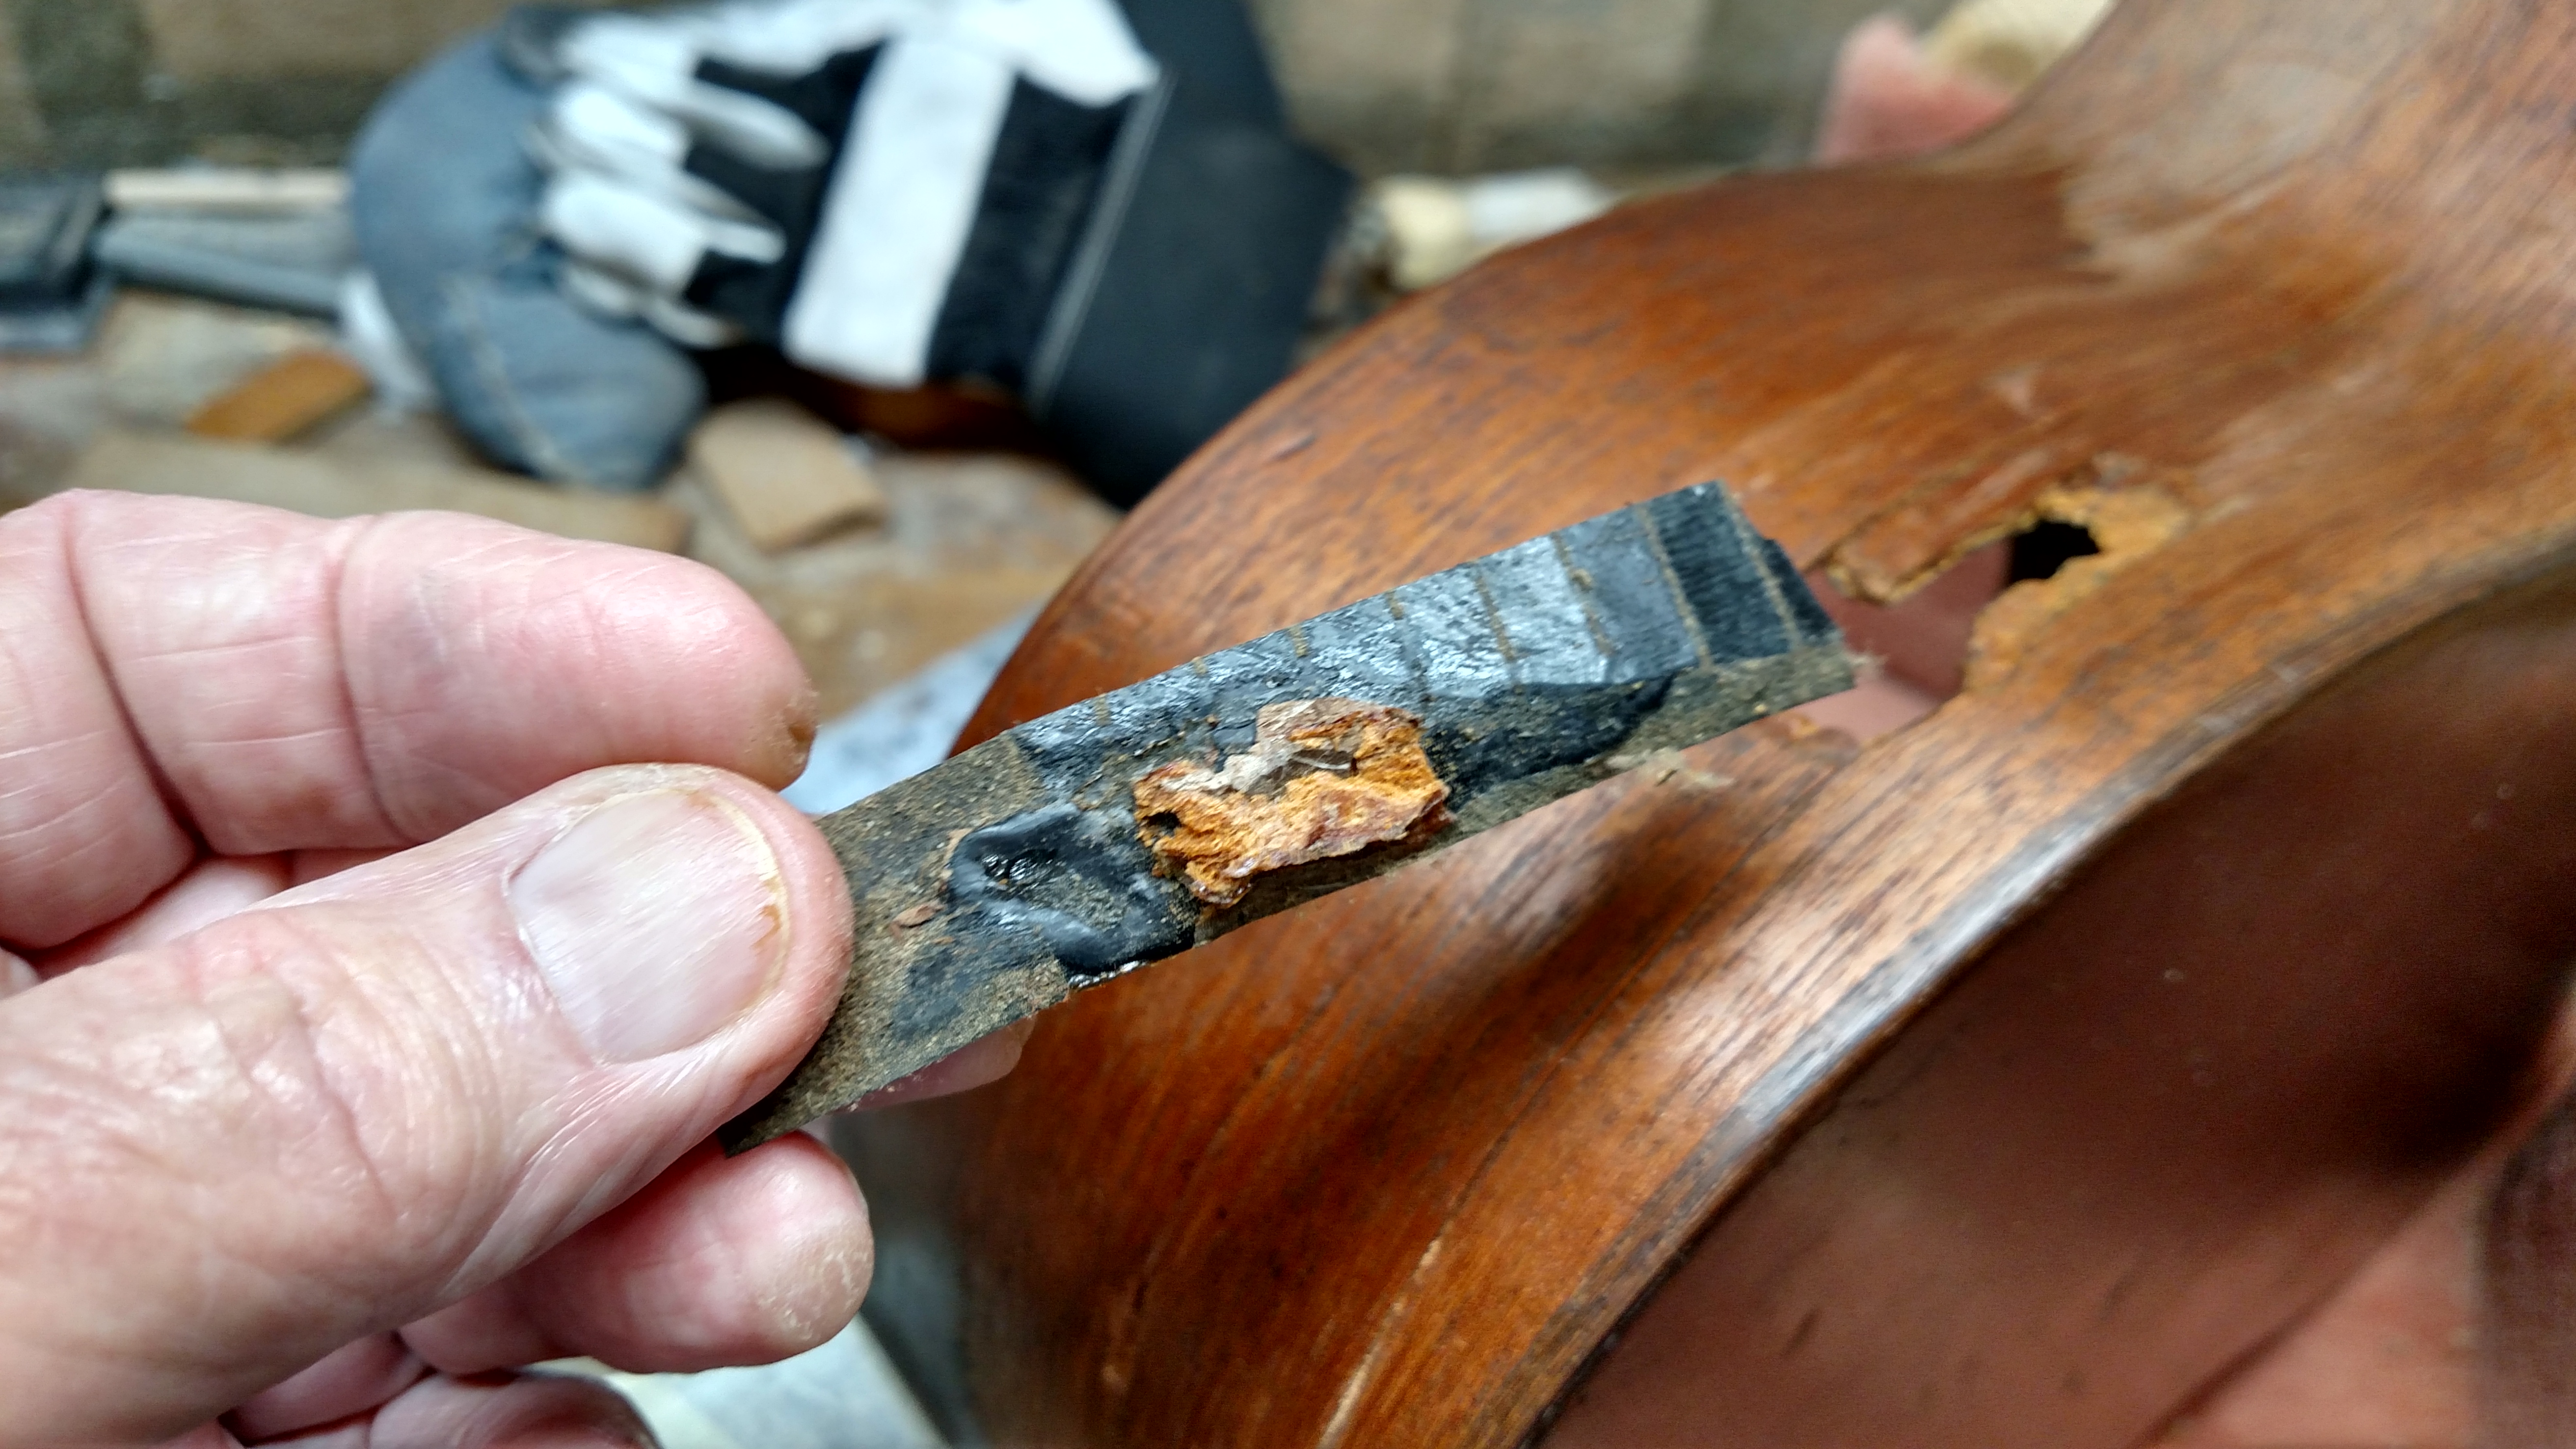
I used acetone to remove this substance and also the finish on the sides. Acetone dissolves lacquer and luckily it partially dissolved the substance that the former repair person had used.
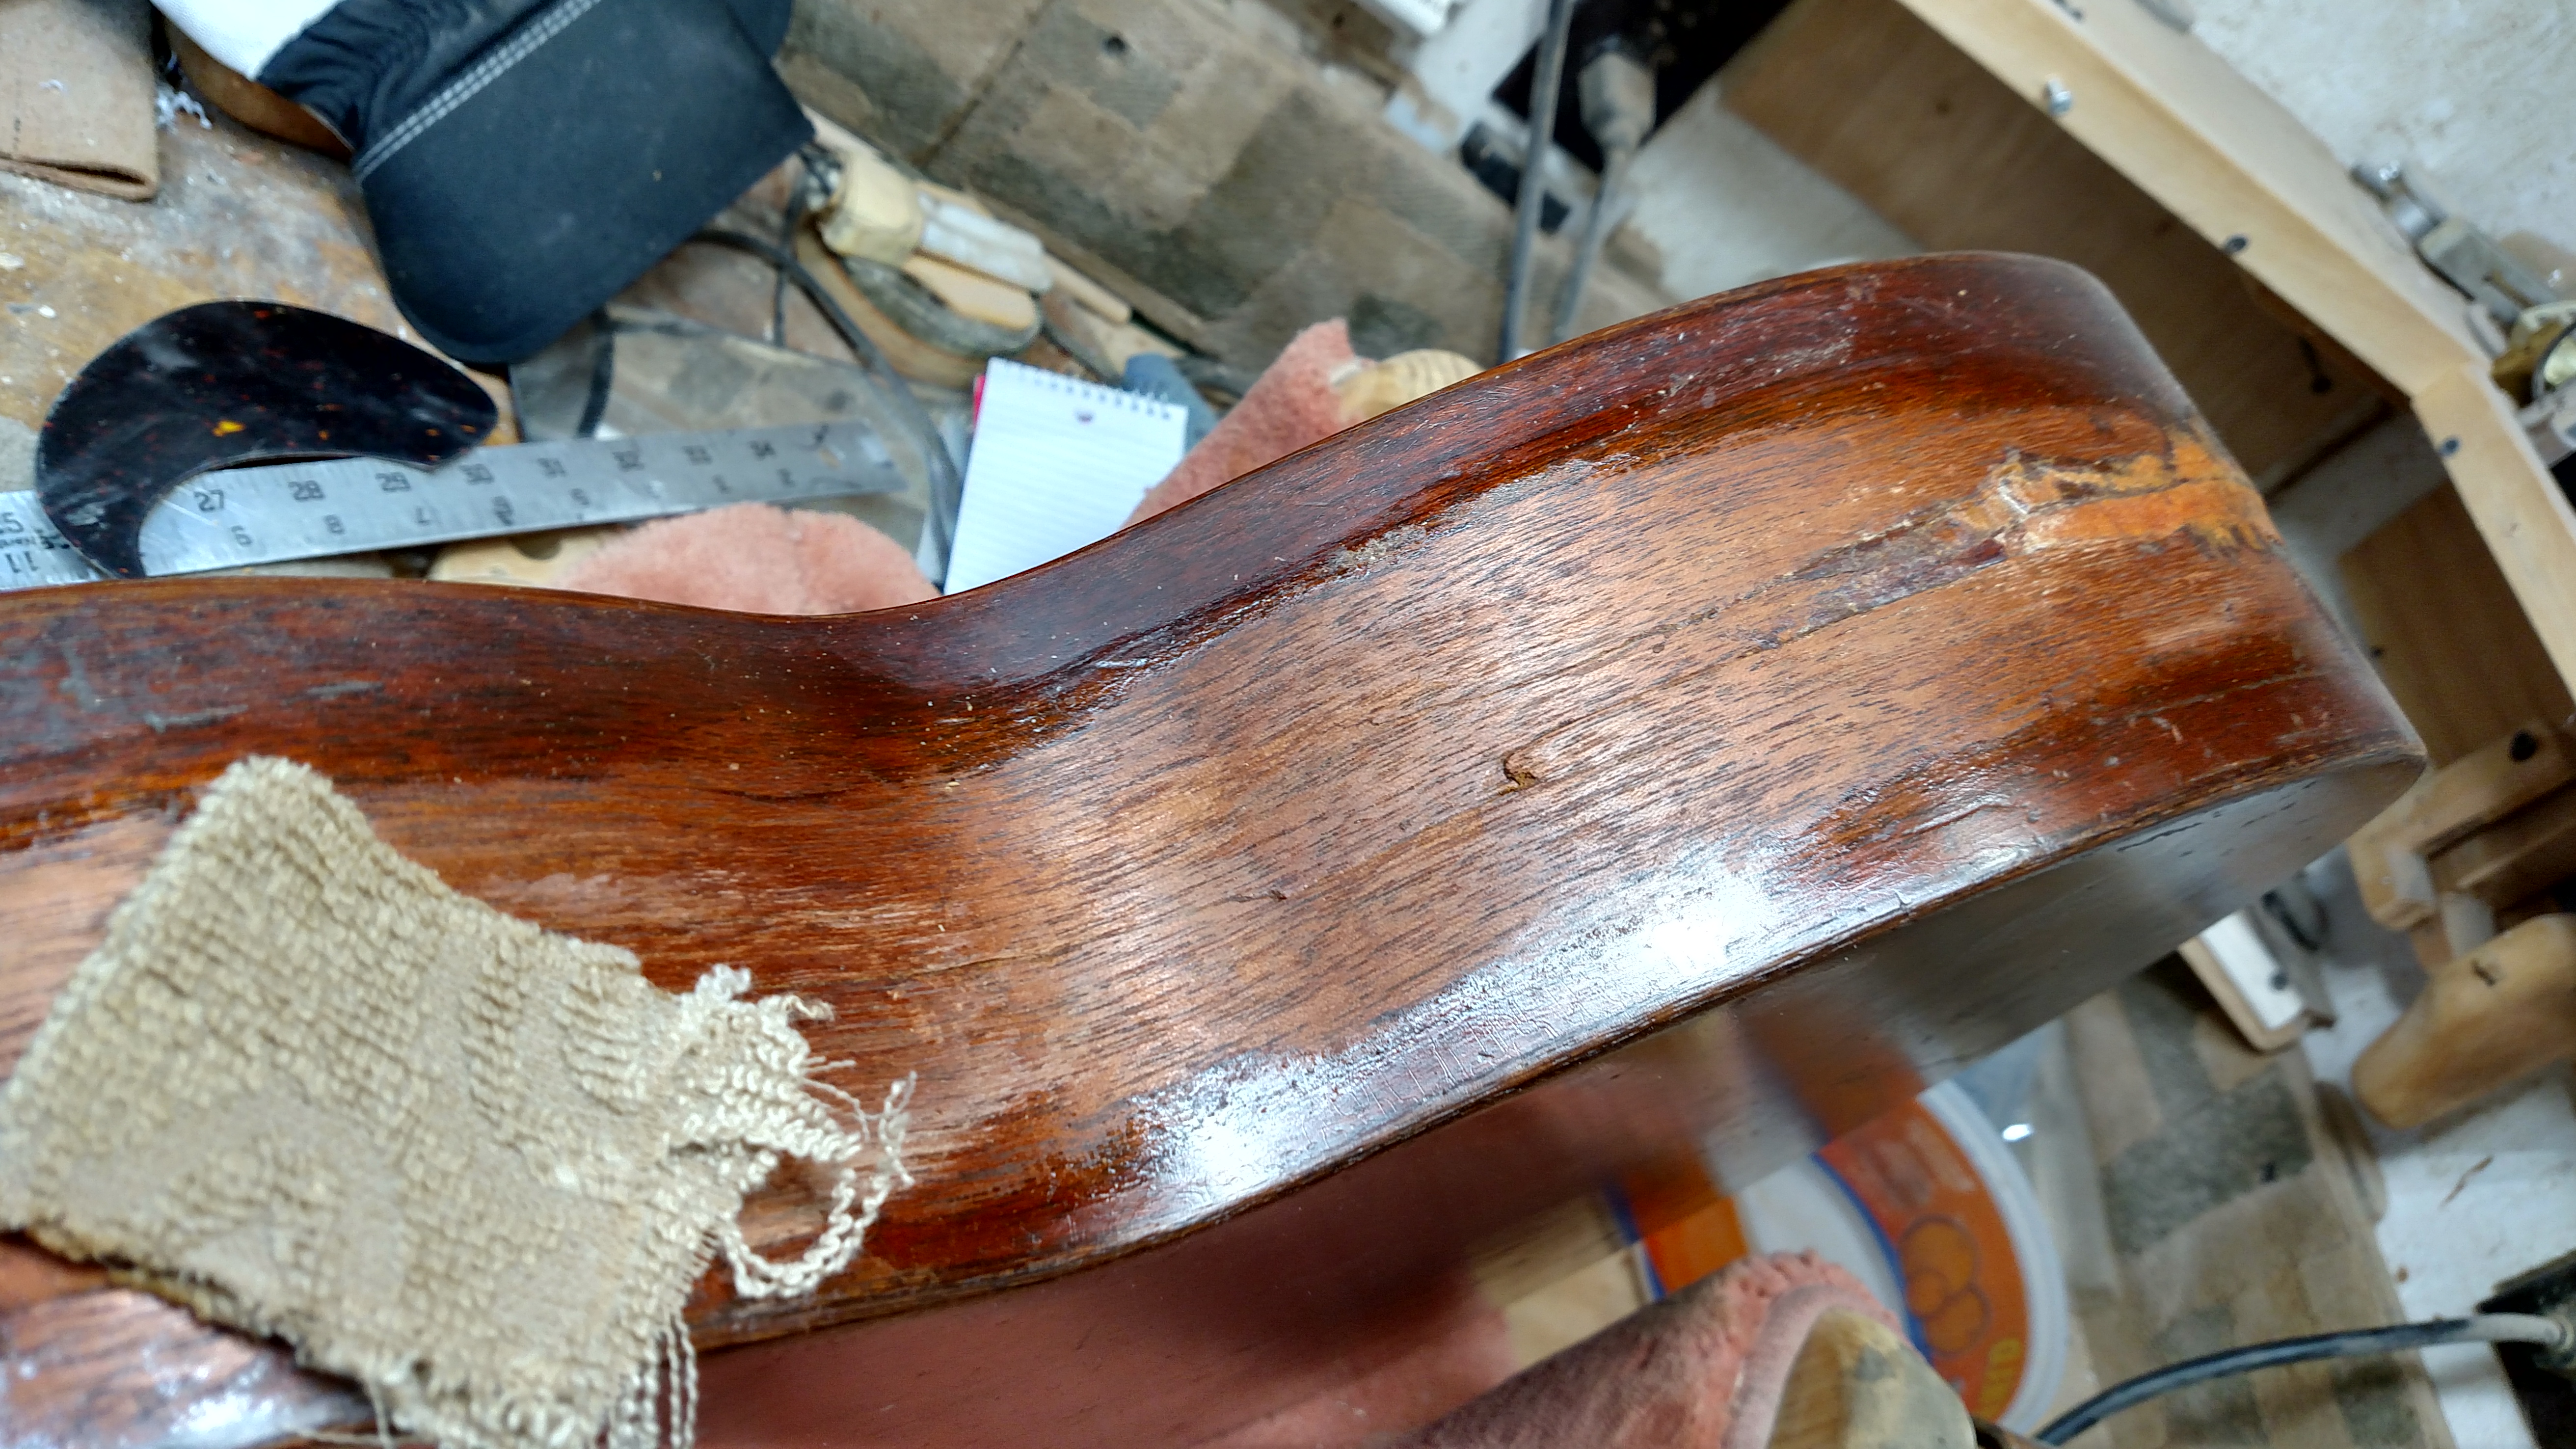
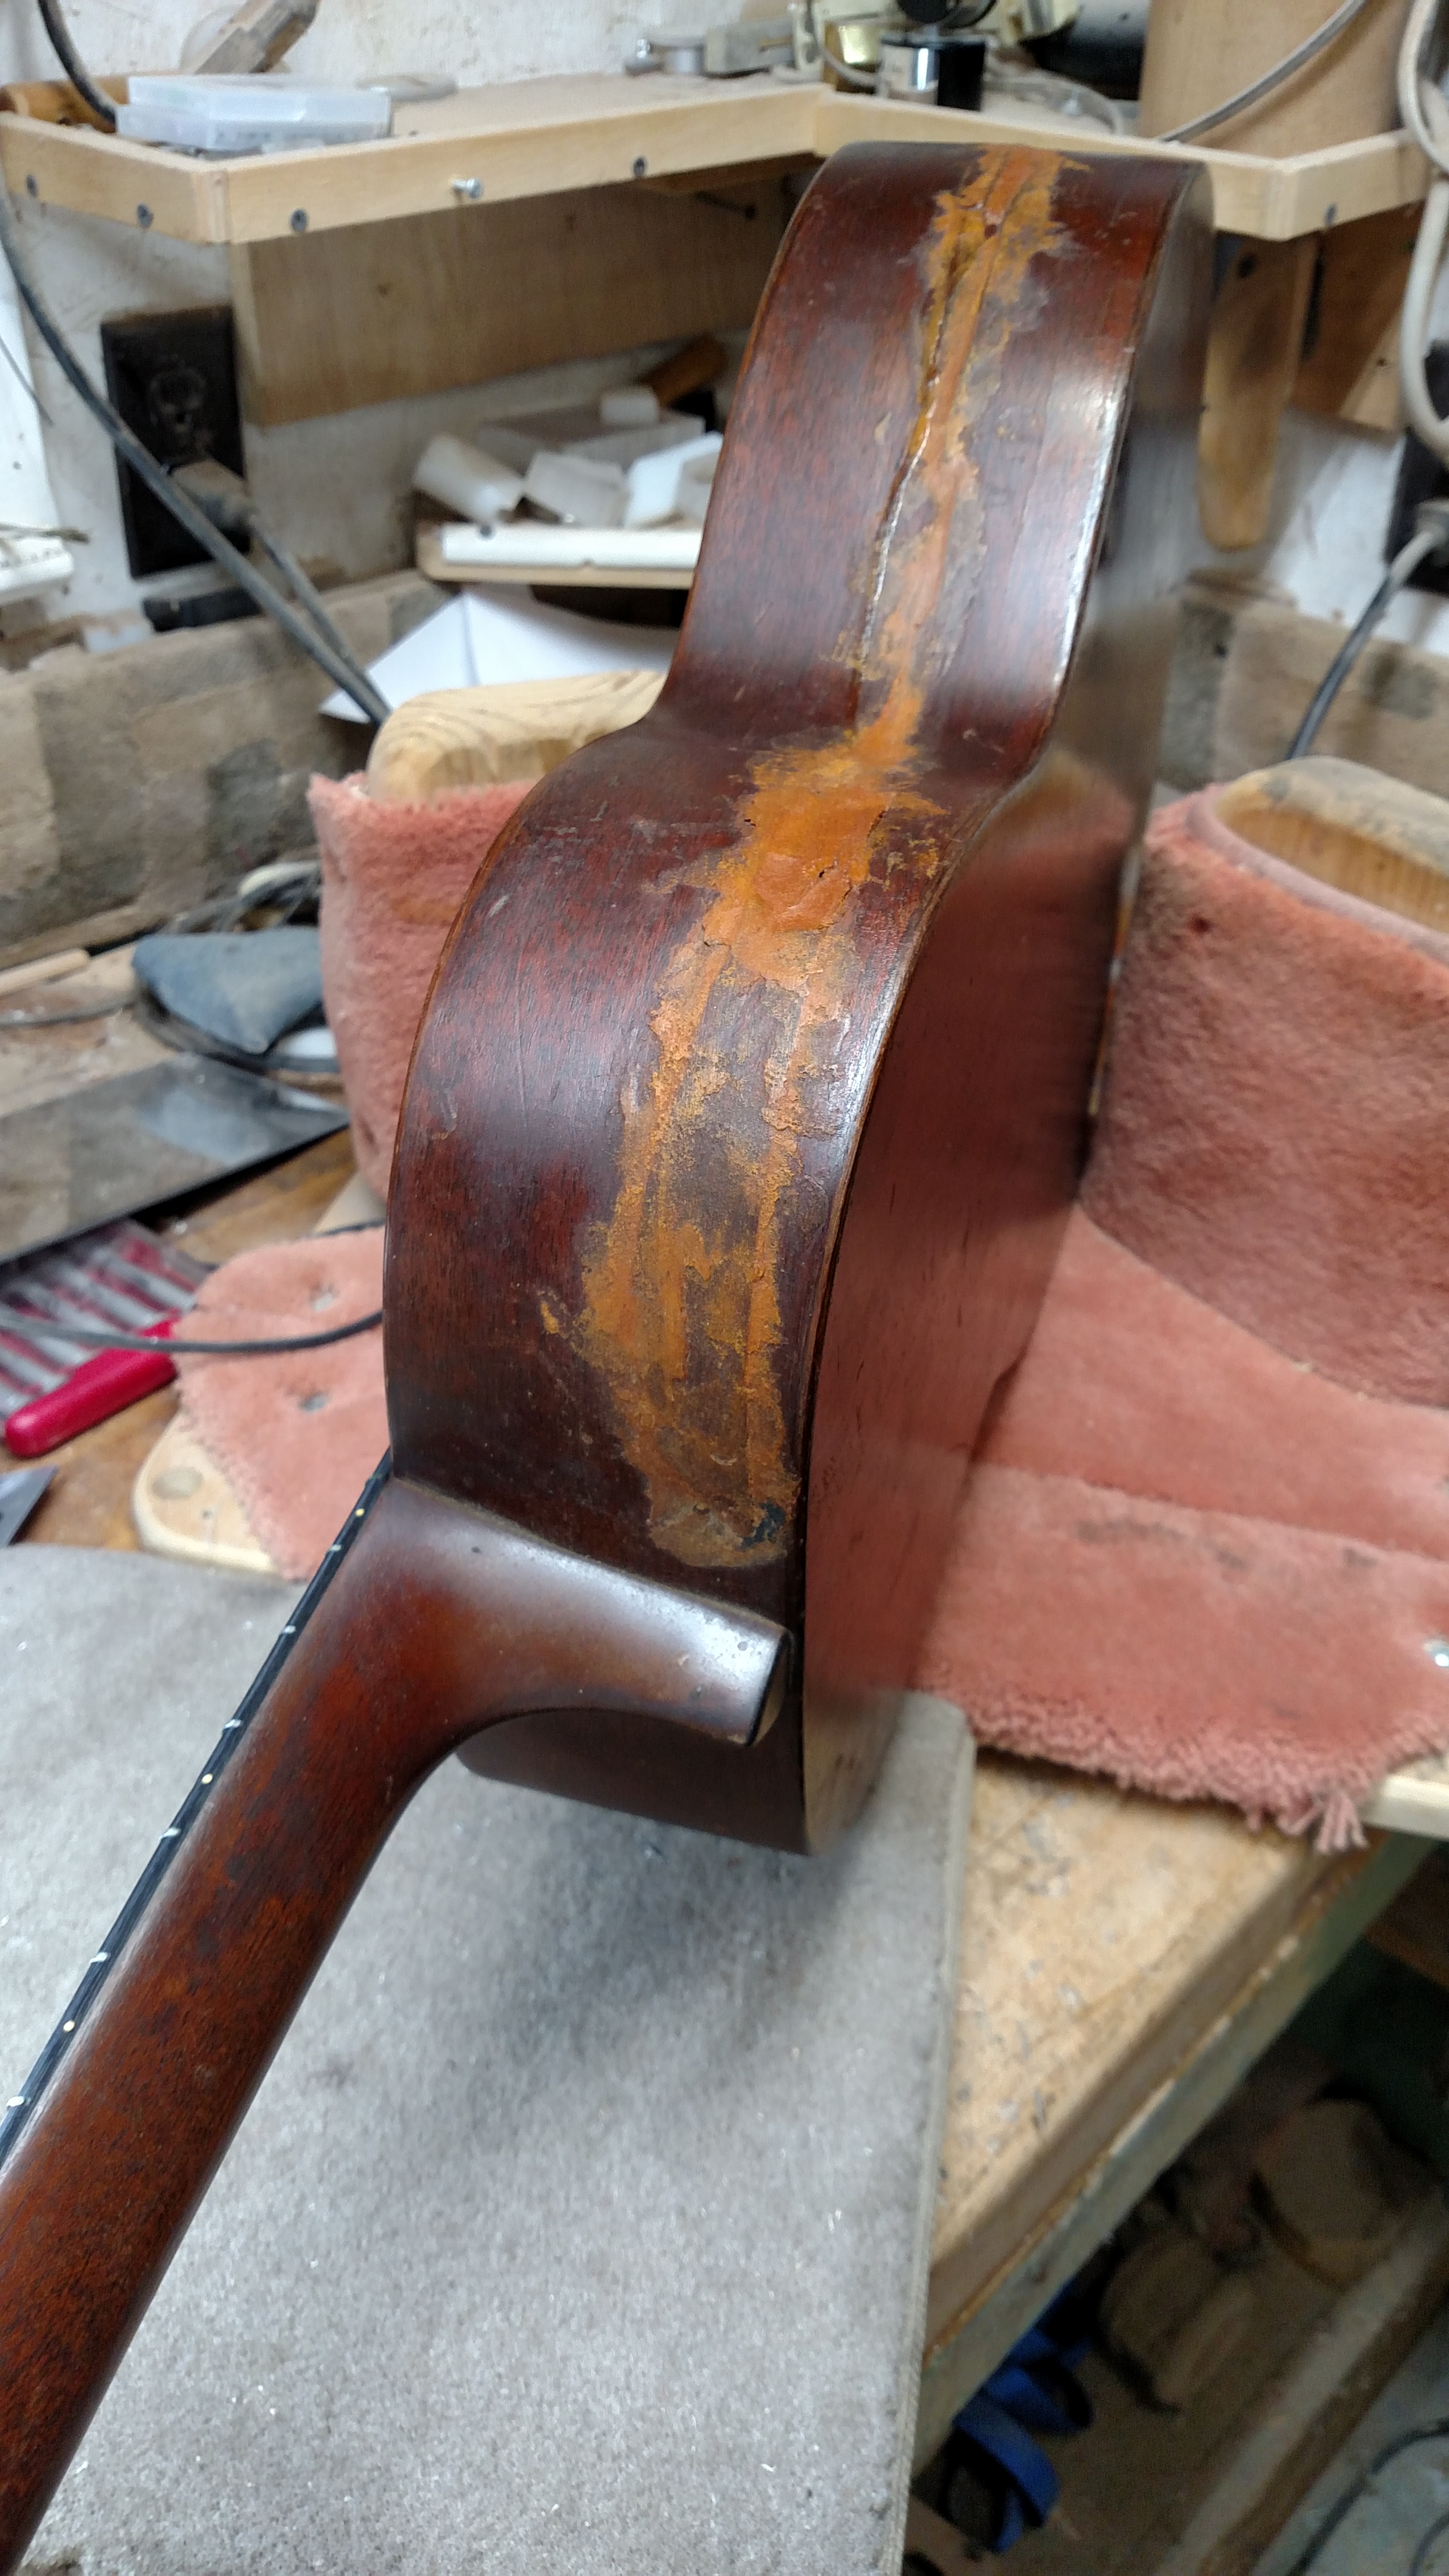
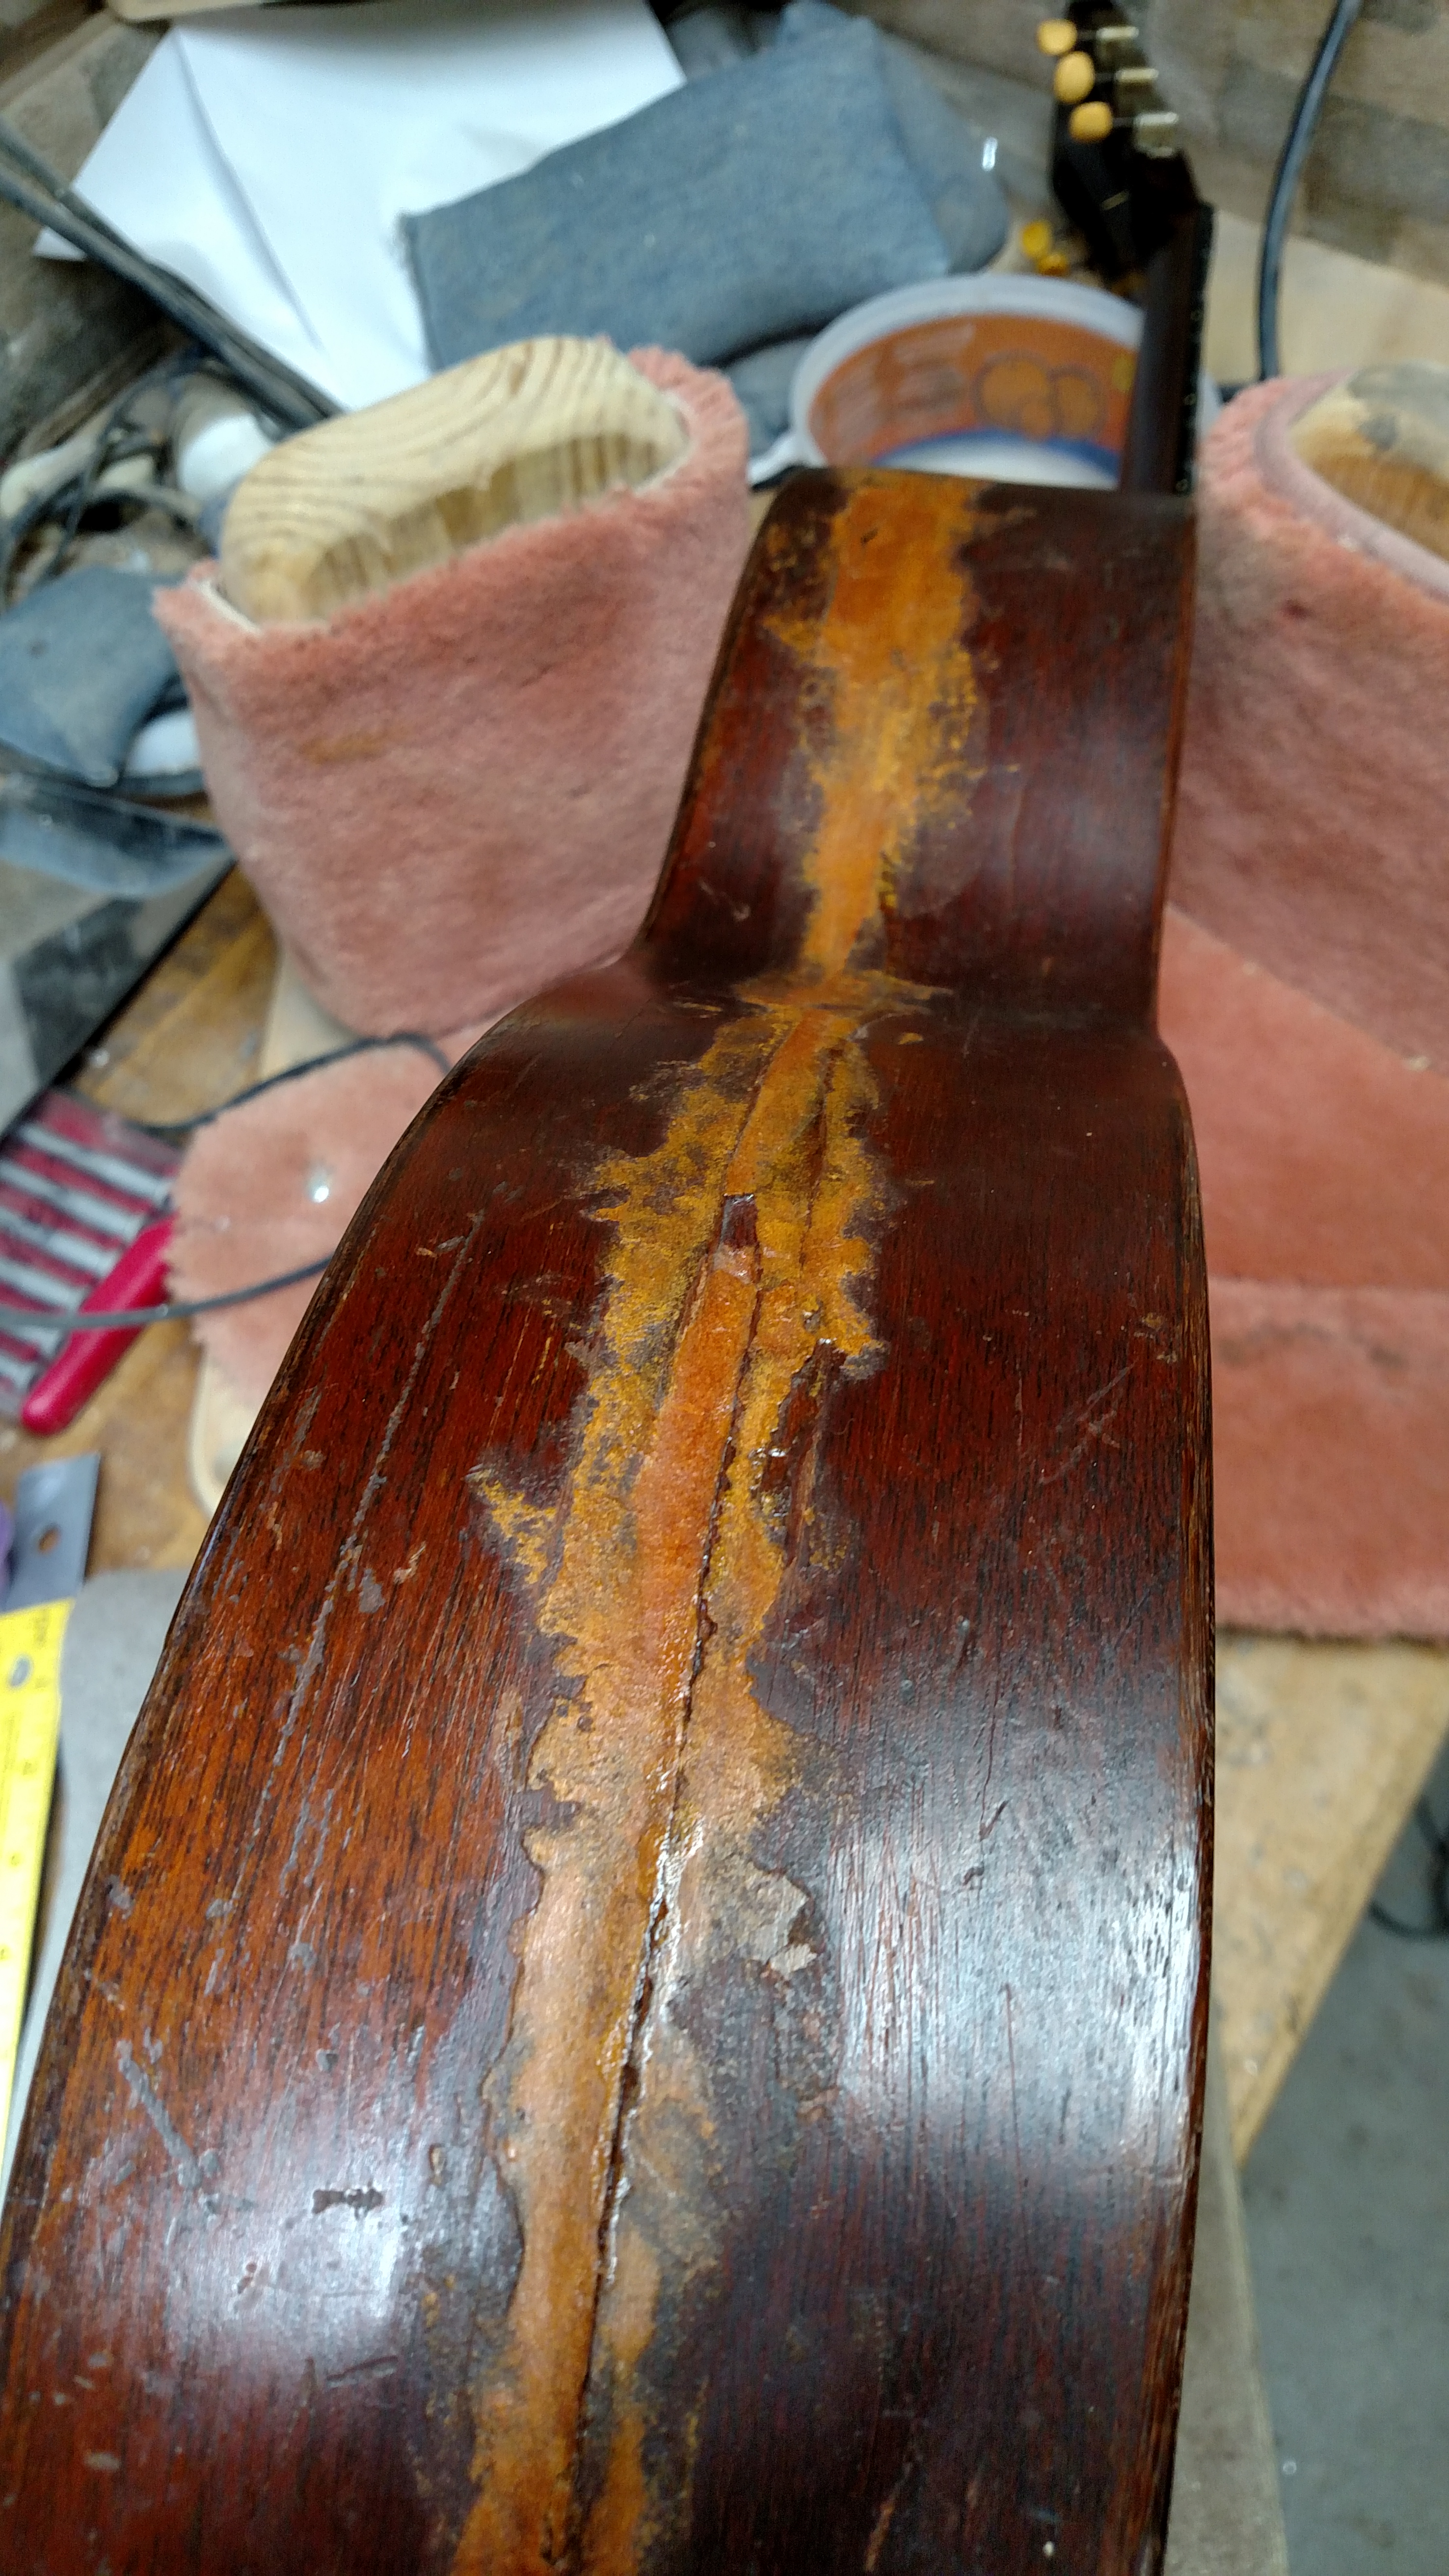
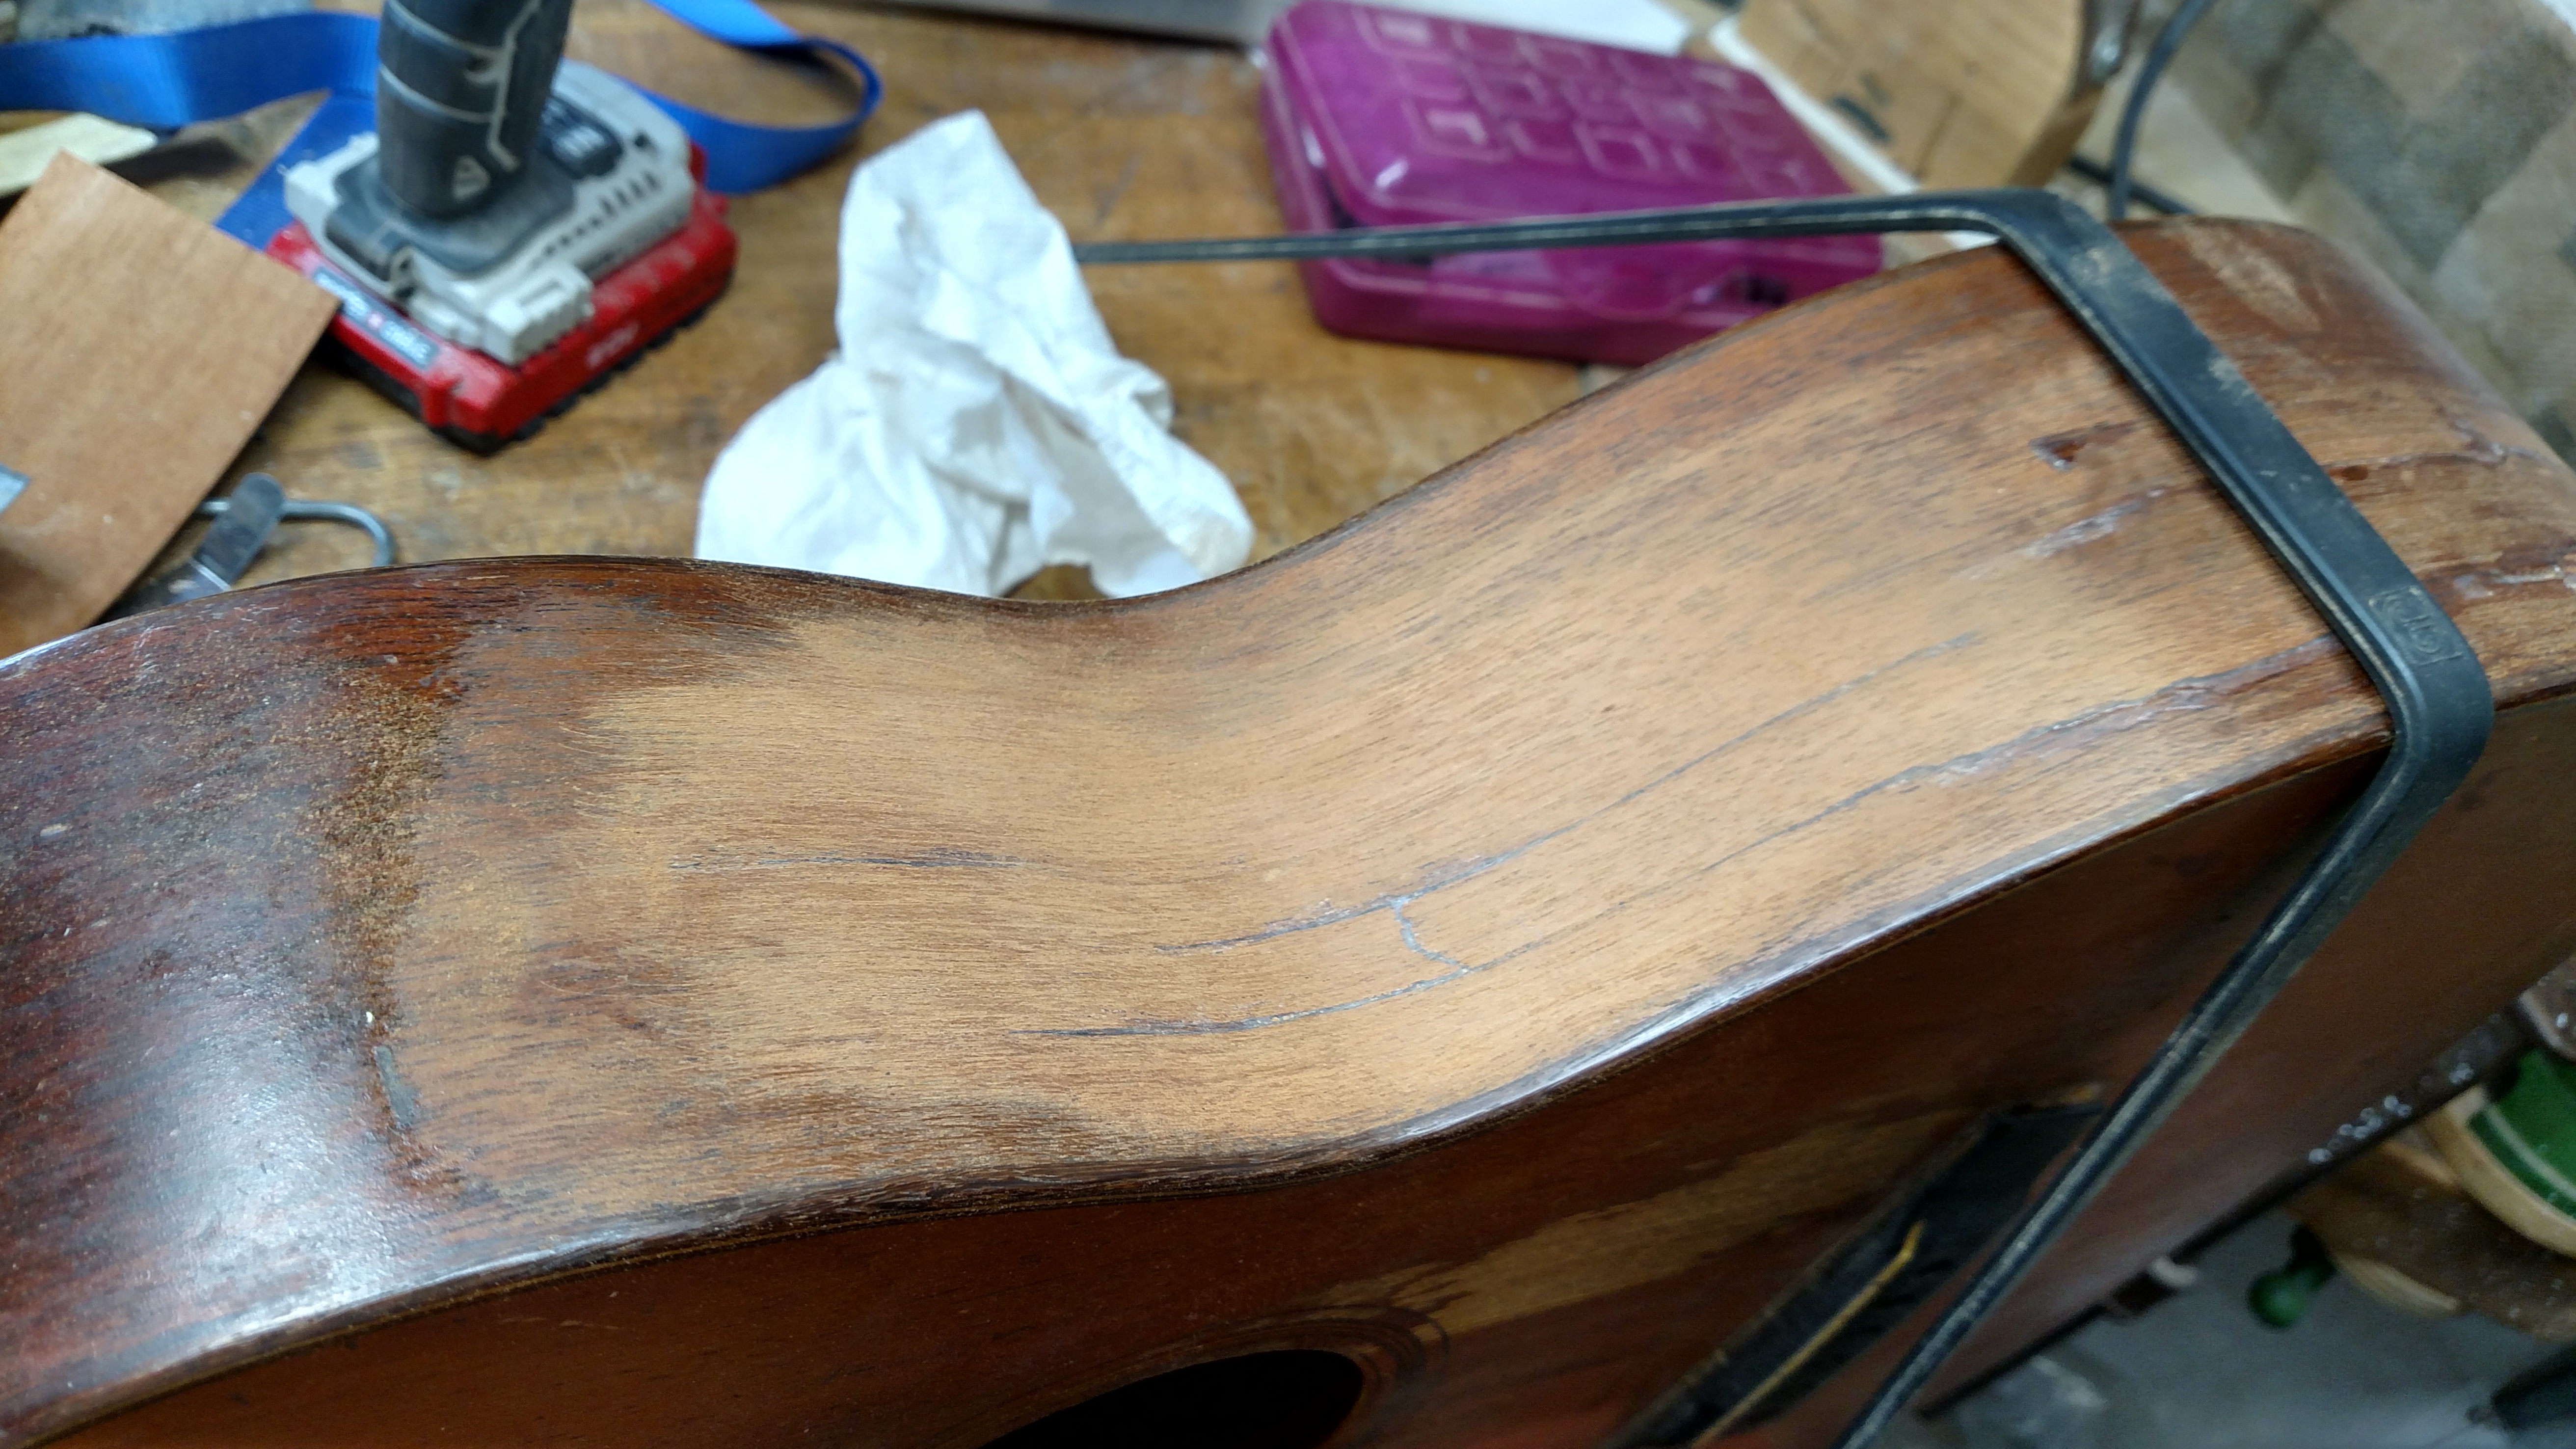
I set about gluing these cracks back together and aligning them as best I could.
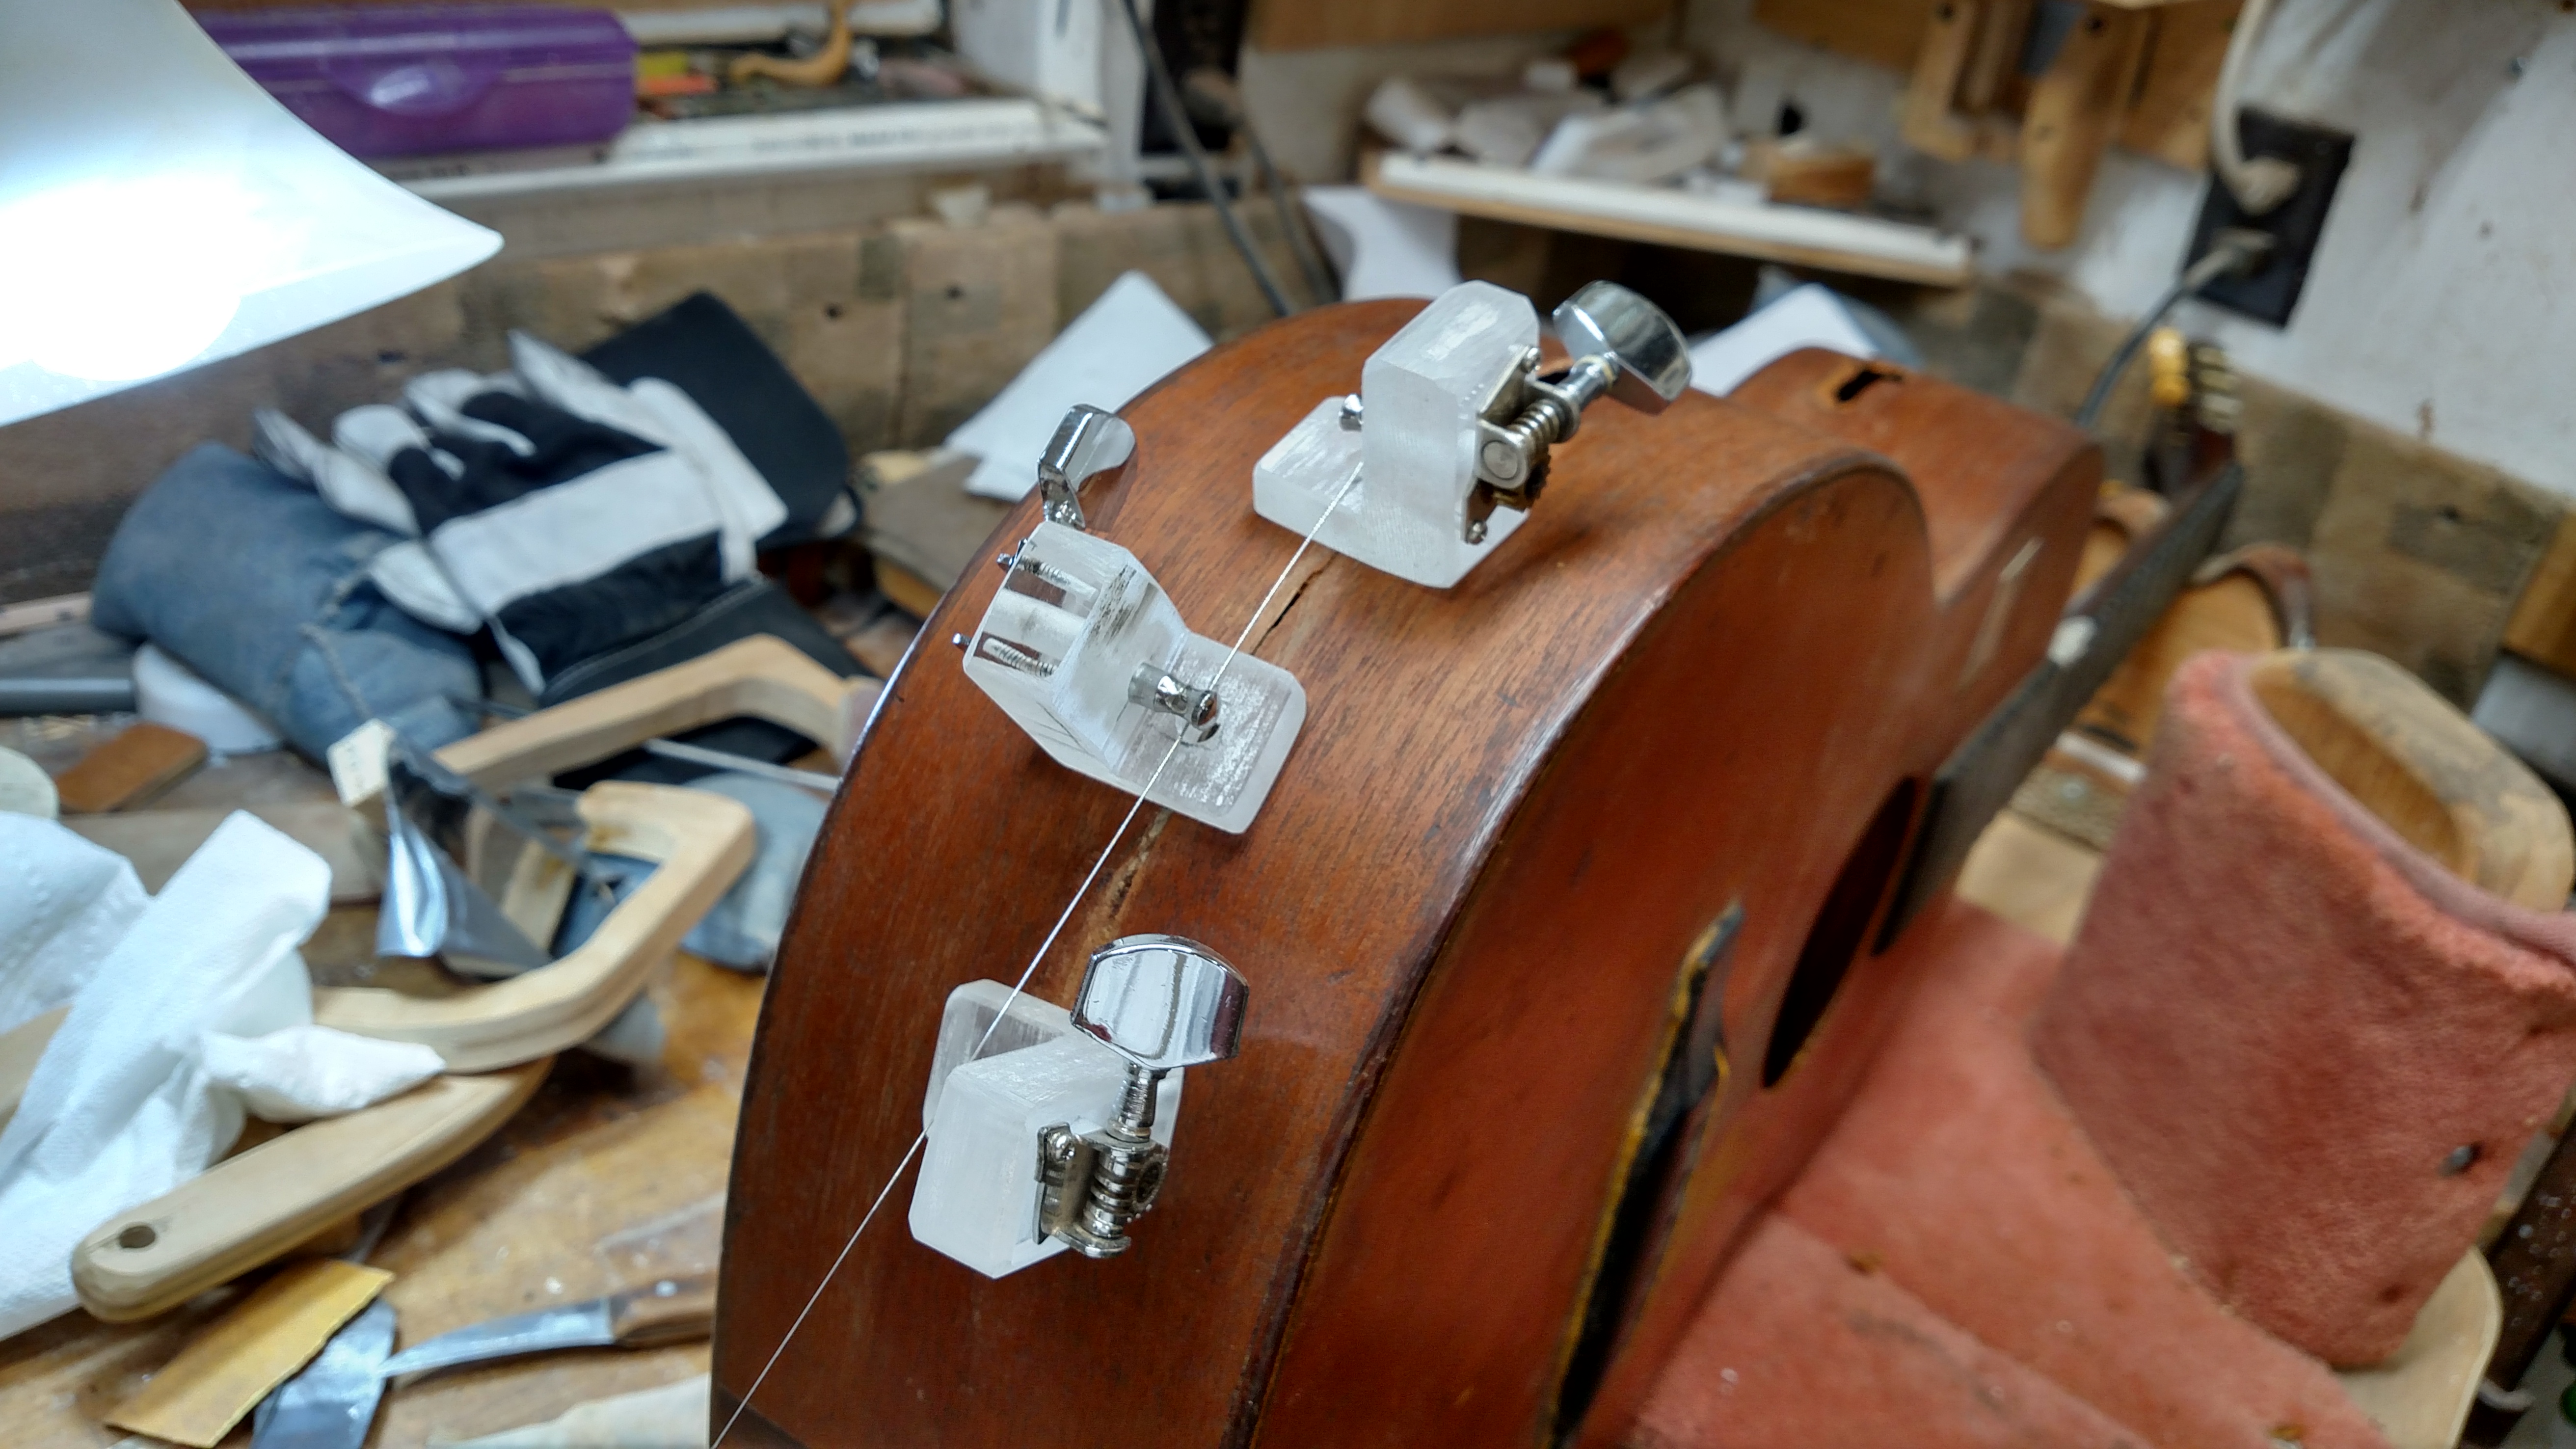
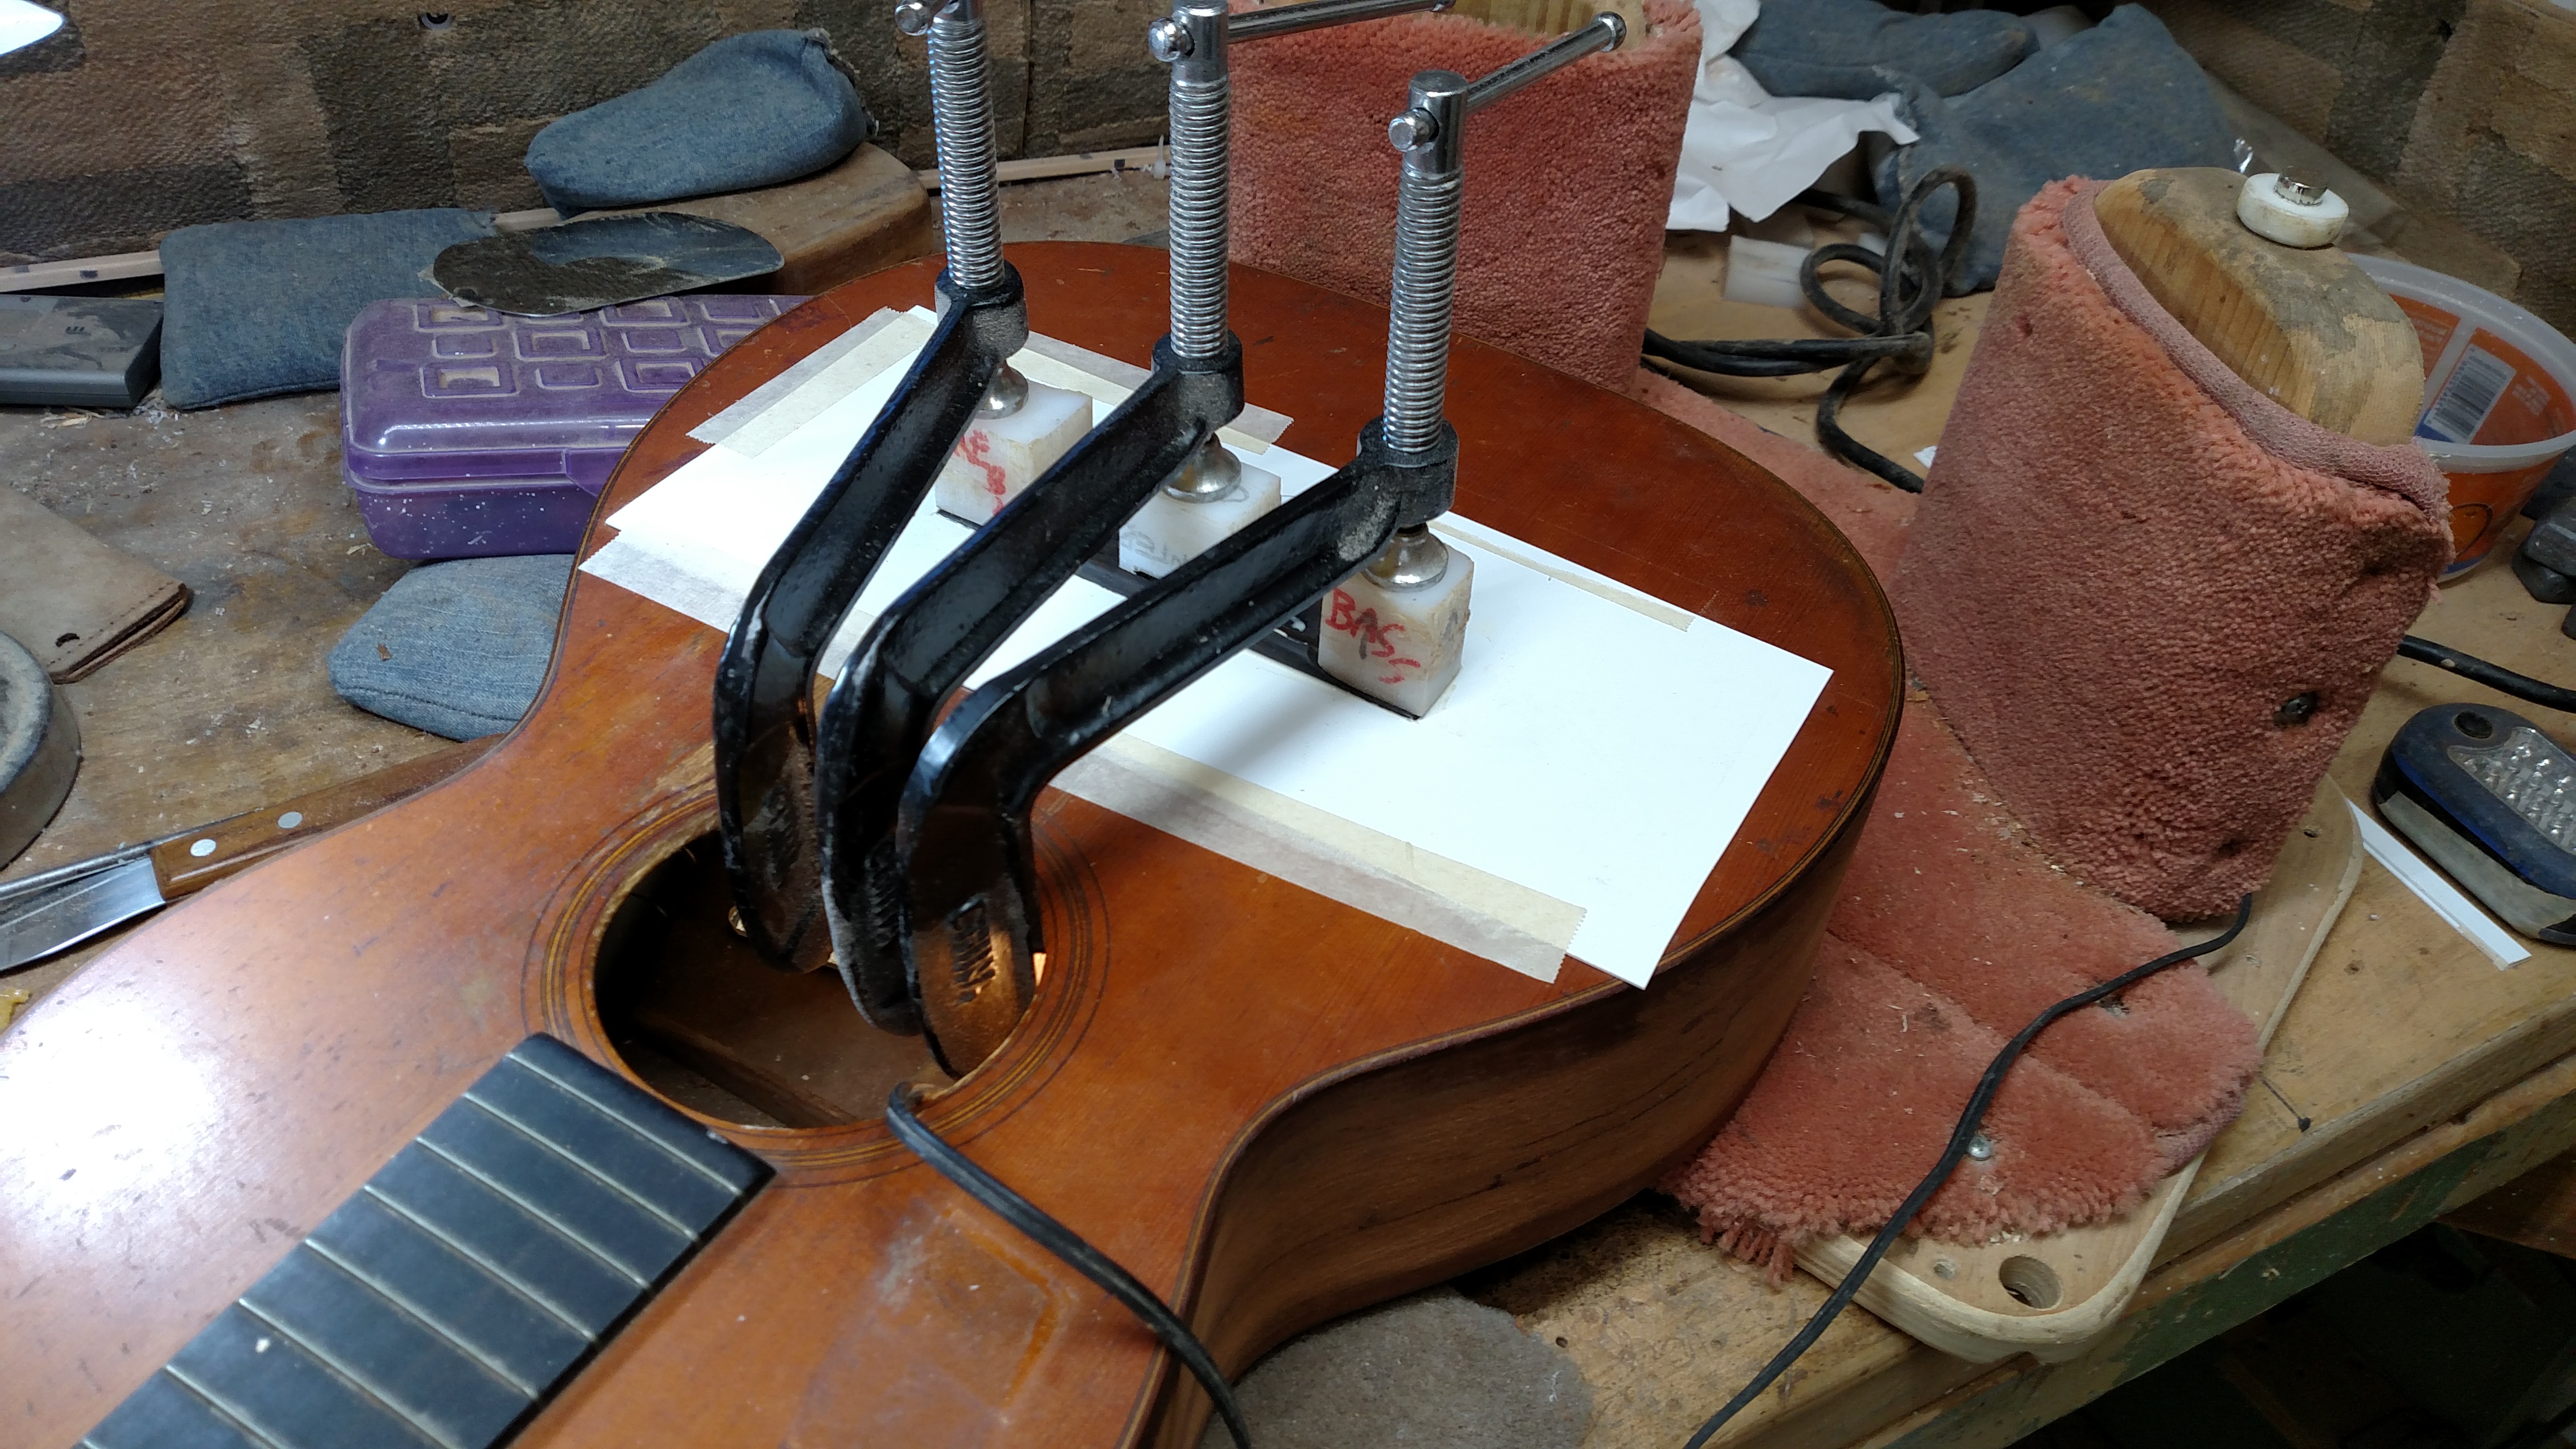
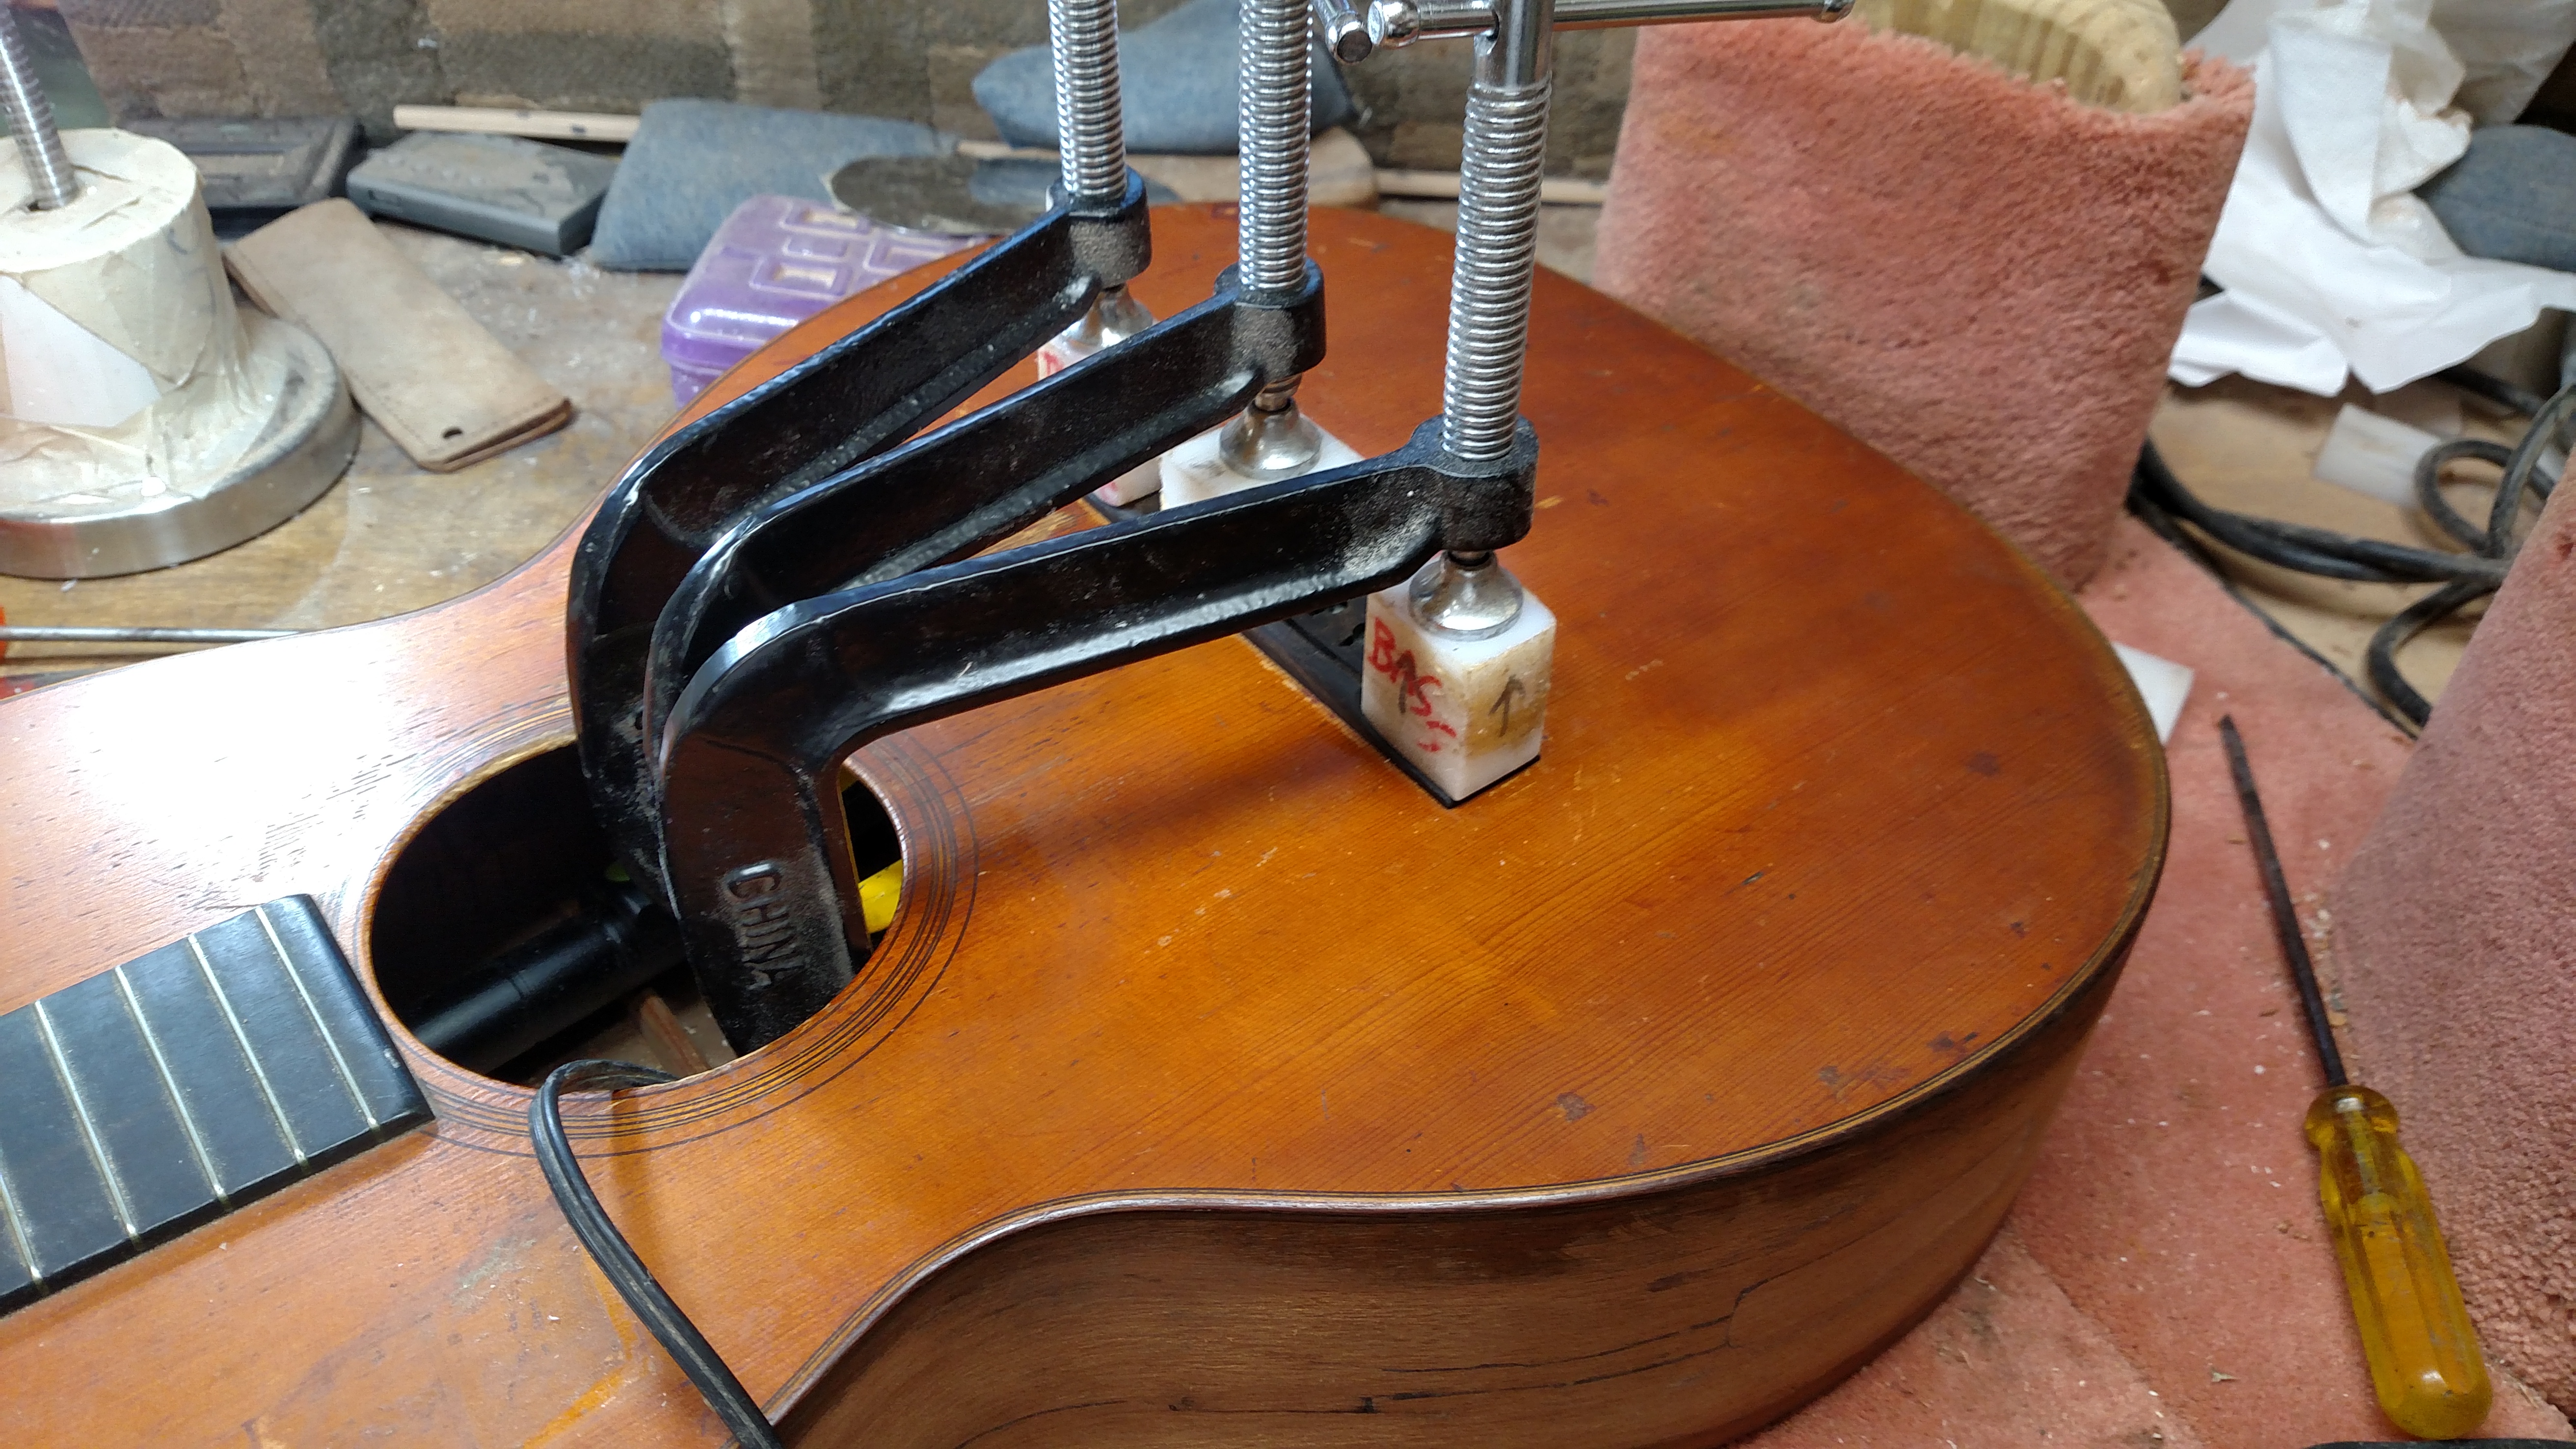
In some places, I used these home made clamps to realign the cracks.
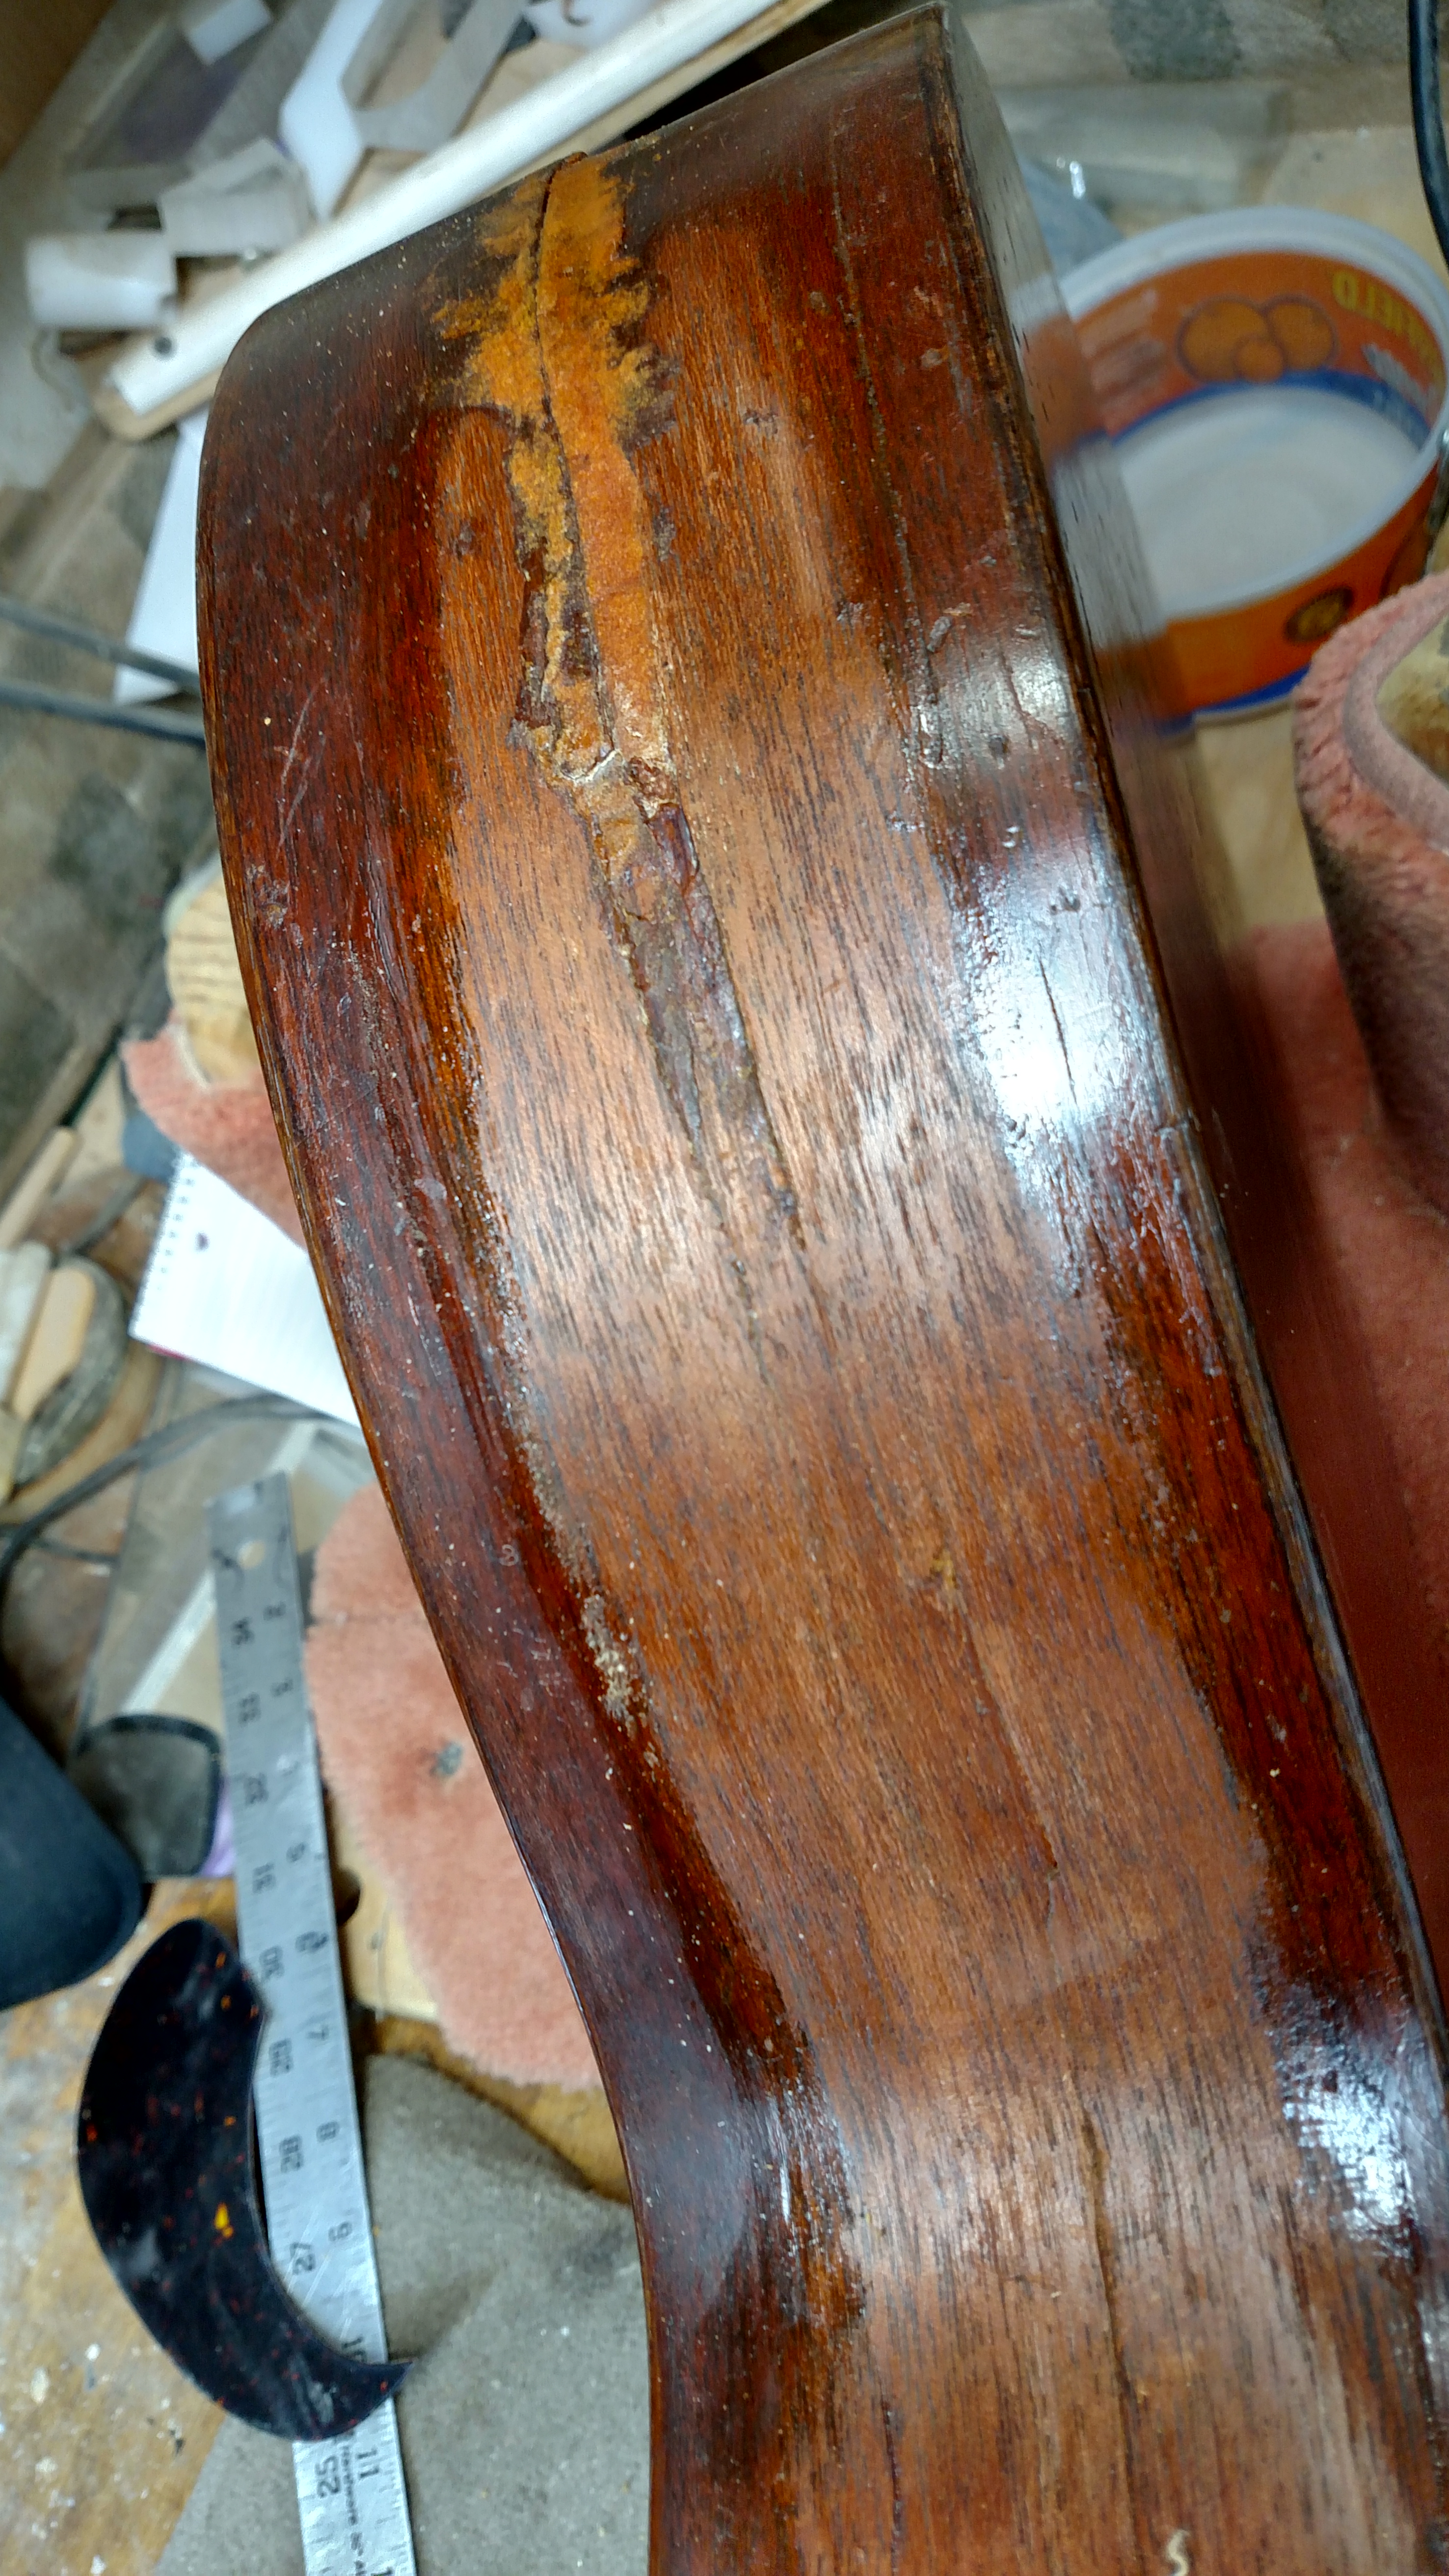
I fashioned some mahogany patches to fill in the voids. I explained to the owner that this repair would not be a seamless one. Replacing both sides in a guitar is probably about as much work as building a guitar body from scratch.
These pictures don’t fully give you an accurate idea of how much time and work went into this project.
I used mostly CA glue on these cracks because I felt like it would bond better to the surfaces. Since I did not know what kind of glue was already in there, I felt this would be the best option. I mixed some mahogany dust with this glue in some places.
After I got the sides aligned and glued together, I knew that these sides were going to be weakened. I used a Wood Weld product inside to strengthen these thin sides. I felt this would be the best substance to stick to these sides since there was still some old glue in places. I also fabricated some mahogany cleats which ended up covered by the Wood Weld product.
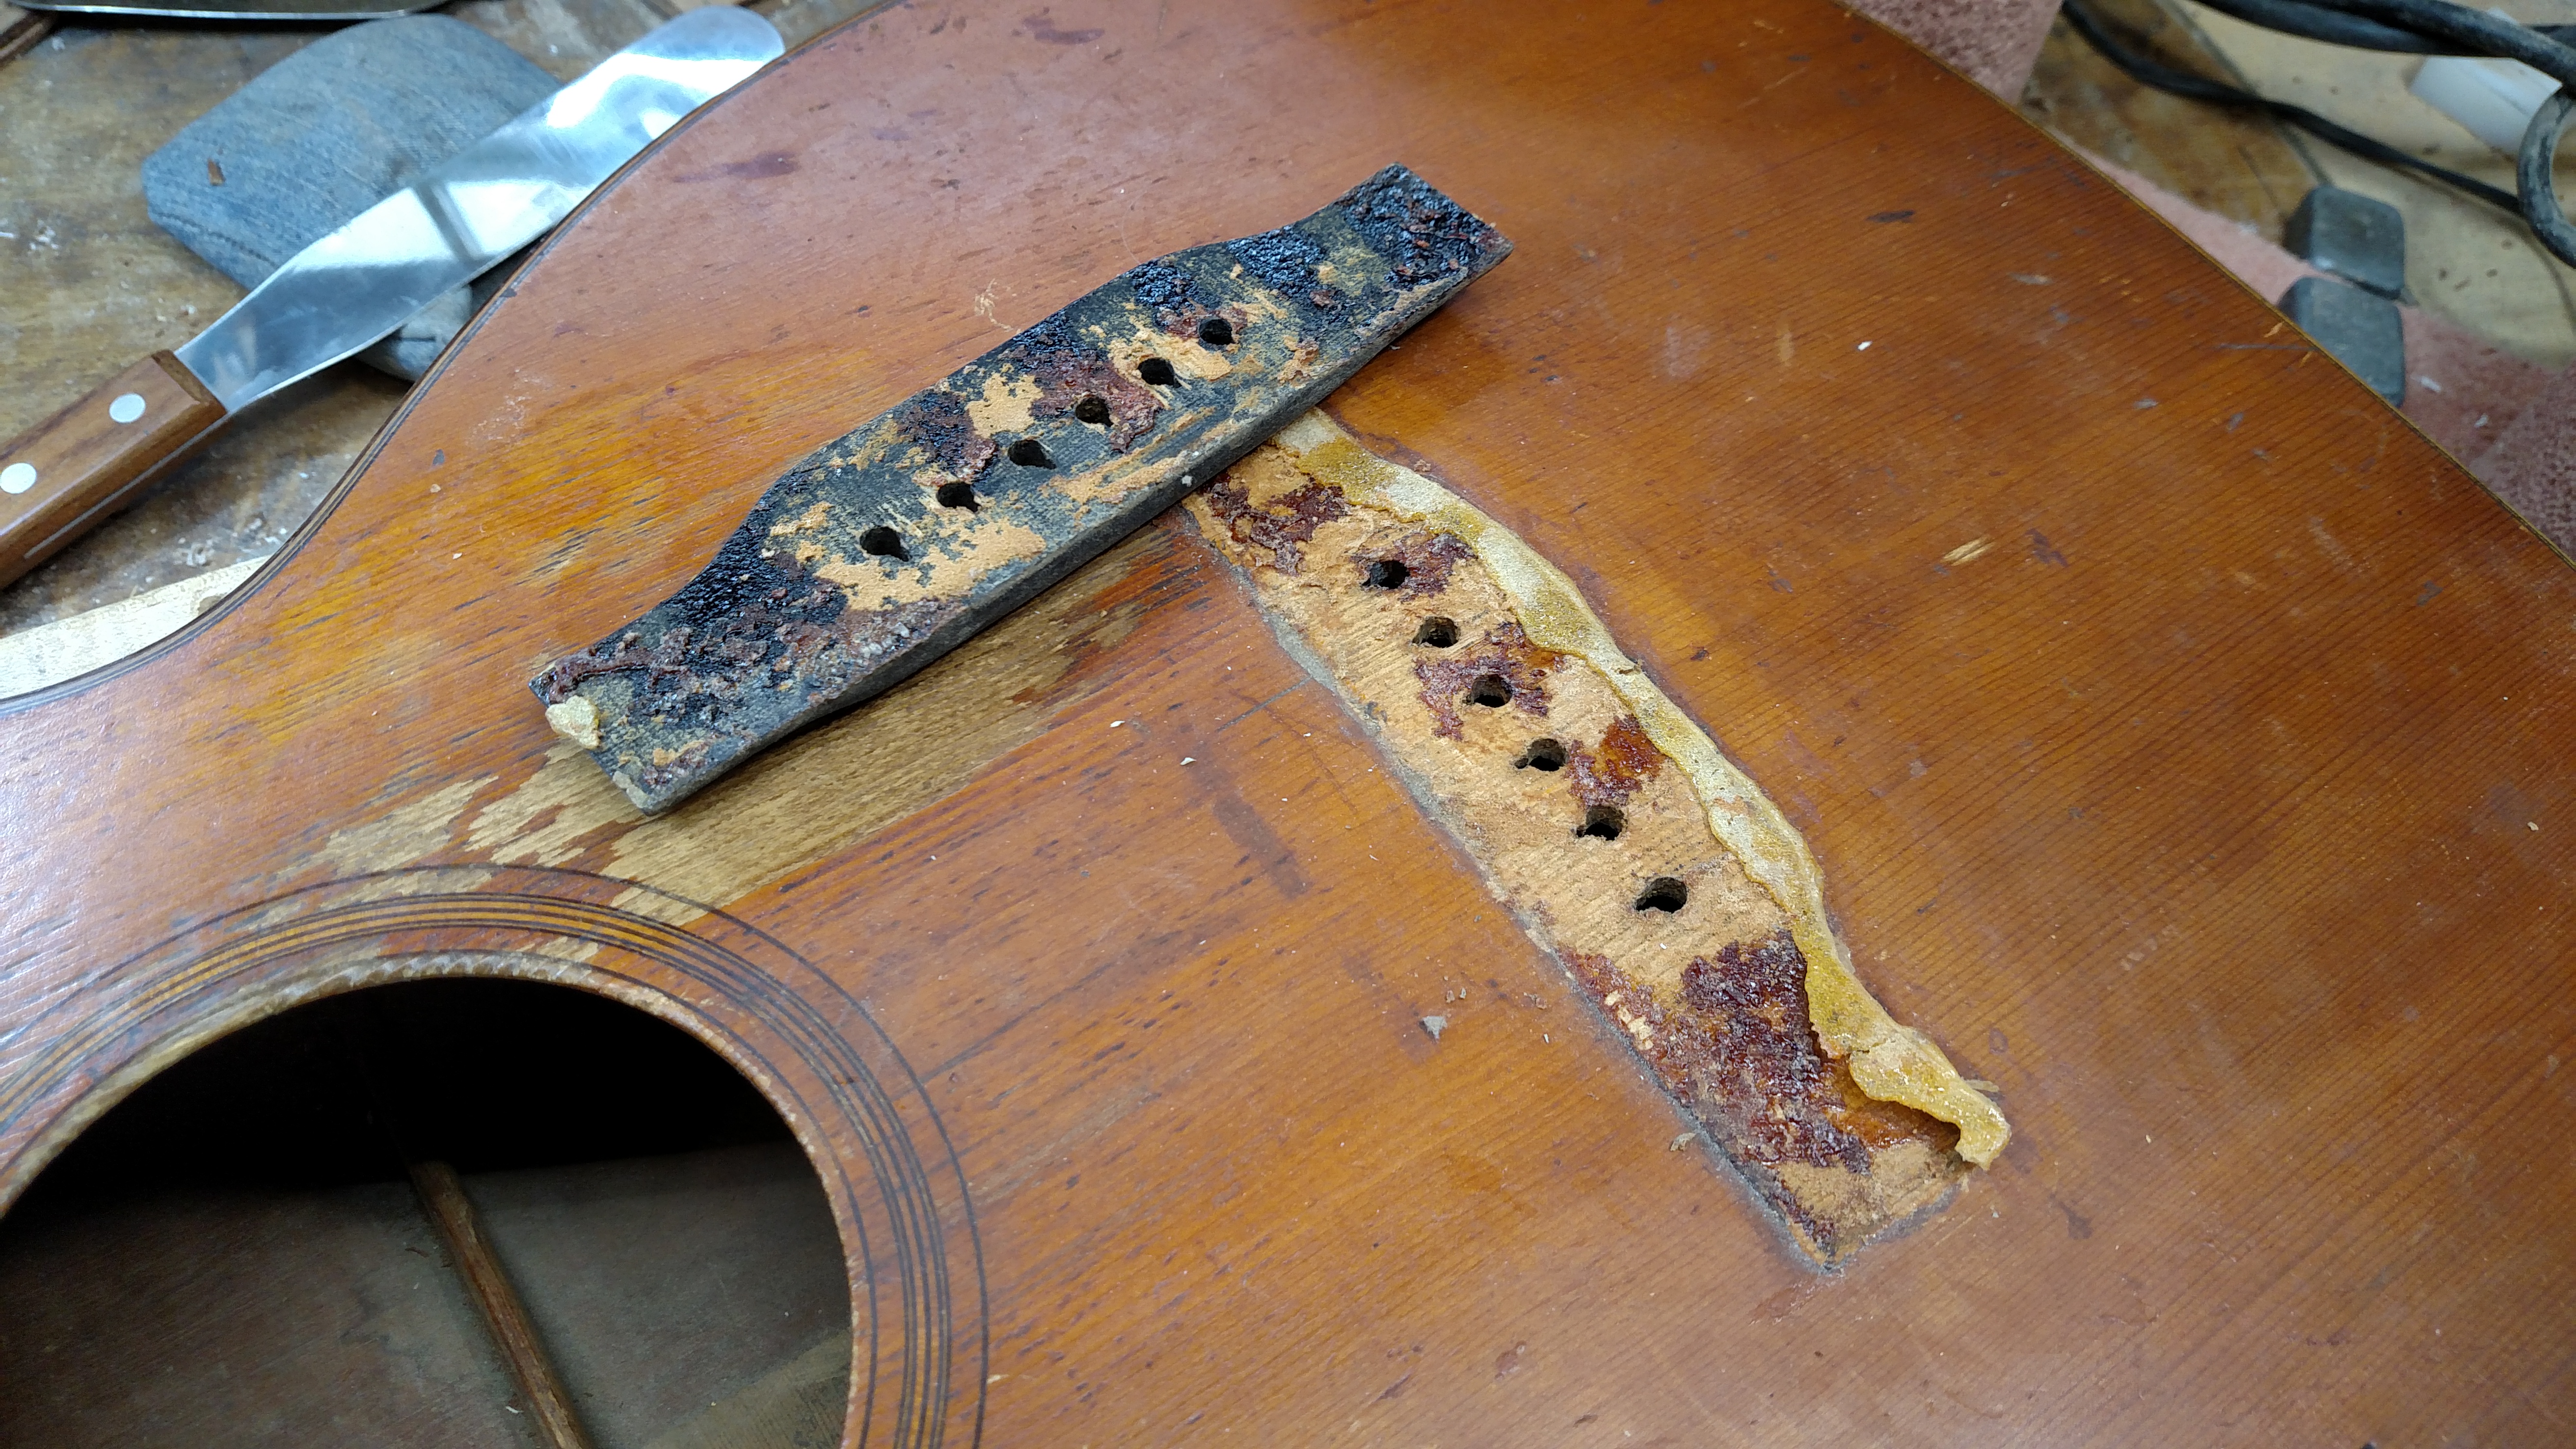
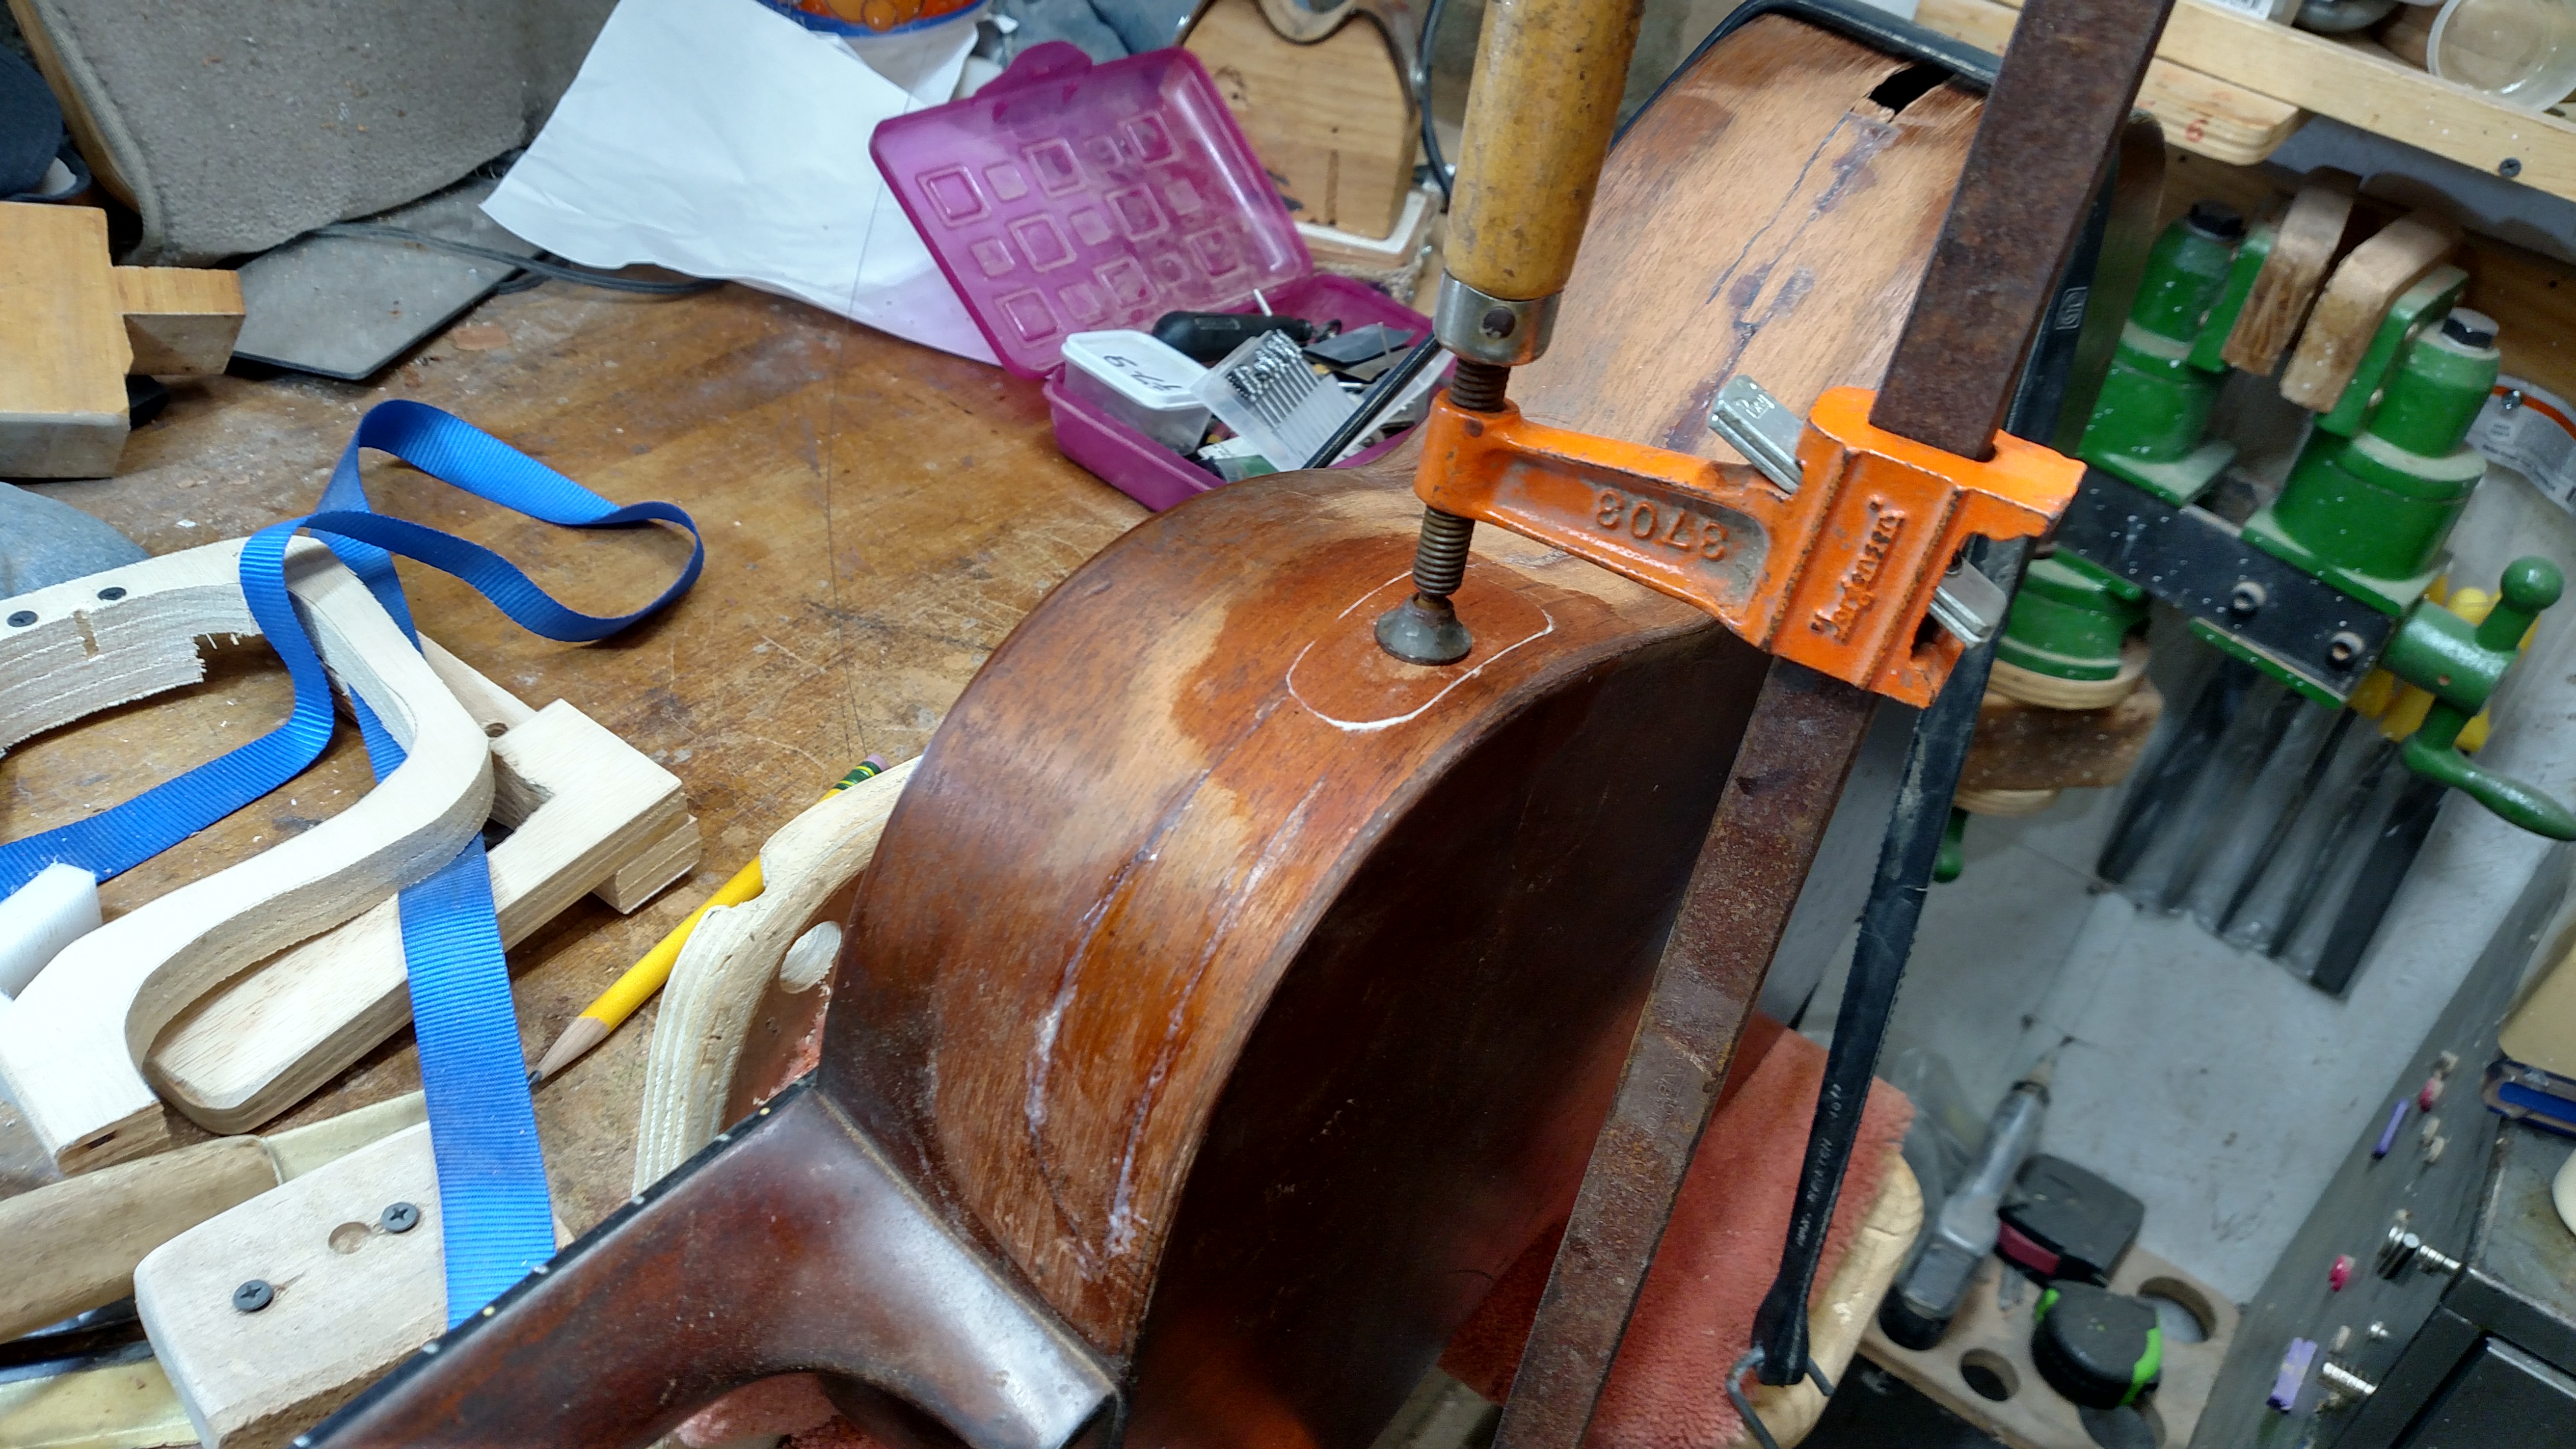
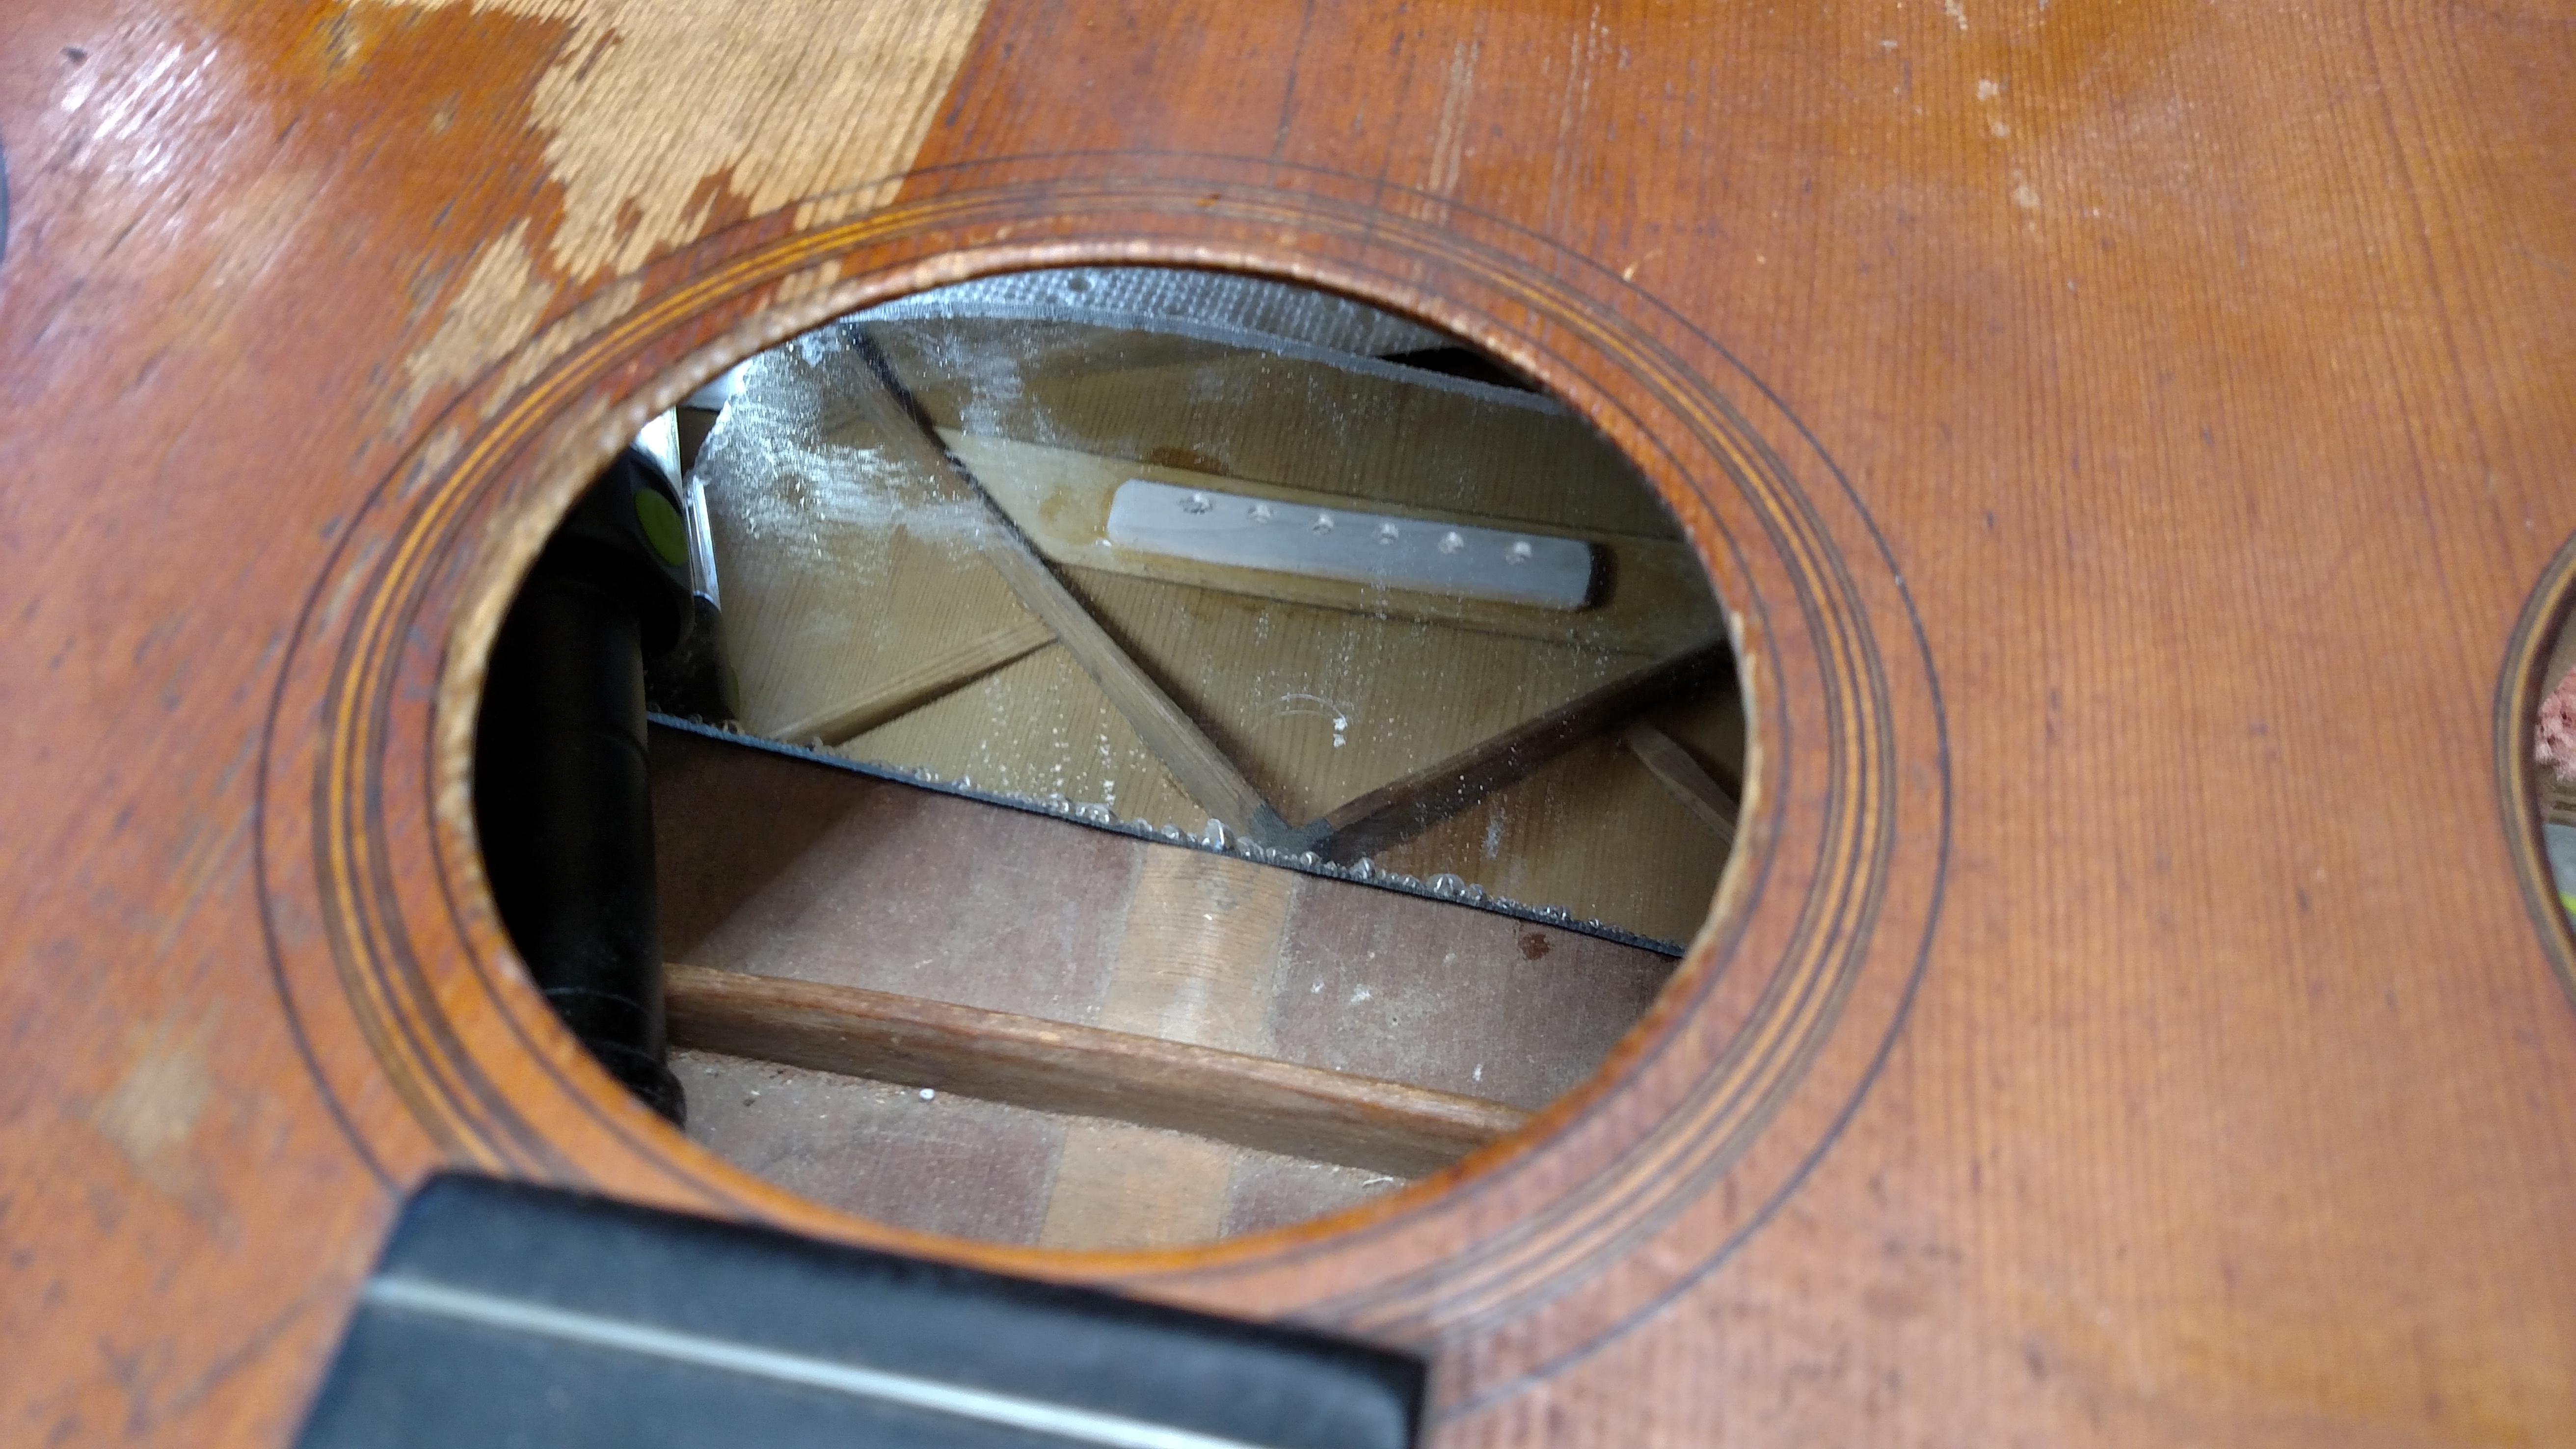
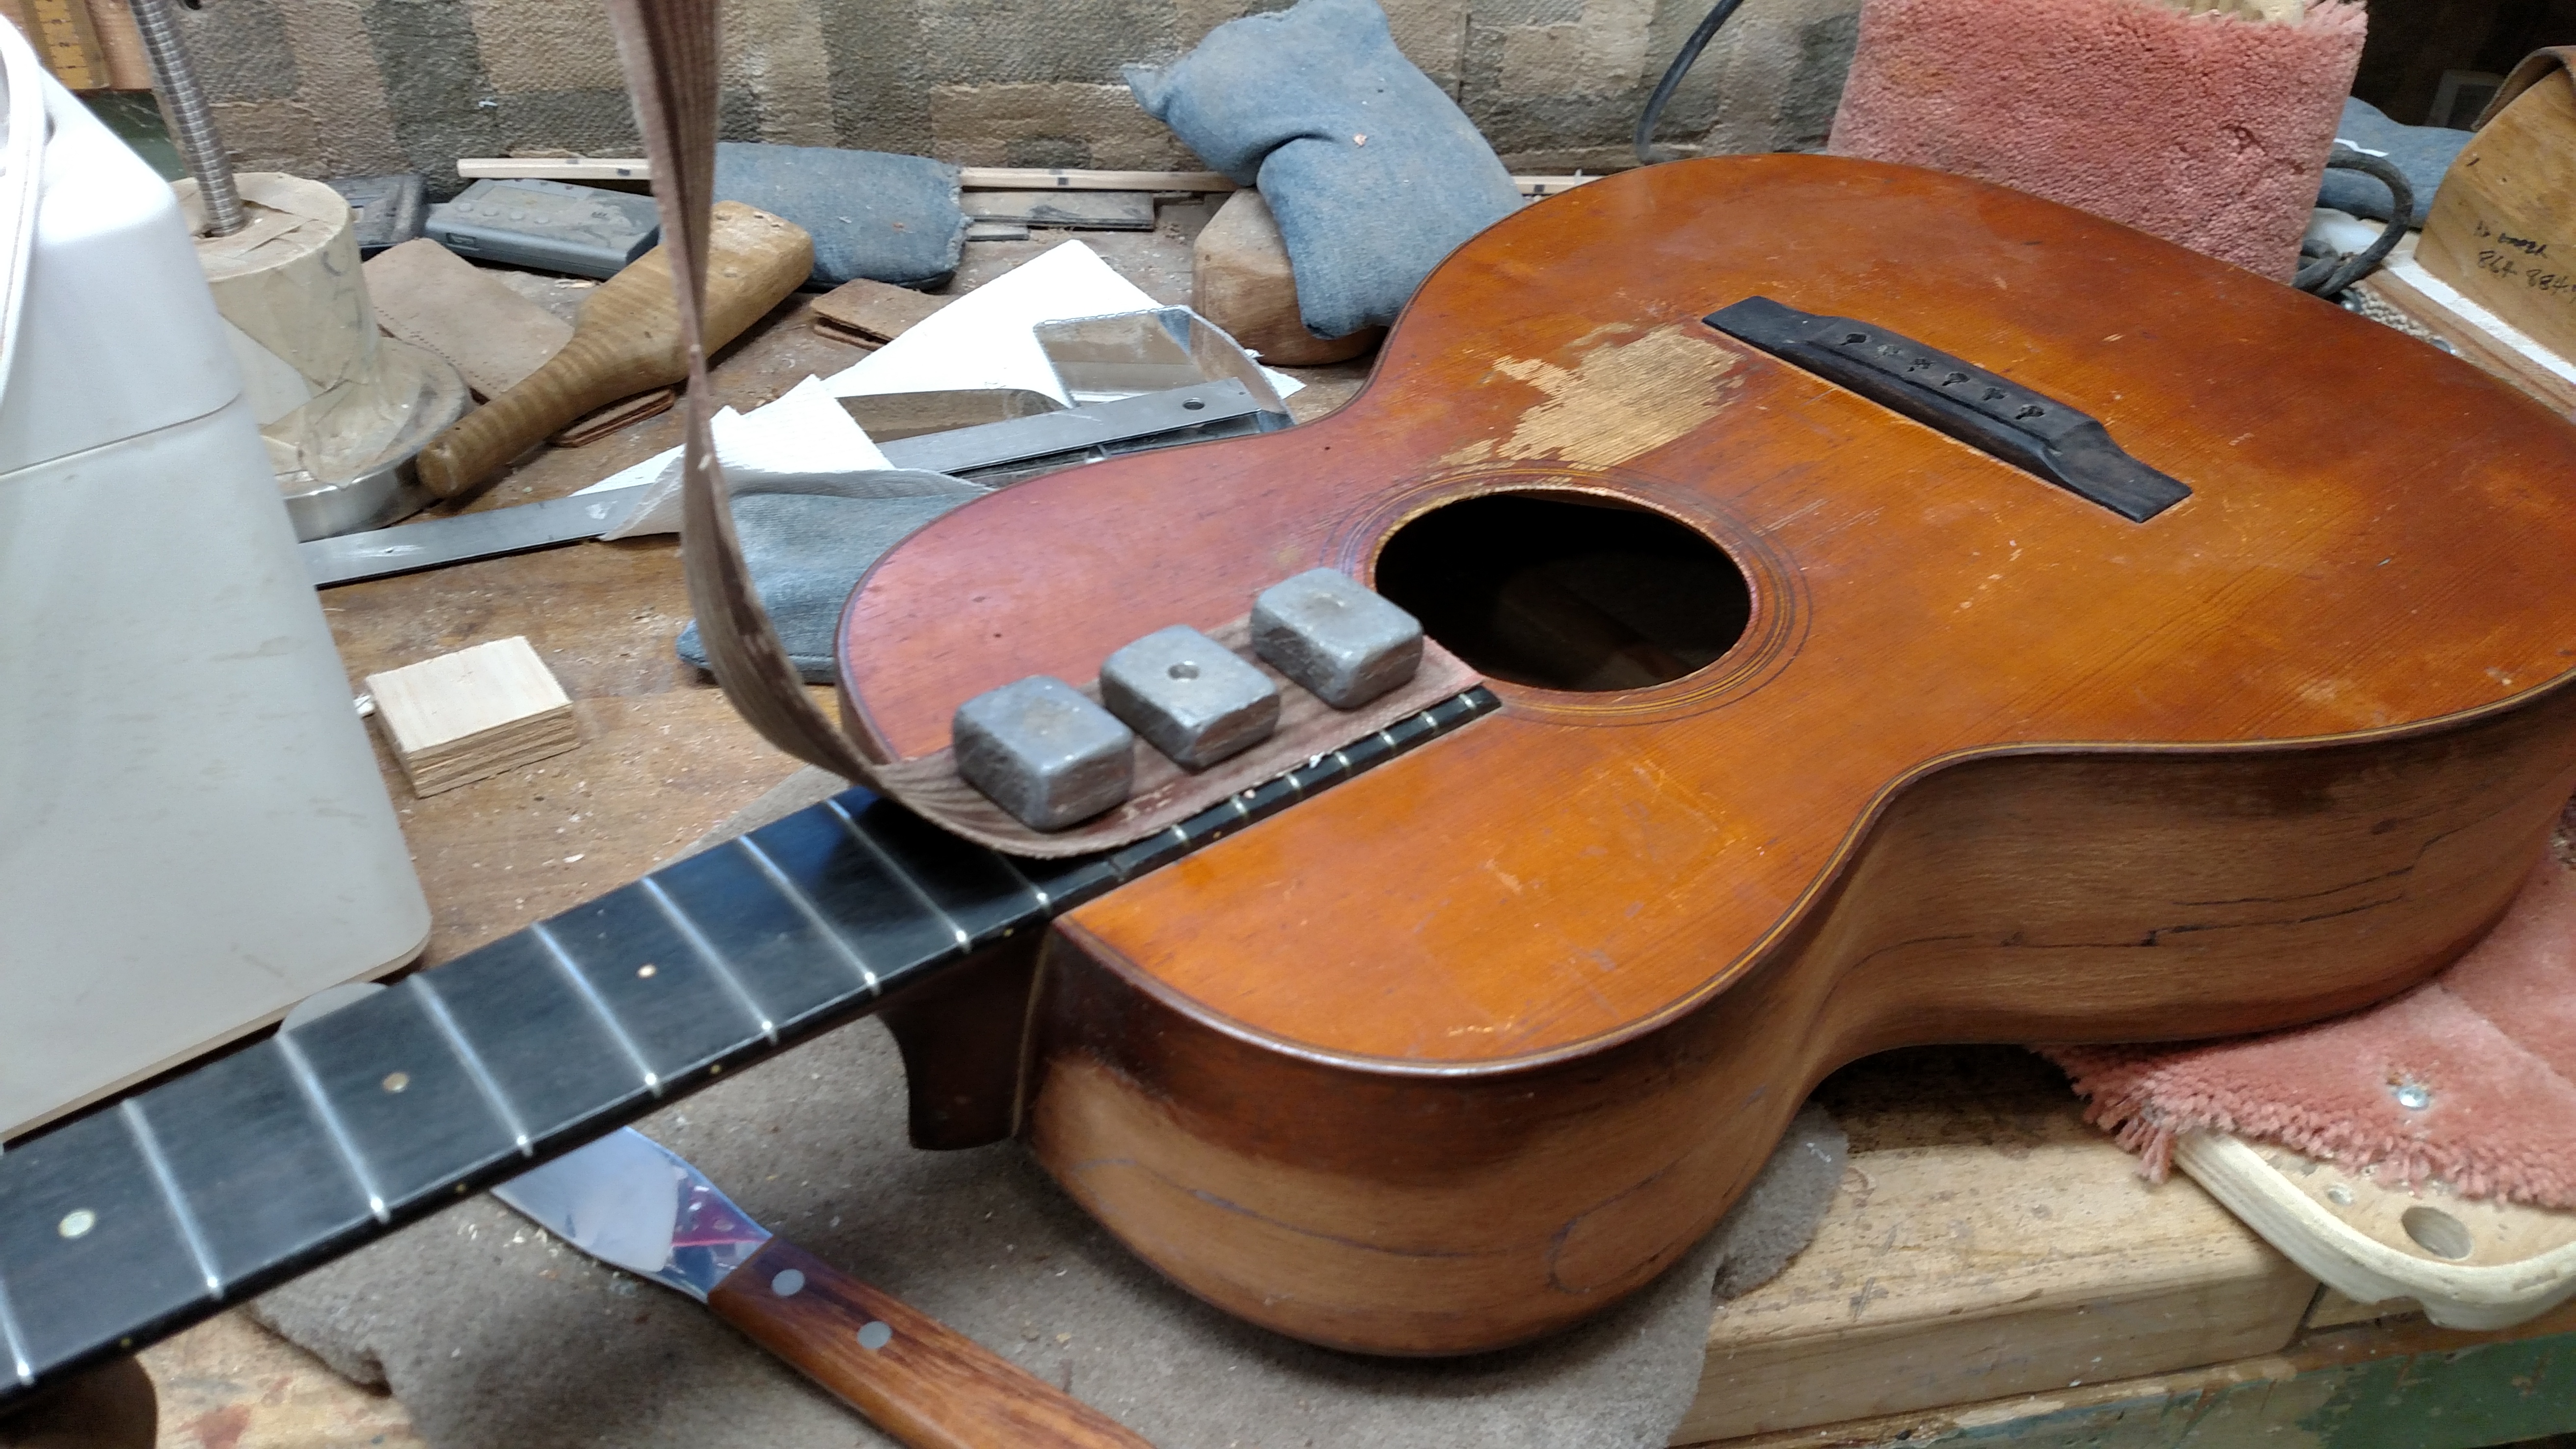
After getting the sides stabilized and glued together, I turned my attention to the bridge. It appeared to be the original bridge which someone had re-glued with a foam looking substance. This may have been Gorilla Glue. The bridge came off easily with a little heat.
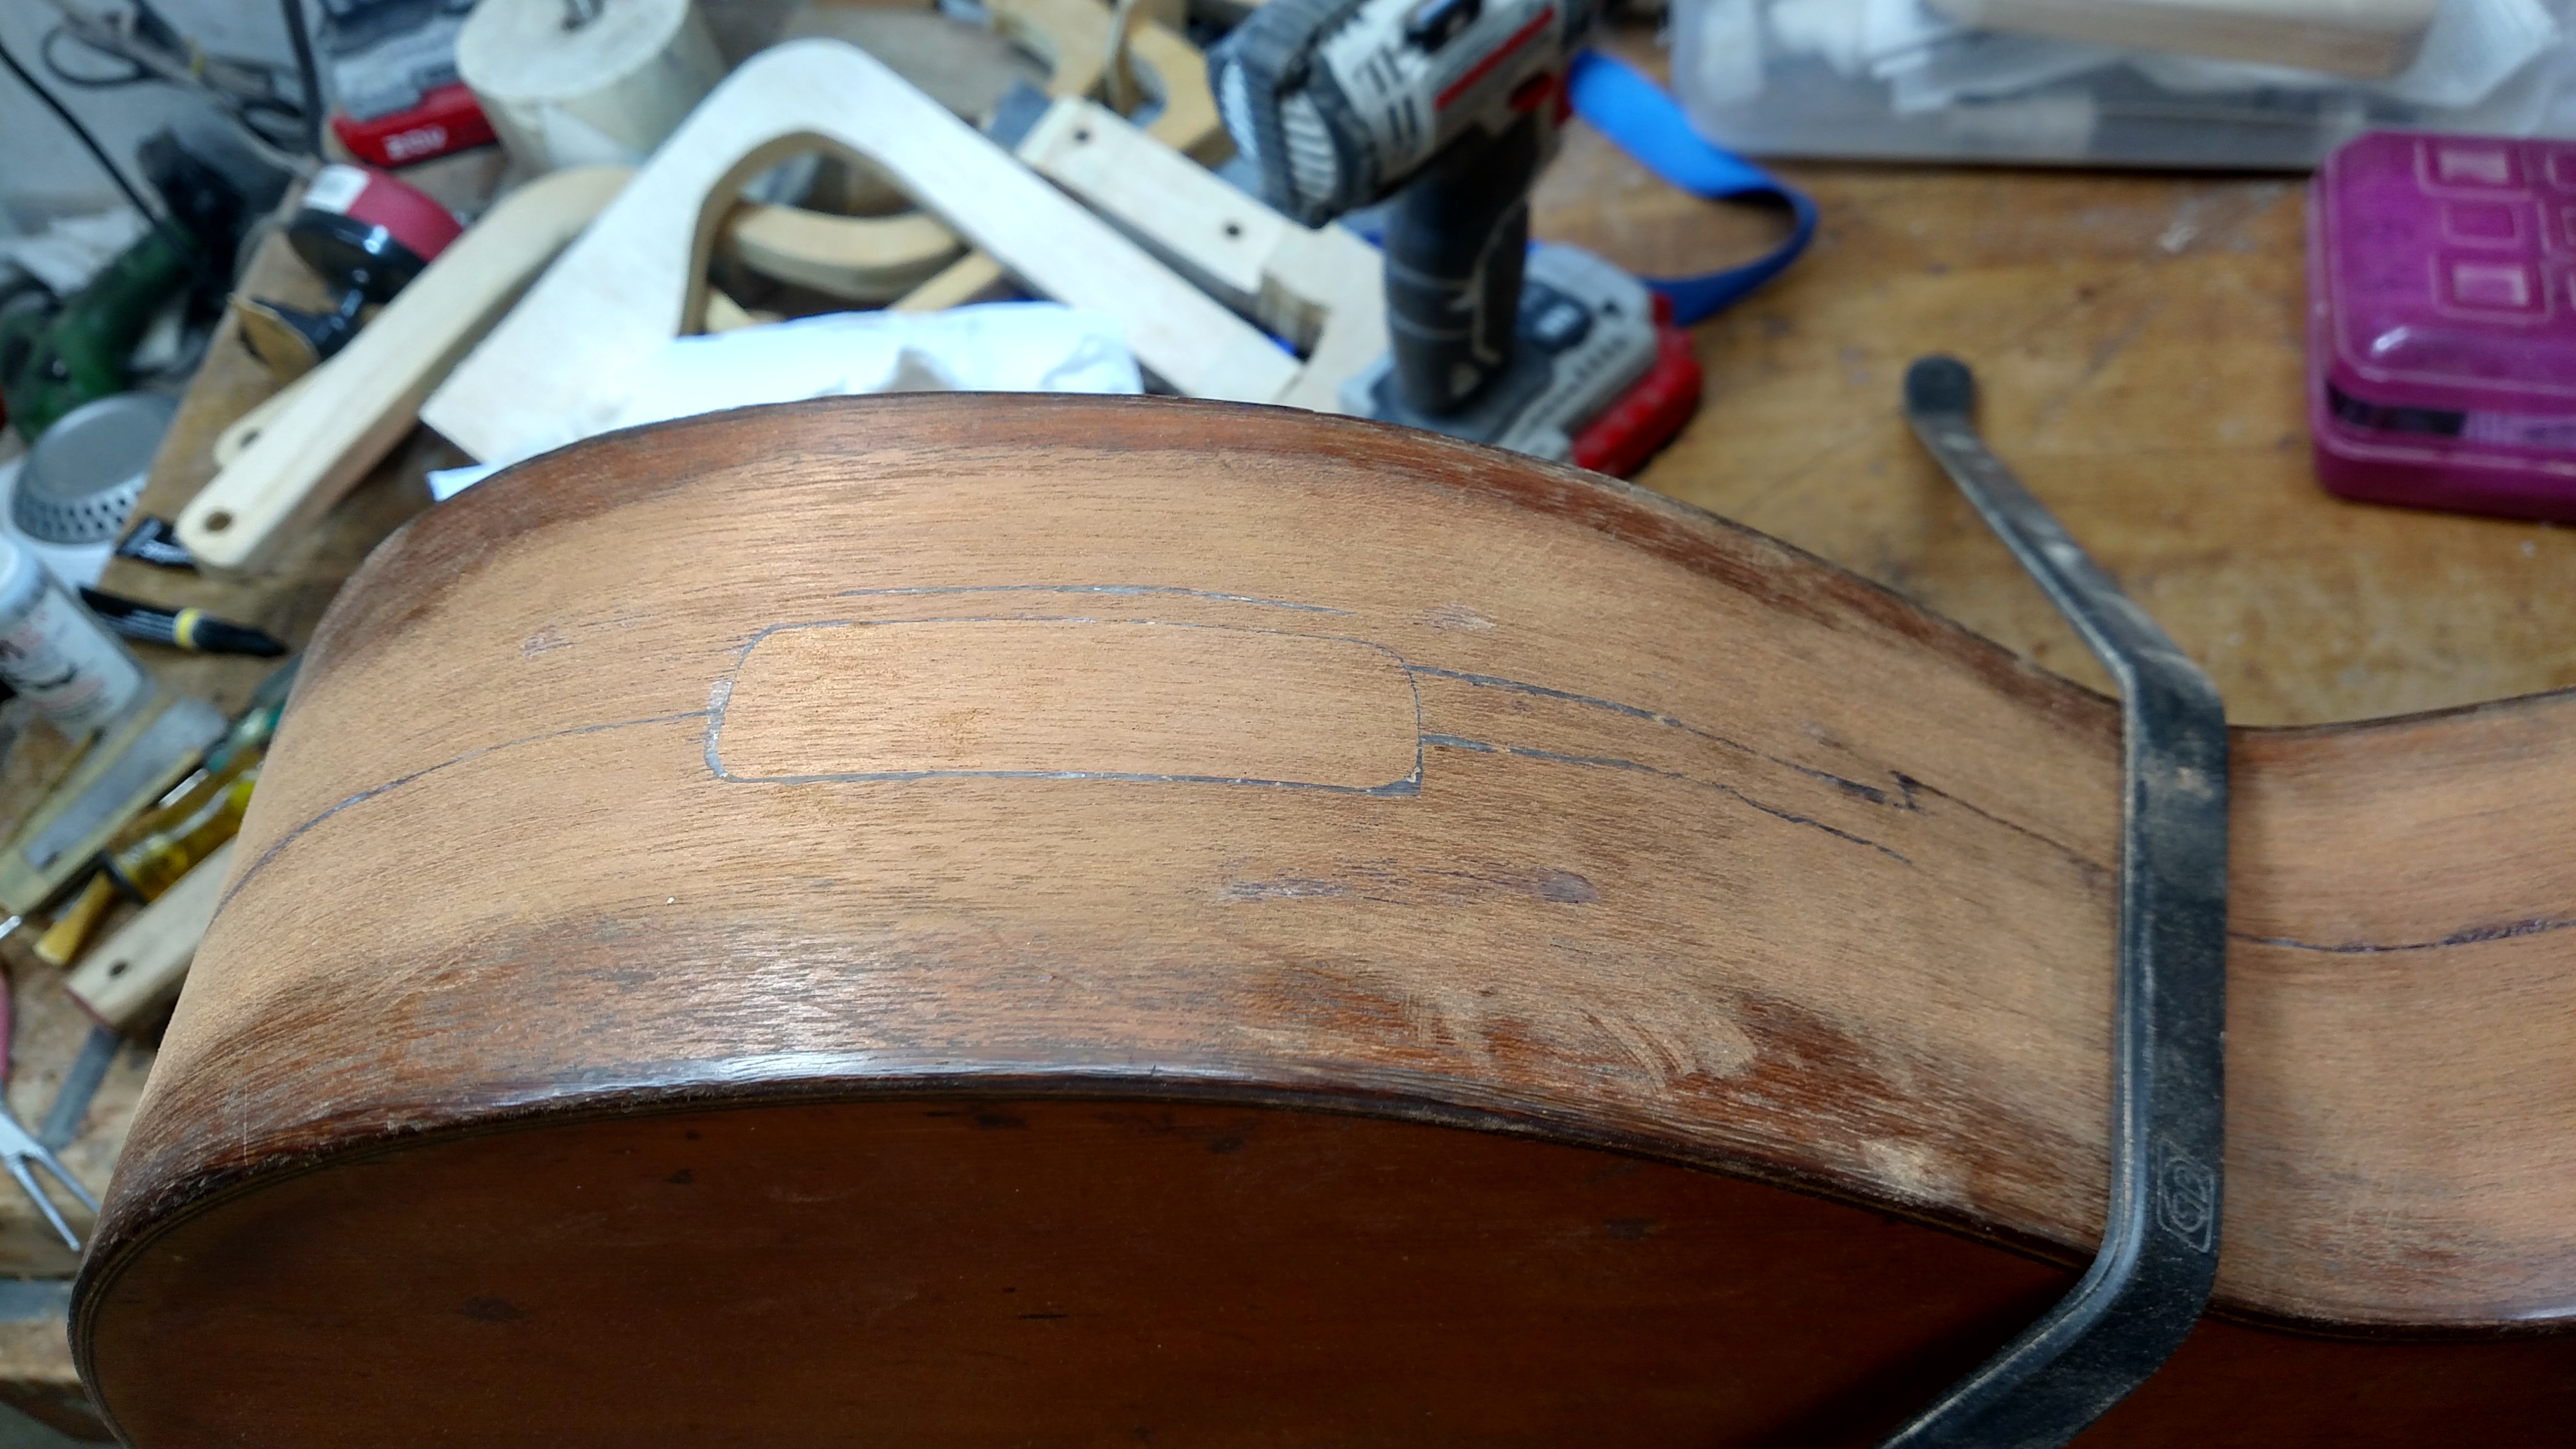
I made one of my templates from some thin plastic material. It was made by cutting around the bridge (after it was cleaned up on bottom). This makes a template which I used to seclude the area for cleaning the glue off the top and this template is also used to locate the position of the bridge for gluing.
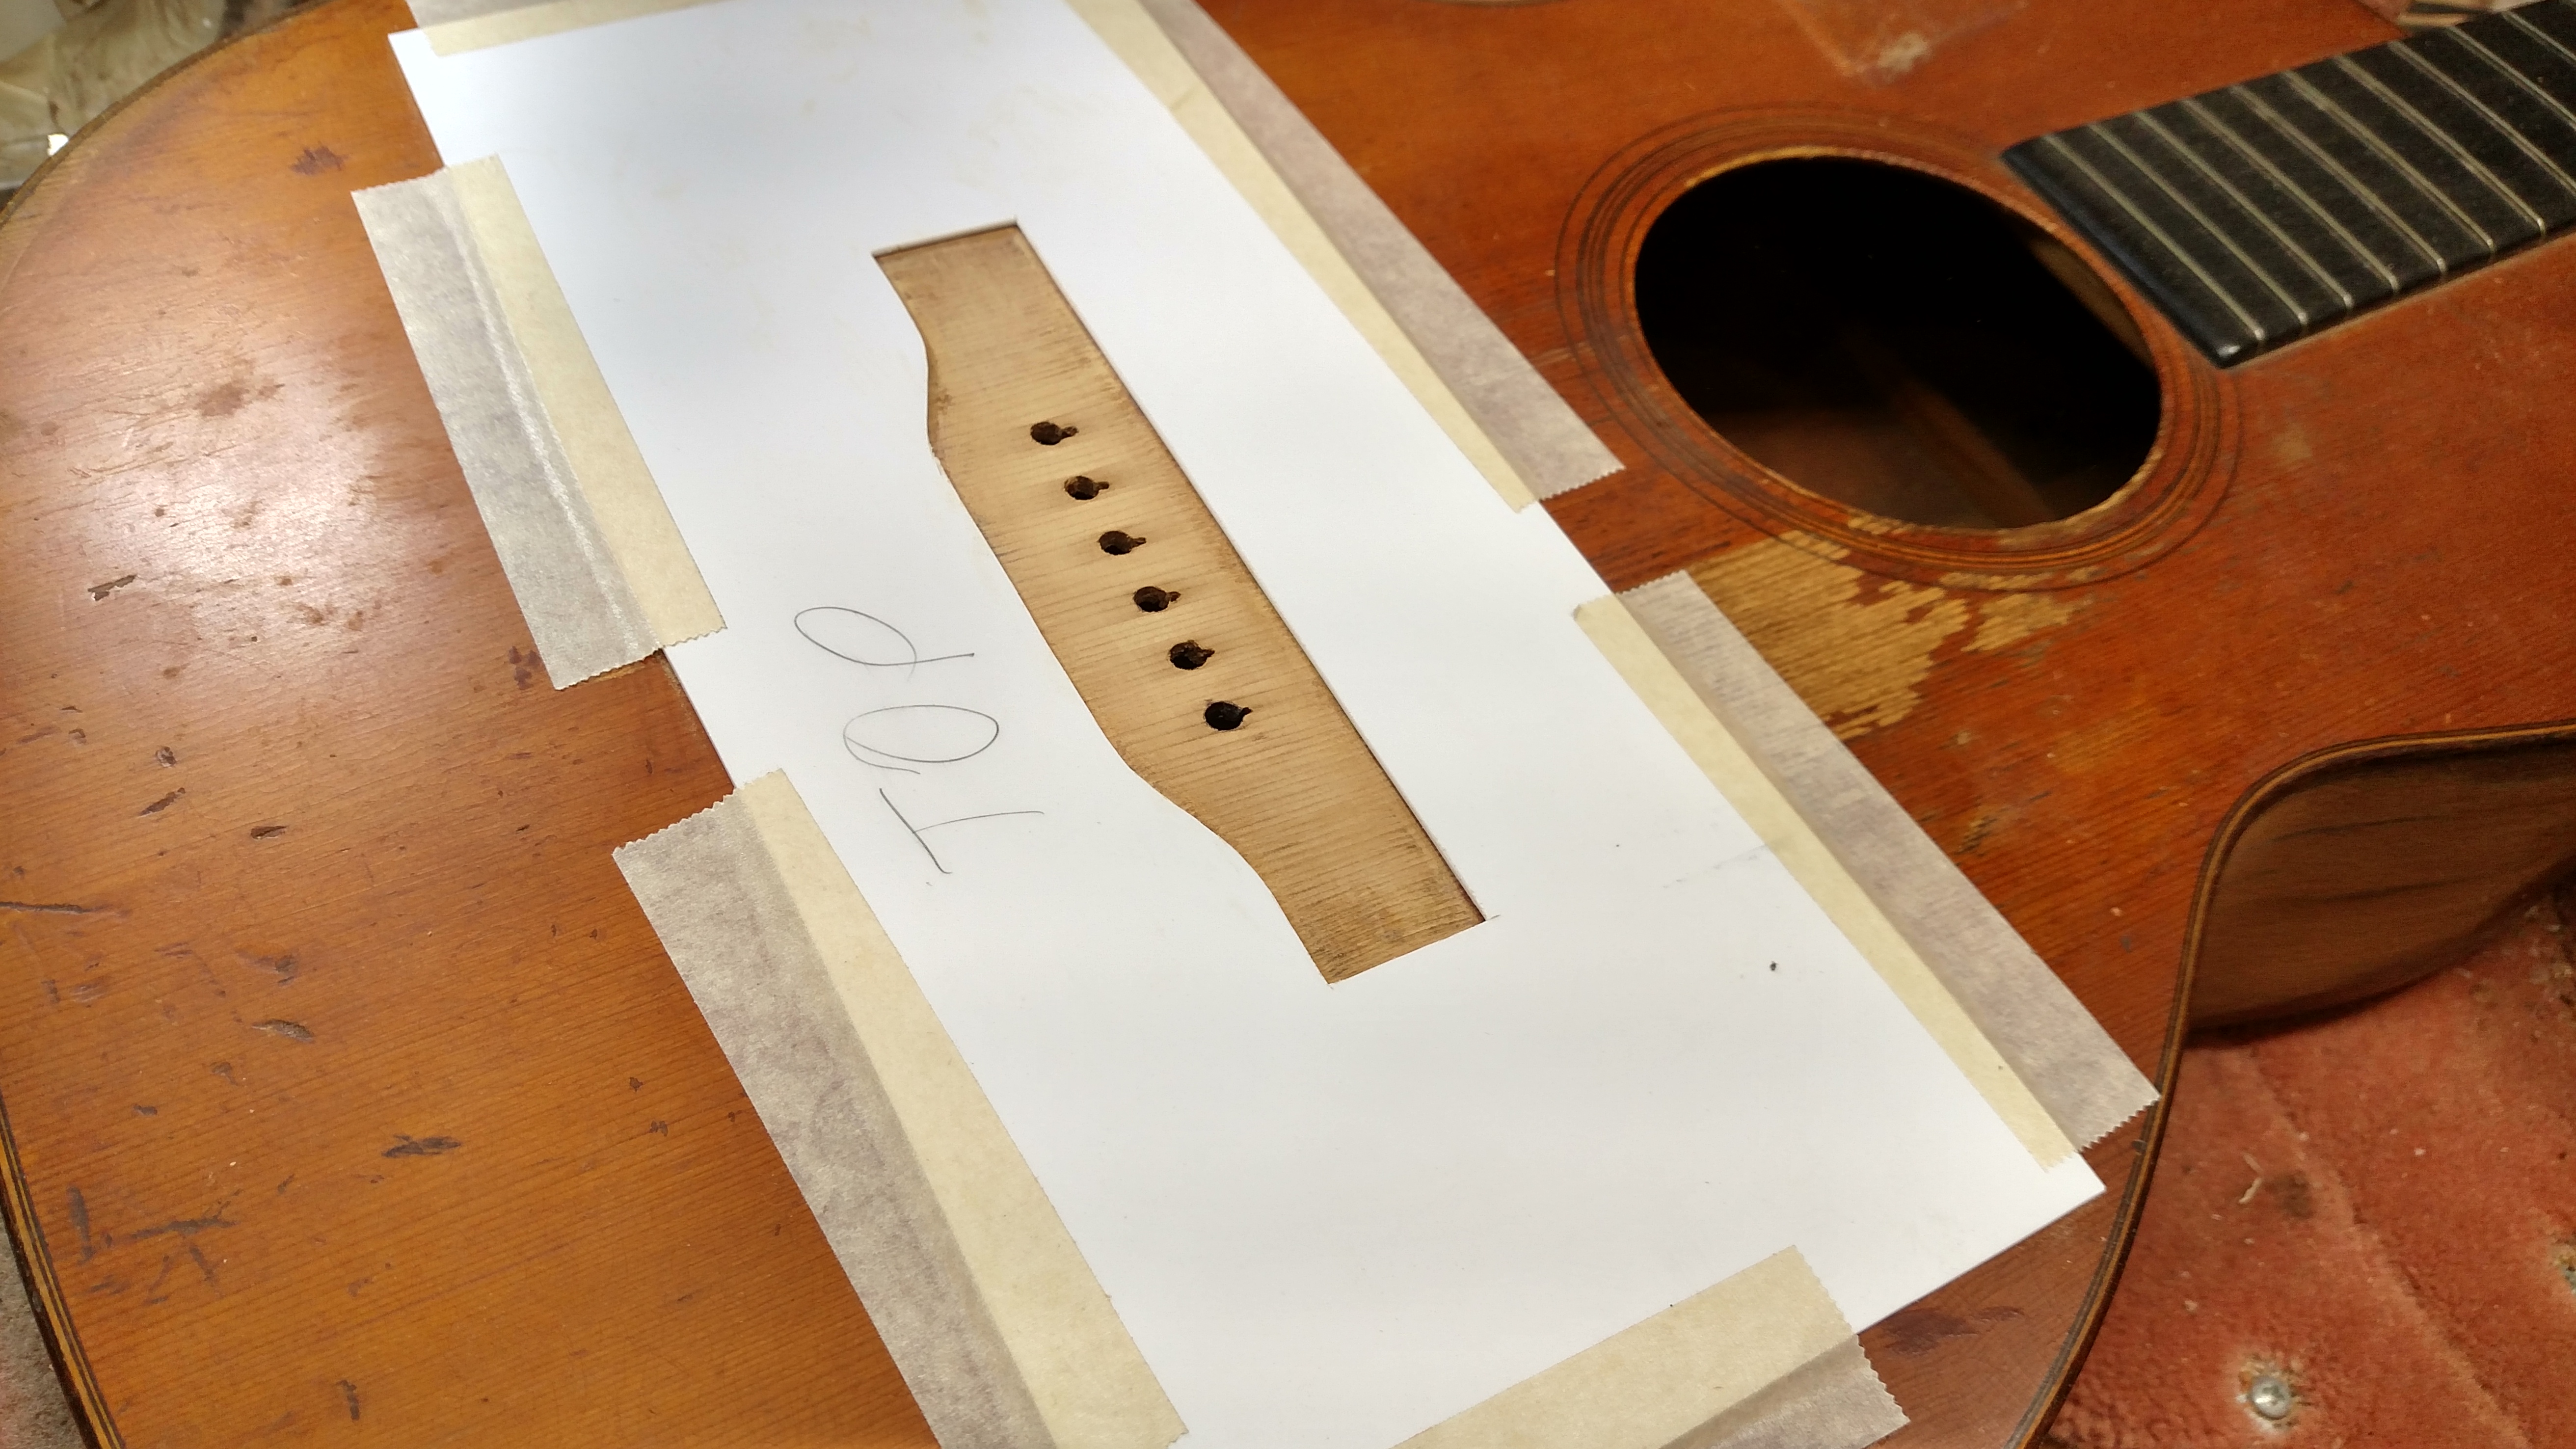
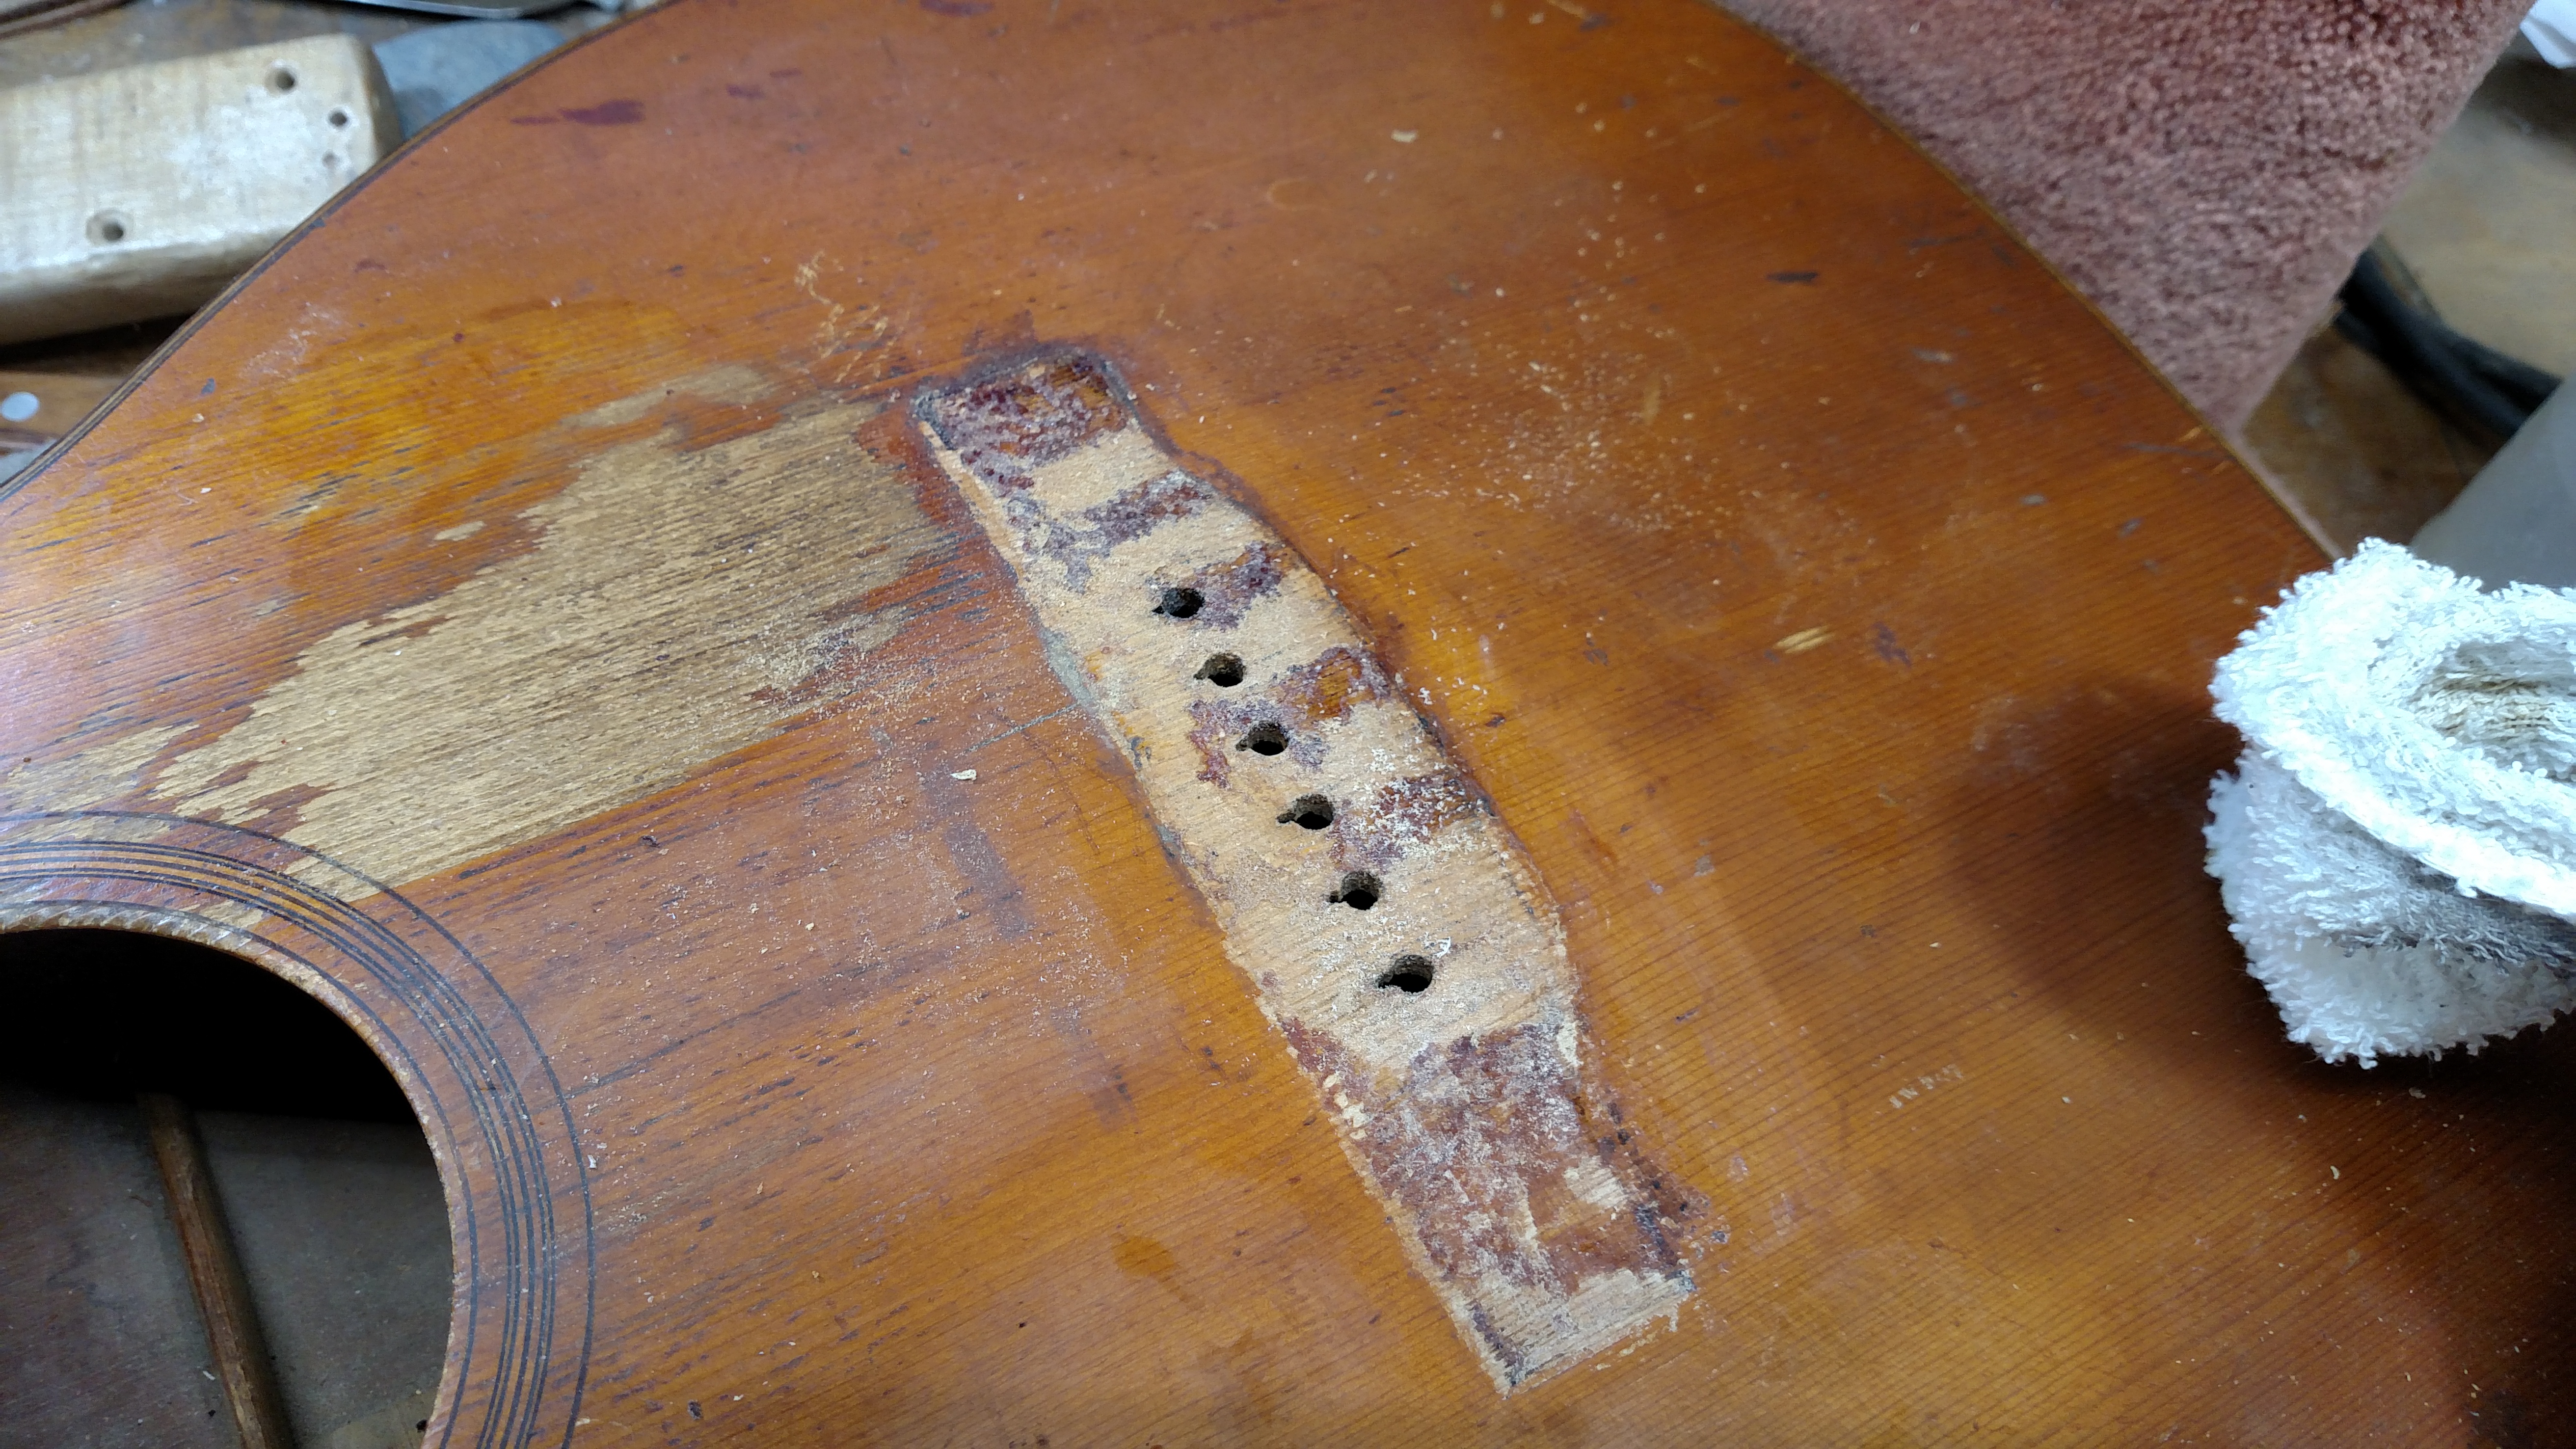
I located the original bridge position and determined that the bridge had been located in an acceptable position originally. Sometimes I see a bridge that was not located in the right position from the factory. These home made templates allow me to glue the bridge on without it moving around. This has made this job a lot easier since I devised this method.
Here is the bridge after everything was cleaned and it is ready to be re-glued. I had to fabricate a different caul to use underneath the sound board since the braces in this 12 fret model are not like the Dreadnought. I used the original bridge on this repair. I had a lot of original Martin take off bridges that I got a few years ago. The string spacing on this bridge was different from any I had in stock. The old bridge was still in one piece and it didn’t appear to have been thinned down.
After the bridge is re-glued, I removed the plastic template and cleaned off the squeeze out with a damp rag. I used aliphatic resin glue for this bridge. I realize that hide glue is the preferred glue, but again I felt this would be my best bet to hold since there had been other glues on it previously.
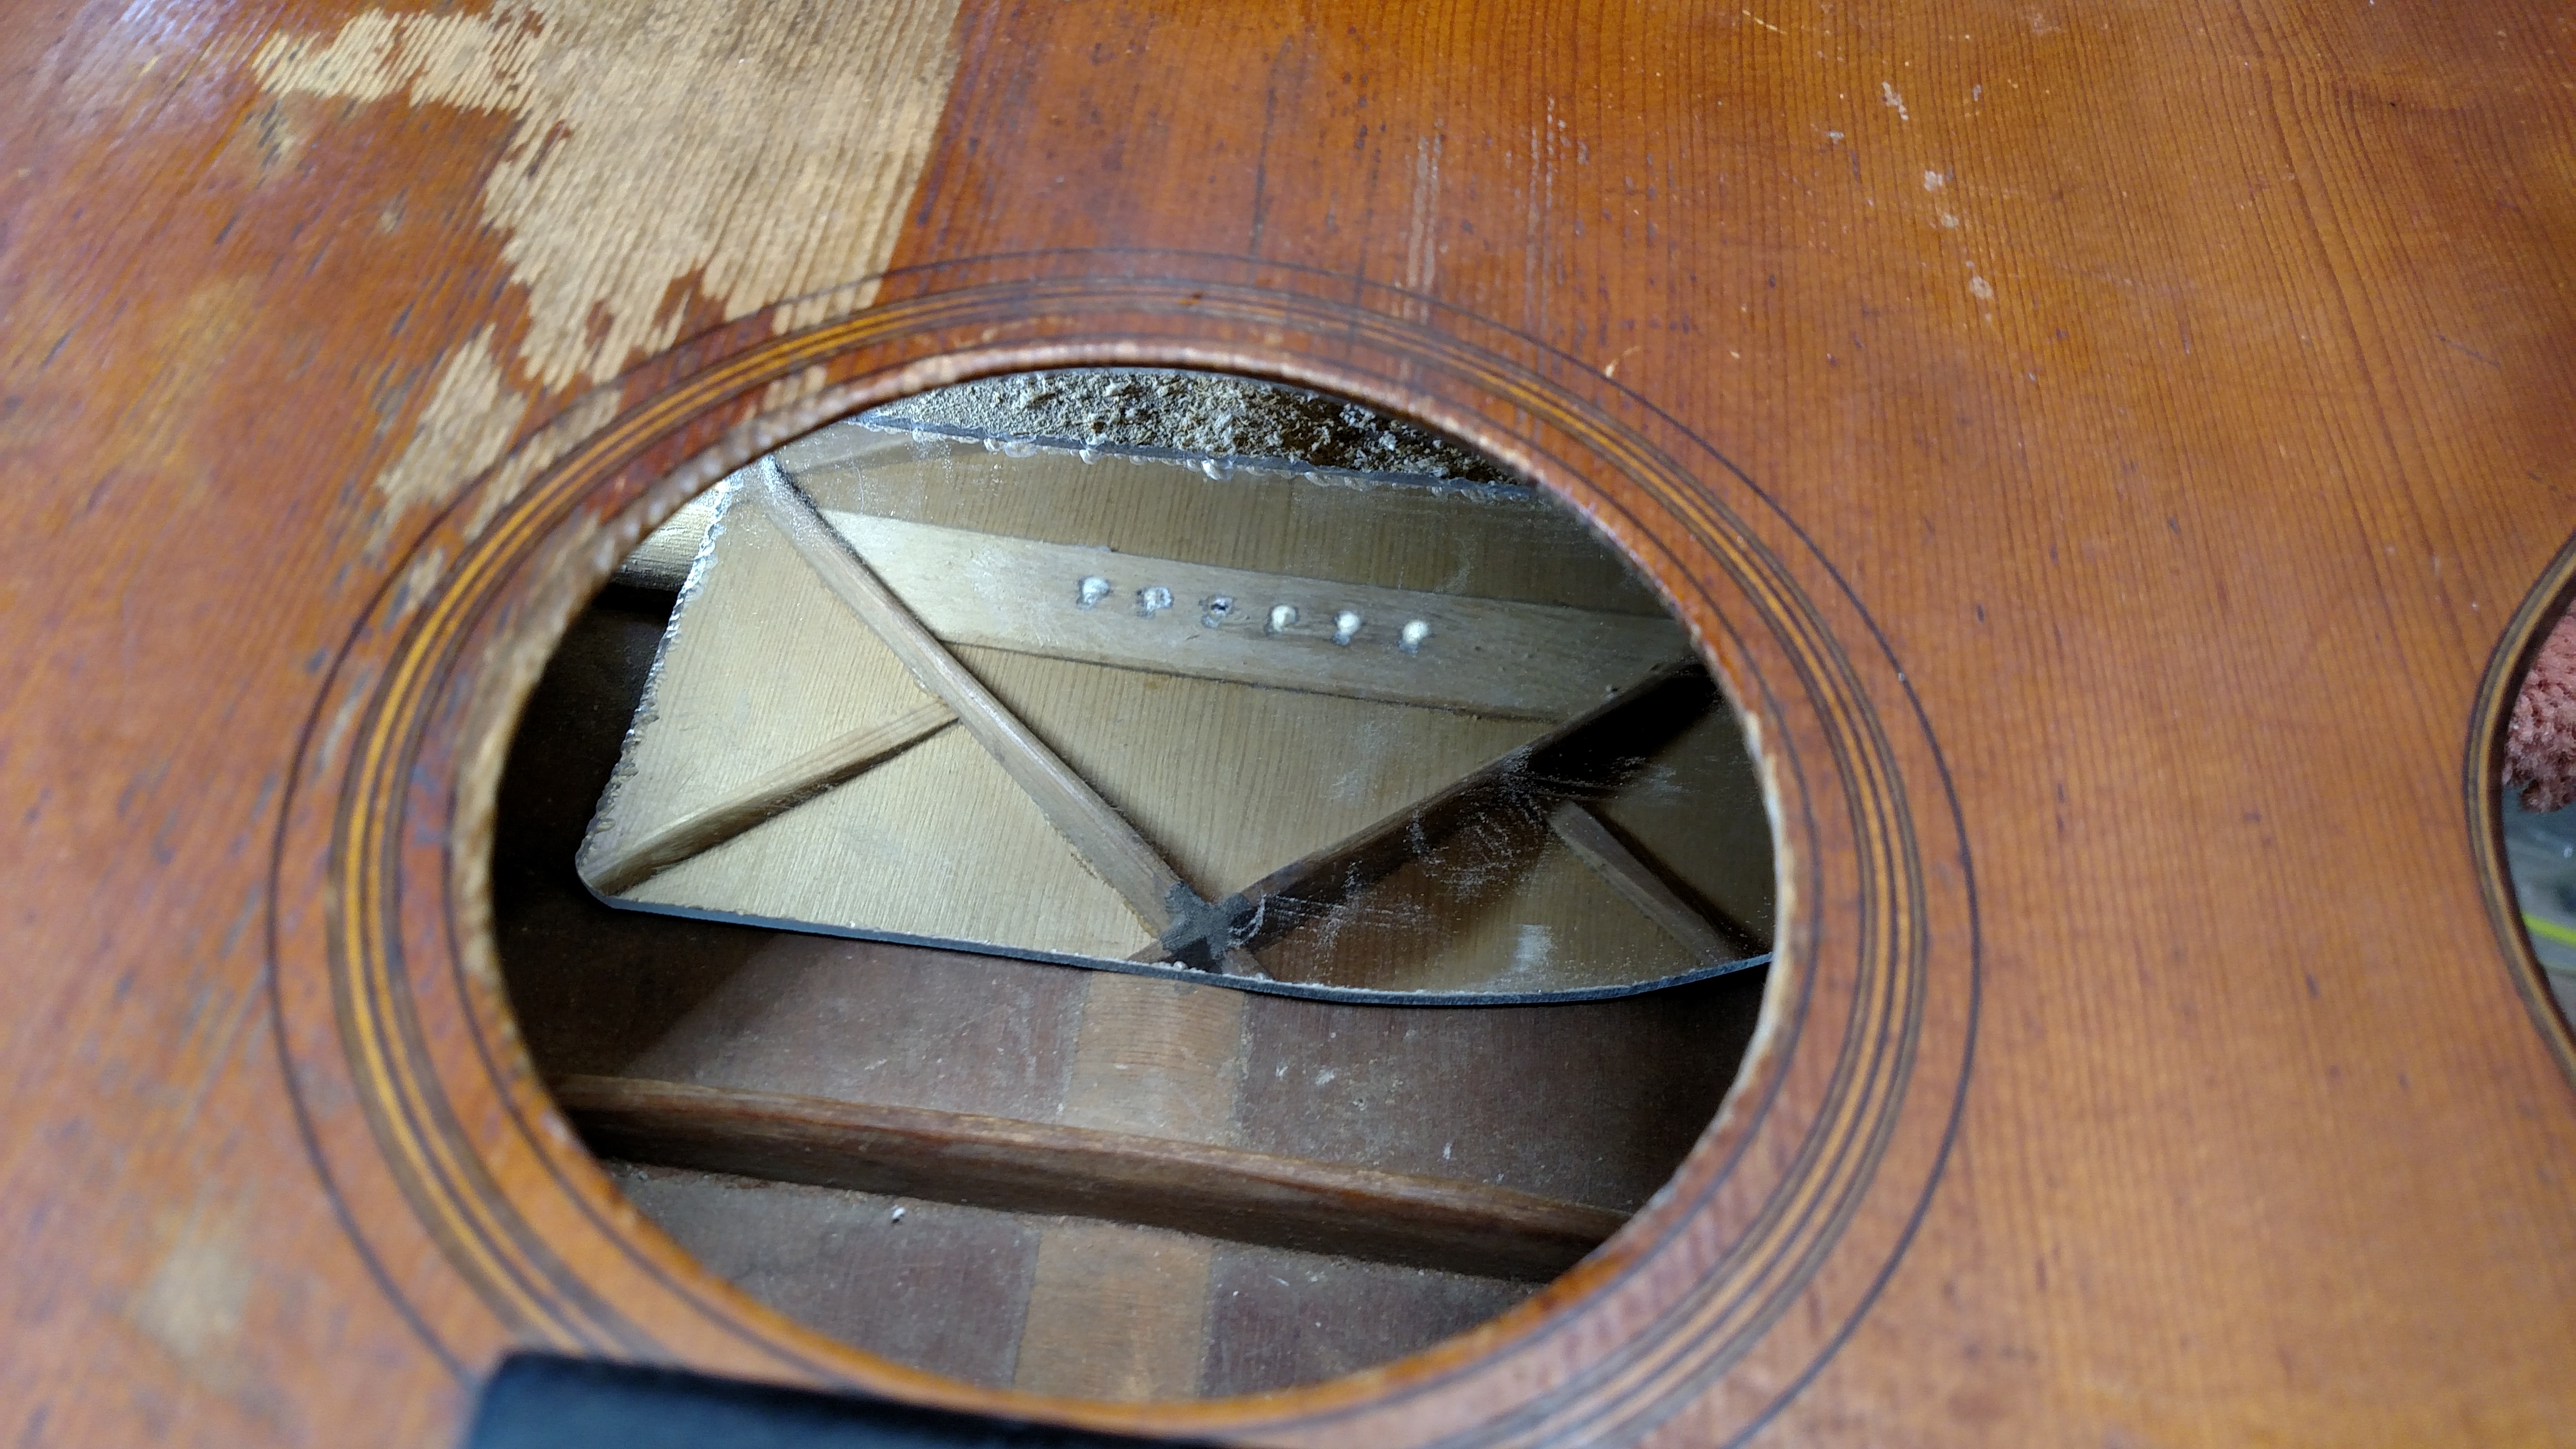
The maple bridge plate appeared to be attached well but the holes for the bridge pins were elongated from so many years of service. I felt that the risk of trying to remove this bridge plate would be too great. I fabricated a small piece of maple to go over this bridge plate to solve the issue of these elongated holes.
Here is my little plate which should not hinder the sound of the guitar and should solve the other problem.
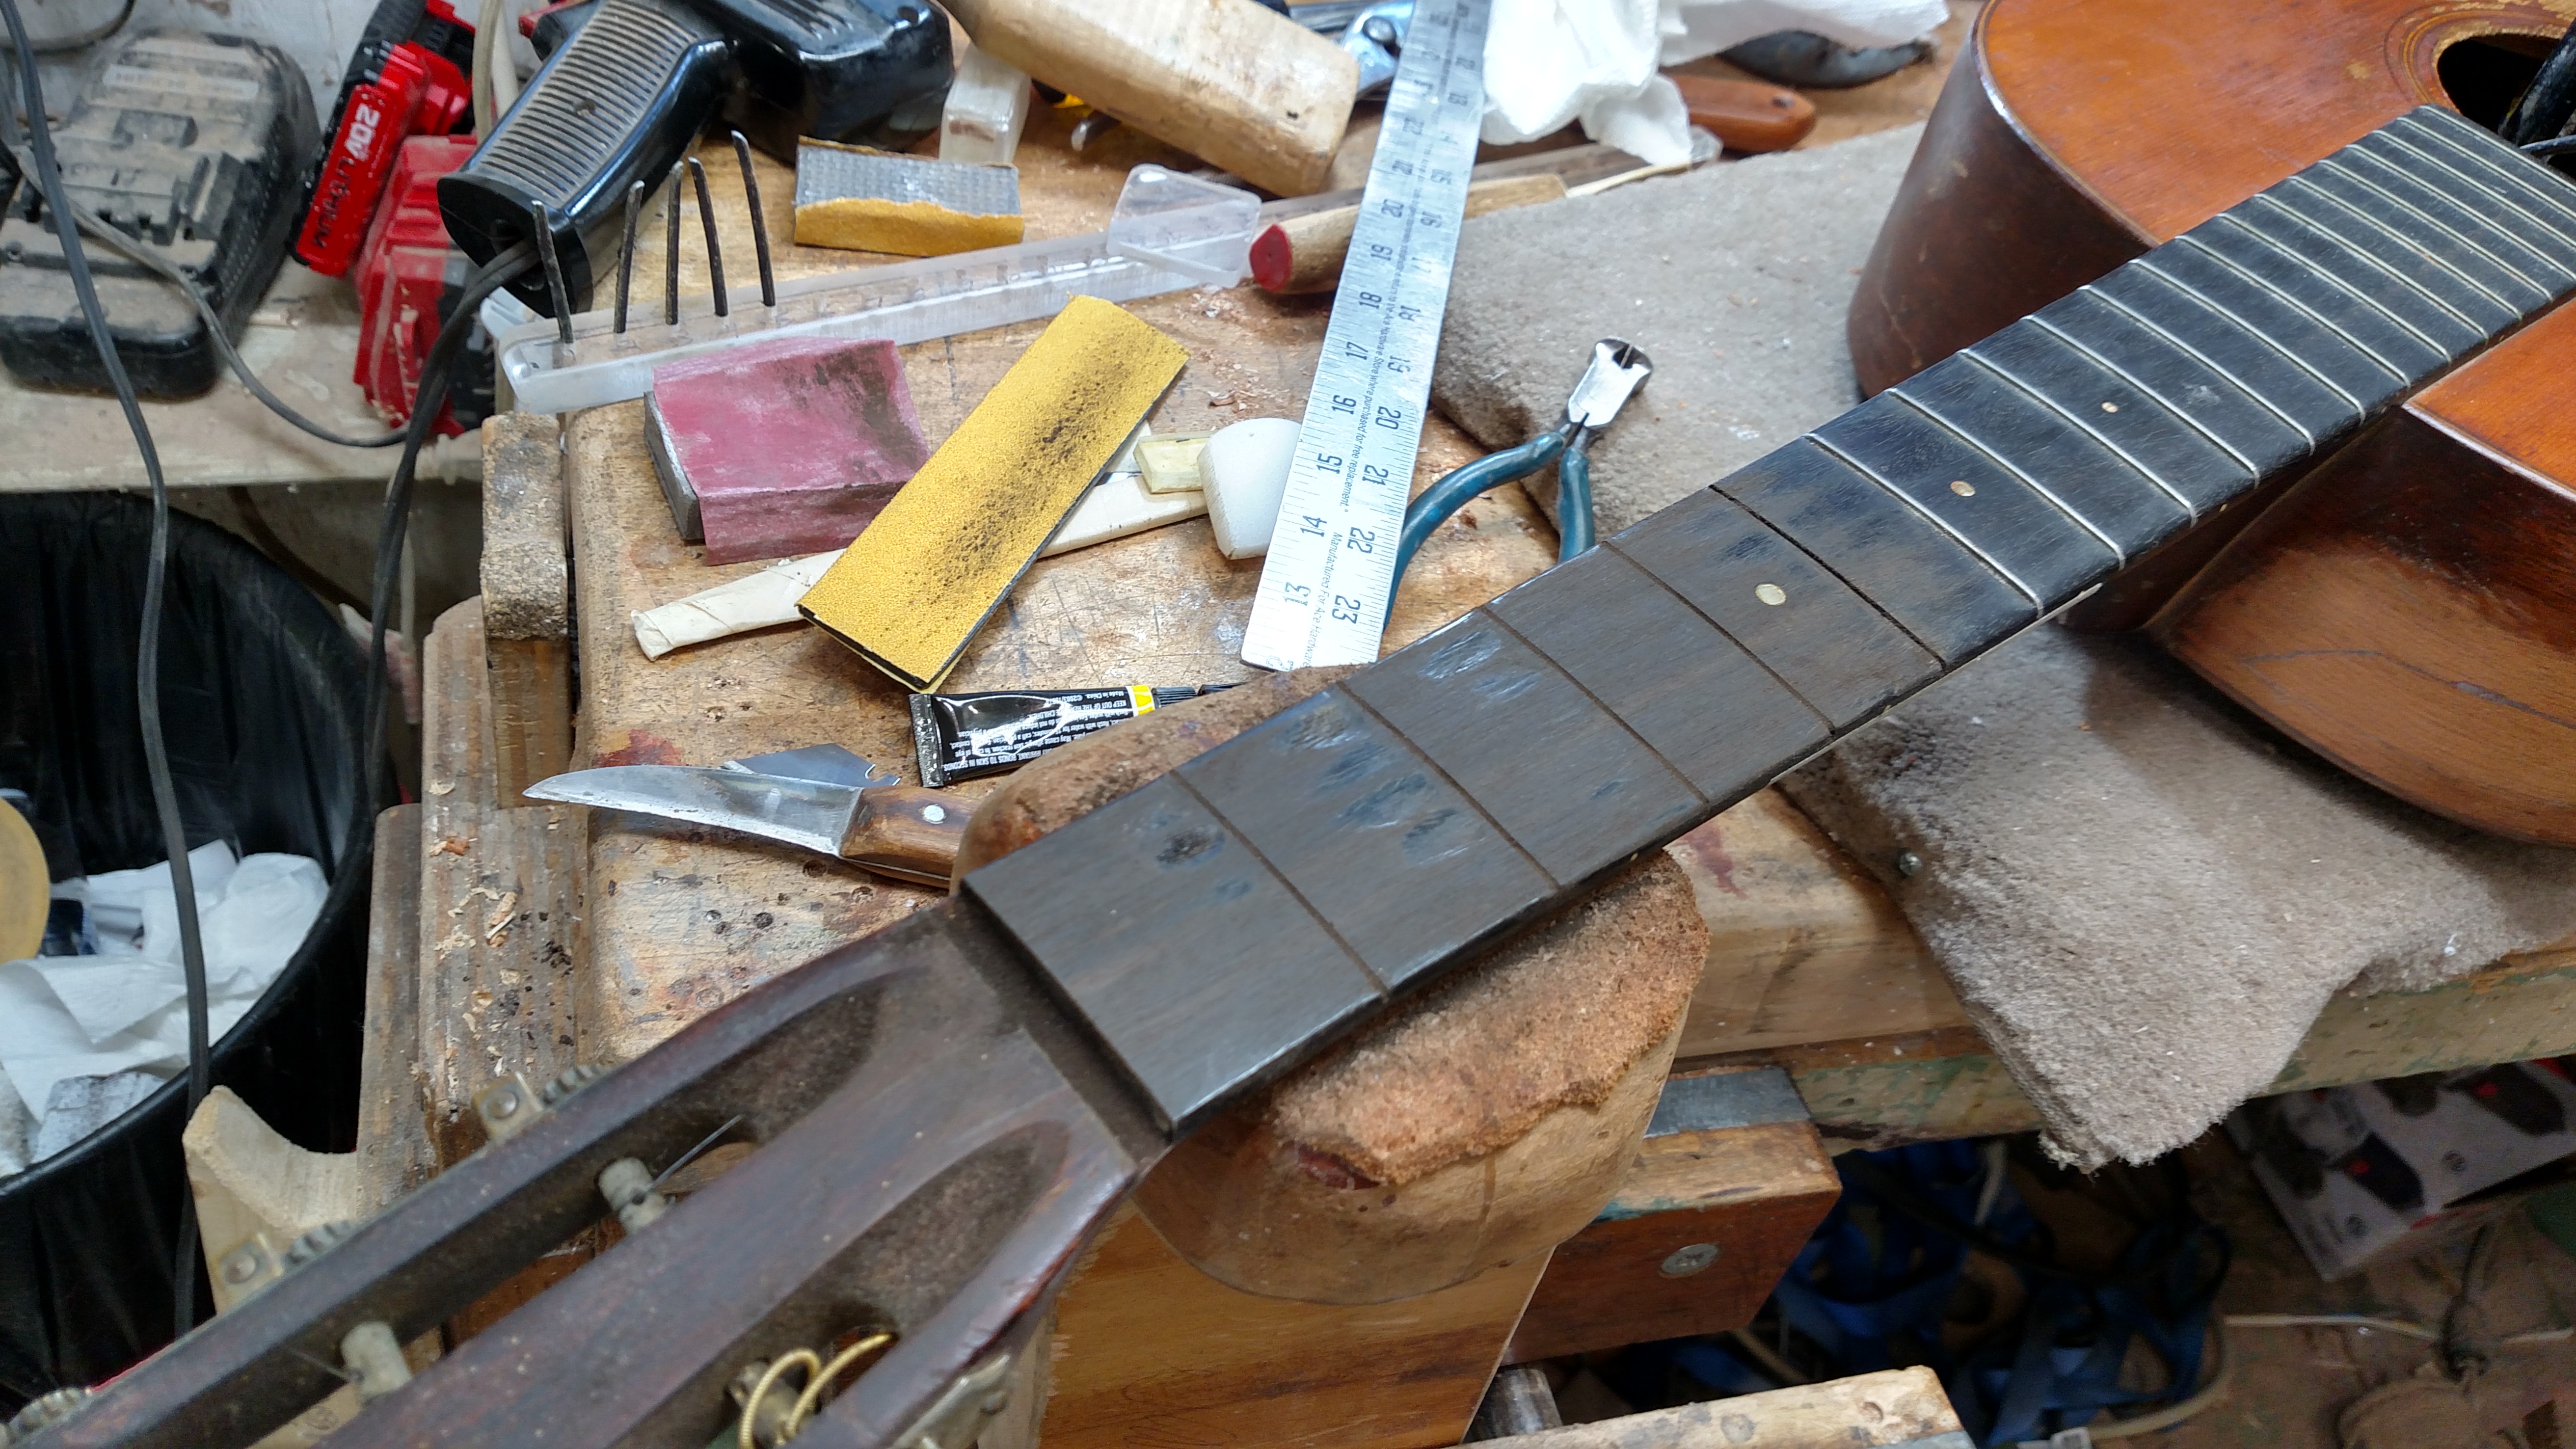
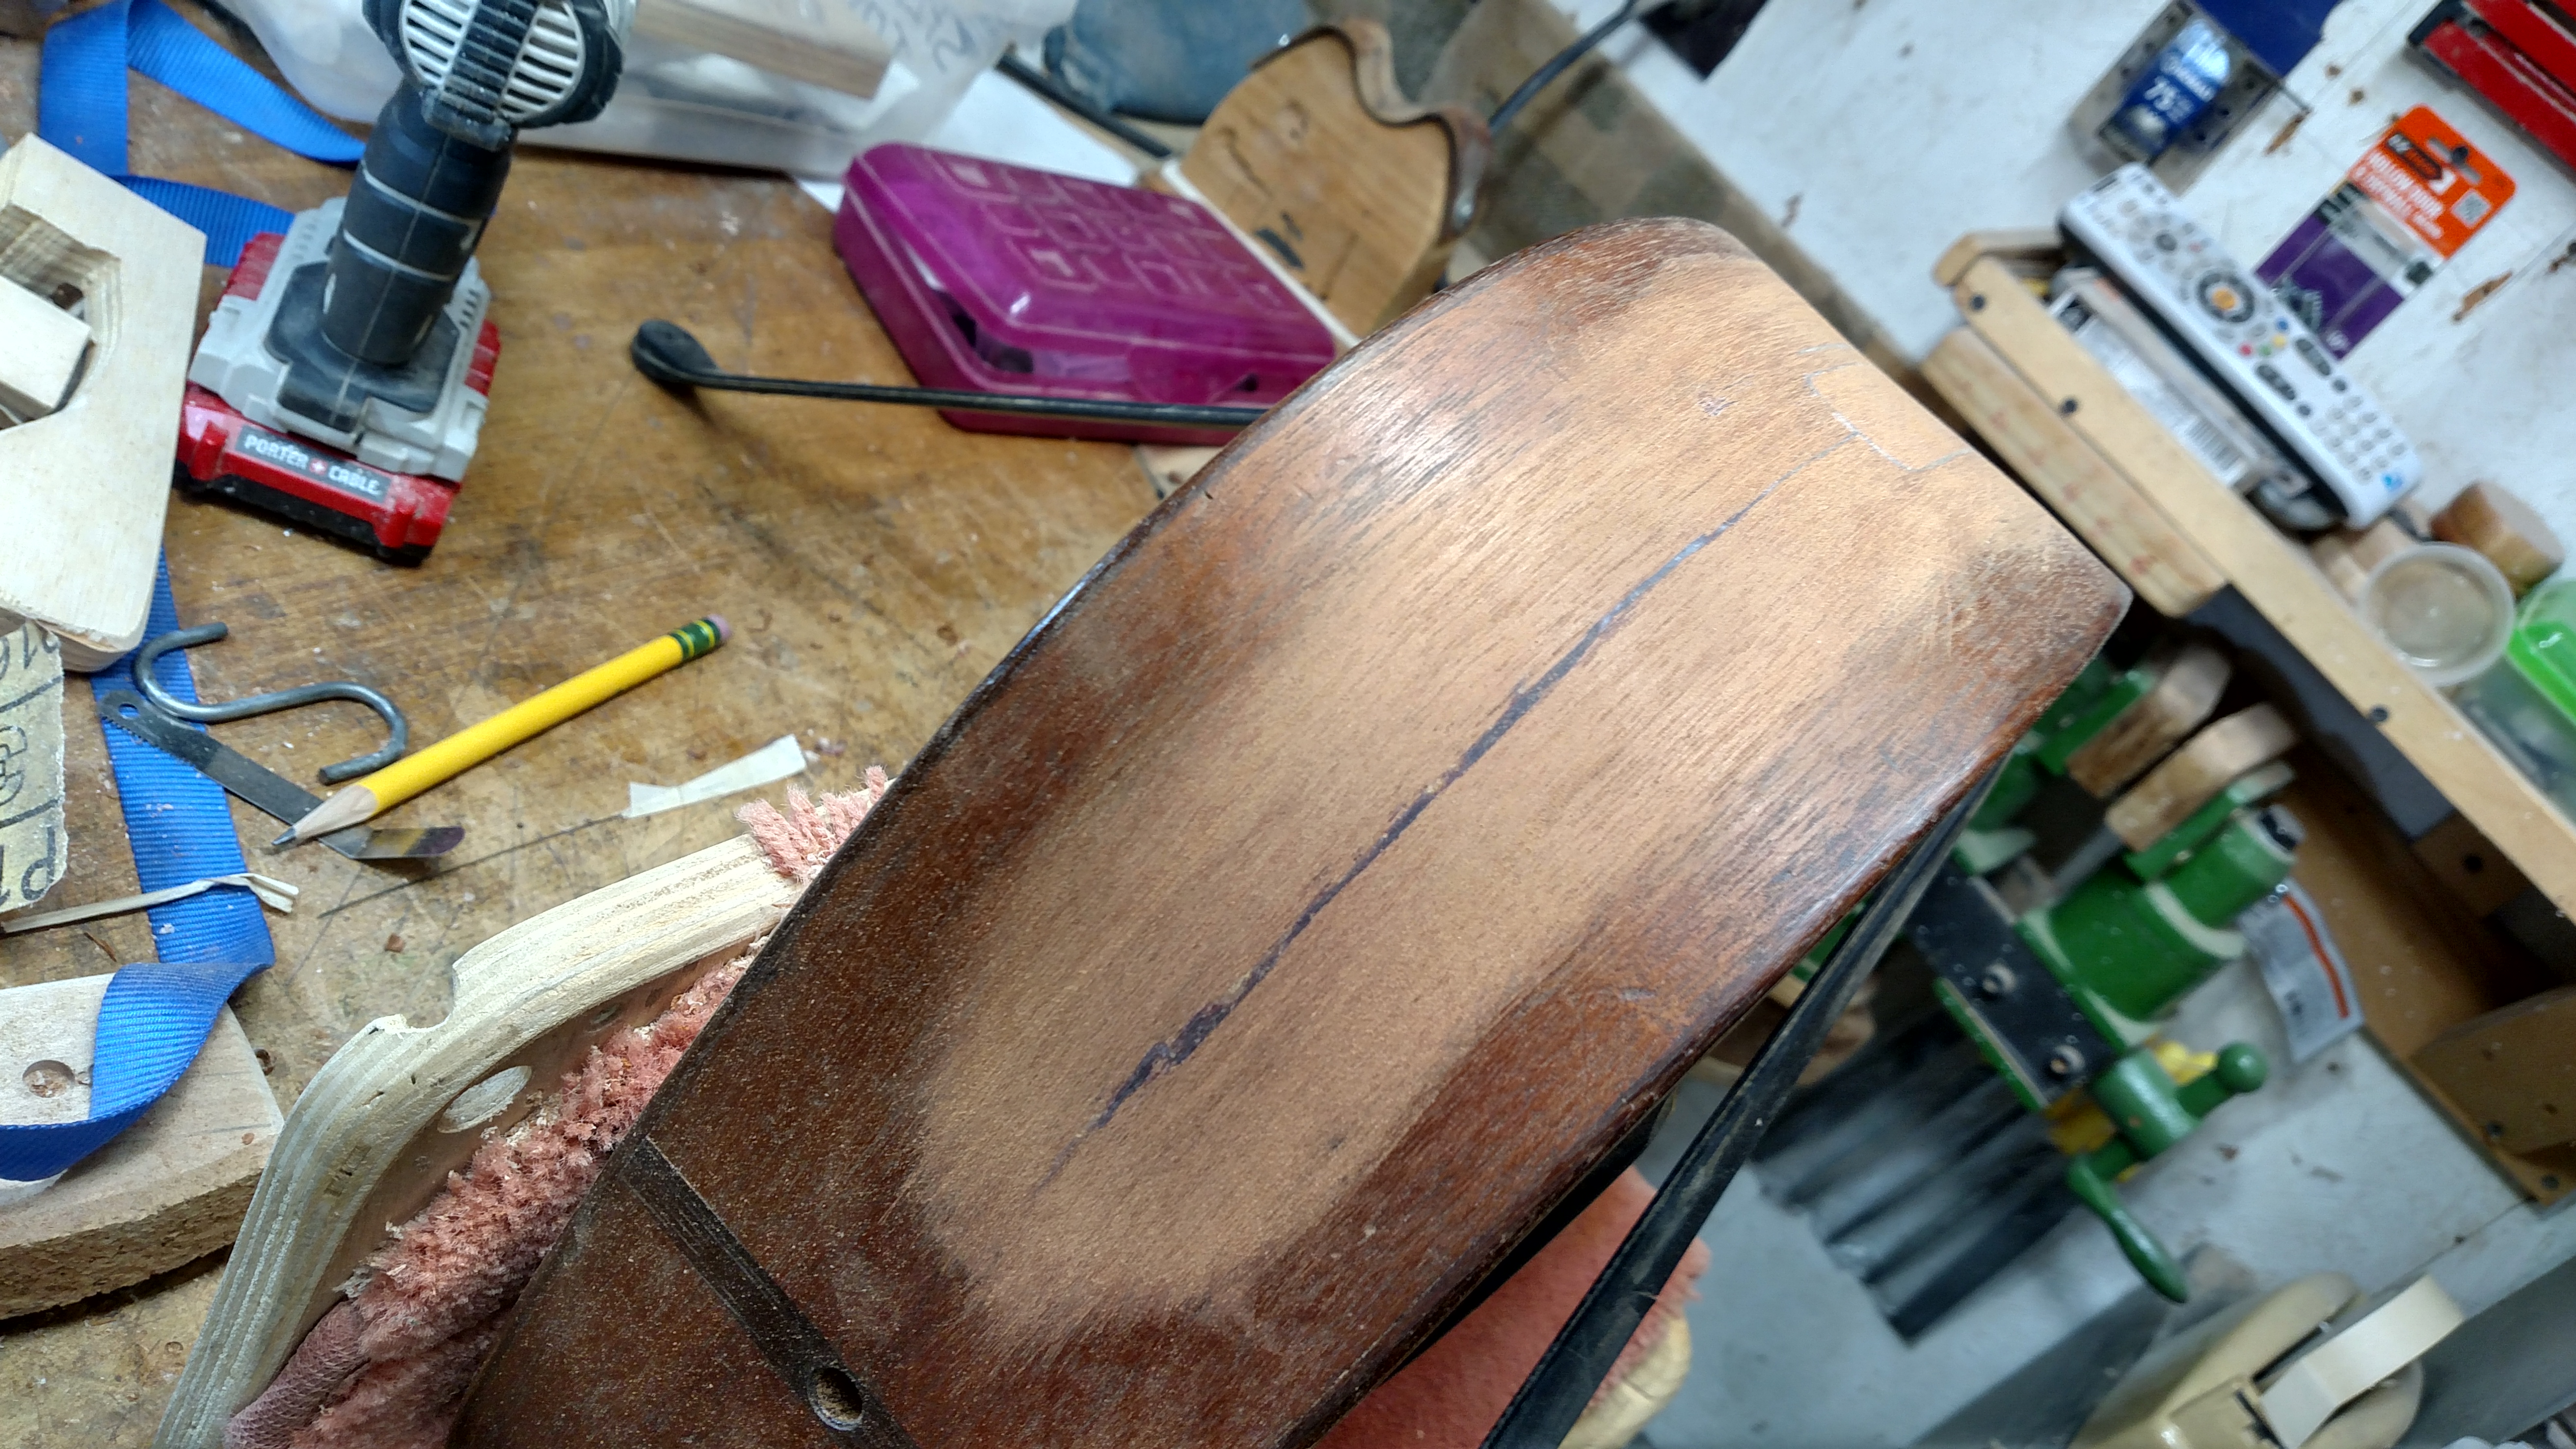
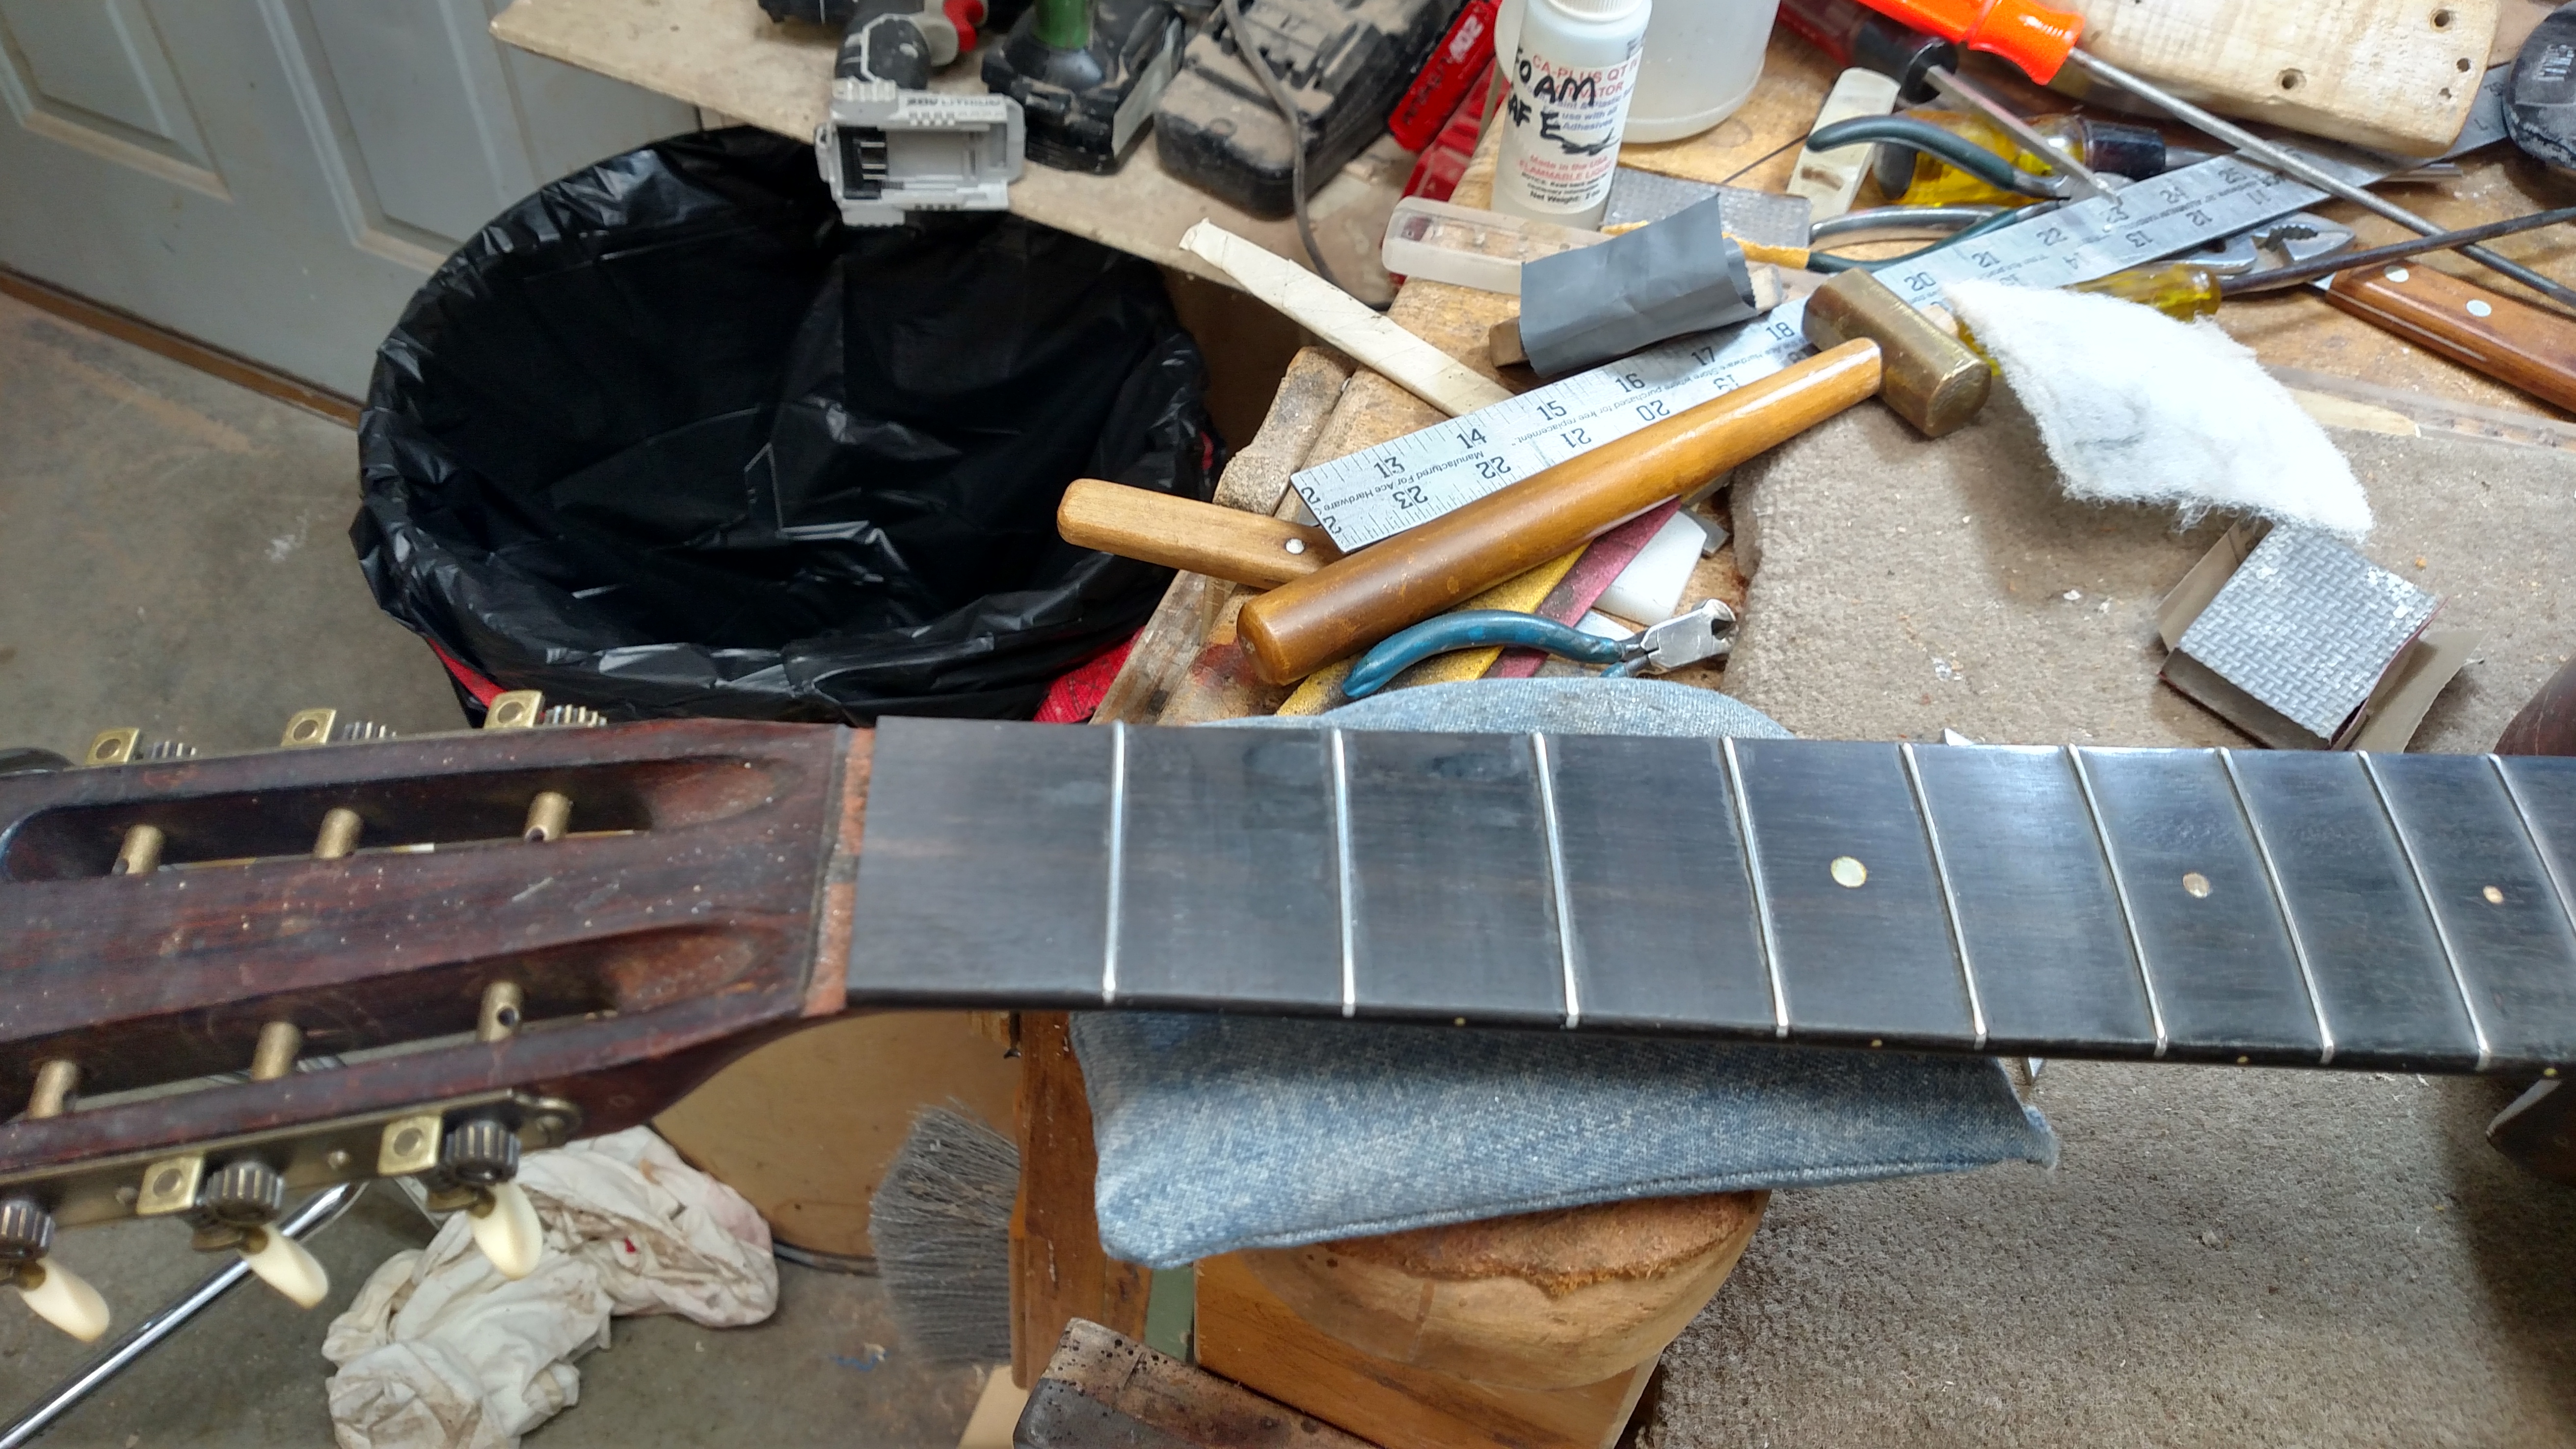
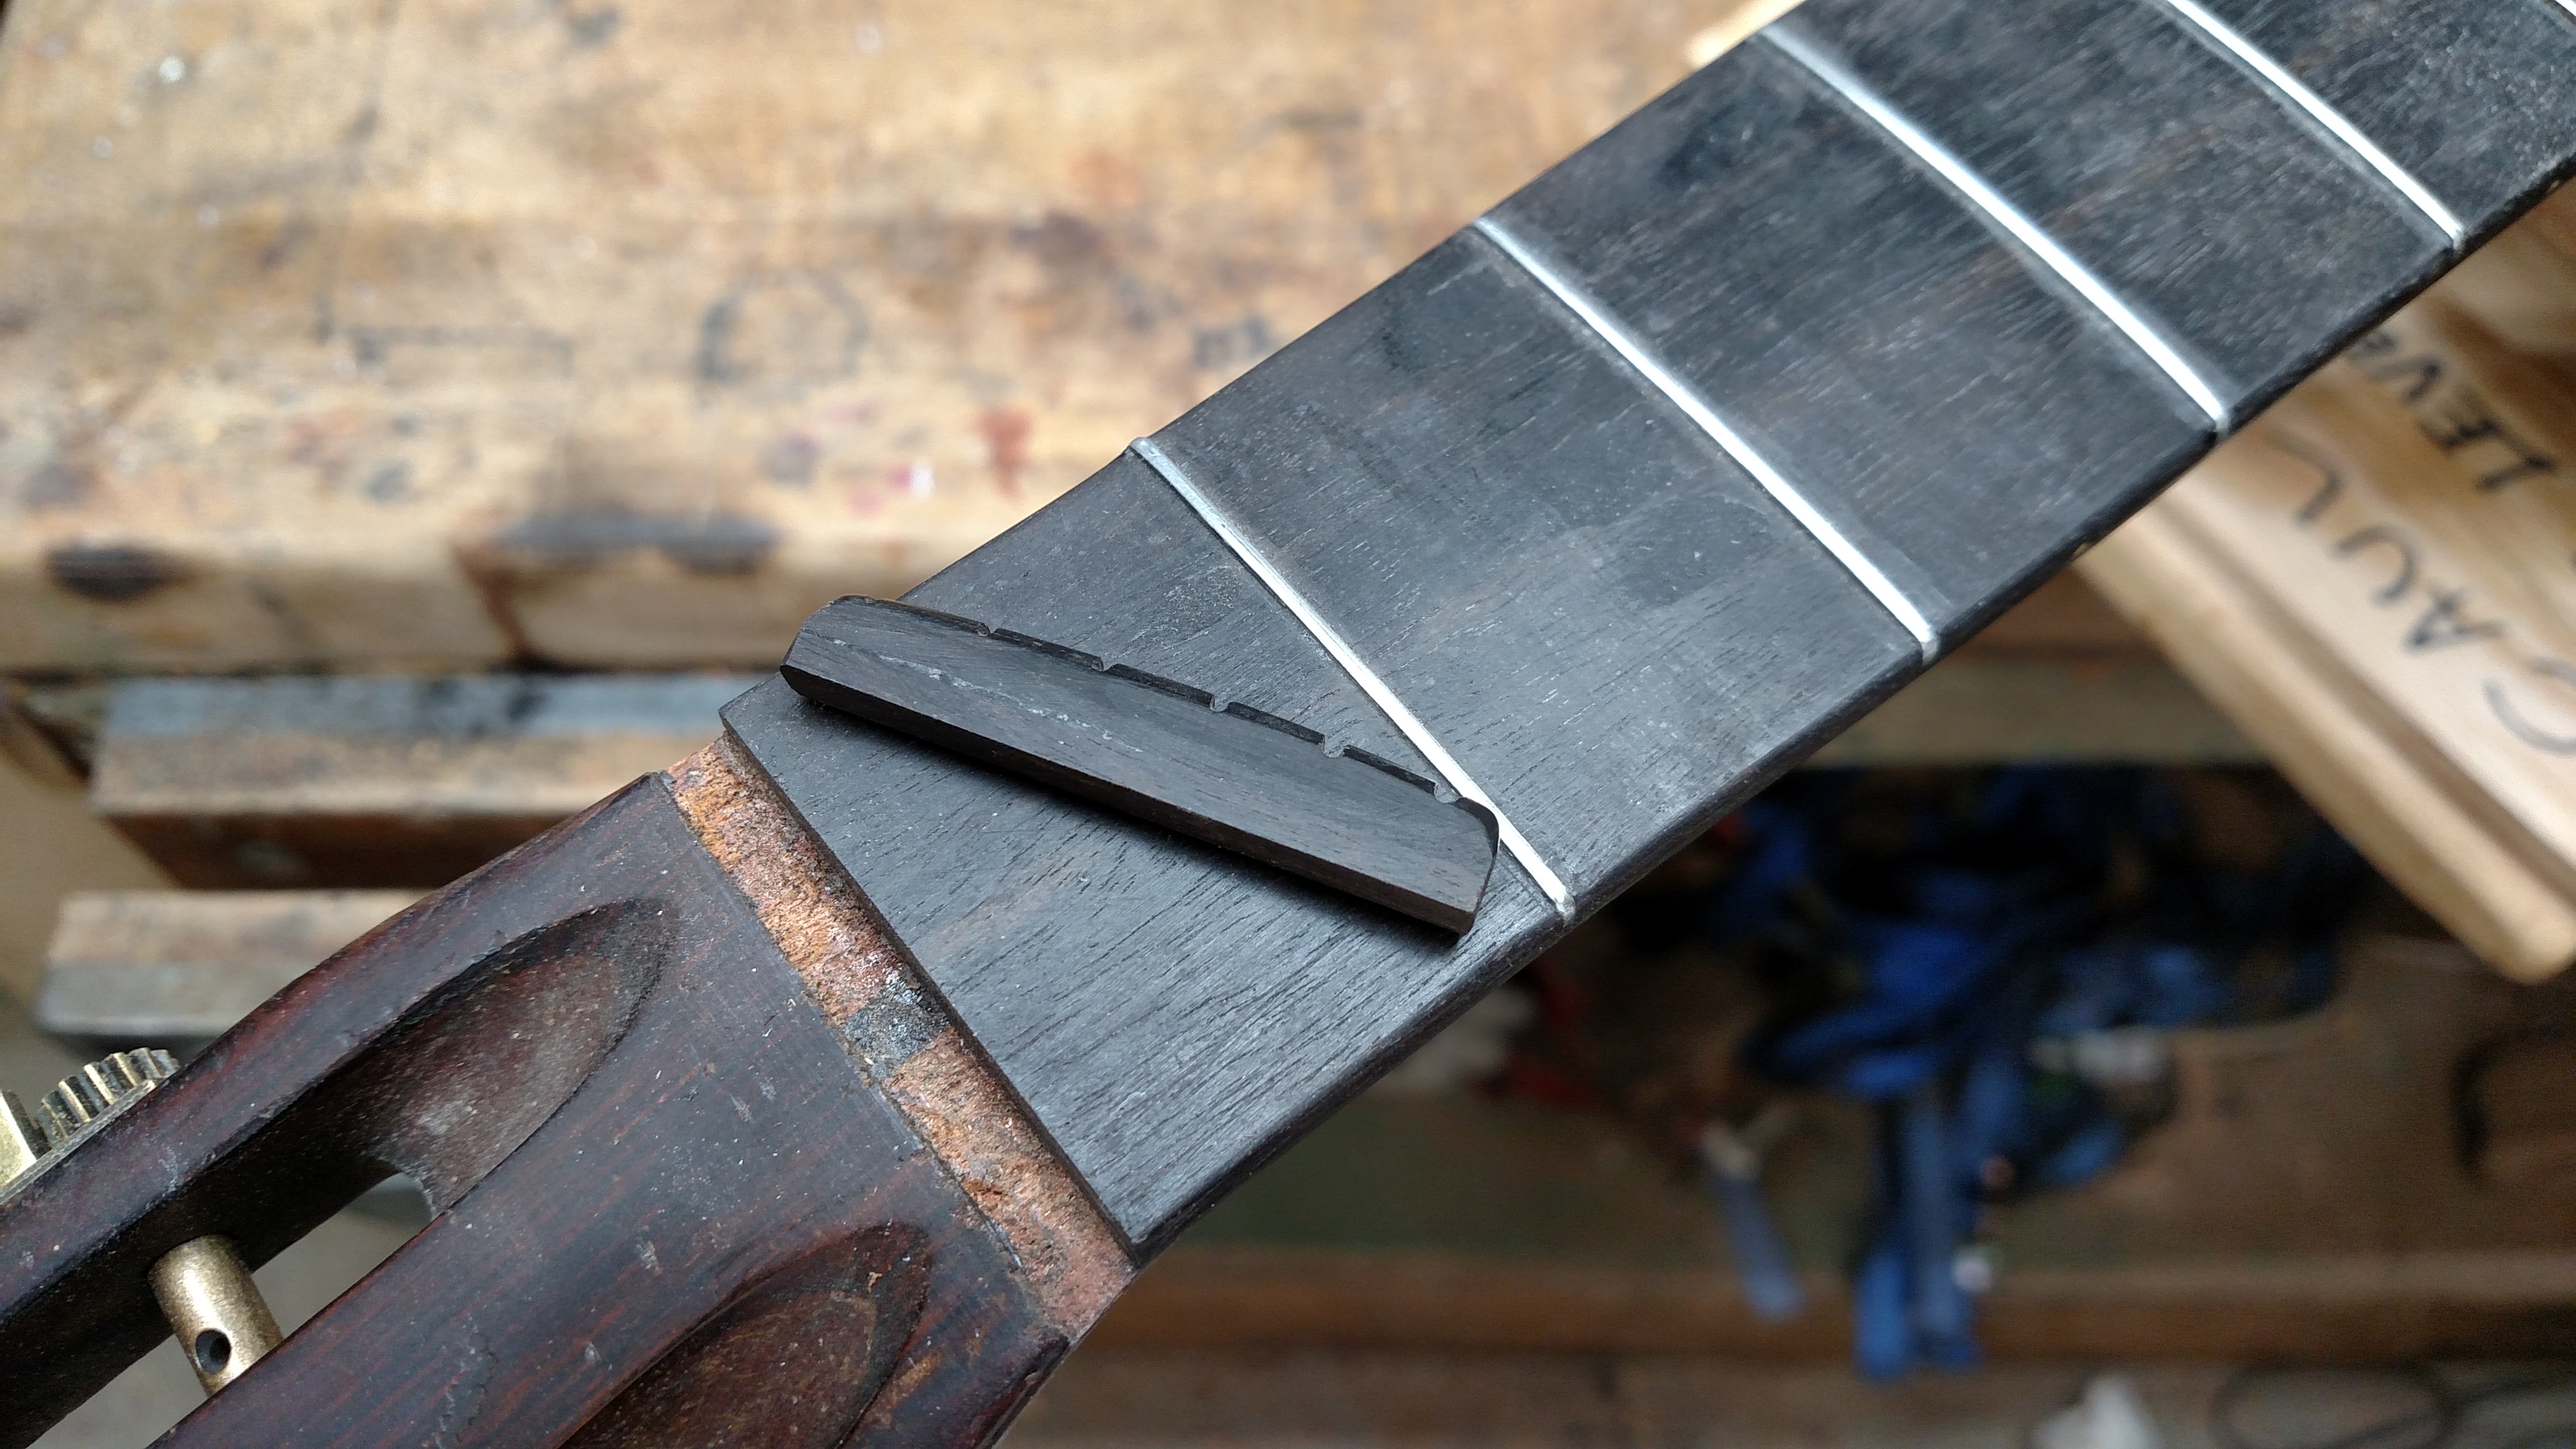
I now shifted my attention to the frets and fingerboard. The first 5 frets were pretty badly worn. There were also some pretty deep divots in the first 3 fret positions caused by someone’s fingernails. After removing the frets, I filled these divots with some CA glue and ebony dust. This makes the fingerboard surface smooth again but it is not a seamless repair.
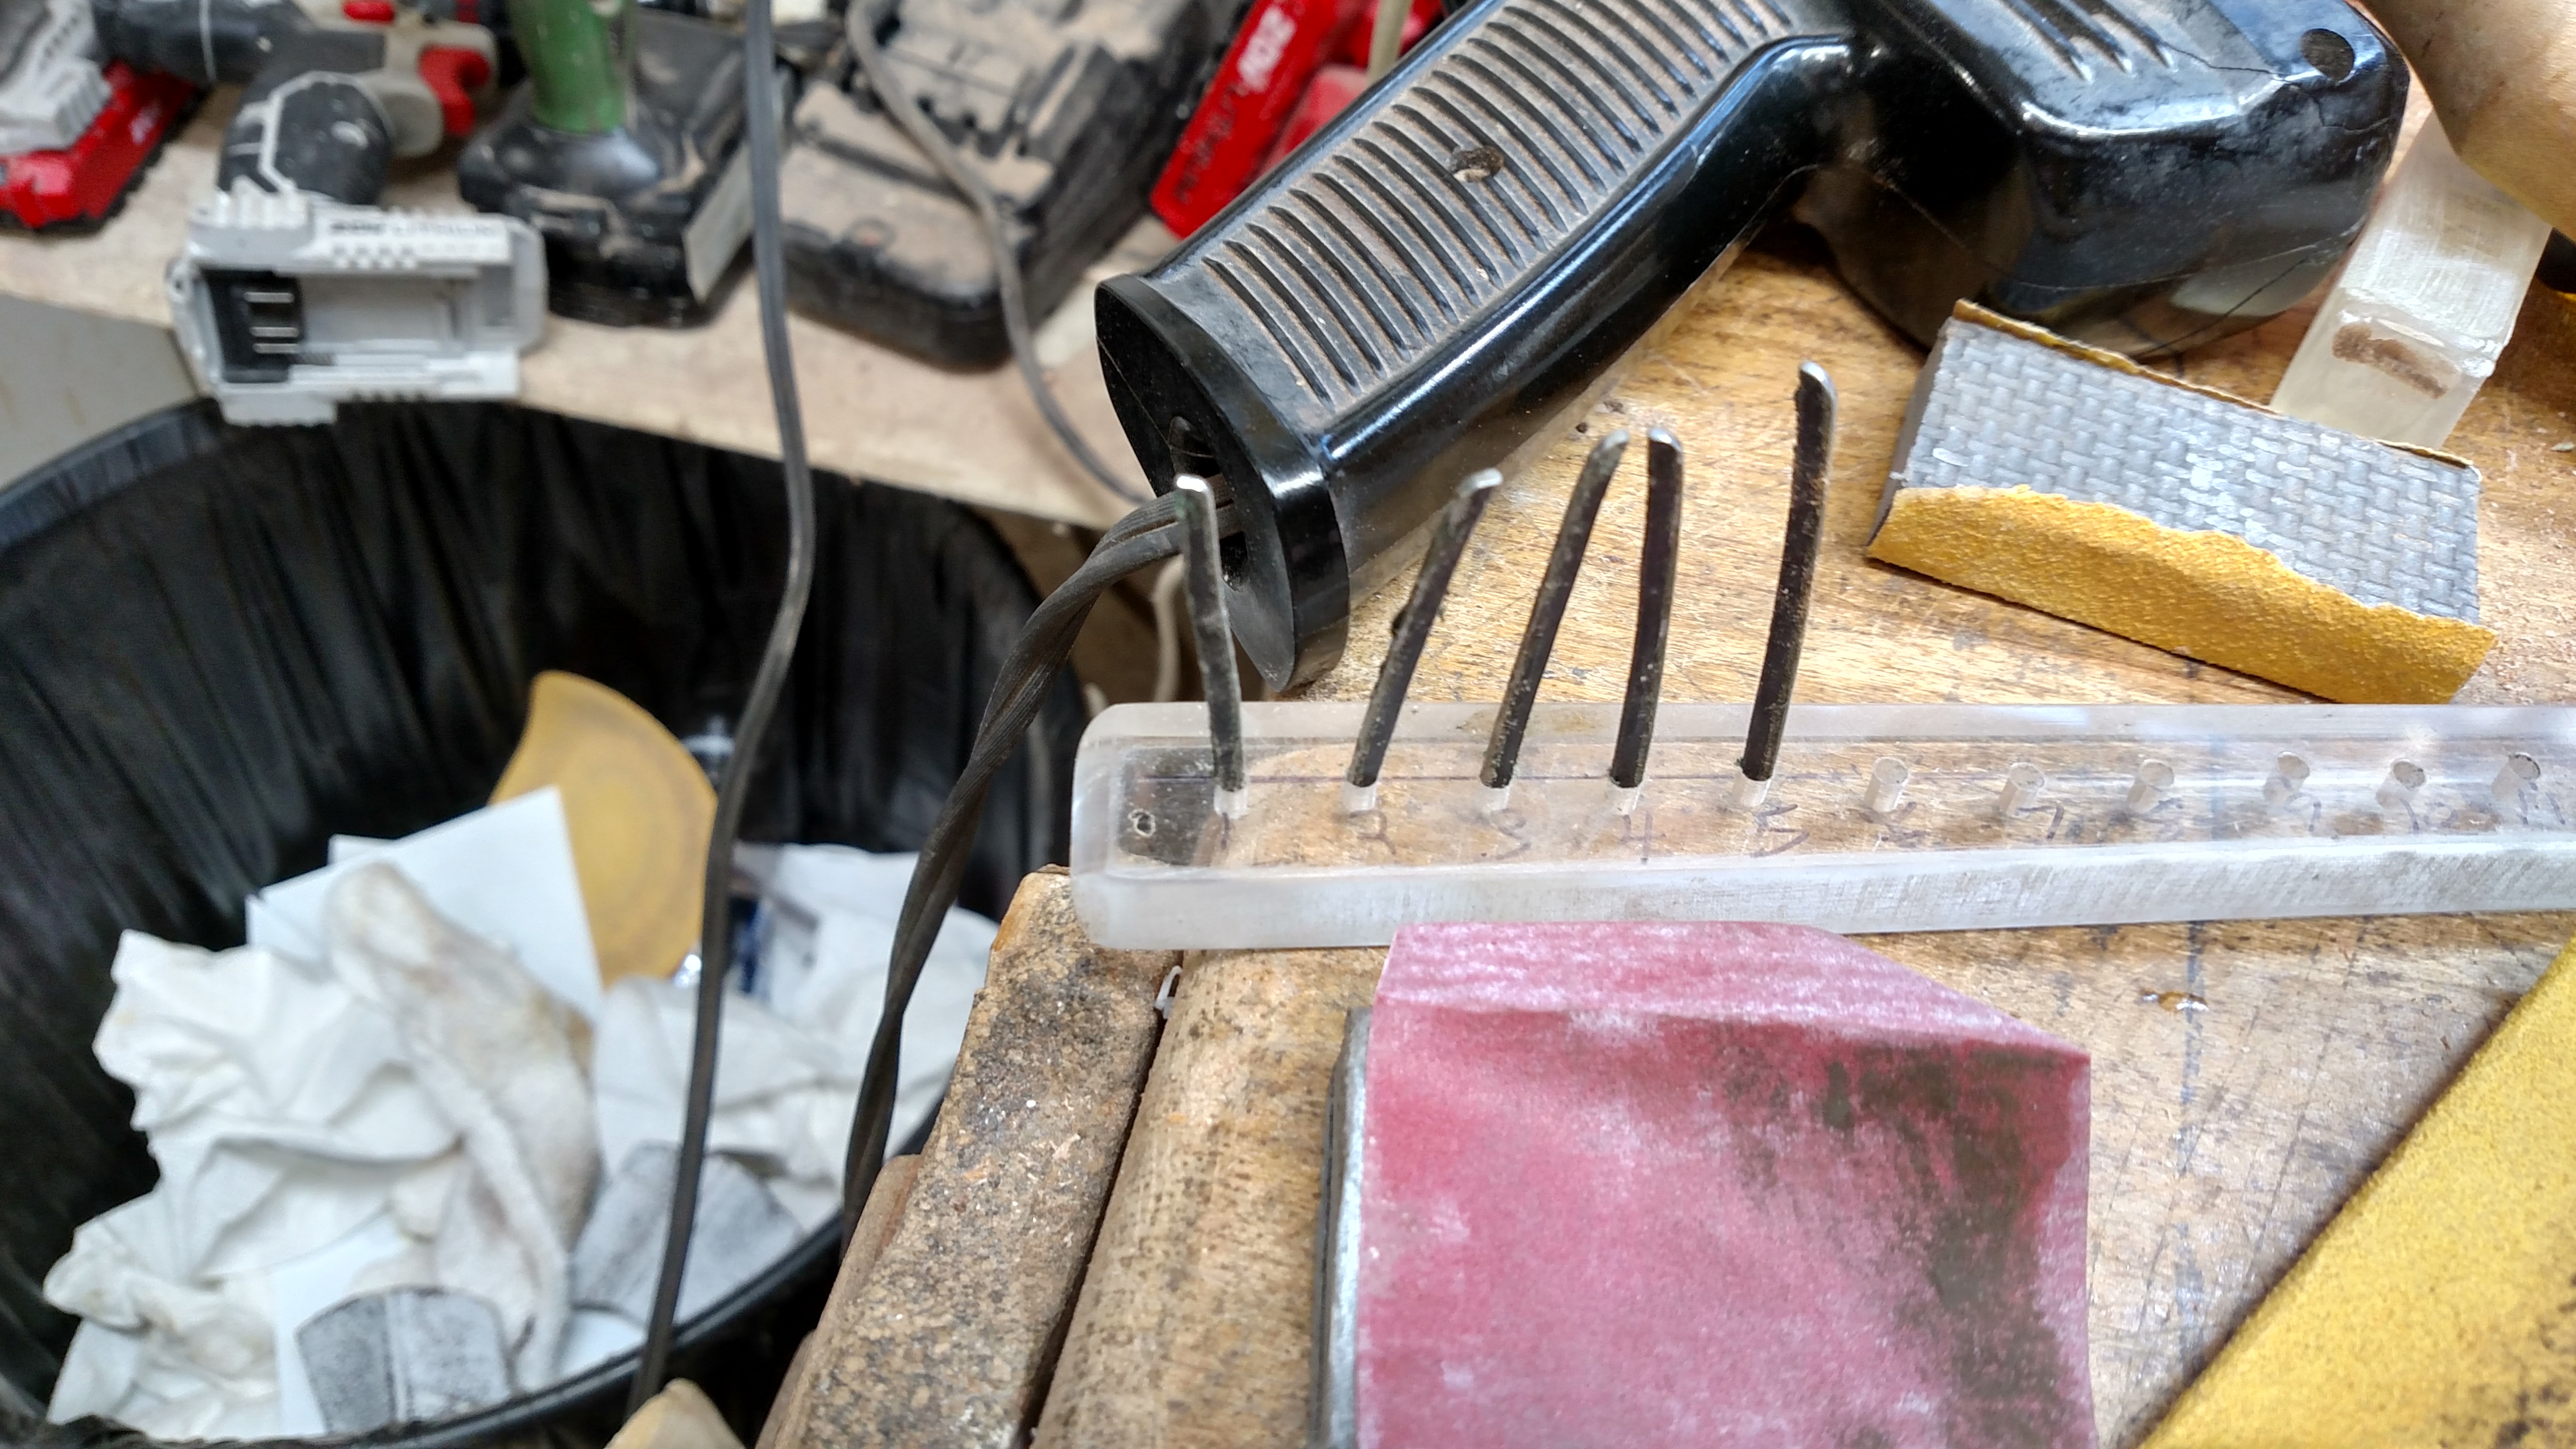
Here are the bar frets which came out of the fingerboard. They were pretty badly worn and misshapen. The good thing about these kind of frets (which Martin quit using around 1935, I think) is that you can shim them from the bottom and expose some new fret material. I ordered some old Martin bar fret wire from a luthier I know. I ended up straightening the old frets and shimming them from the bottom.
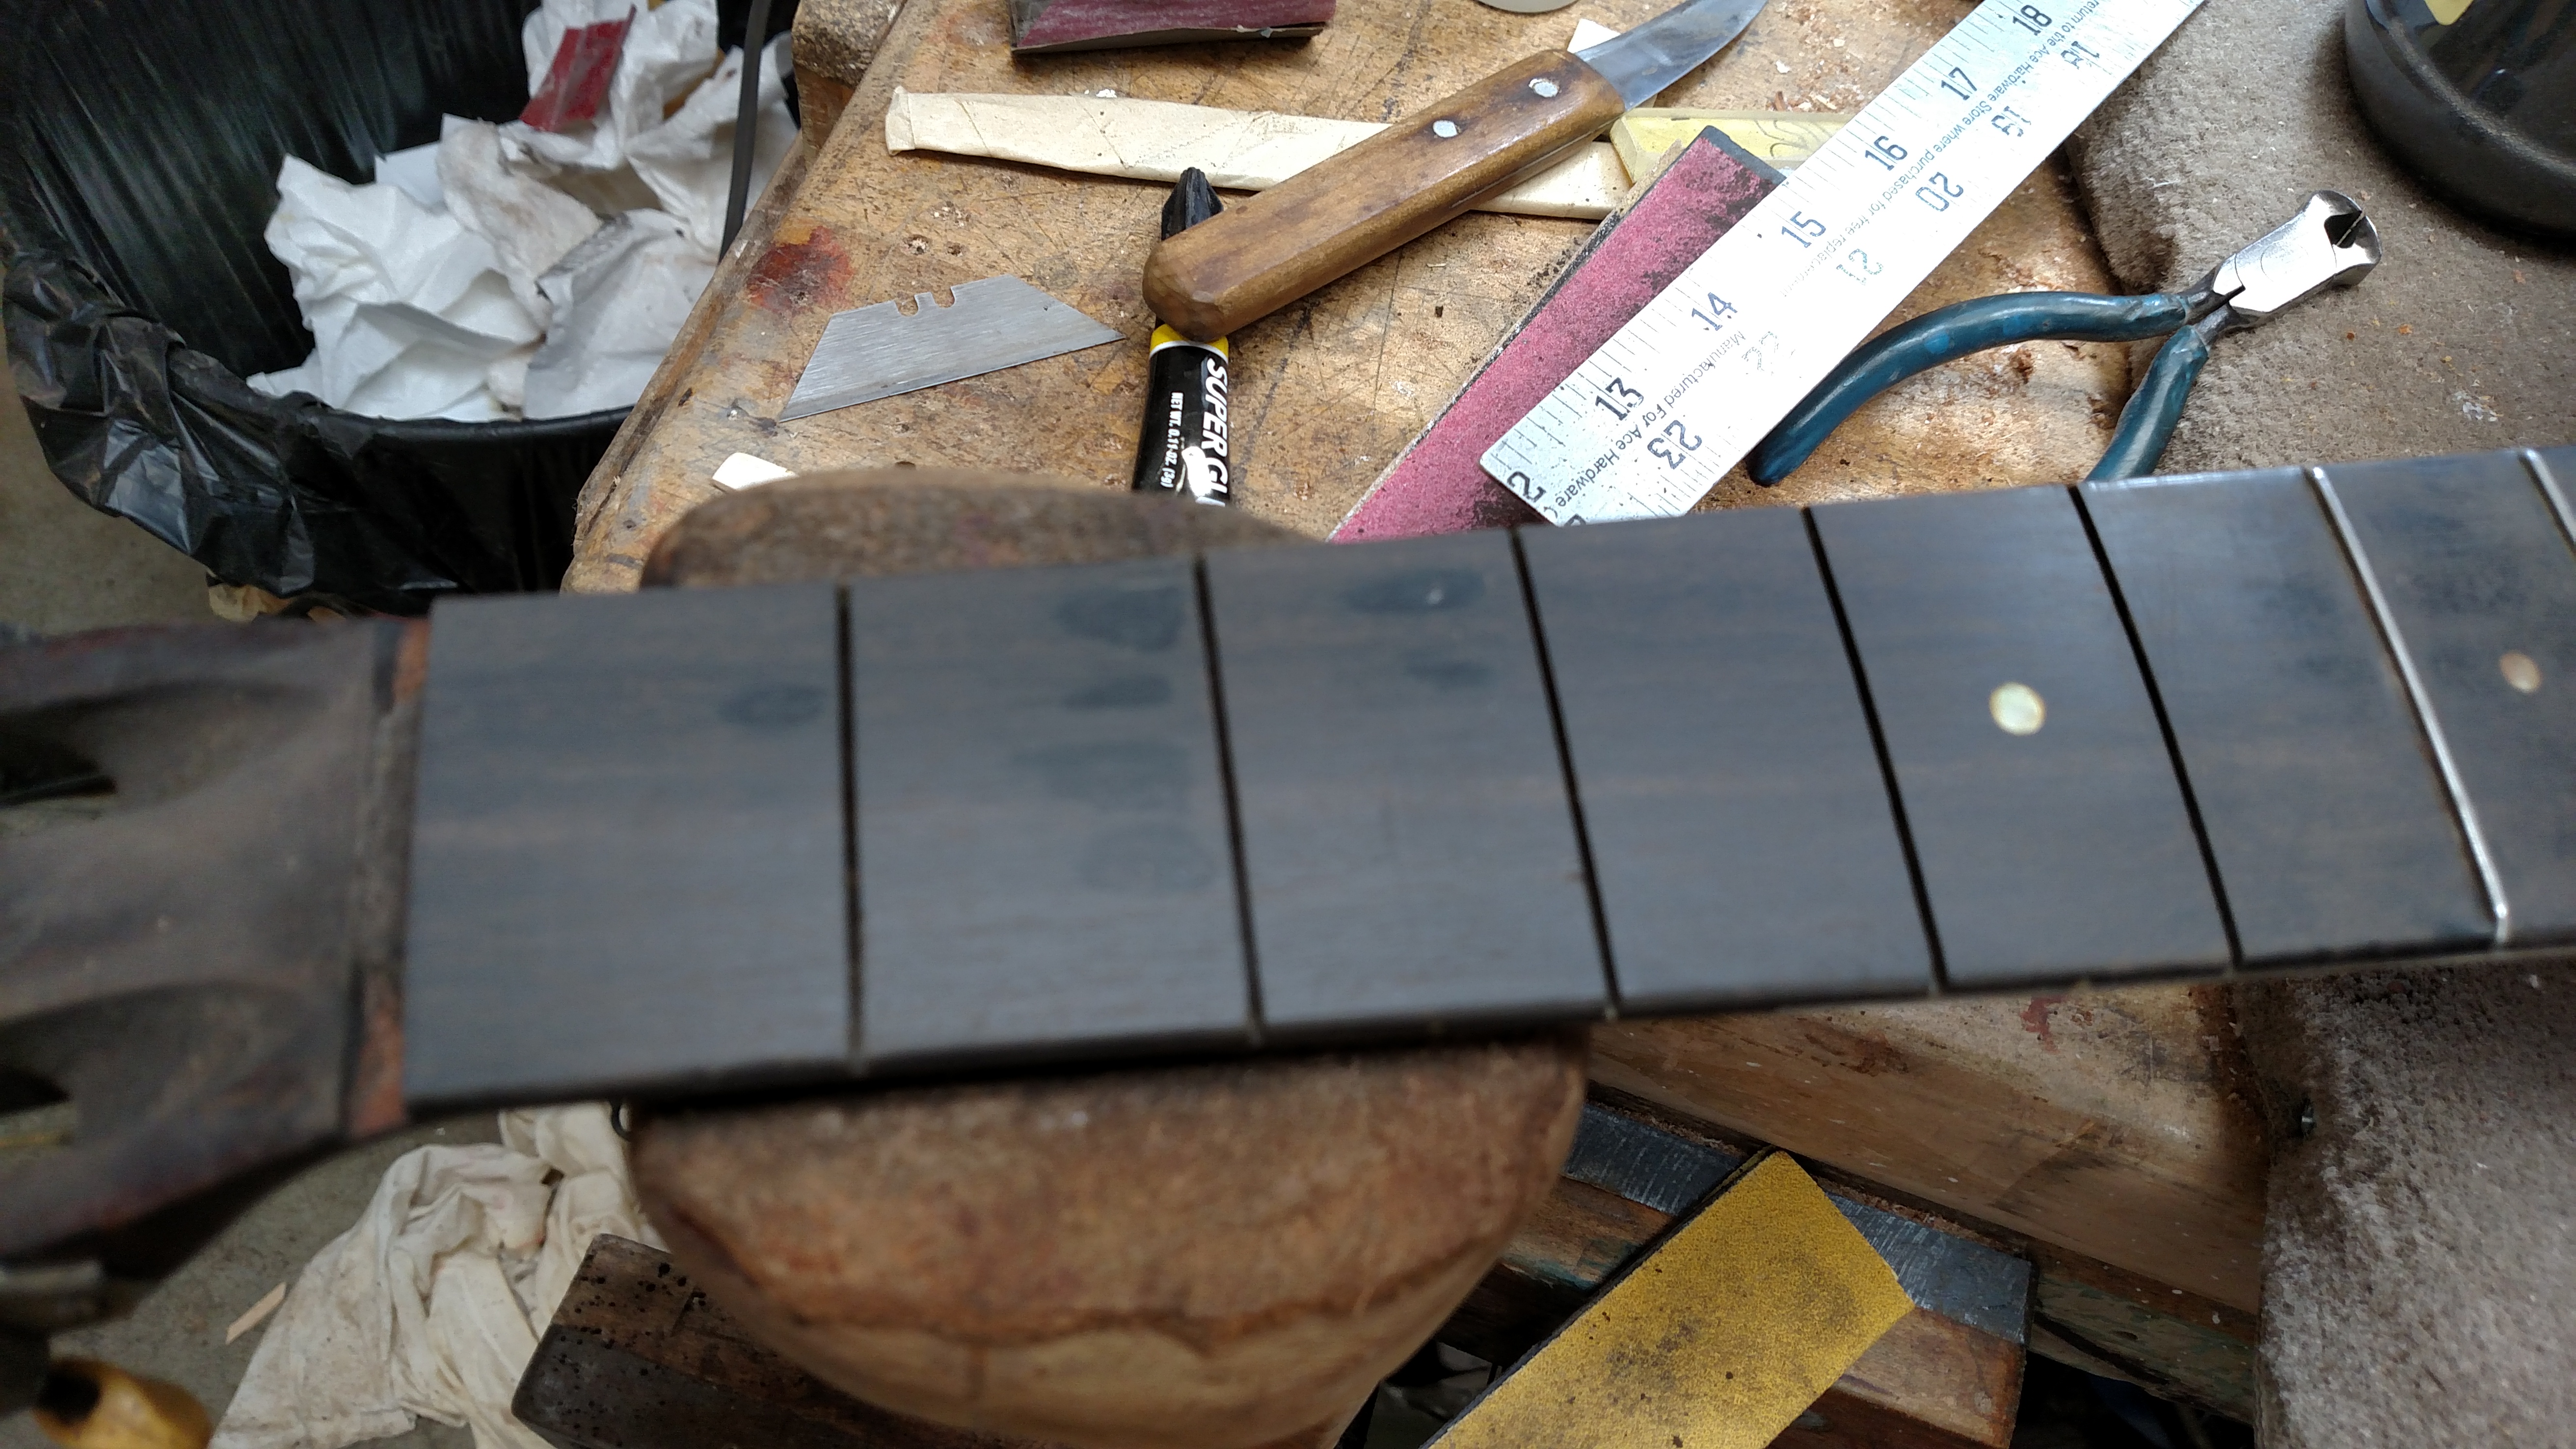
Here is a shot of the divots after my repair.
Here are the frets reinstalled. I now had to file them and true them up. Then I rounded the tops of them and polished them. I did this prior to removing the neck. I wanted to string the guitar and see what the neck looked like with string tension. Since the guitar was unplayable when I got it, I didn’t know what the neck would do when it was placed under tension.
The original ebony nut slots were too low so I added a piece of ebony underneath it so I could re adjust the string height at the first fret.
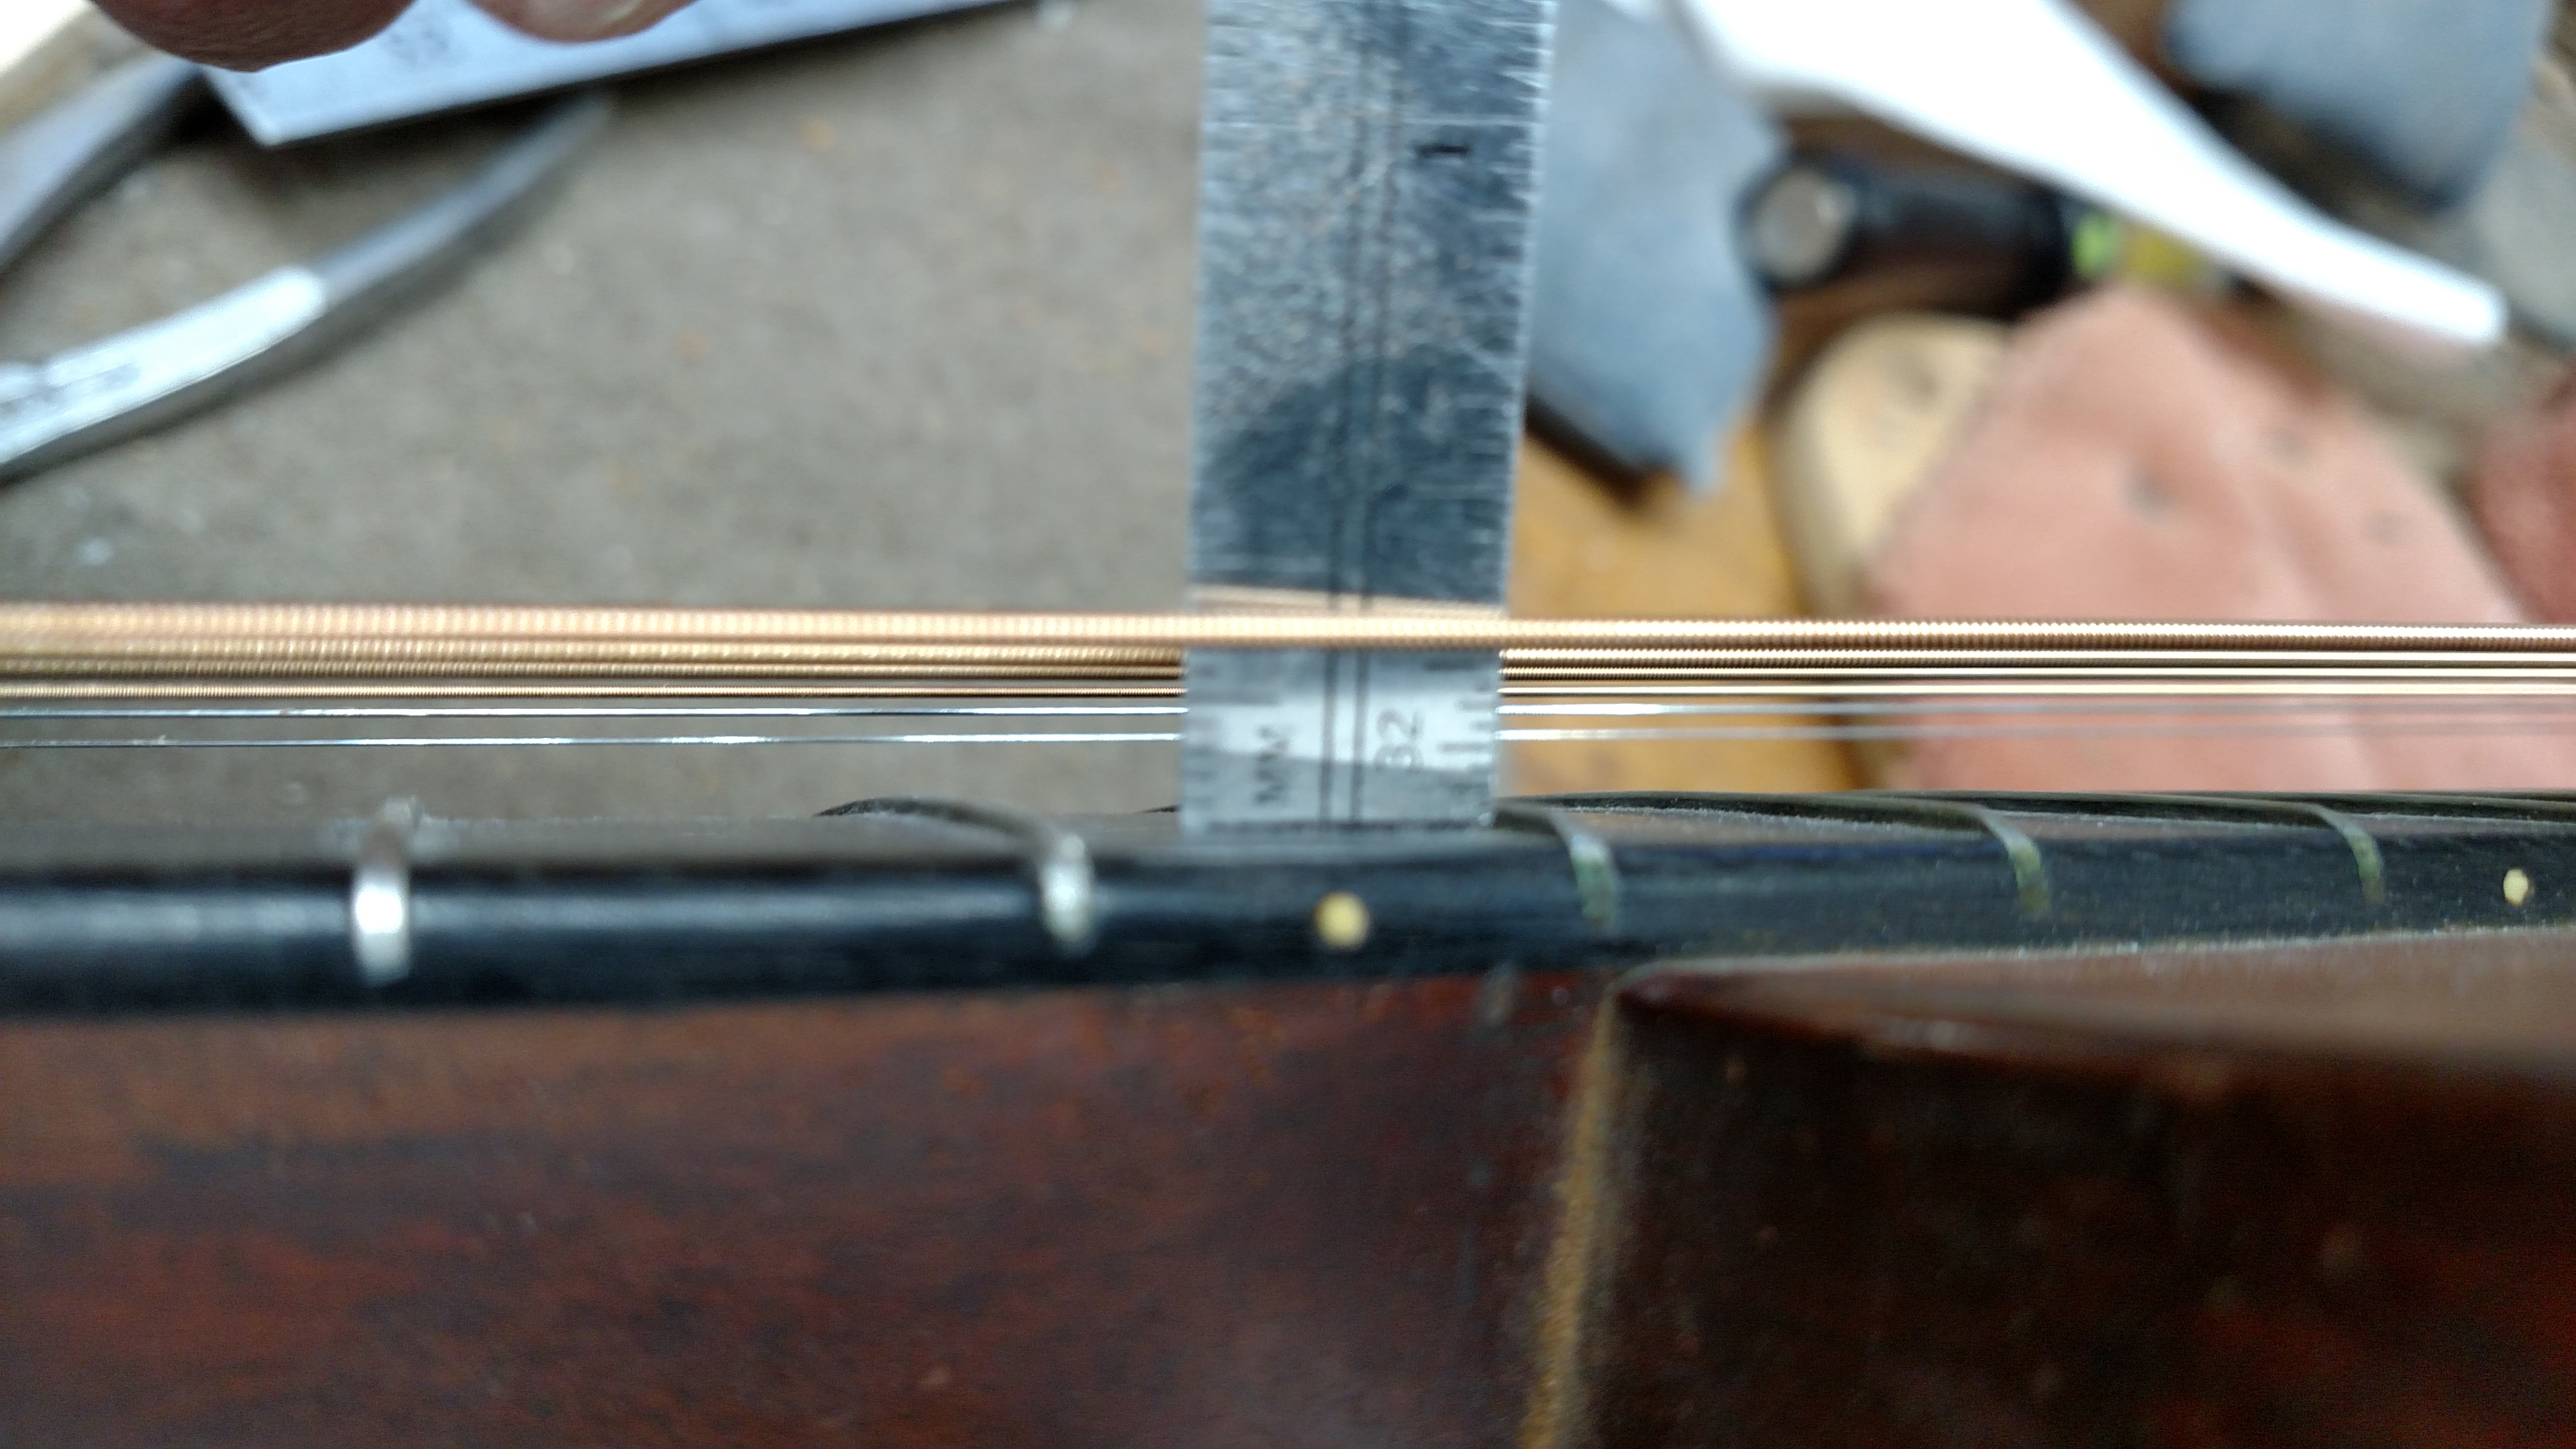
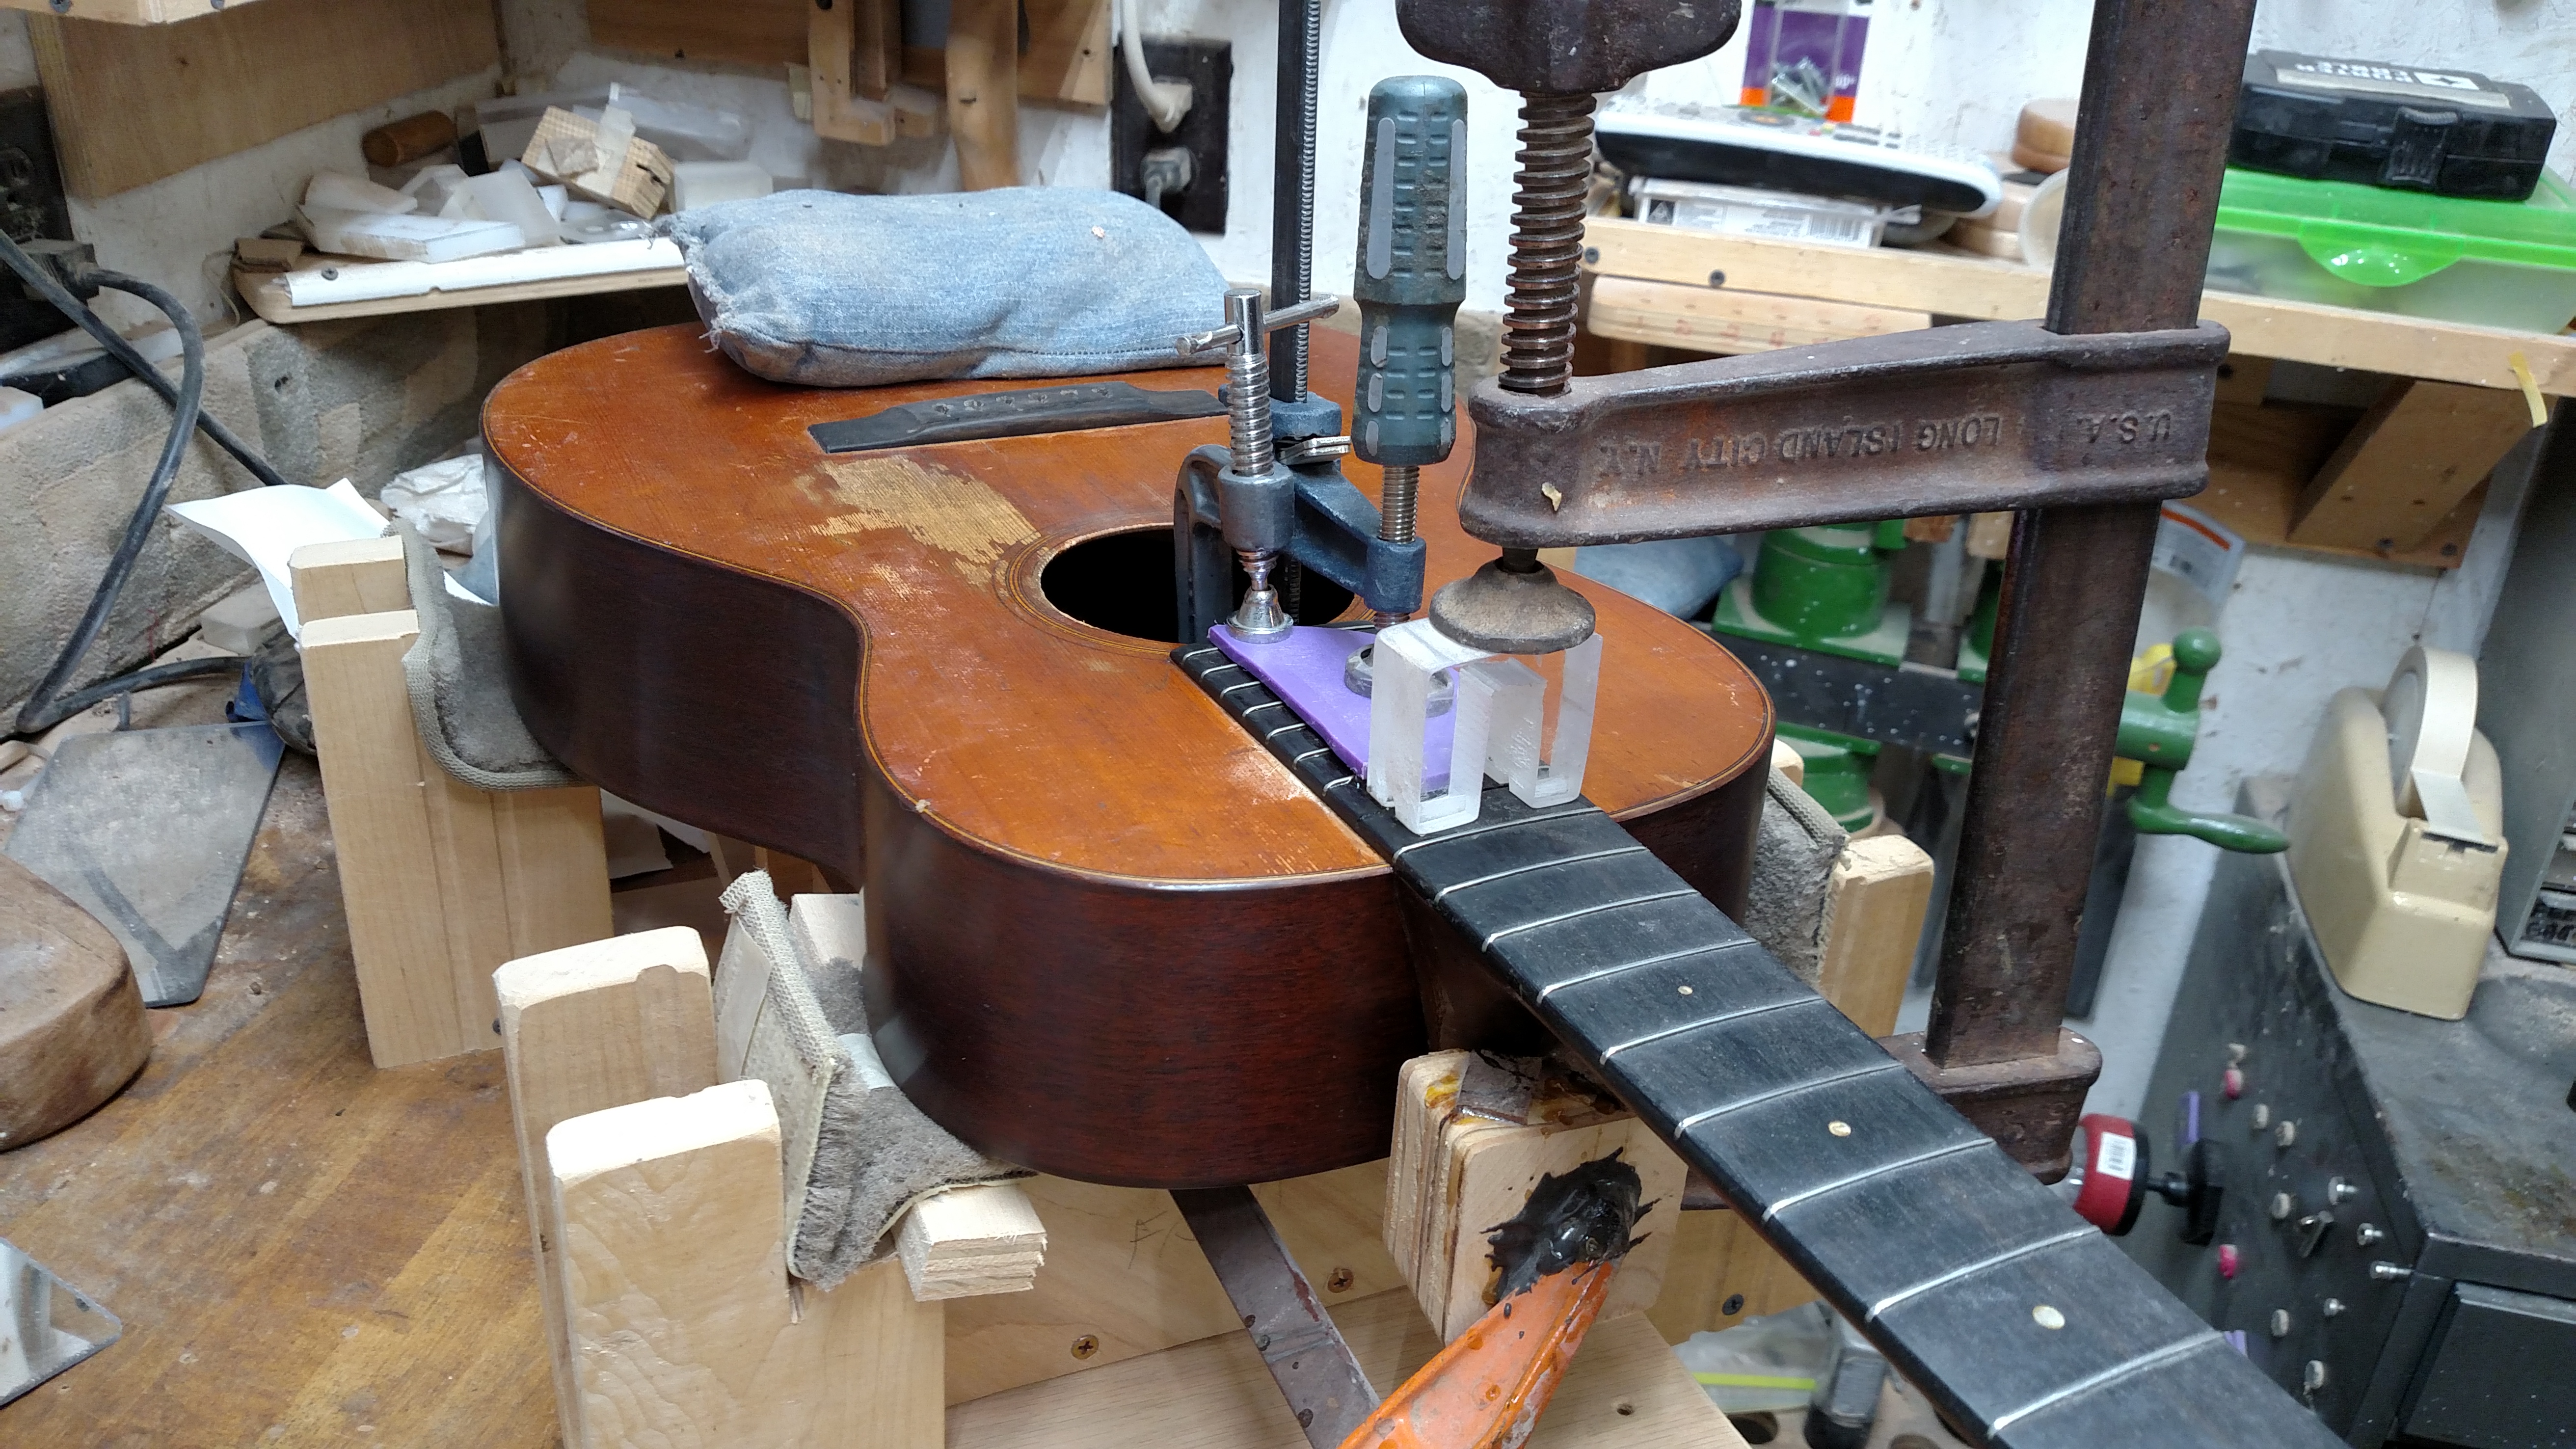
I put strings on it with a saddle that I knew was too low. The neck was badly in need of resetting the angle. When the strings were tightened up to standard tension, I observed that the neck was dead flat. This was surprising because these necks apparently just had a piece of ebony for a truss rod. These necks were extremely wide though and that may have helped to keep it straight. Now I knew what I was dealing with and I could remove the neck and re-cut the angle.
I heated the fingerboard with my little heating blanket that I got from LMI years ago. This lets you get a thin putty knife or a cake decorating knife in between the top and the fingerboard. The fingerboard came loose pretty easily. Then I inserted my football needle in the hole I had drilled in the 13th fret. This allows steam to be injected into the dovetail cavity and releases the neck joint.
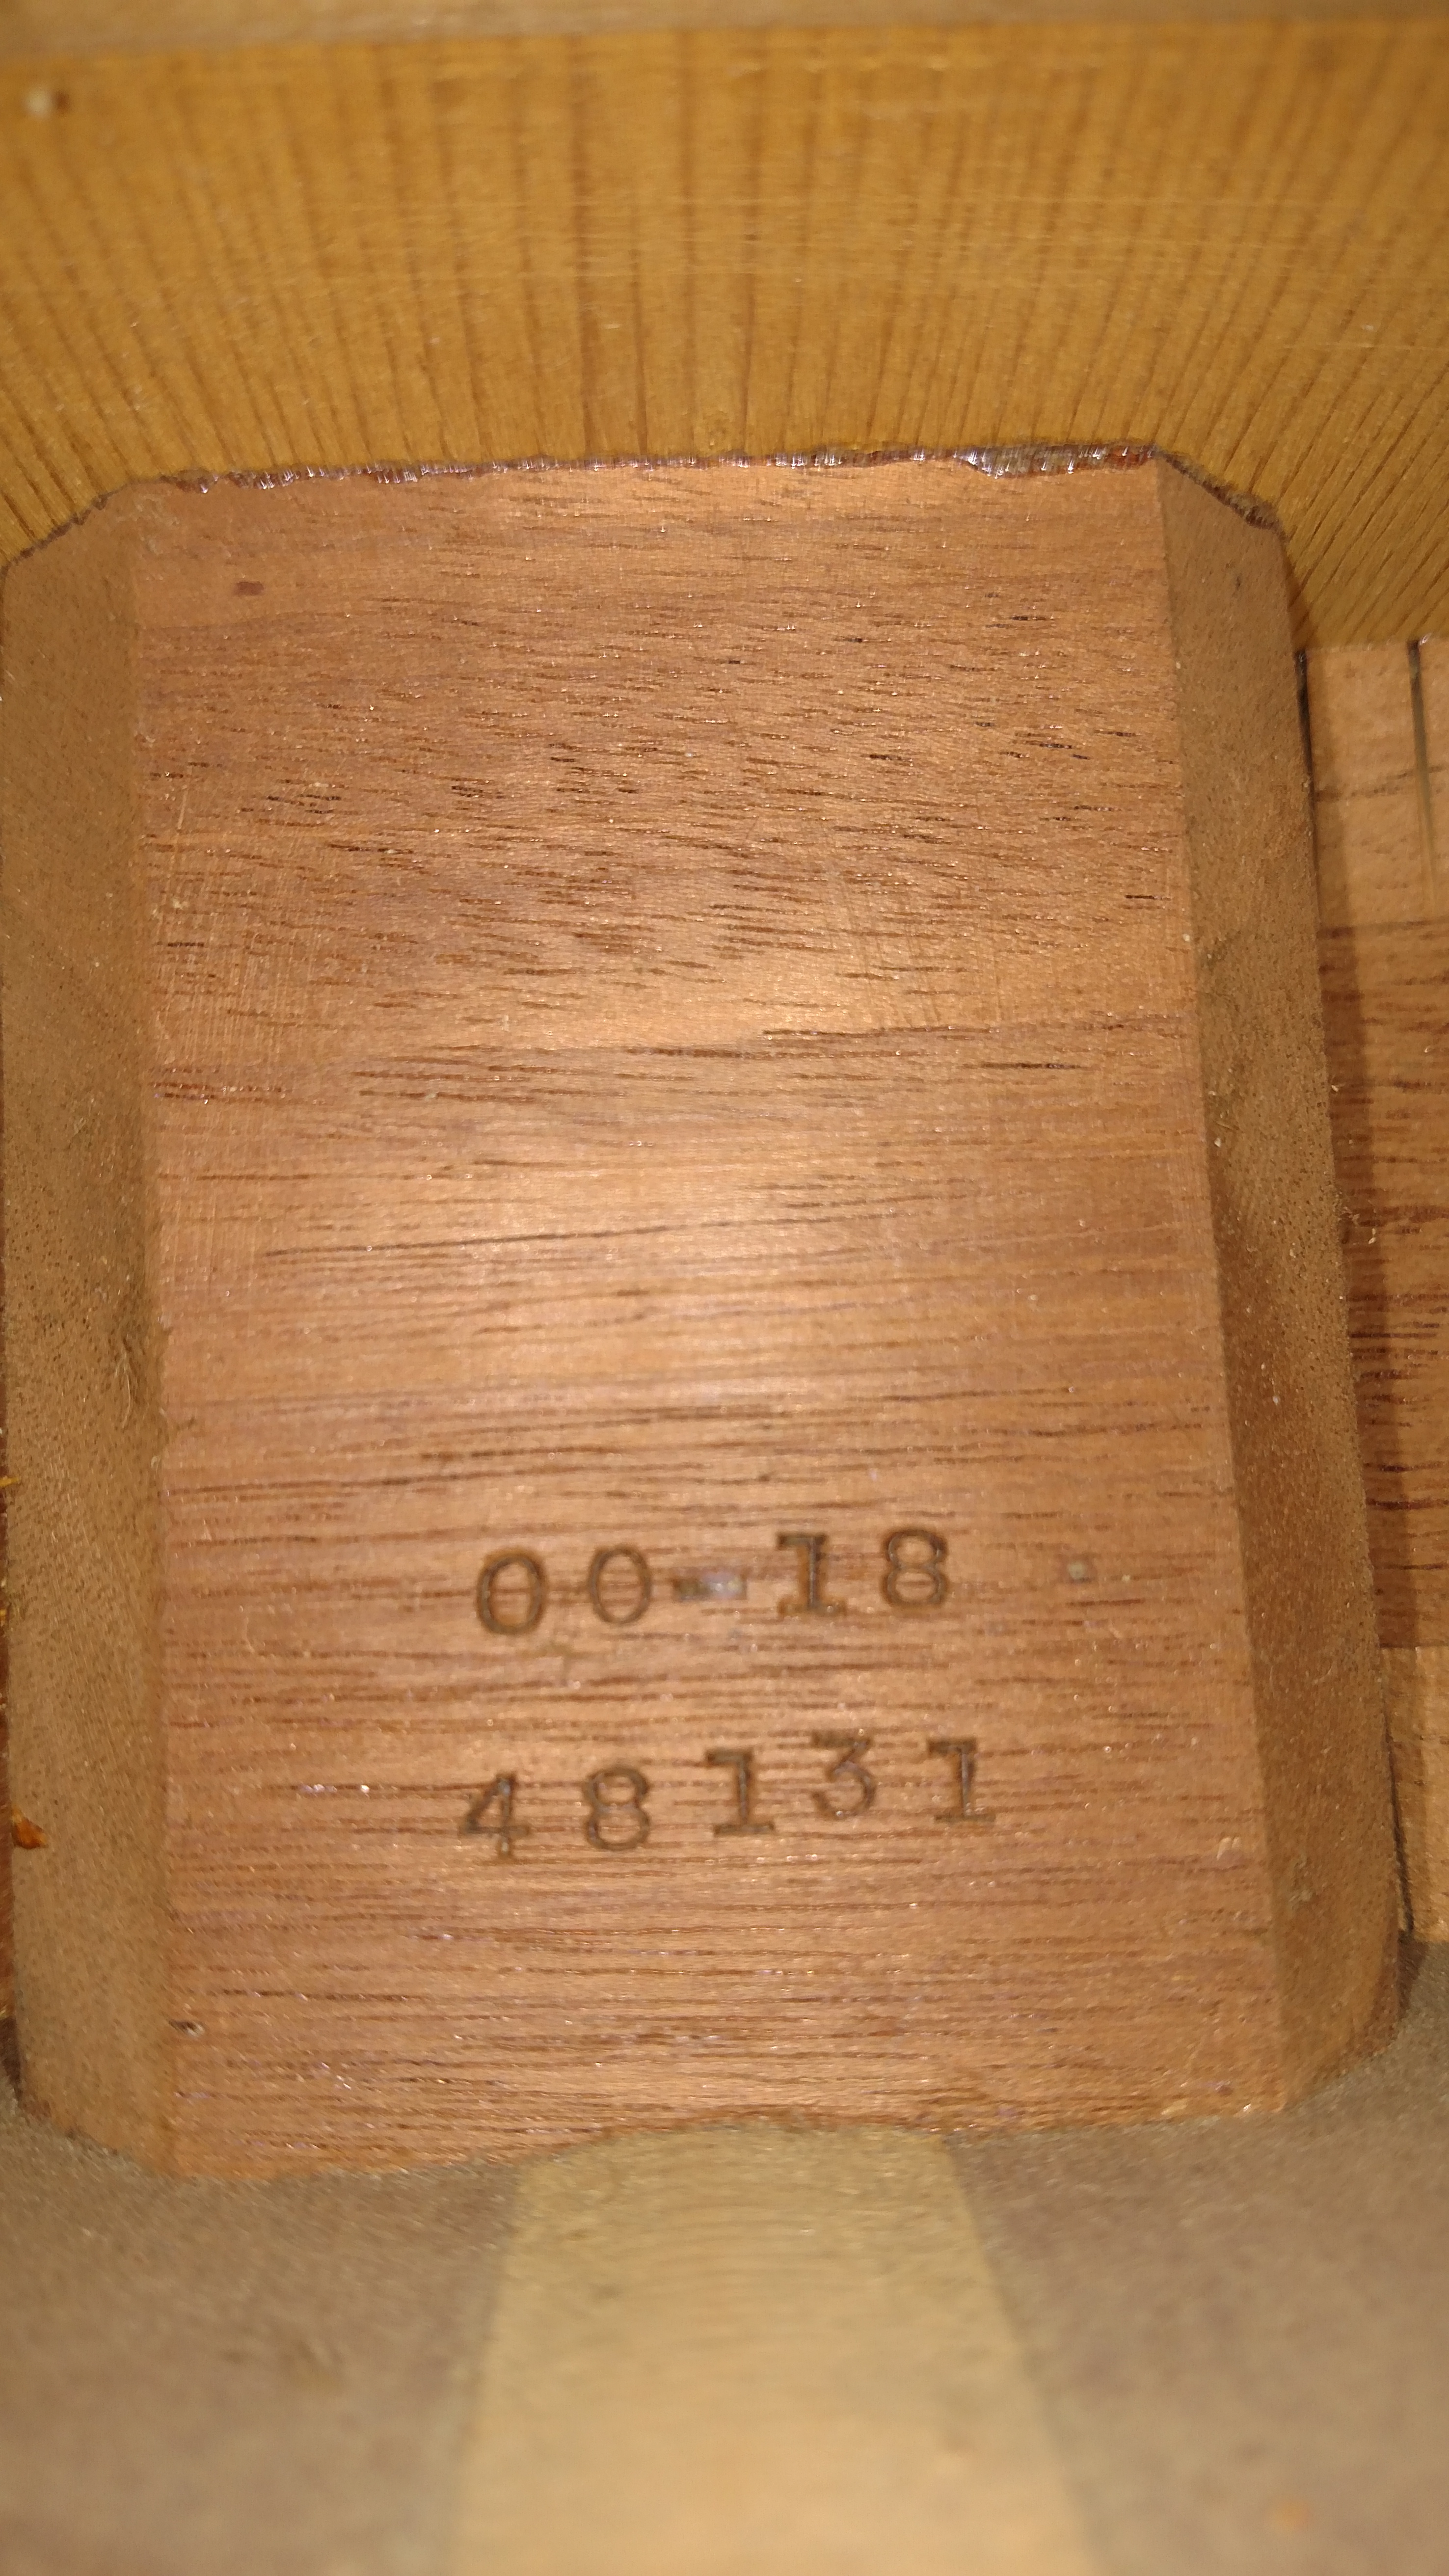
With the neck removed, I can start the process of re-cutting the angle. Here is the serial number penciled into the dovetail cavity.
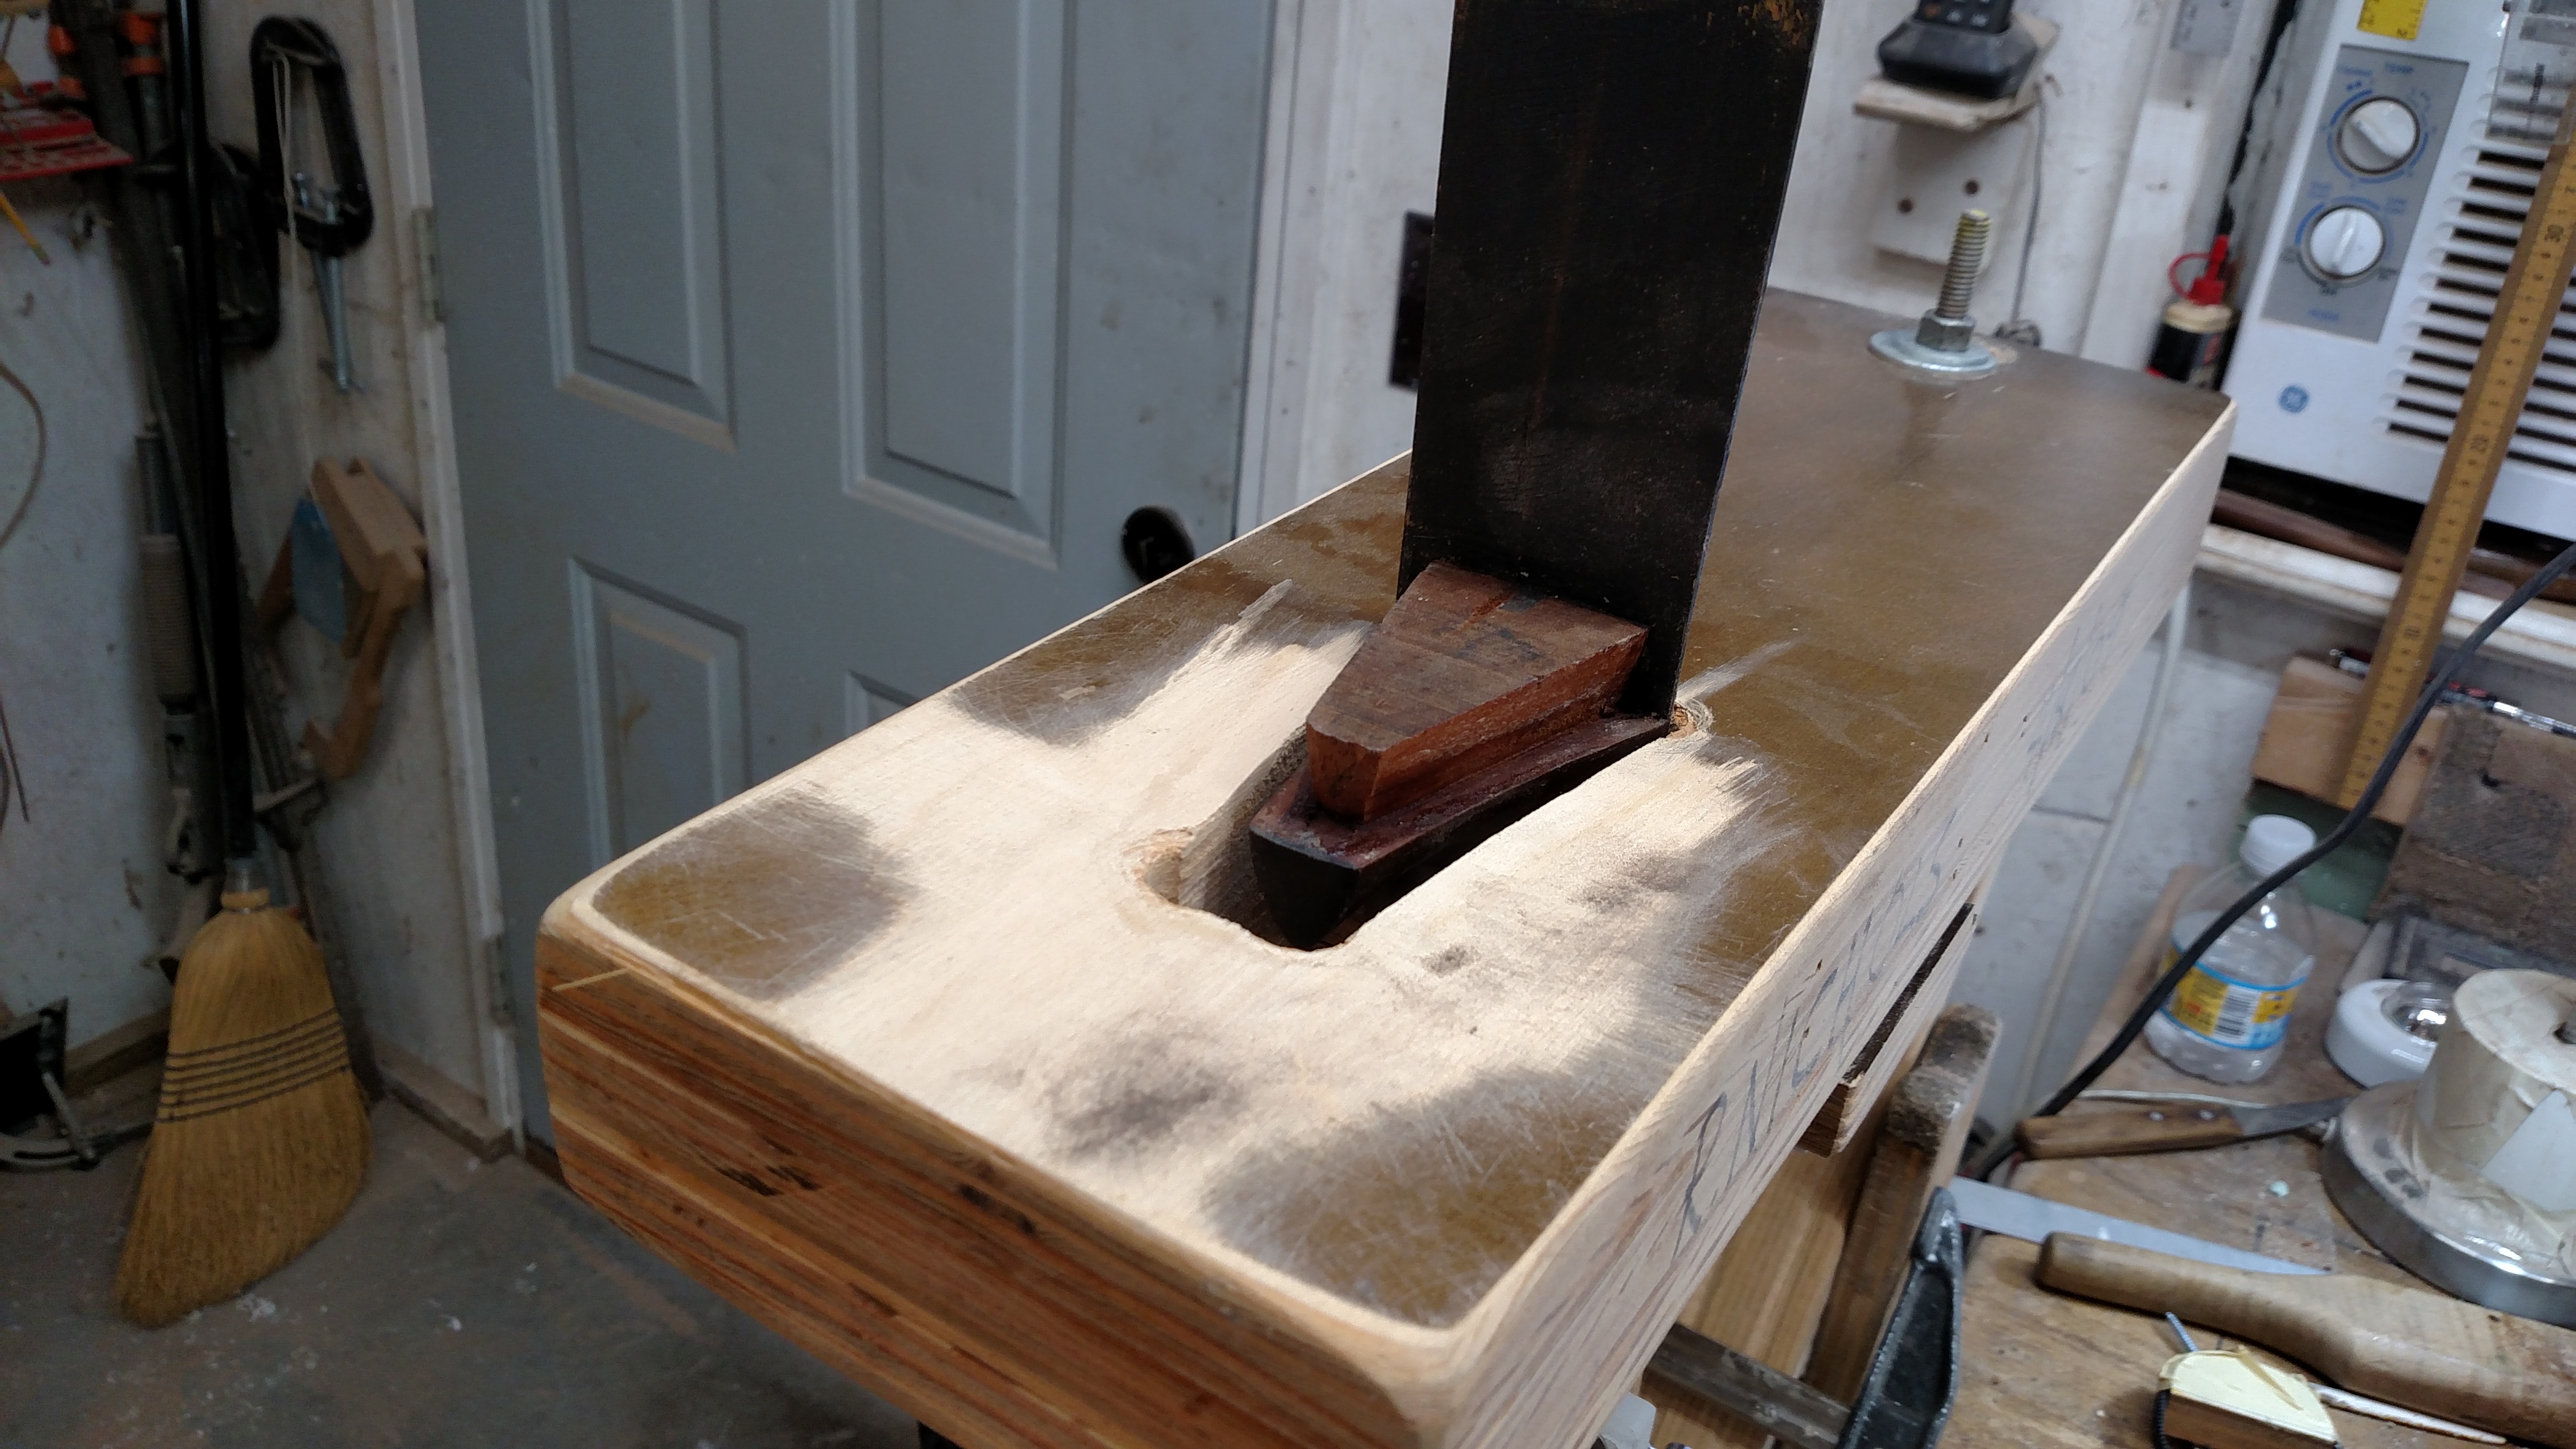
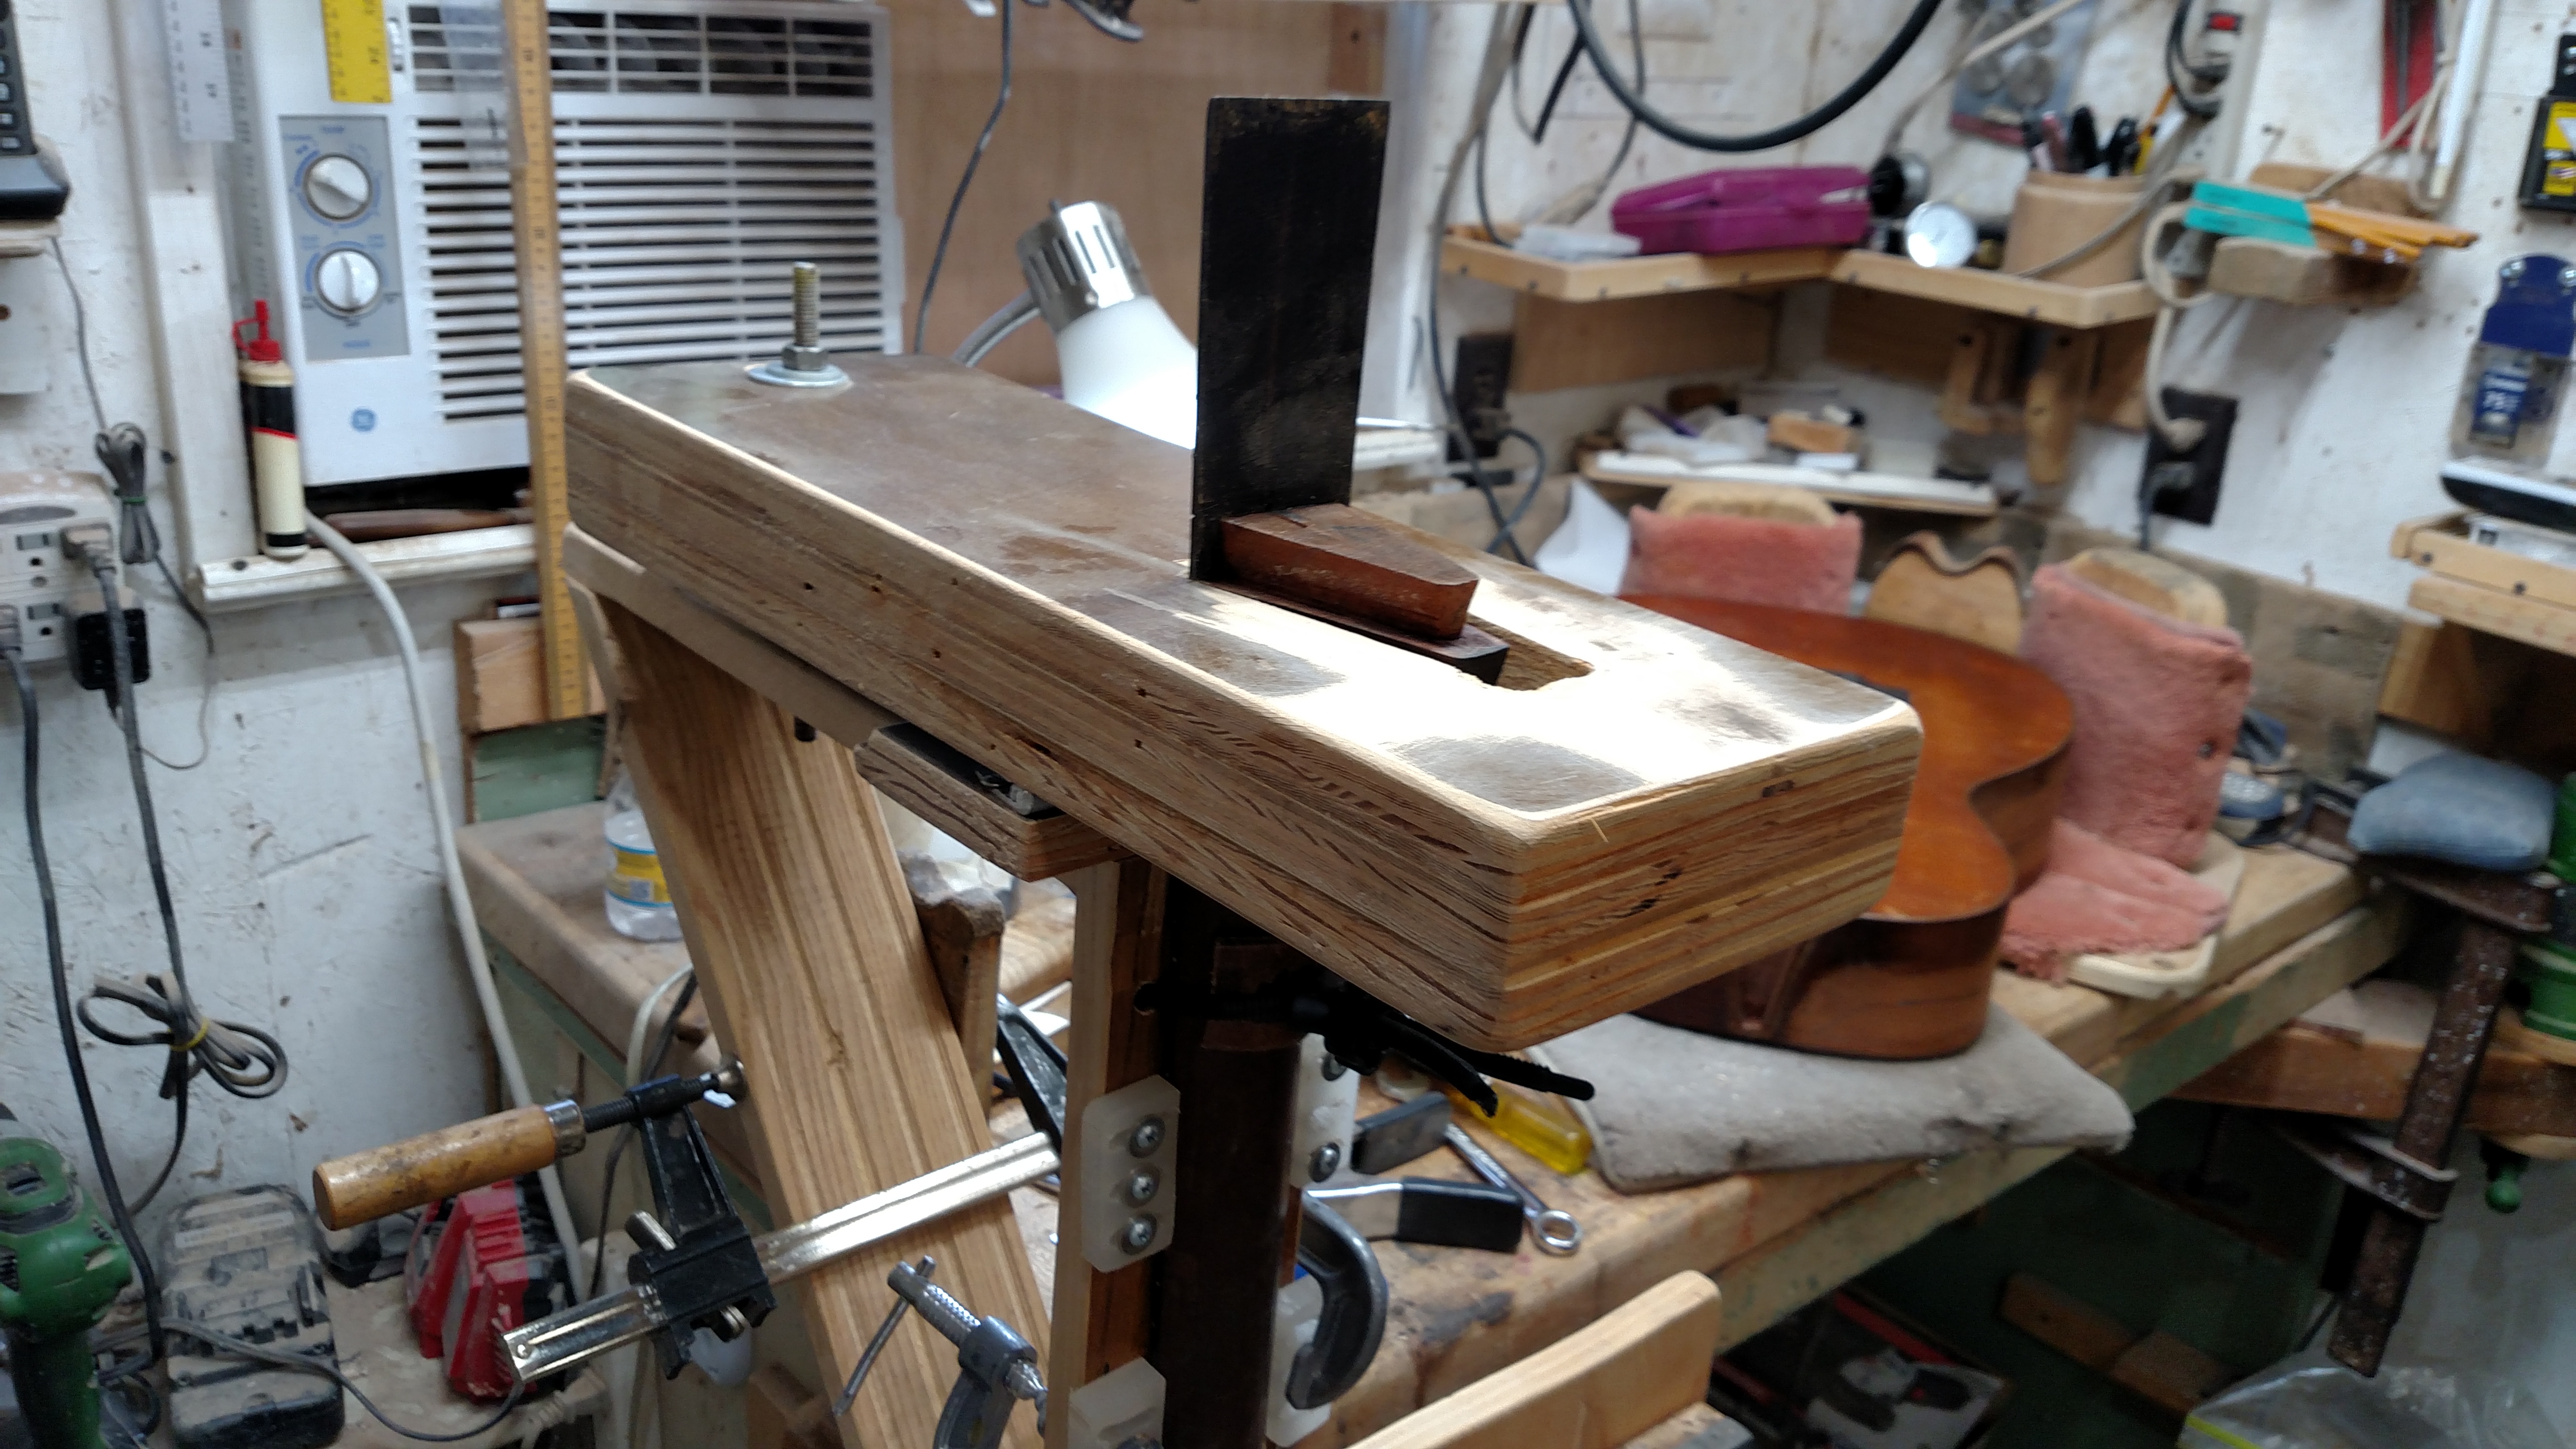
Here is my home made jig for re-cutting the neck angle.
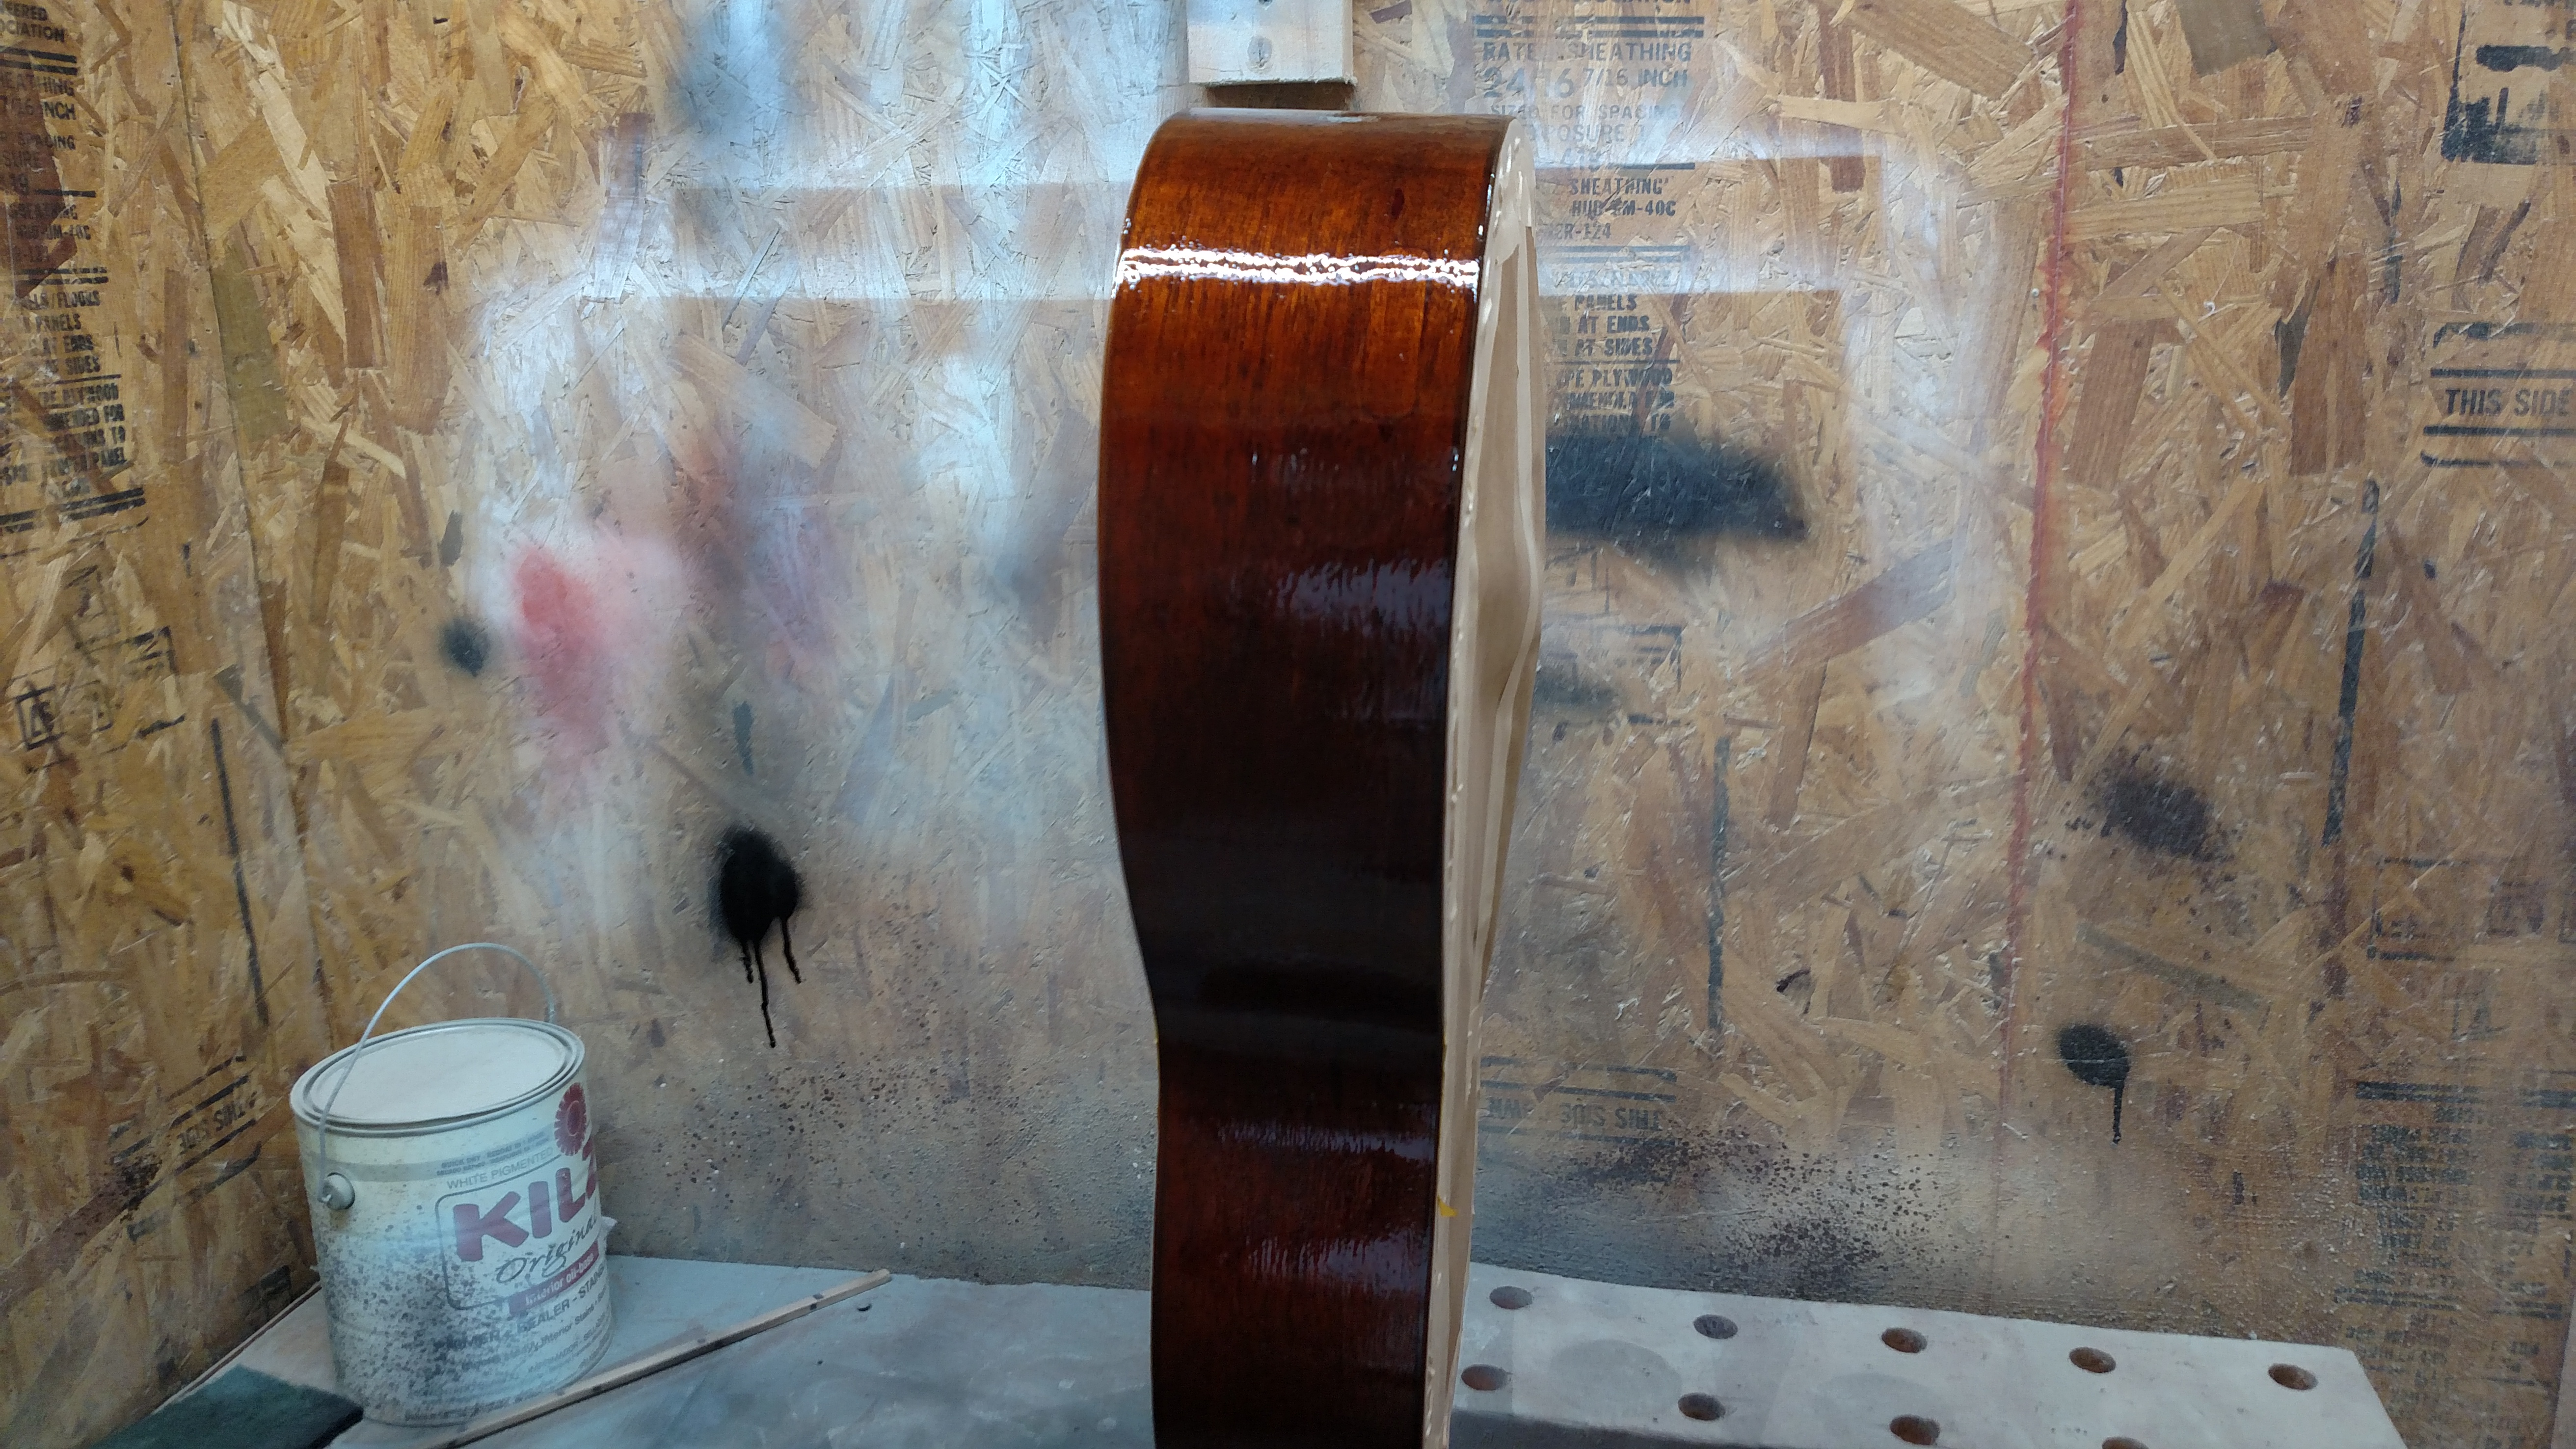
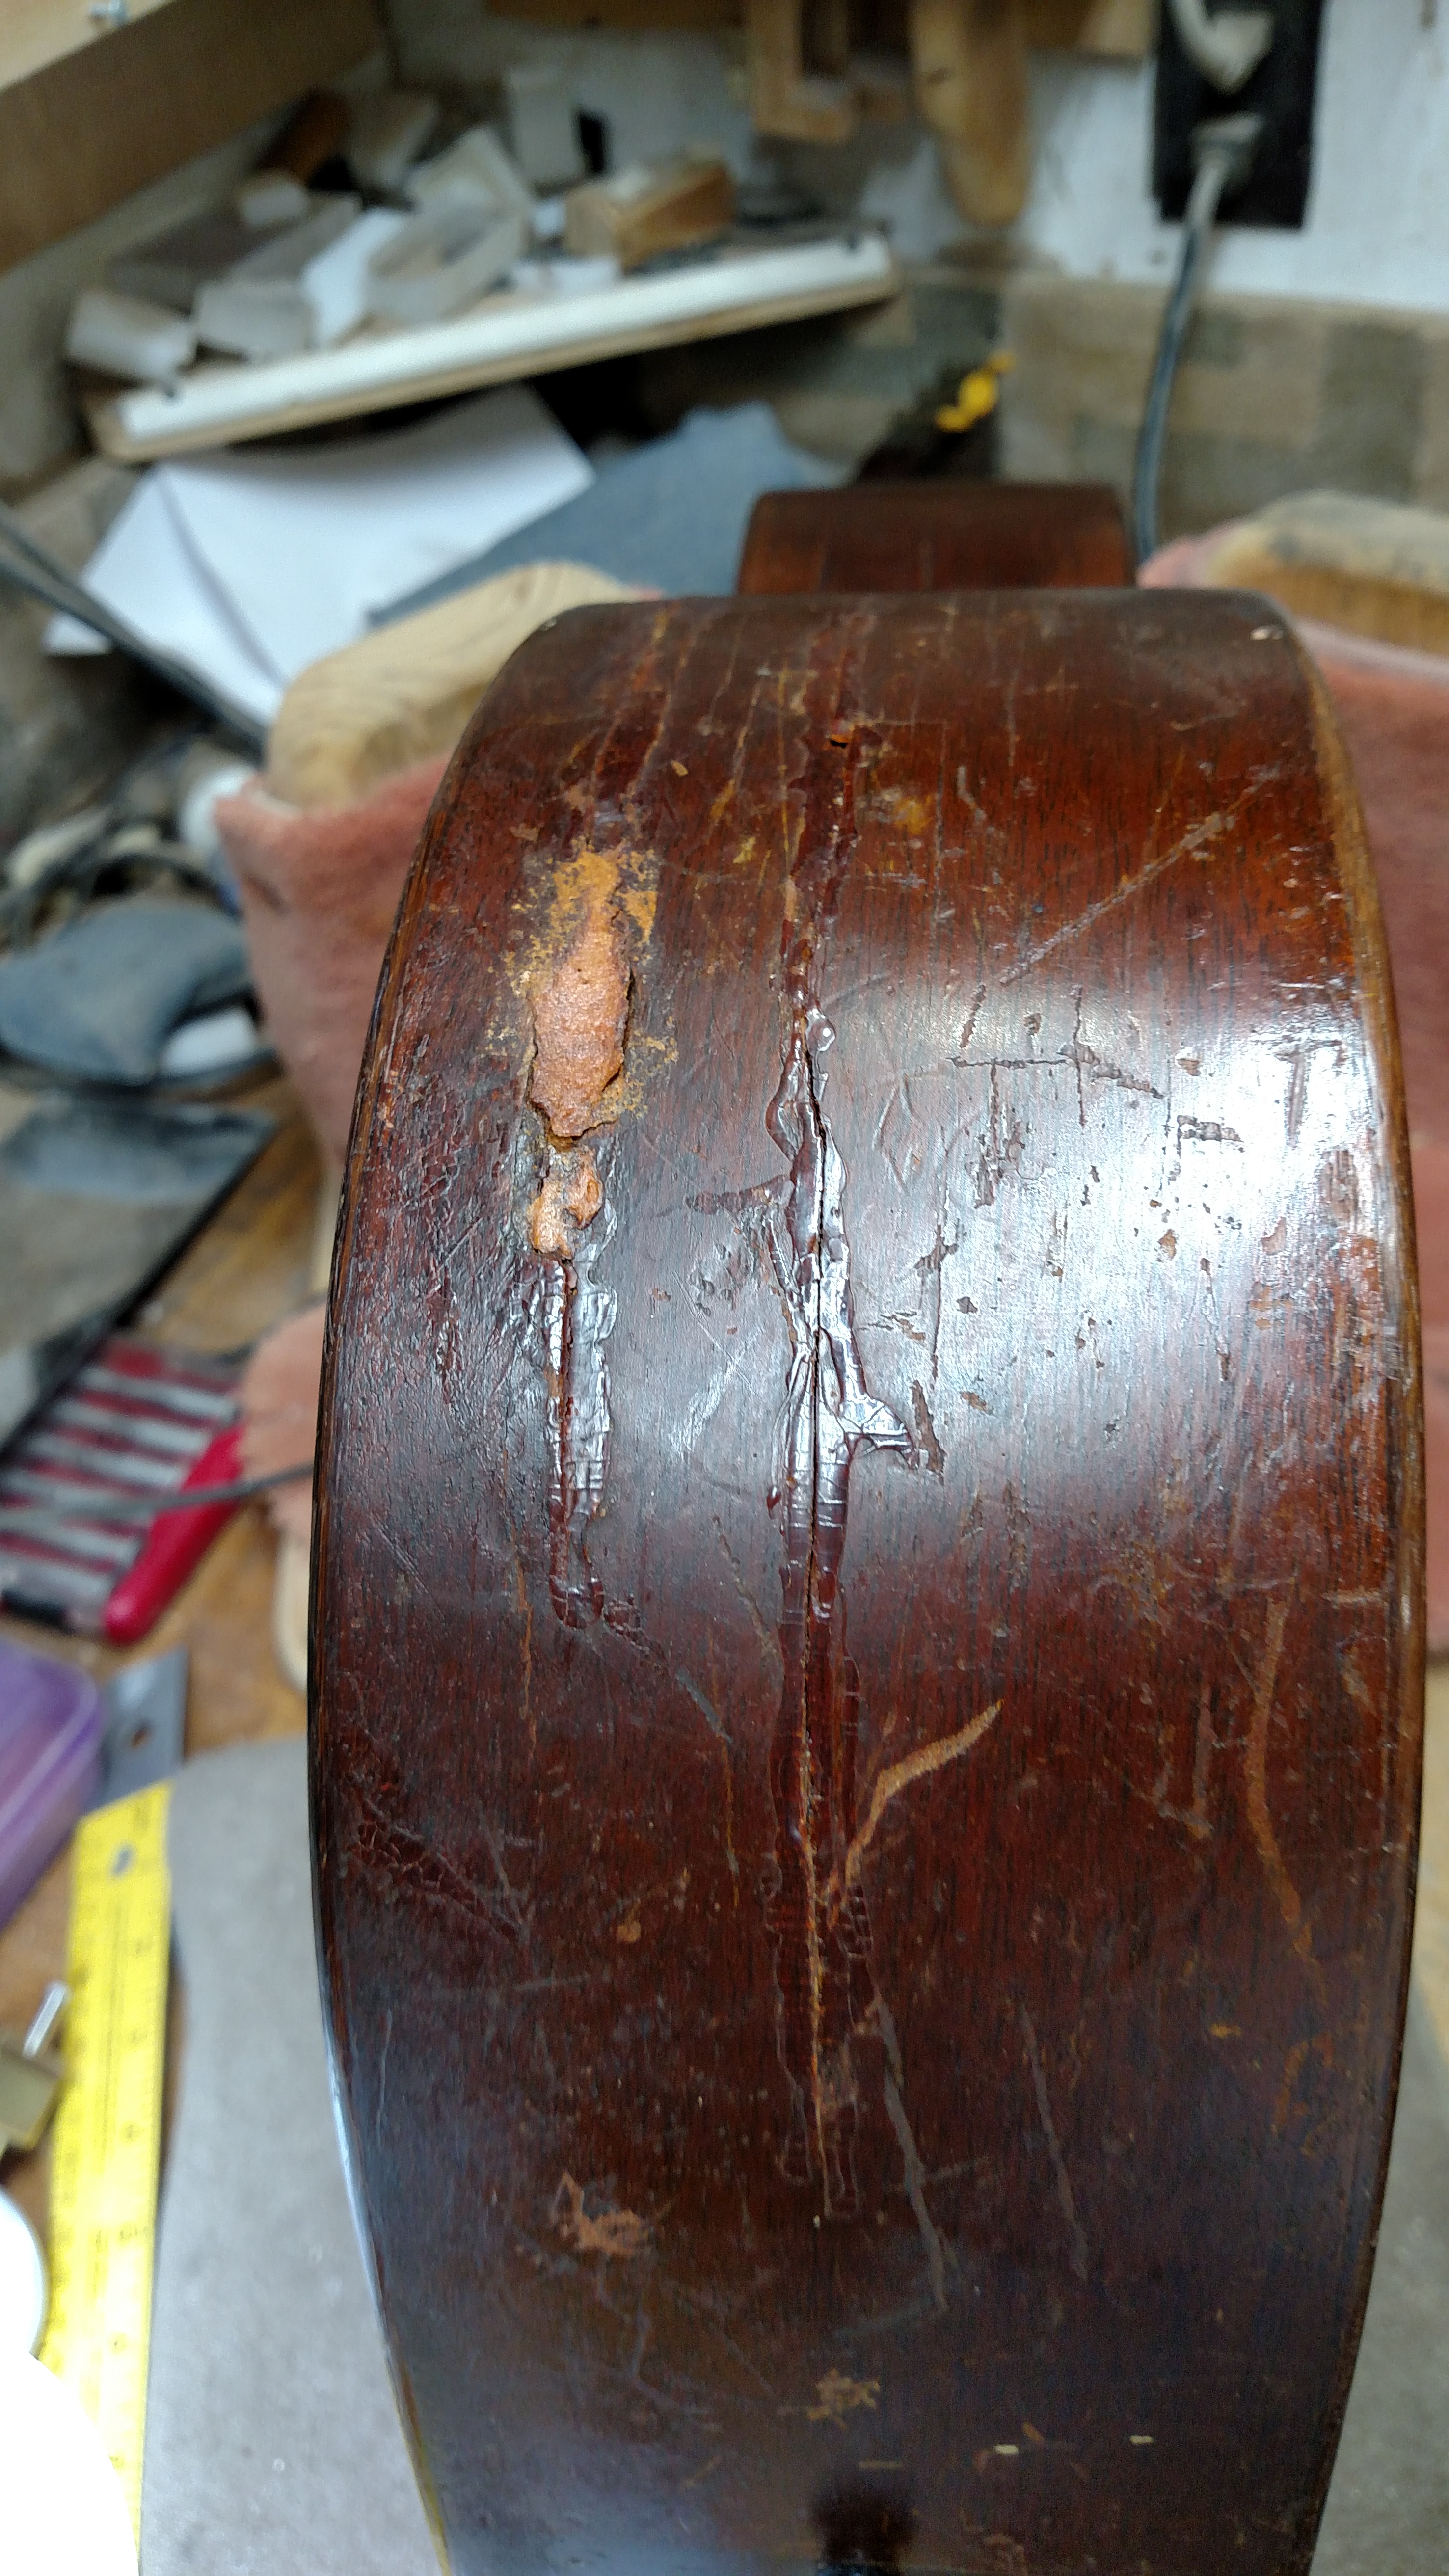
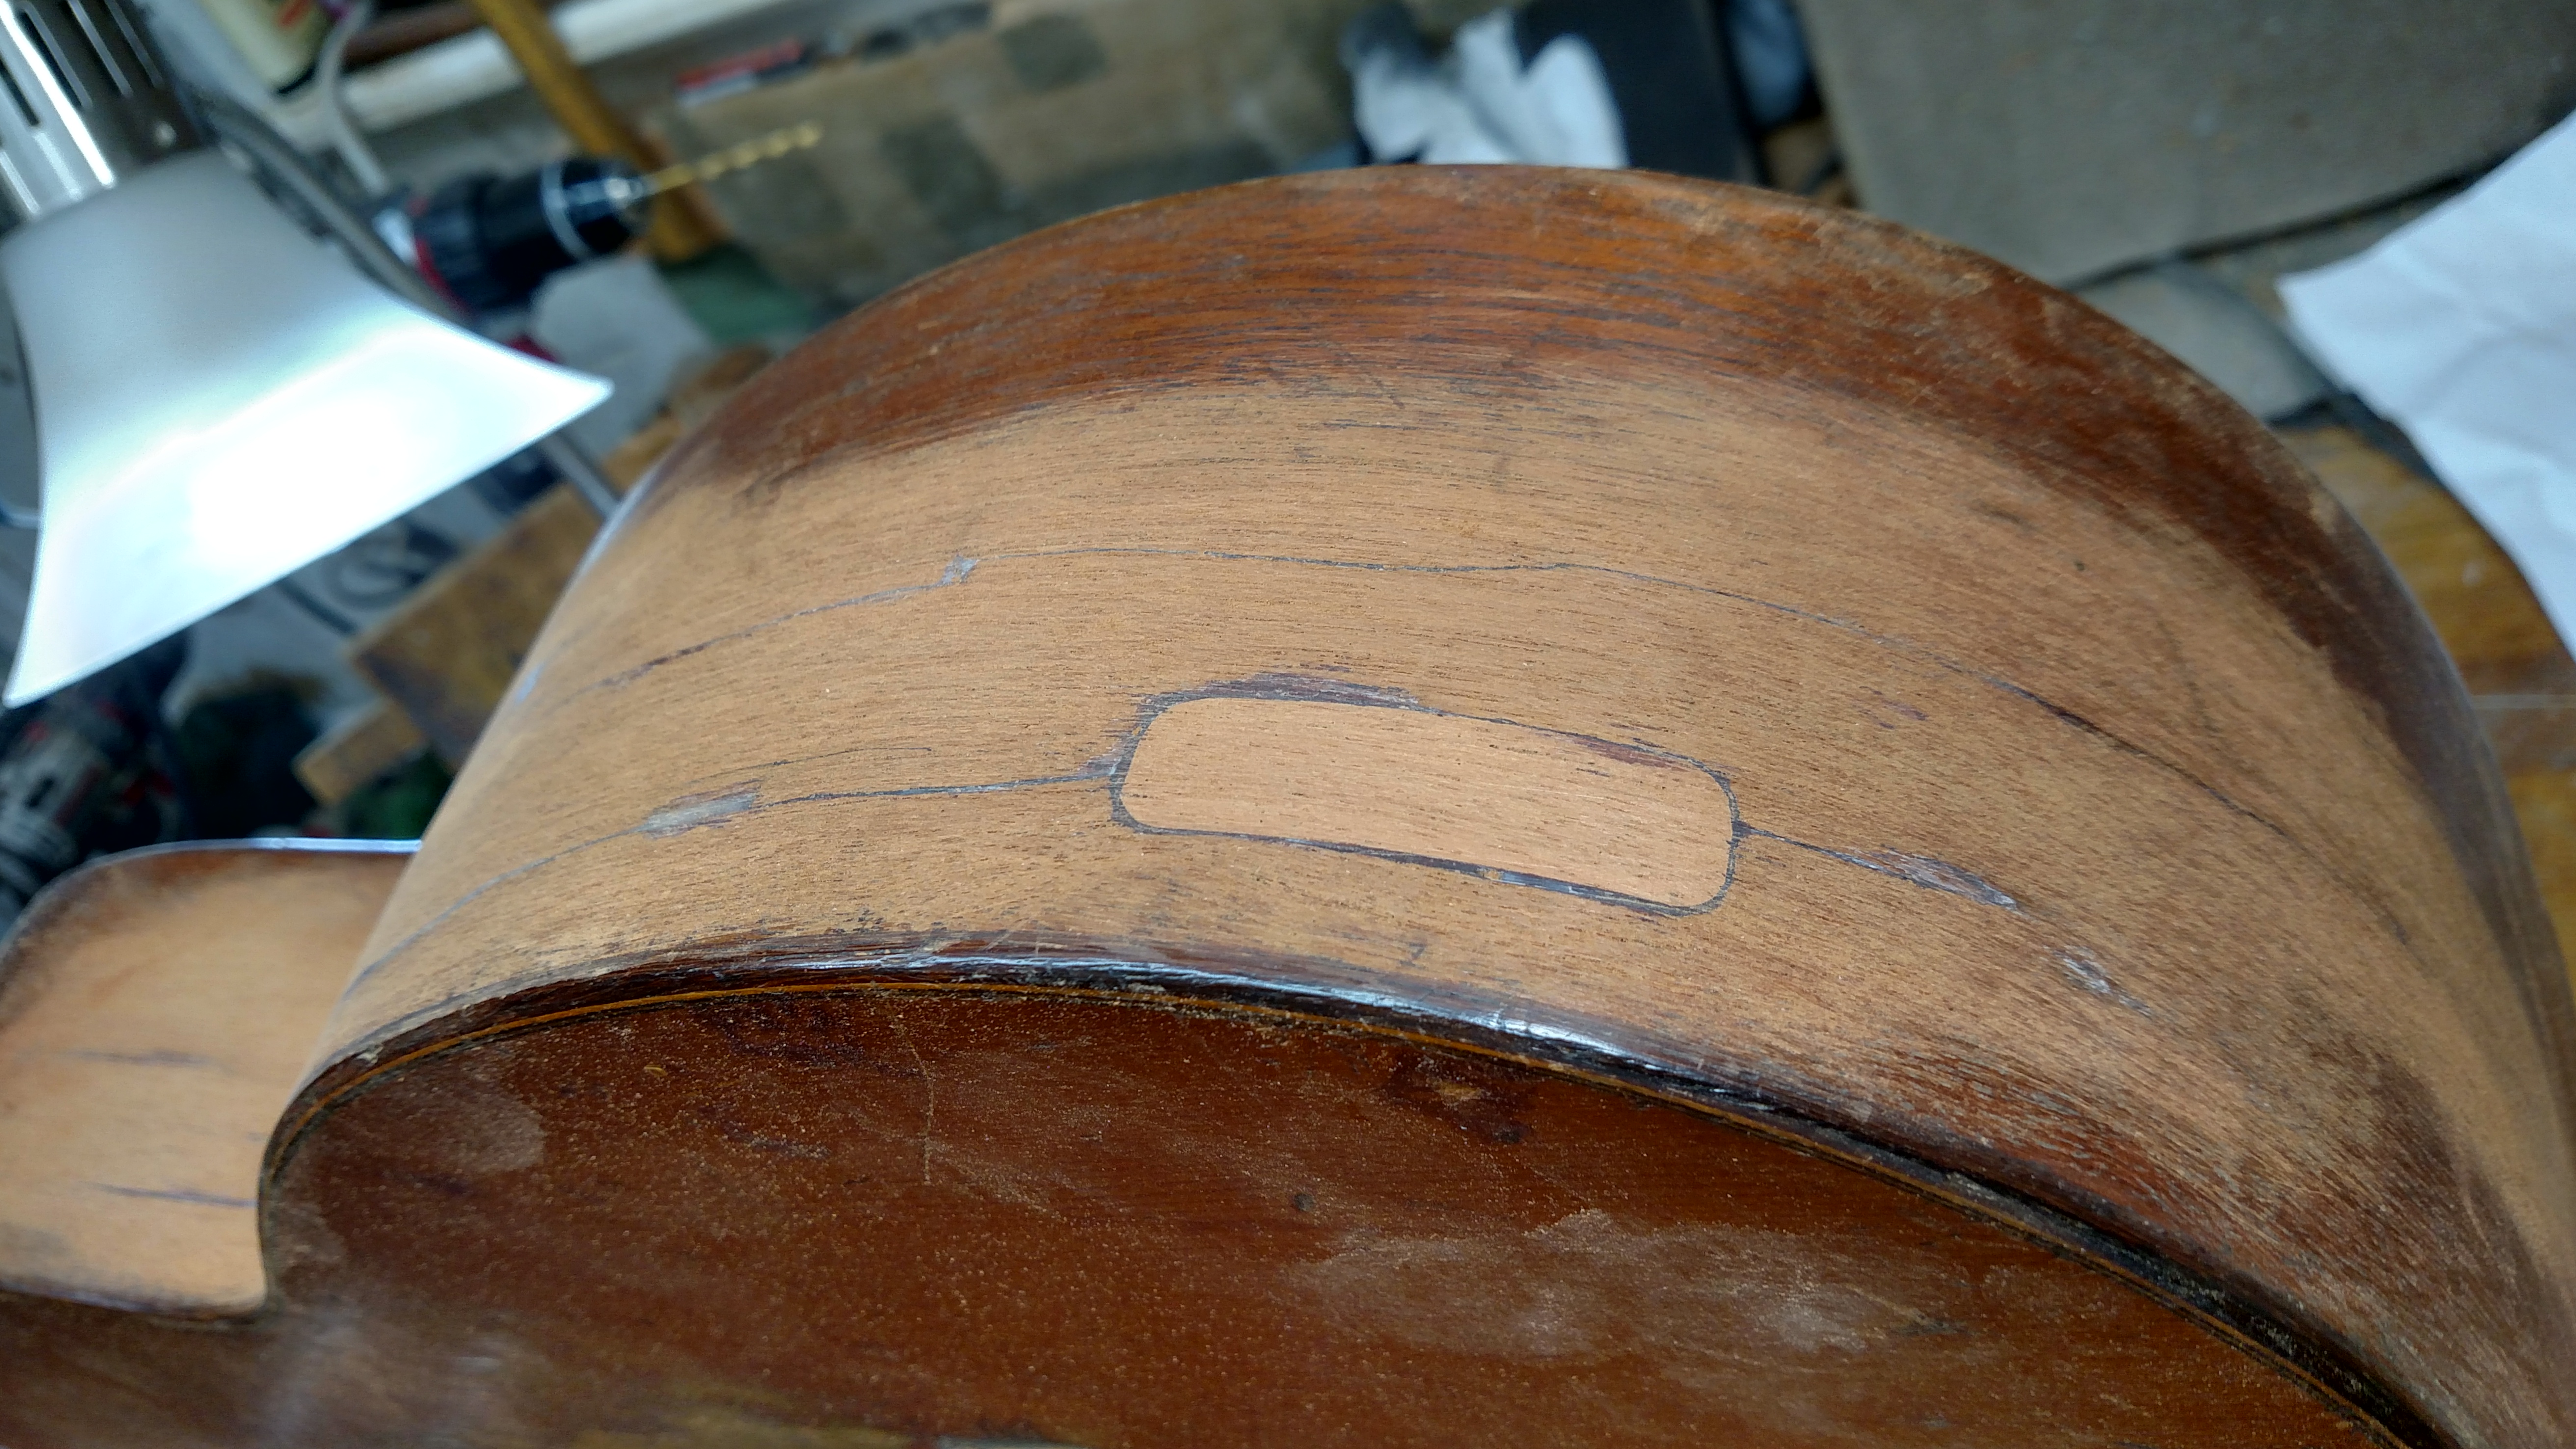
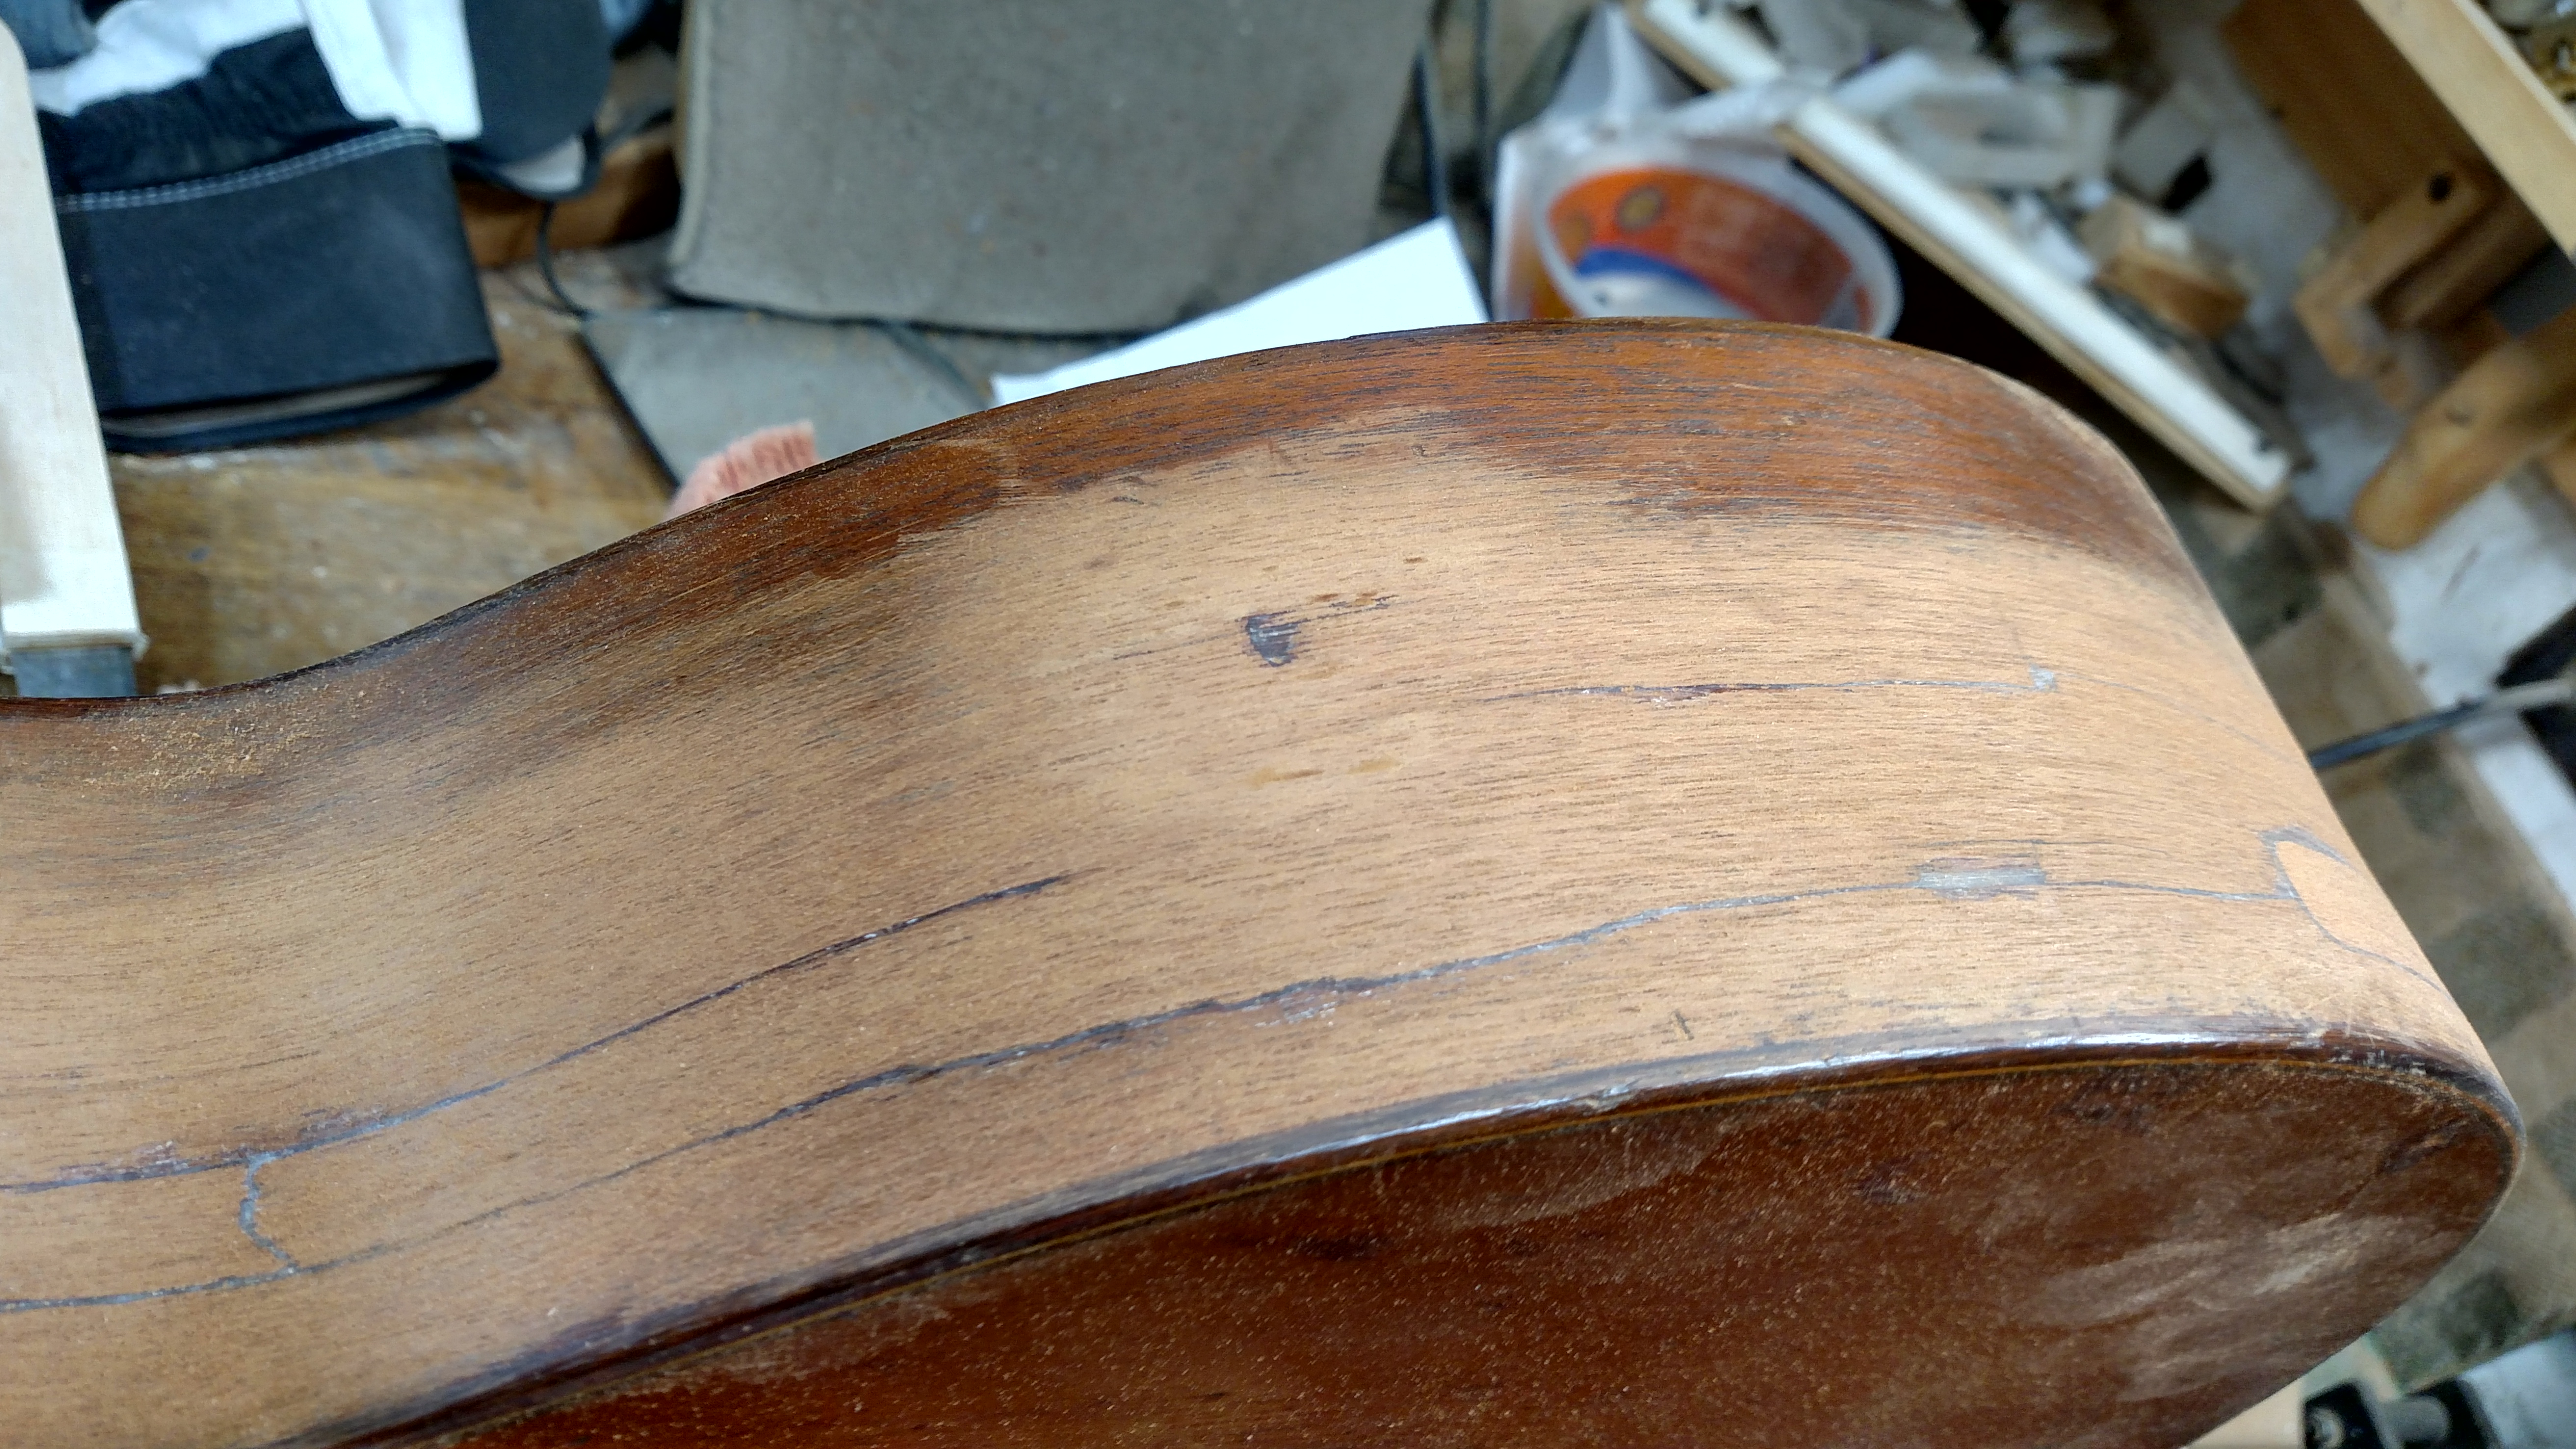
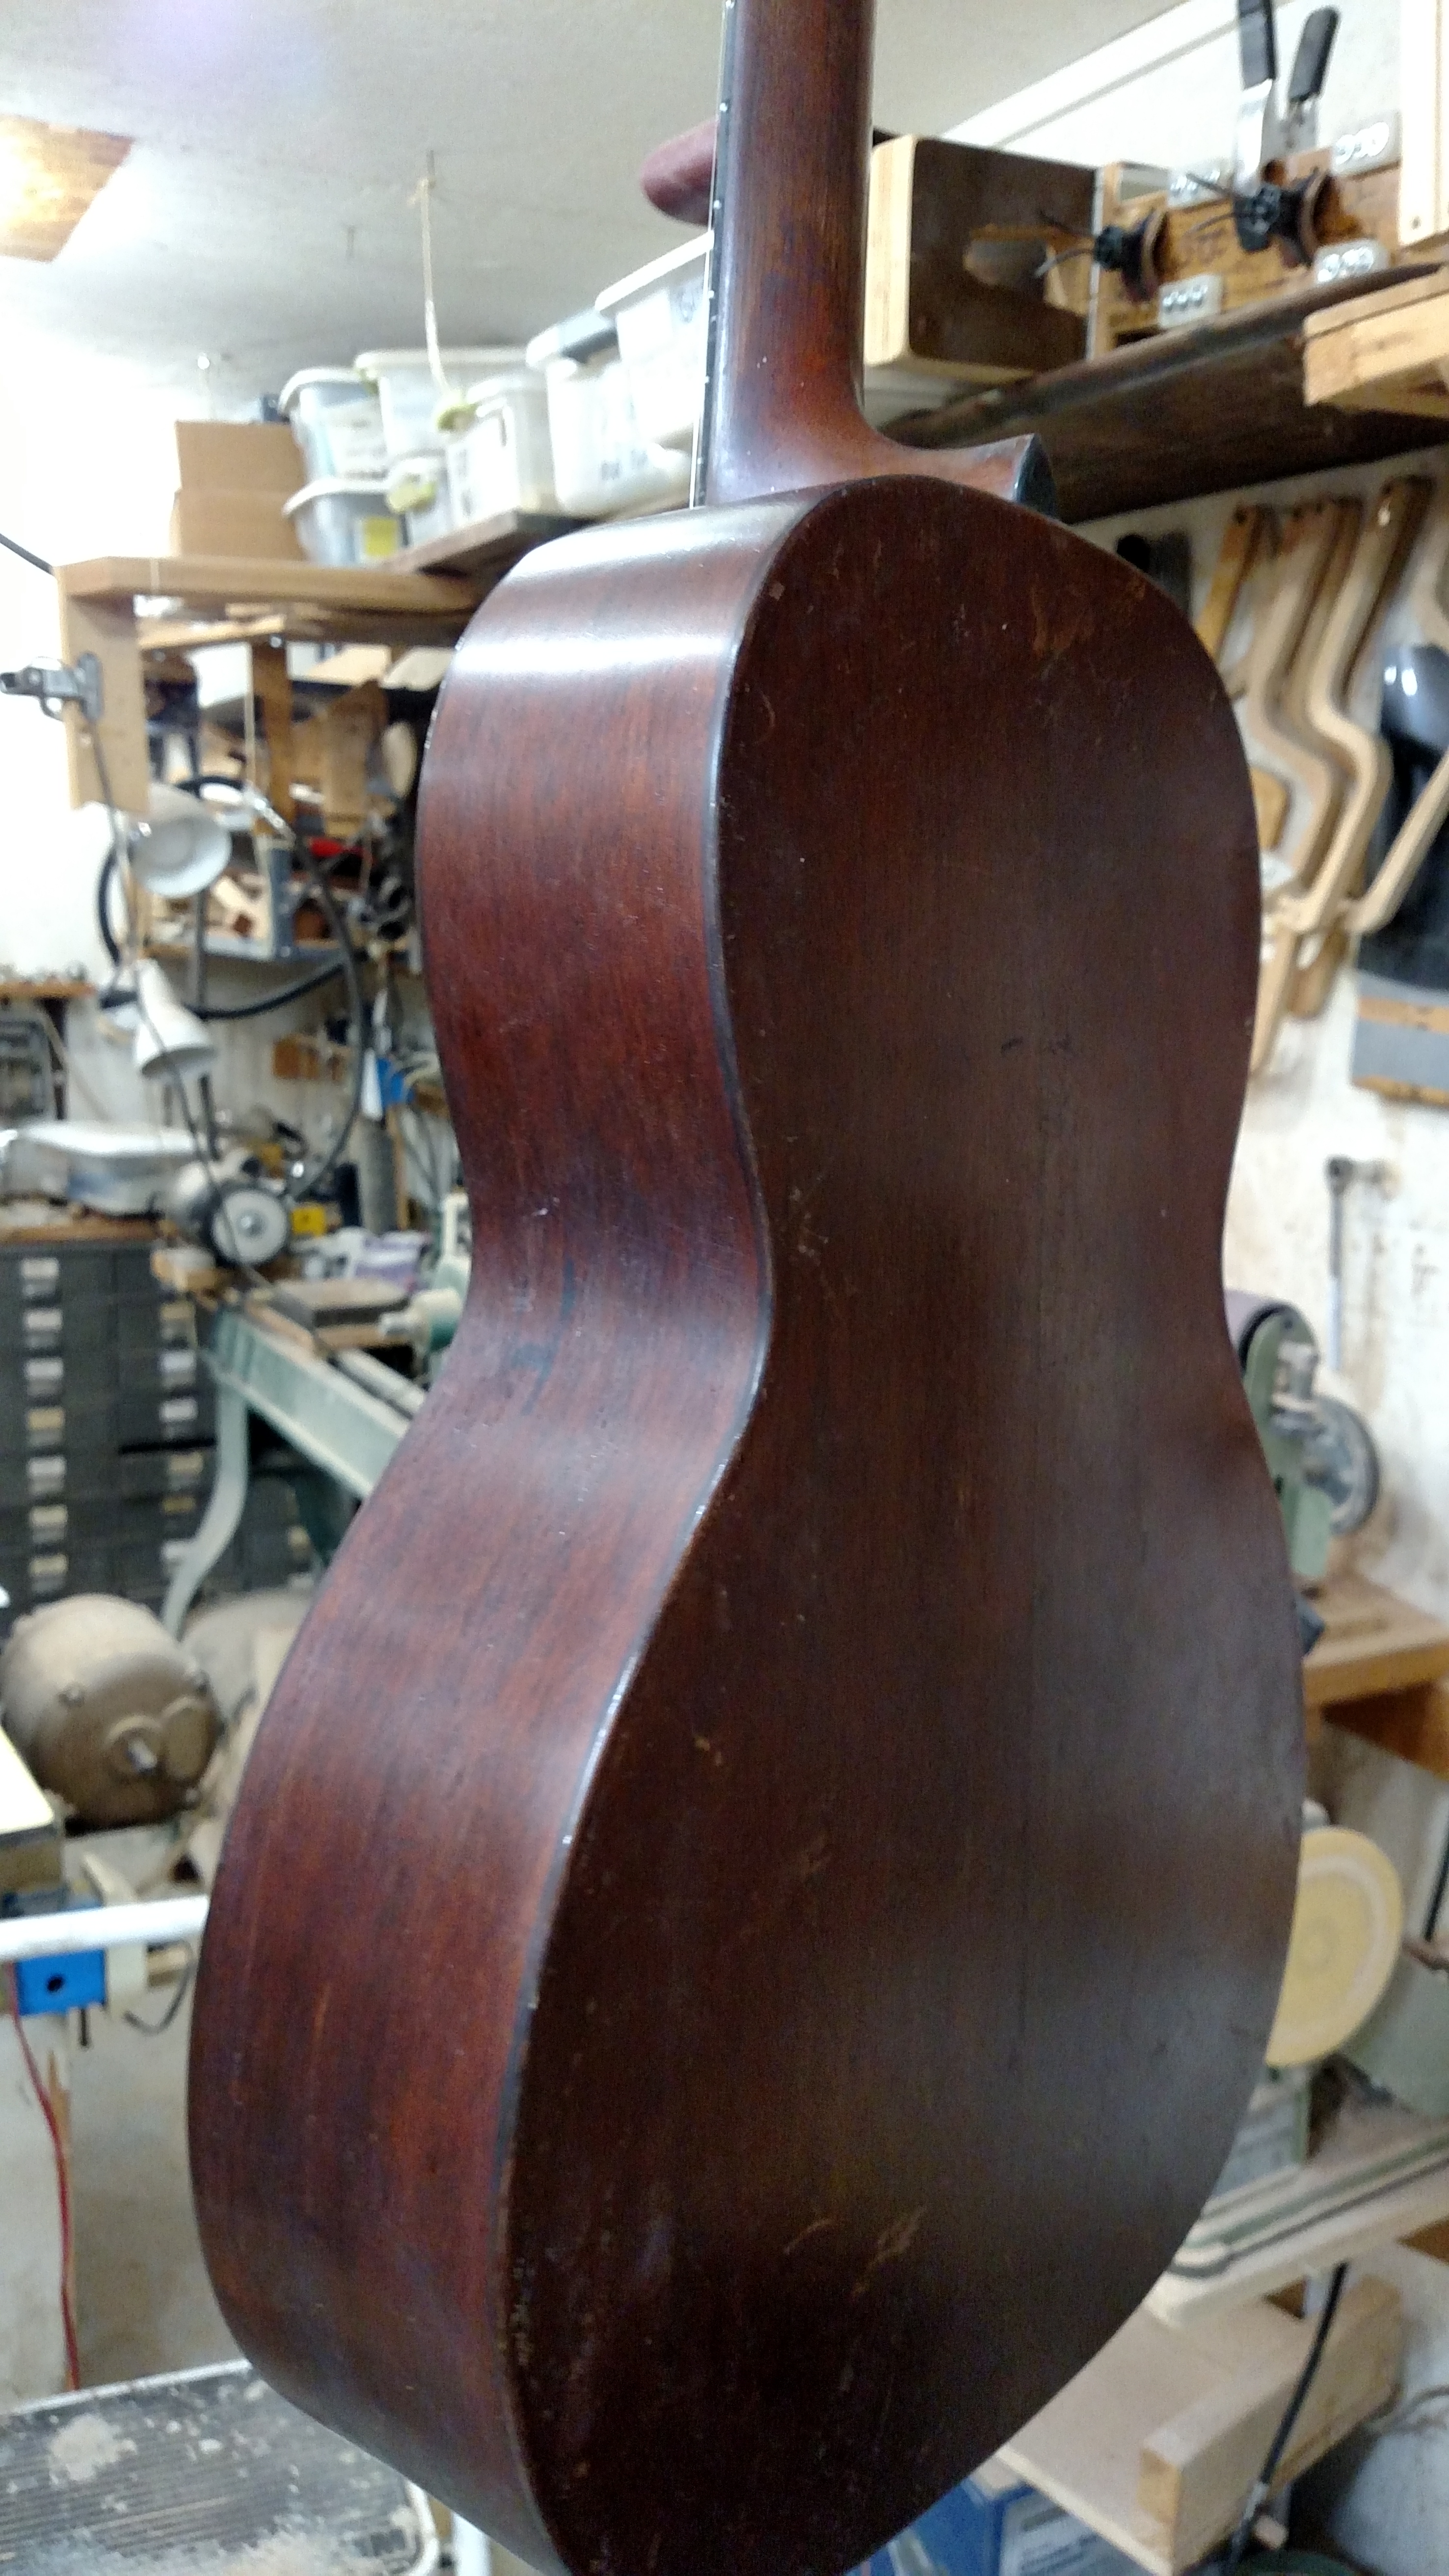
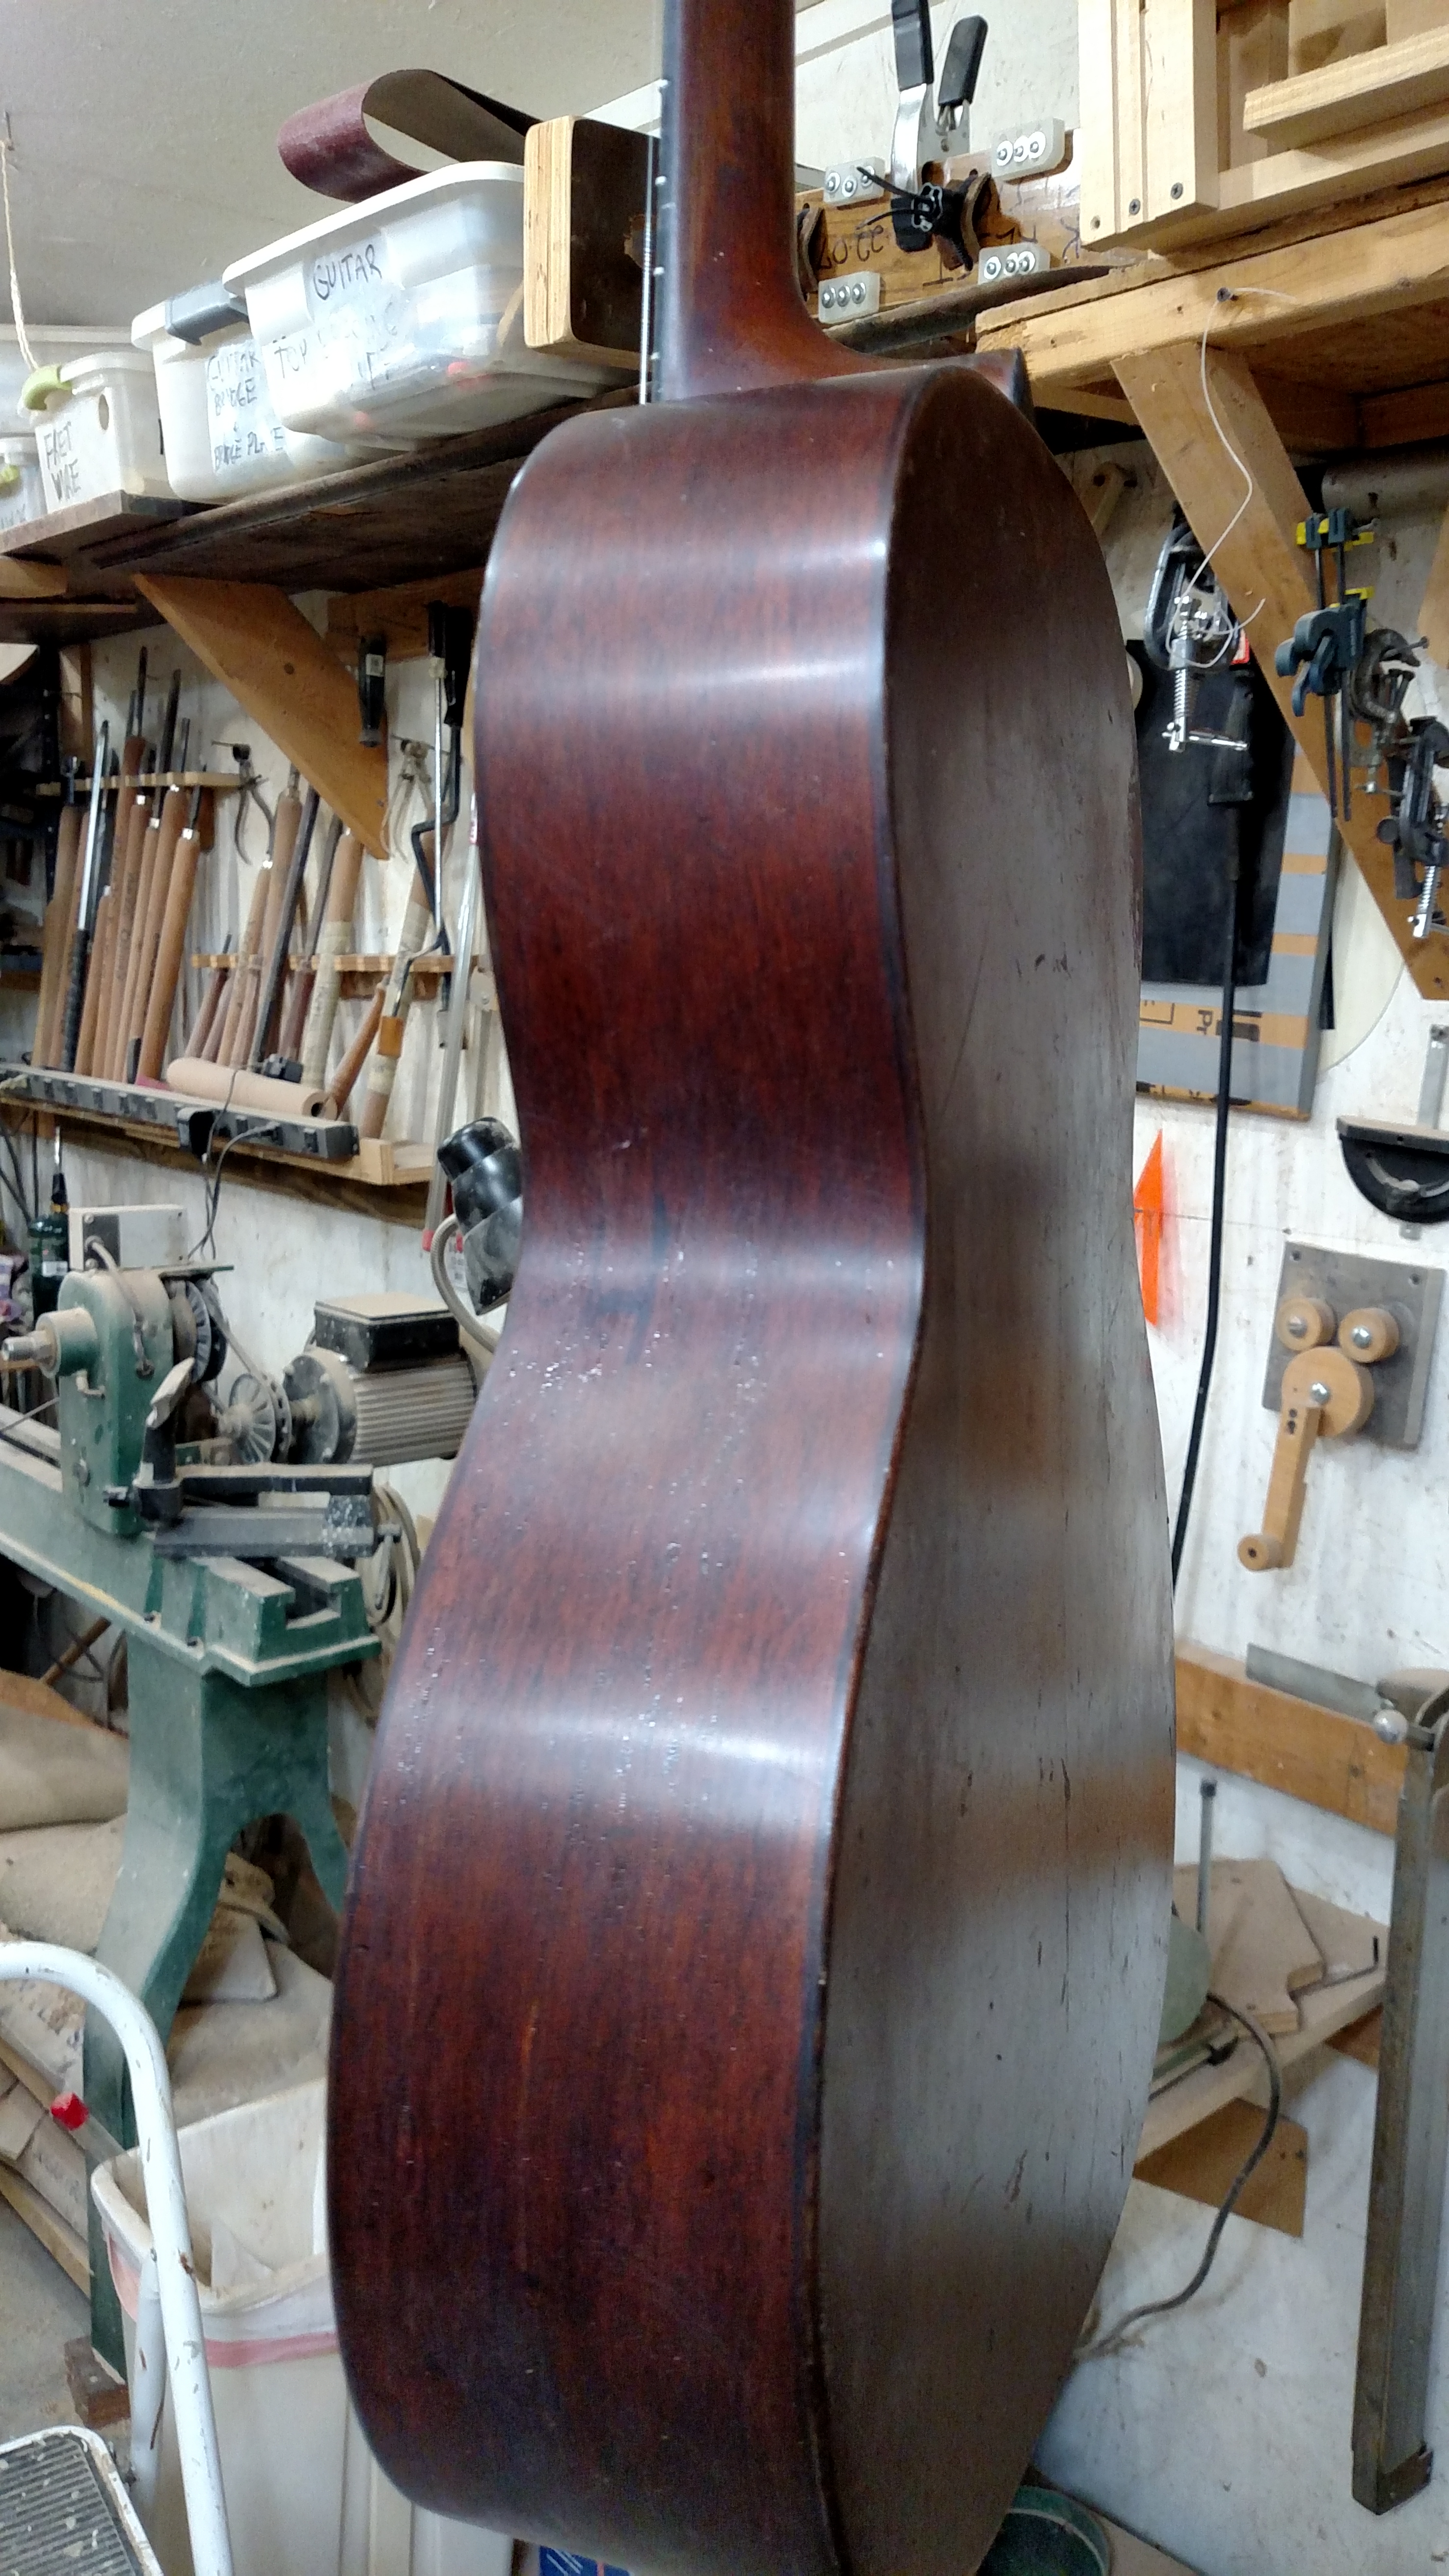
While the neck was out was a good time to refinish the sides. I tried to make the finish not look new. A little stain, wood filler and some lacquer seemed to work pretty well. I used ultra fine wet or dry sandpaper and 0000 steel wool to achieve the look I wanted.
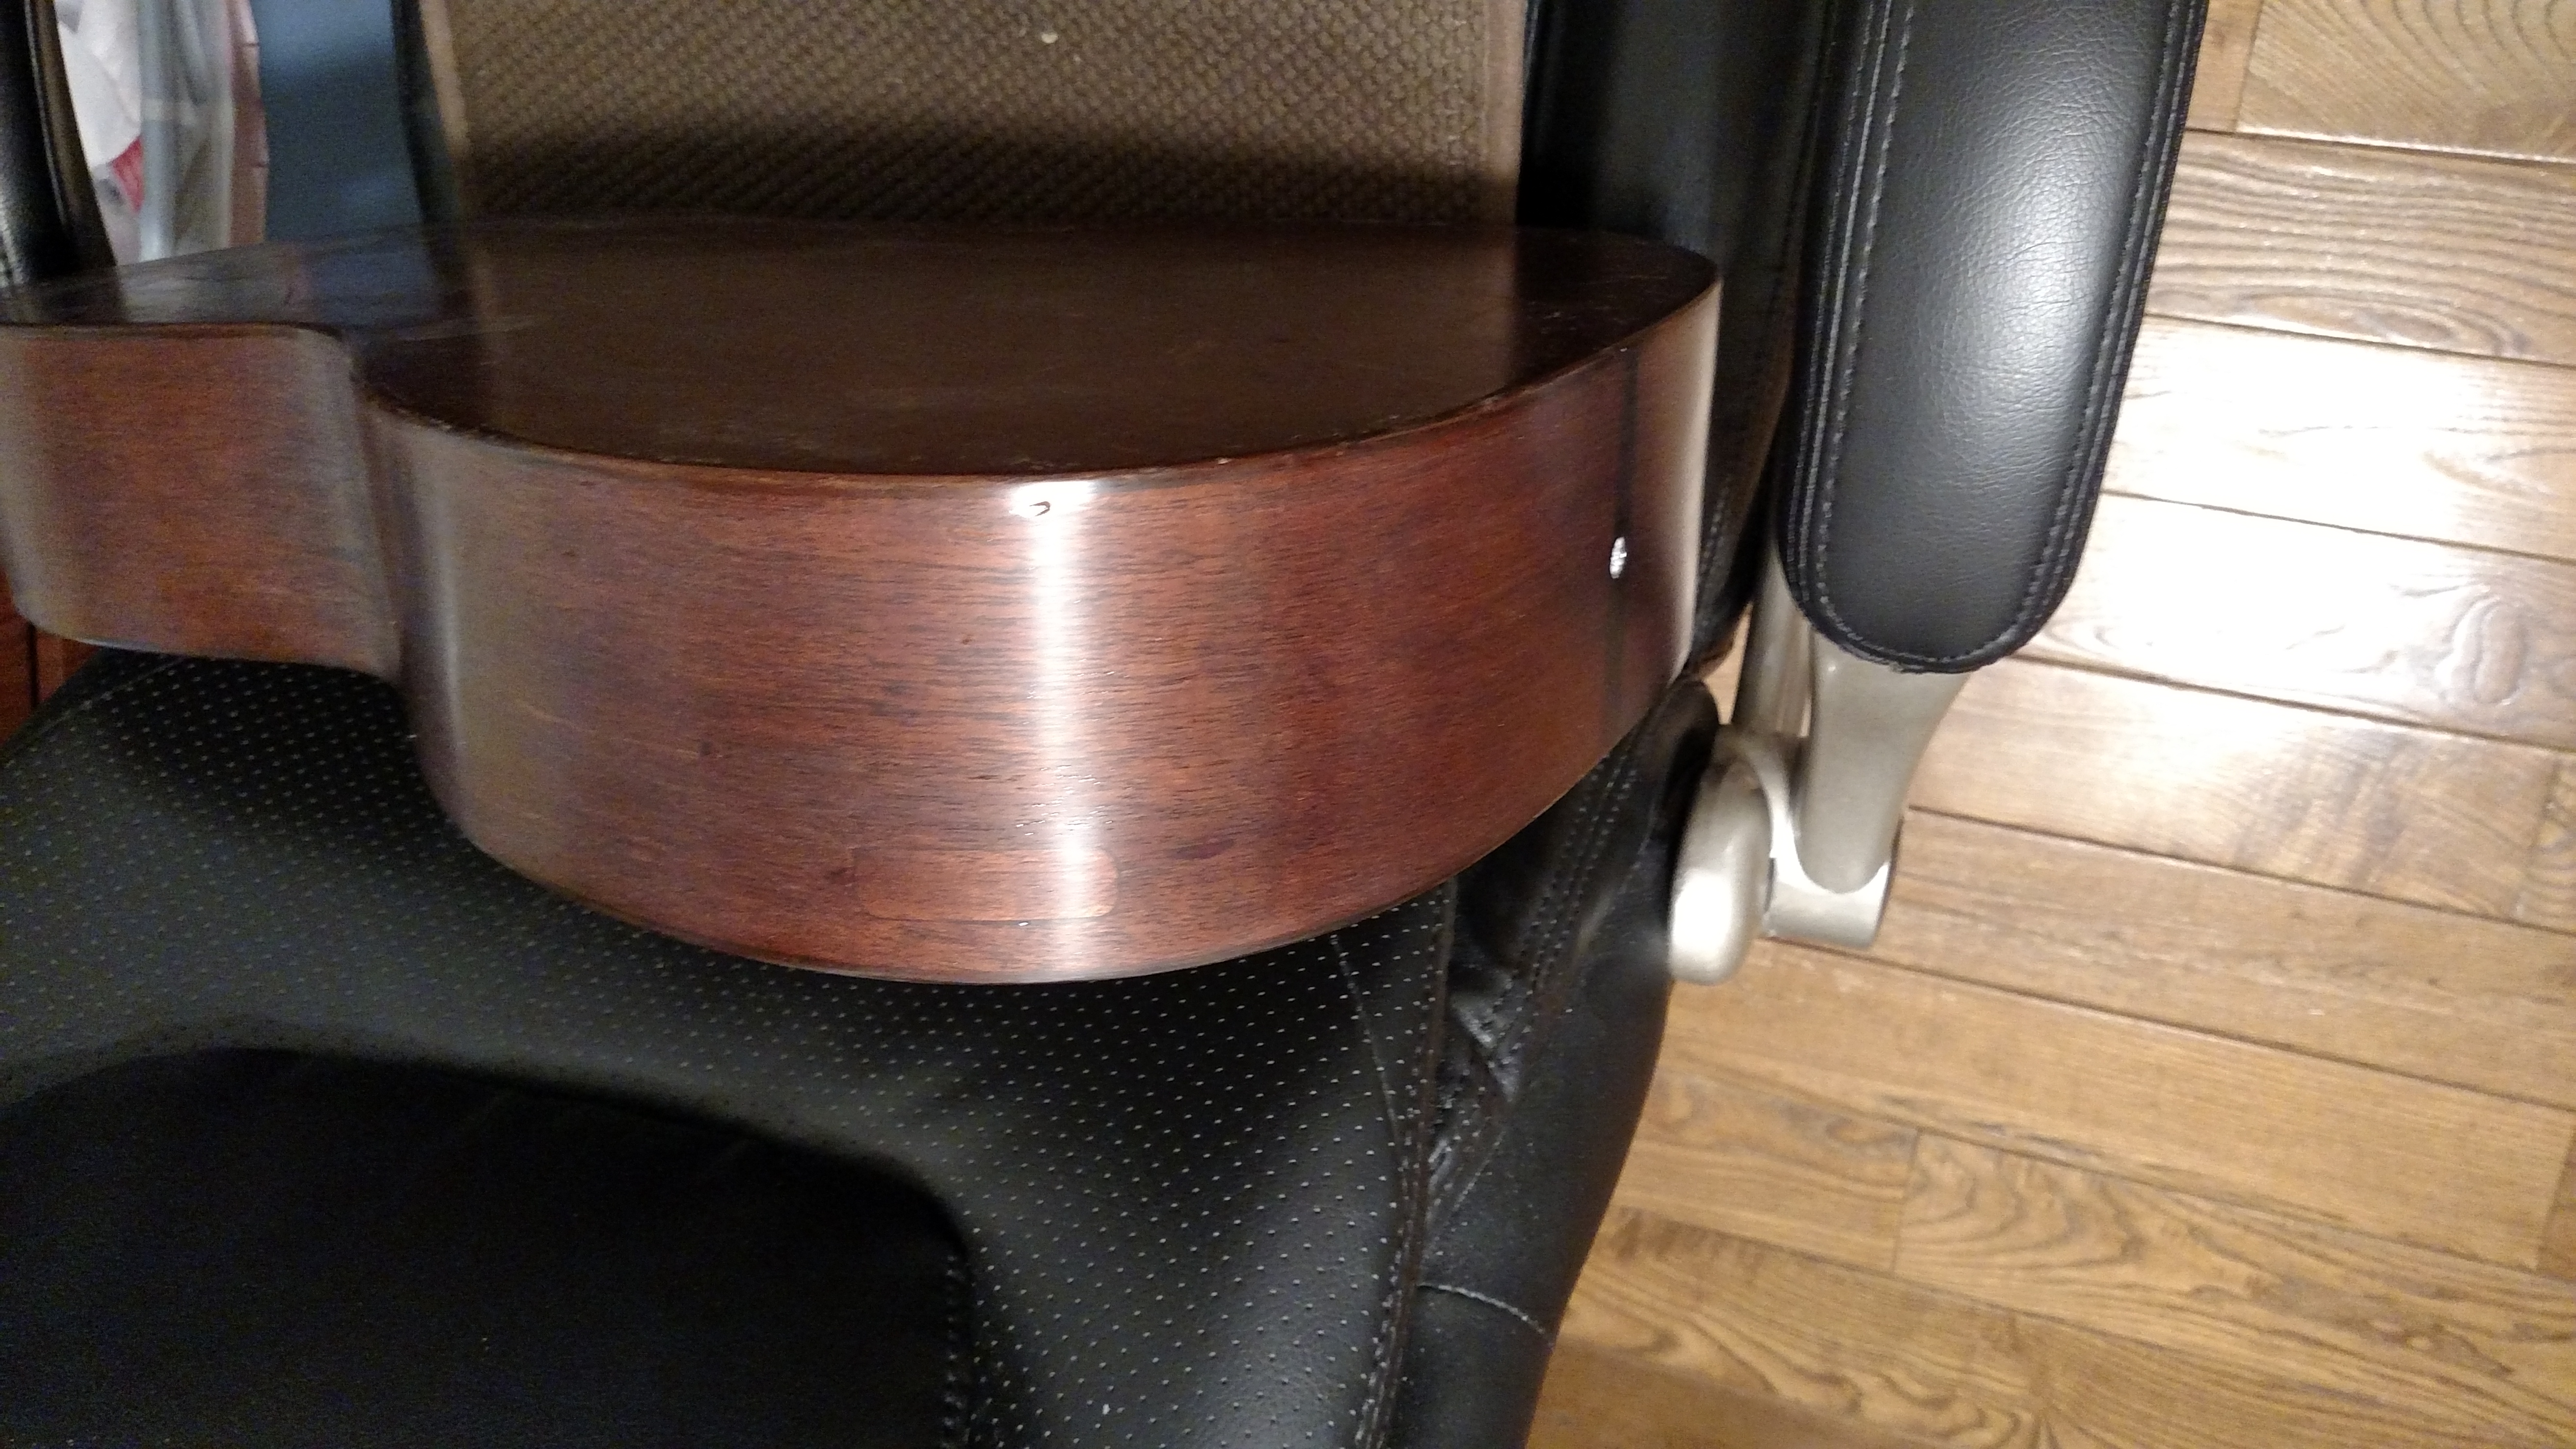
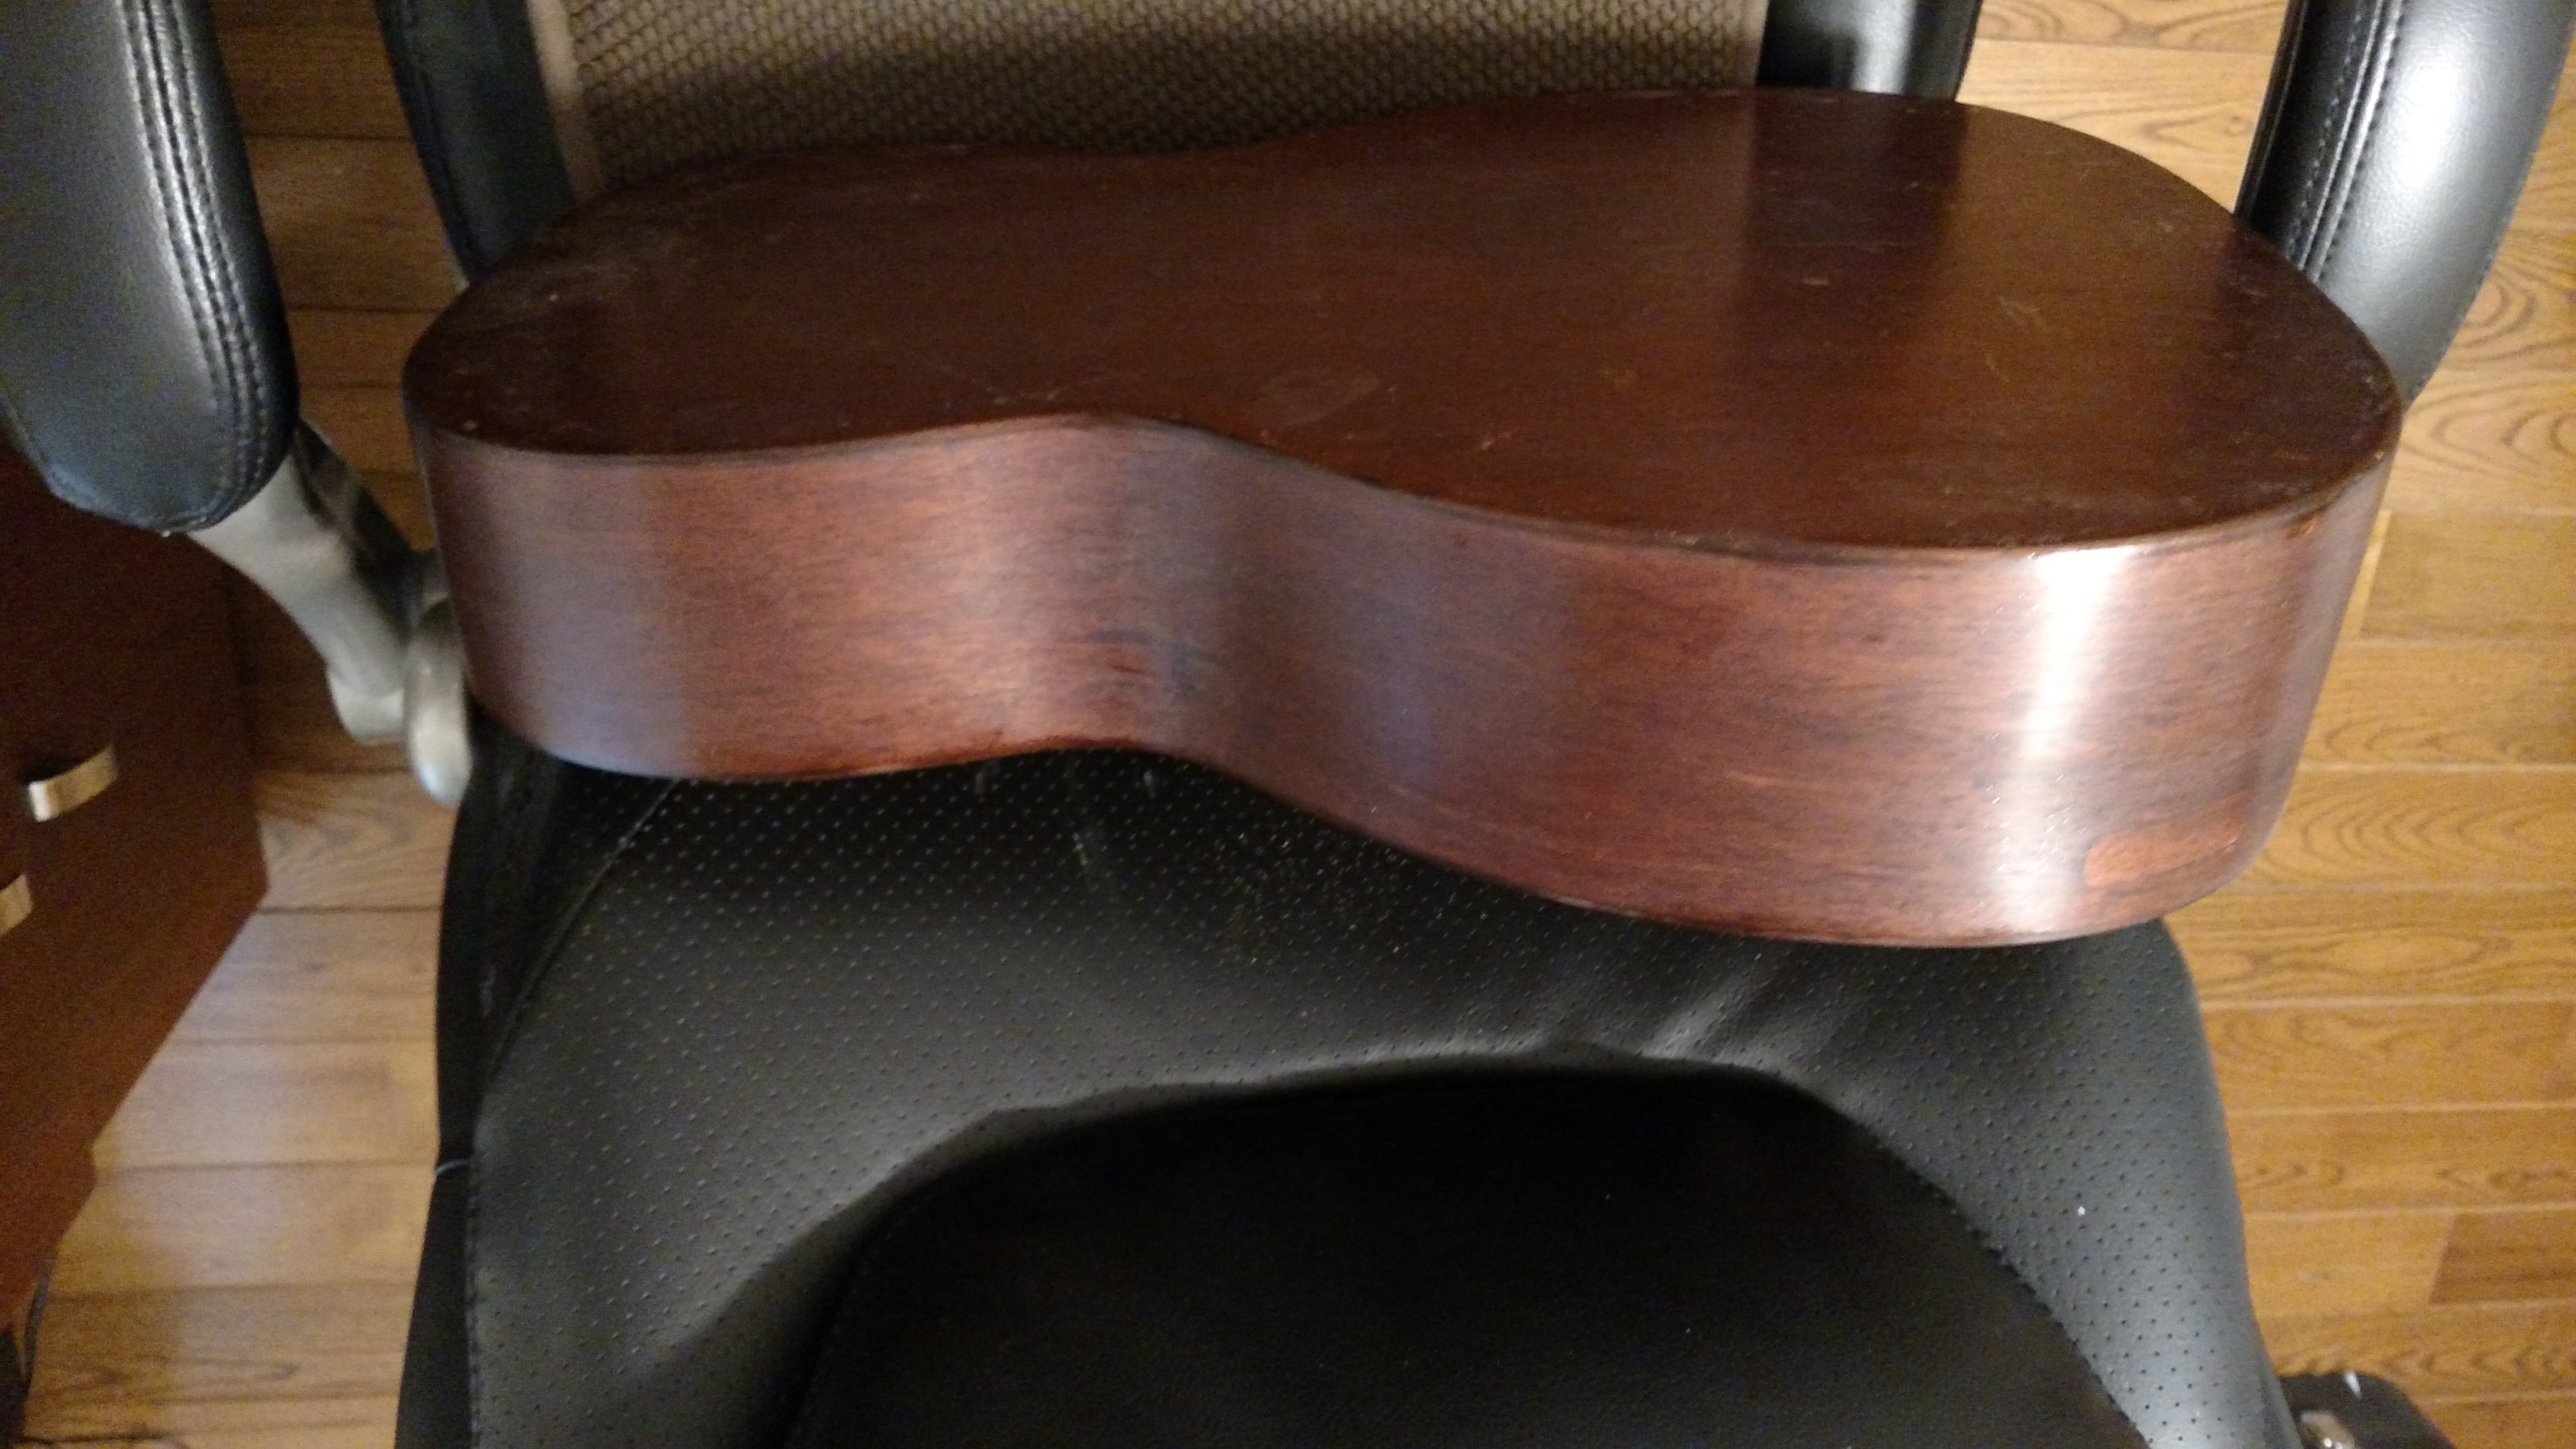
The 4 pictures above show the sides after I refinished them. The first 2 are before color sanding and the last 2 show how I dulled down the finish to make it look old. After the sides were finished, I glued the neck back in.
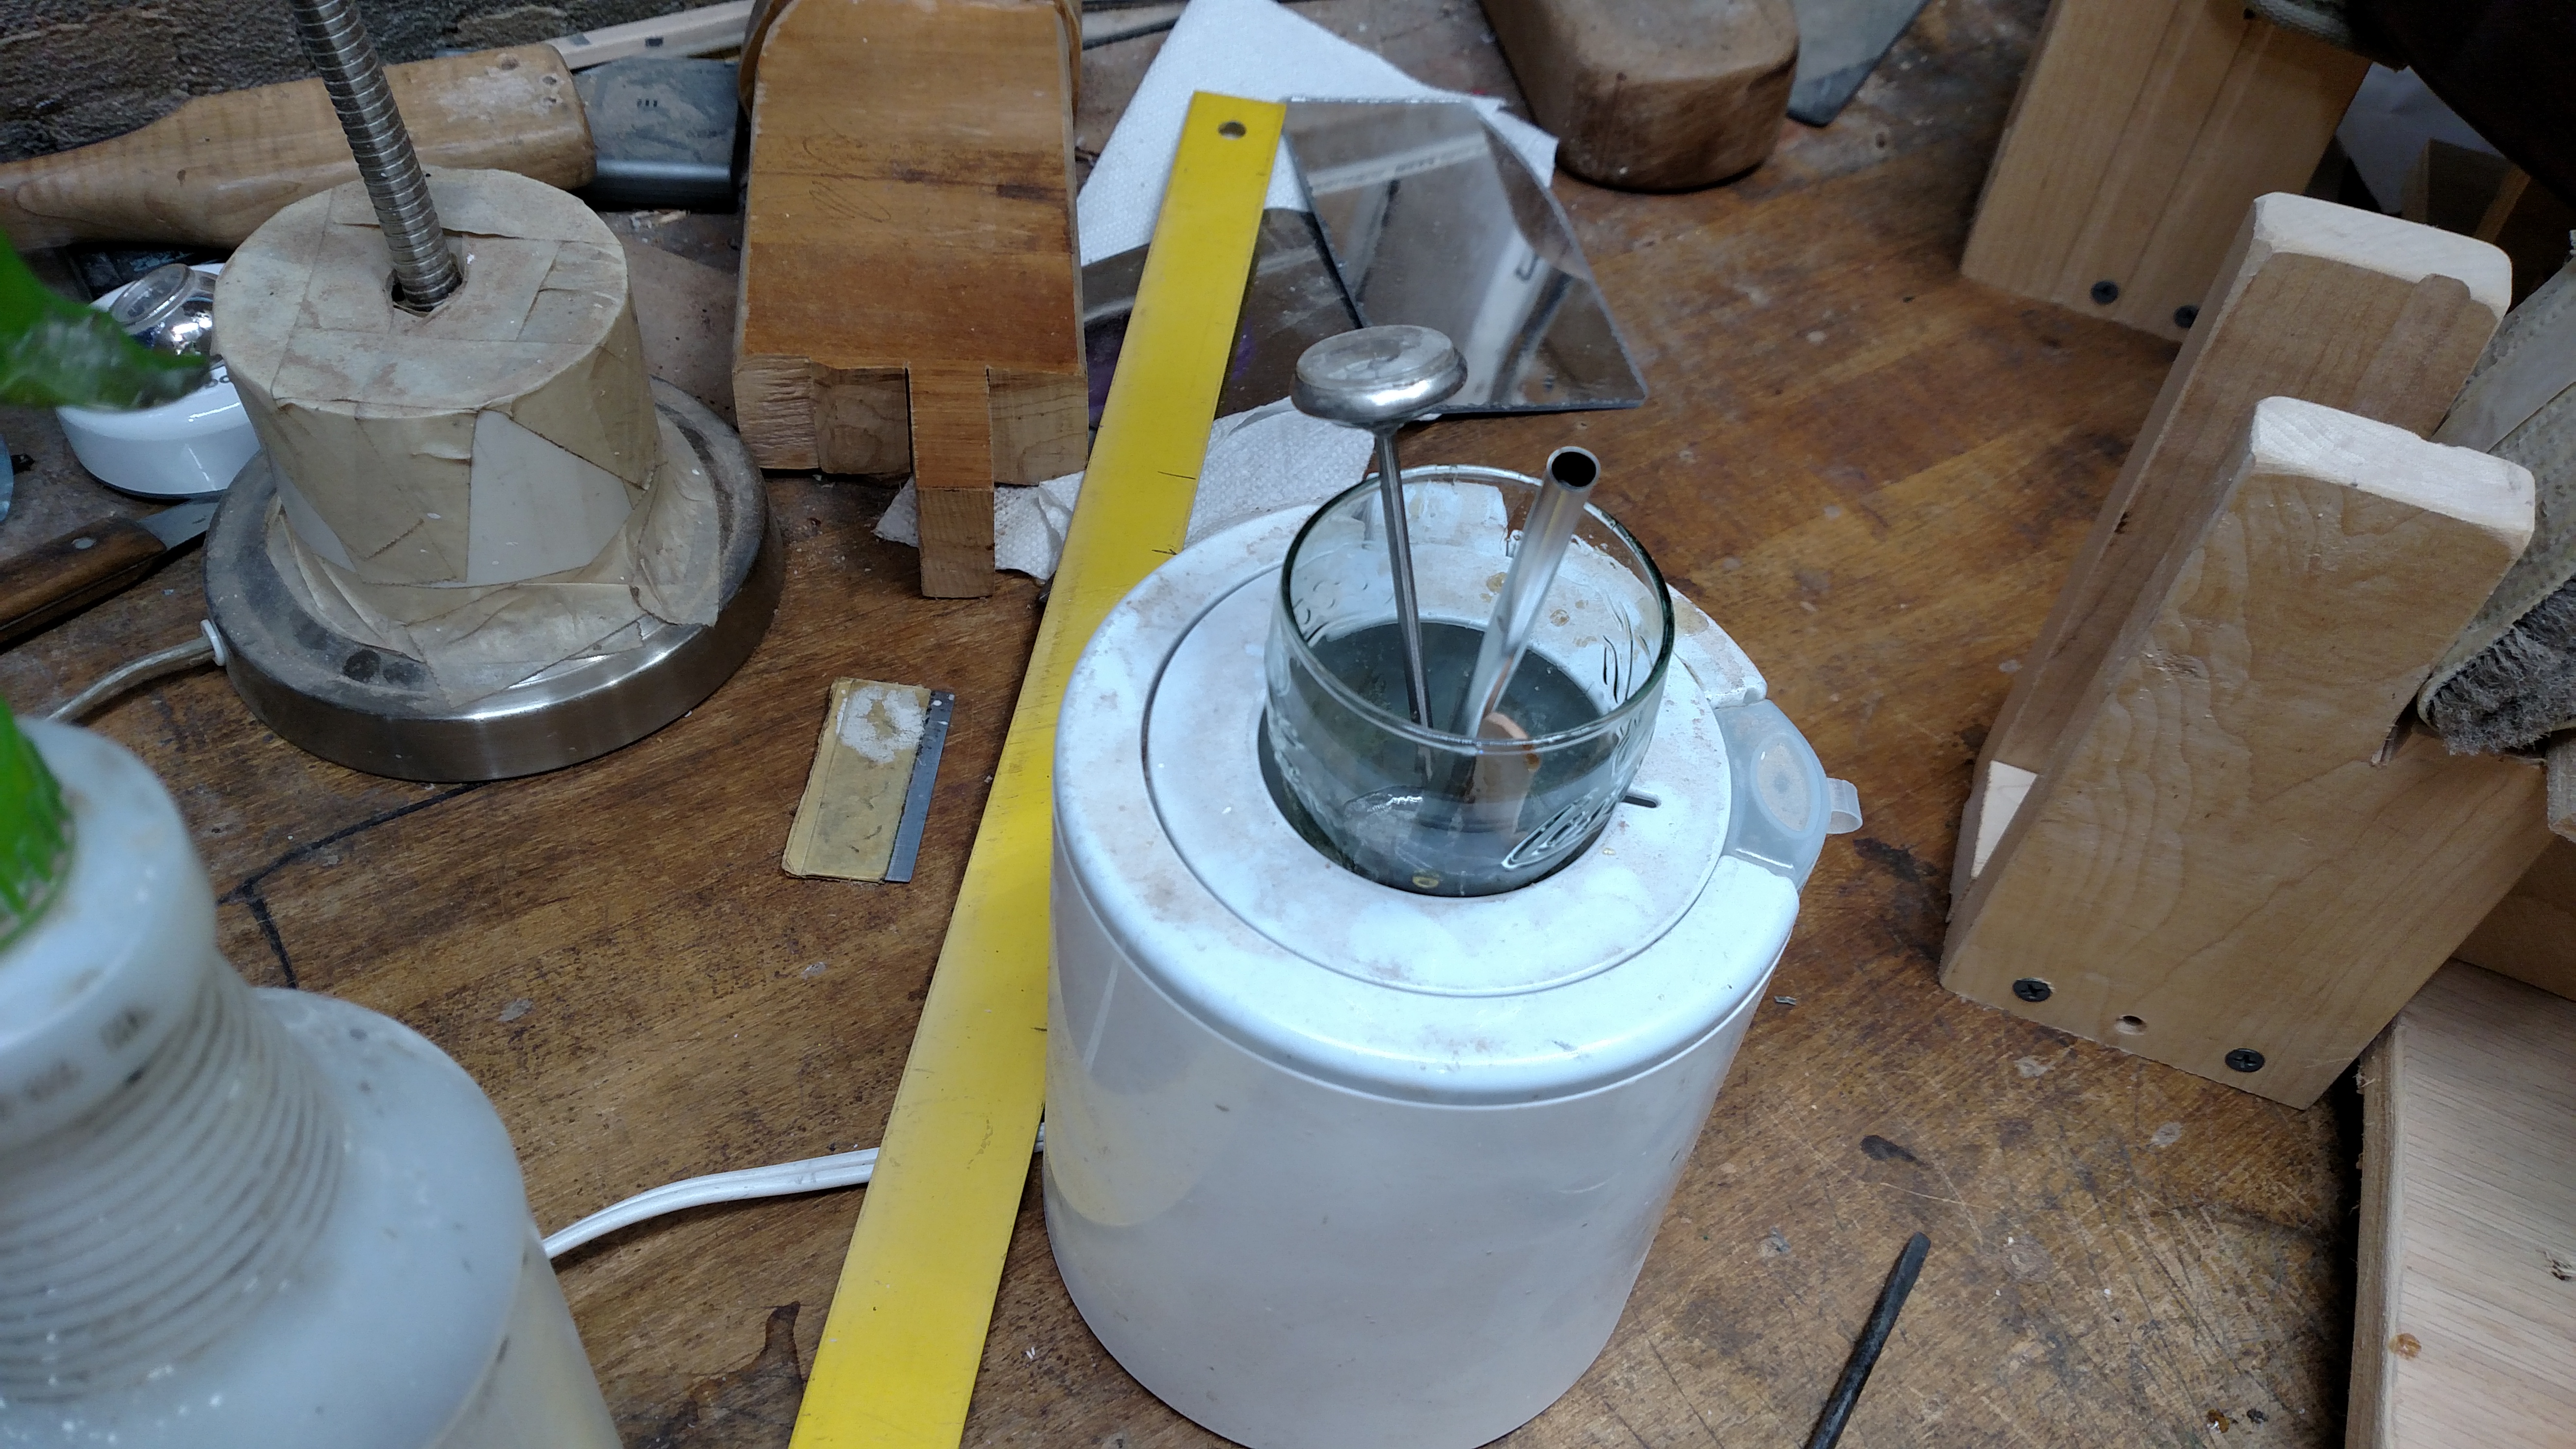
This baby bottle warmer makes a good thing to heat up the hide glue.
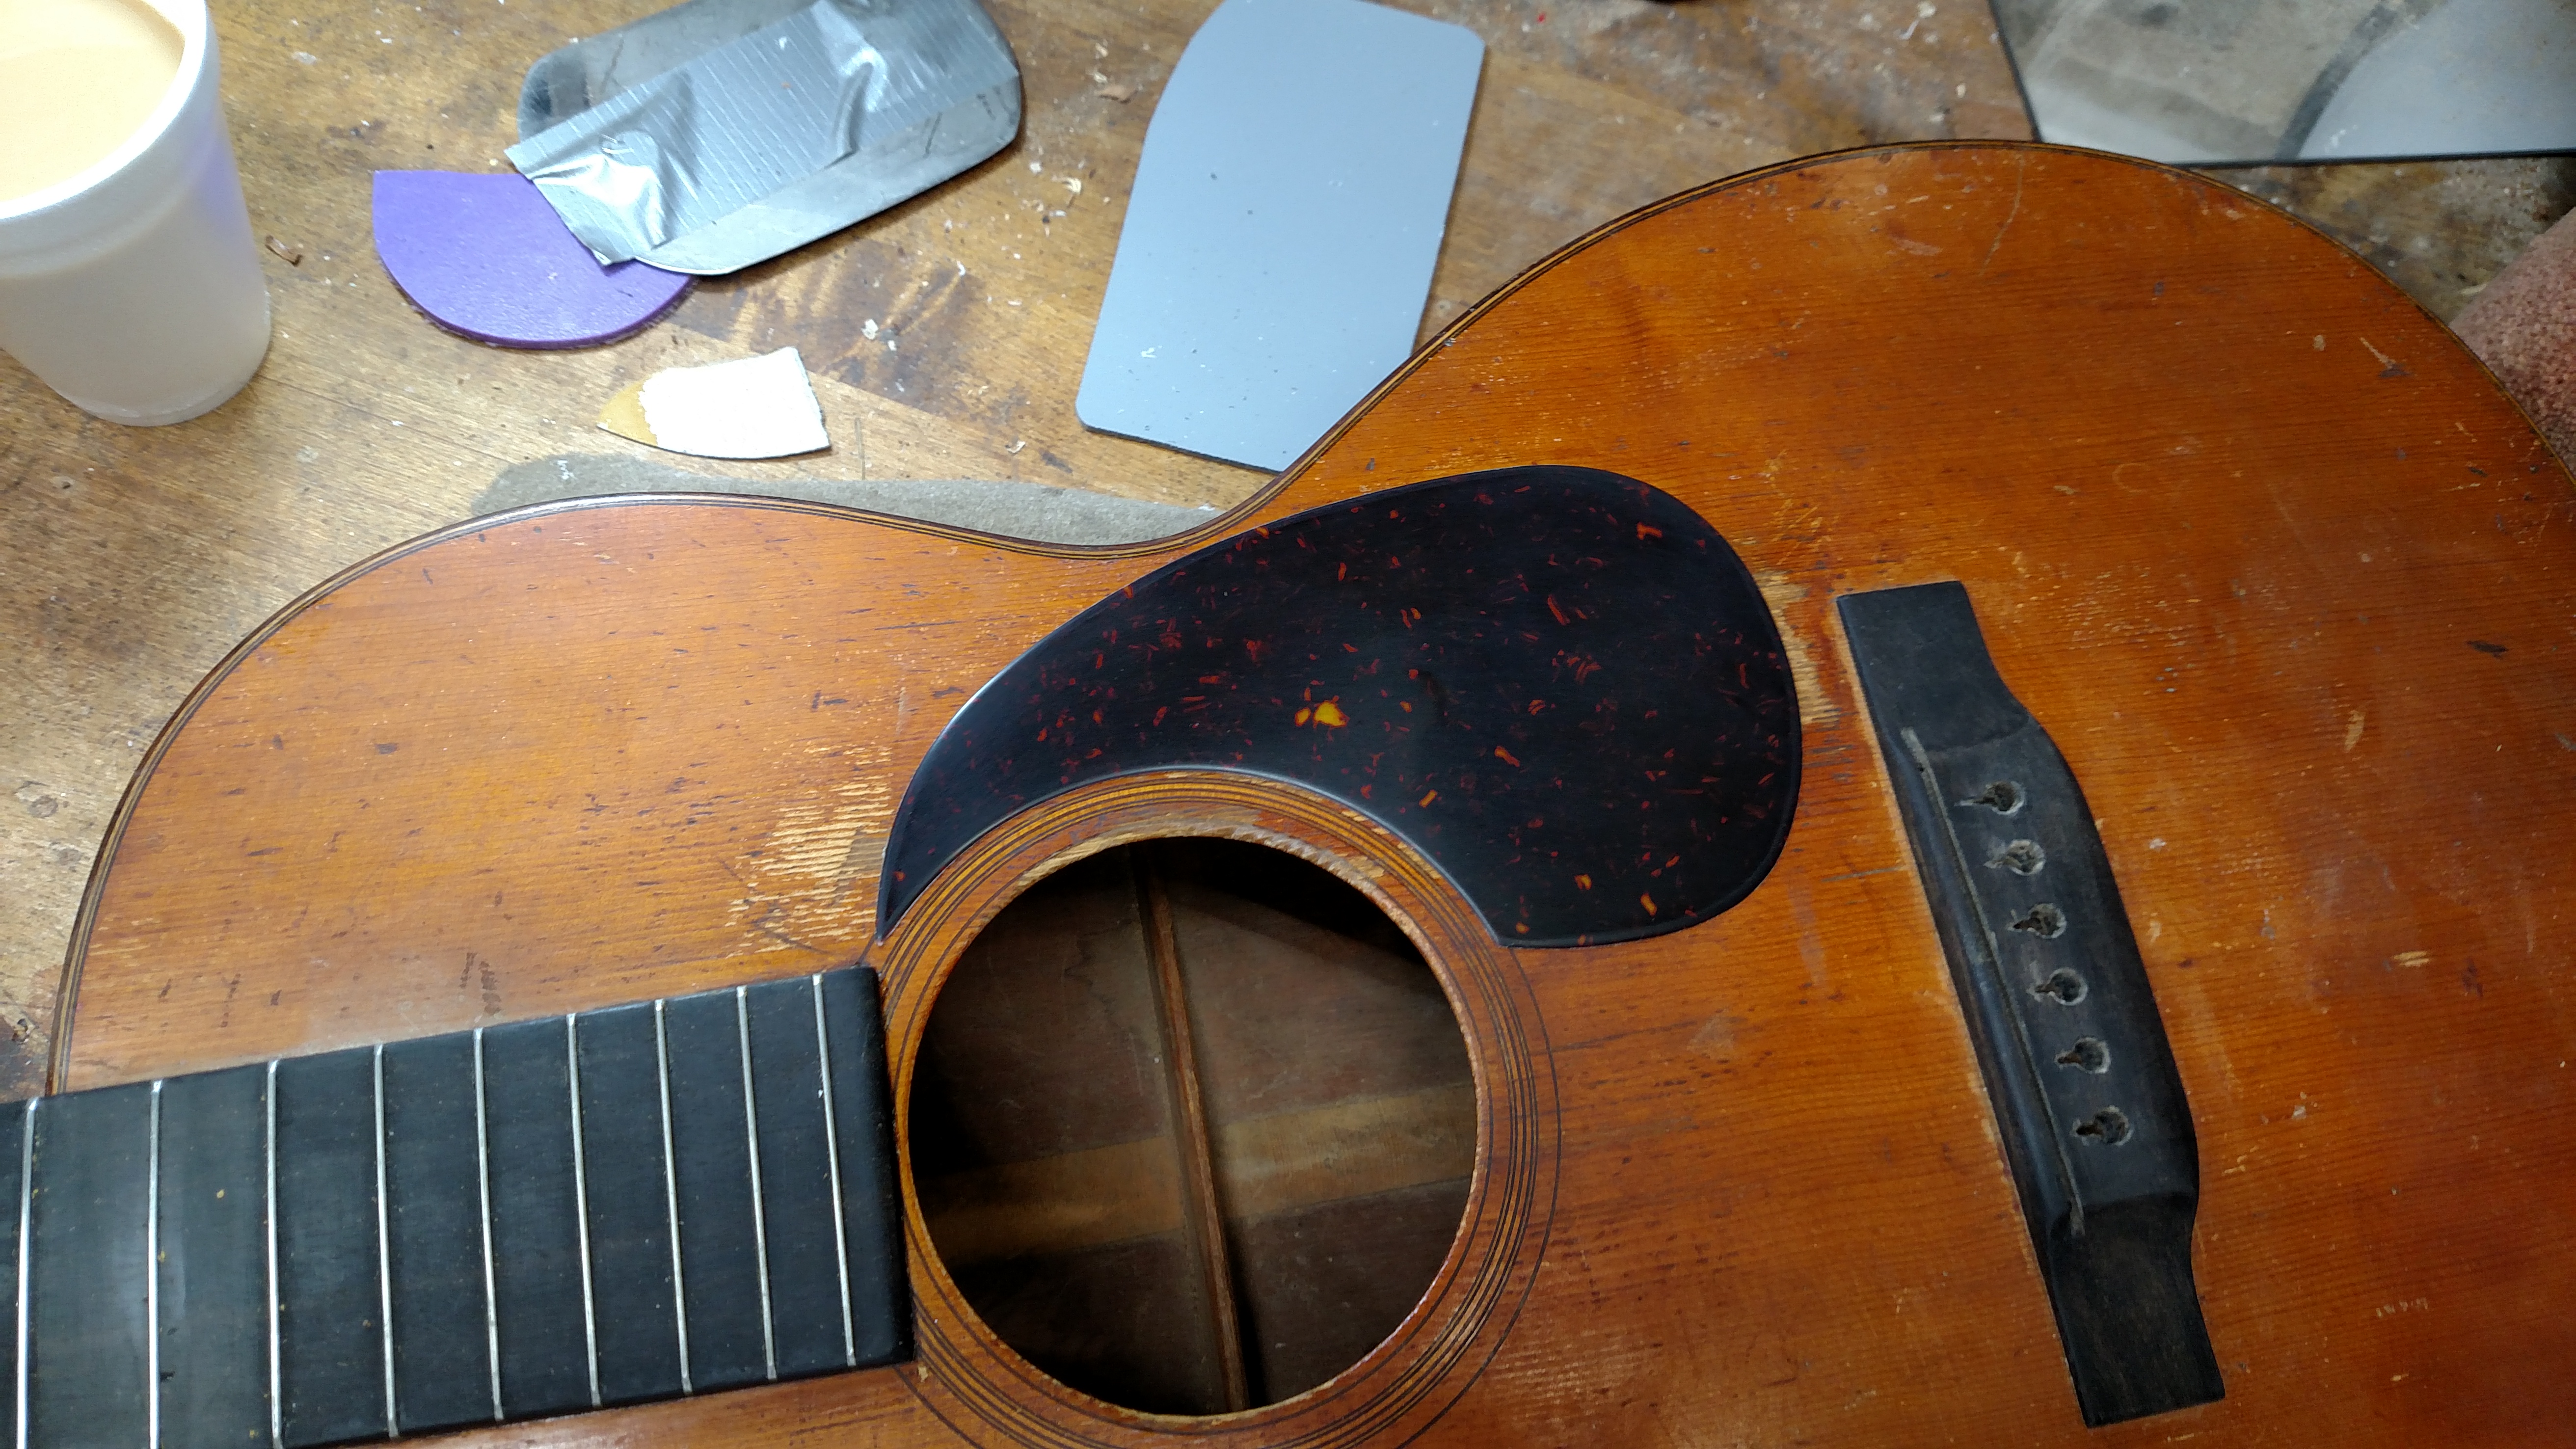
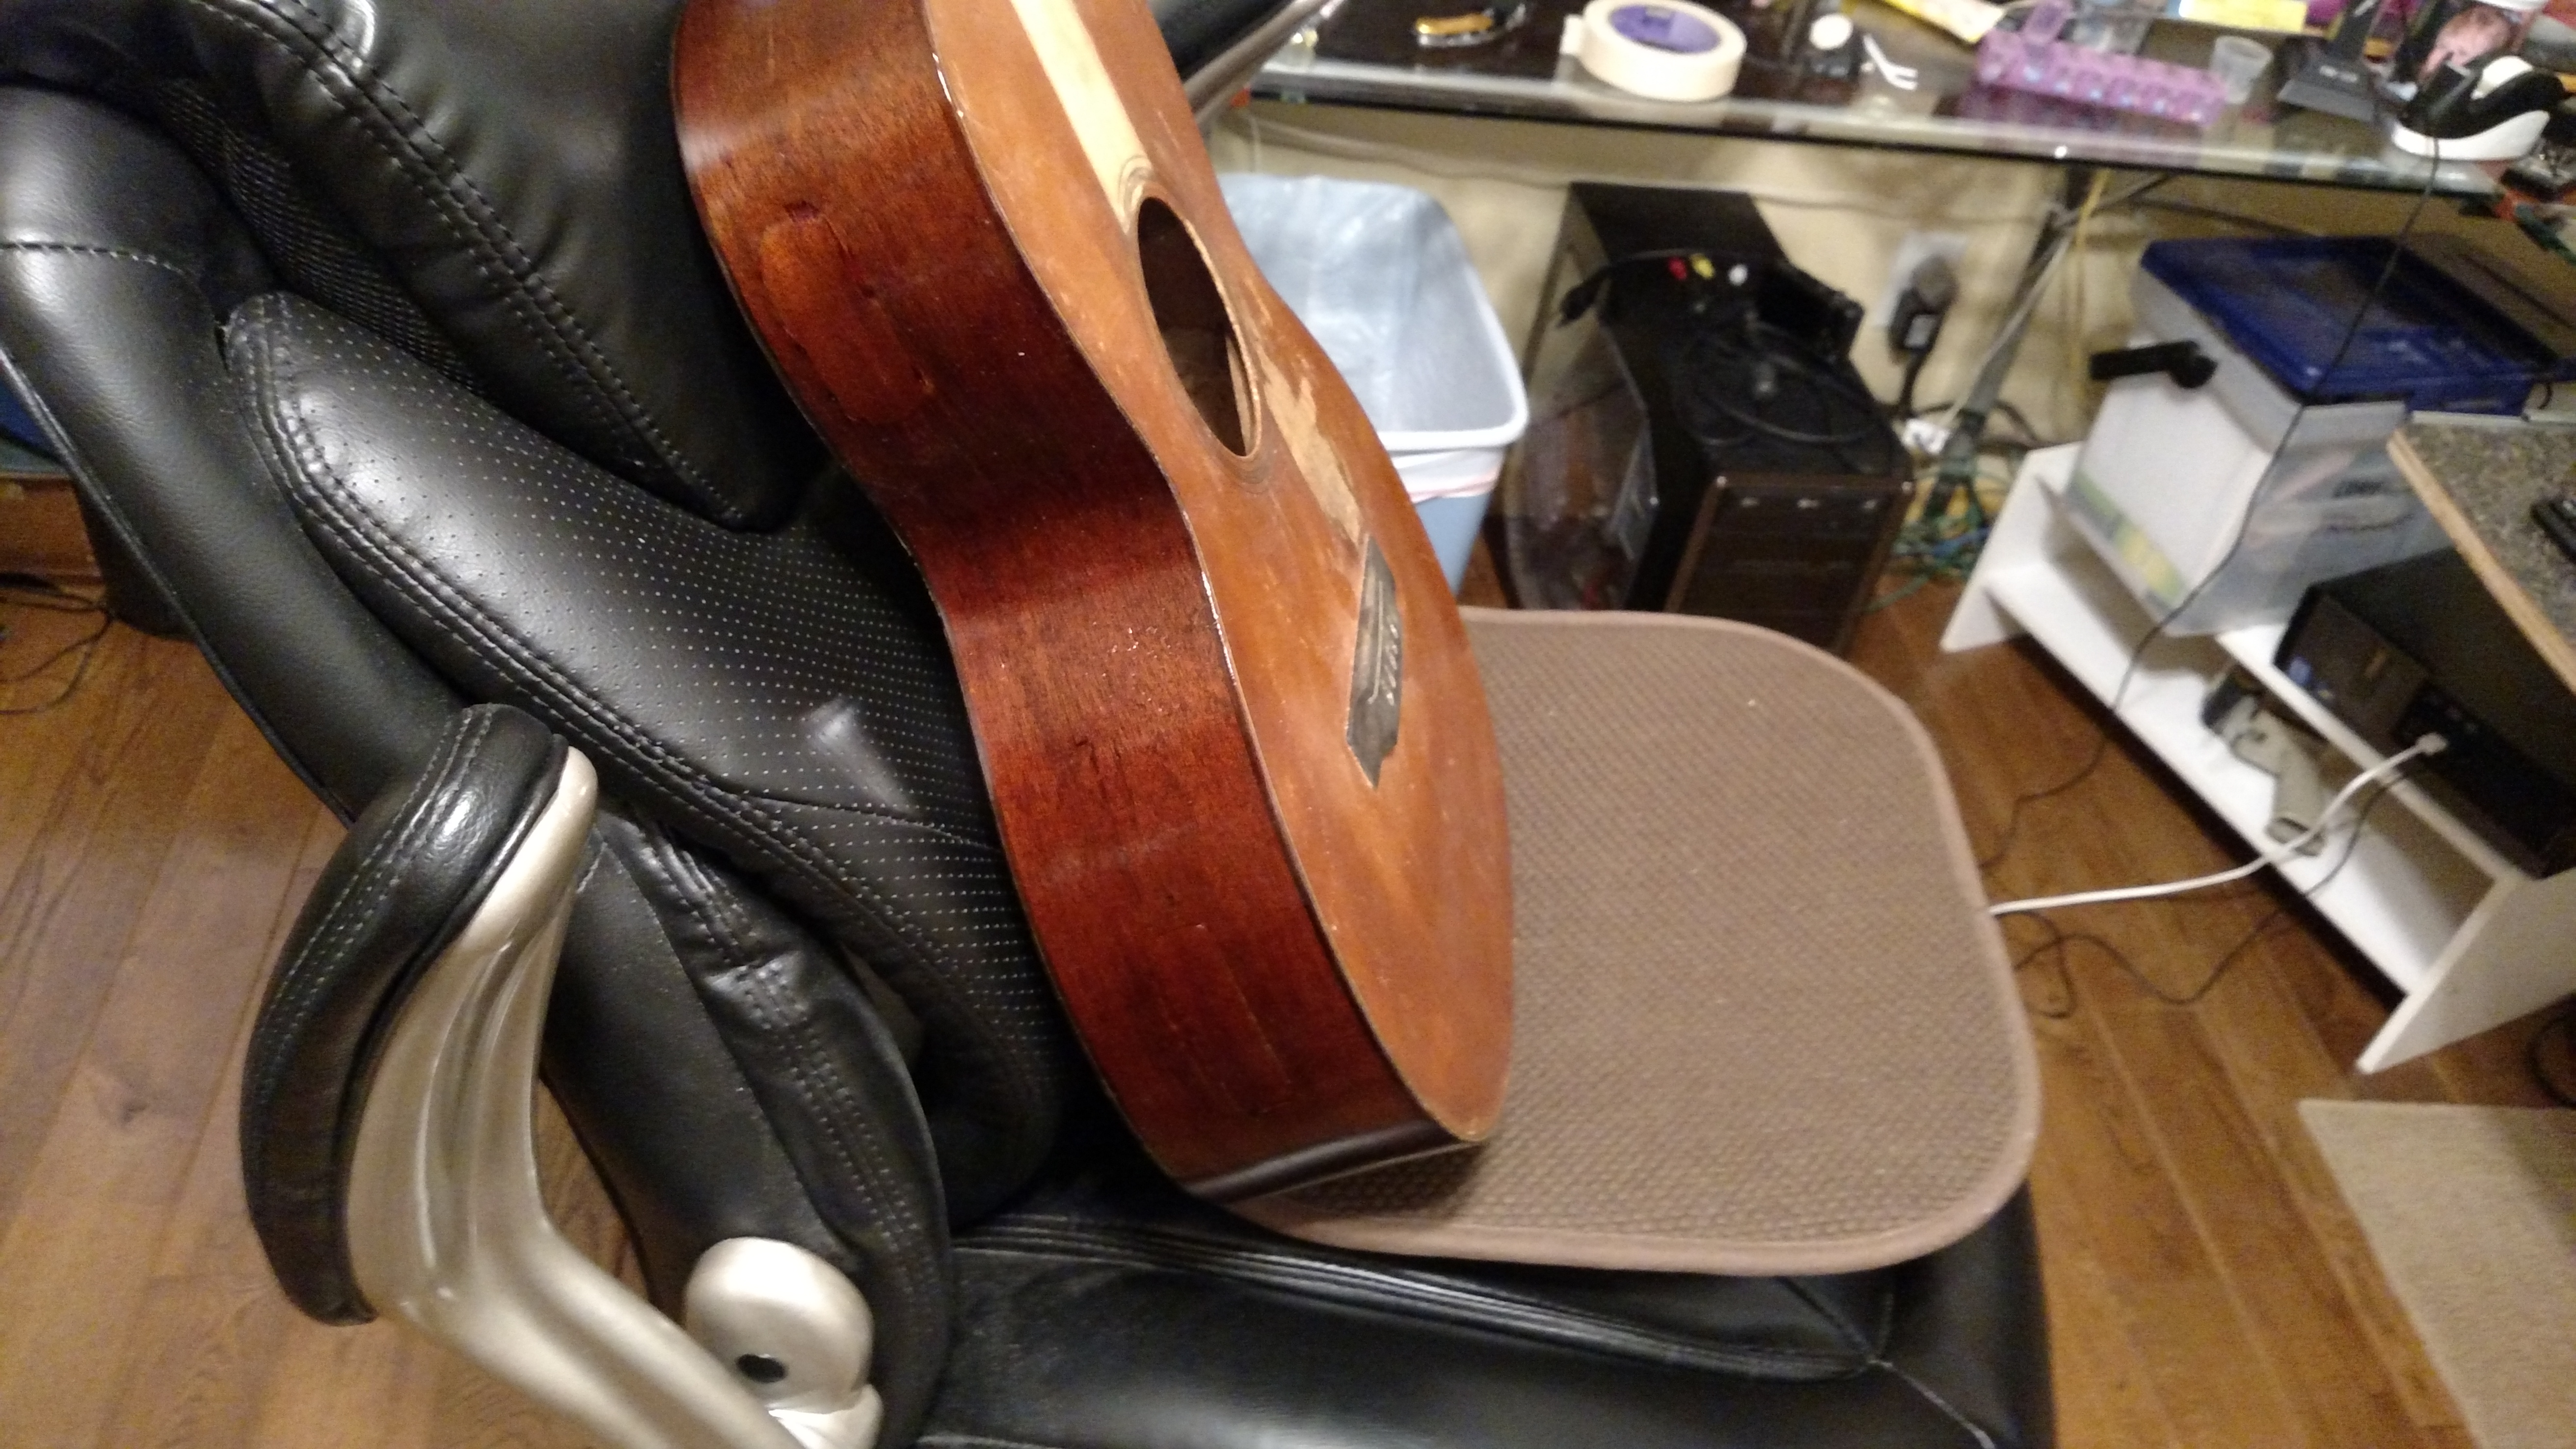
The pickguard on this guitar had apparently been off for a long time. The finish was scratched off in a big area. I brushed some lacquer on the area under the pickguard and fabricated and installed a modern kind that attaches with double sided tape.
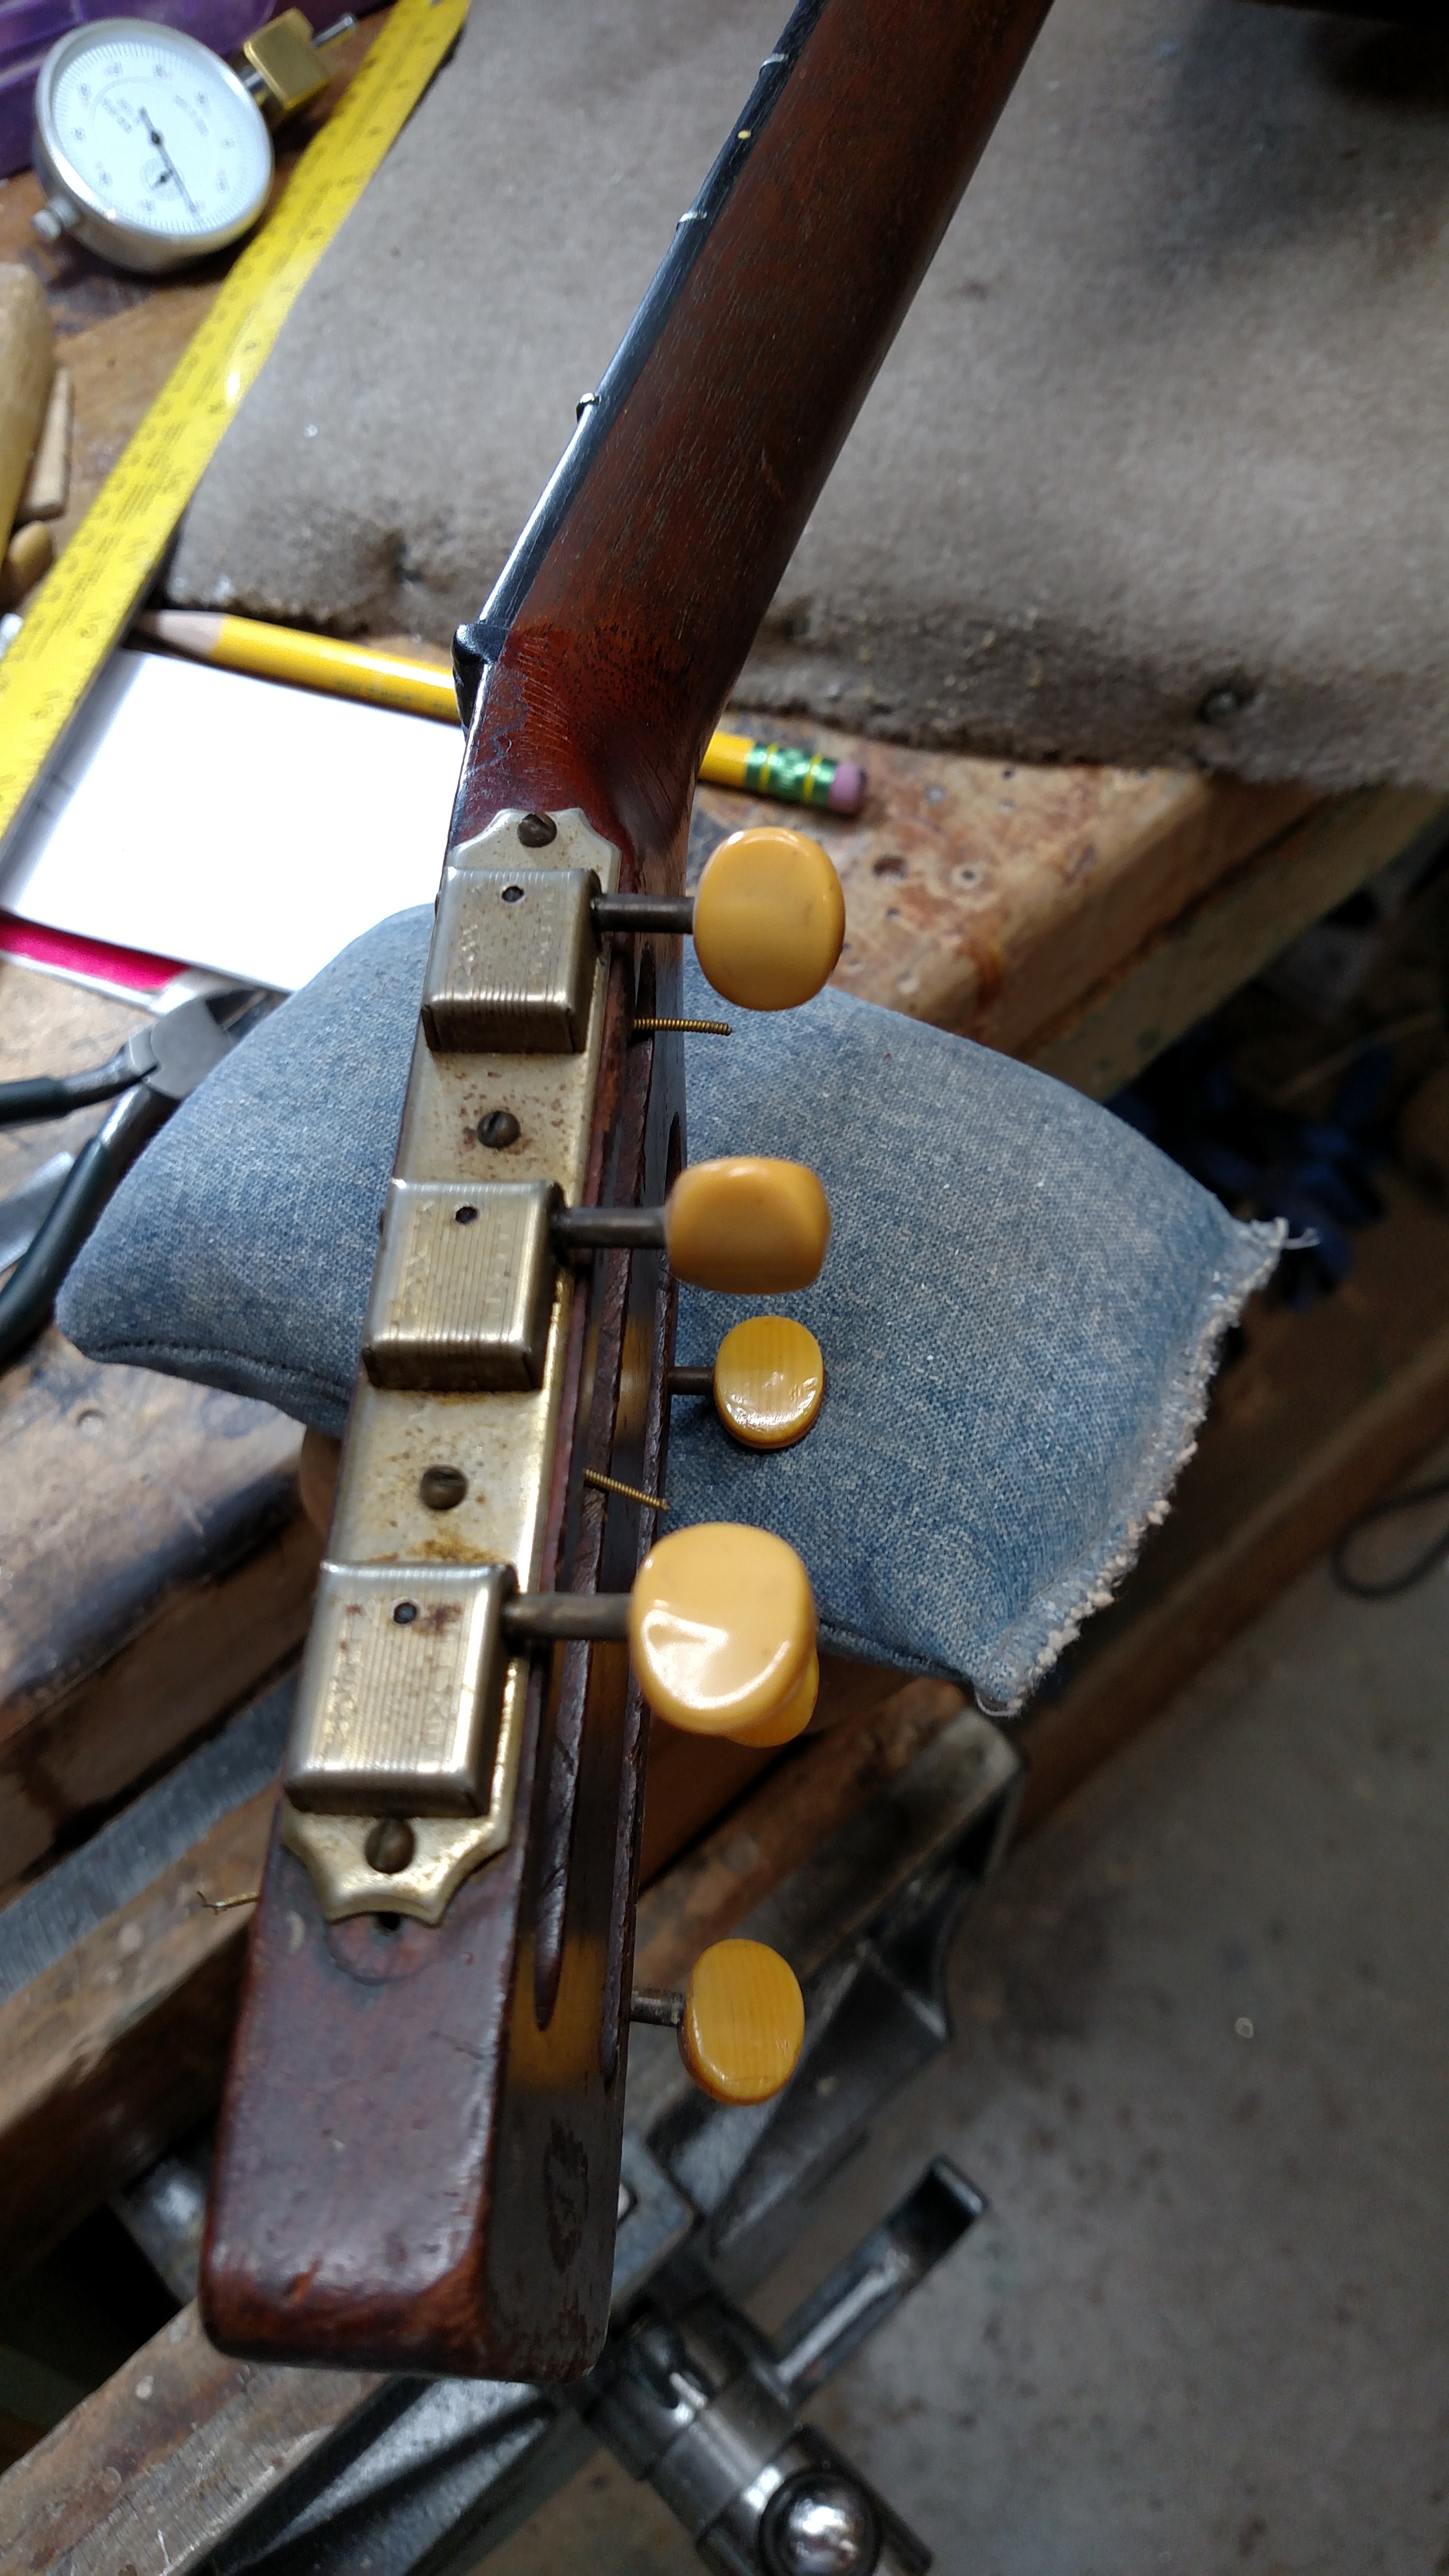
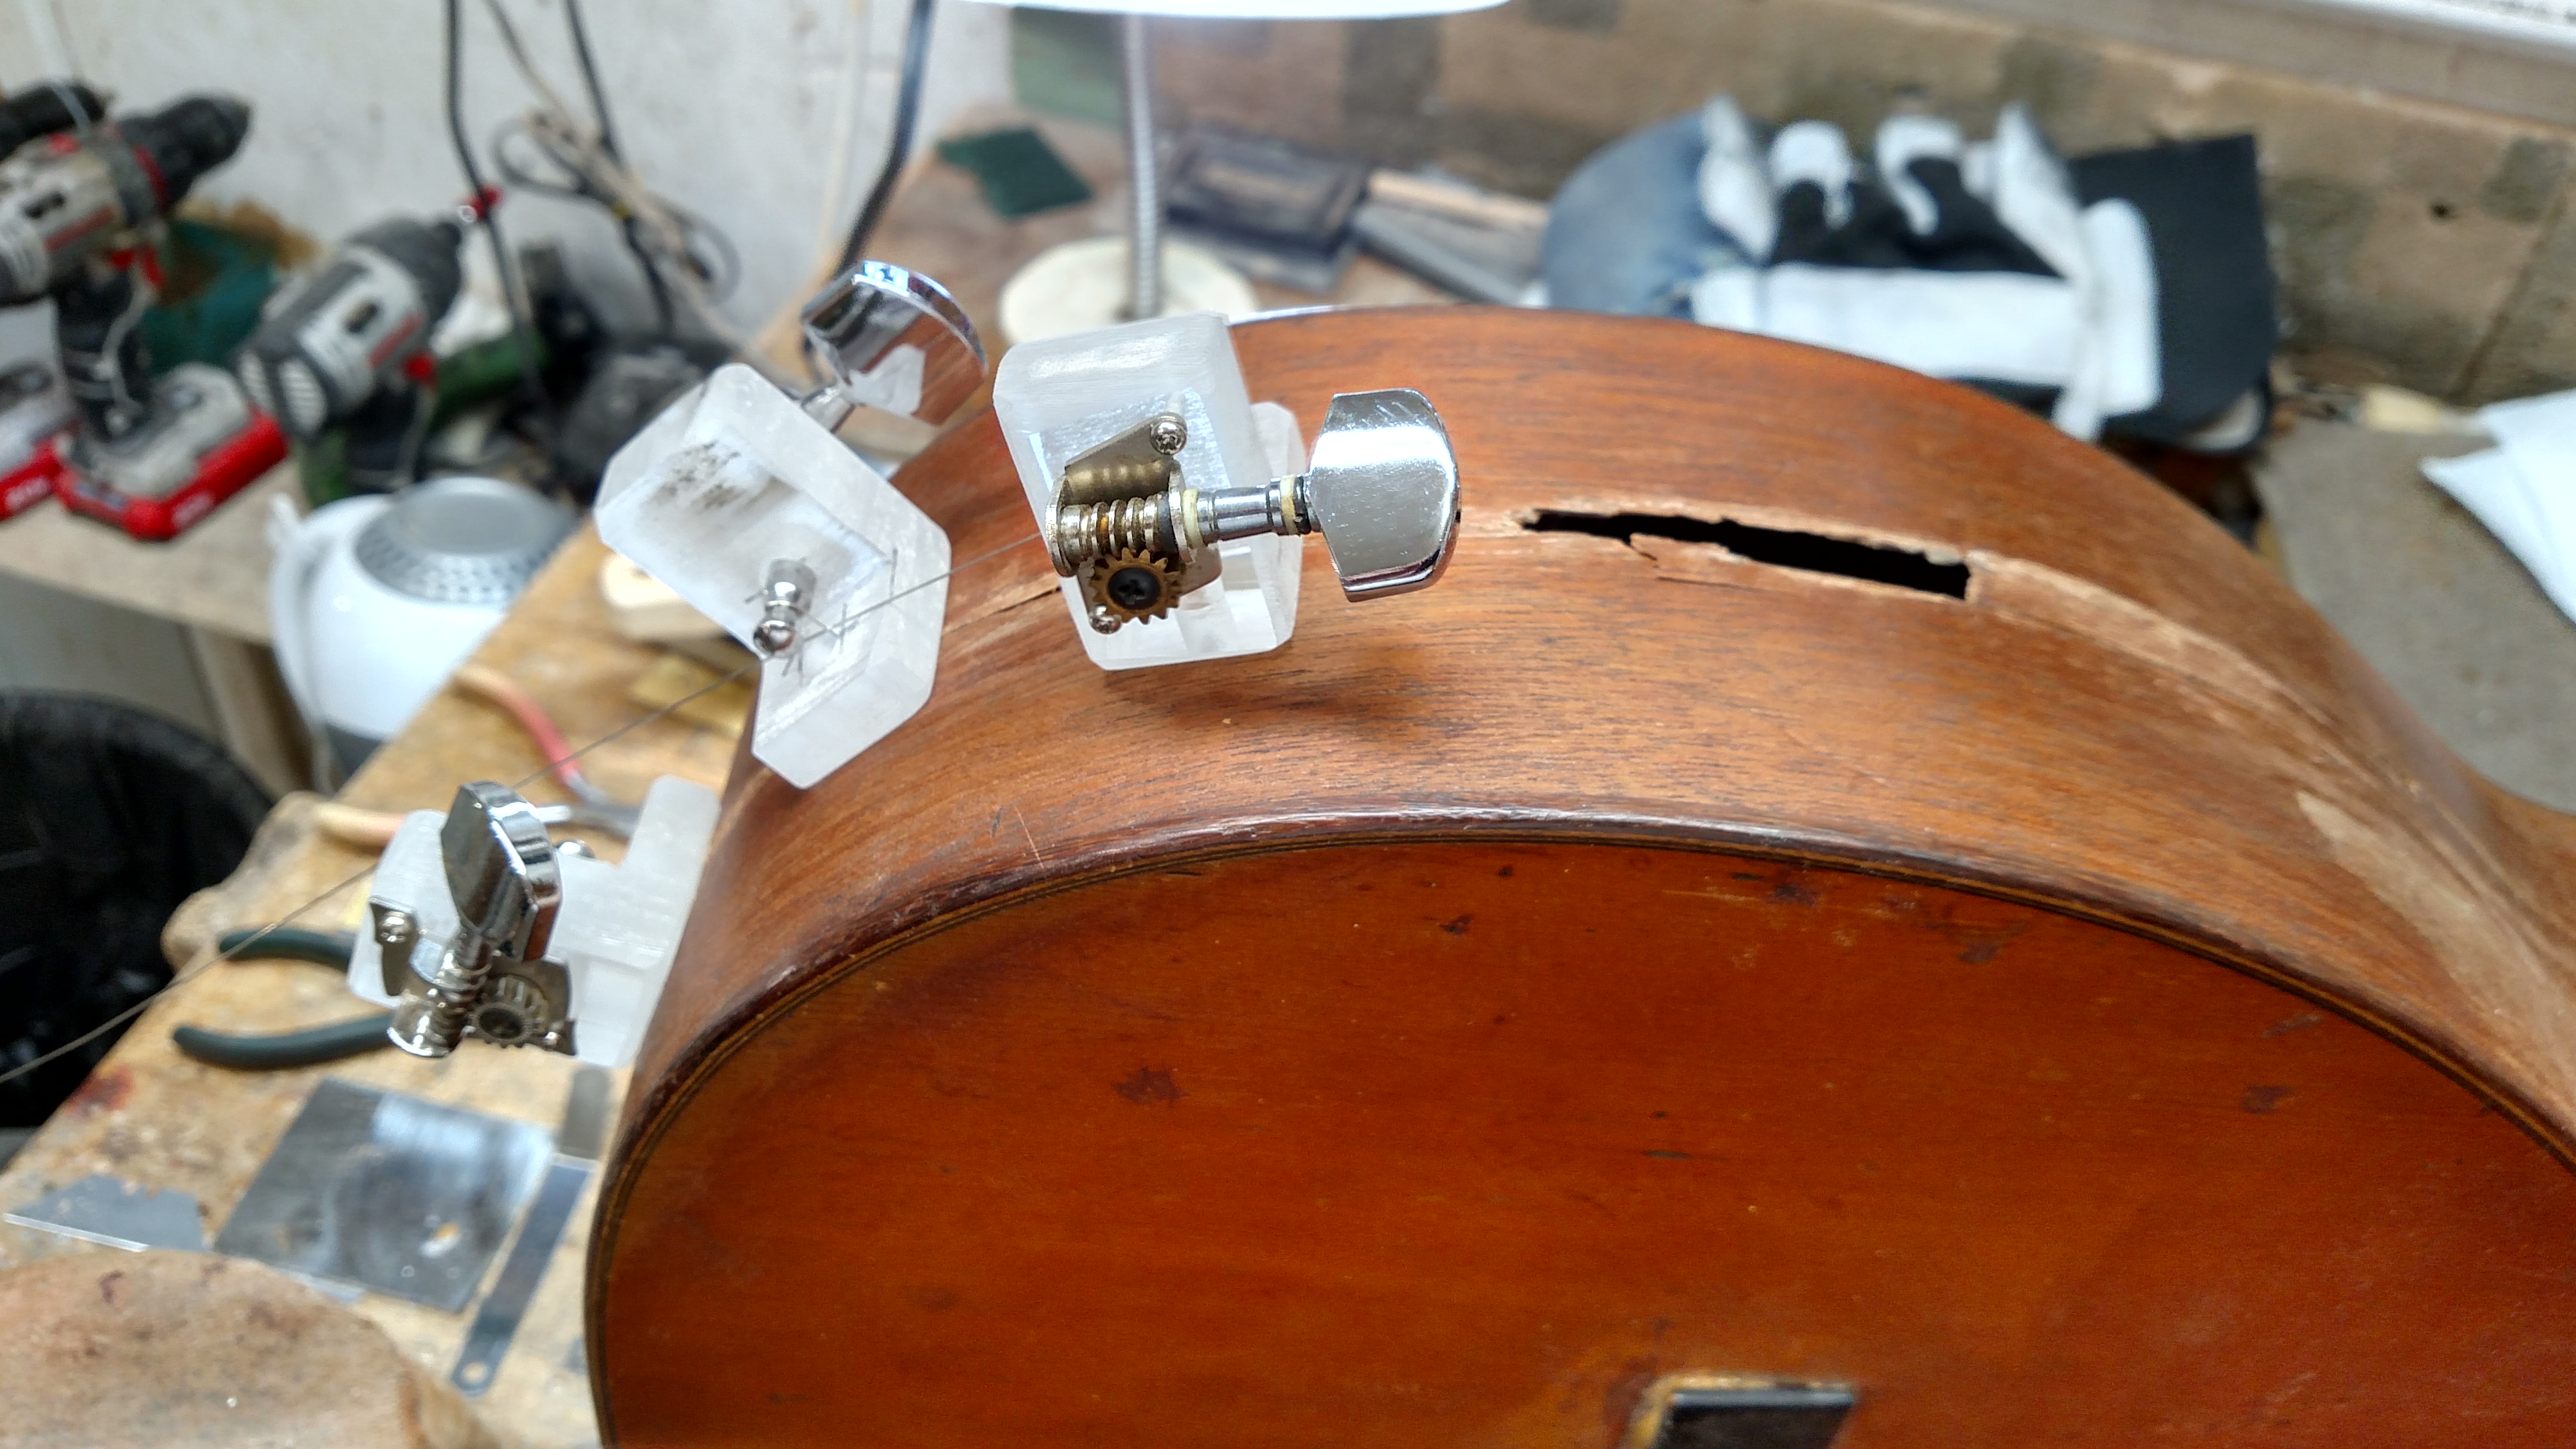
Someone had replaced the bass side tuners with some Kluson tuners. The original tuners were open back tuners. The problem with these tuners is that these tuners were made for the tenor side and someone had re-drilled the holes and installed them on the bass side. Also, this makes the tuner turn backwards.
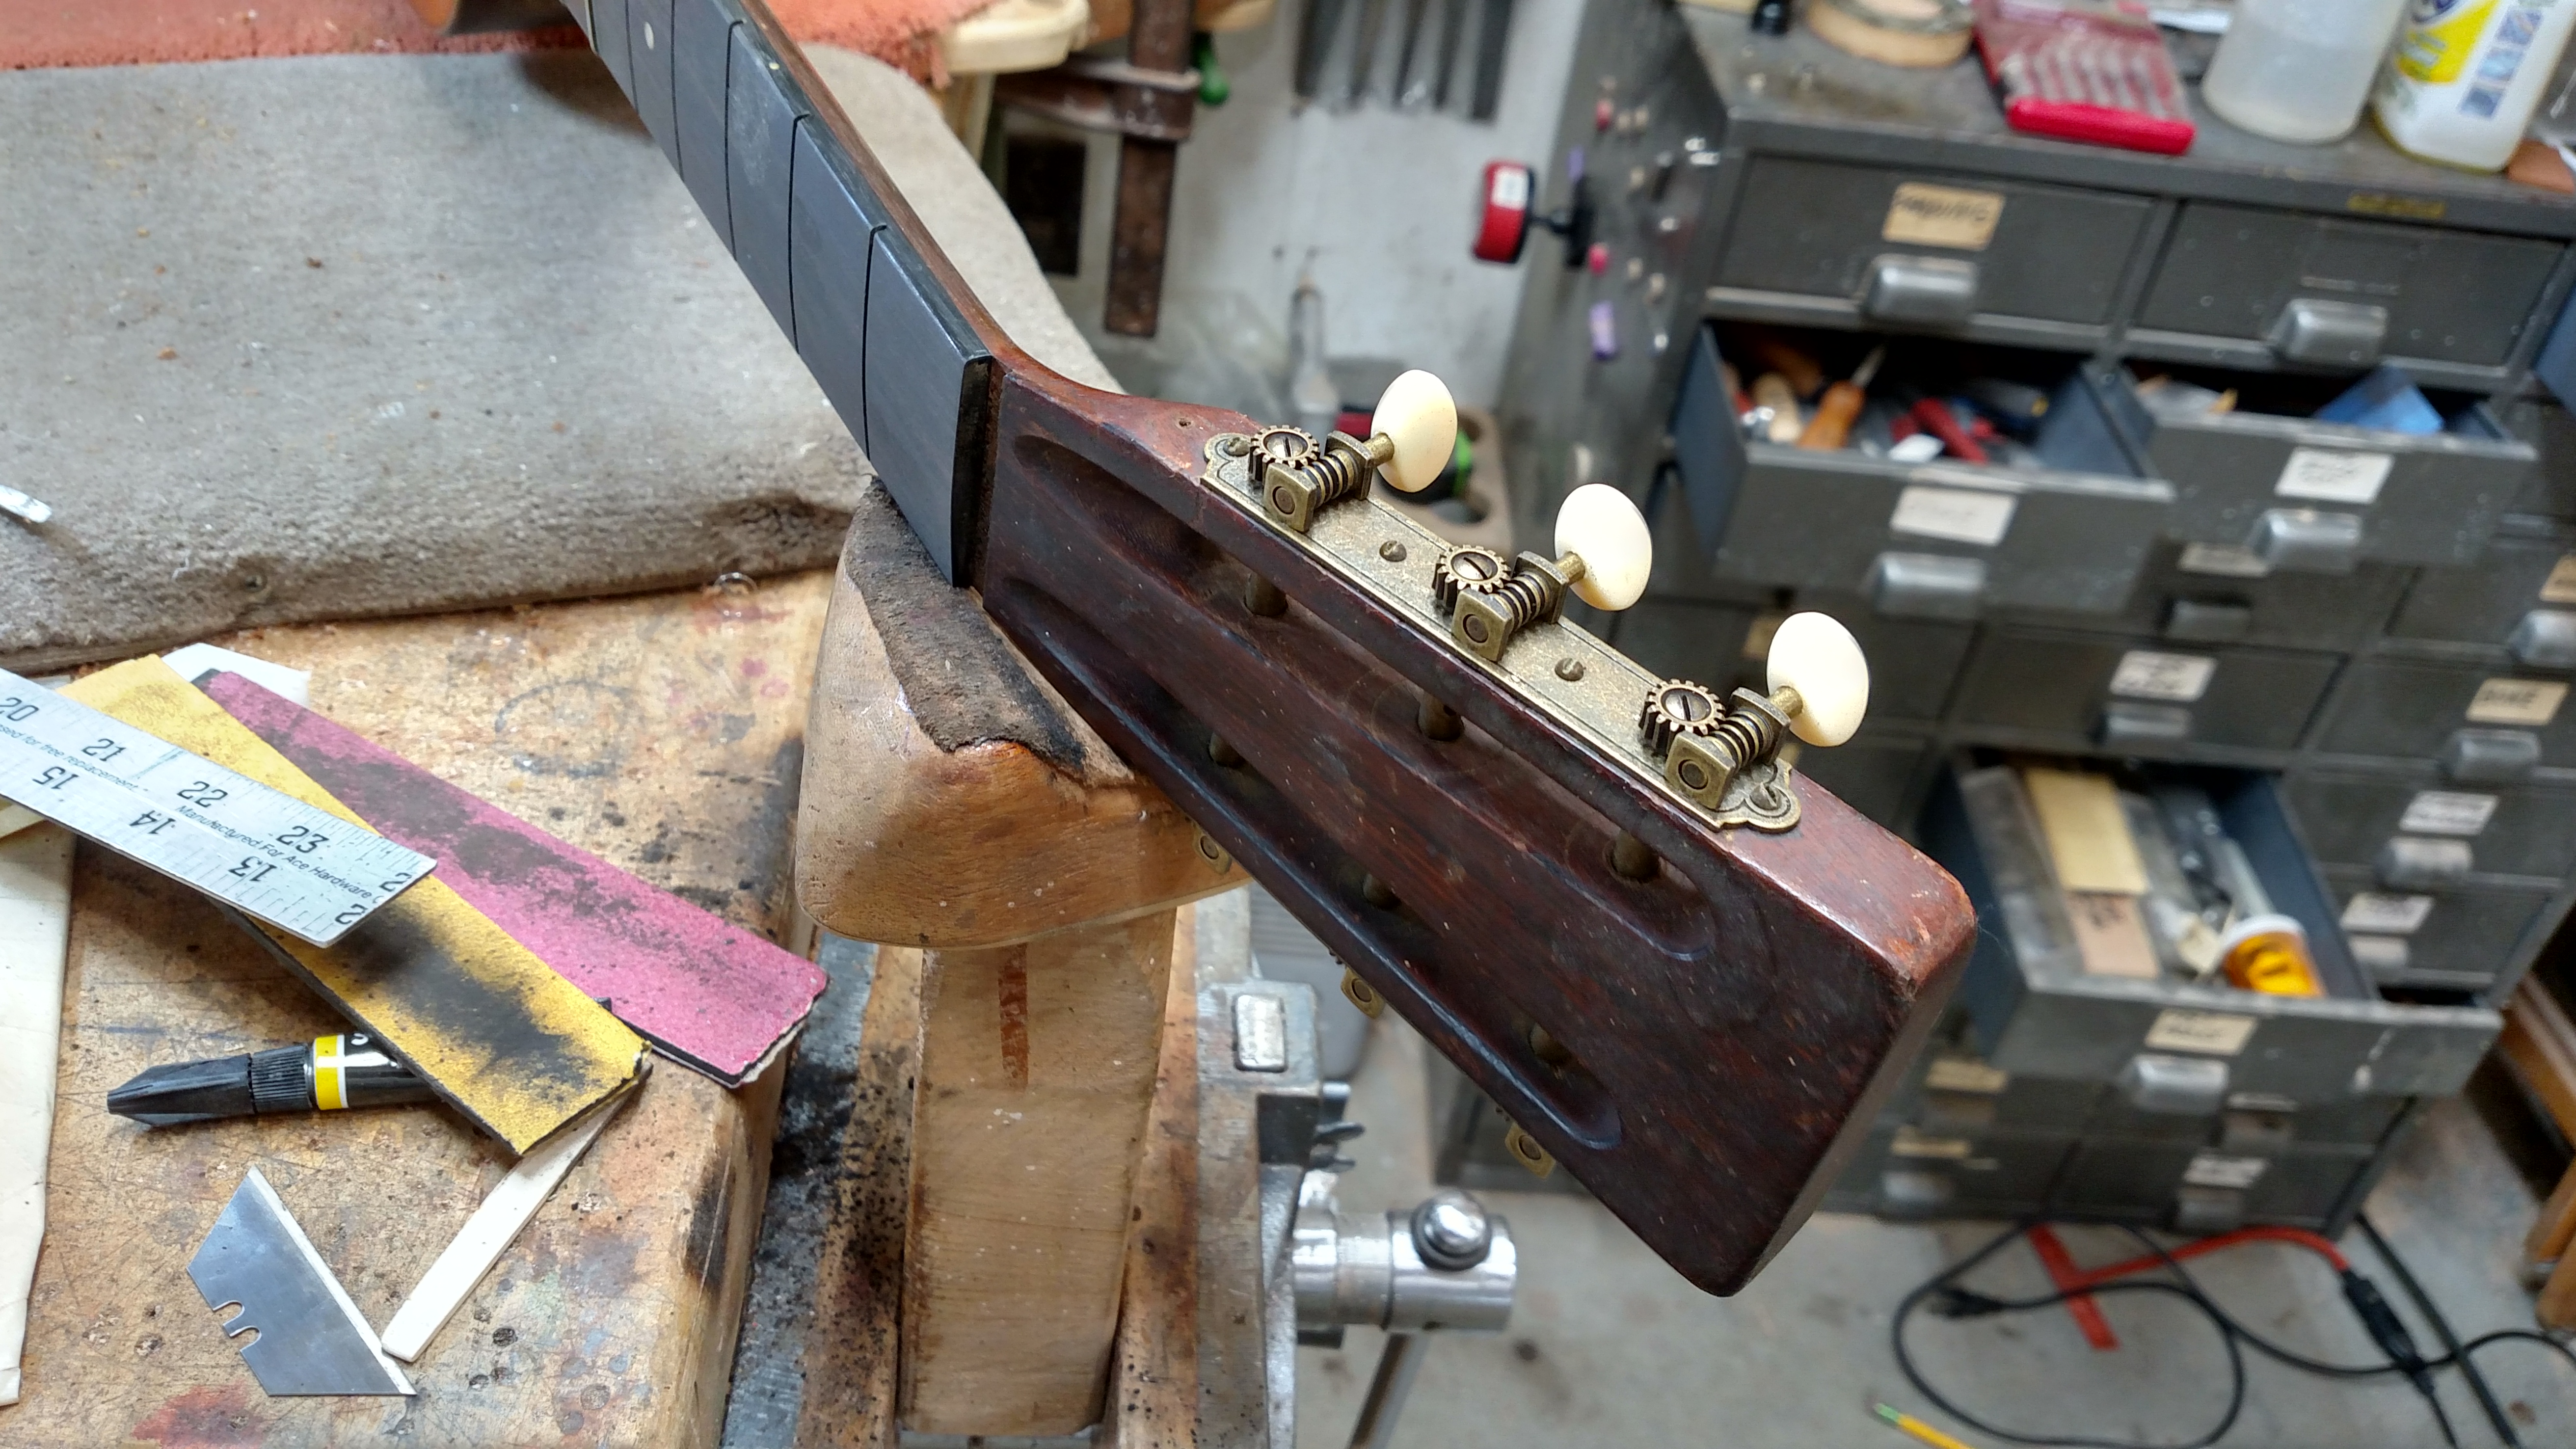
I ordered some Golden Age Relic Brass Tuners from Stewart Macdonald. These were a really close match for the originals and fit in the original holes. The only difference I noticed was that the original buttons were ivoroid and the replacement ones were just regular white plastic. I thought these tuners looked right at home on this guitar and they operate smoothly.
Here are some pictures of the finished product. I widened the saddle slot and fabricated a bone saddle for it. I attached it with CA glue since I felt it needed some extra strength. It originally had ebony bridge pins but only 4 of them had survived. I put some plastic pins in it because I didn’t have any ebony ones in stock. These can be changed later if the owner wants the ebony. After it was restrung and set up, I was amazed at the volume and tone it produced. The final pictures don’t look that good, but we weren’t searching for looks. I tried to leave this guitar as close to original as I could. Except for the repaired sides, I feel like we accomplished this. The sides came out as well as I could have hoped for considering the shape they were in. I hope this little guitar will give the owners another 86 years of service.
![]()
Be the first to comment on "1931 Martin 00-18 Repair September, 2017"