February 18, 2017
The following article is about a project I did a while back. I took 99 pictures of the repairs as I did them. I meant to post it before now, but I didn’t. It’s hard to believe that it was done in October, 2015 but that is when it was. Time flies when you get old. Now, here is is over 2 years later and I’ve decided to post these pictures and describe these repairs.
In October, 2015 a fellow called me and asked about getting a Kay Bass repaired. He lived around Trion, GA. I told him to bring it to my shop and we’d look at it. He brought it and we put it on the bench and inspected it. This bass was a 1948 model. It was severely de-laminated. The plies of wood had separated in a lot of places. I first recommended to him that we replace the top and back since the damage was so extreme. In fact, I told him that it was probably not worth the money it would cost to repair it. He said he was fond of this bass and didn’t mind to spend some money to repair it. He left the bass with me and I told him that I would attempt to contact the Englehardt Company or a dealer that I had dealt with before in Michigan. I had previously repaired a Kay bass for a guy in Alabama and I purchased a top from Englehardt and it made a good repair. (The Englehardt Company purchased Kay’s old molds years ago and the parts interchange) When I contacted the dealer in Michigan, the man said he no longer was affiliated with Englehardt. My attempts to contact Englehardt directly were not successful. They never bothered to return my phone call.
So, I was left with a problem. I contacted several luthiers around the country and was told that they repaired these de-laminated tops. So, I talked to the owner and we decided to proceed with the repairs by re gluing the areas that I could see with hide glue. I explained to him that I would do my best to repair all the places I could see, but I couldn’t guarantee the repairs. He was fine with this so I began the process. This is a long statement to introduce this post but I felt it was relevant to the matter at hand.
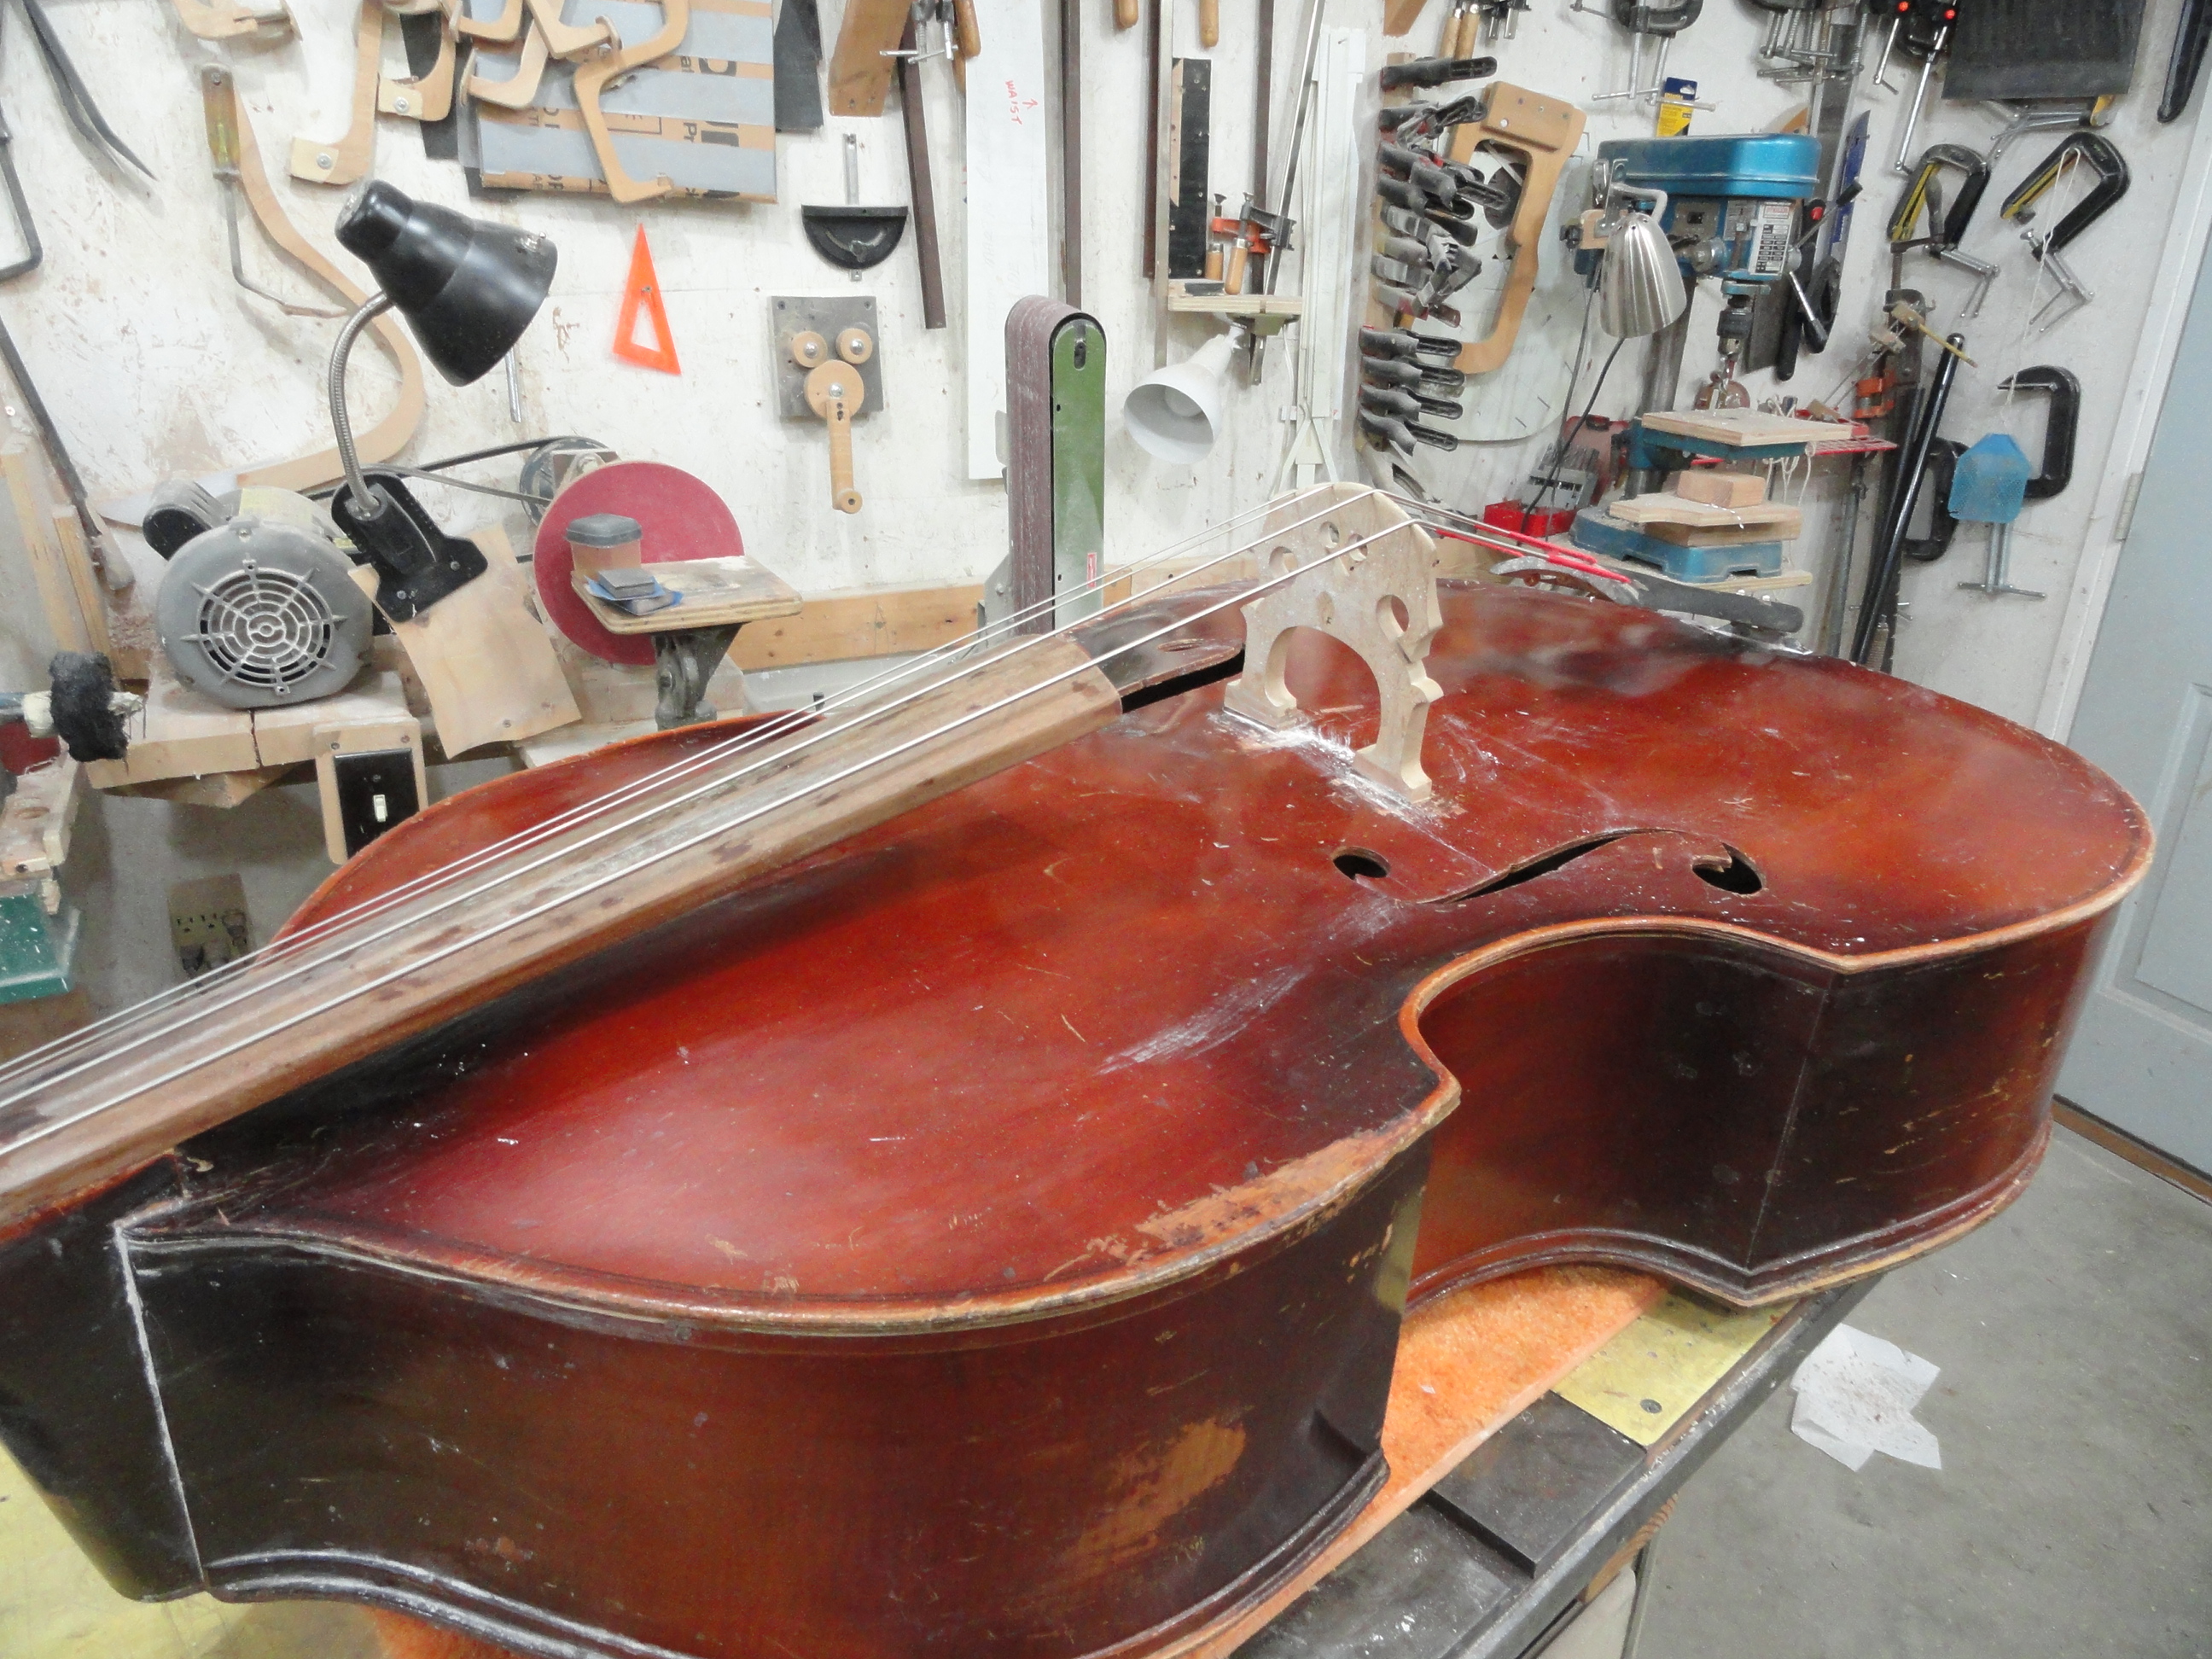
Here is what this bass looked like when I got it in my shop.
The top was sunk in severely and it was apparent that the bass bar was loose.
Actually this bass looked better on the outside than it did on the inside.
The fingerboard and neck had a pretty severe bow in them, too.
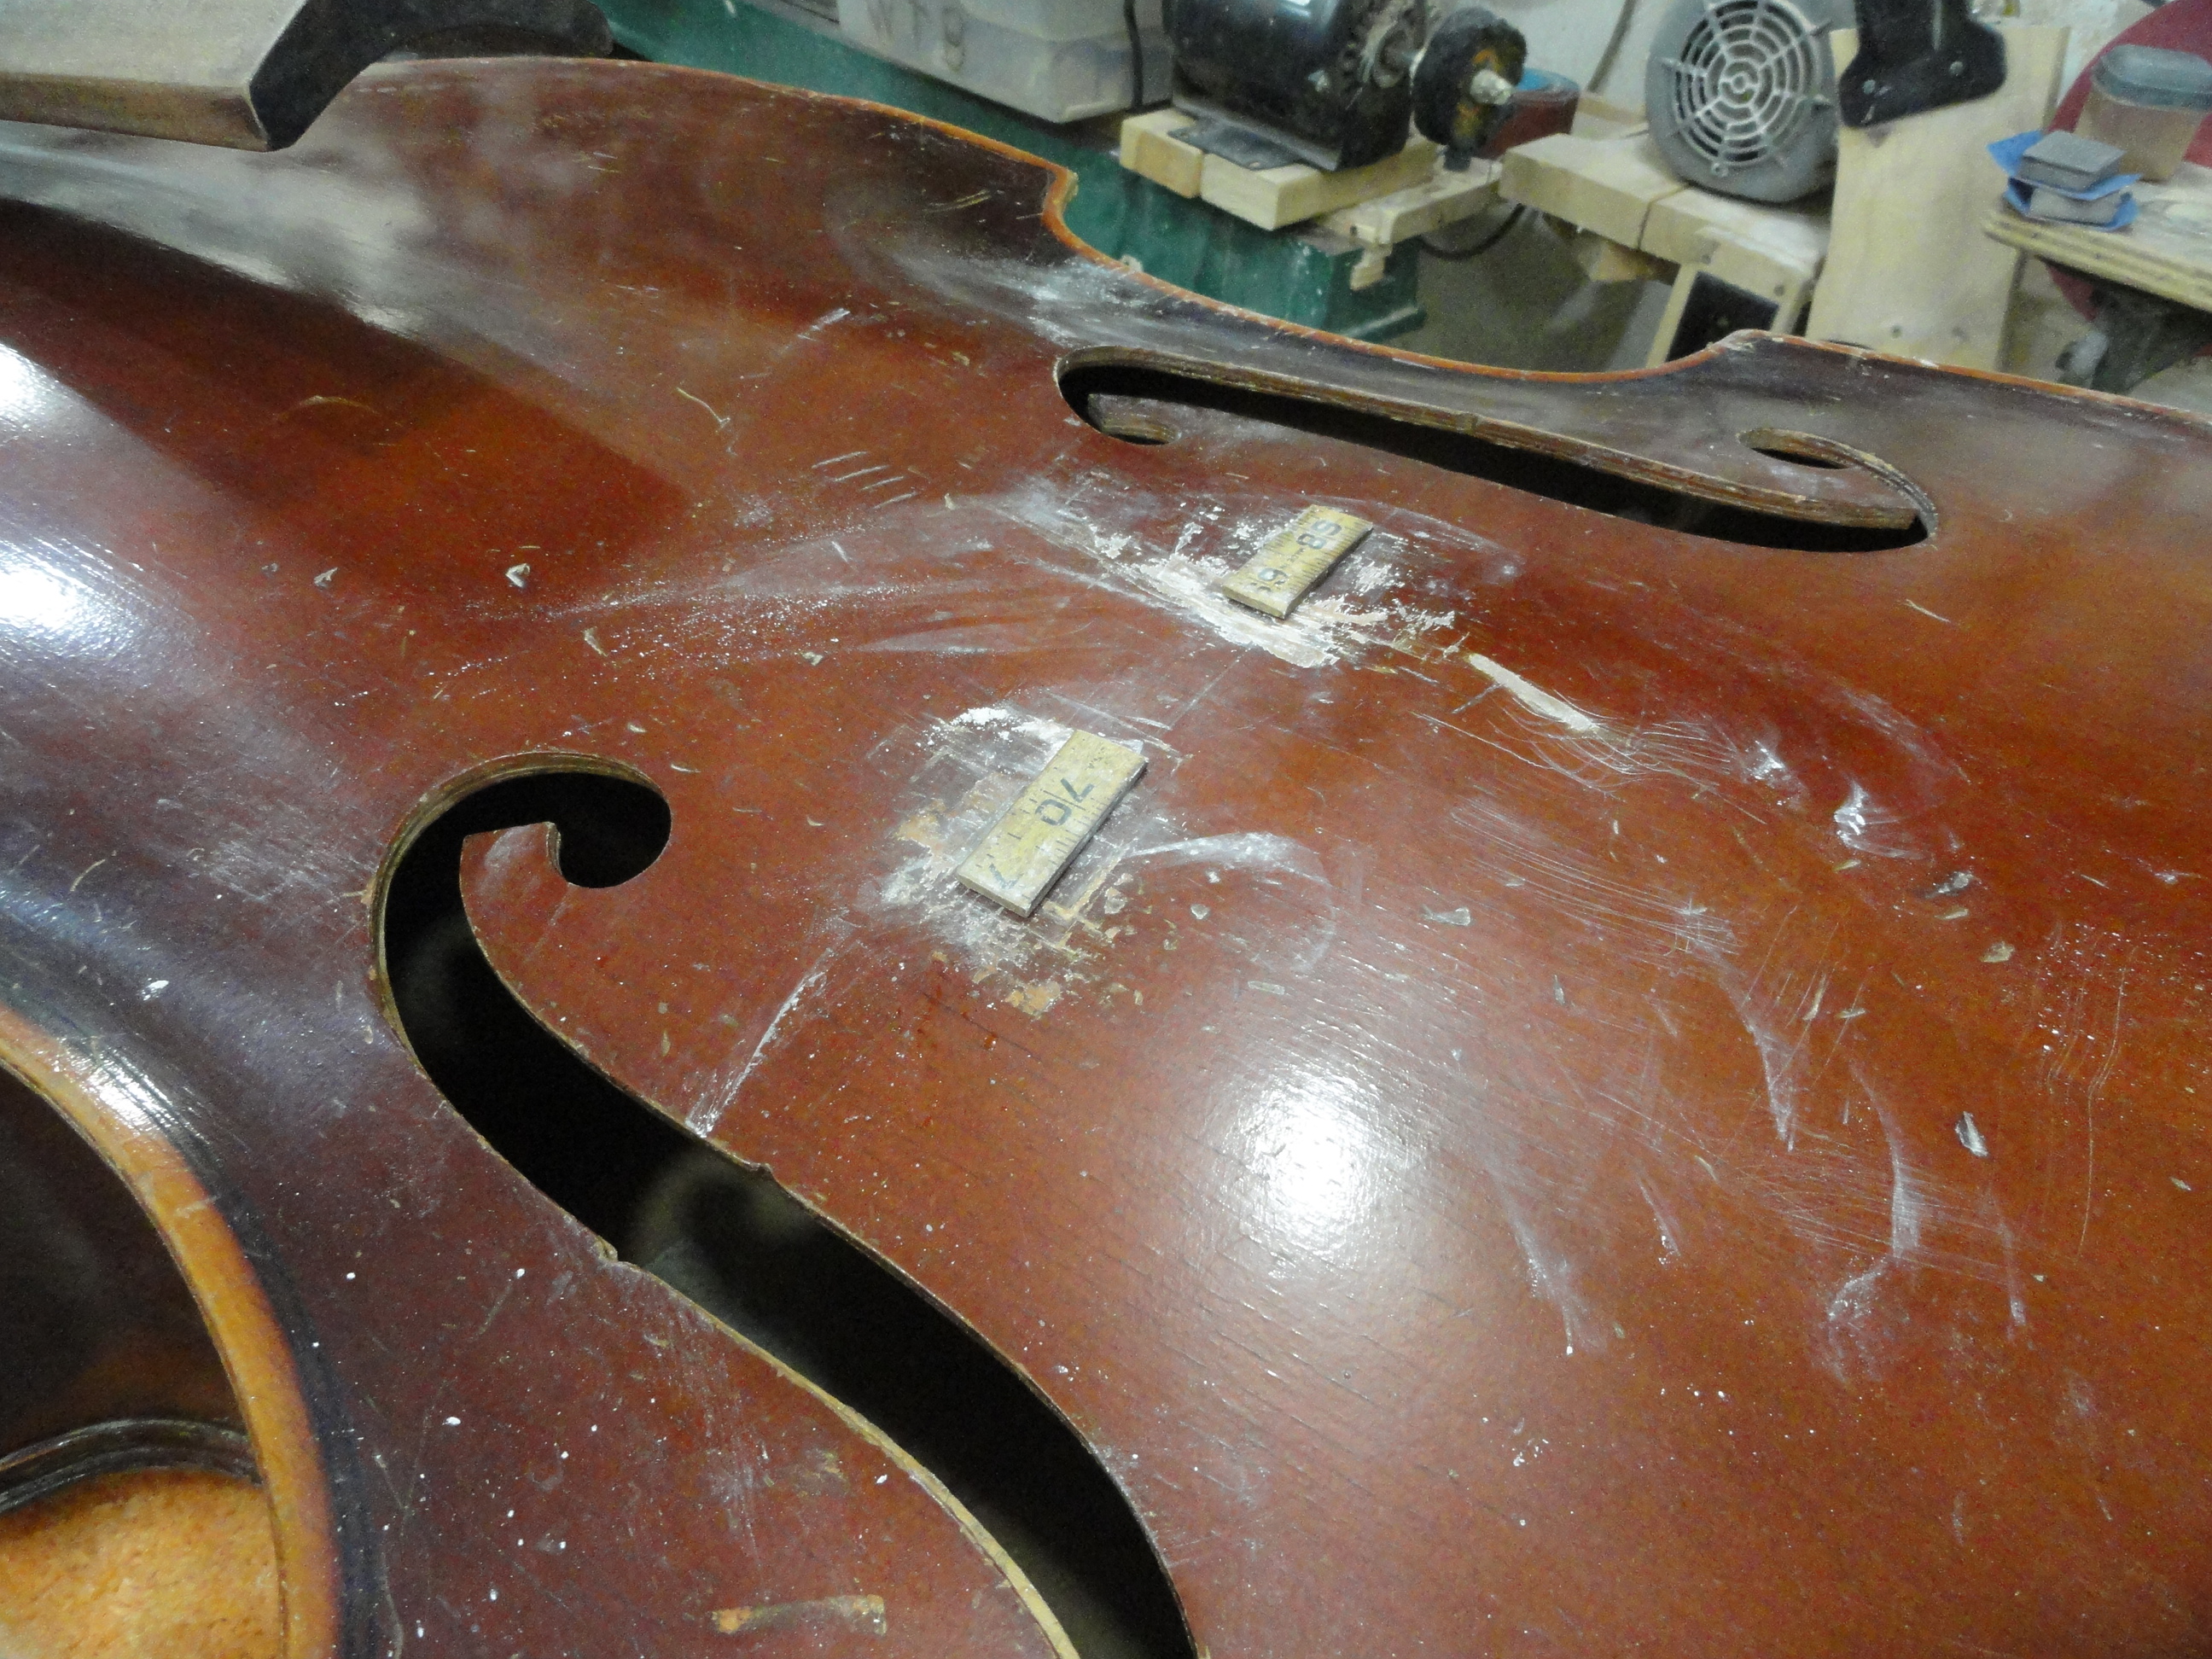
Someone had added some shims under the bridge to compensate for the damage and attempt to make it playable for a while. An old yardstick was a good as any.
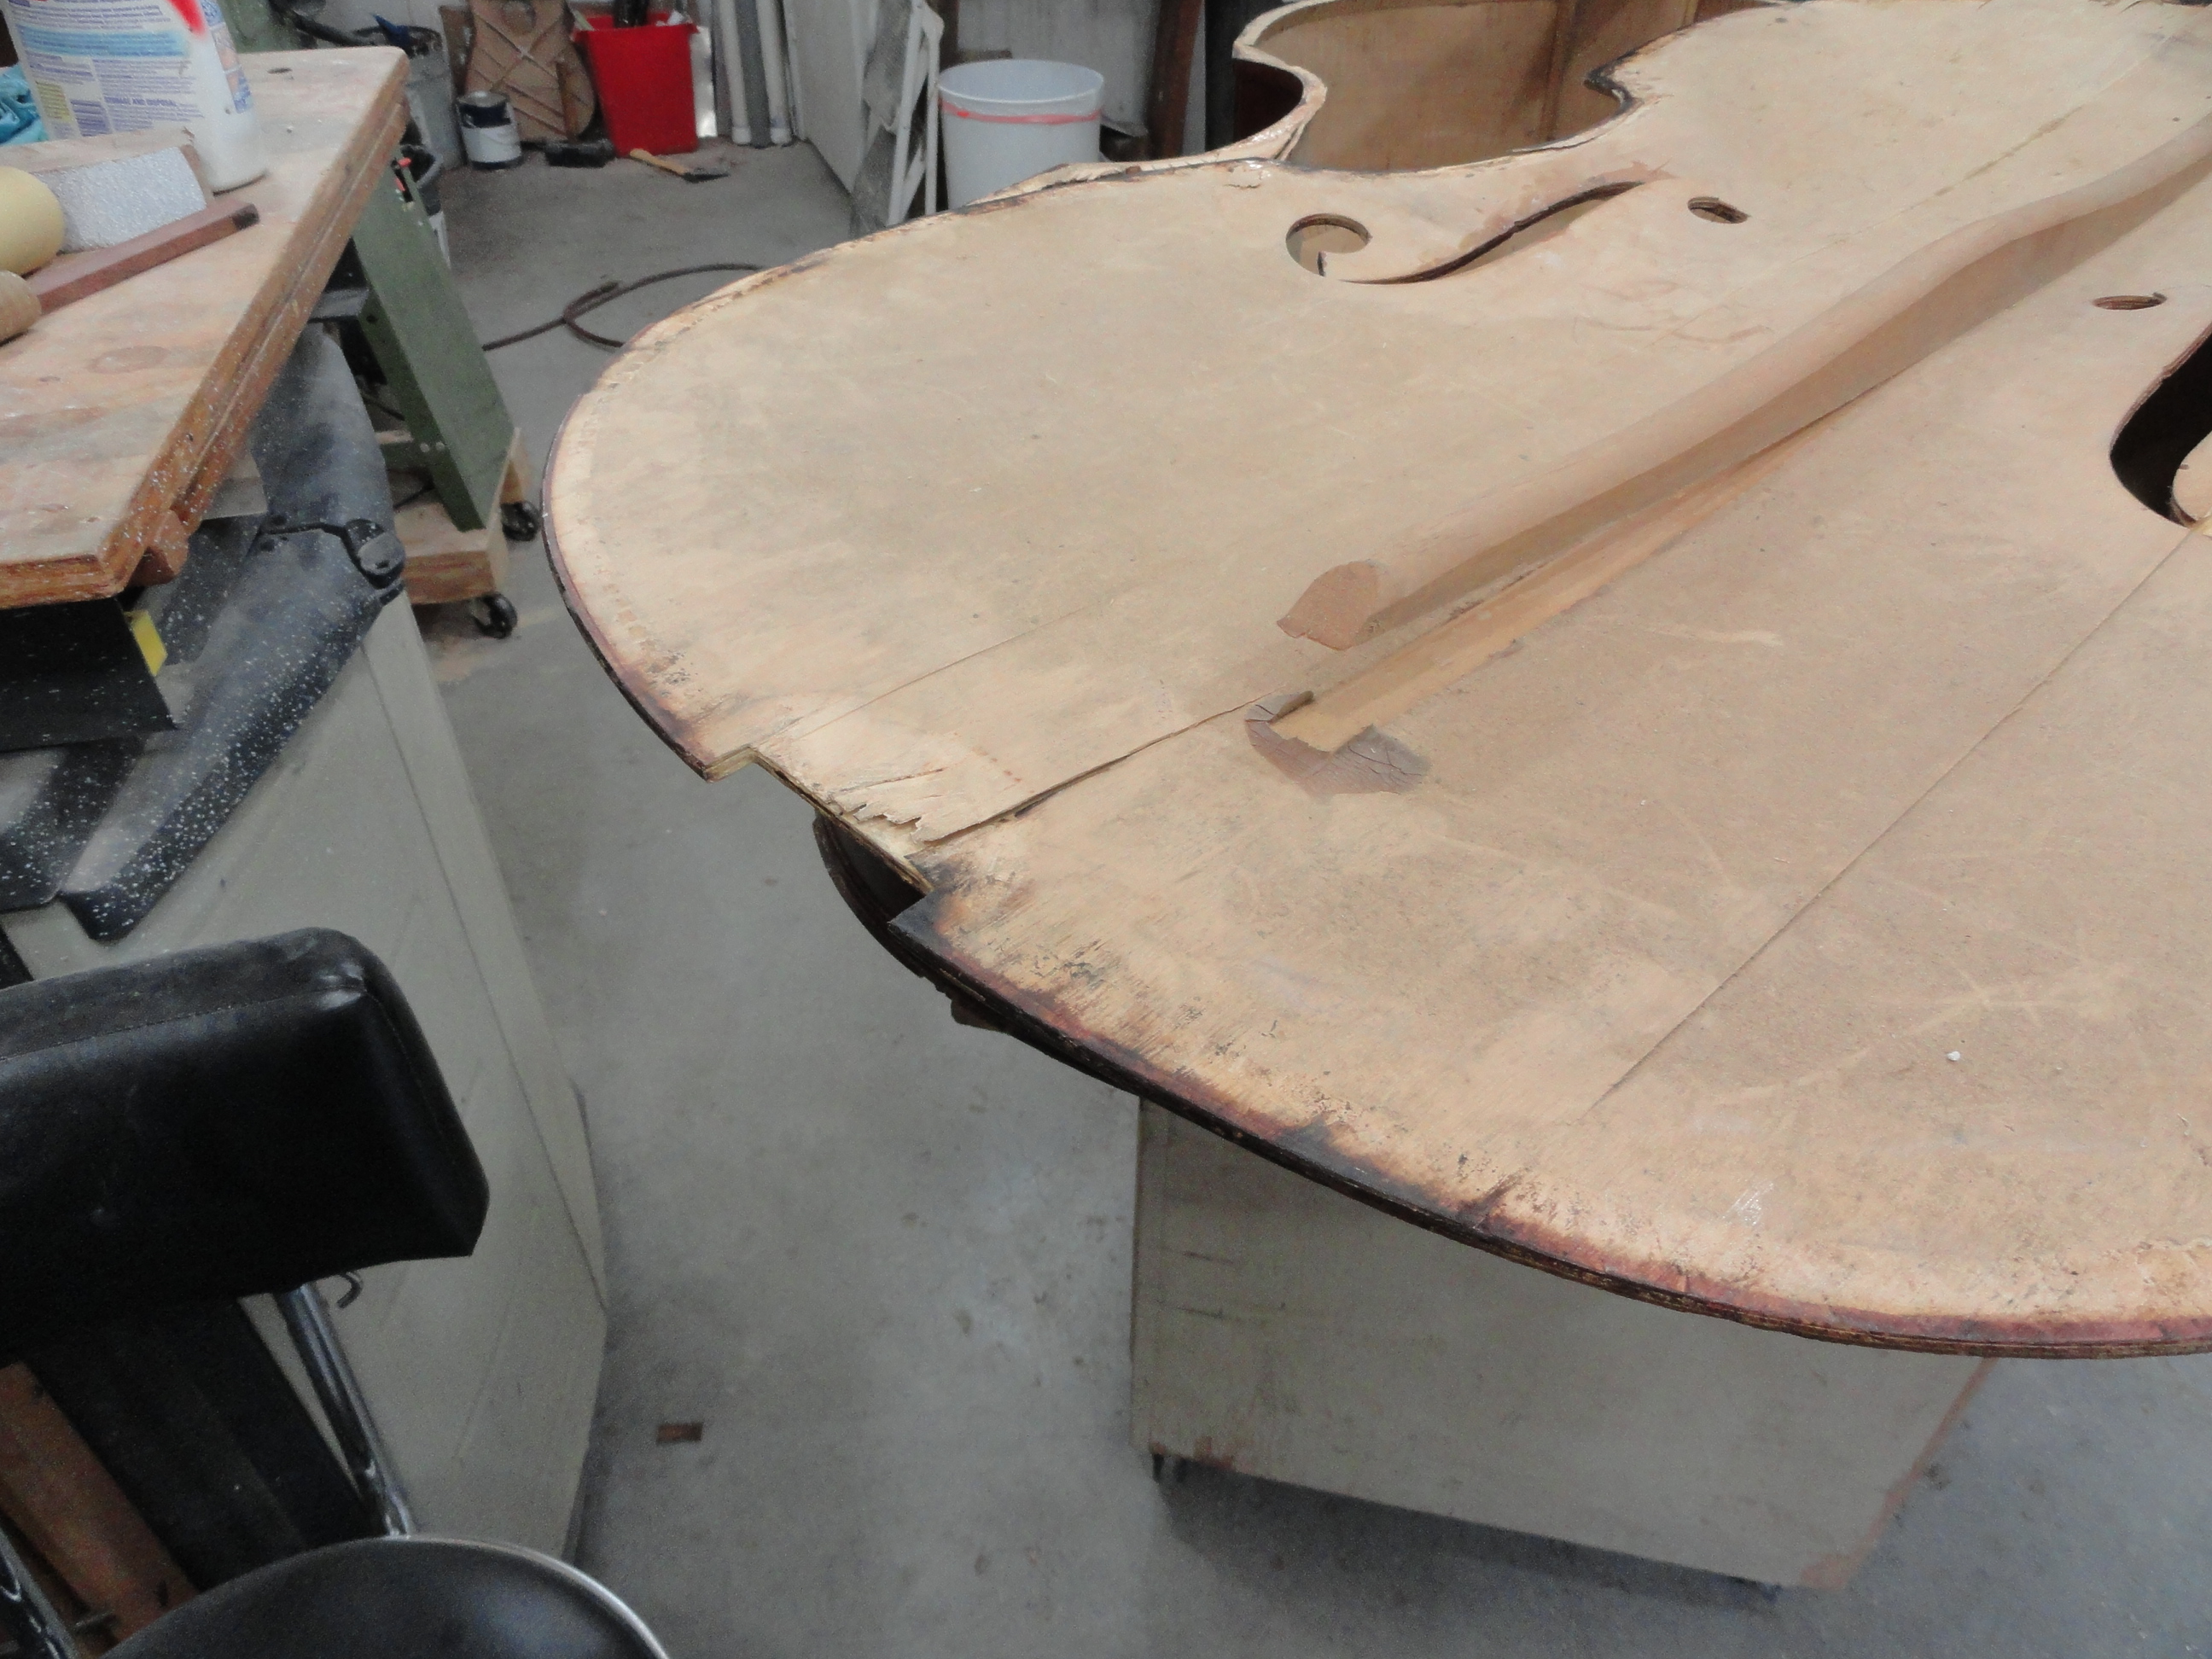
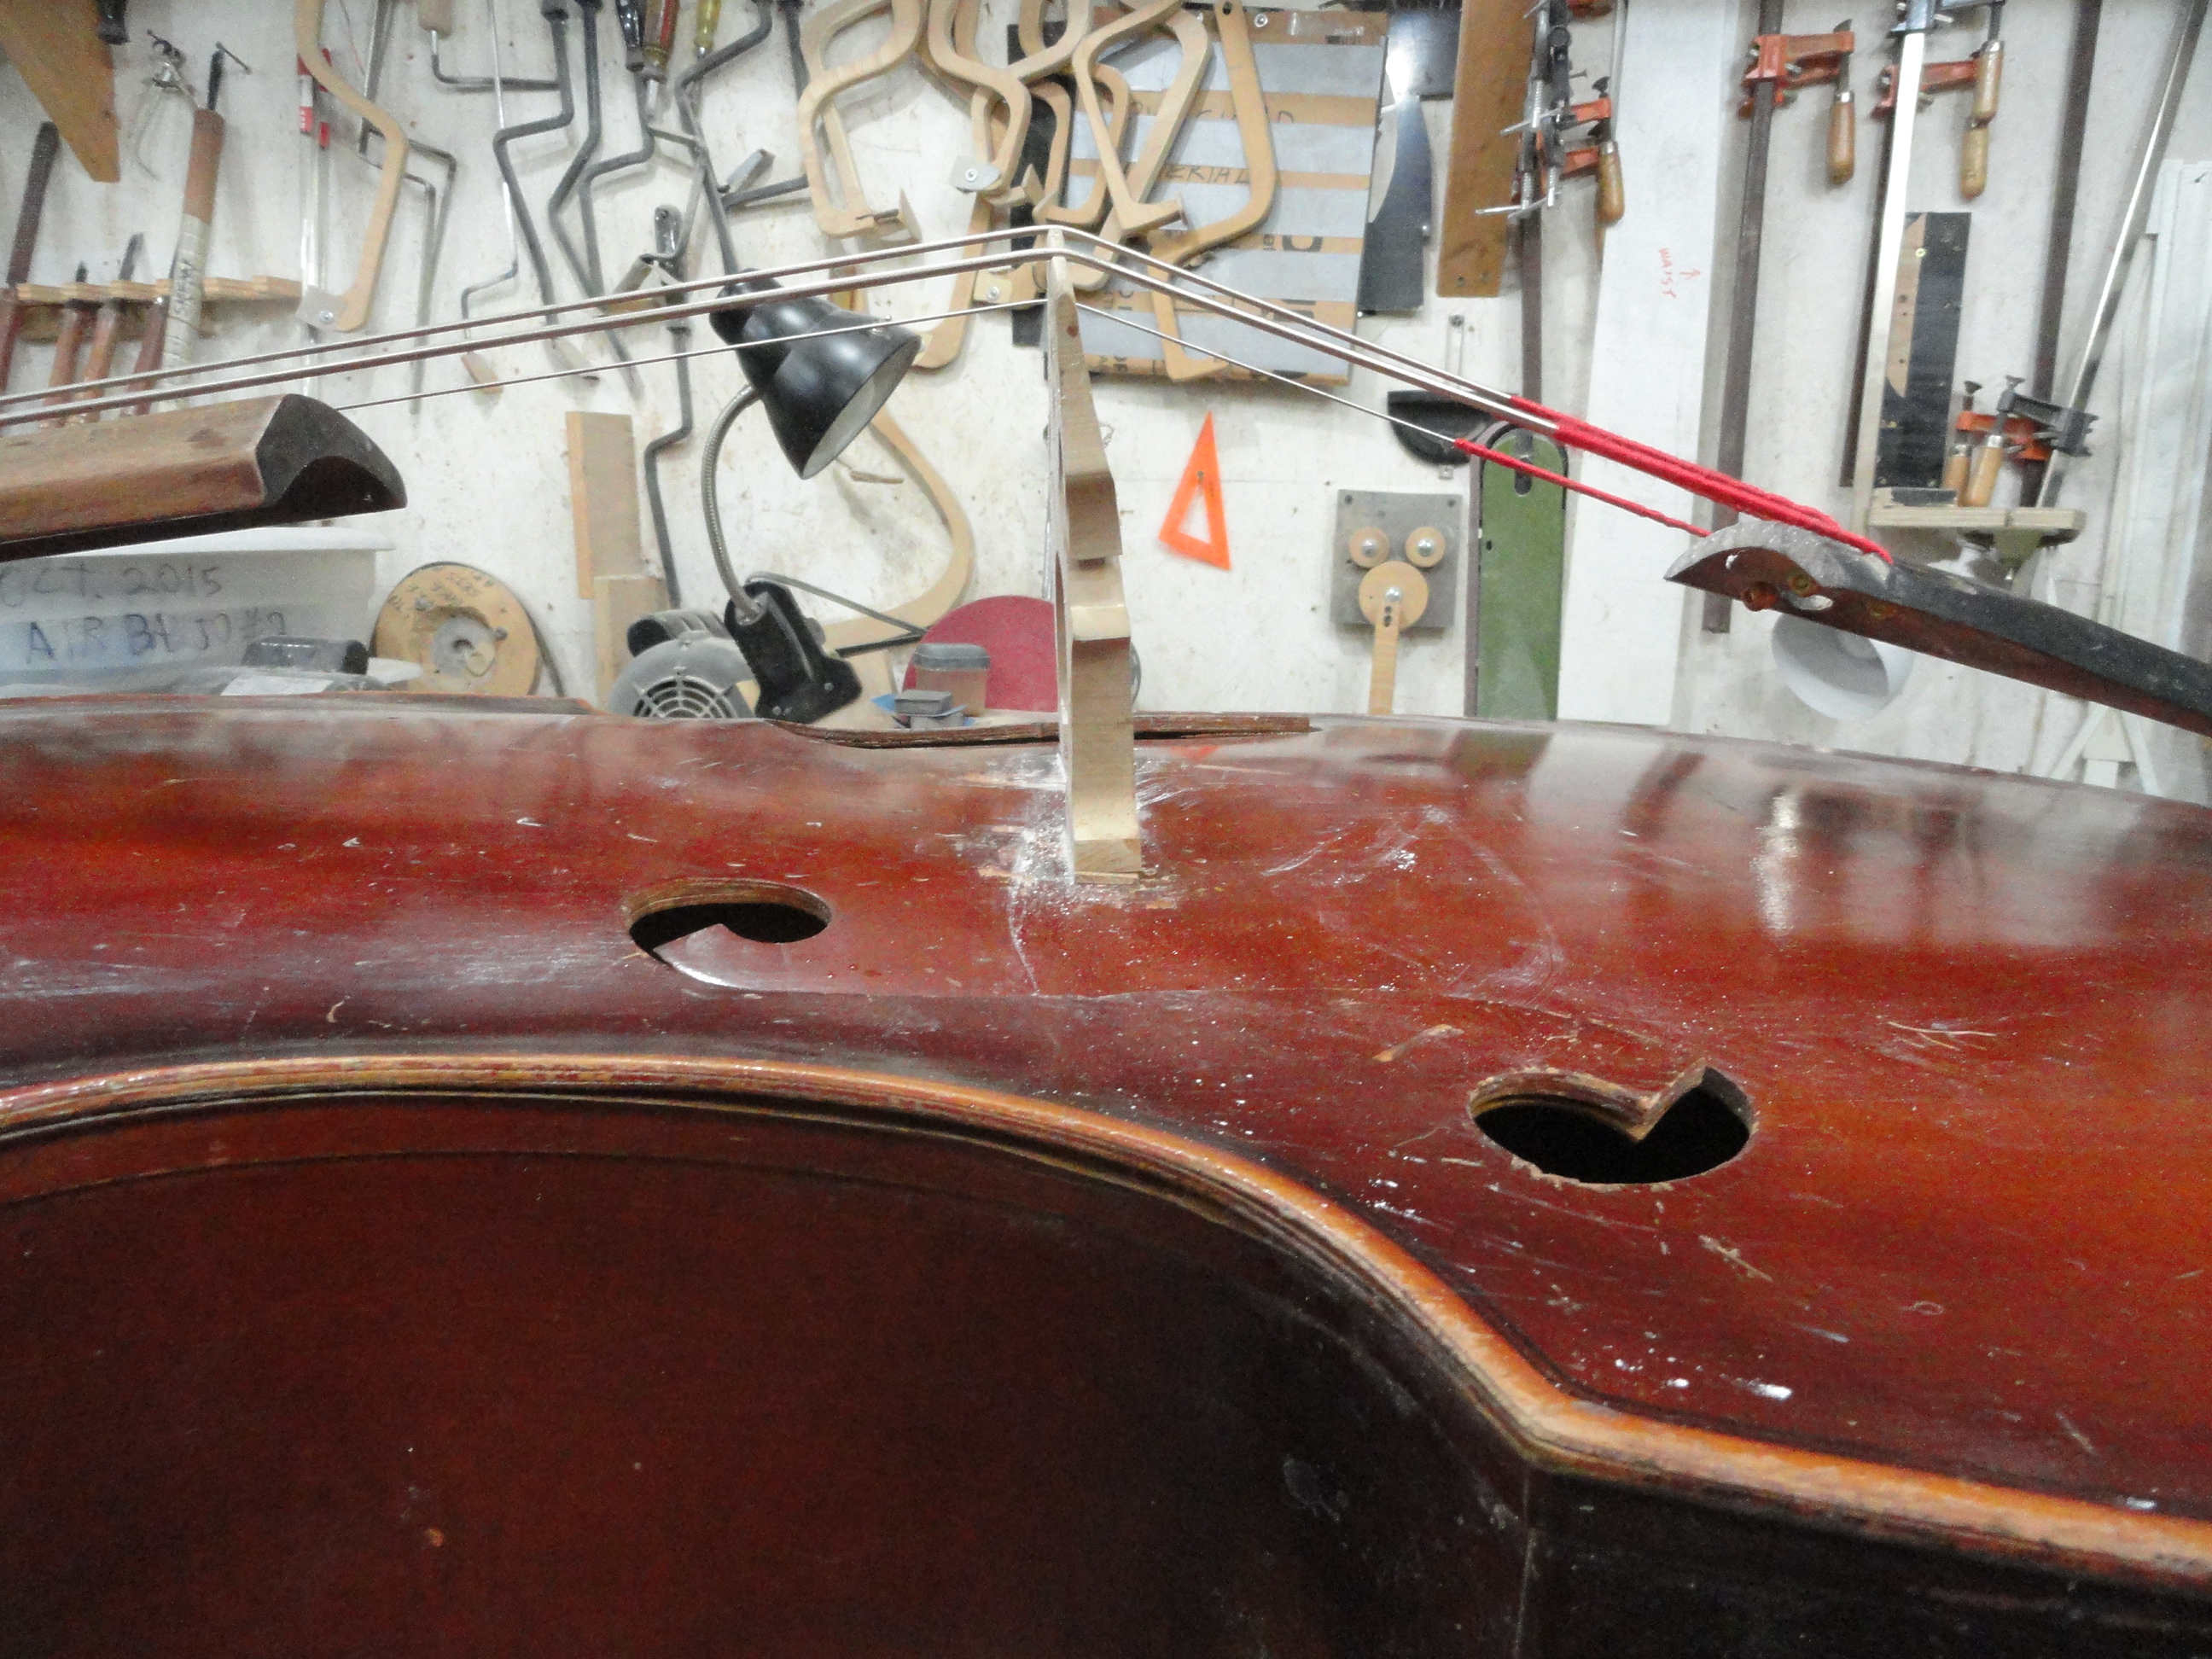
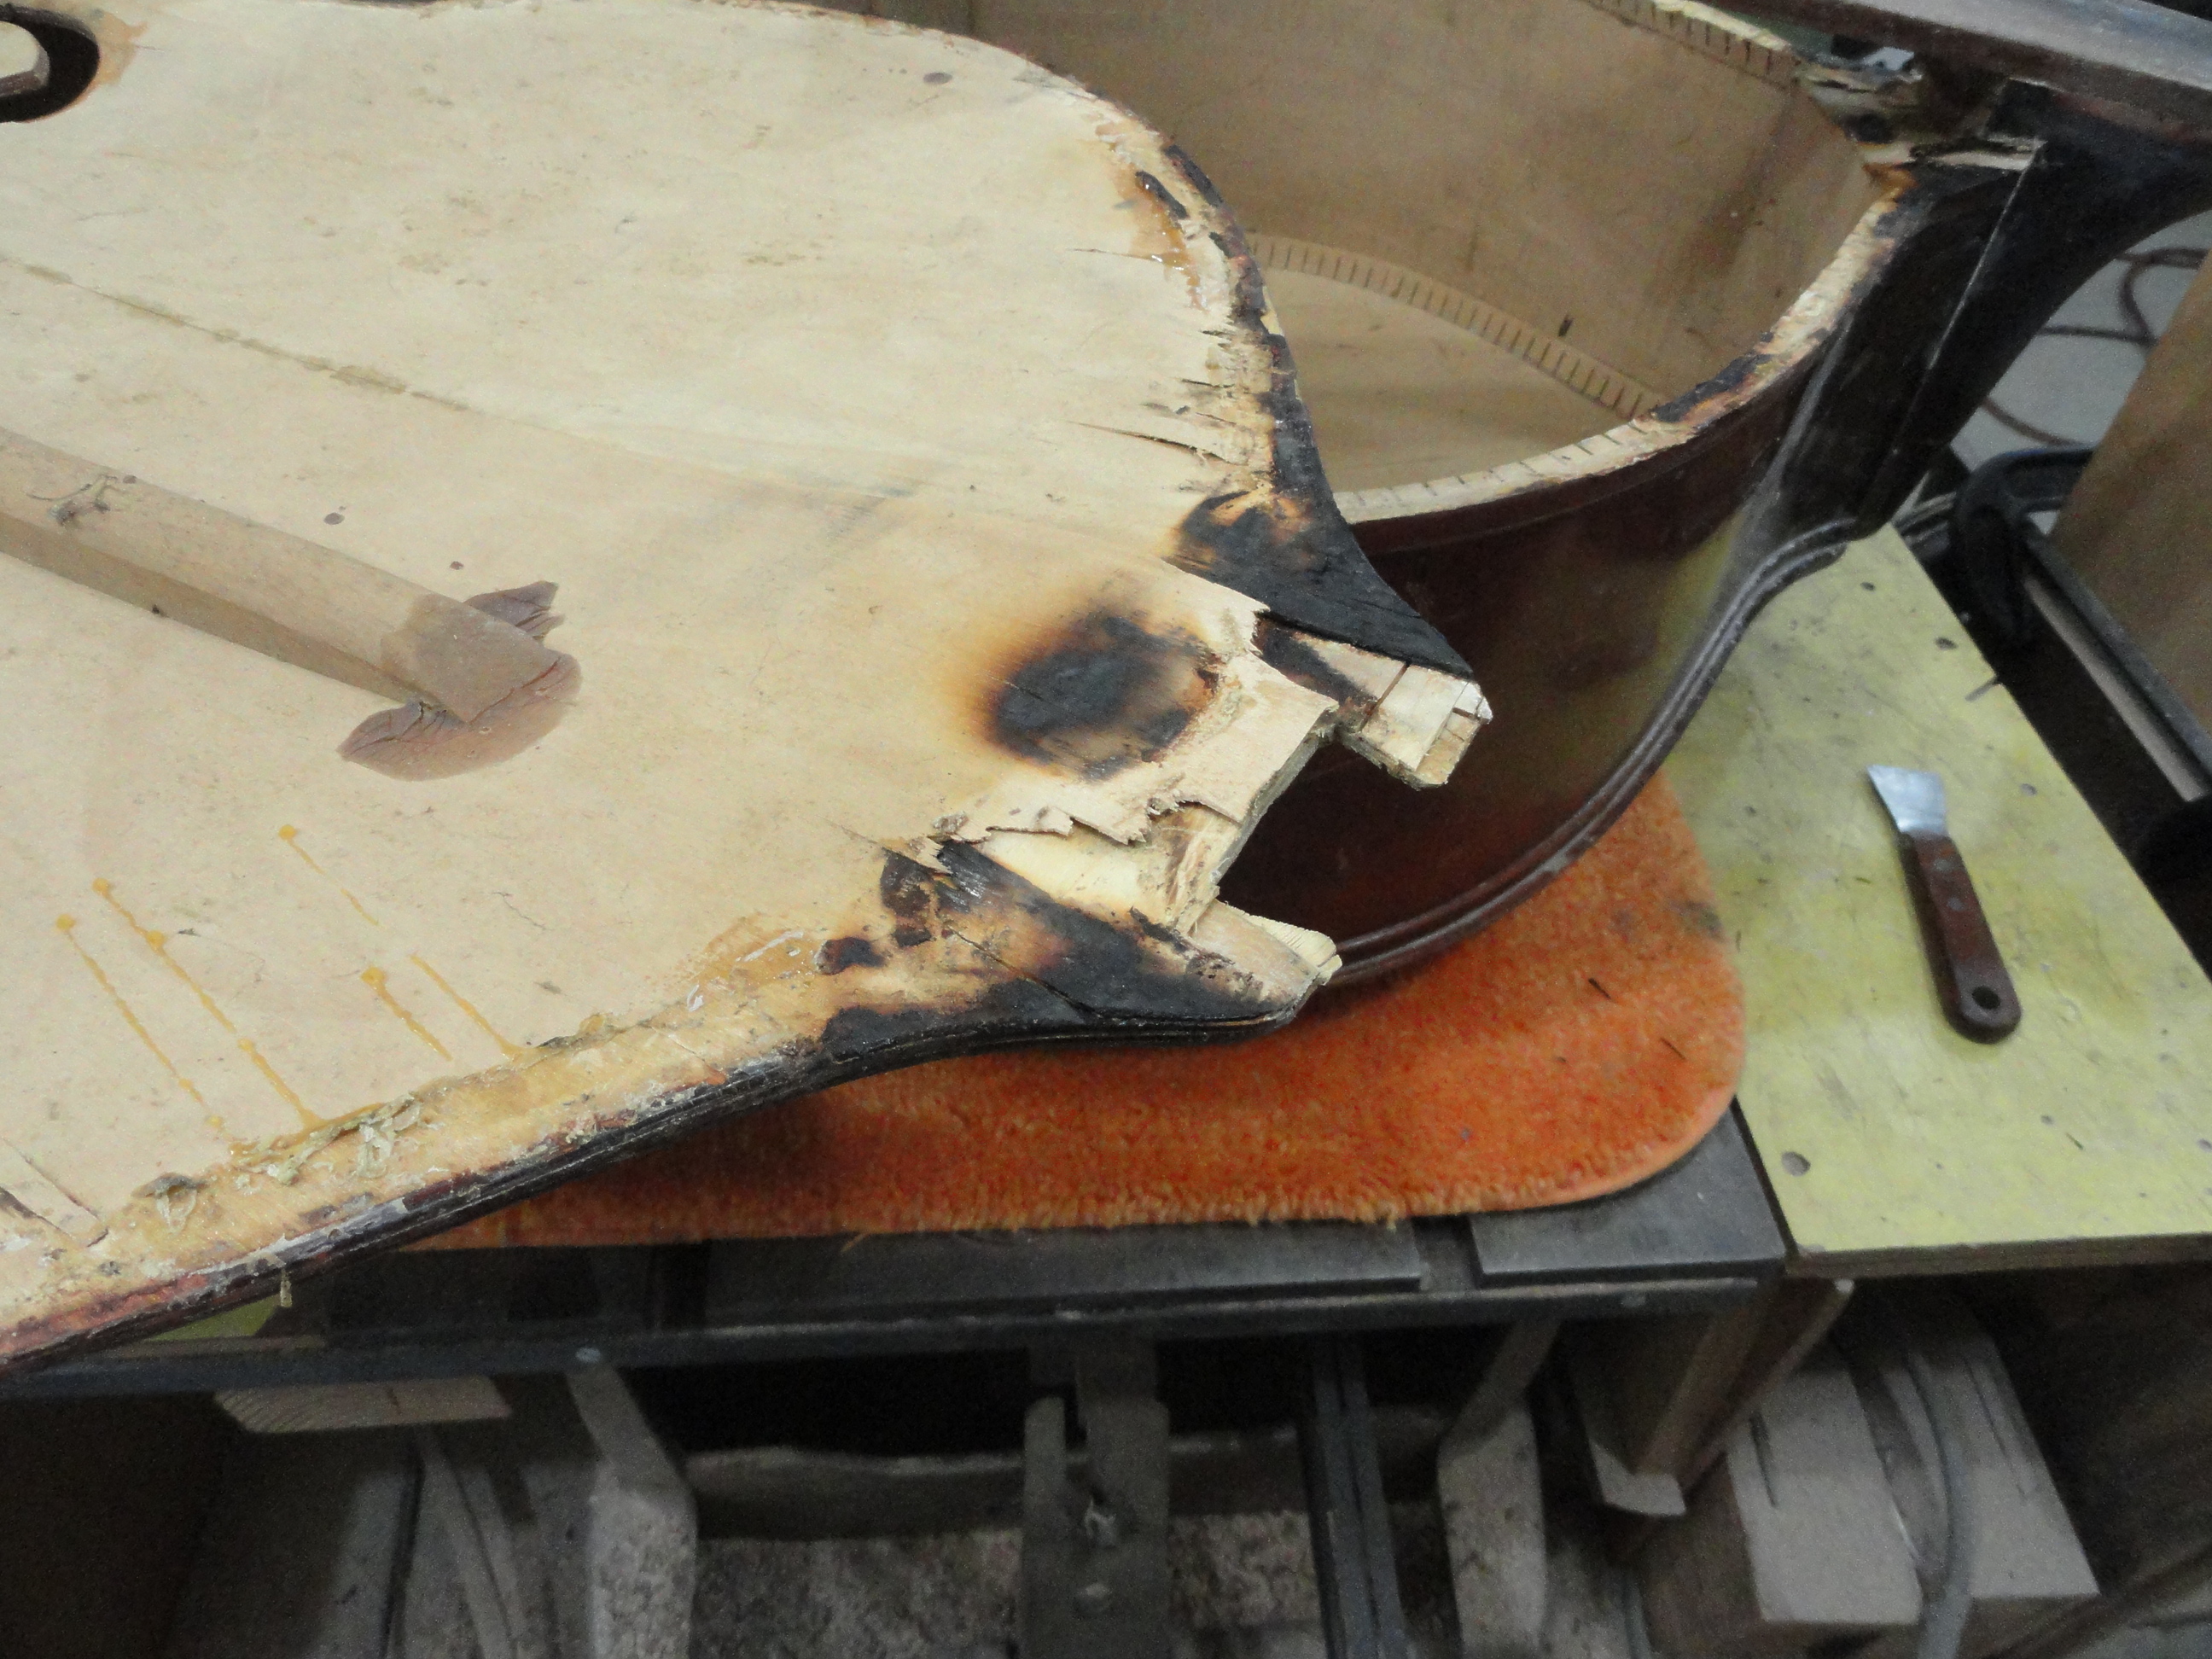
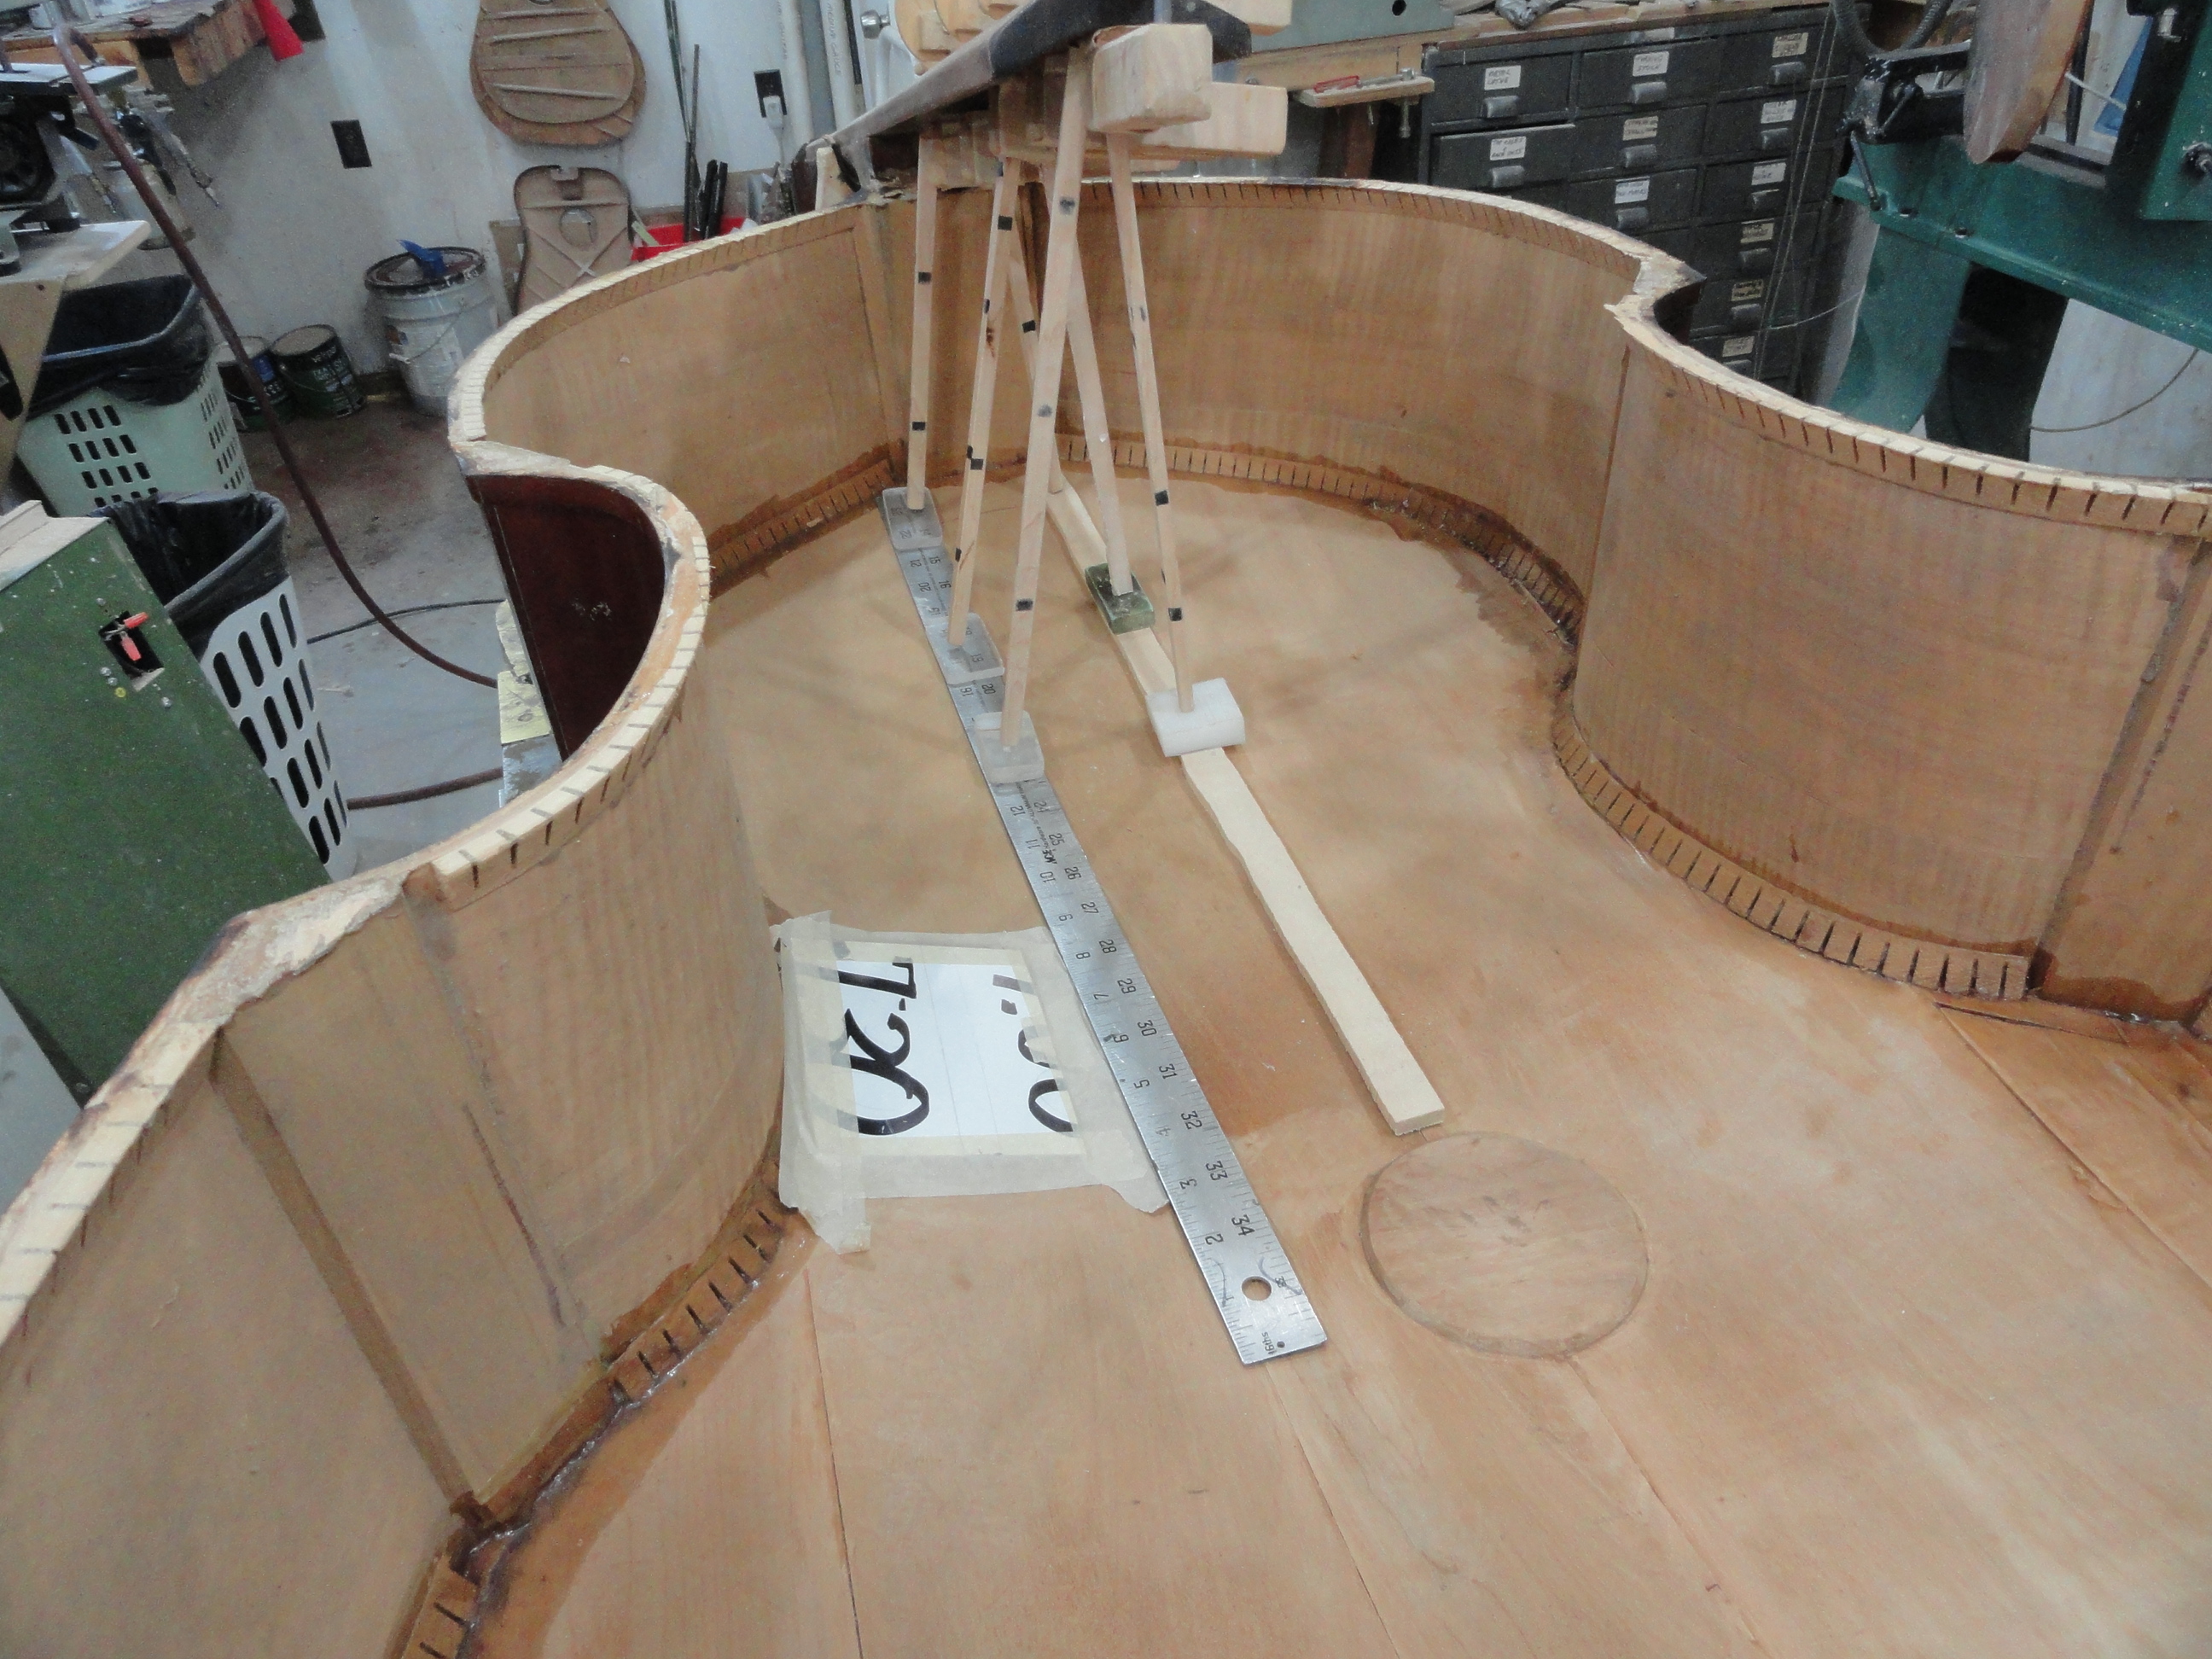
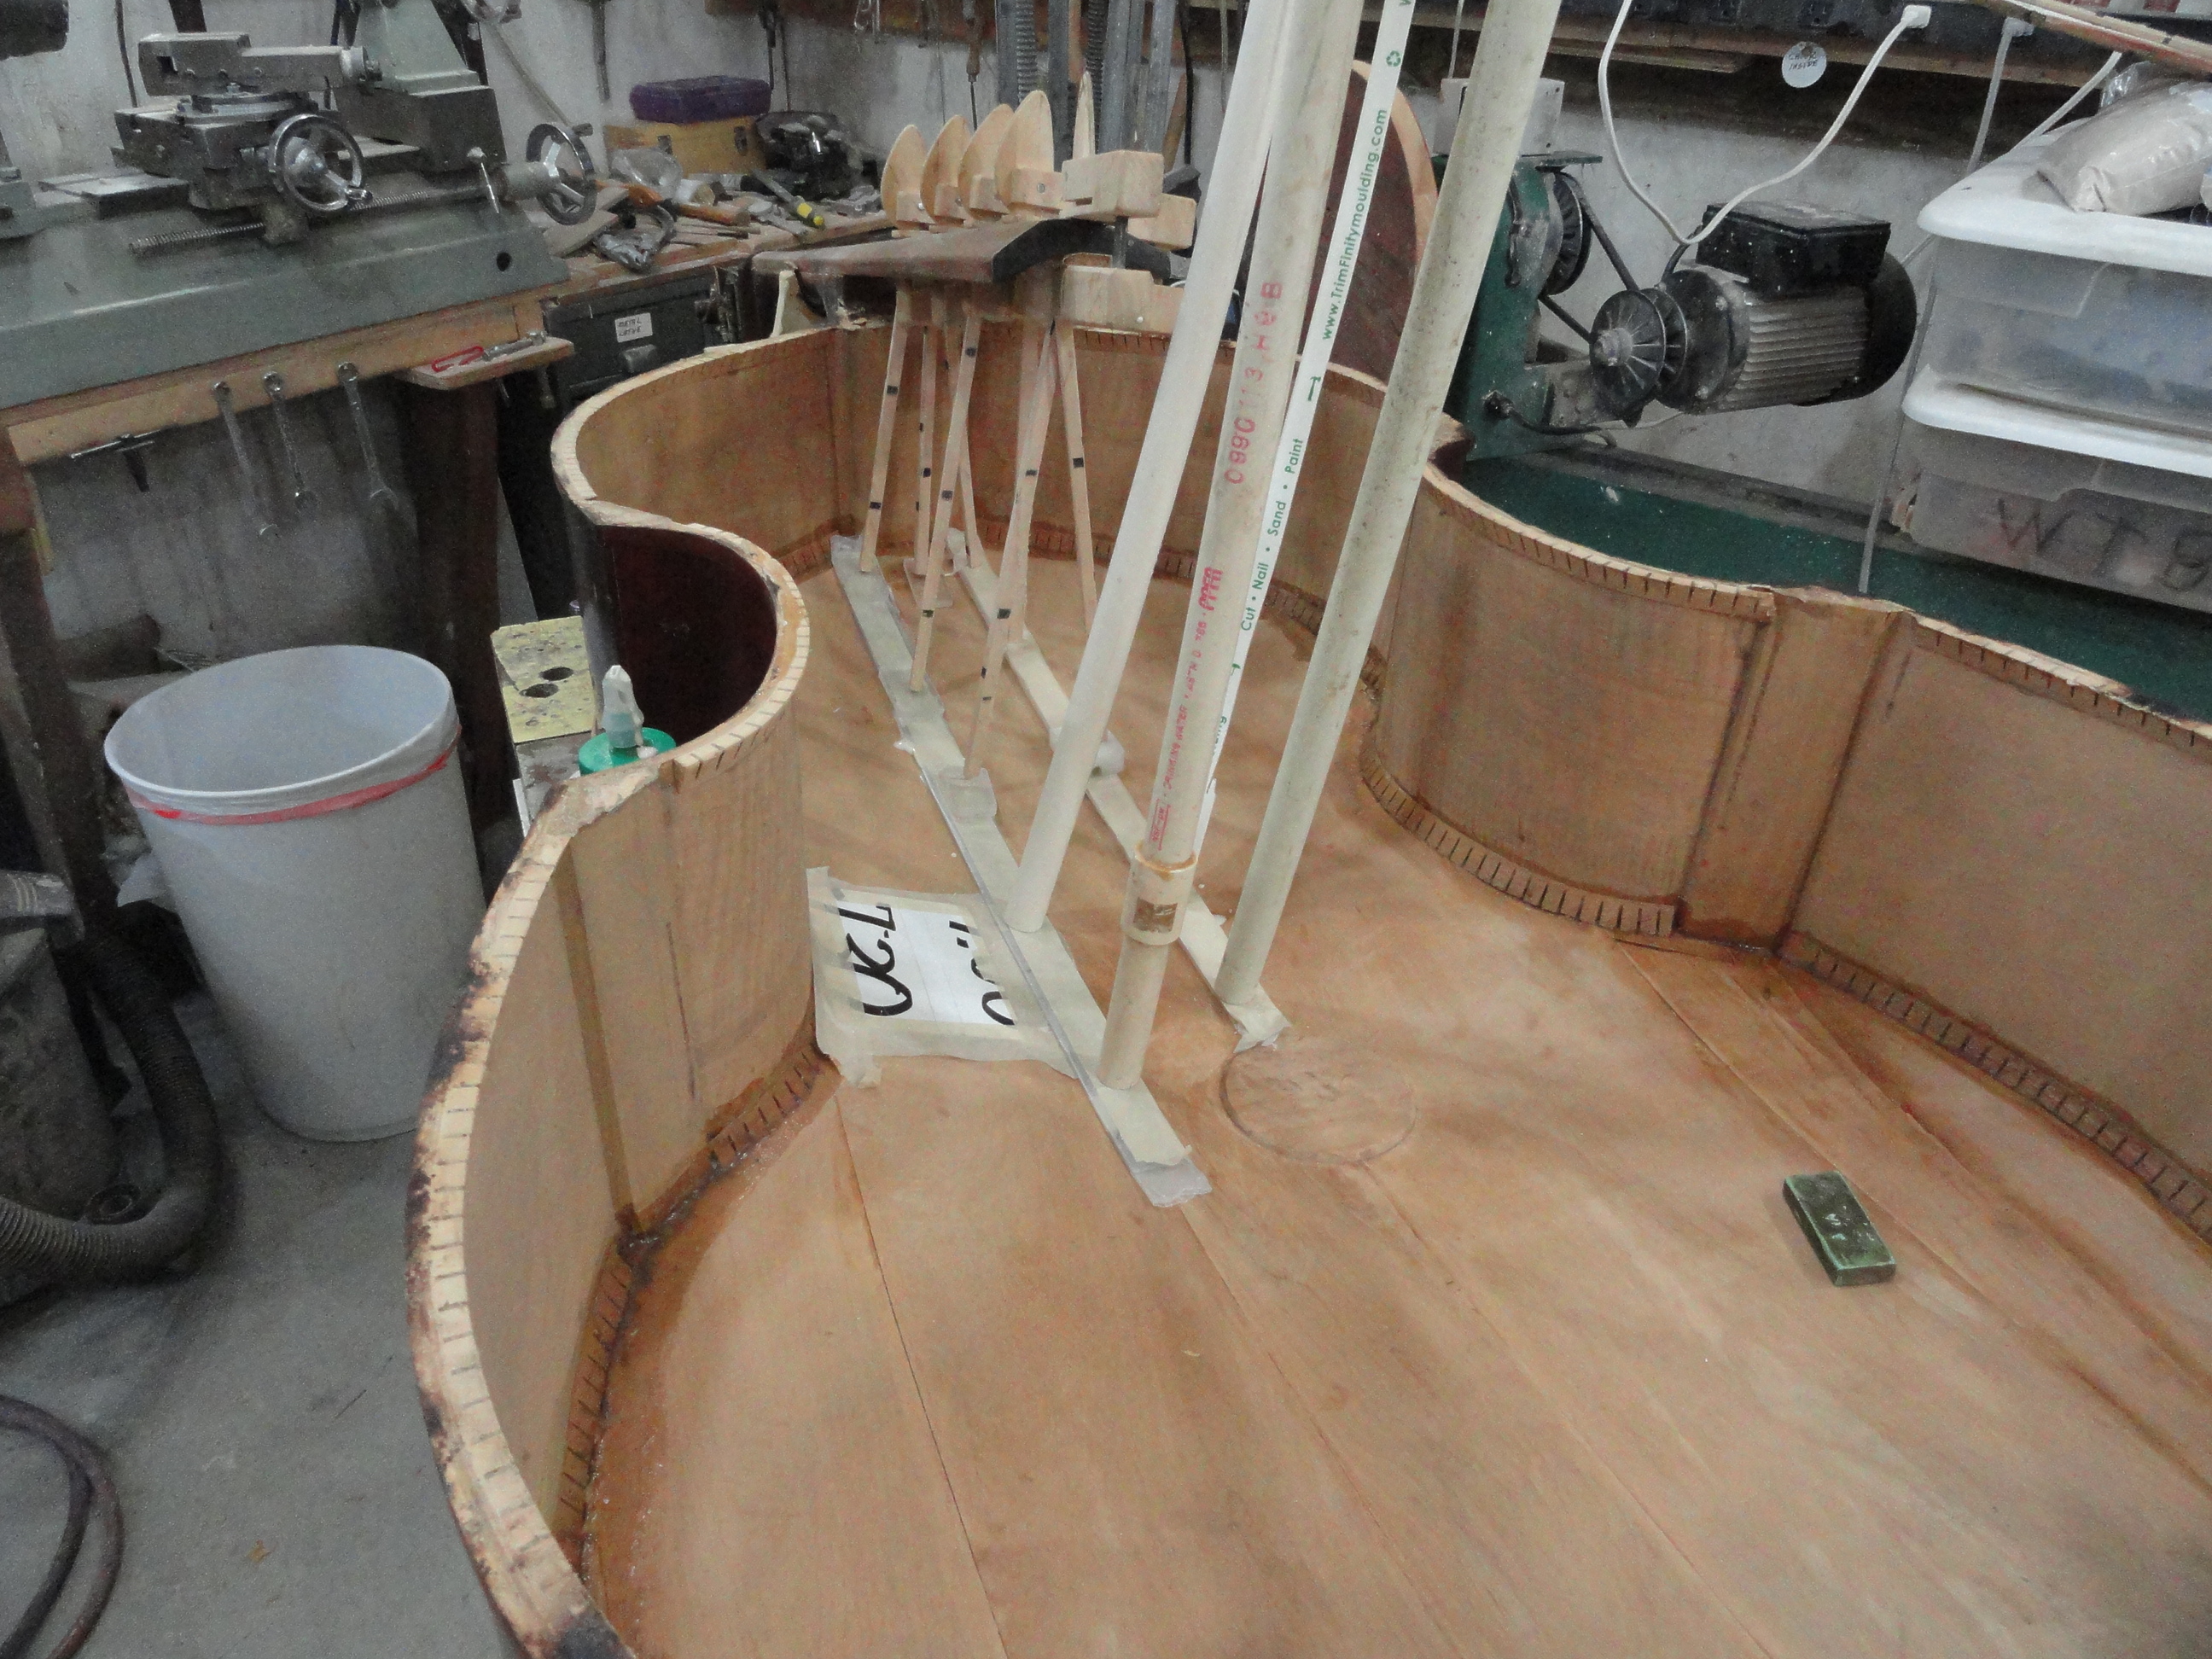
I removed the top using a heated putty knife. This was slow work and there was some damage in the process. It is hard to deal with a piece of plywood with very thin layers that is separated. You can see the bass bar hanging above the top in this picture. This demonstrates how much the top was sunken in the bridge area.
Here is another shot of the bass bar.
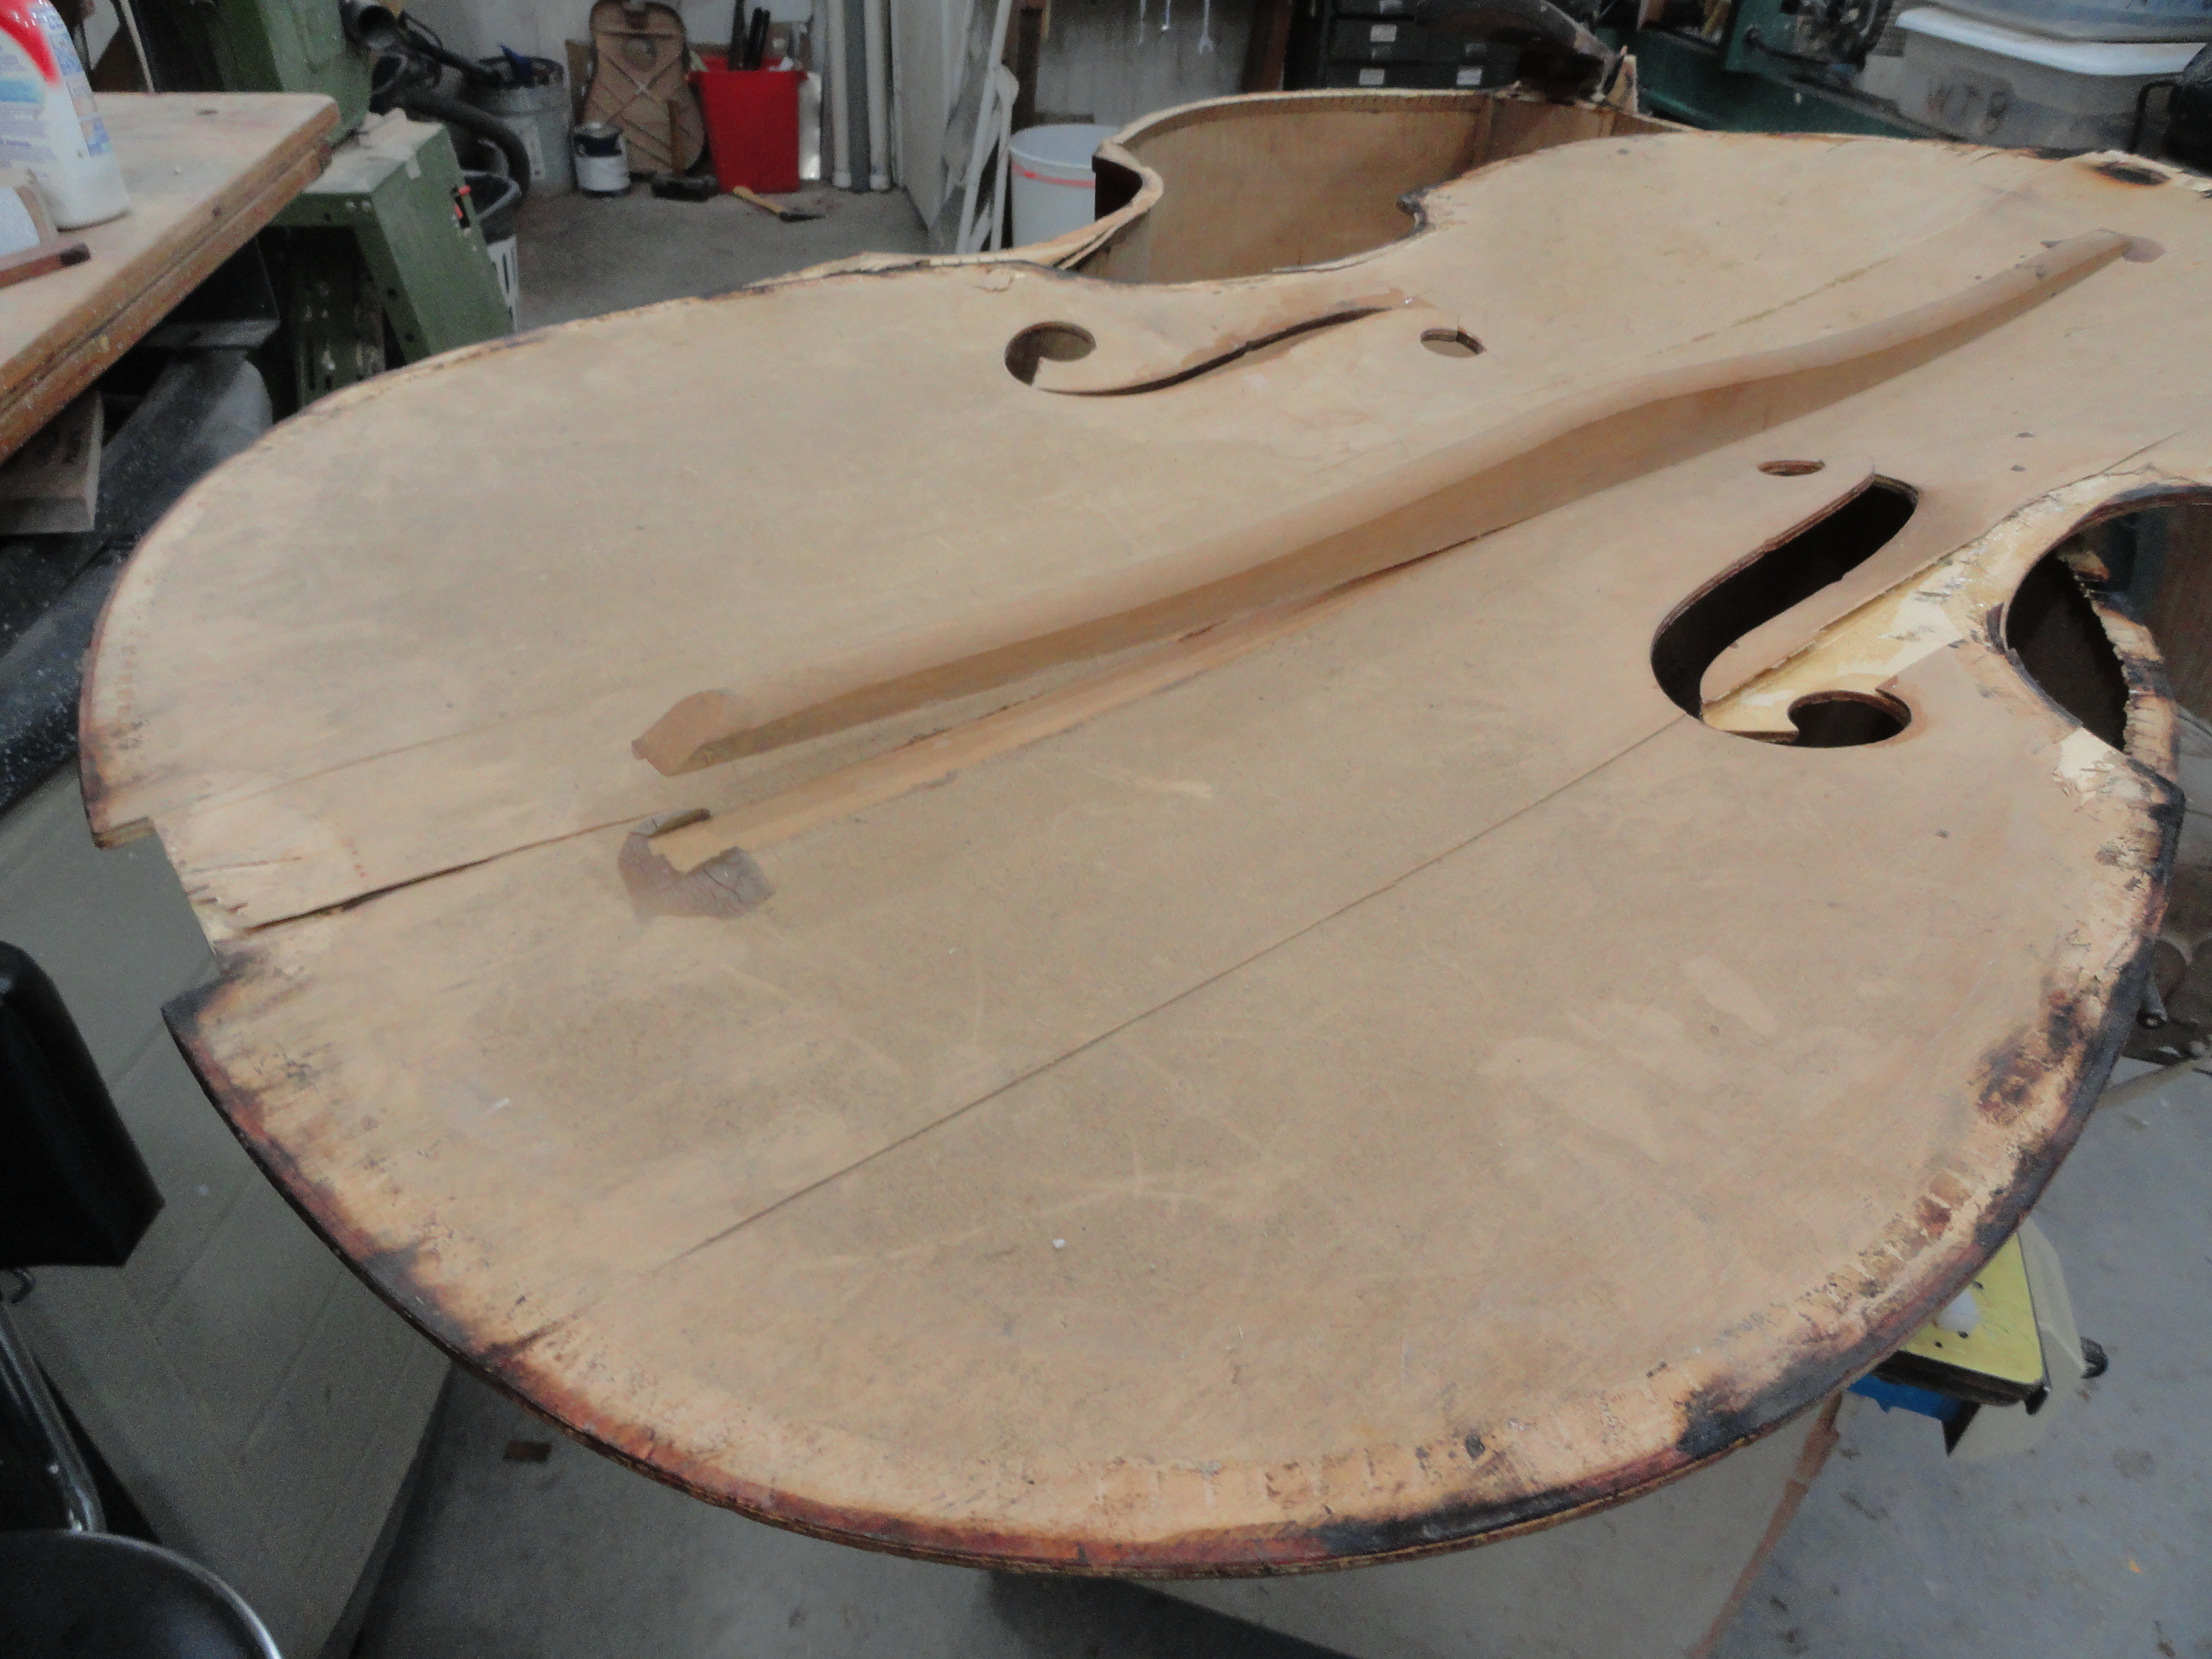
Another shot of the damage. what have I gotten myself in to?
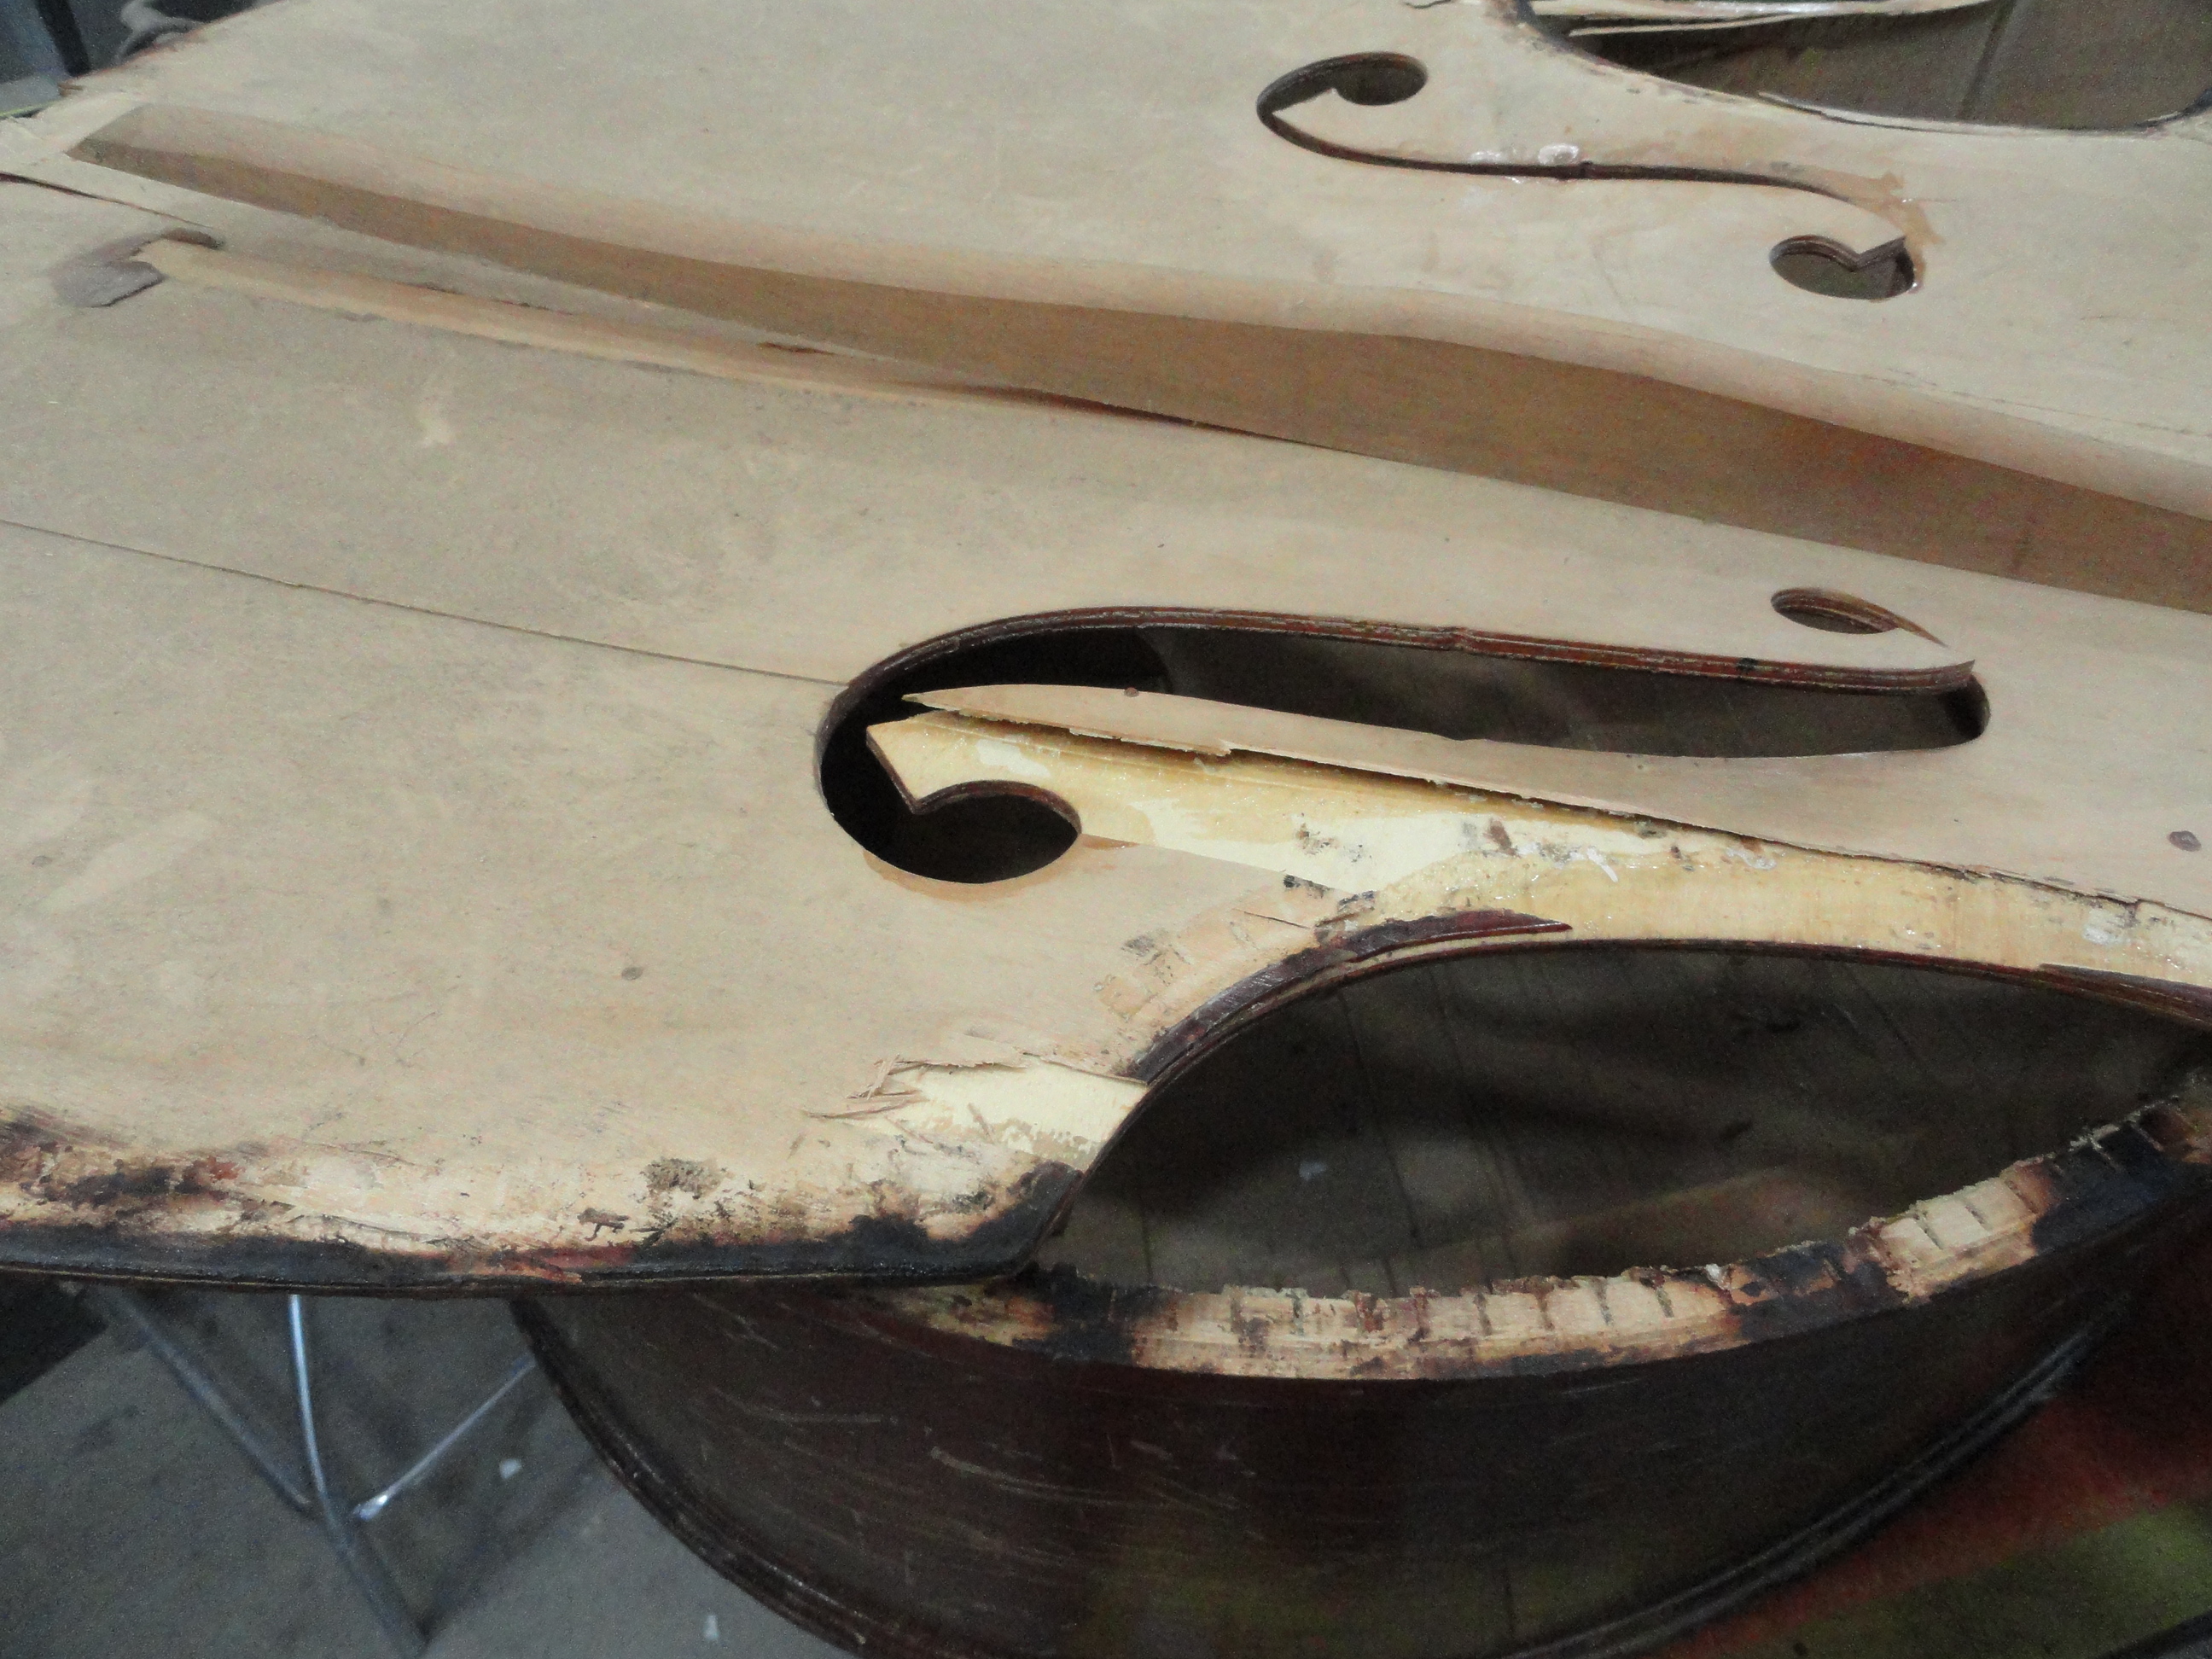
Neck area
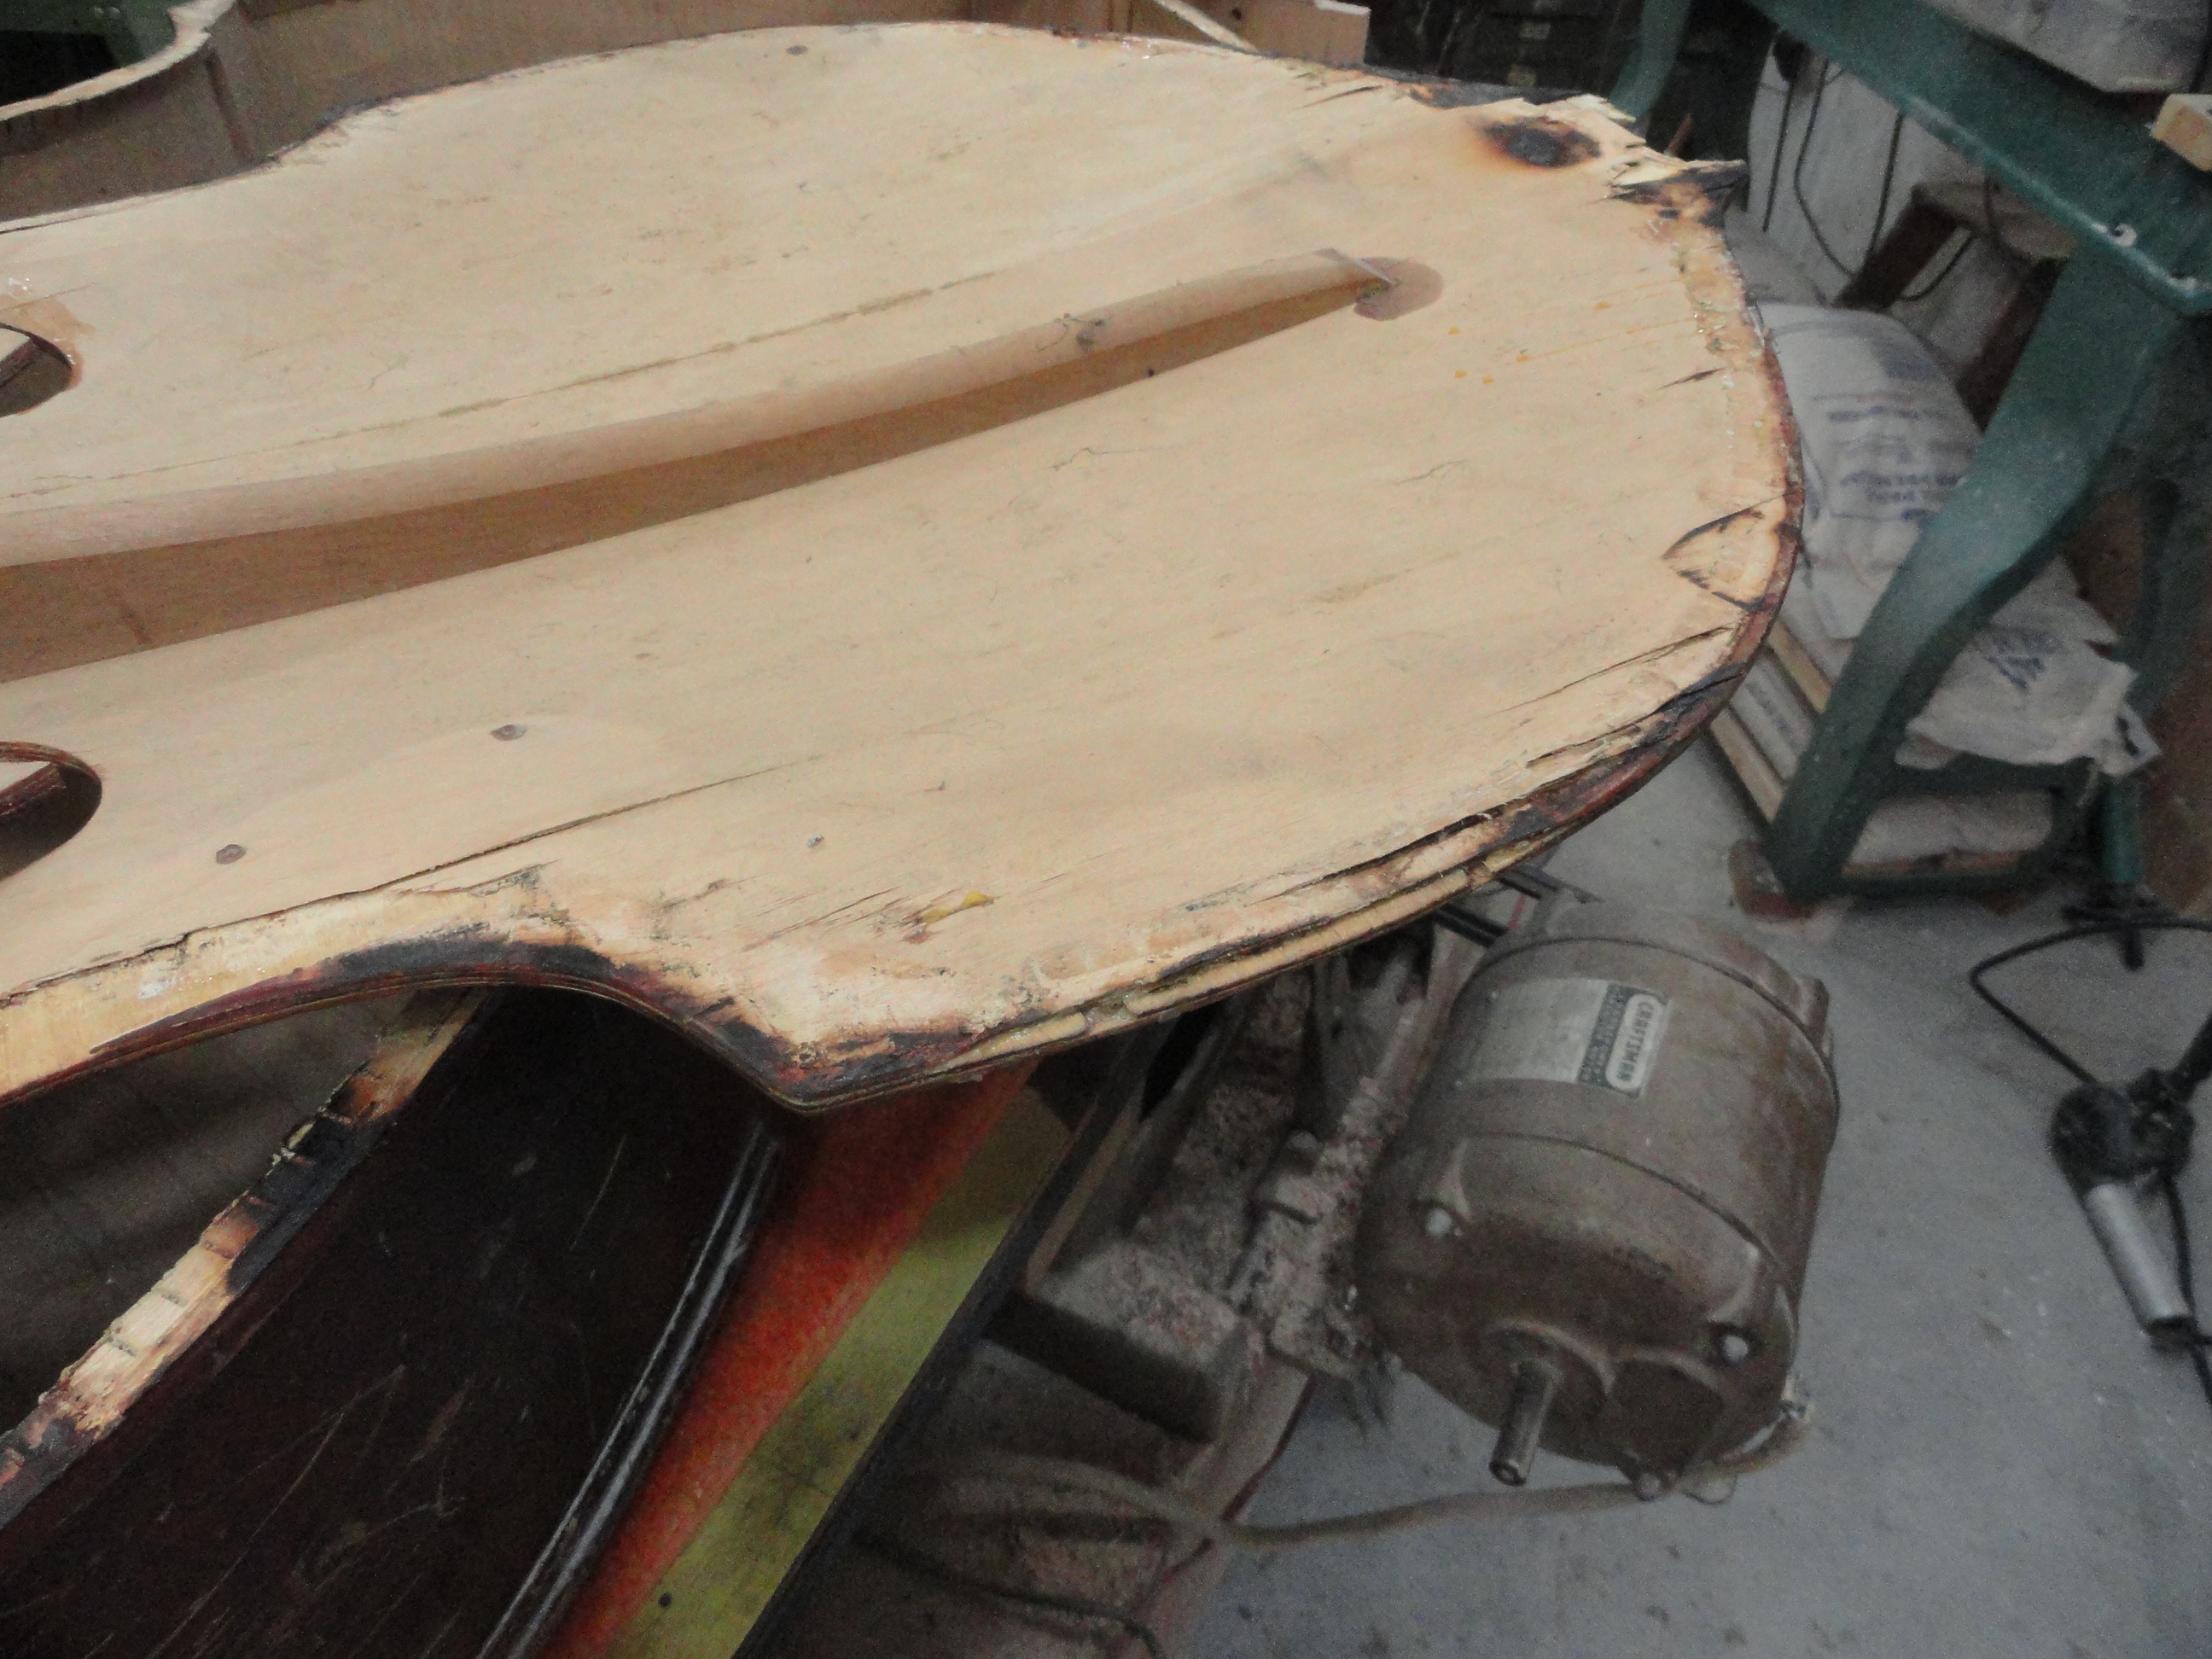
A shot of the neck end.
Damage

More damage
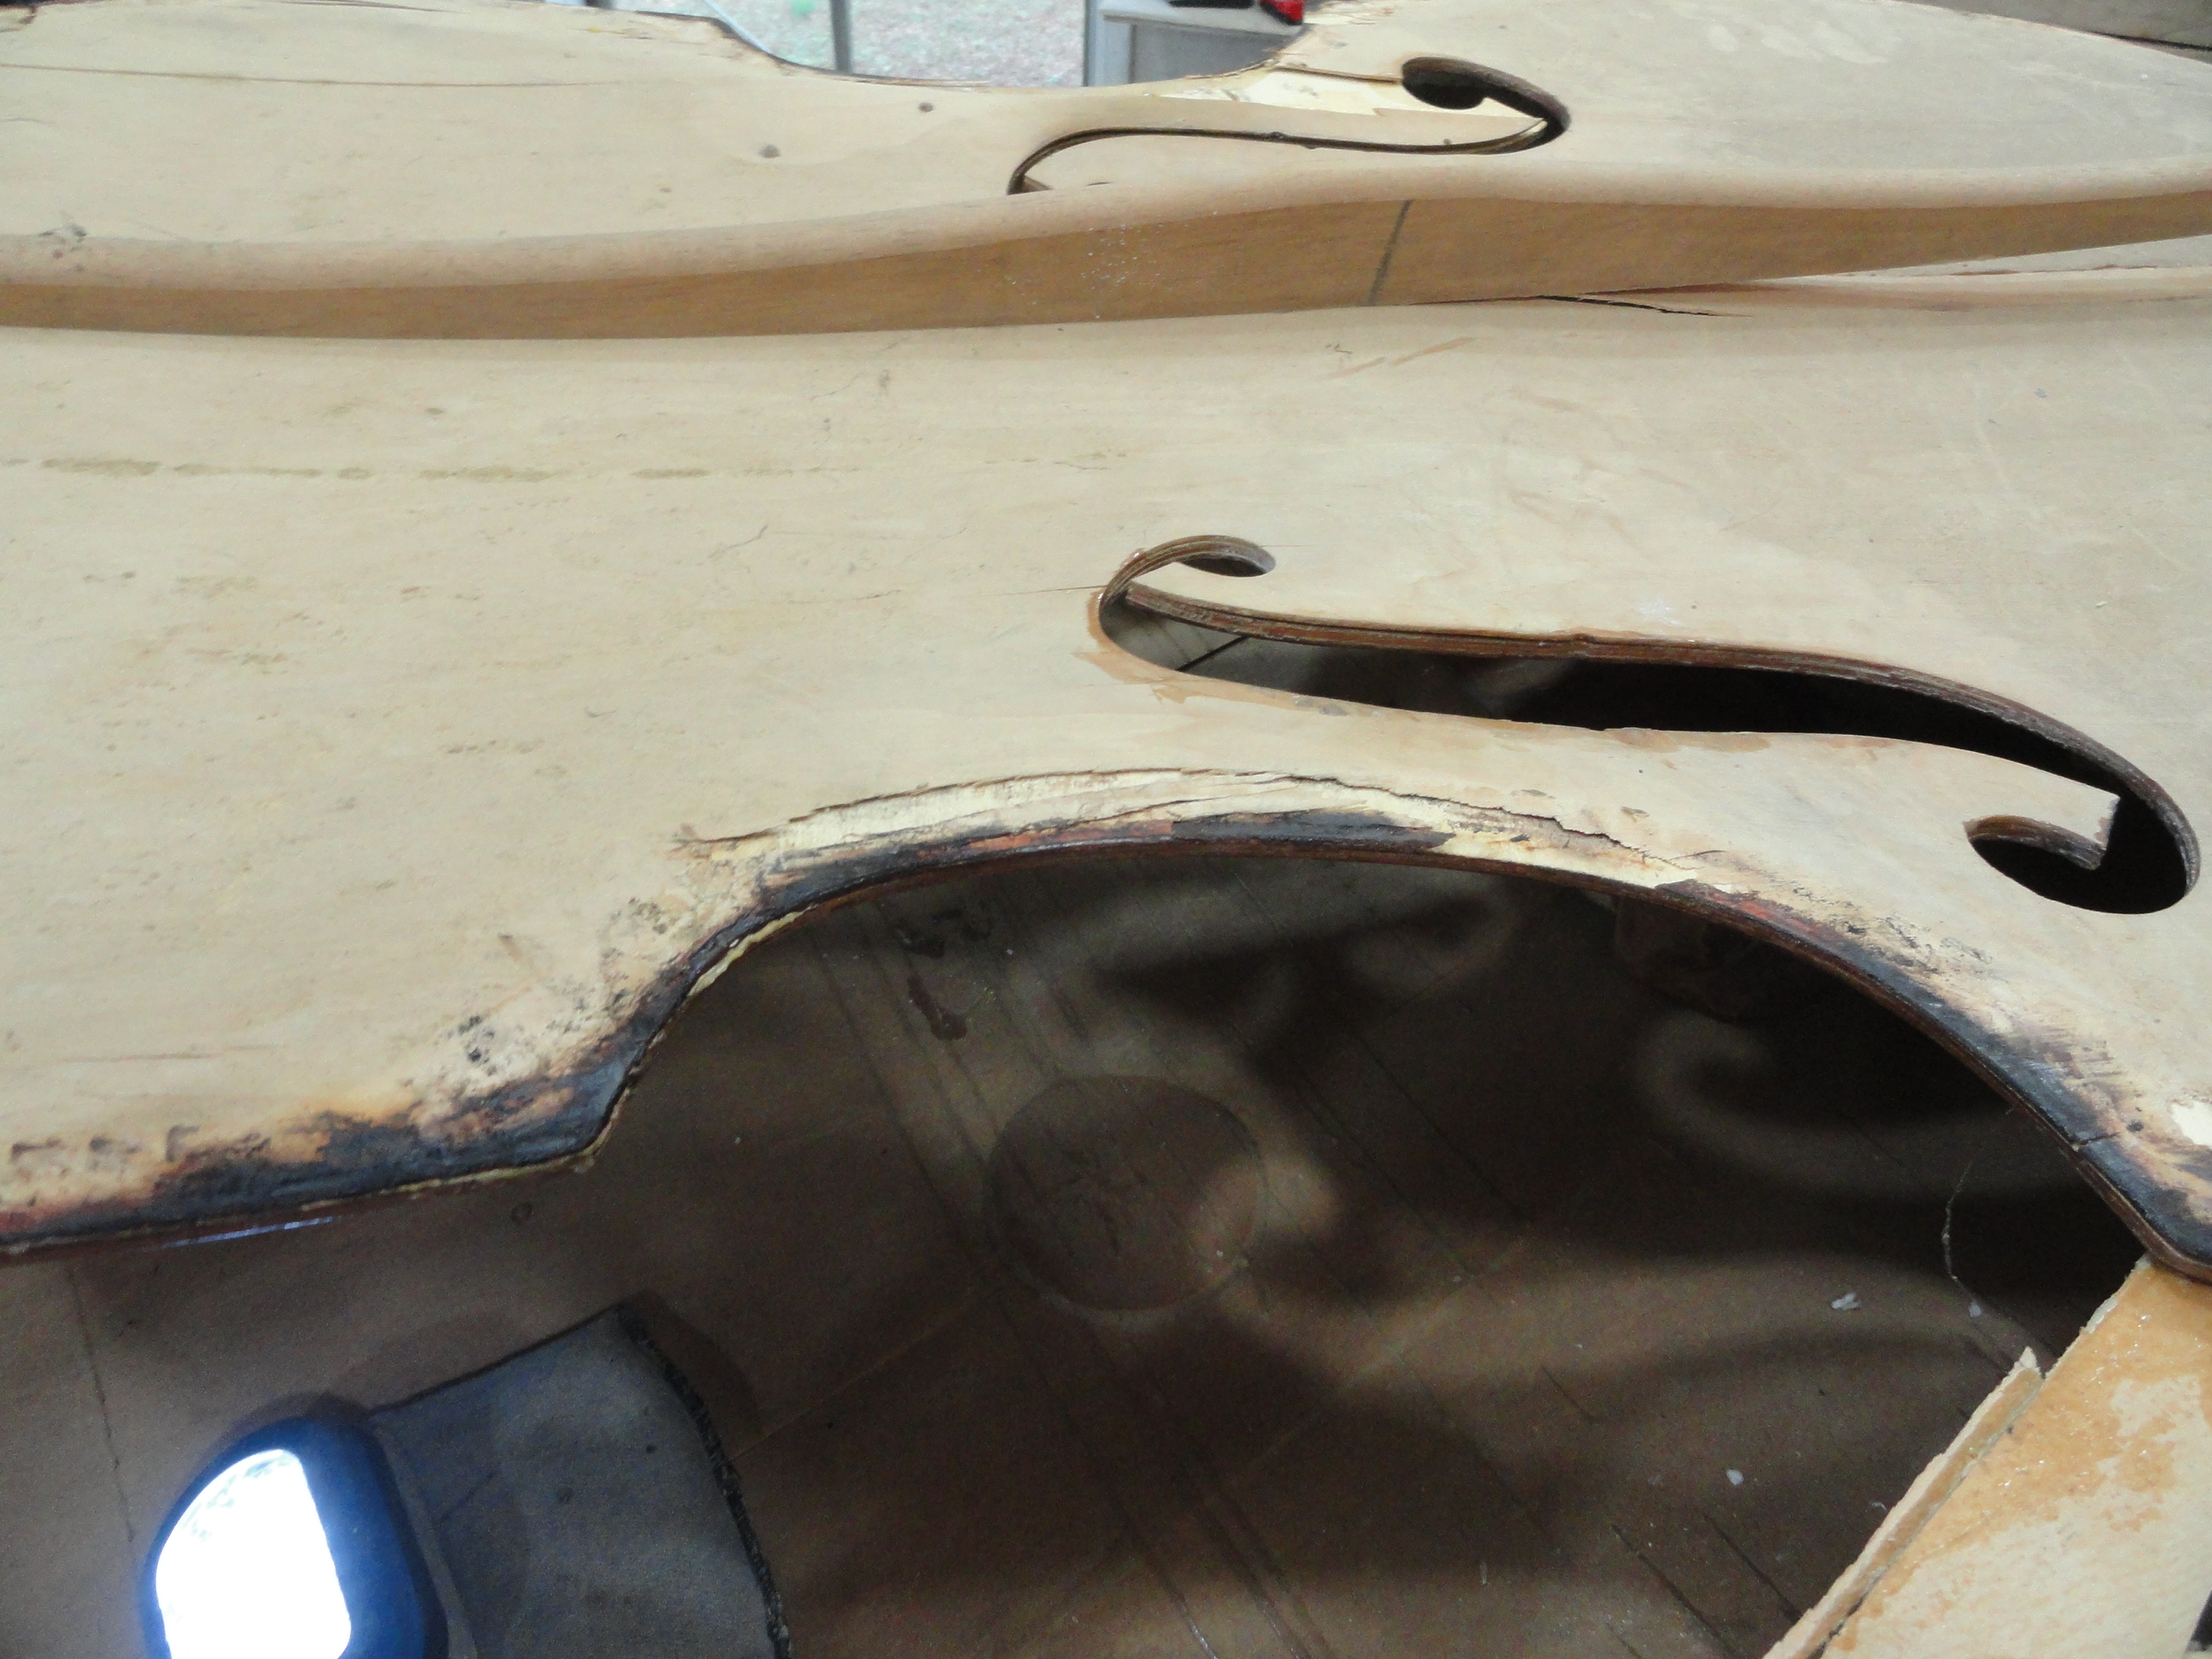
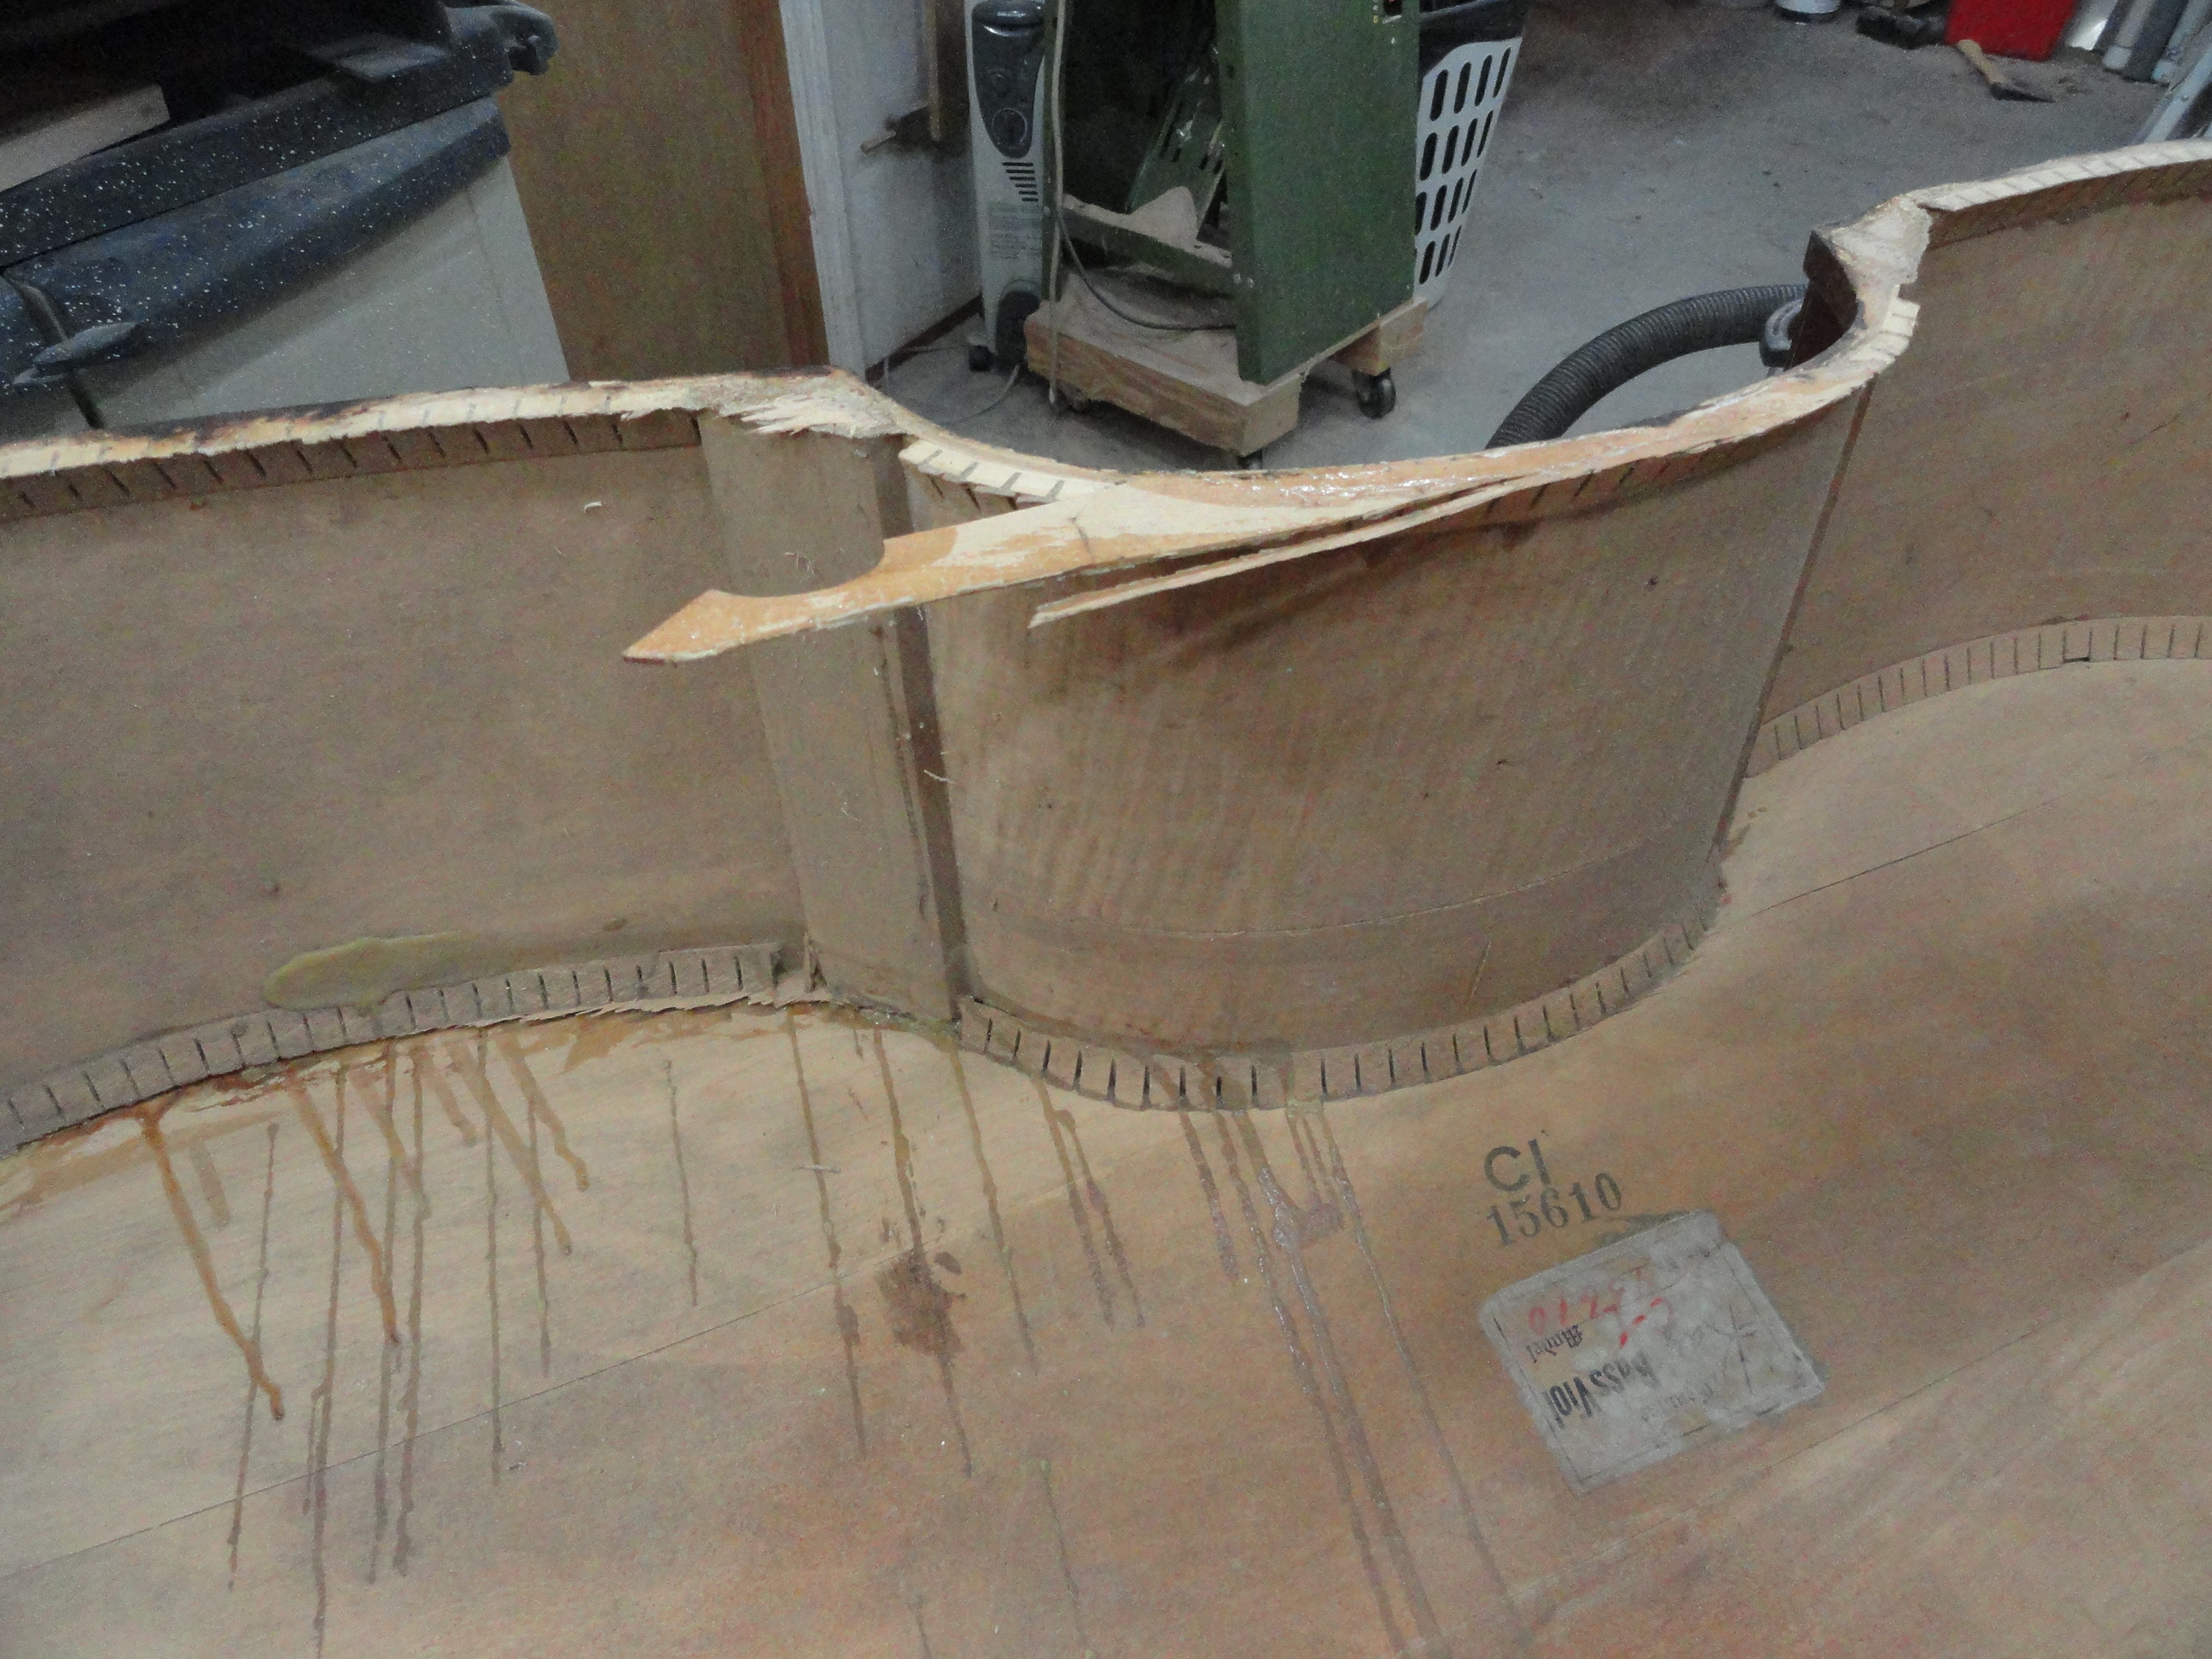
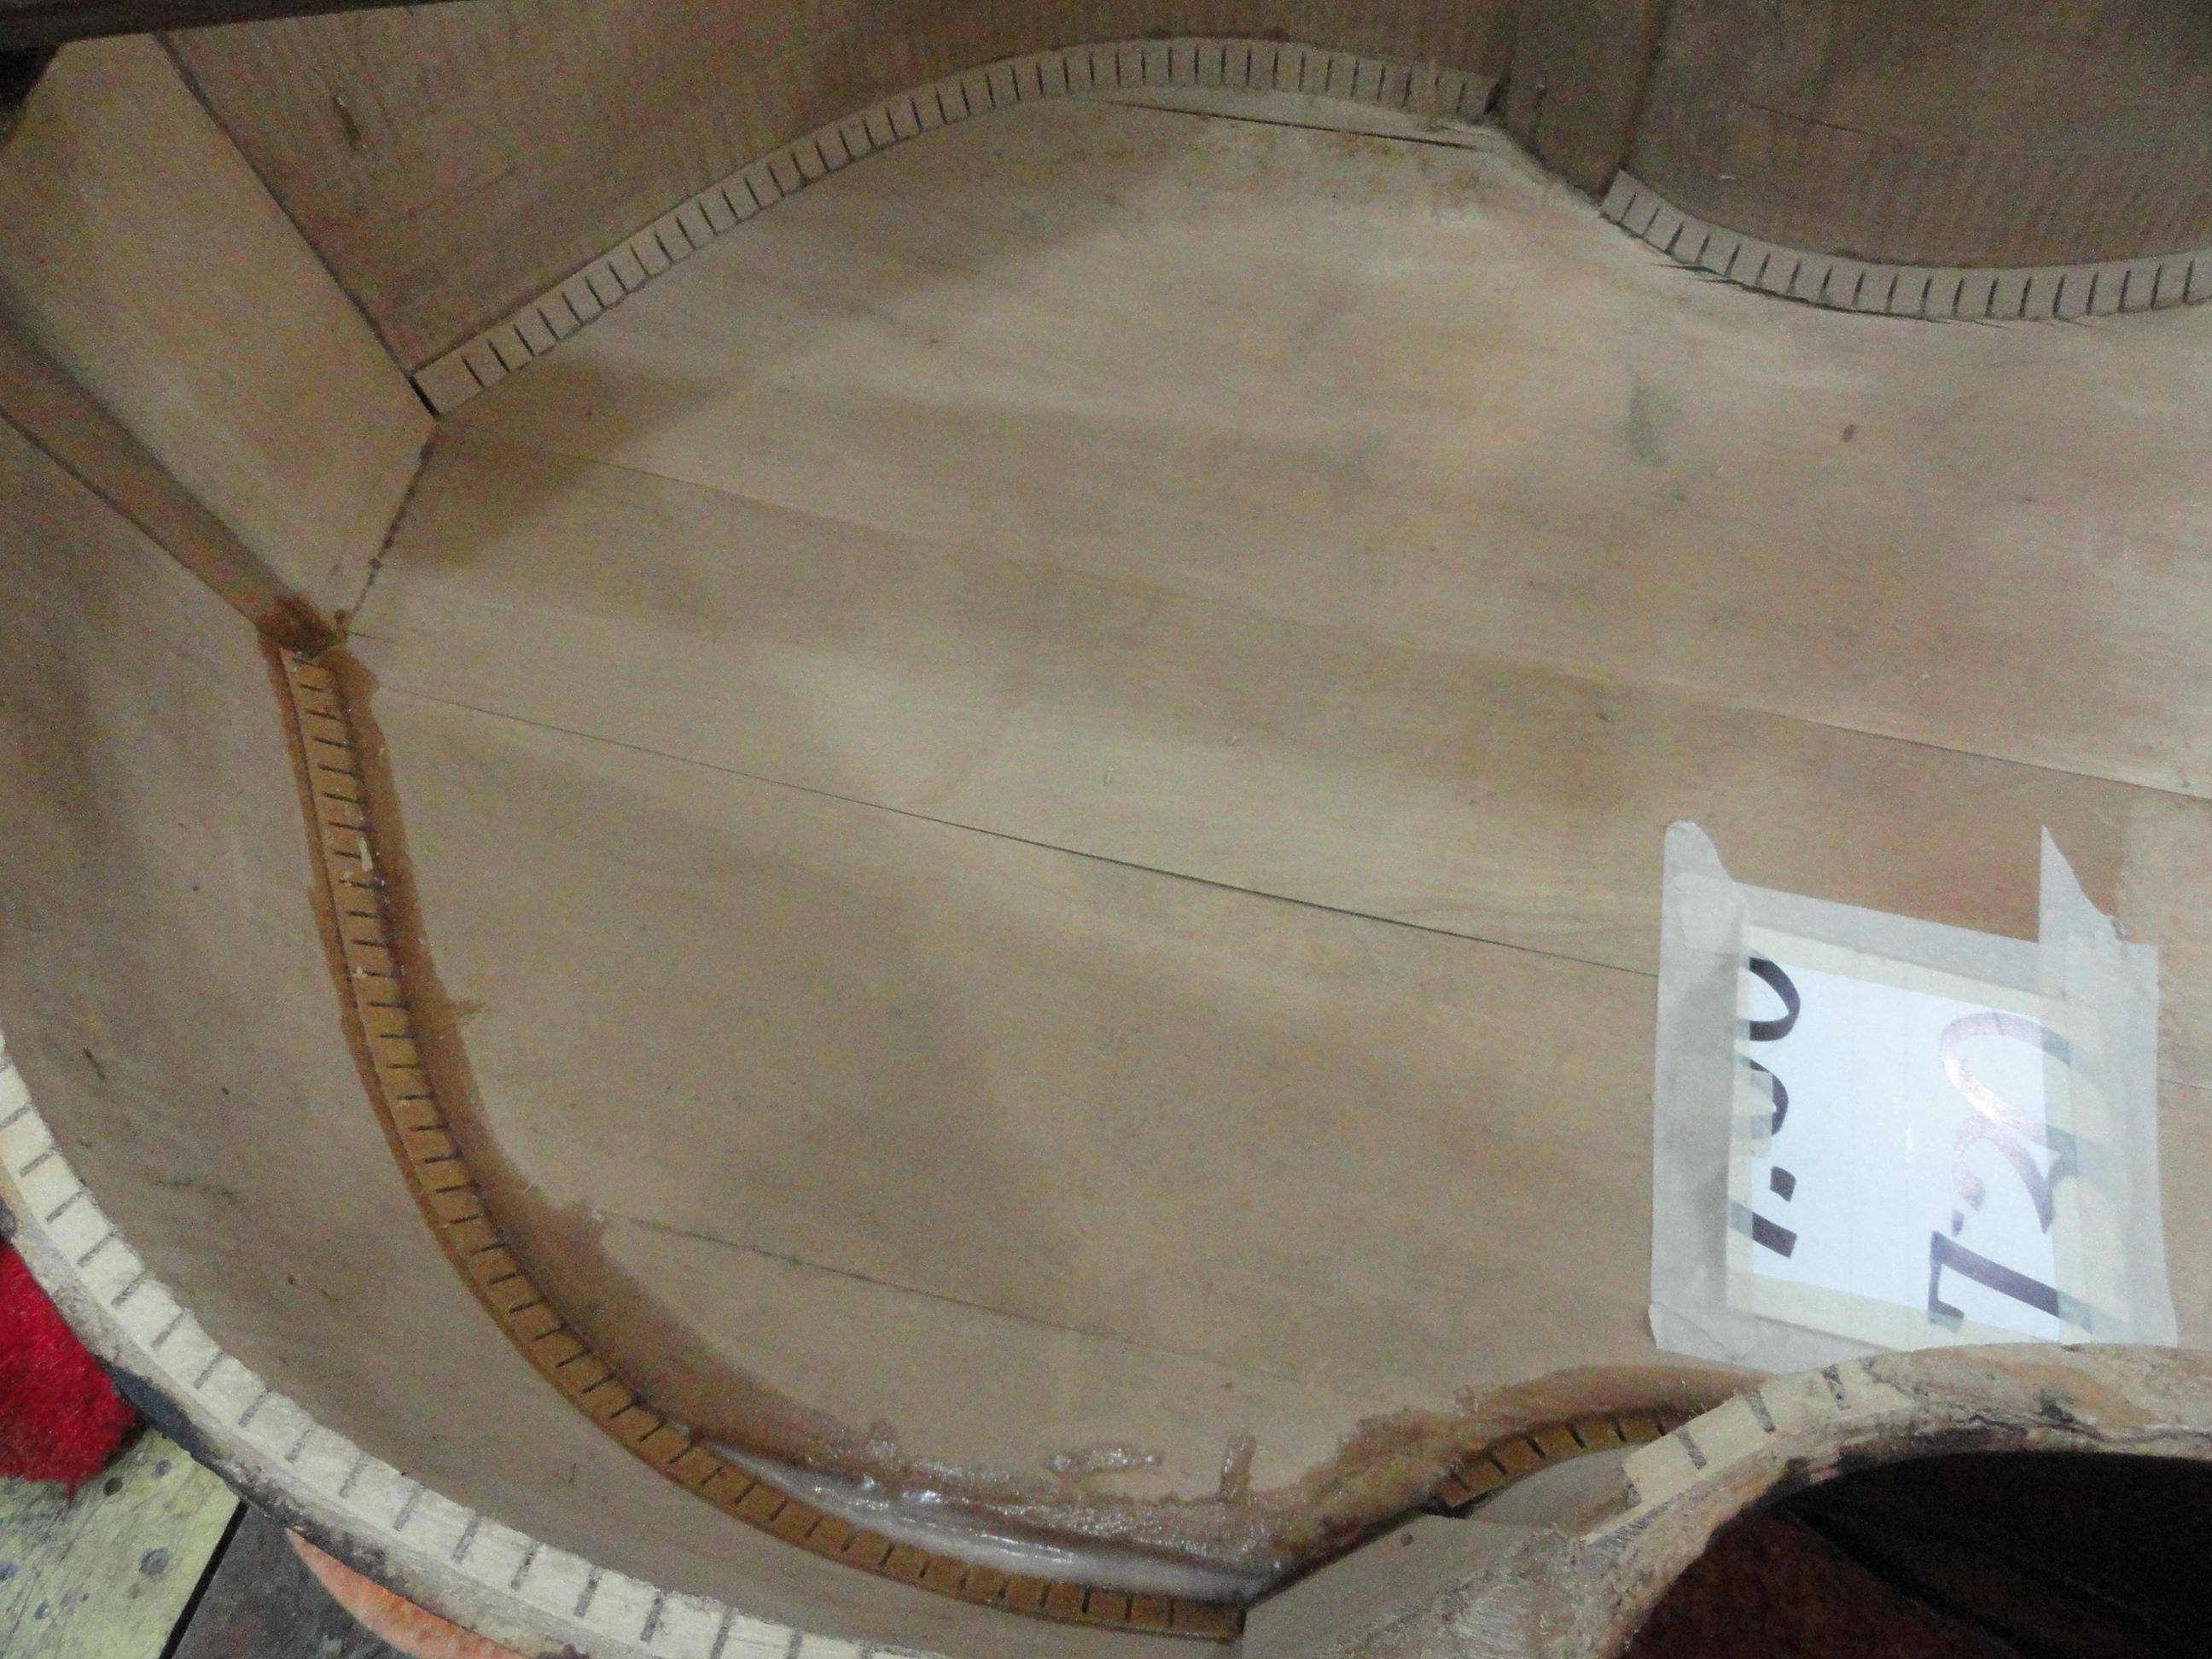
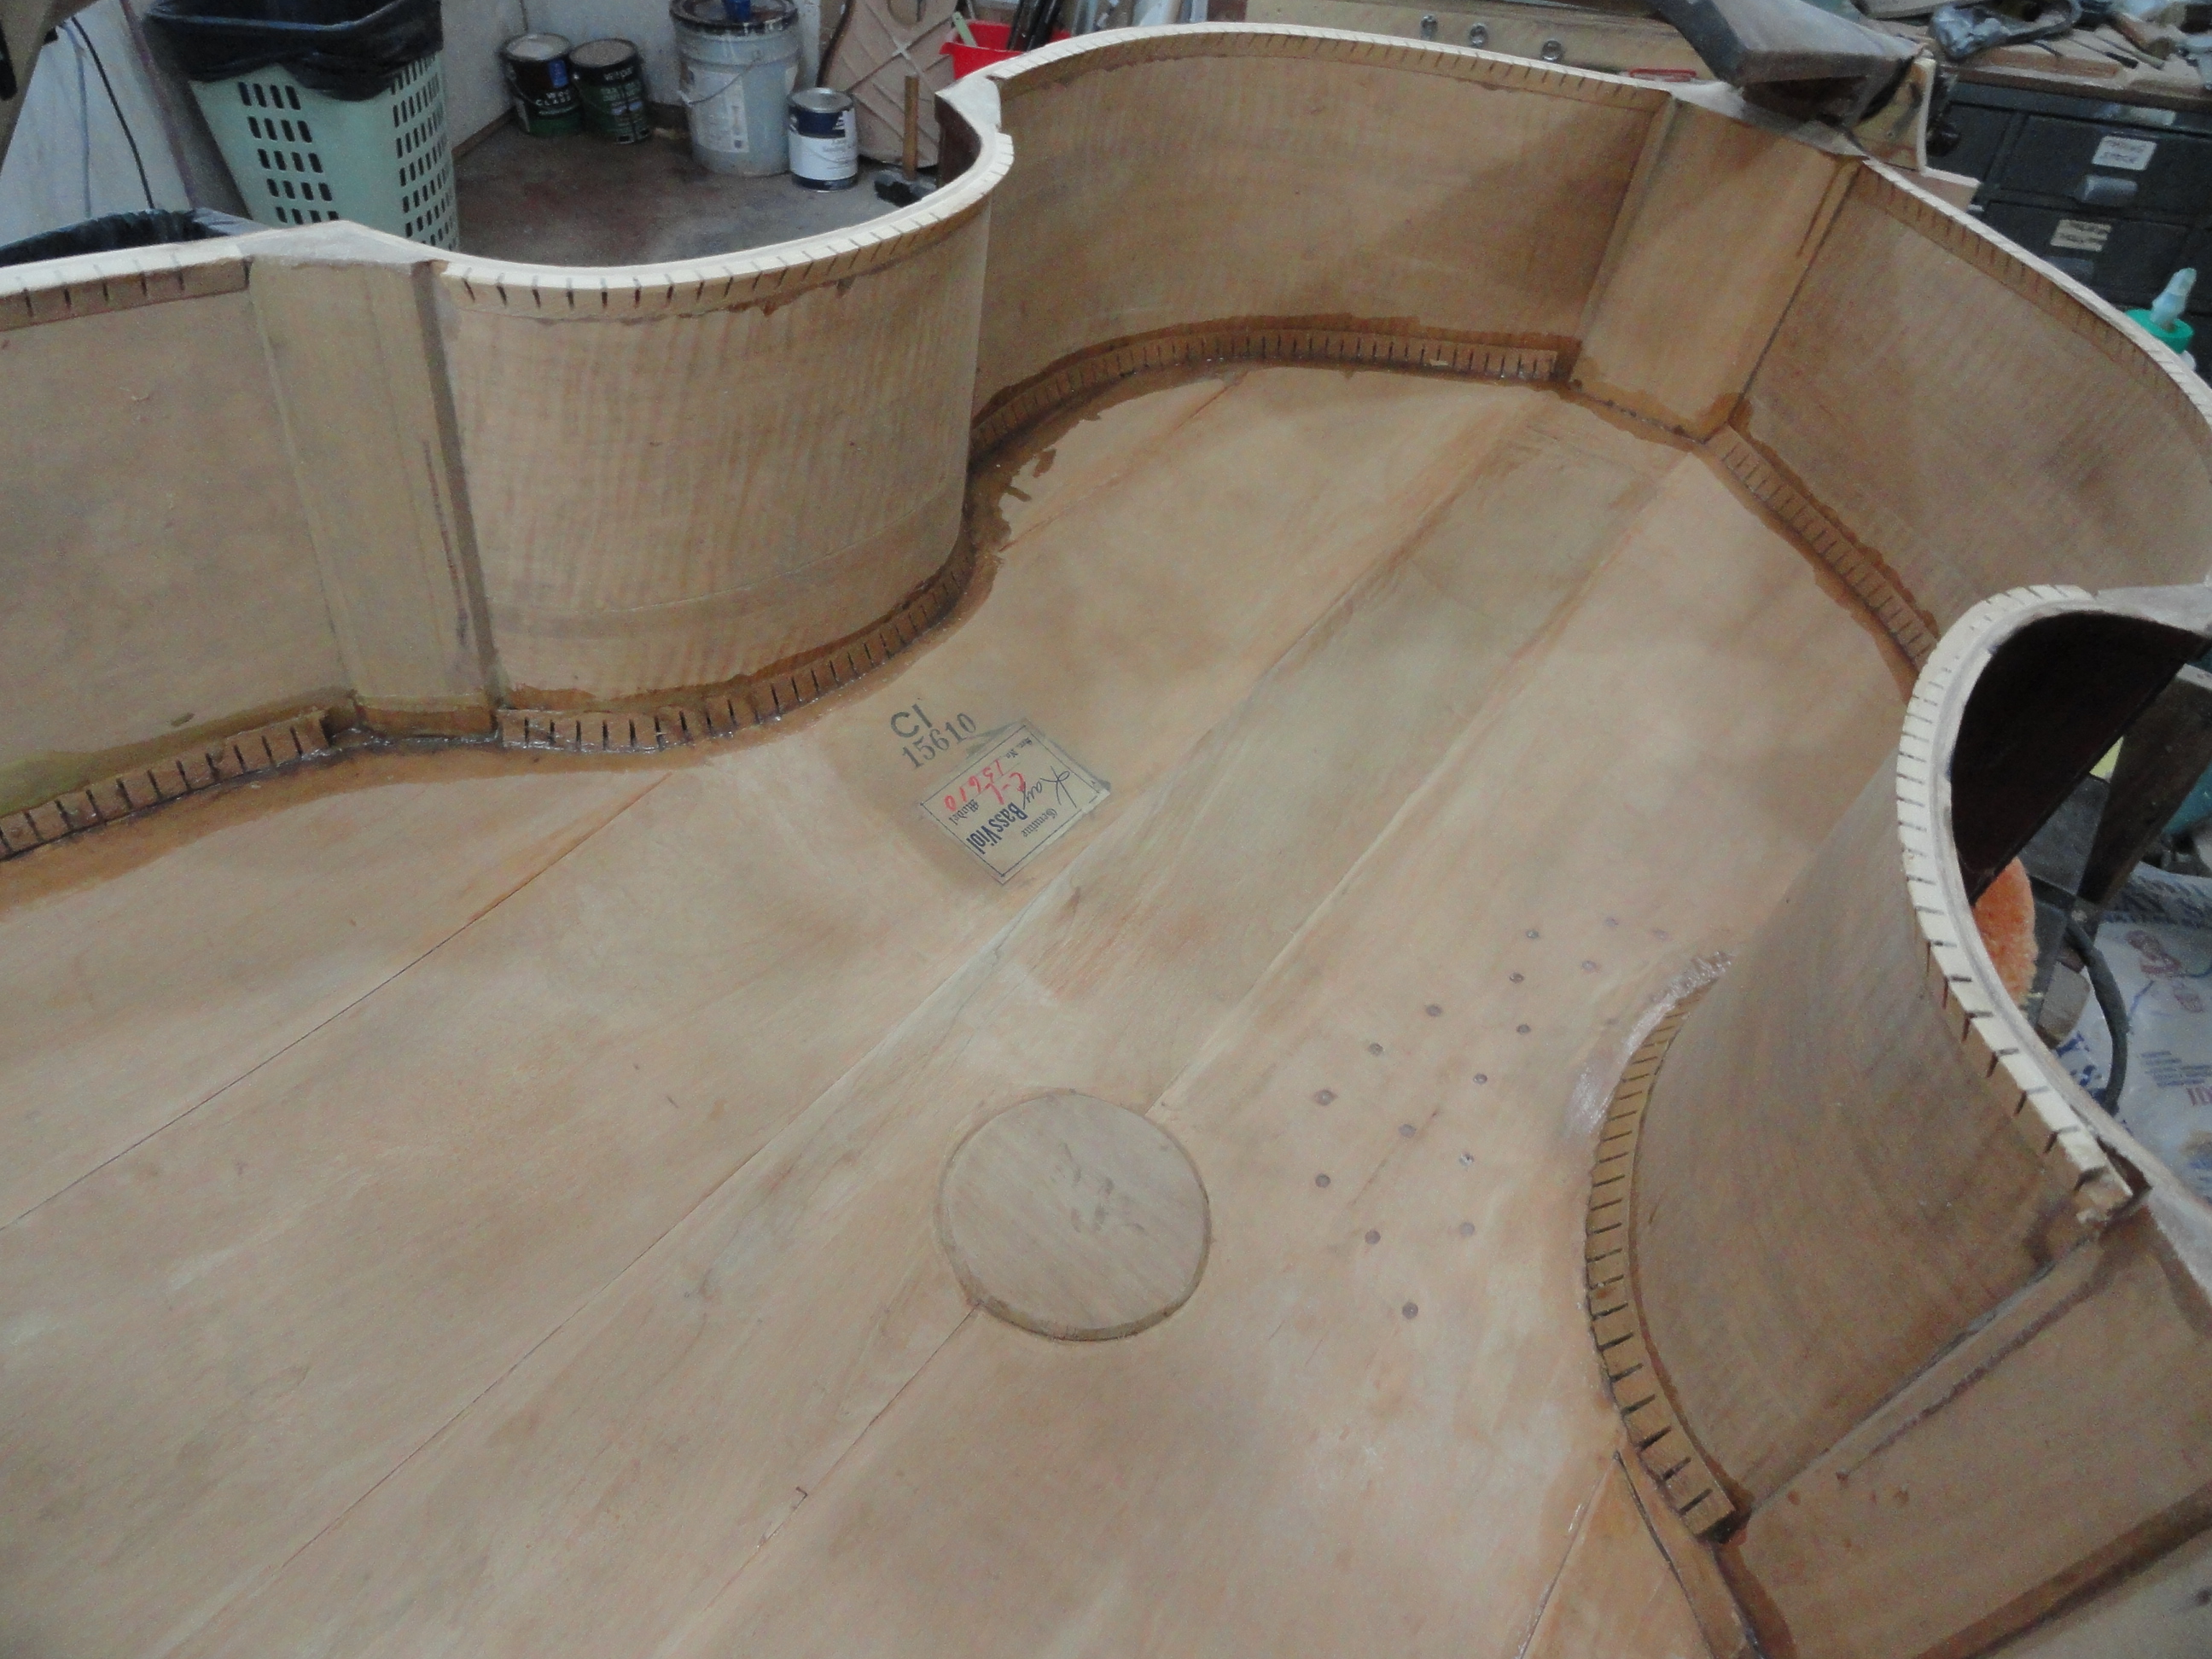
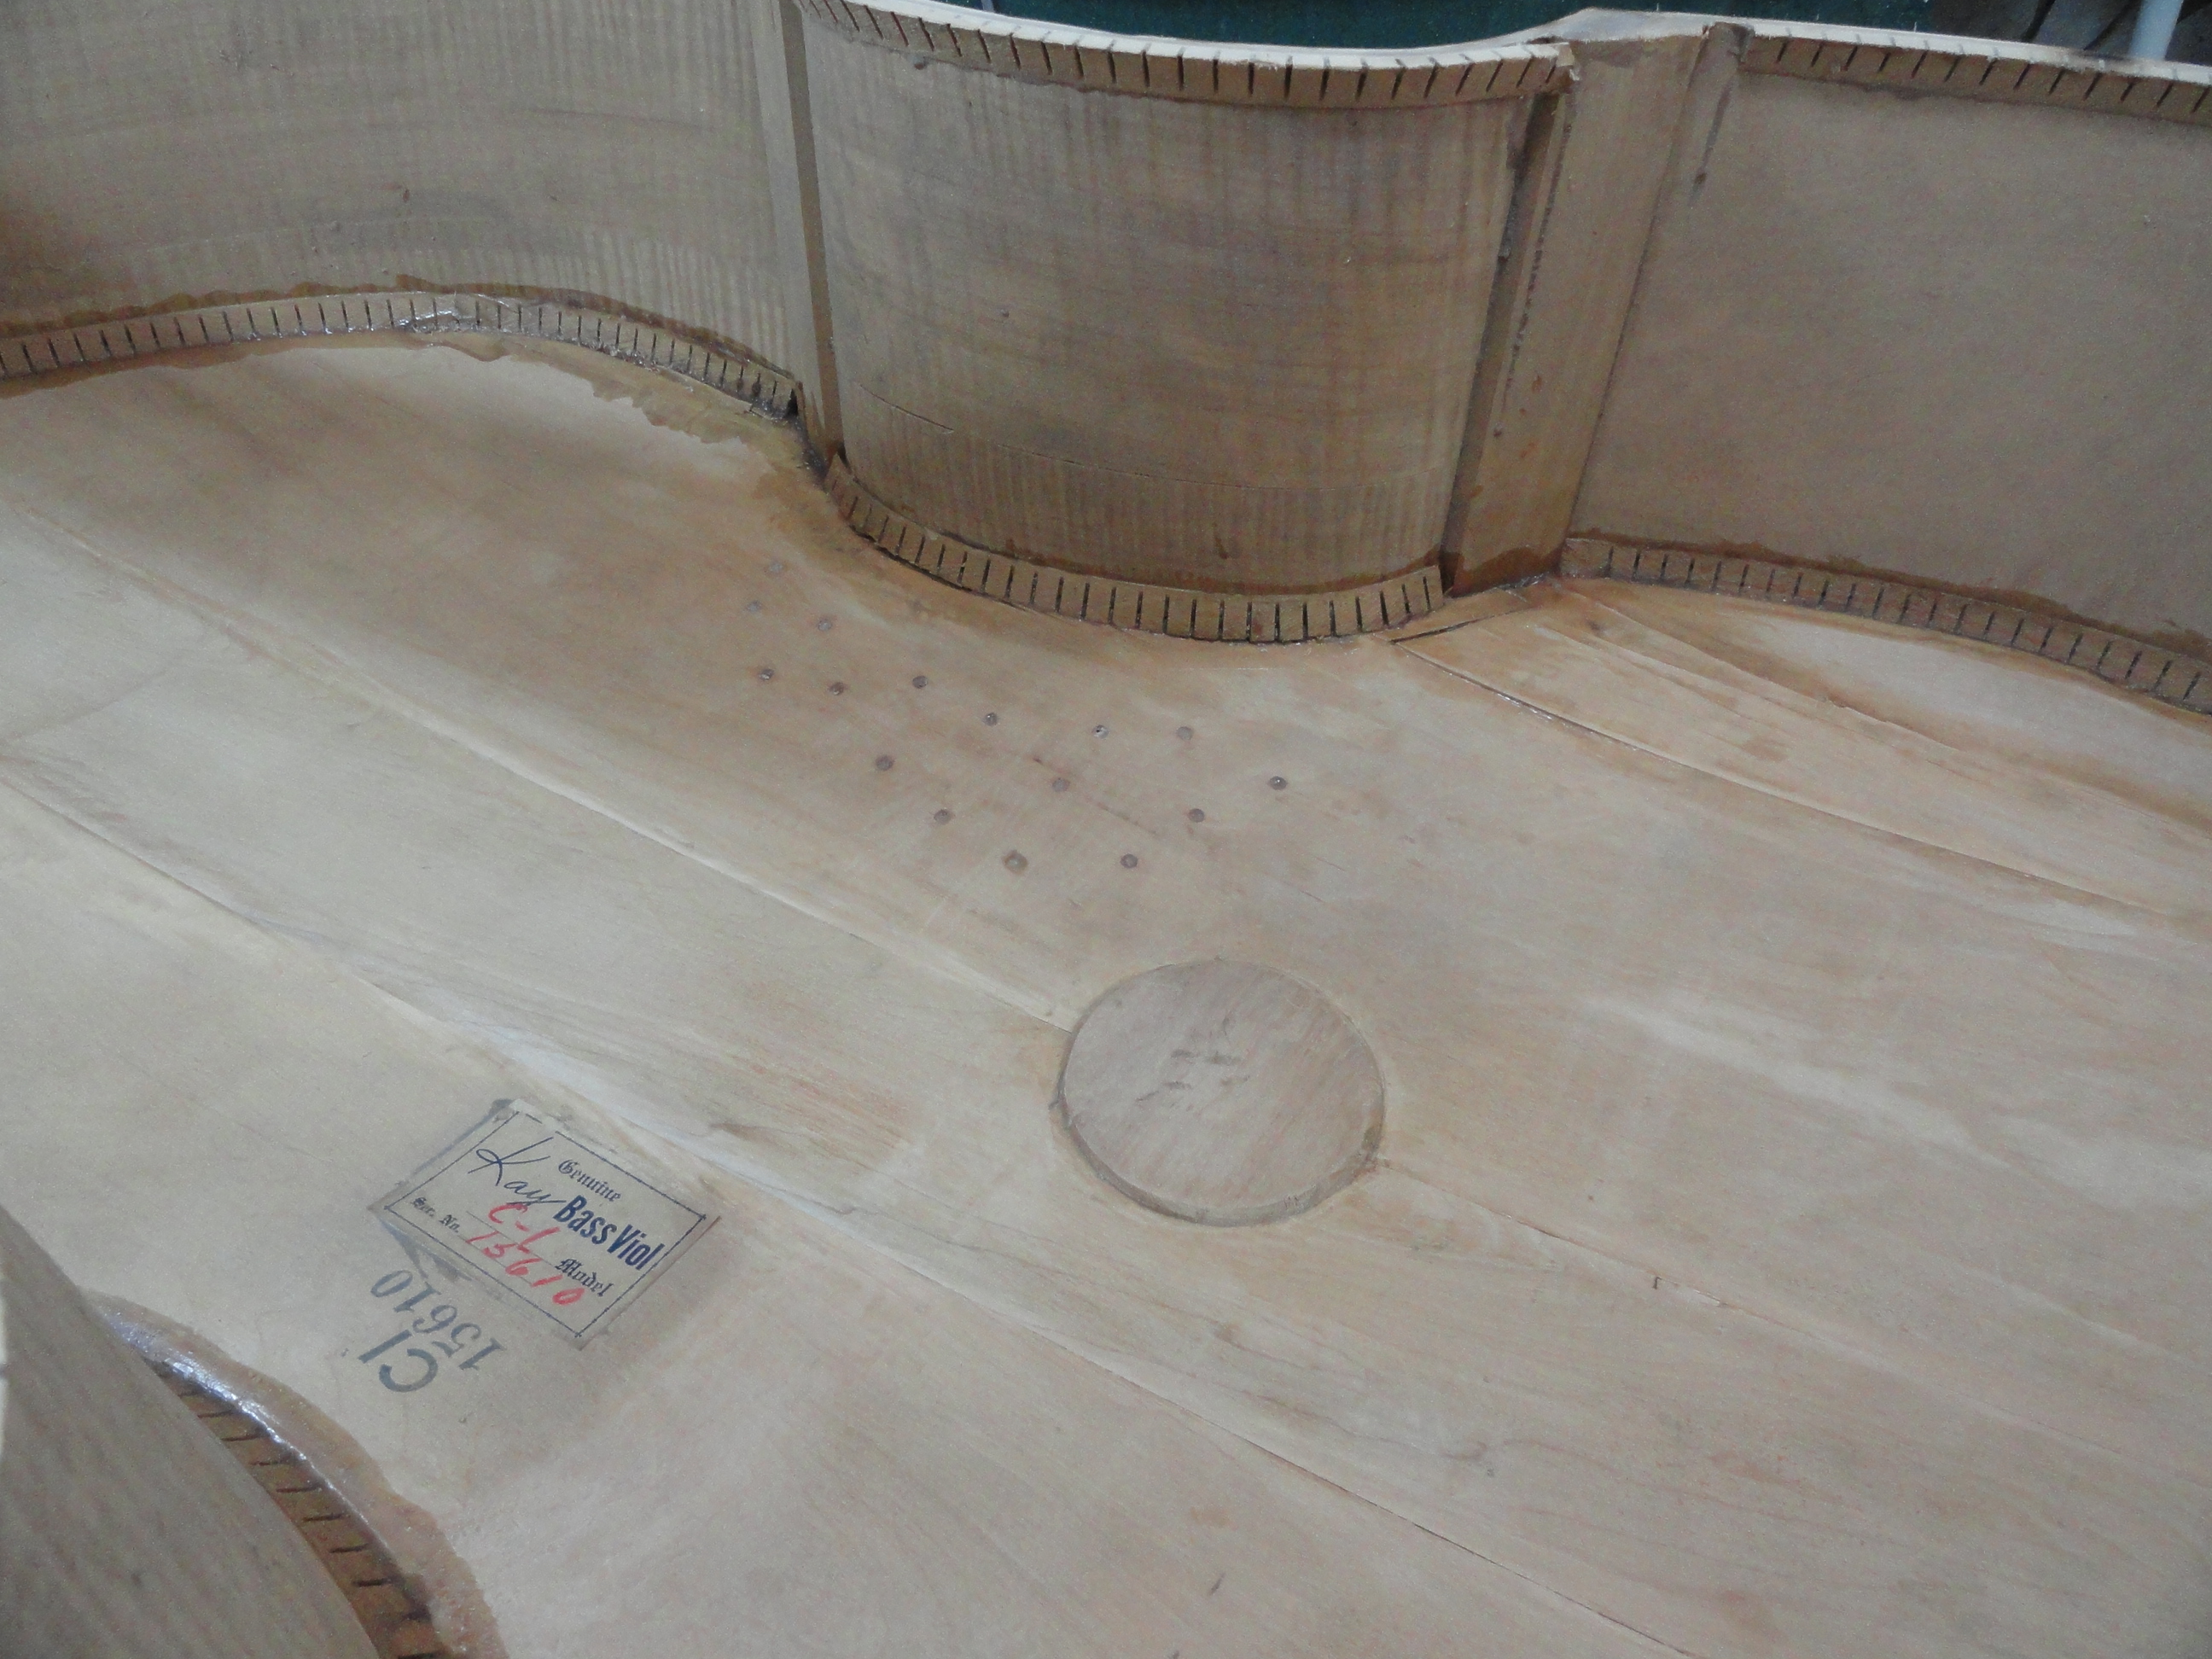
A shot of the inside of the sides and back. Someone had previously attempted a repair and made a mess with glue drippings.
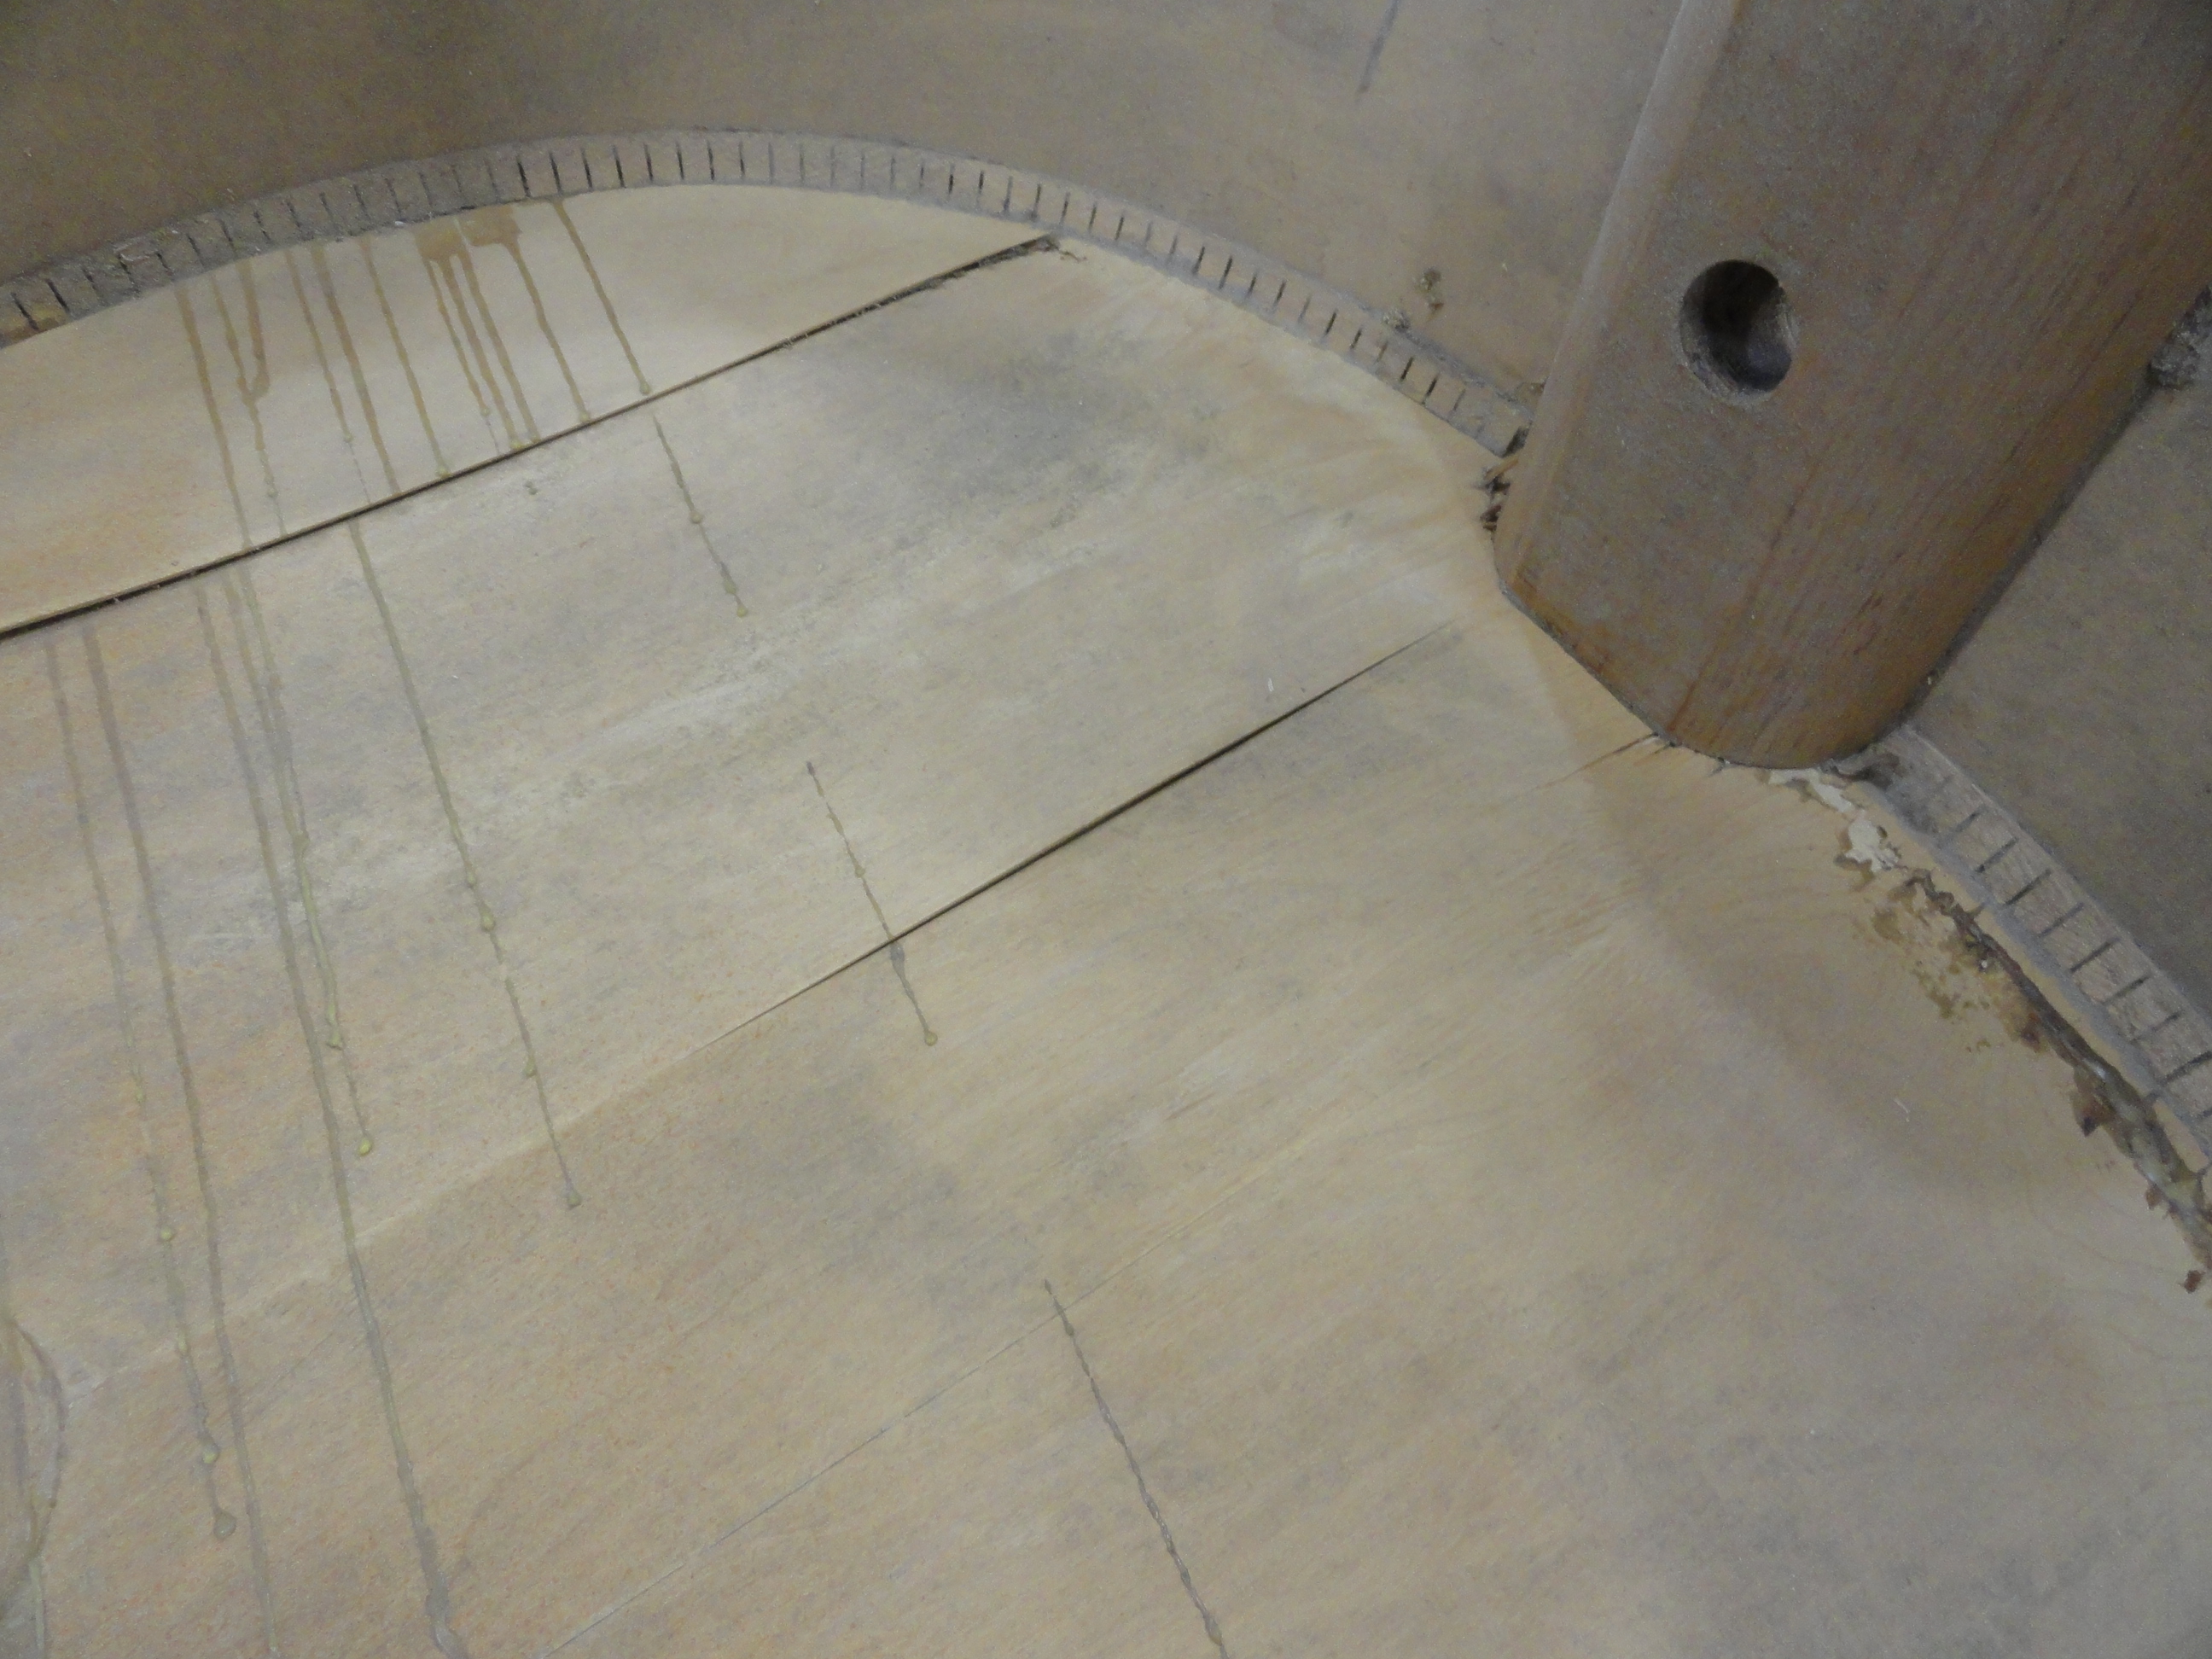
What a mess!
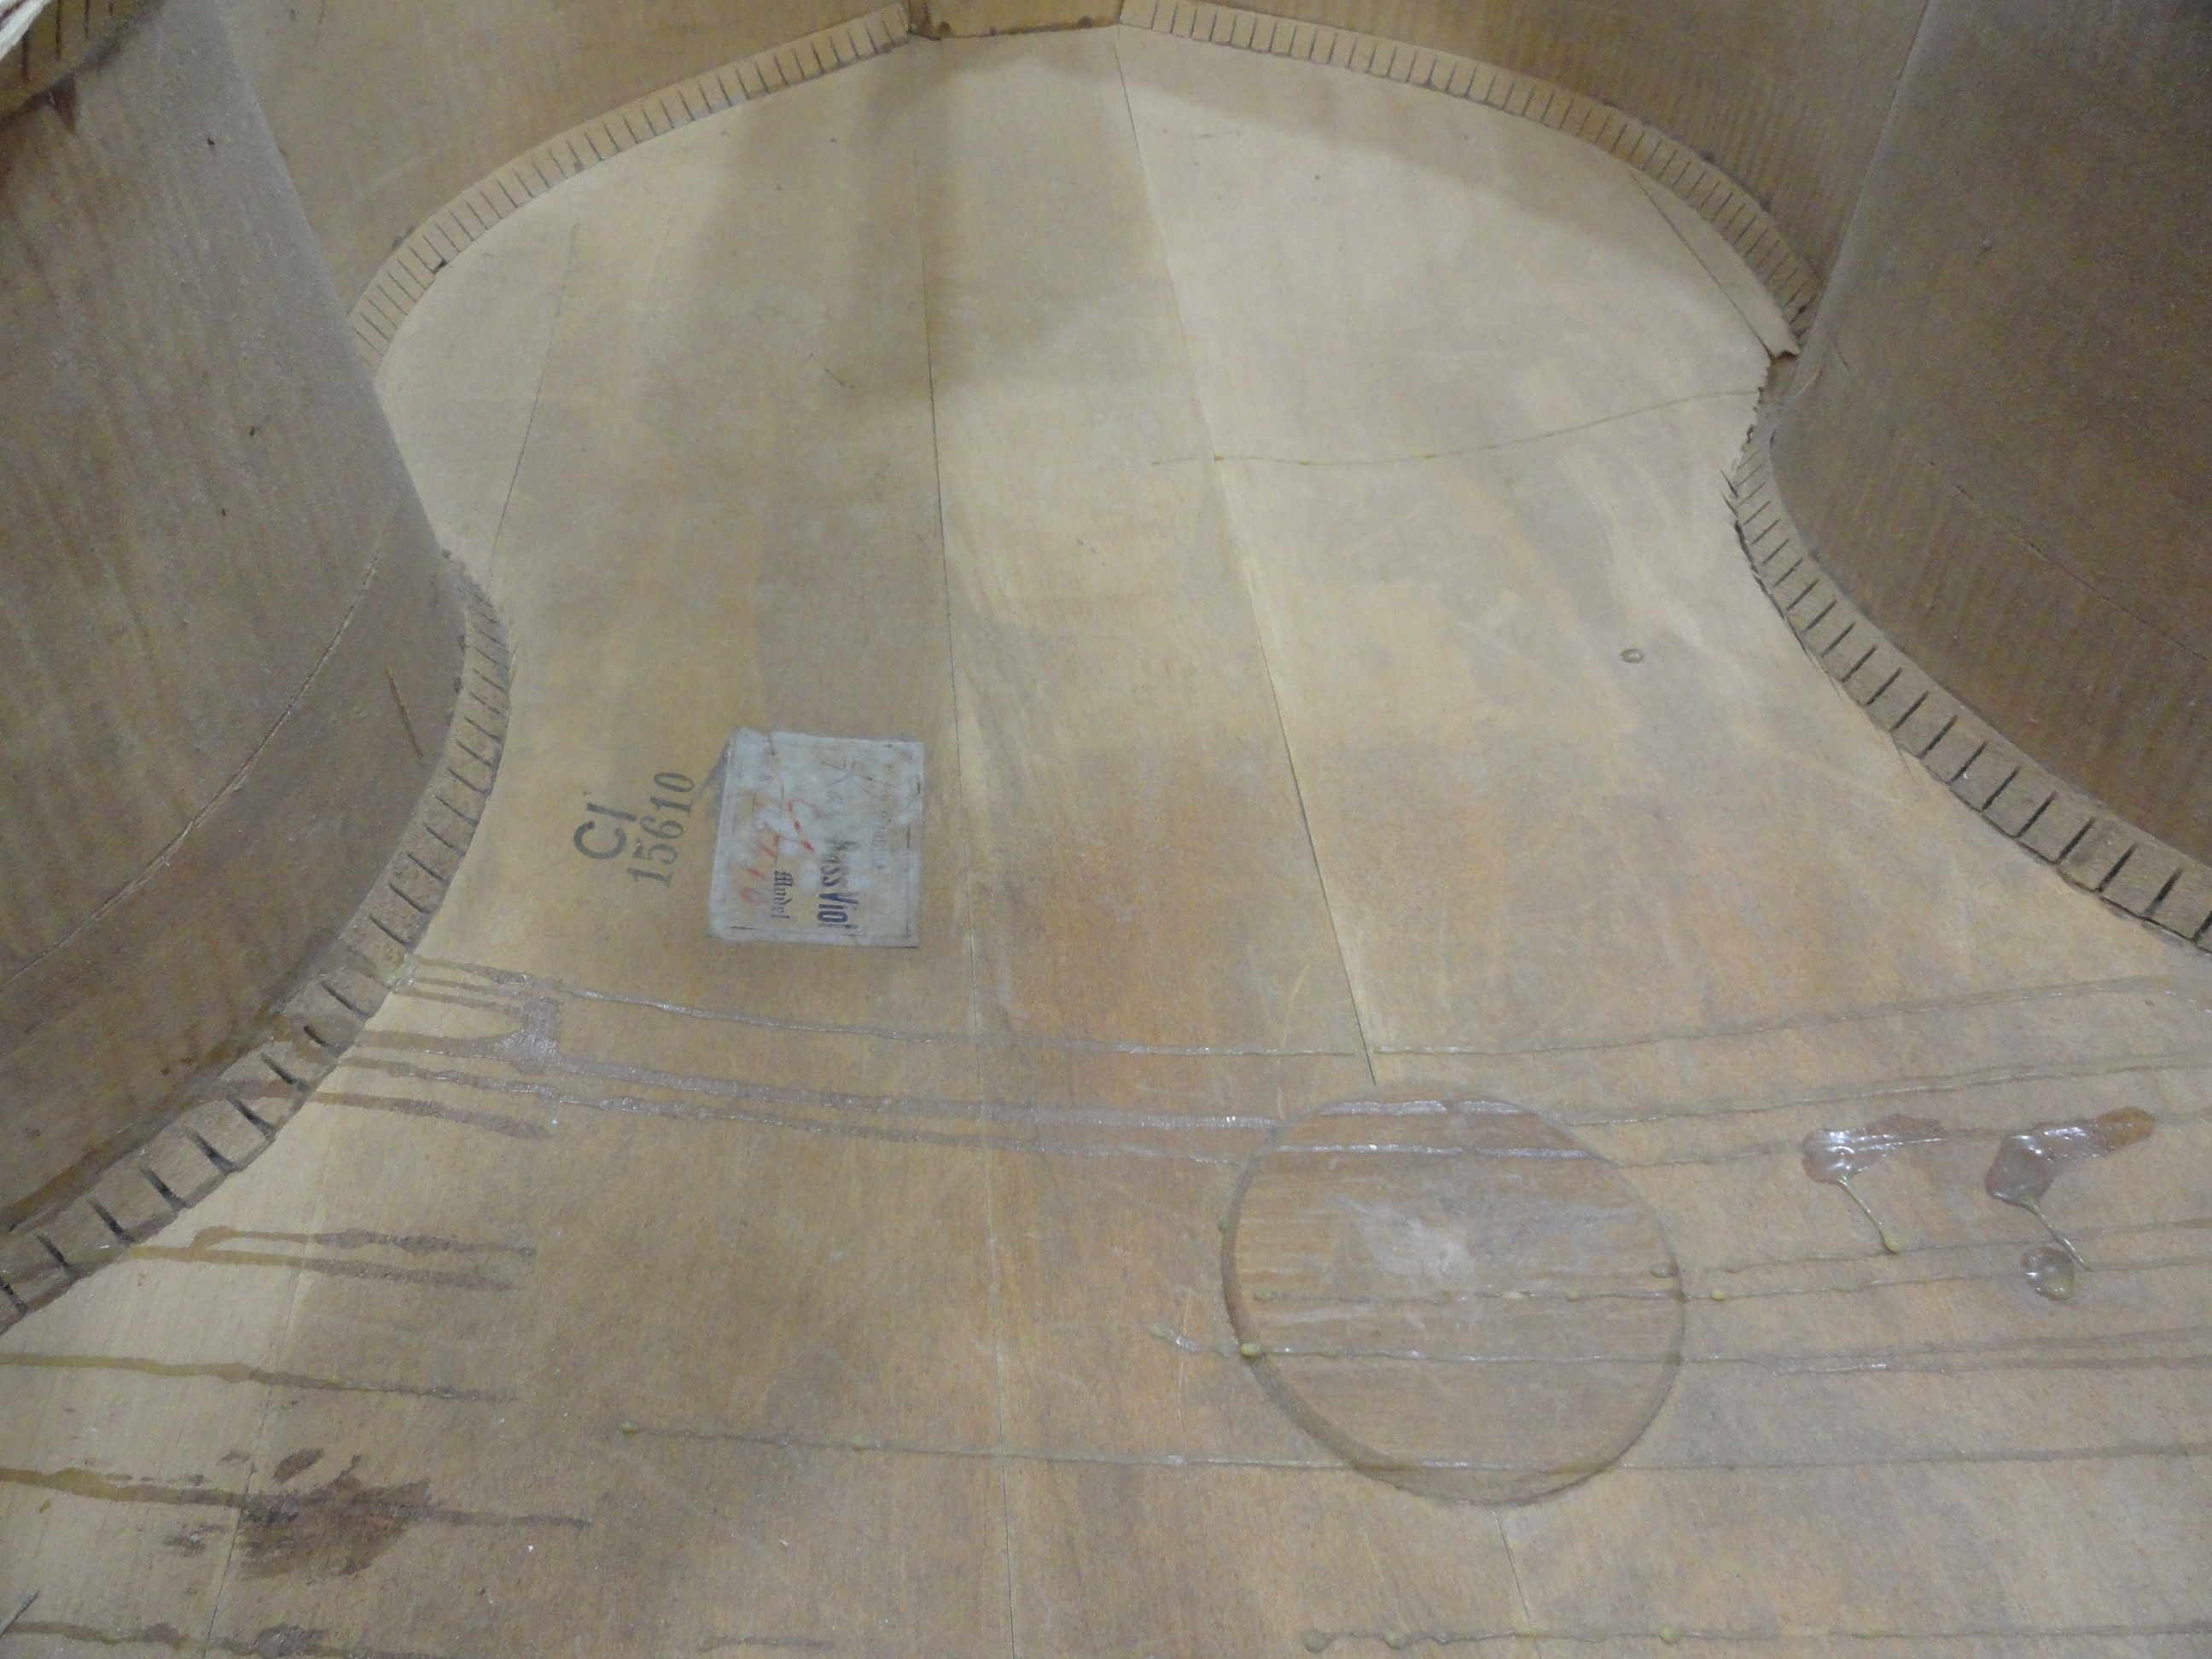
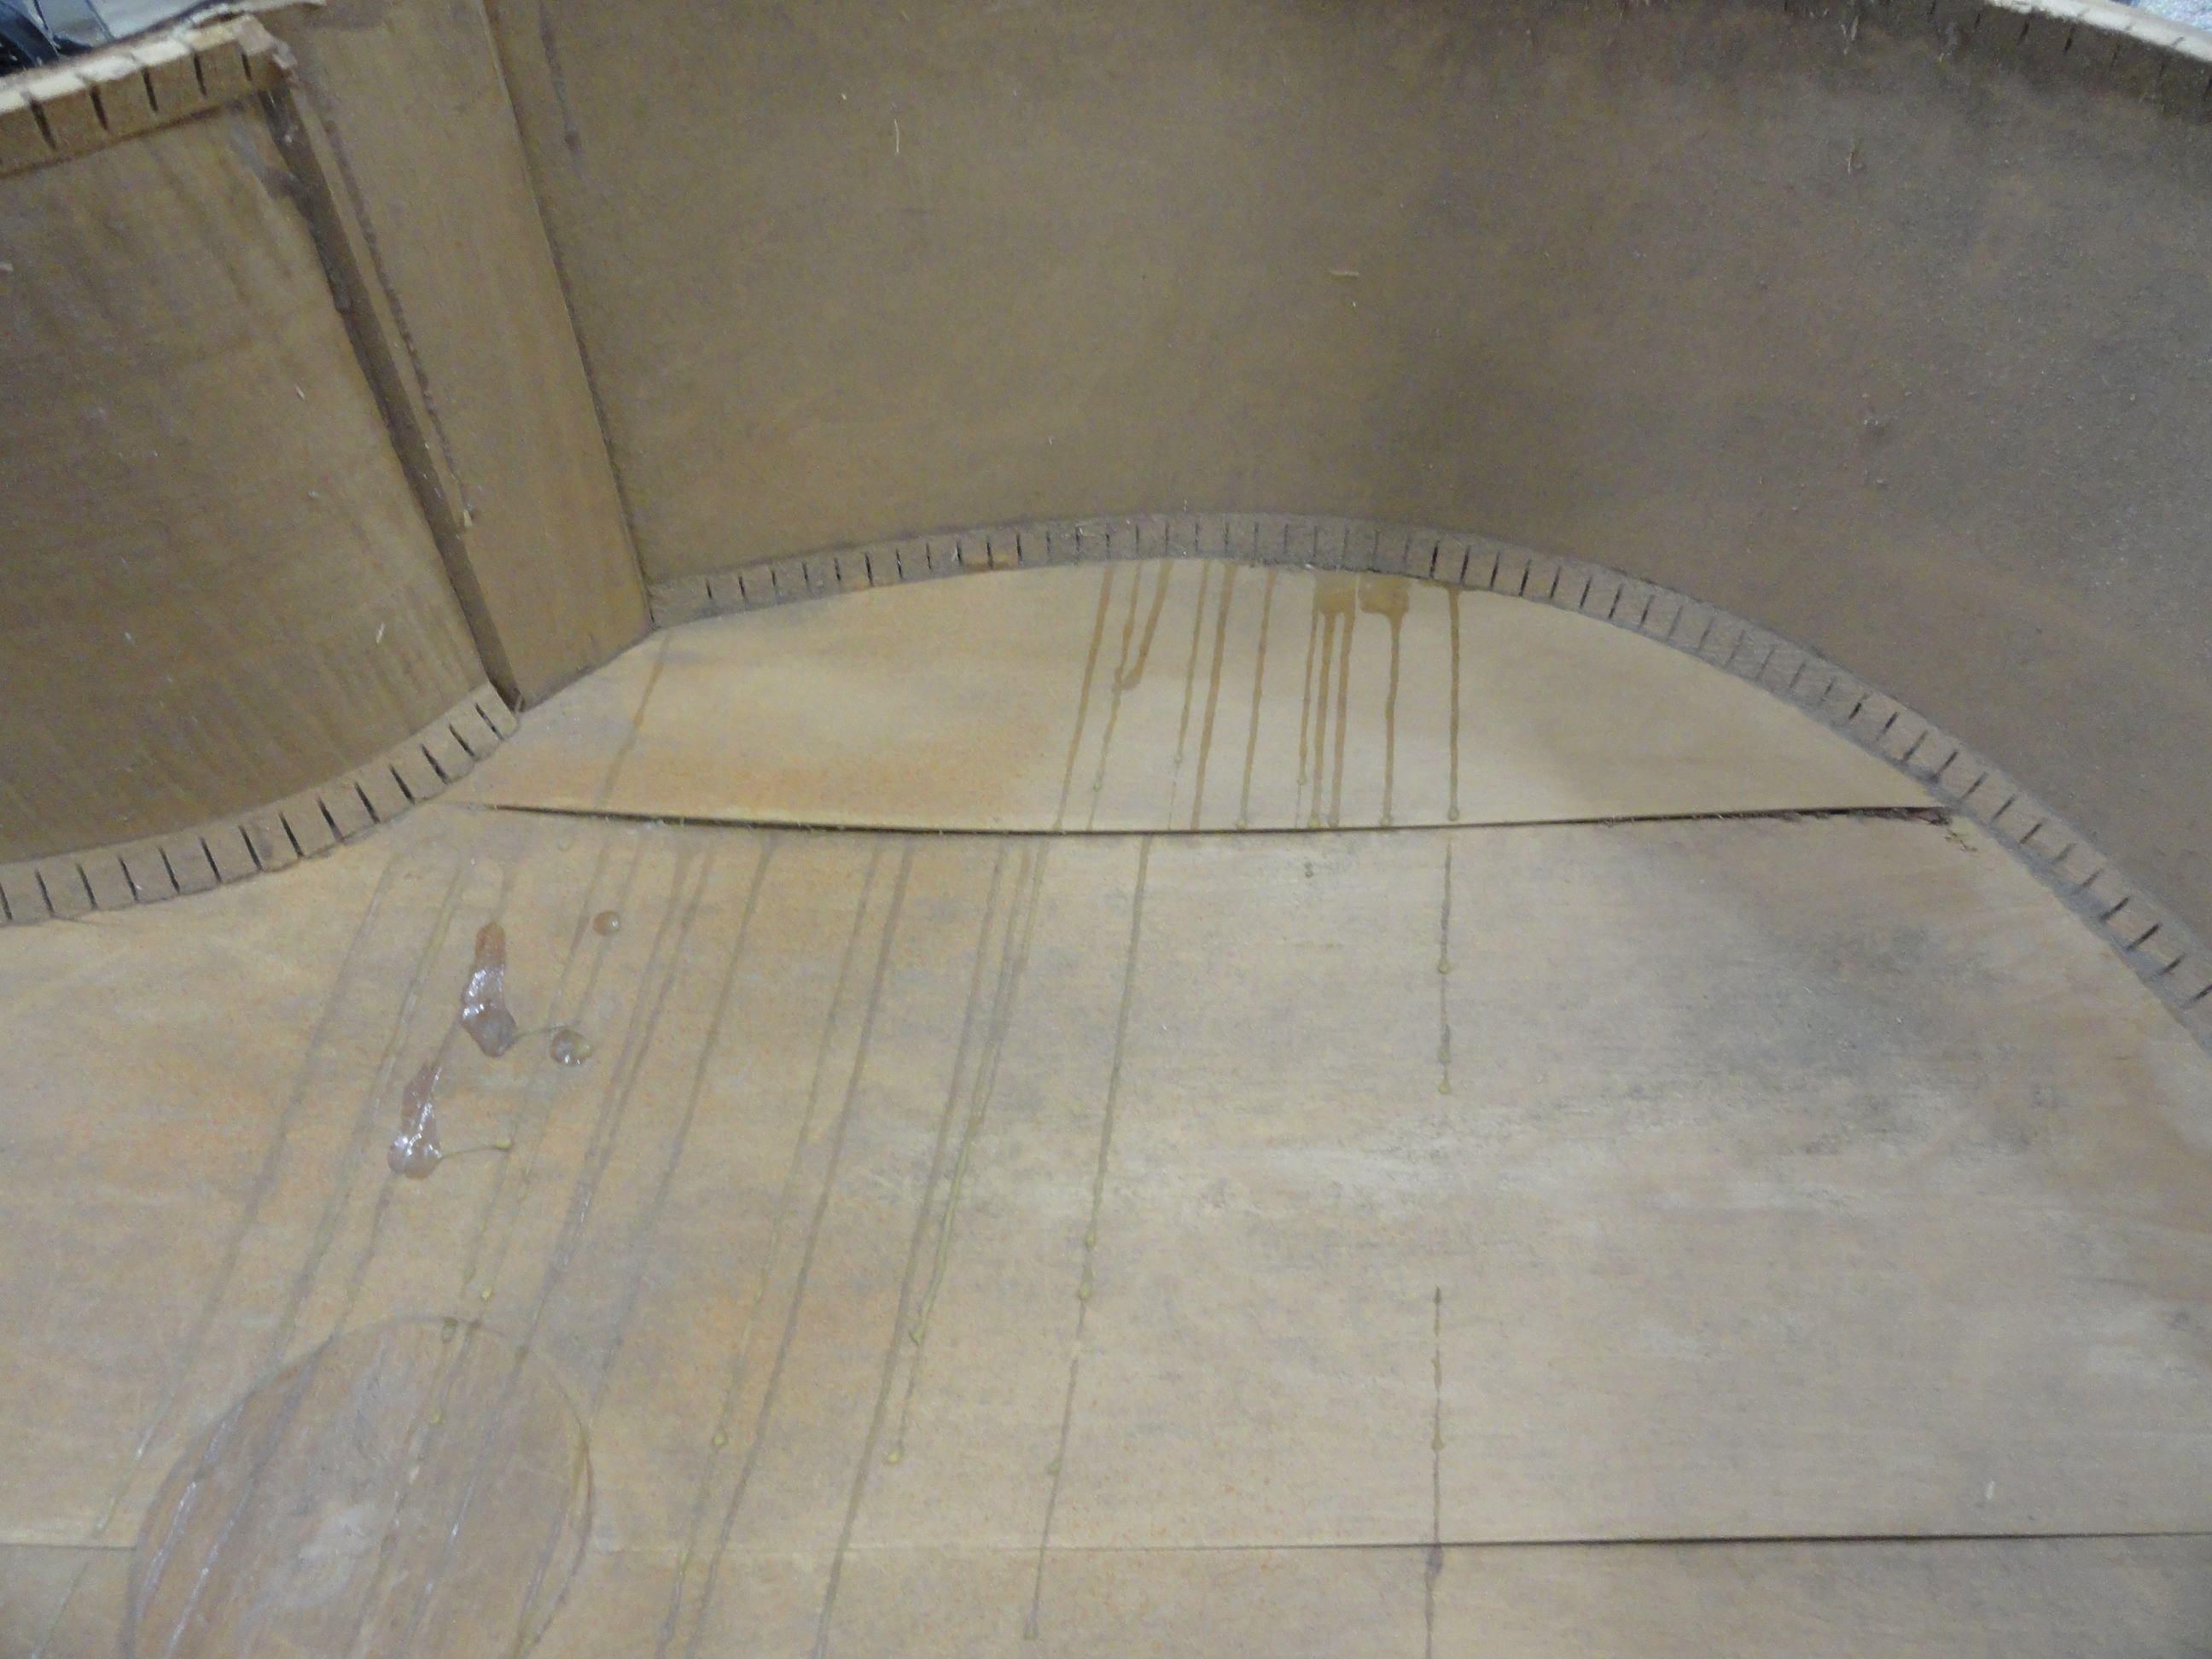
Inside the back.
What a mess.
I covered the Kay sticker and started trying to clean the glue drippings and apply some glue to the areas where it was needed. I used some waterproof glue on these areas and hide glue to repair the laminations on the top.
Back
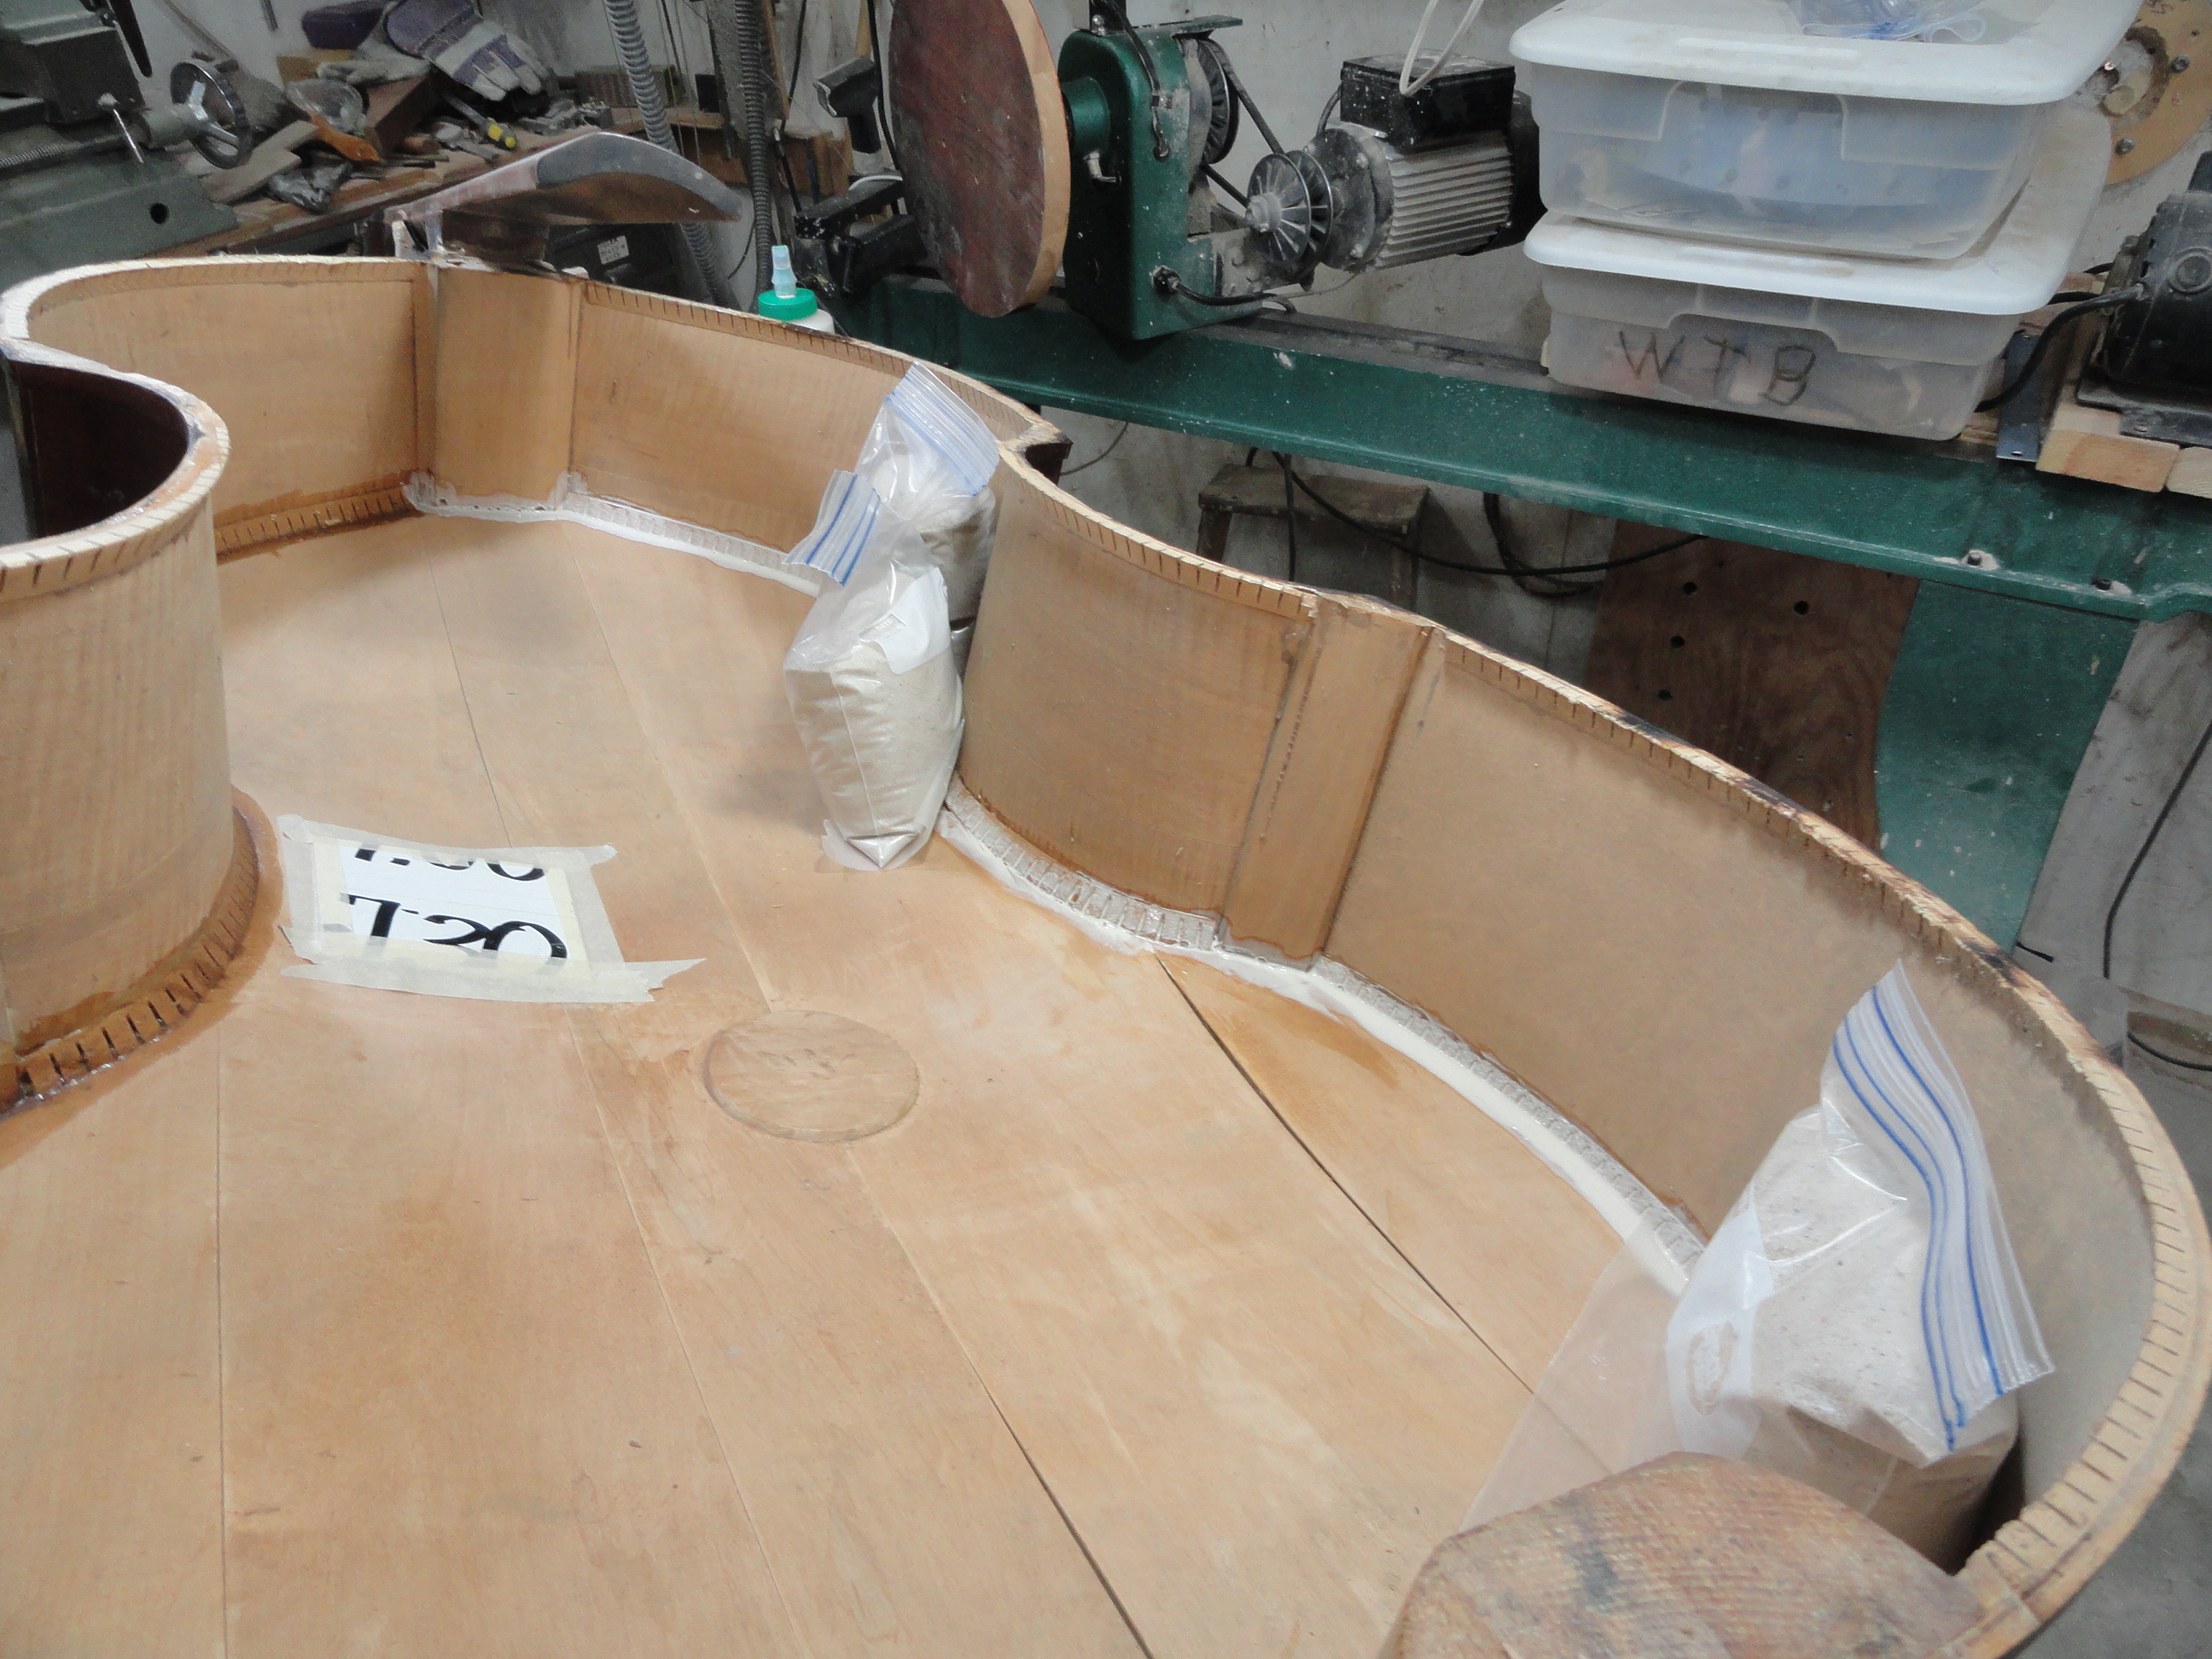
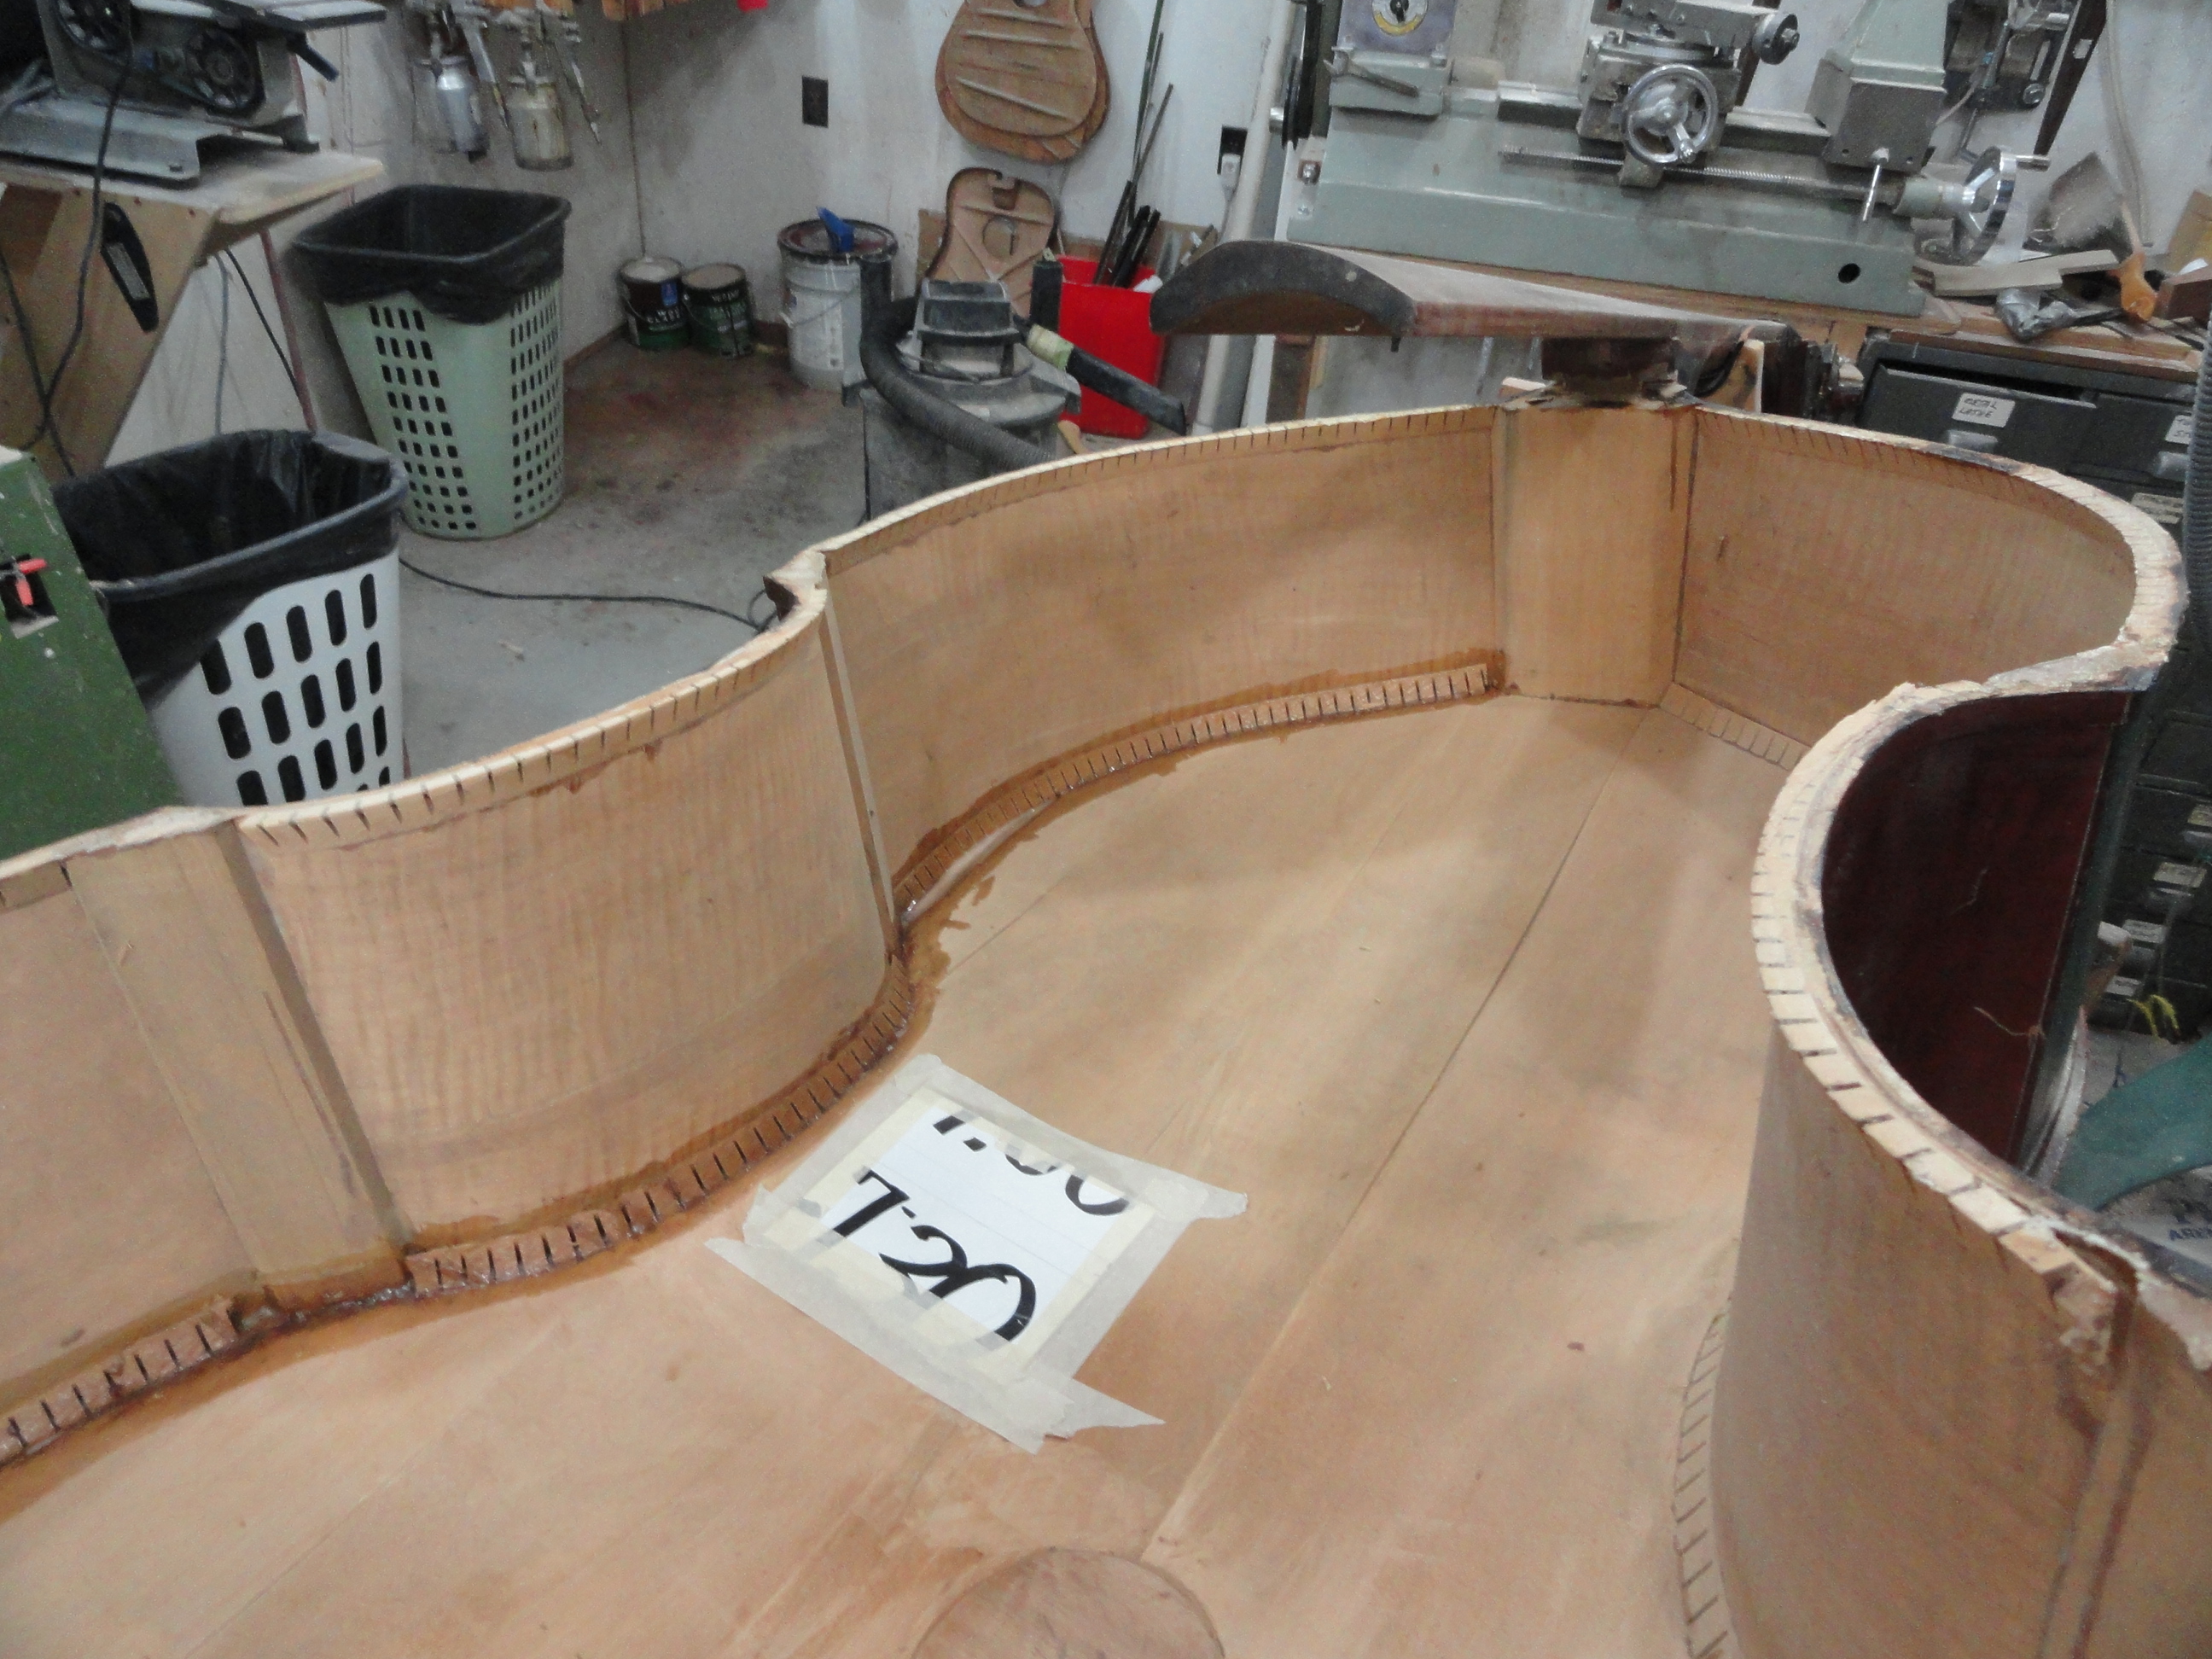
I used everything I could get to try to get the laminations back together including these bags of sand.
This picture shows how badly this back was de-laminated.
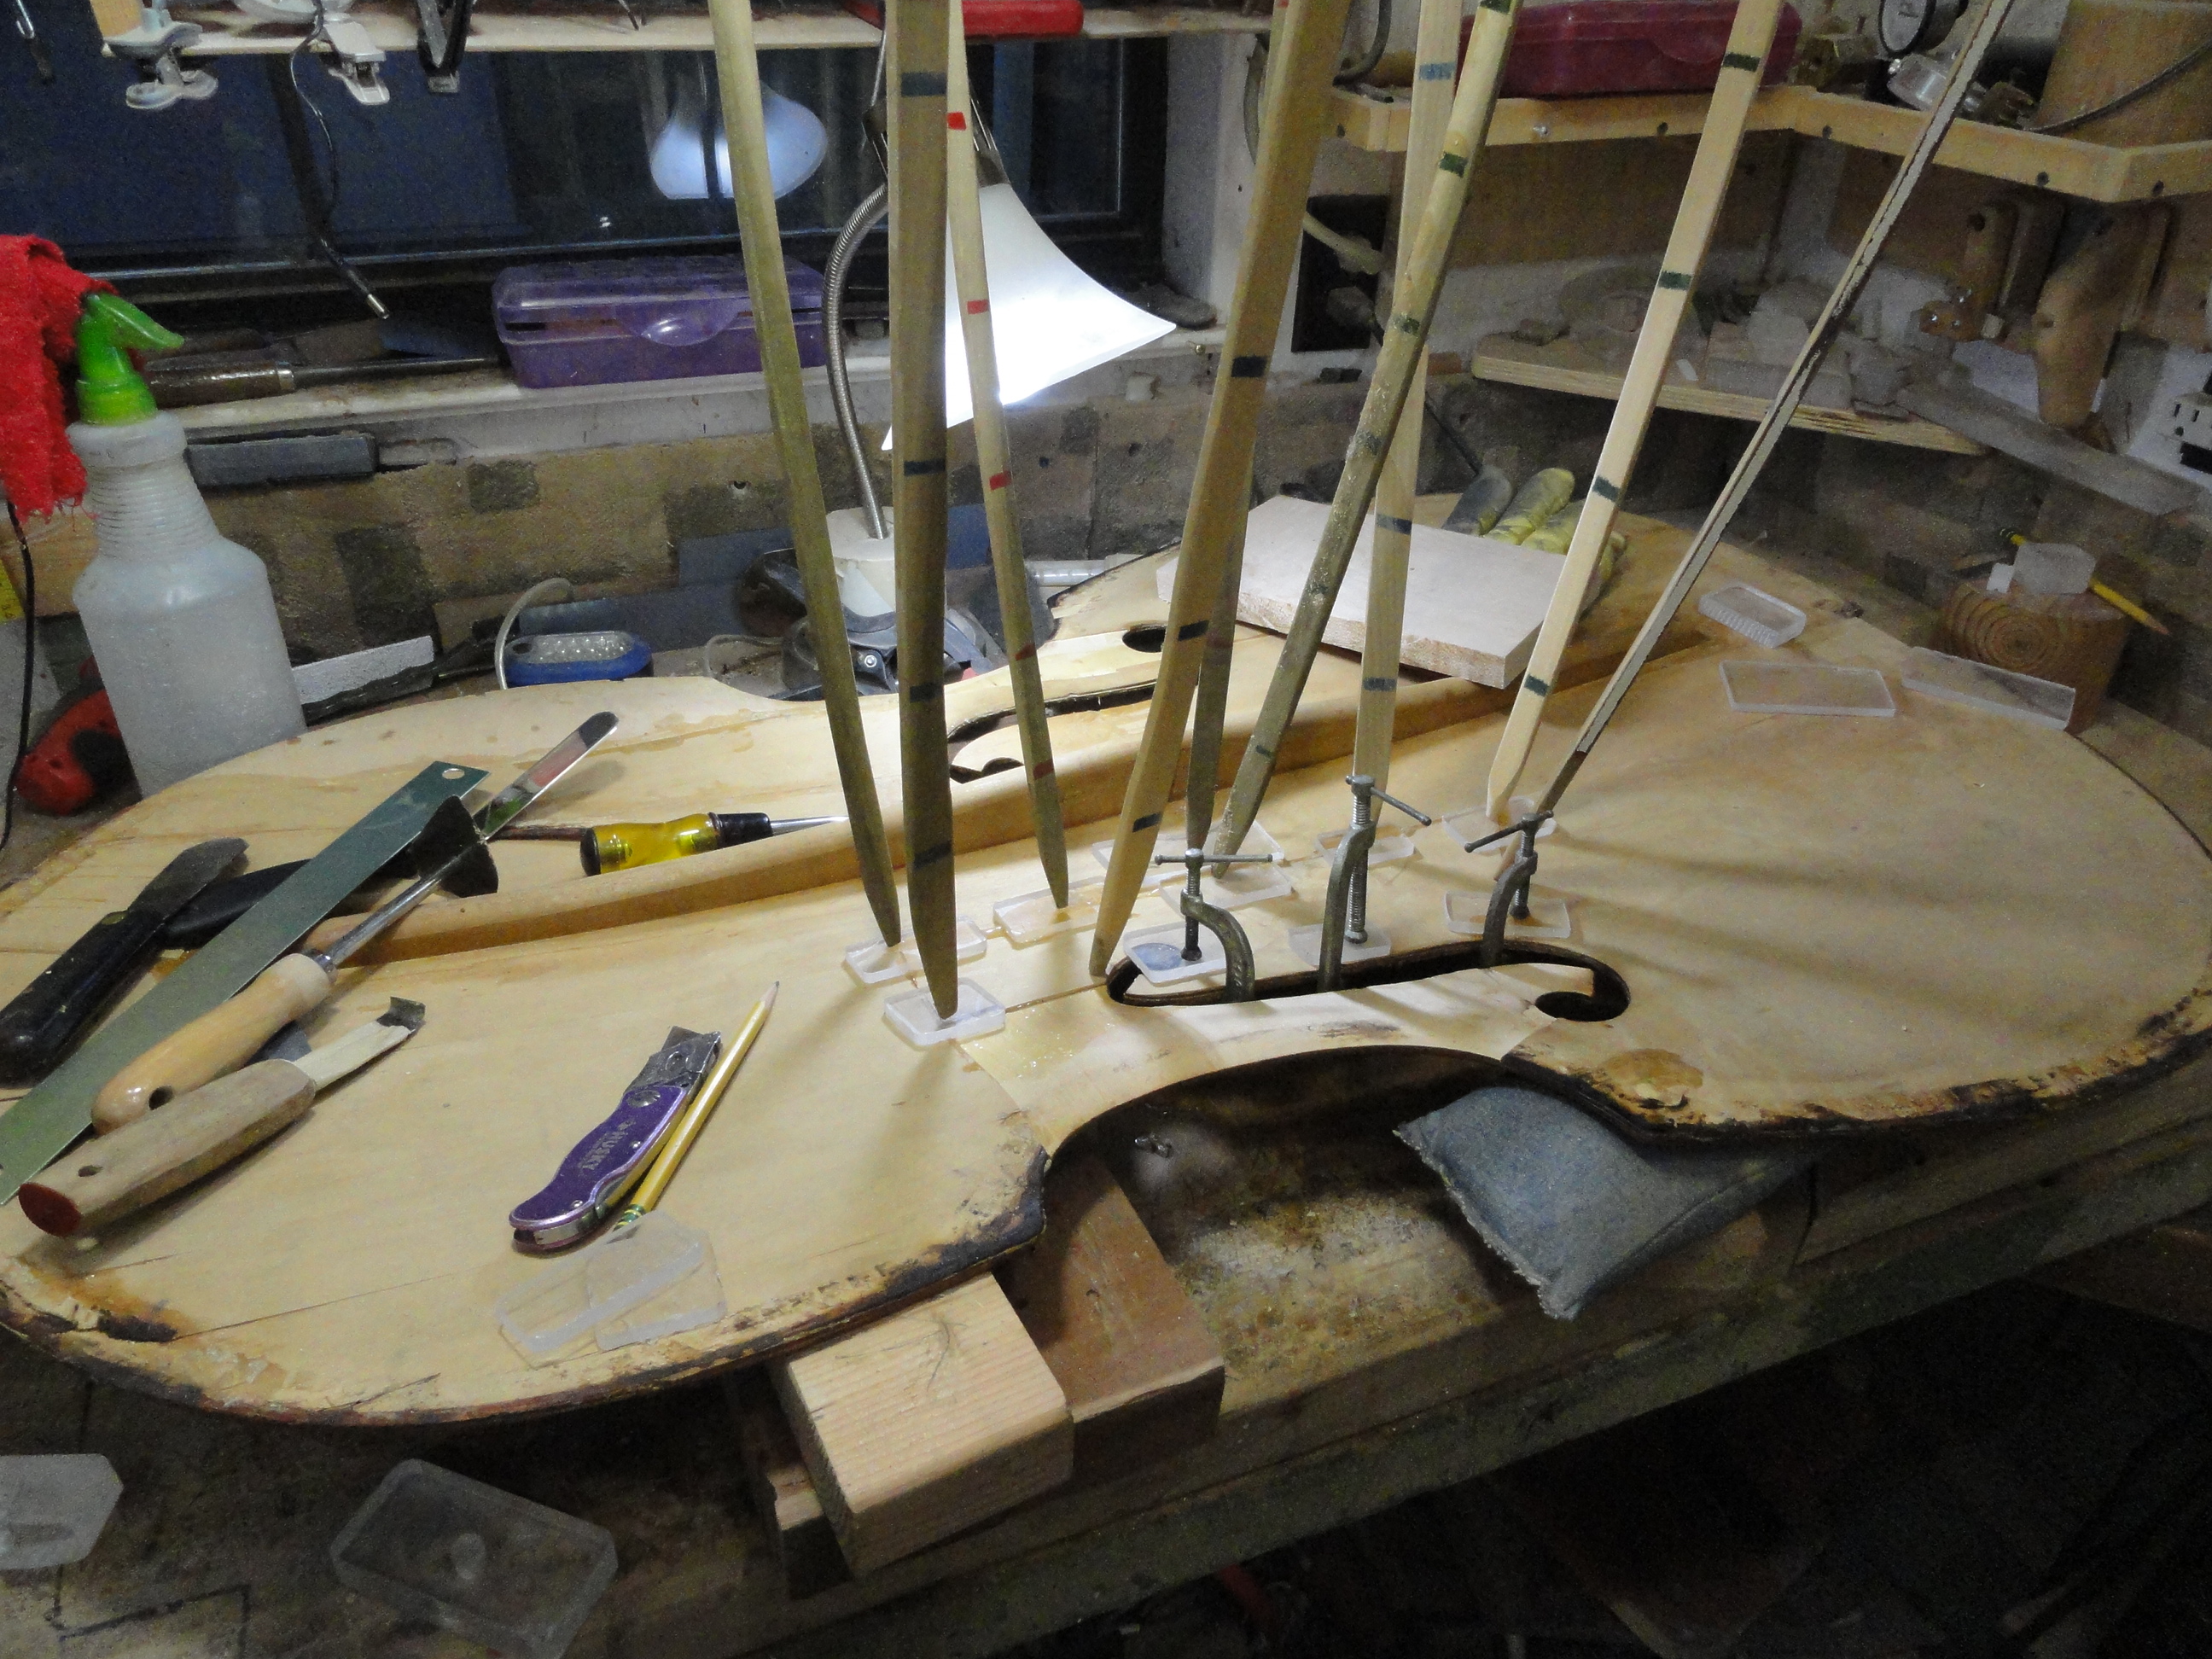
I inserted glue into the area and used some go-bars to hold pressure on these areas.
More pressure. Some pvc pipe was used as a go-bar.
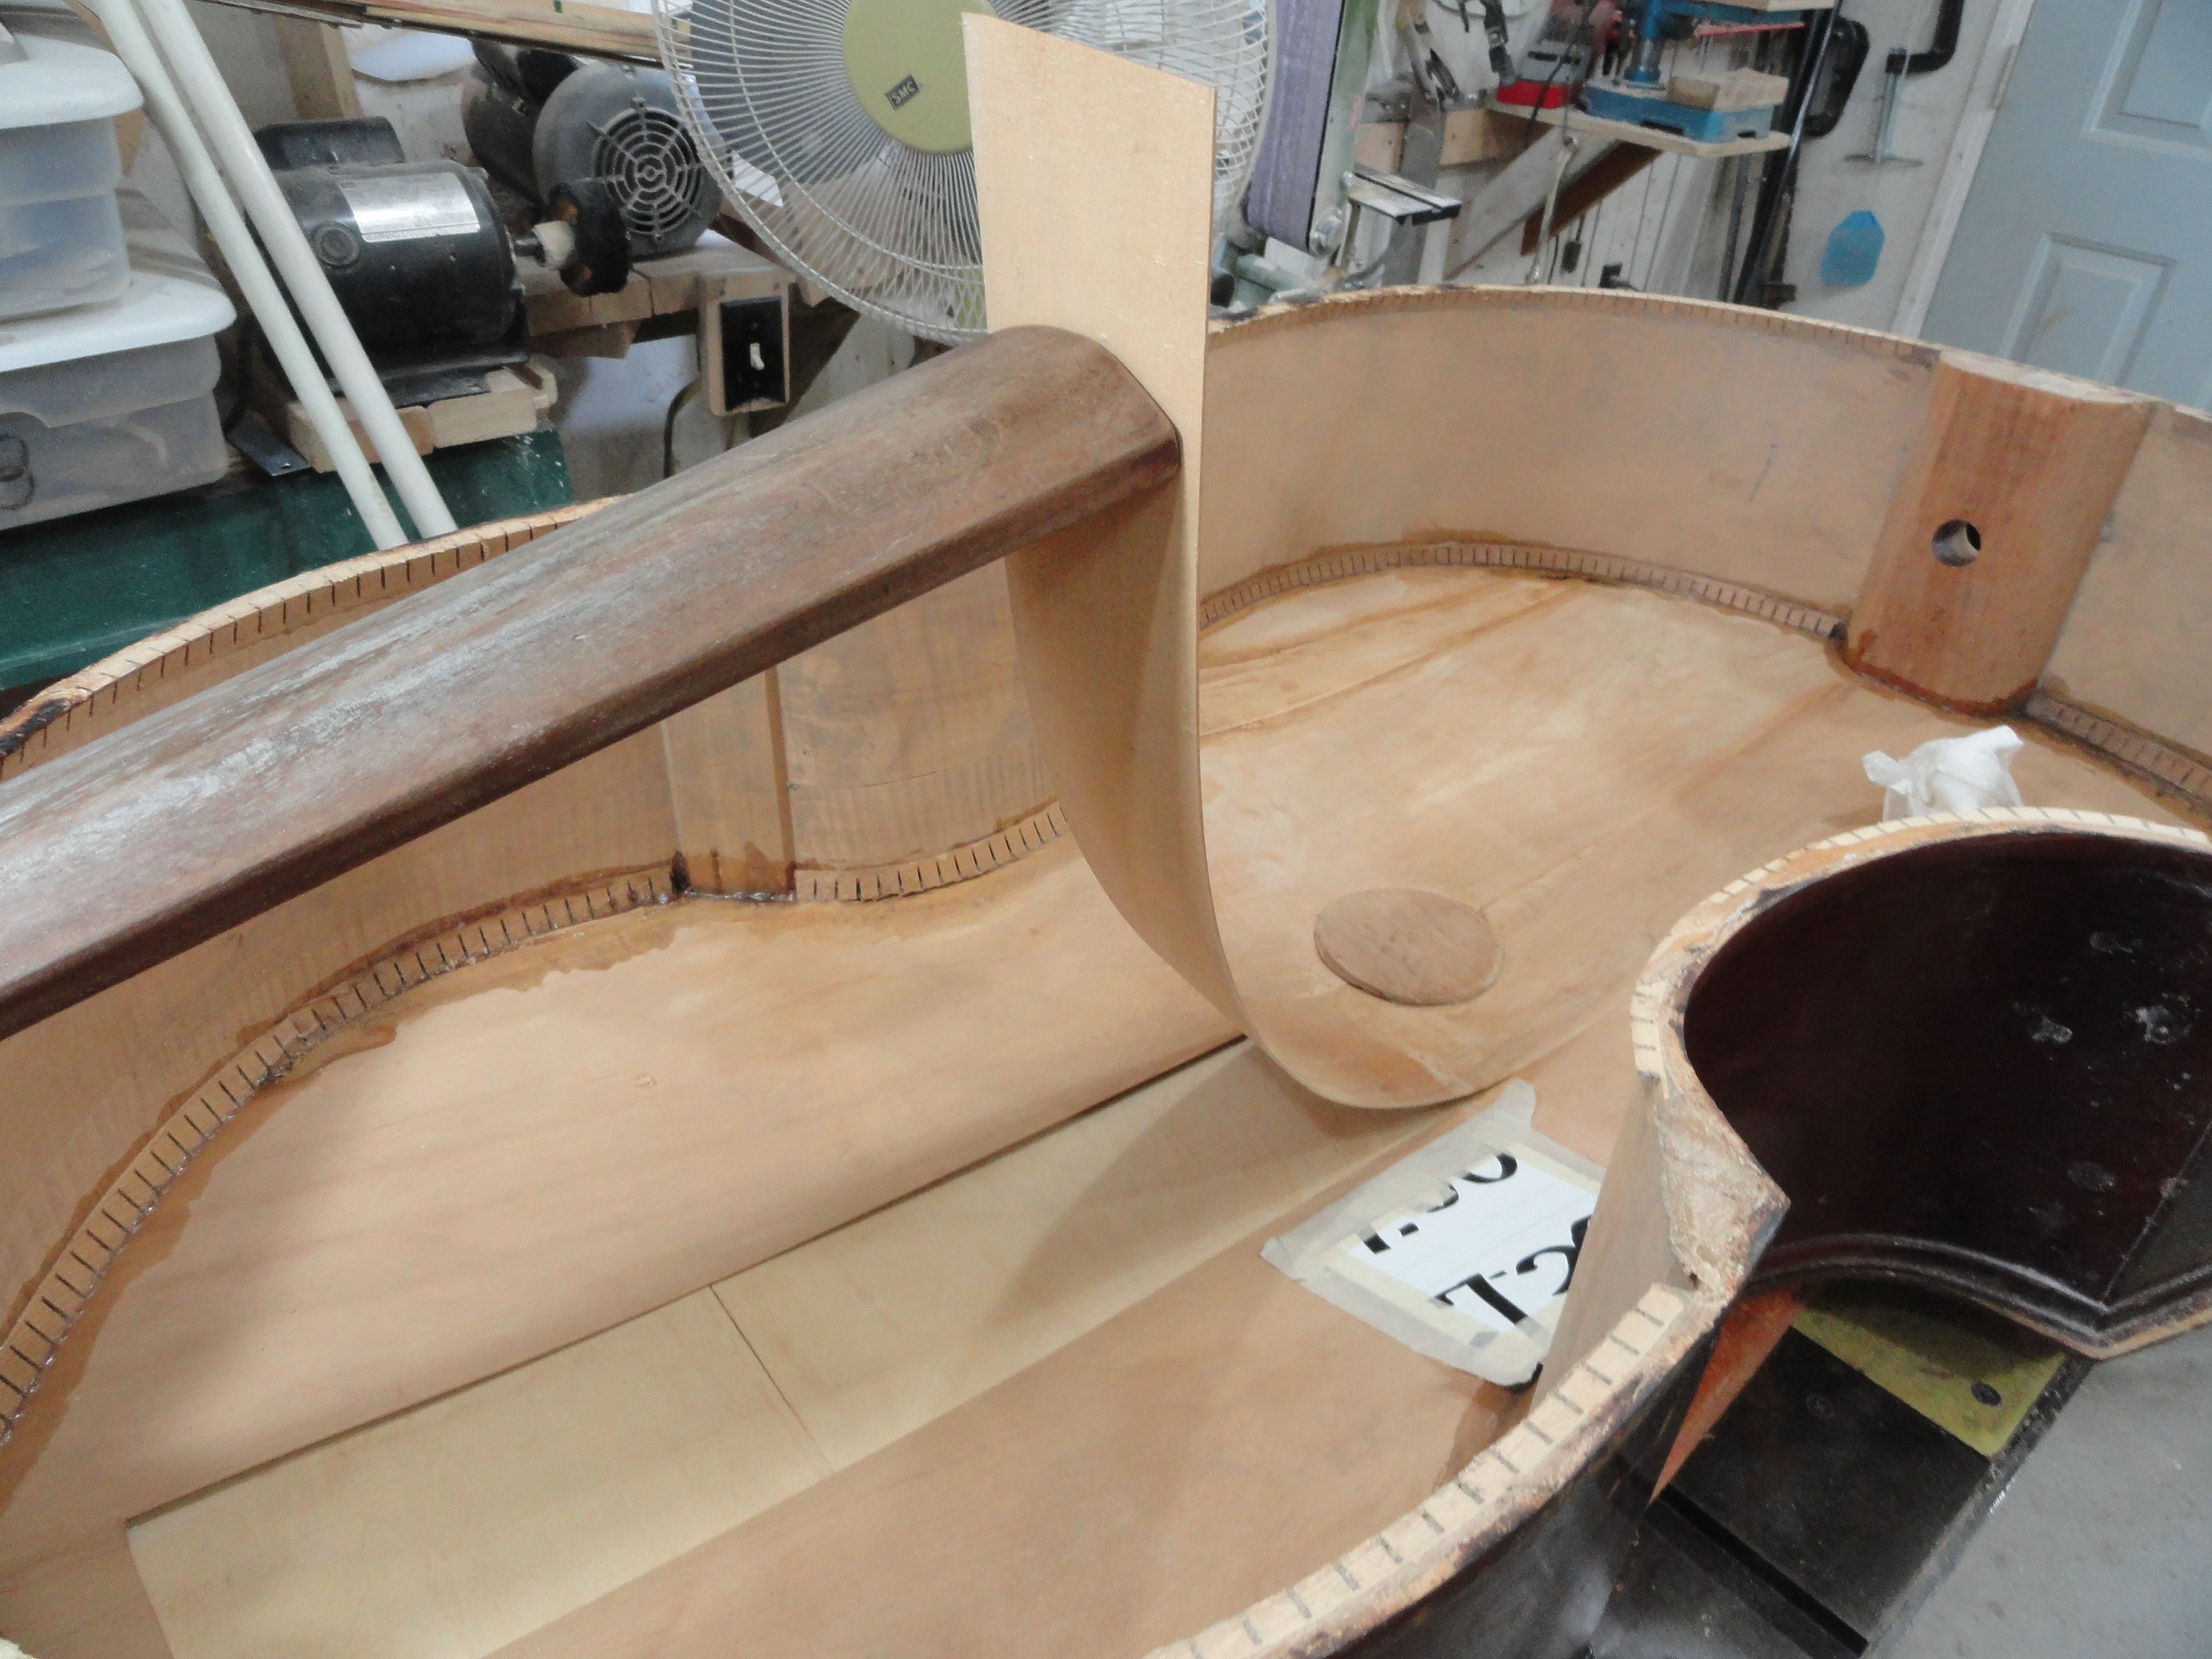
Looks better. I drilled holes in some areas so I could inject glue into the loose lamination.
It is looking a little better. I did all I knew how to do to stabilize these laminations.
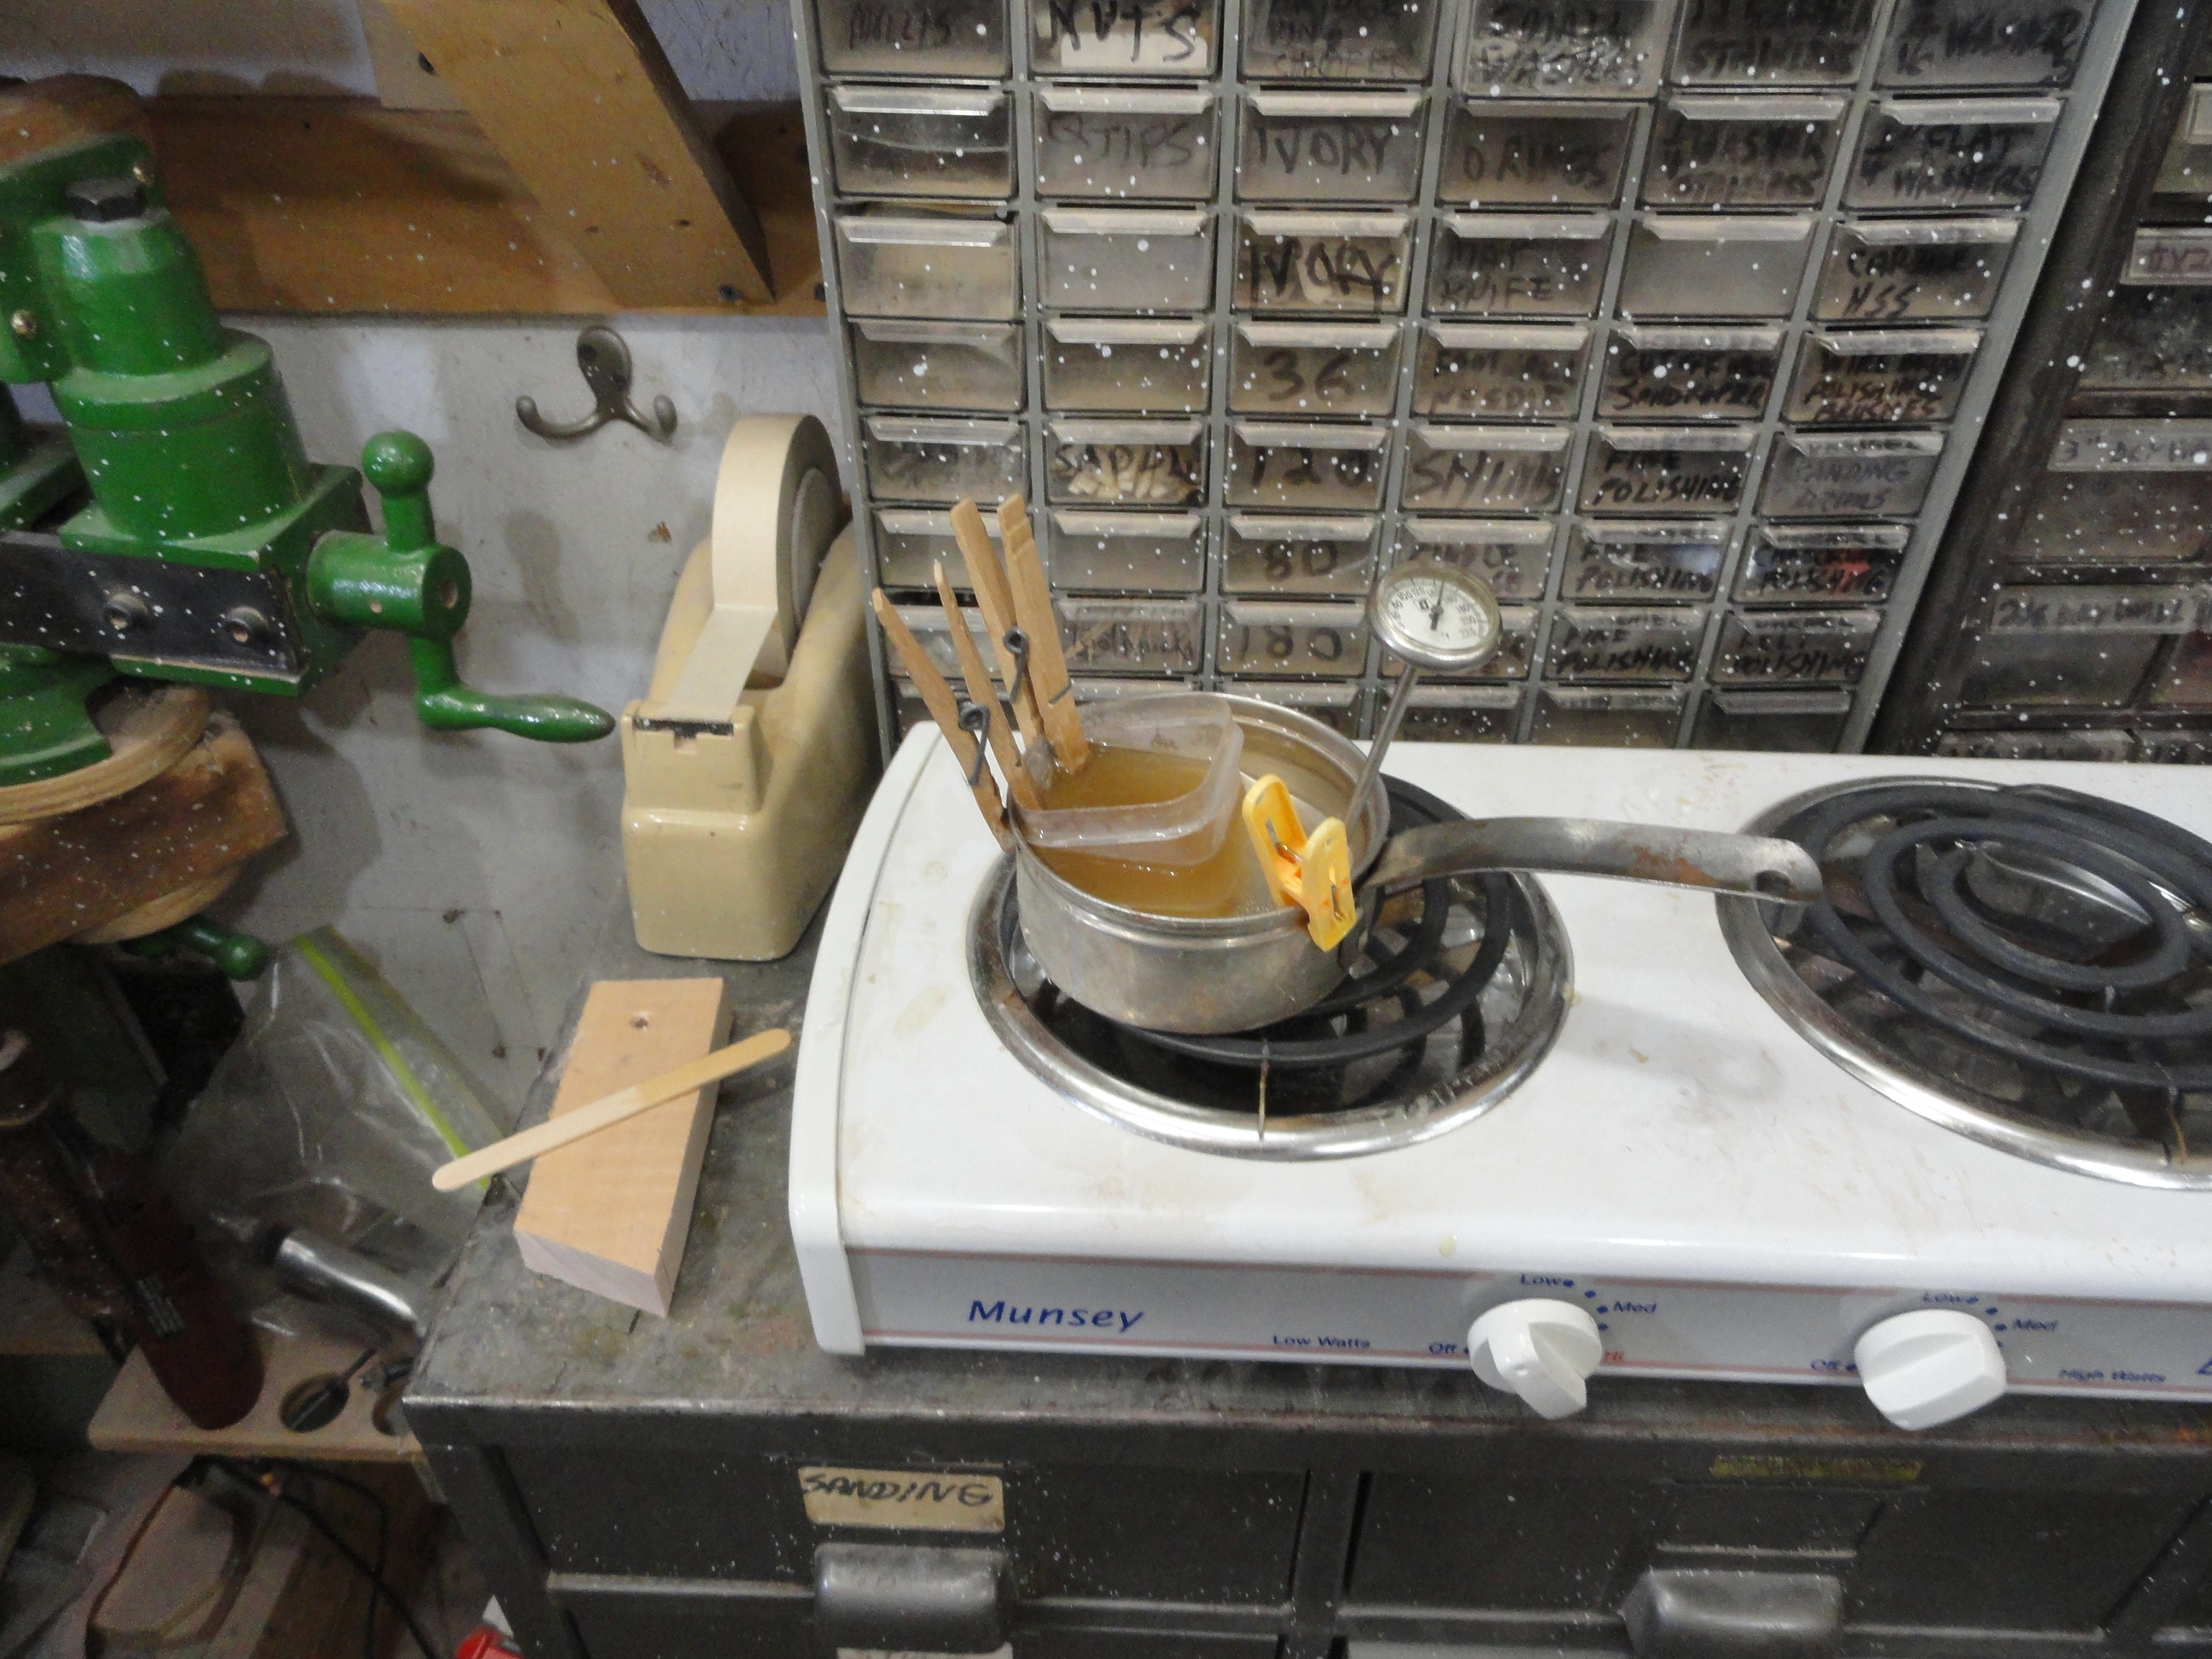
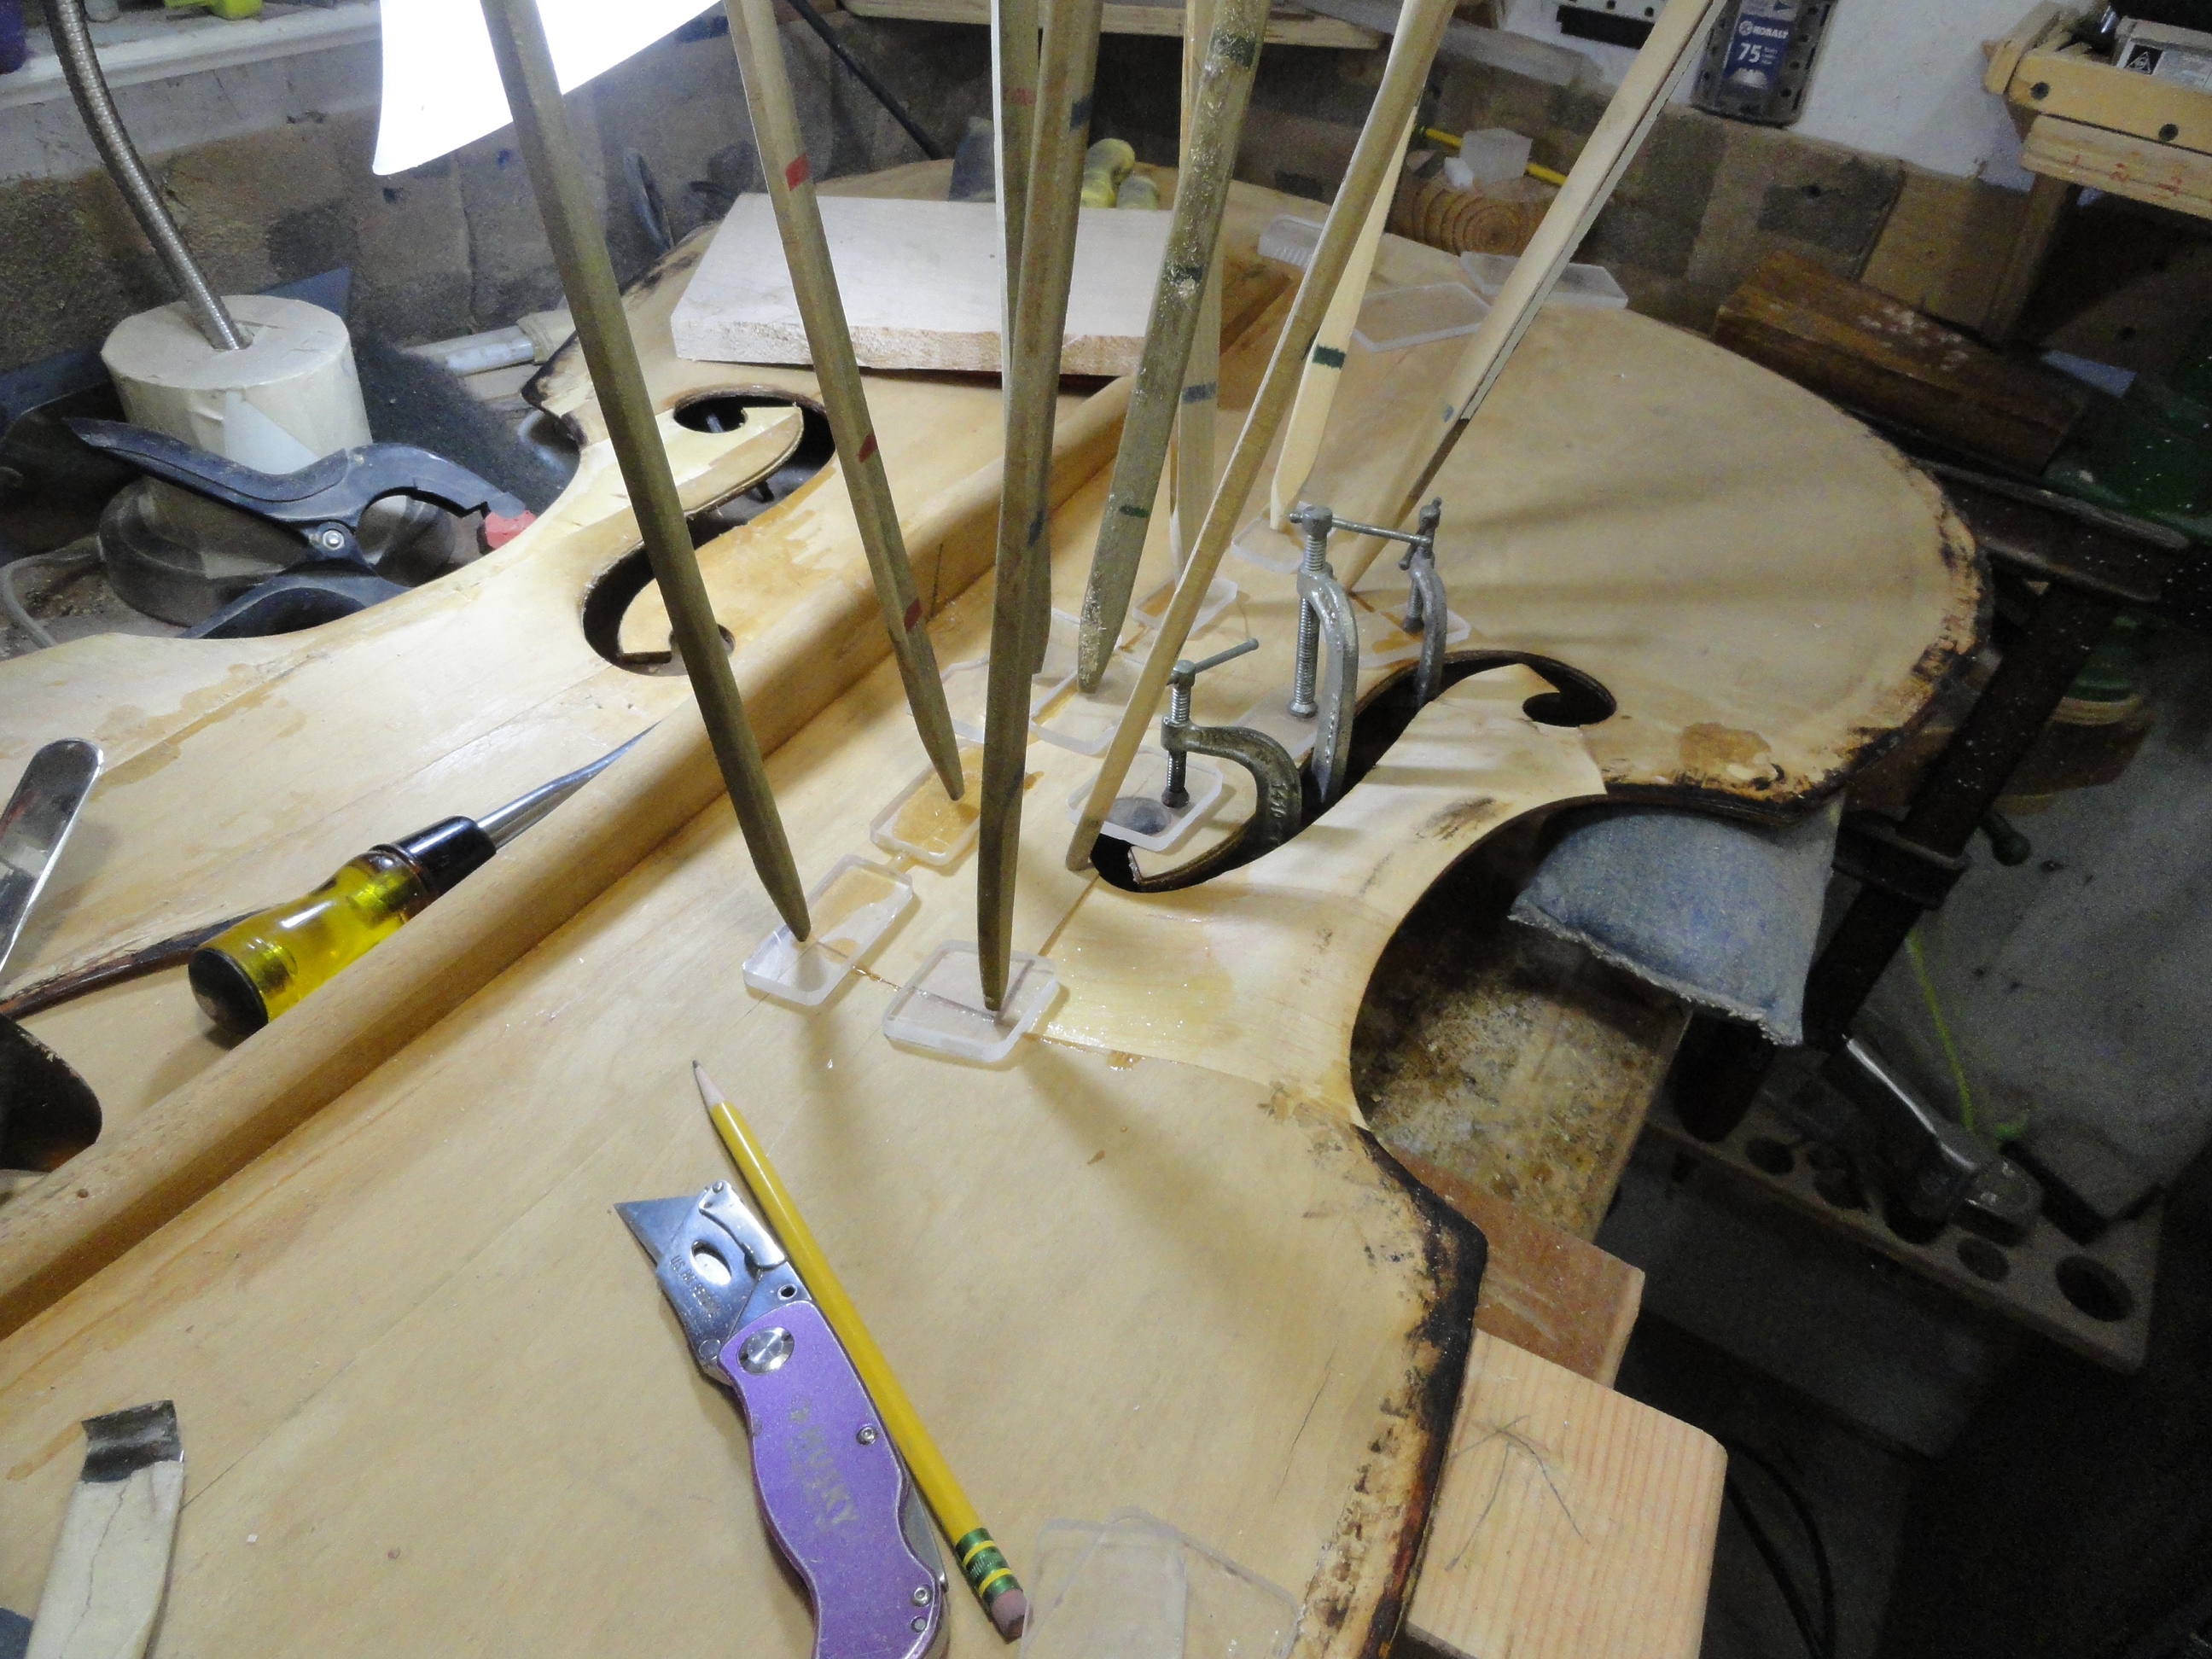
Now it is time to start working on the top. Here is some hide glue in my little cup on the hot plate. Hide glue must be applied hot and it is something that must be applied quickly before it cools.
Here is a shot of the bass bar after it was glued back.
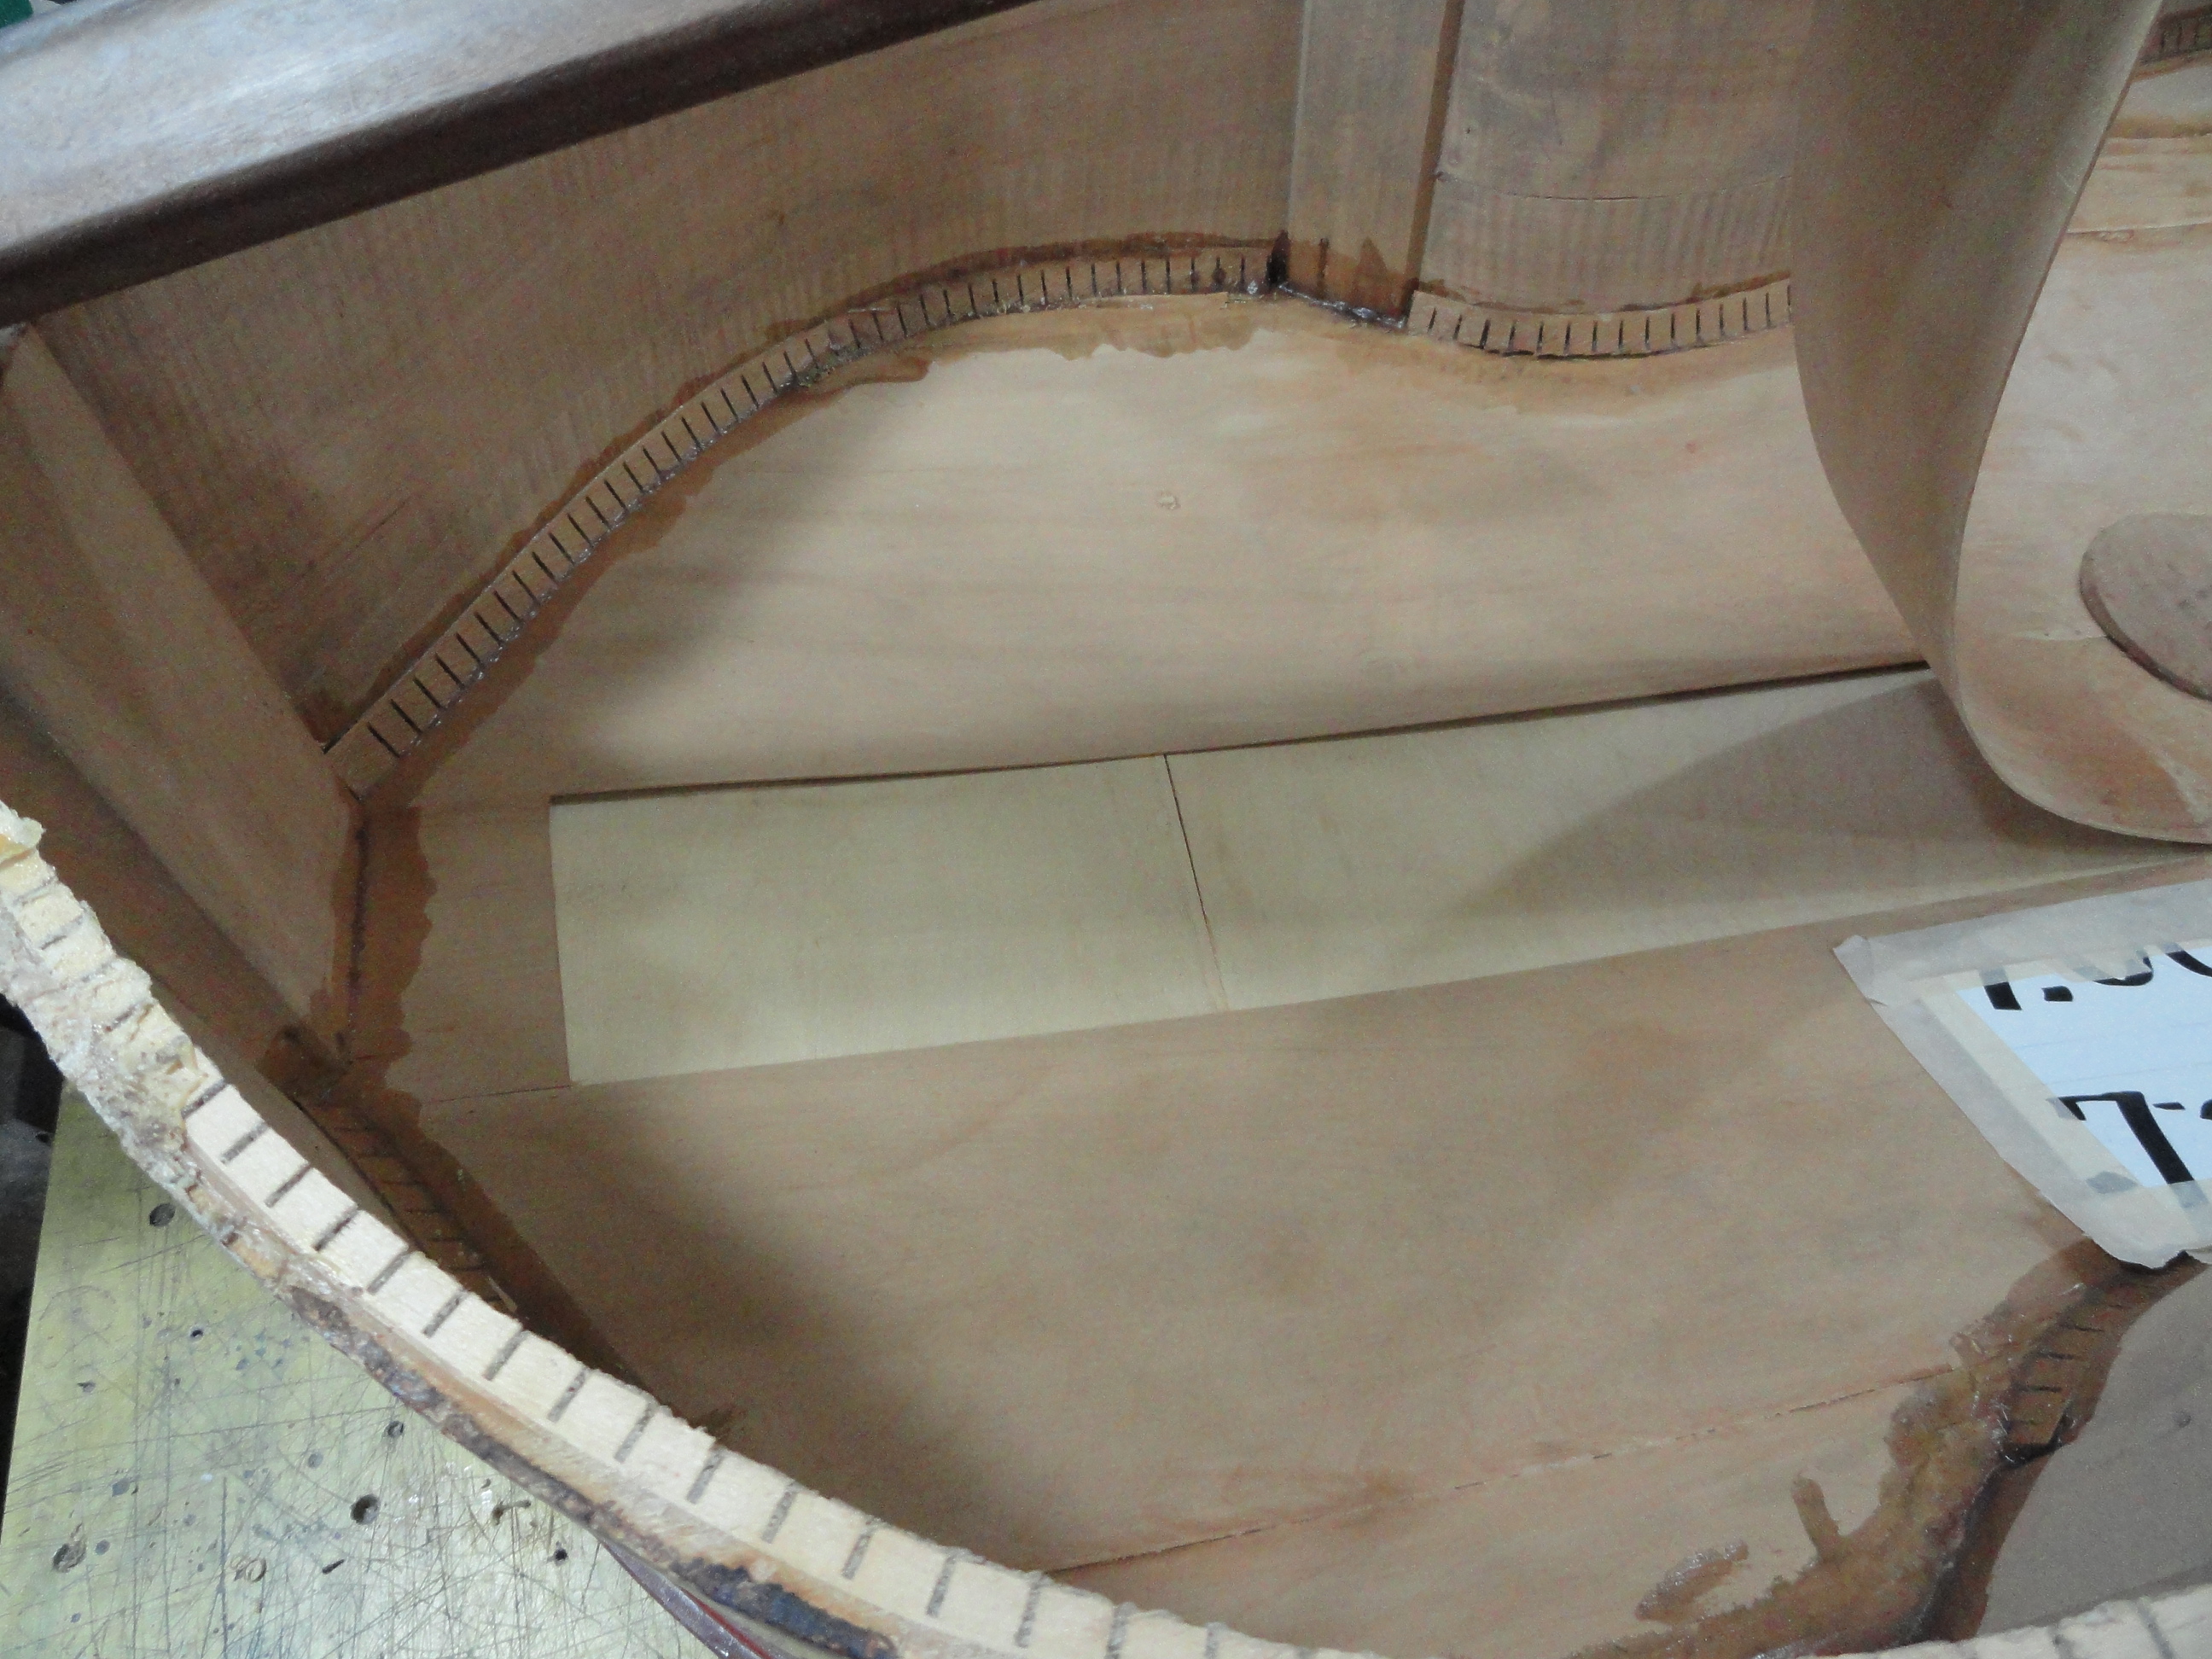
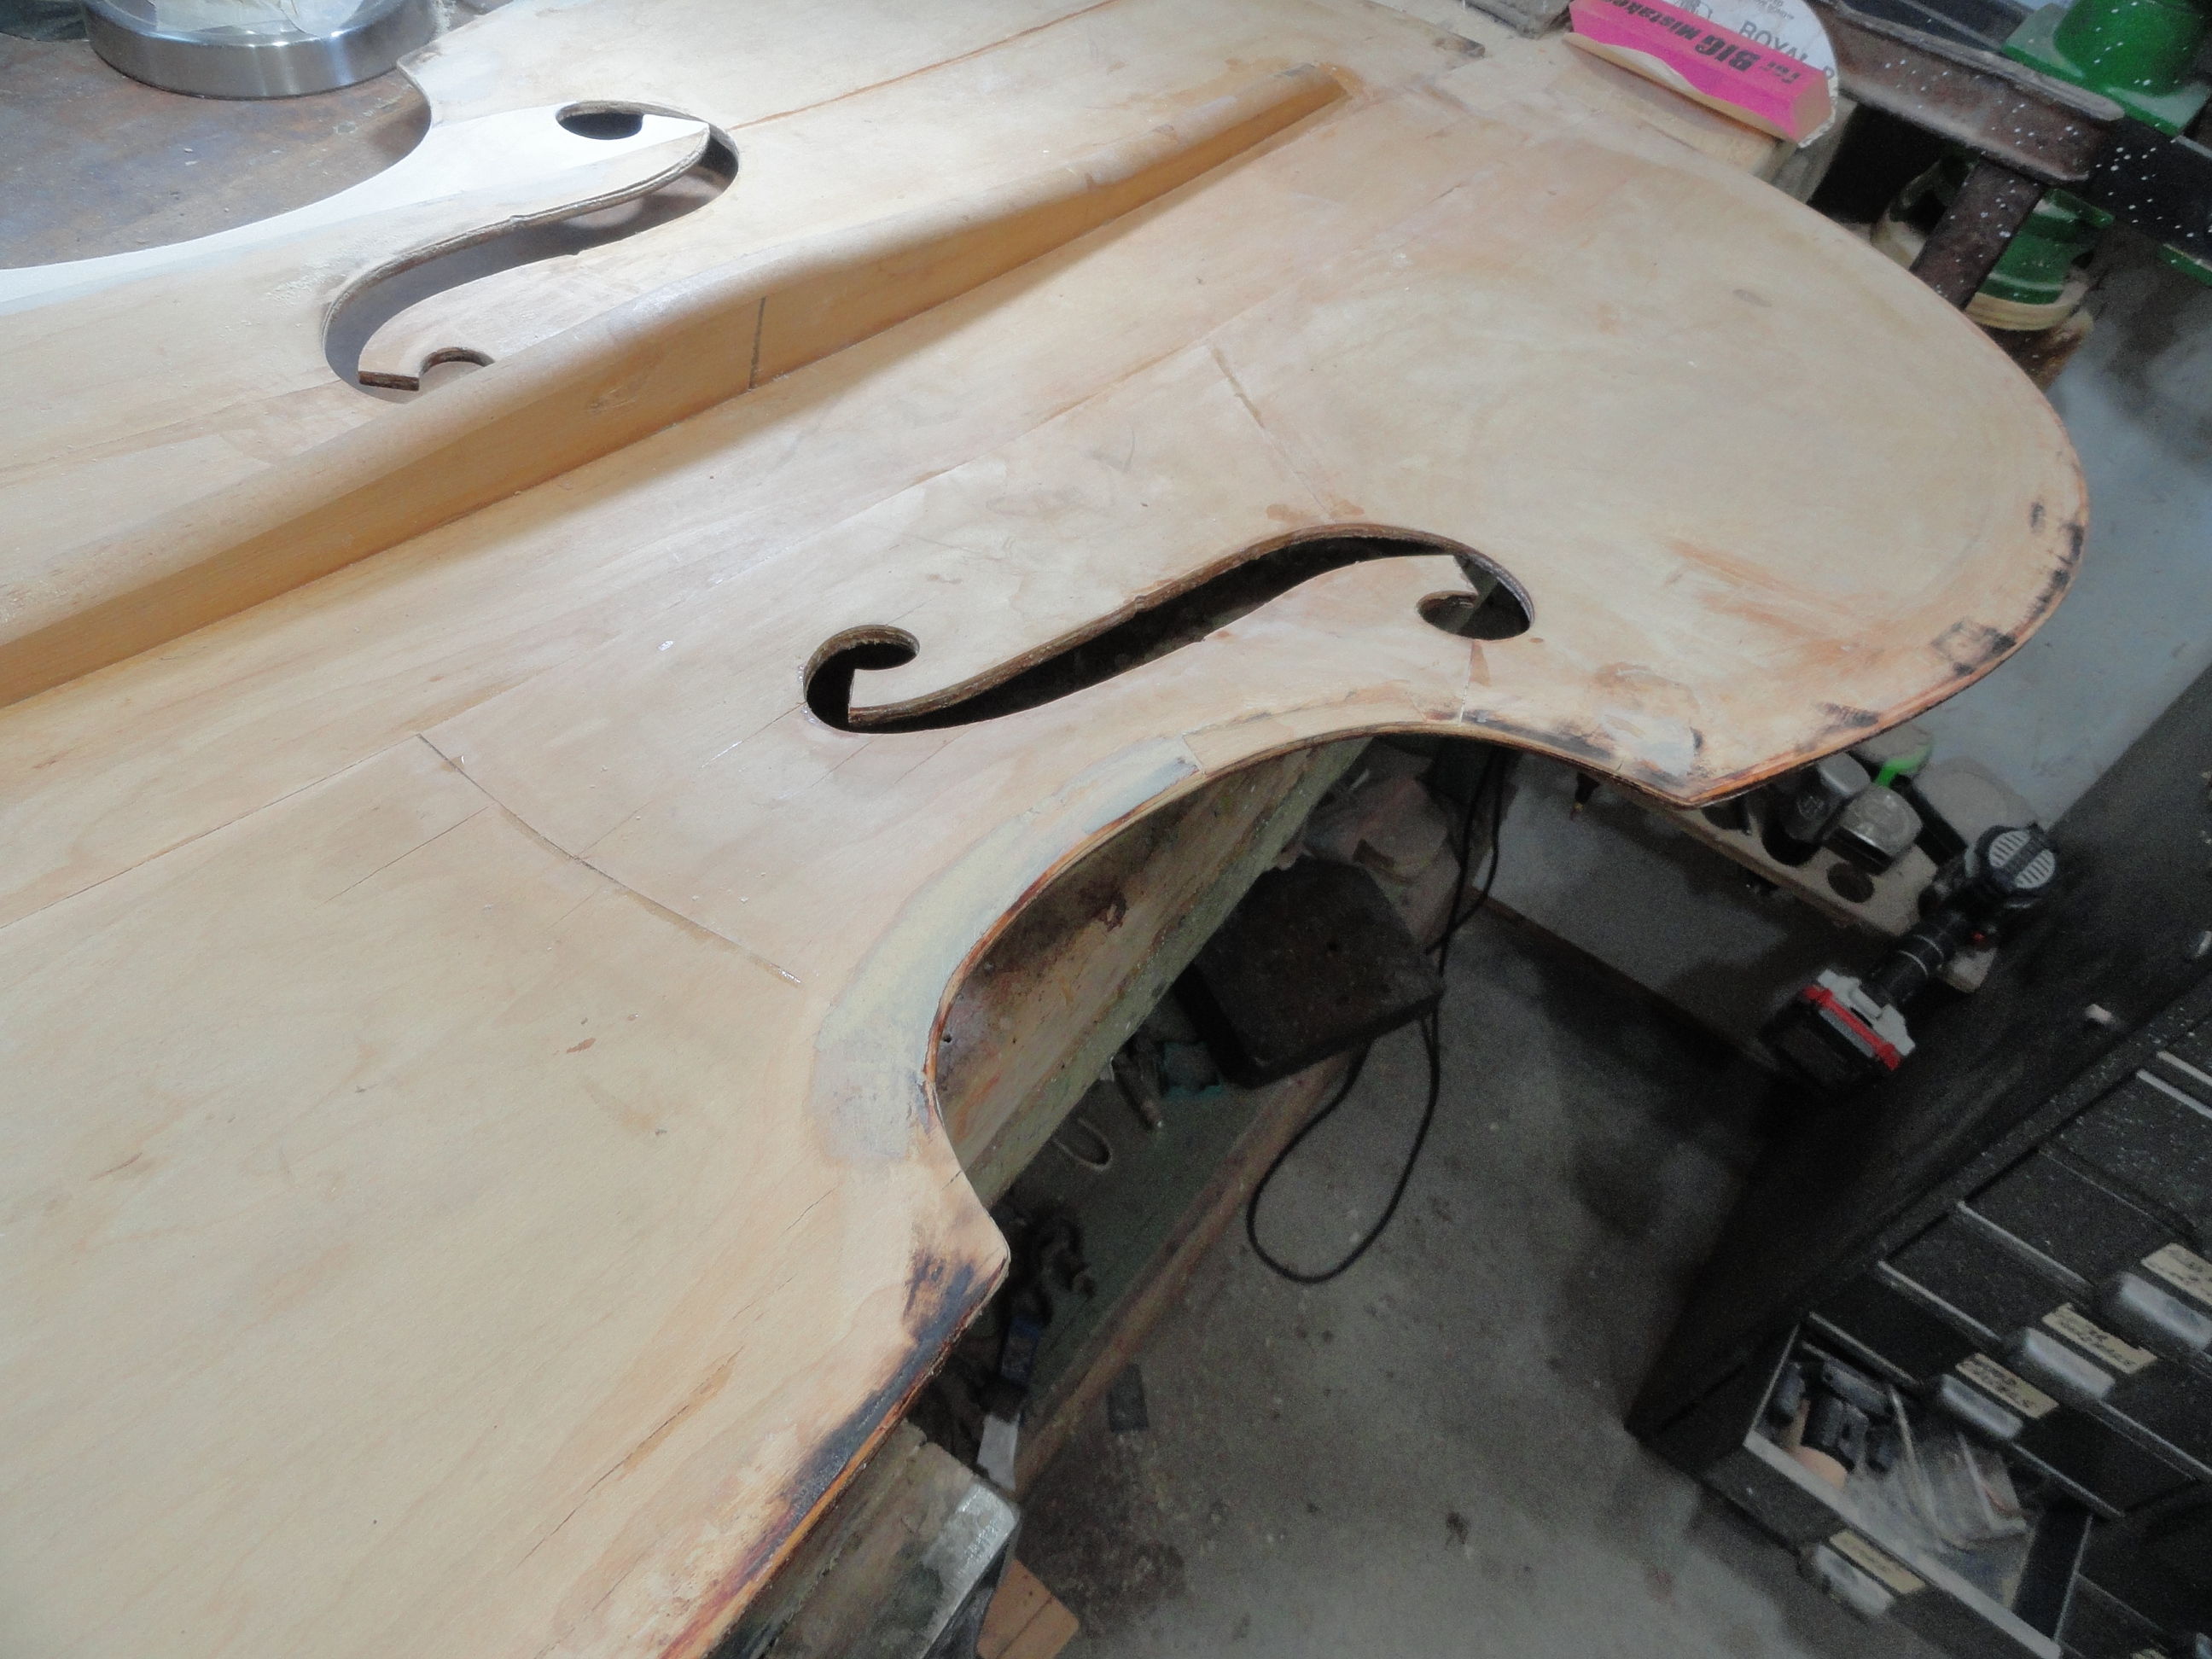
Working around the f hole. Note the bass bar has been corrected.
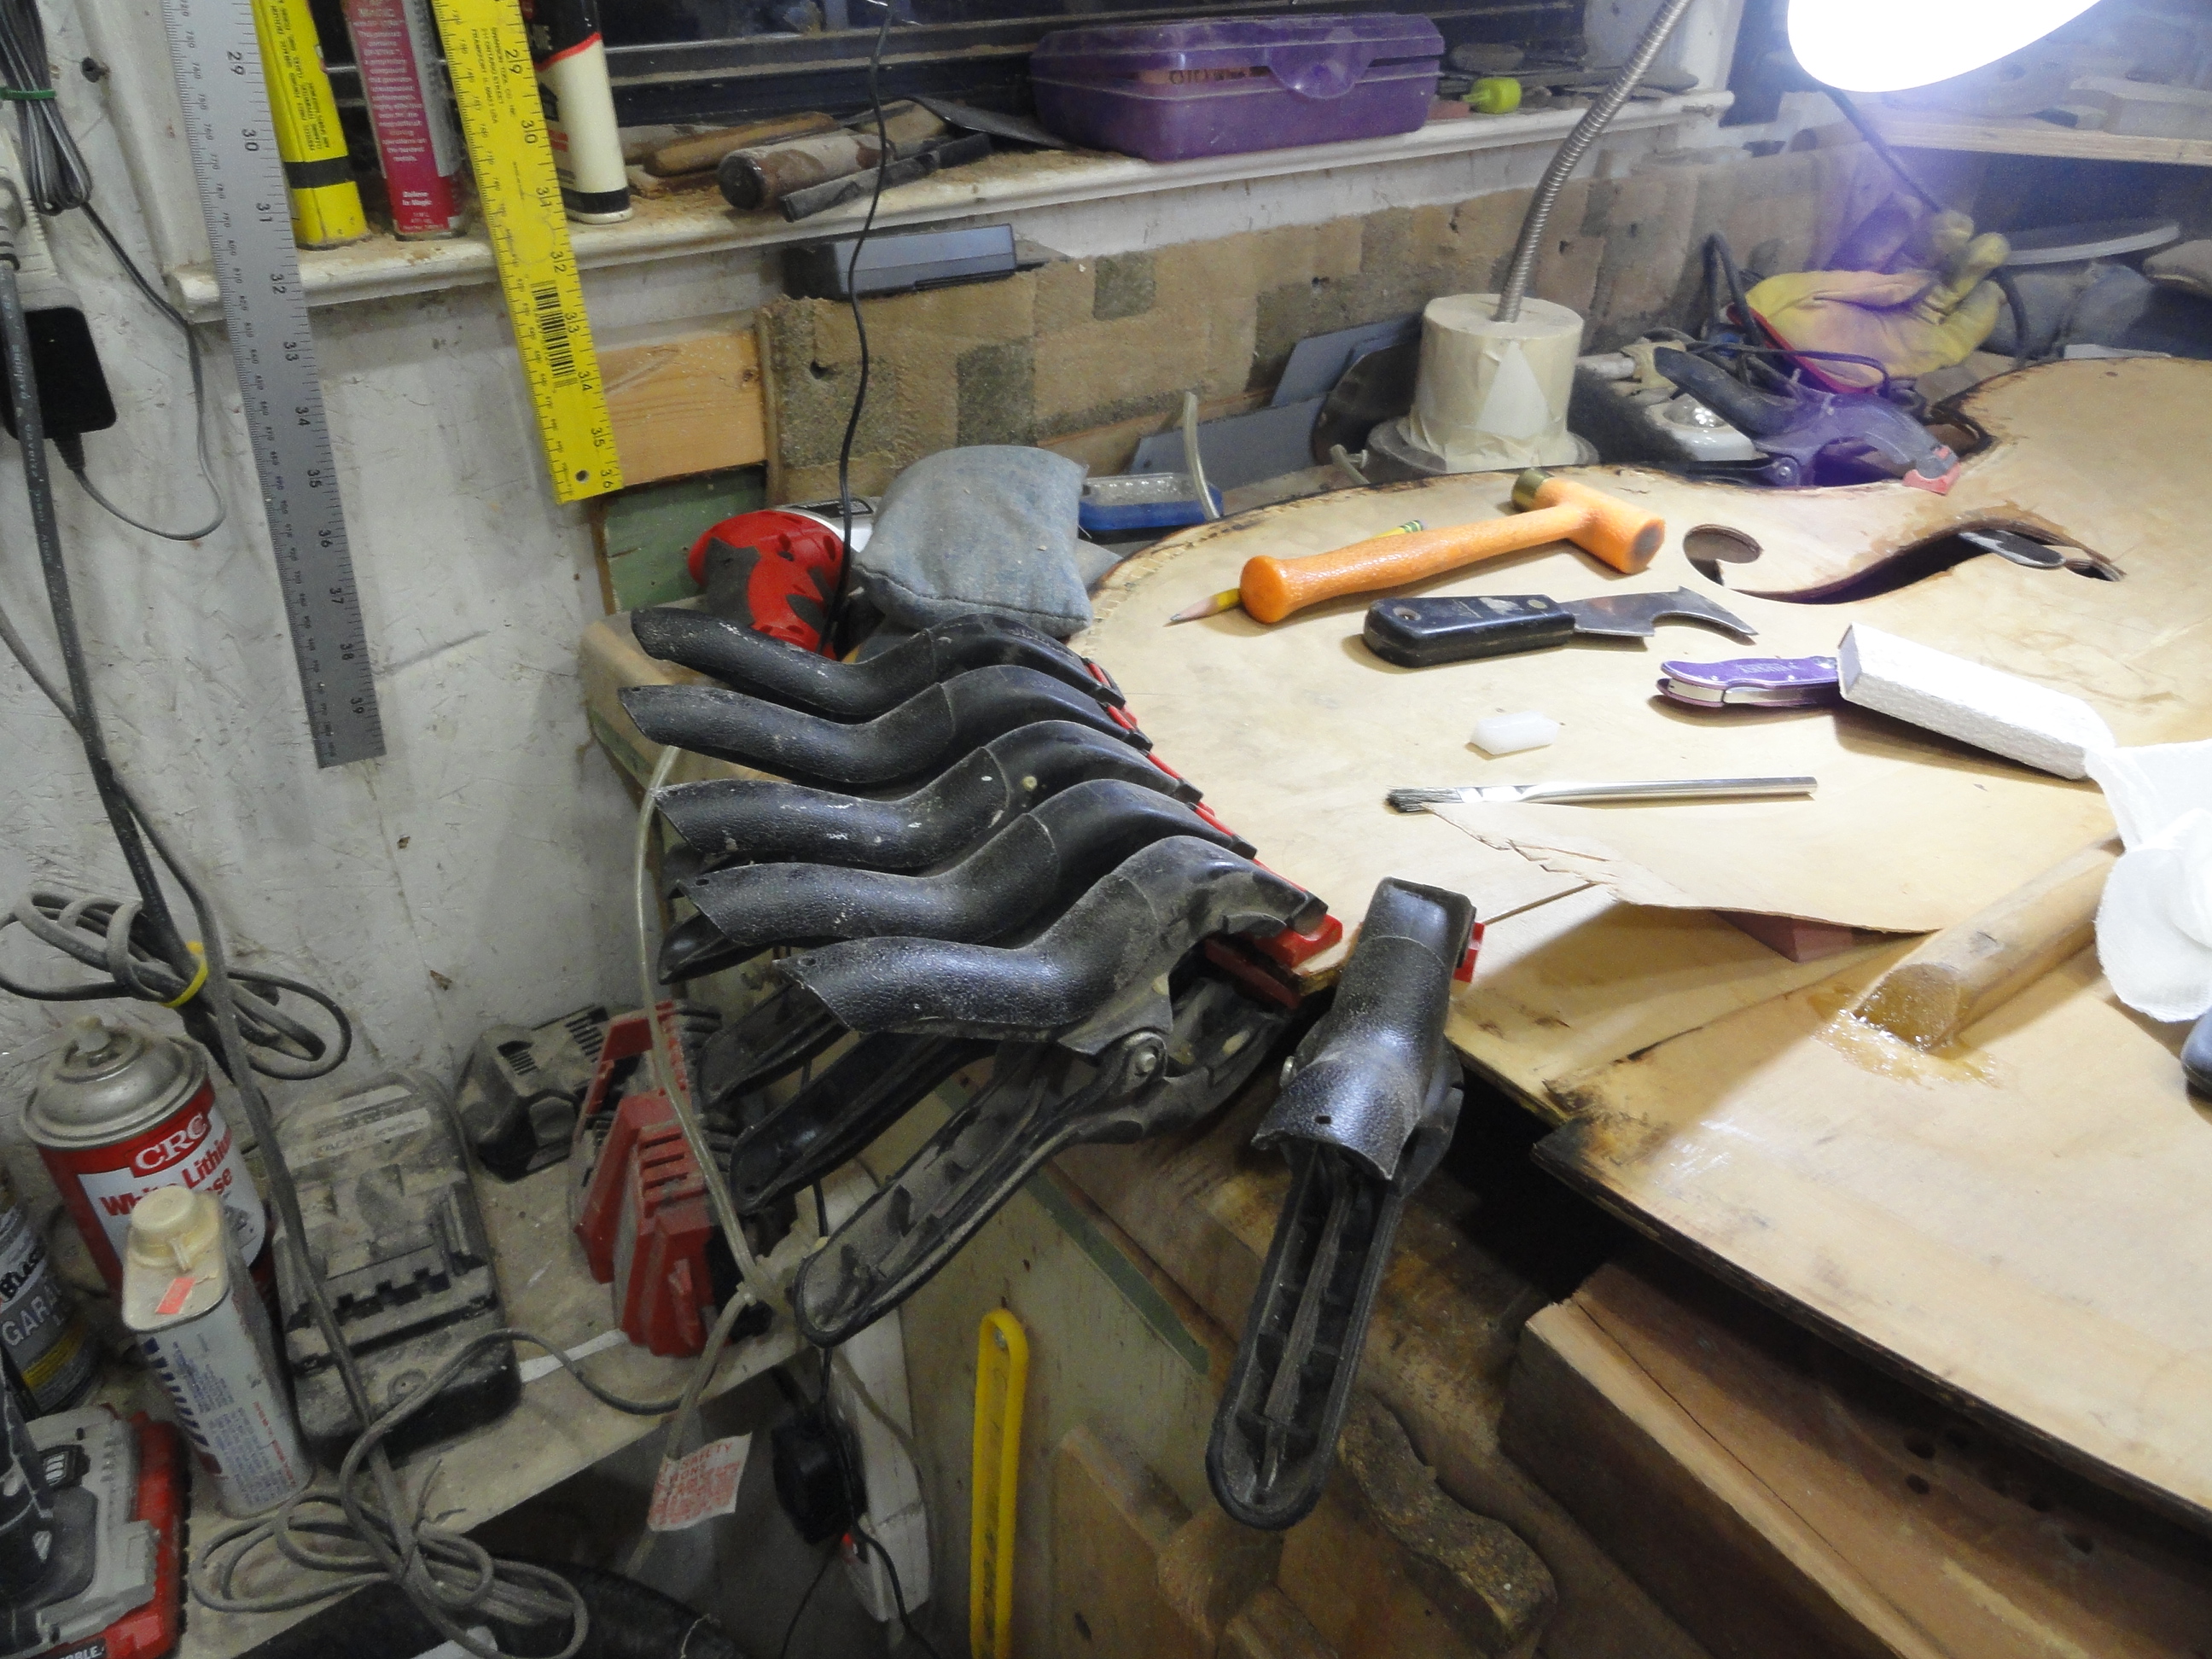
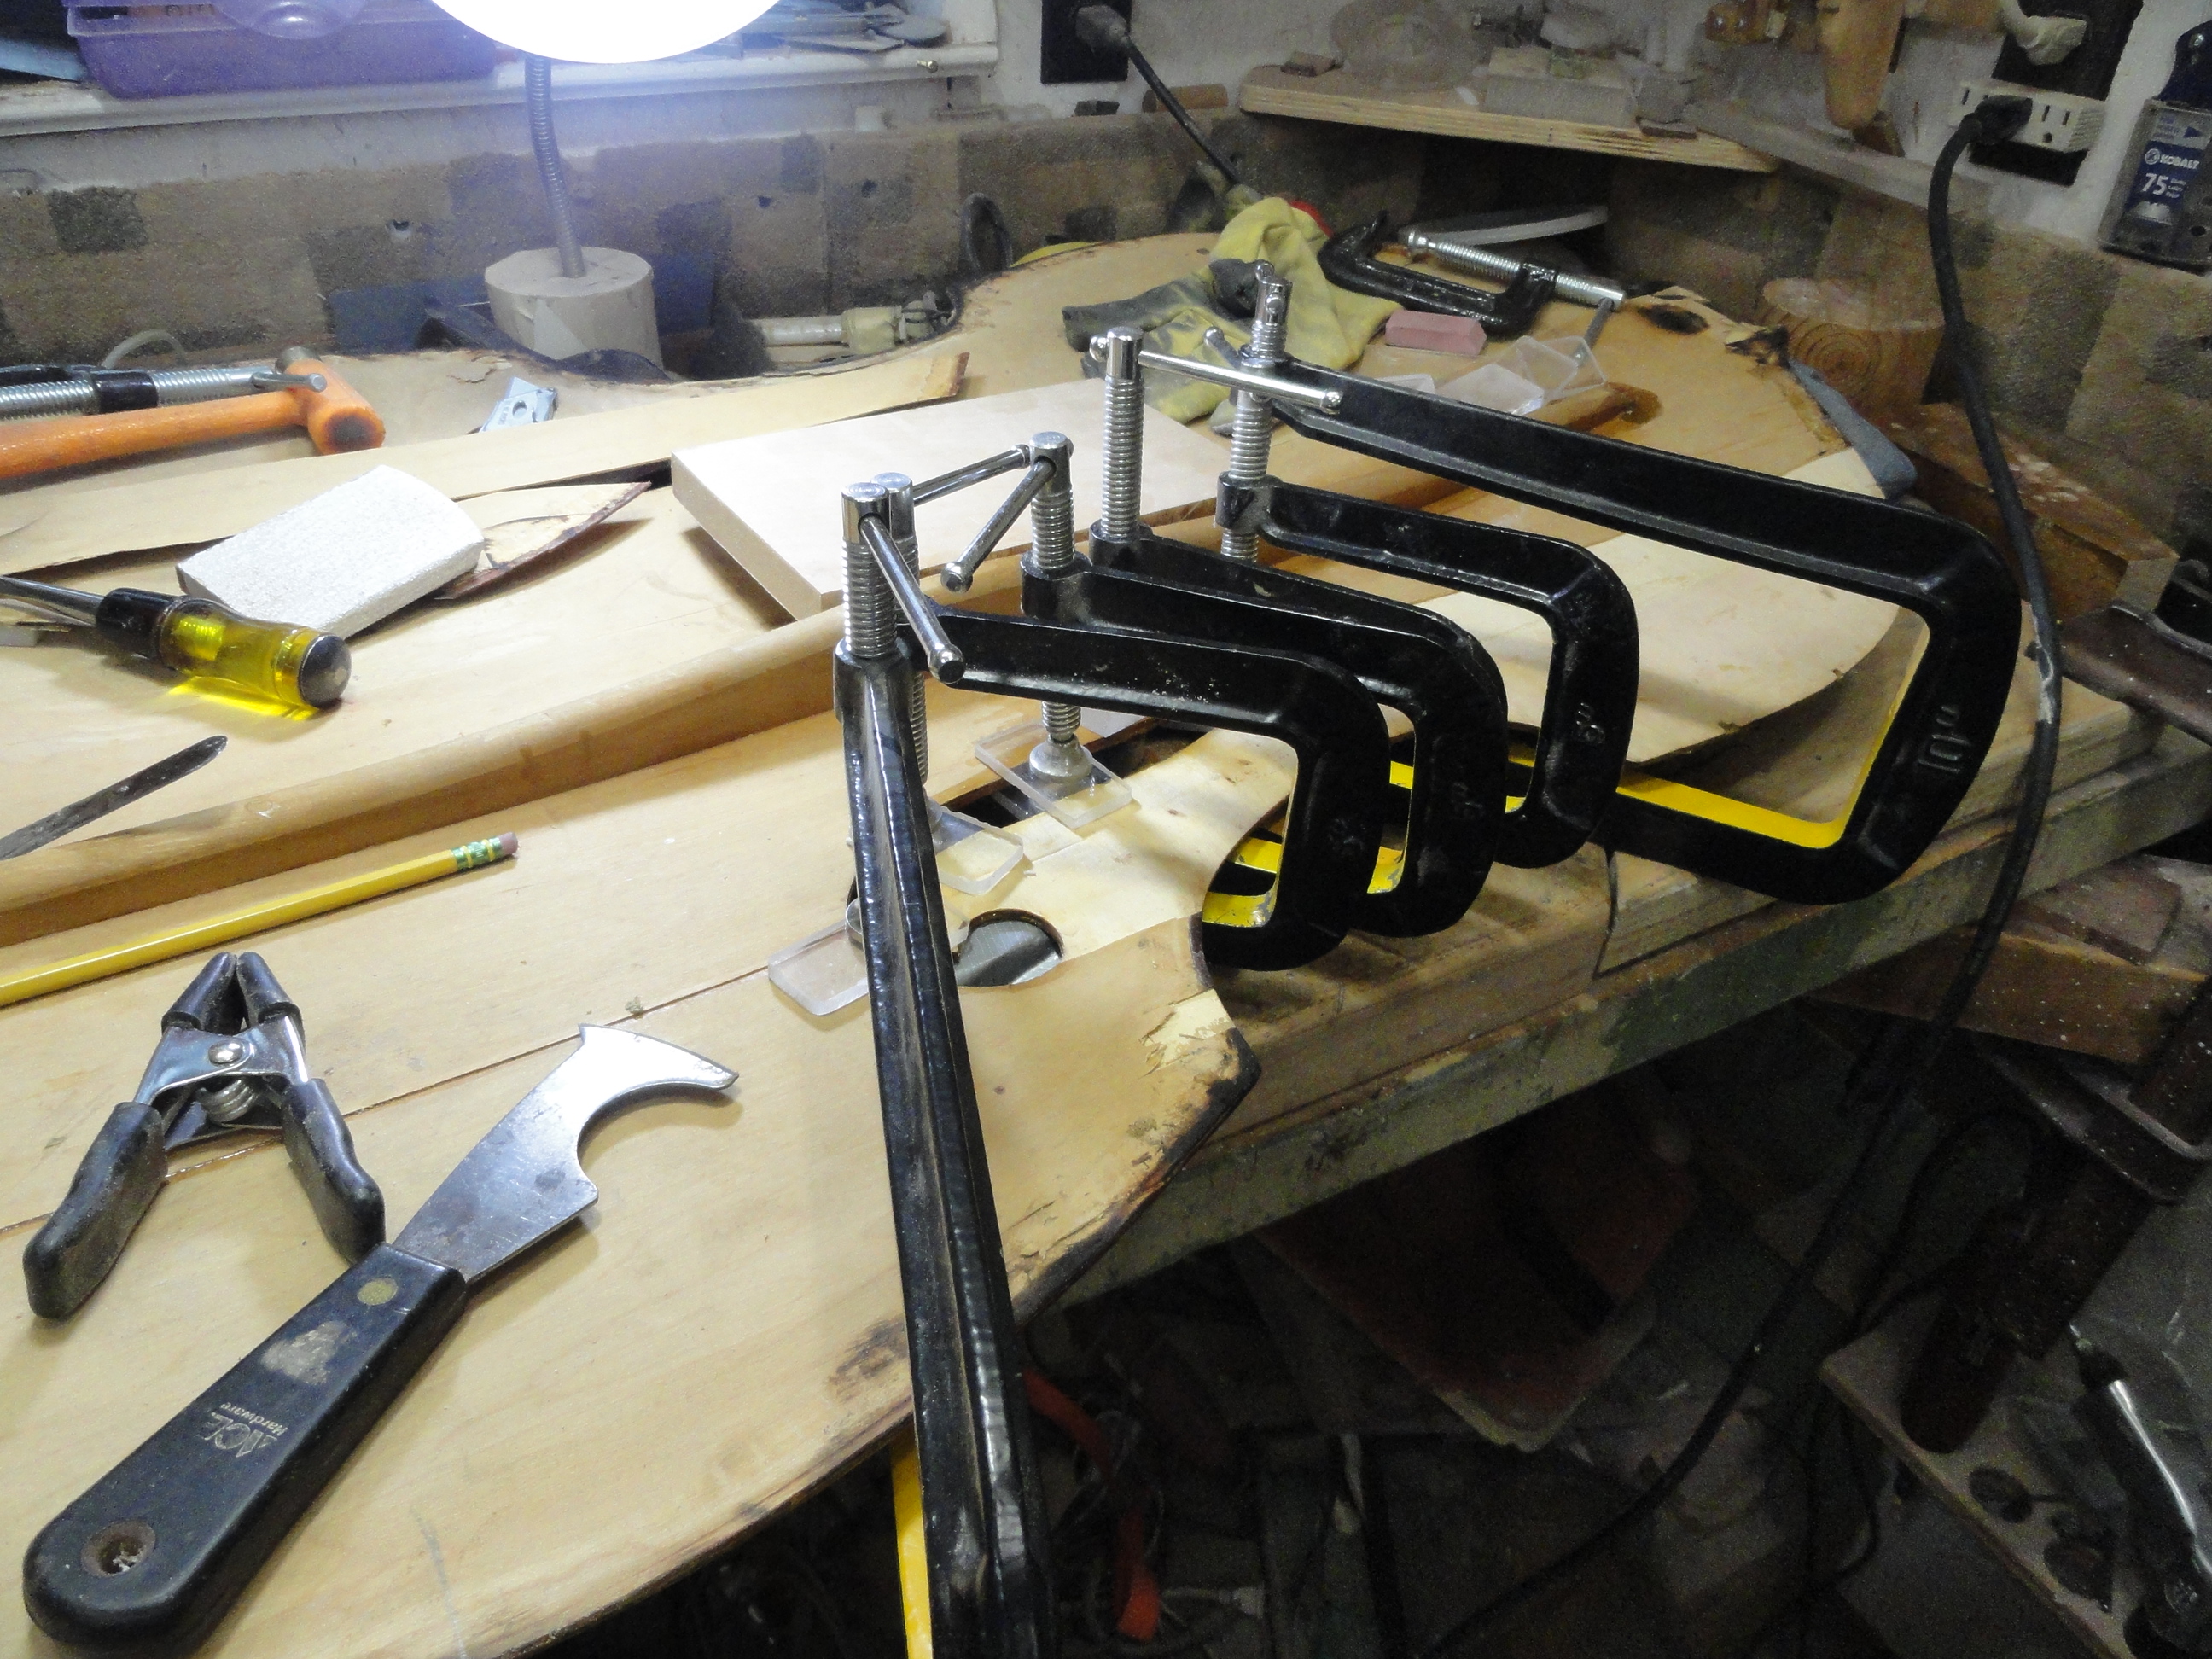
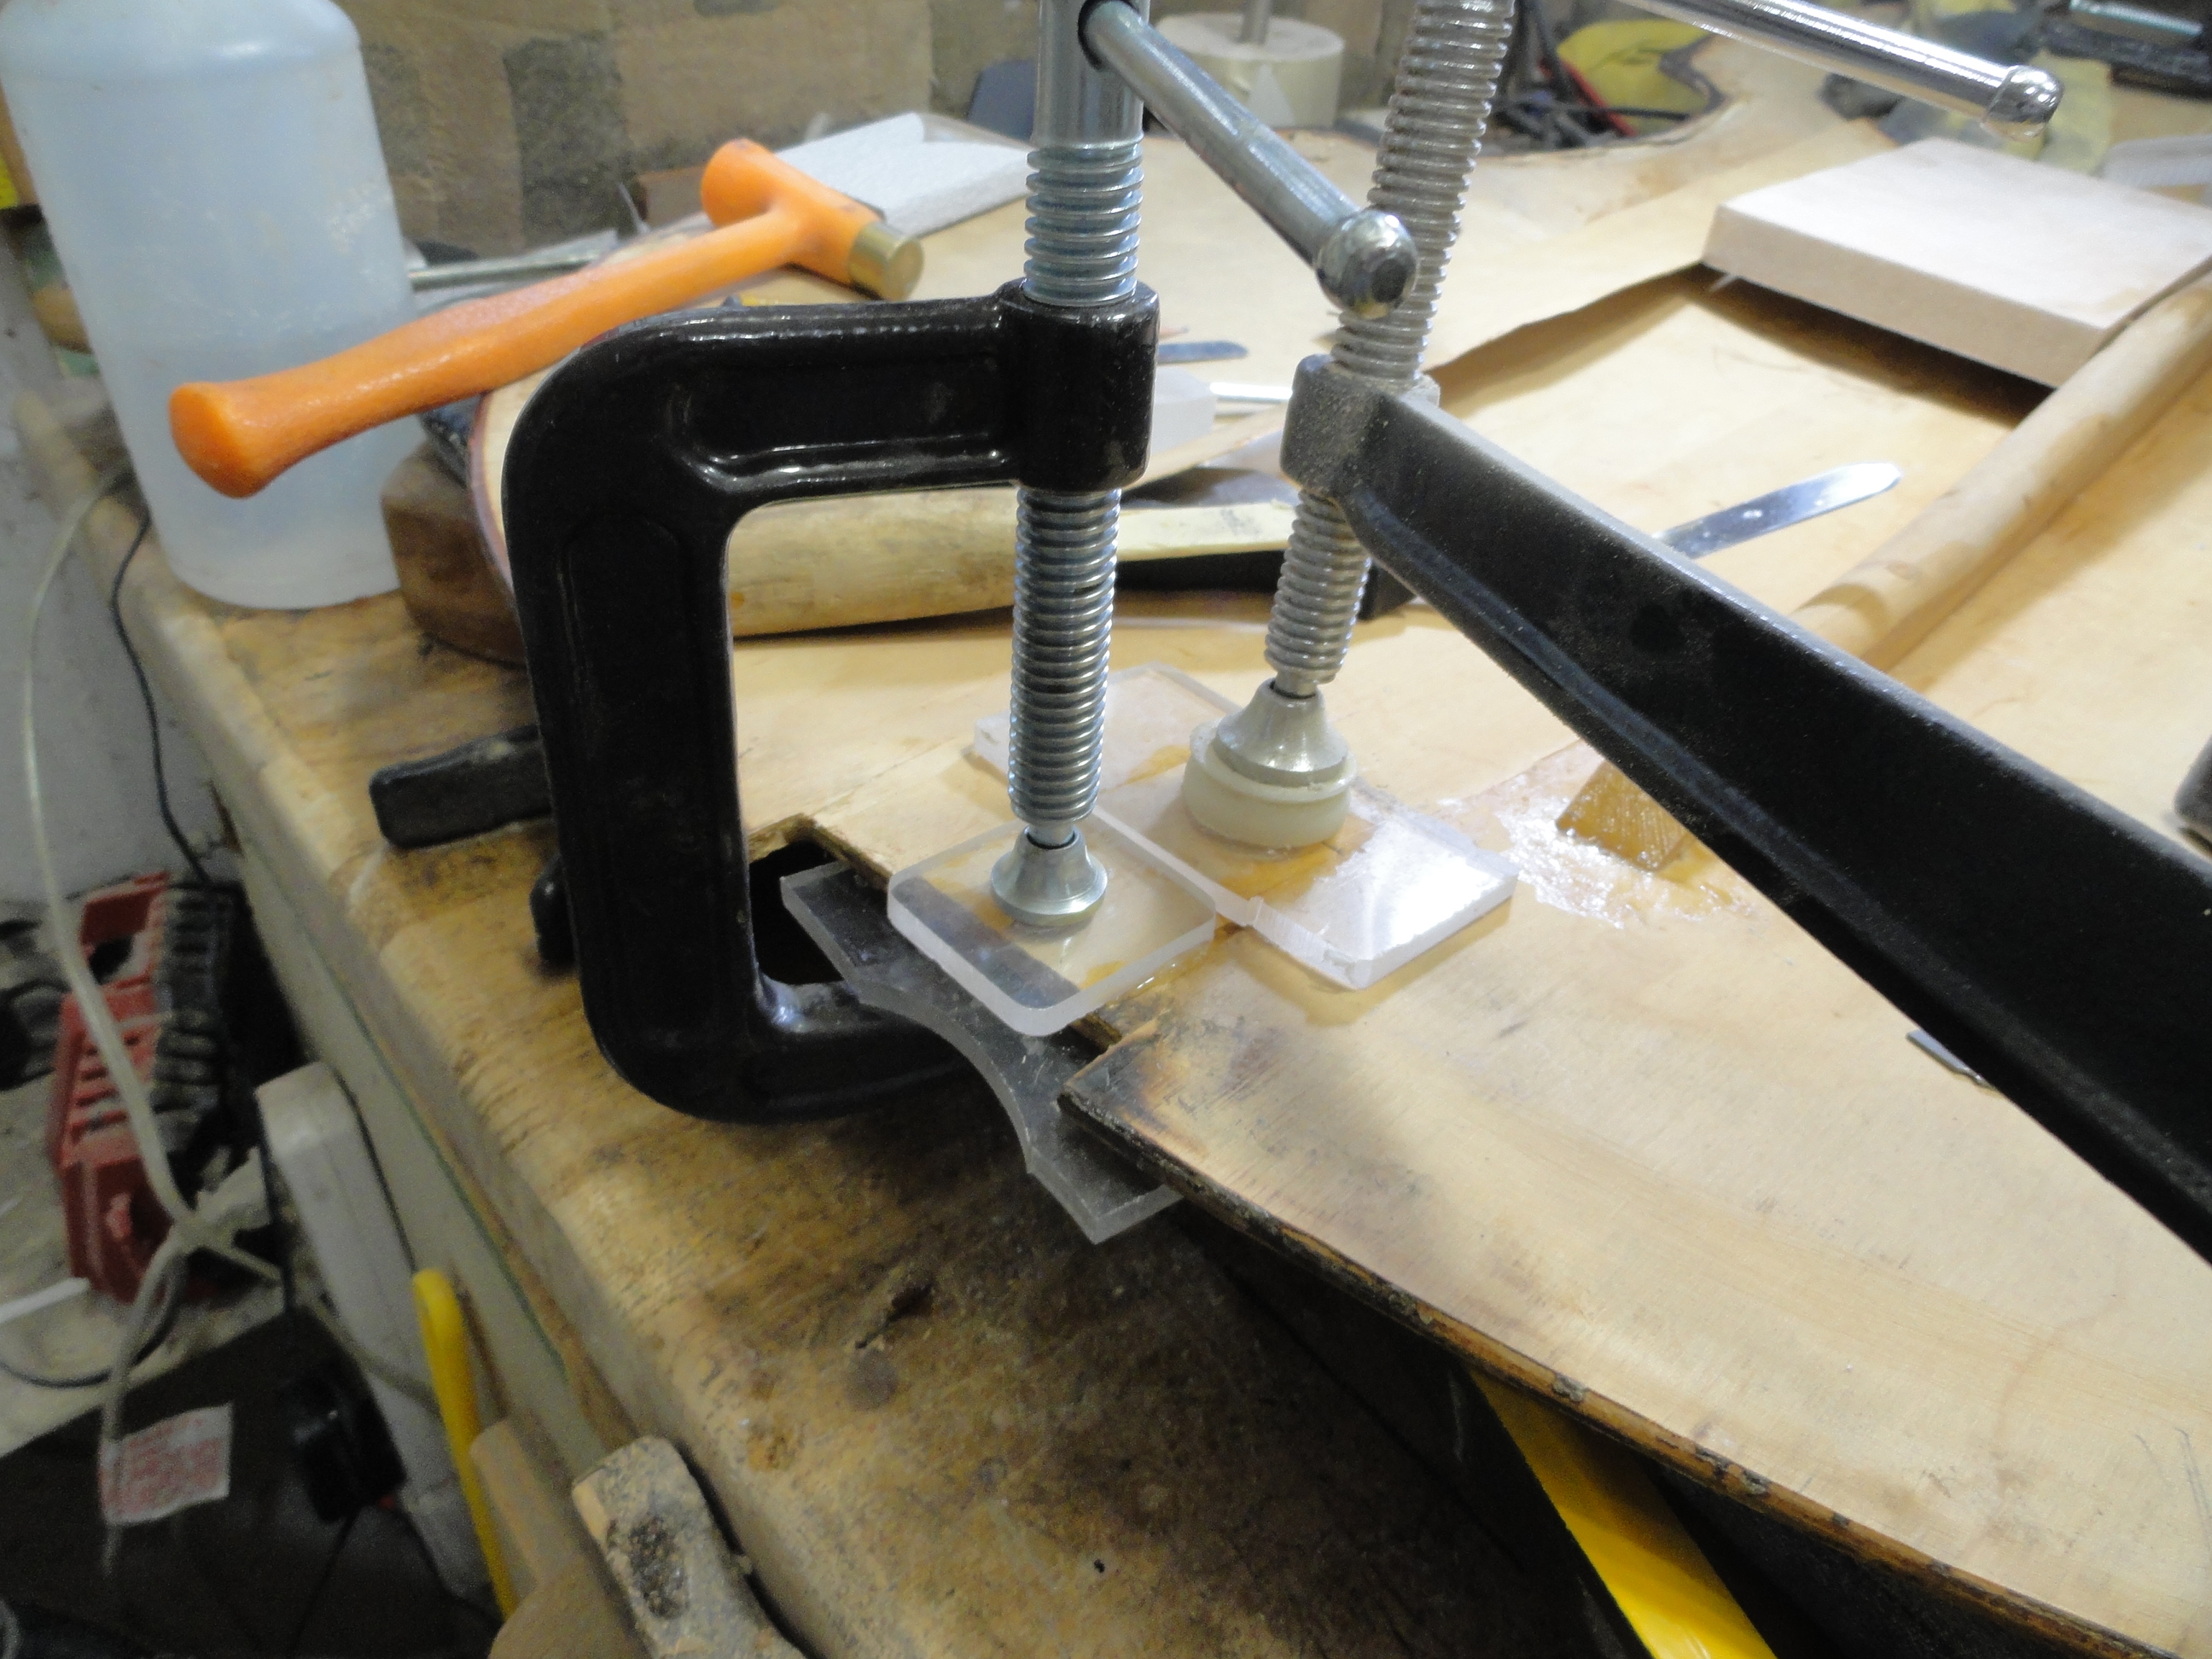
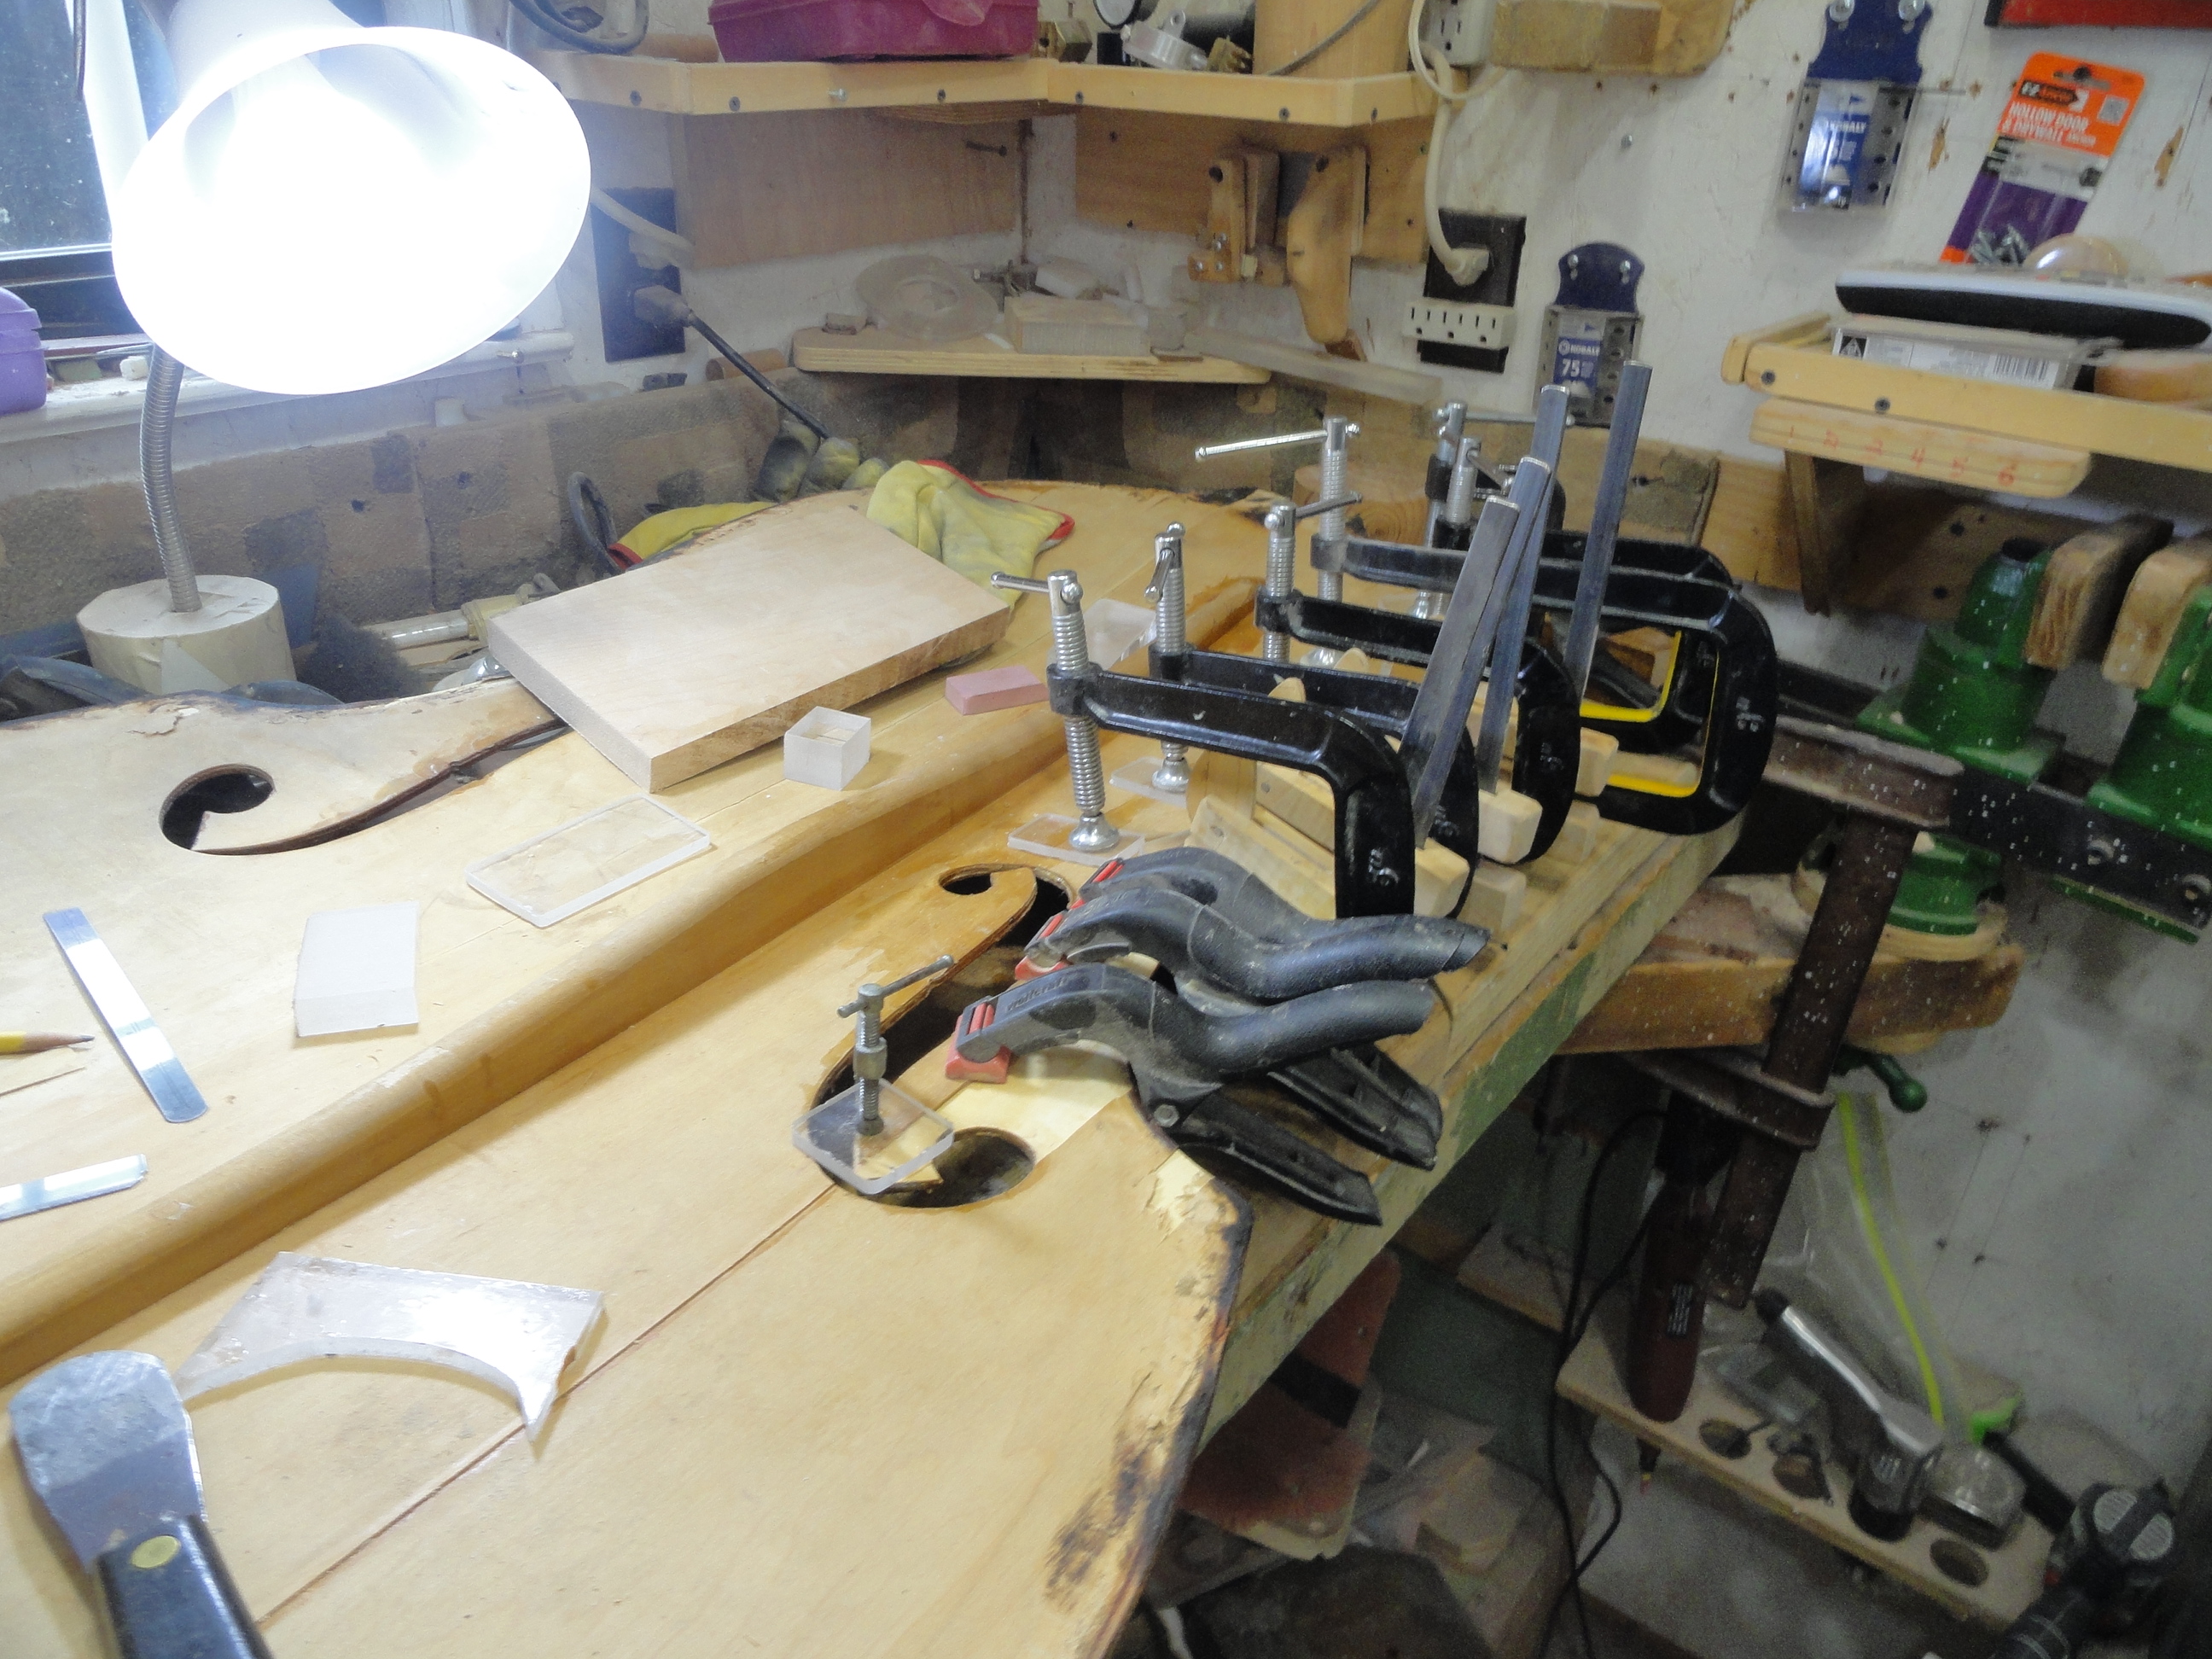
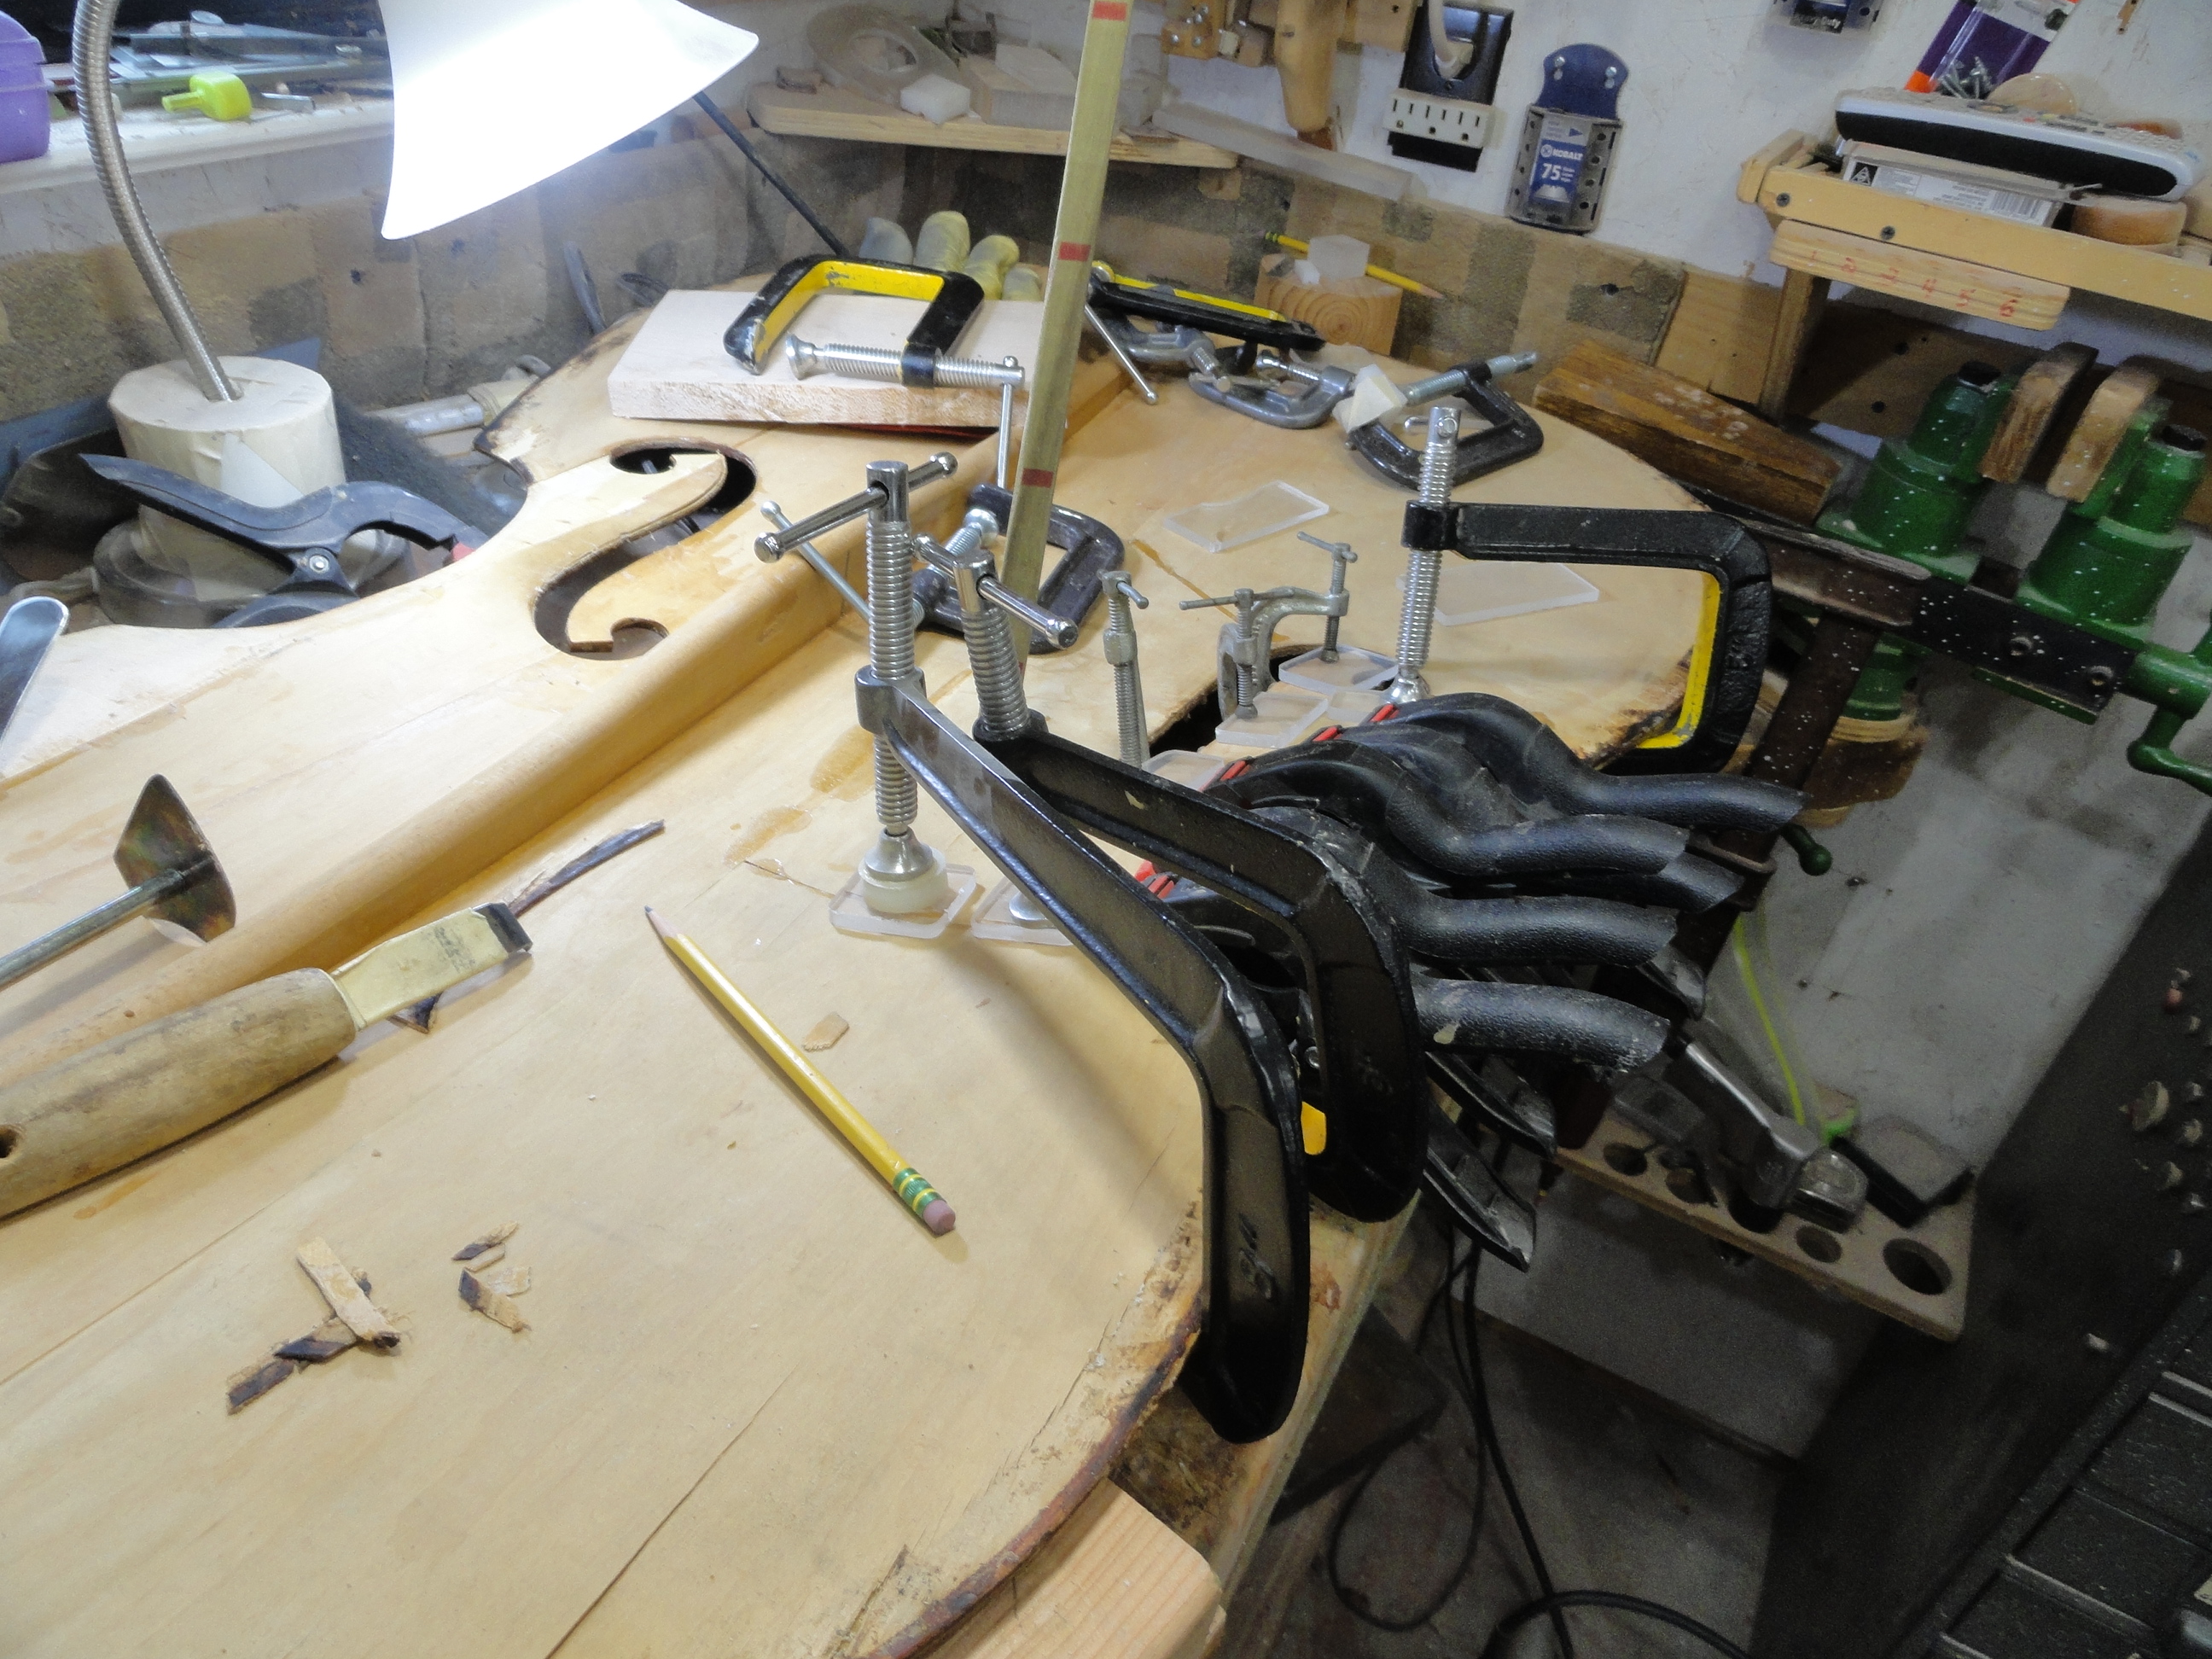
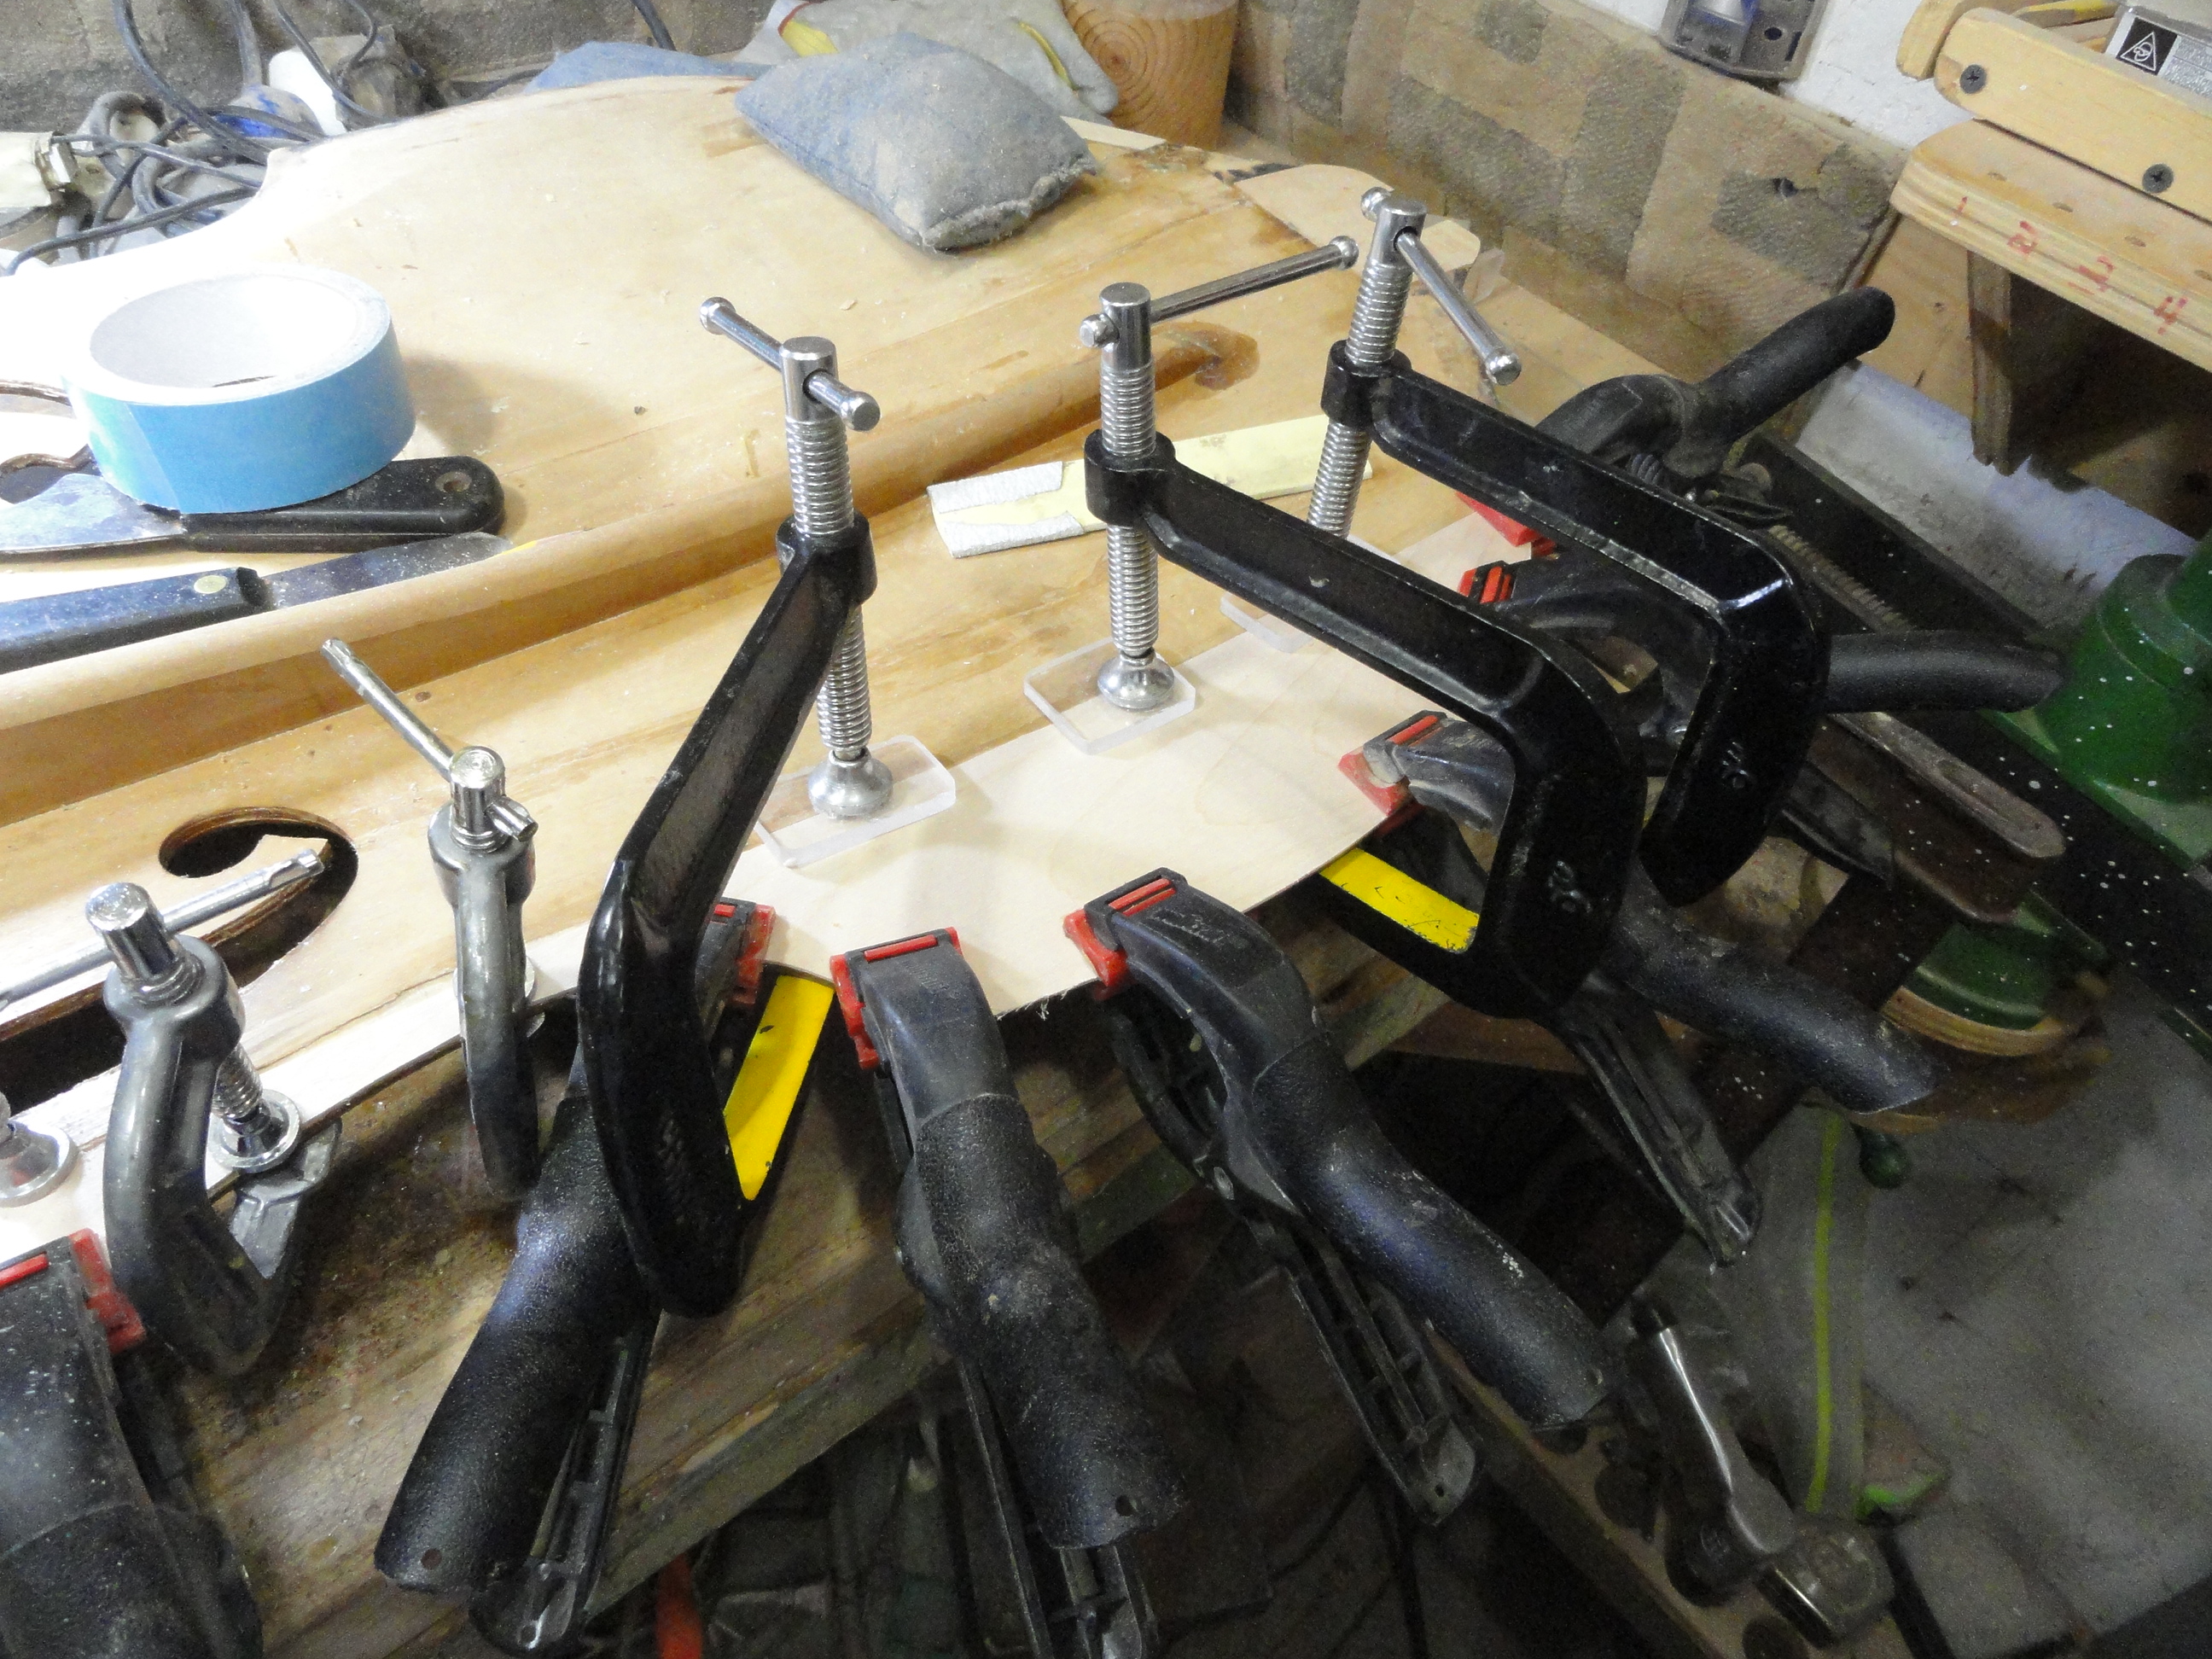
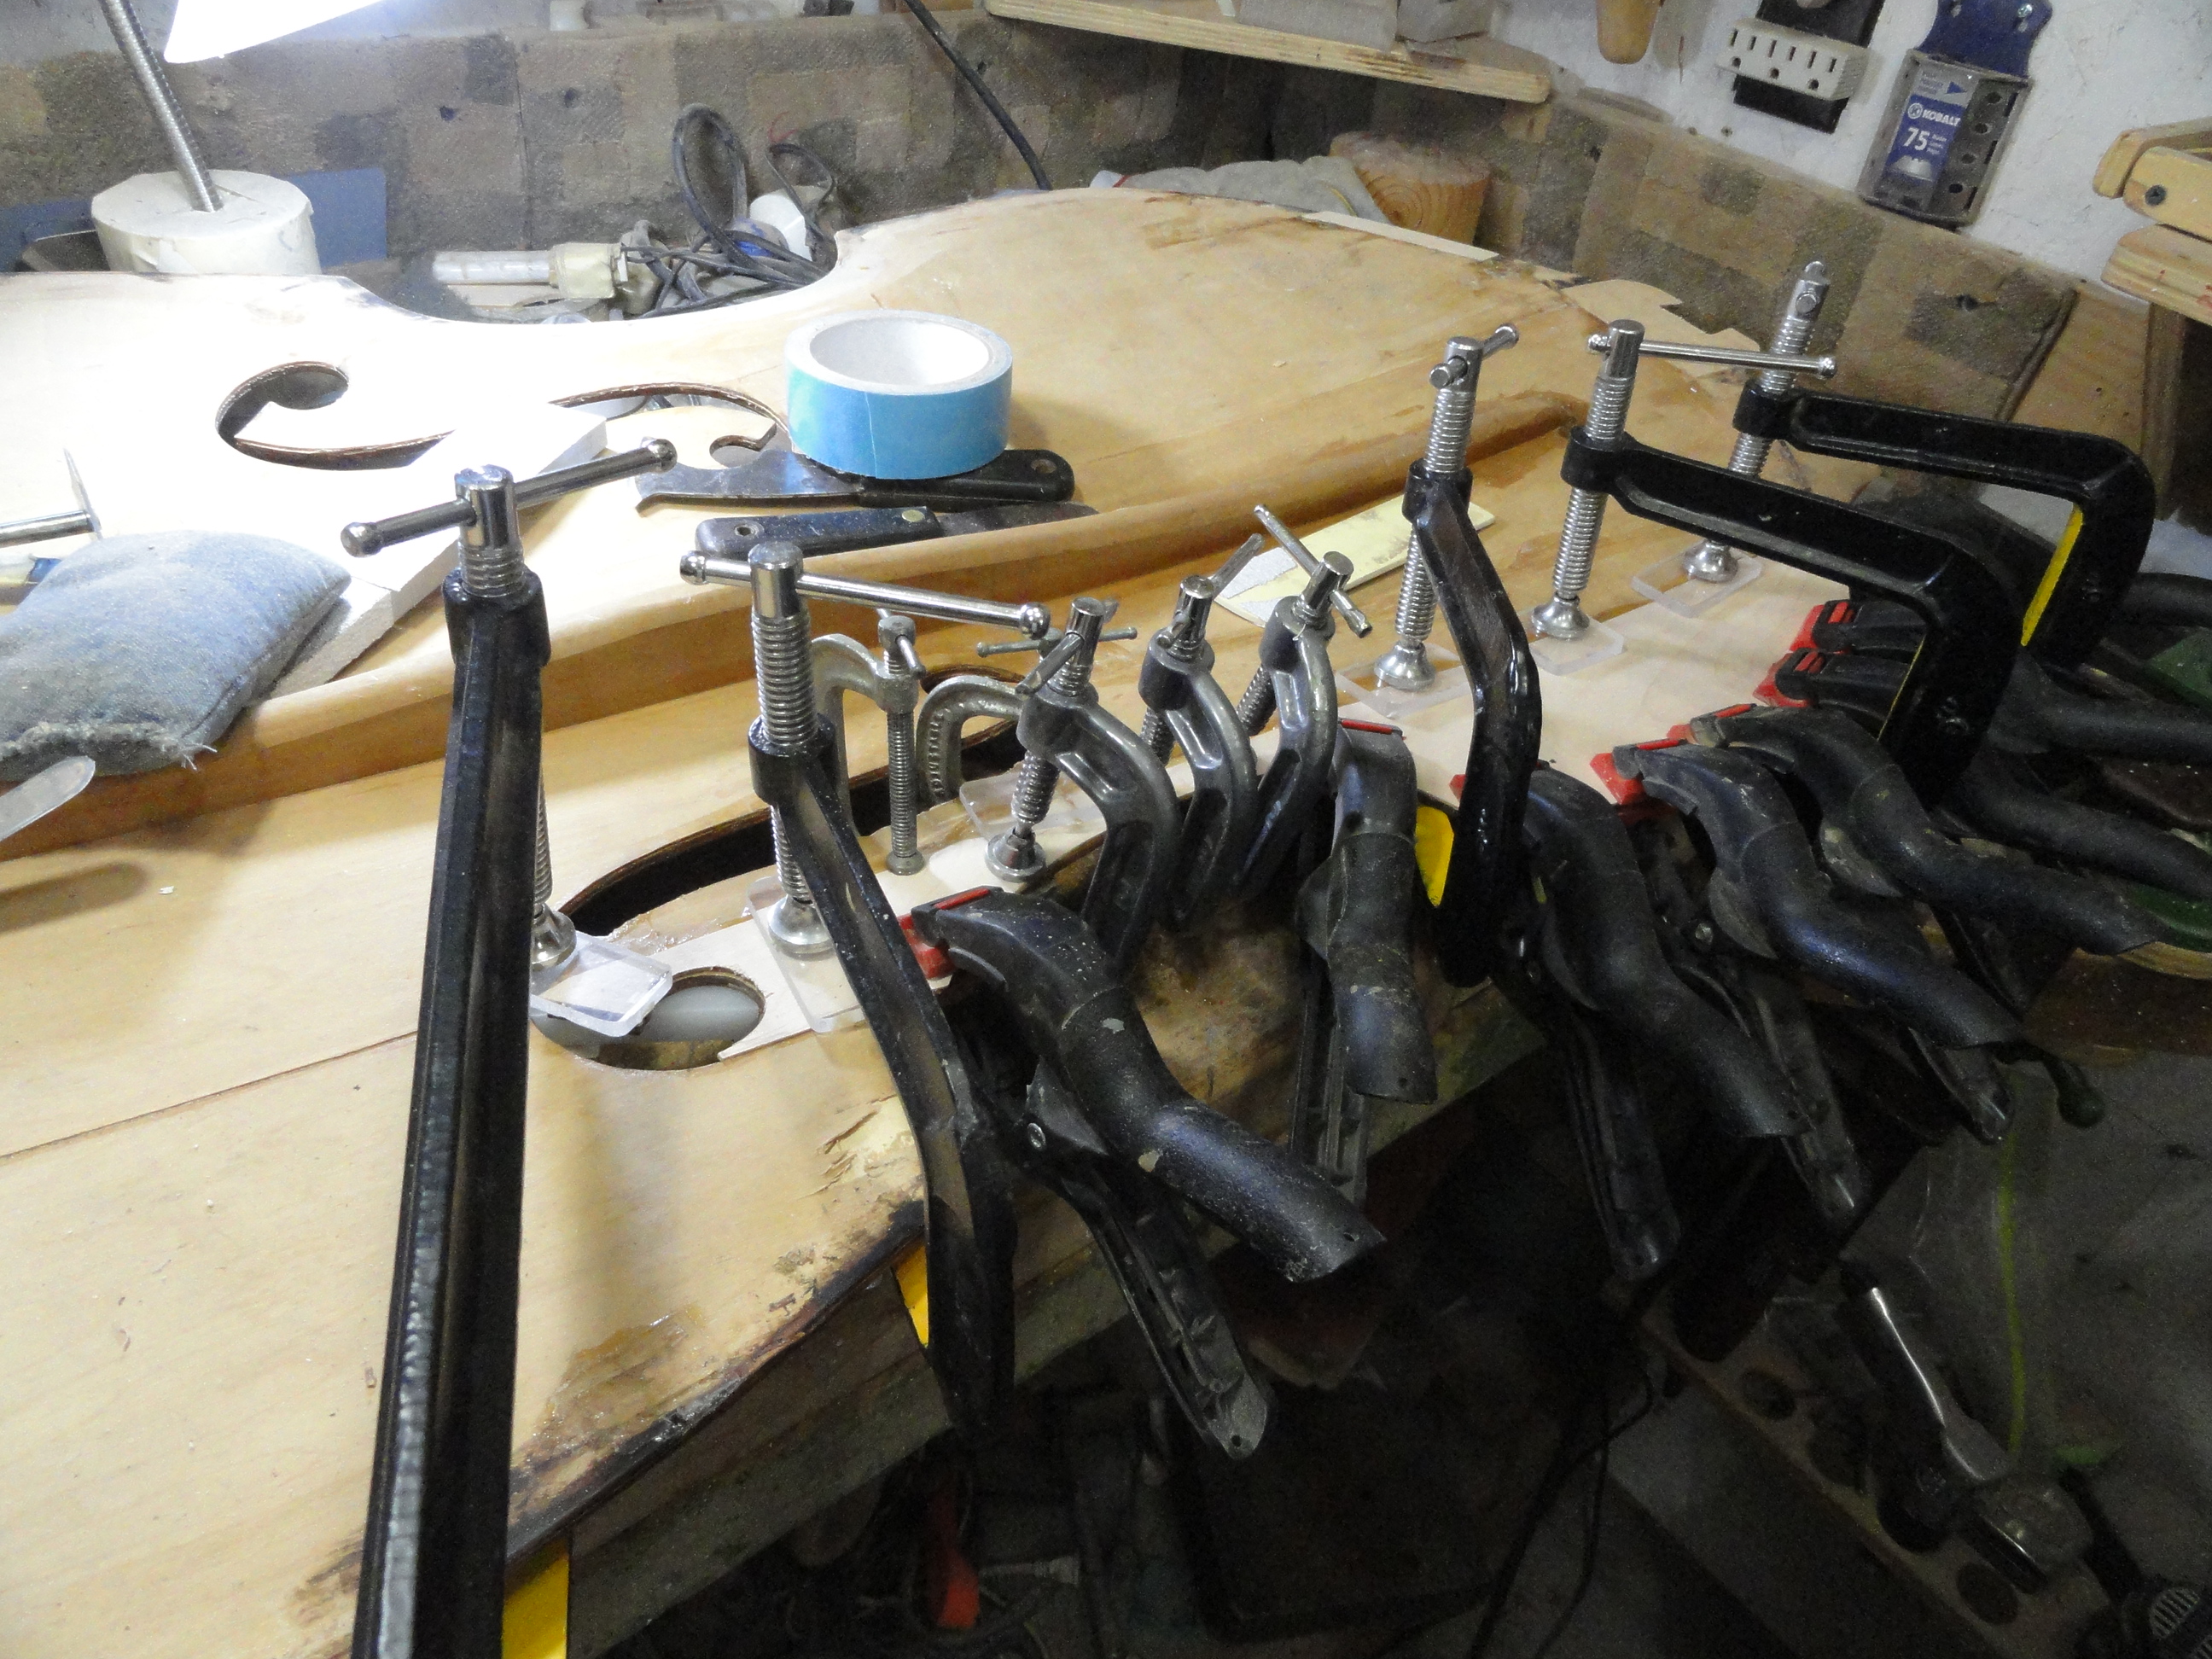
A row of clamps on the edge.
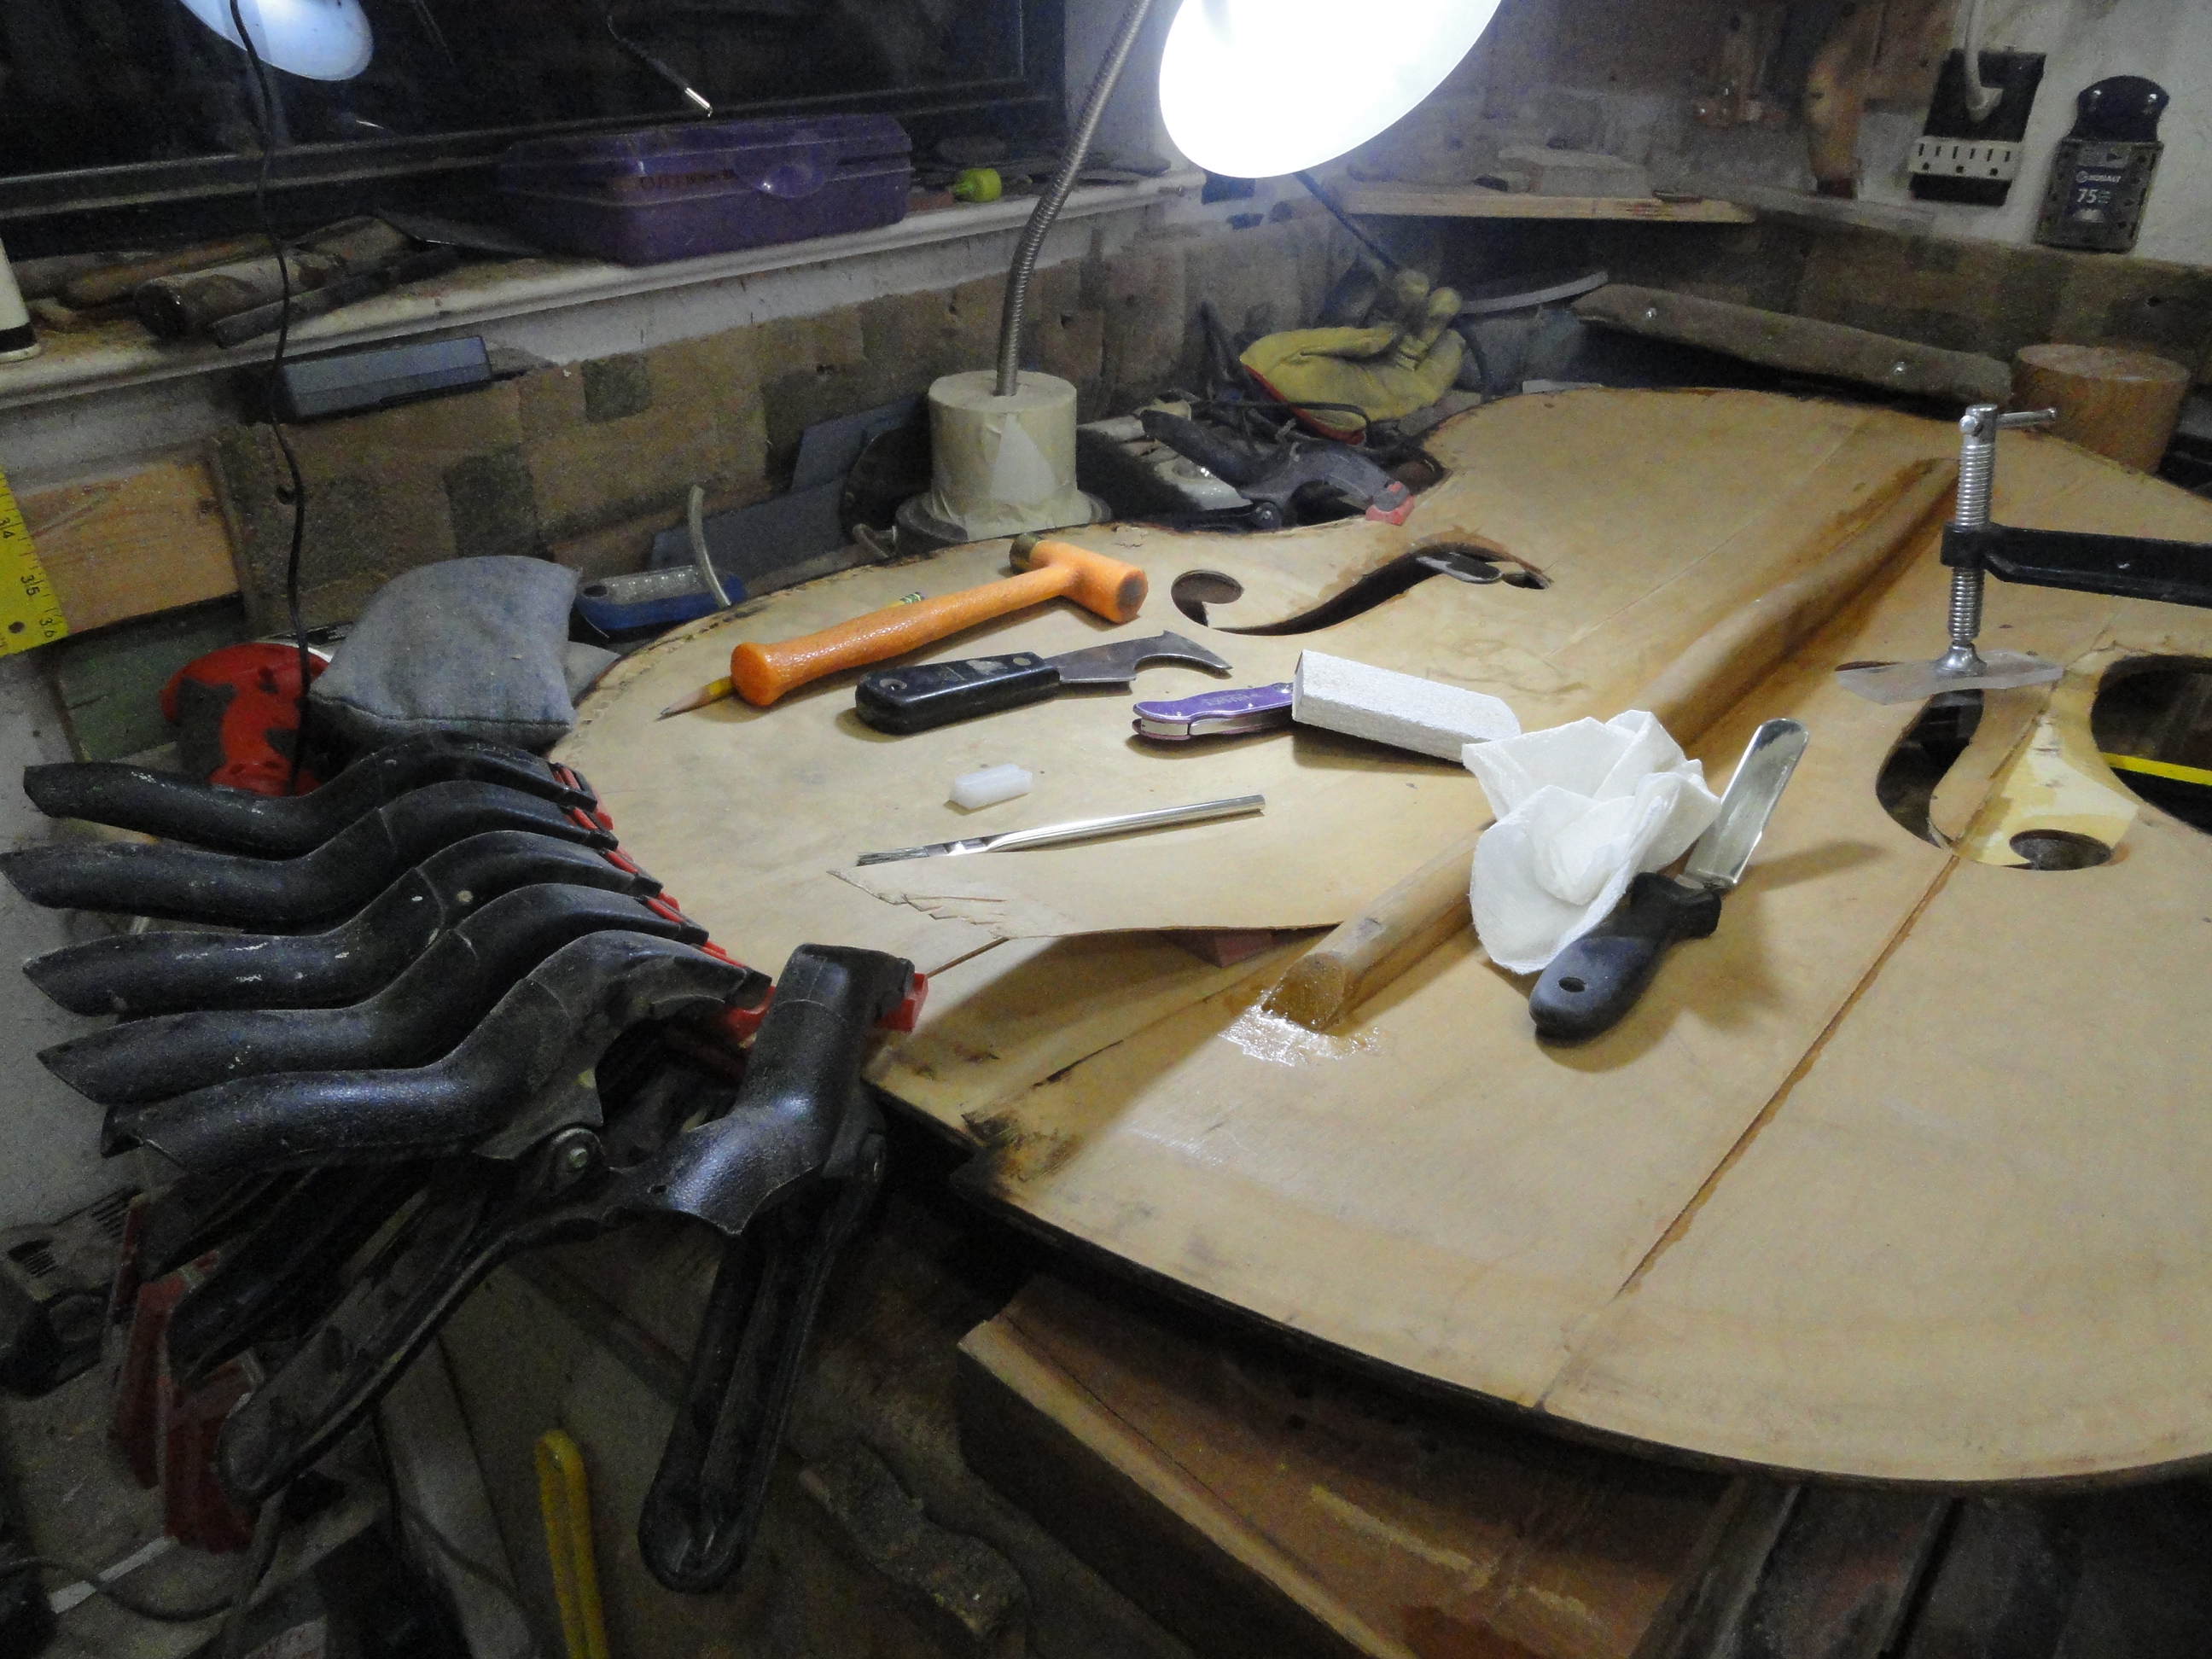
This strip was loose for a long distance.
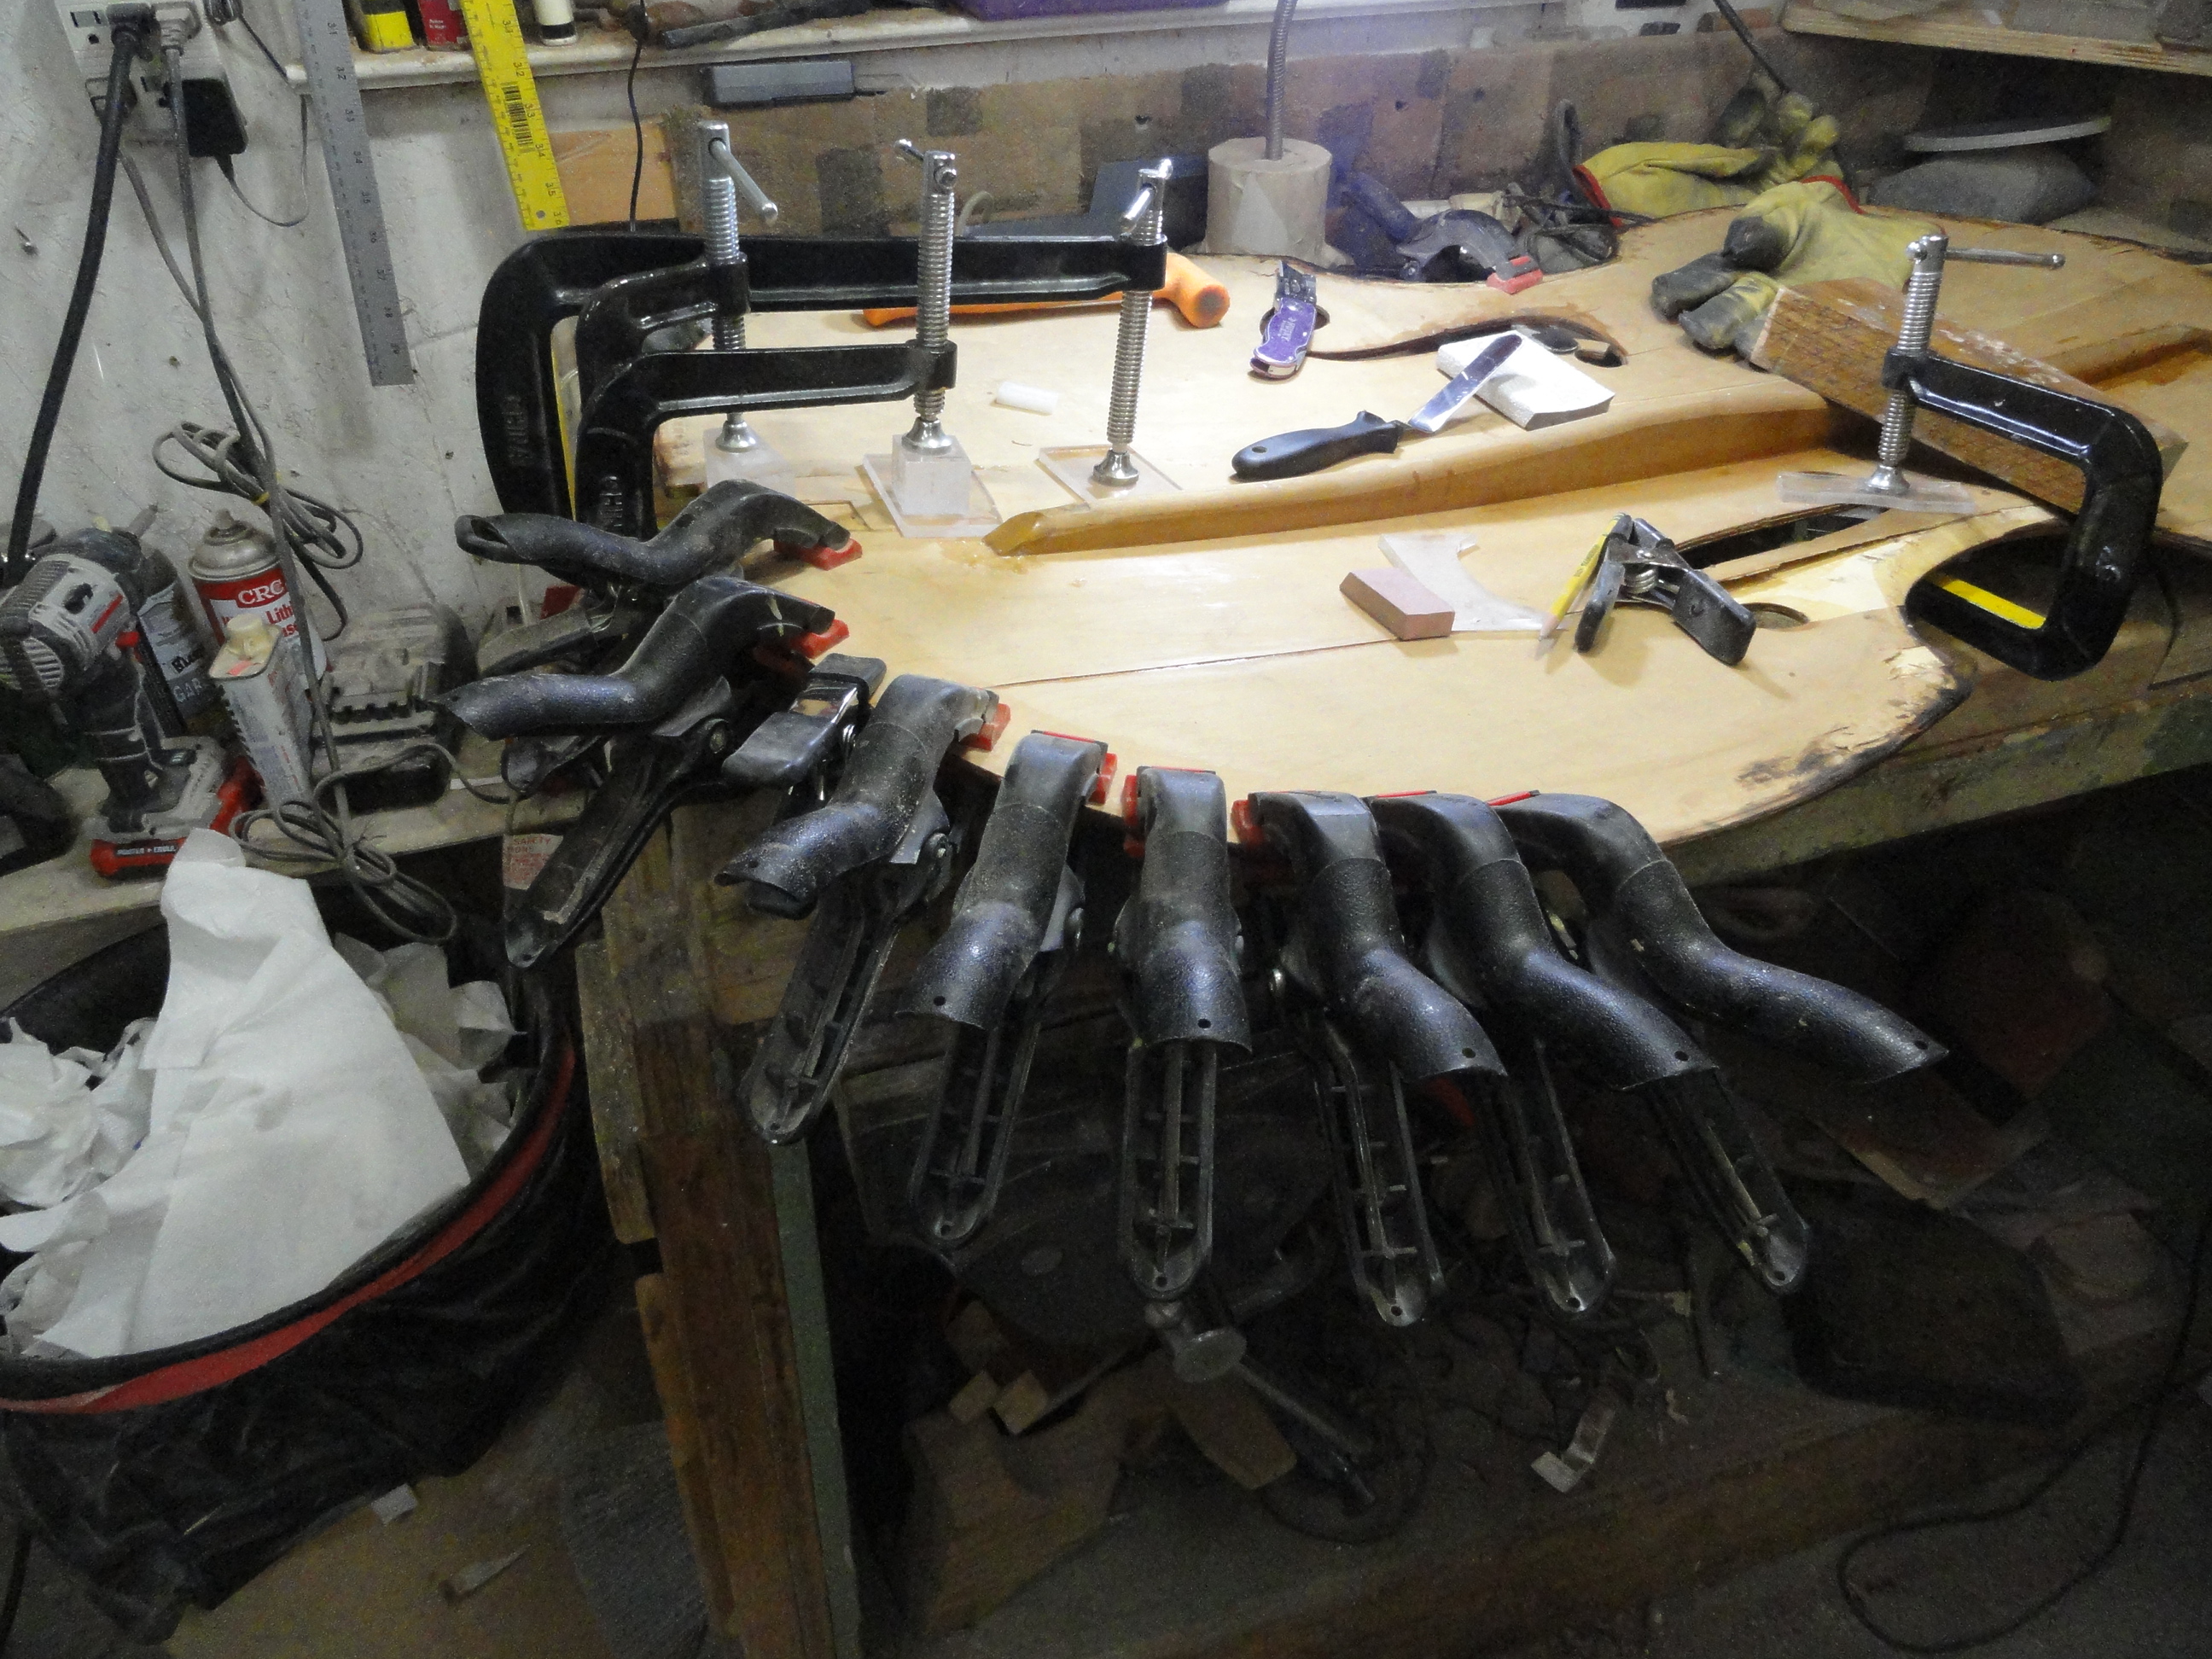
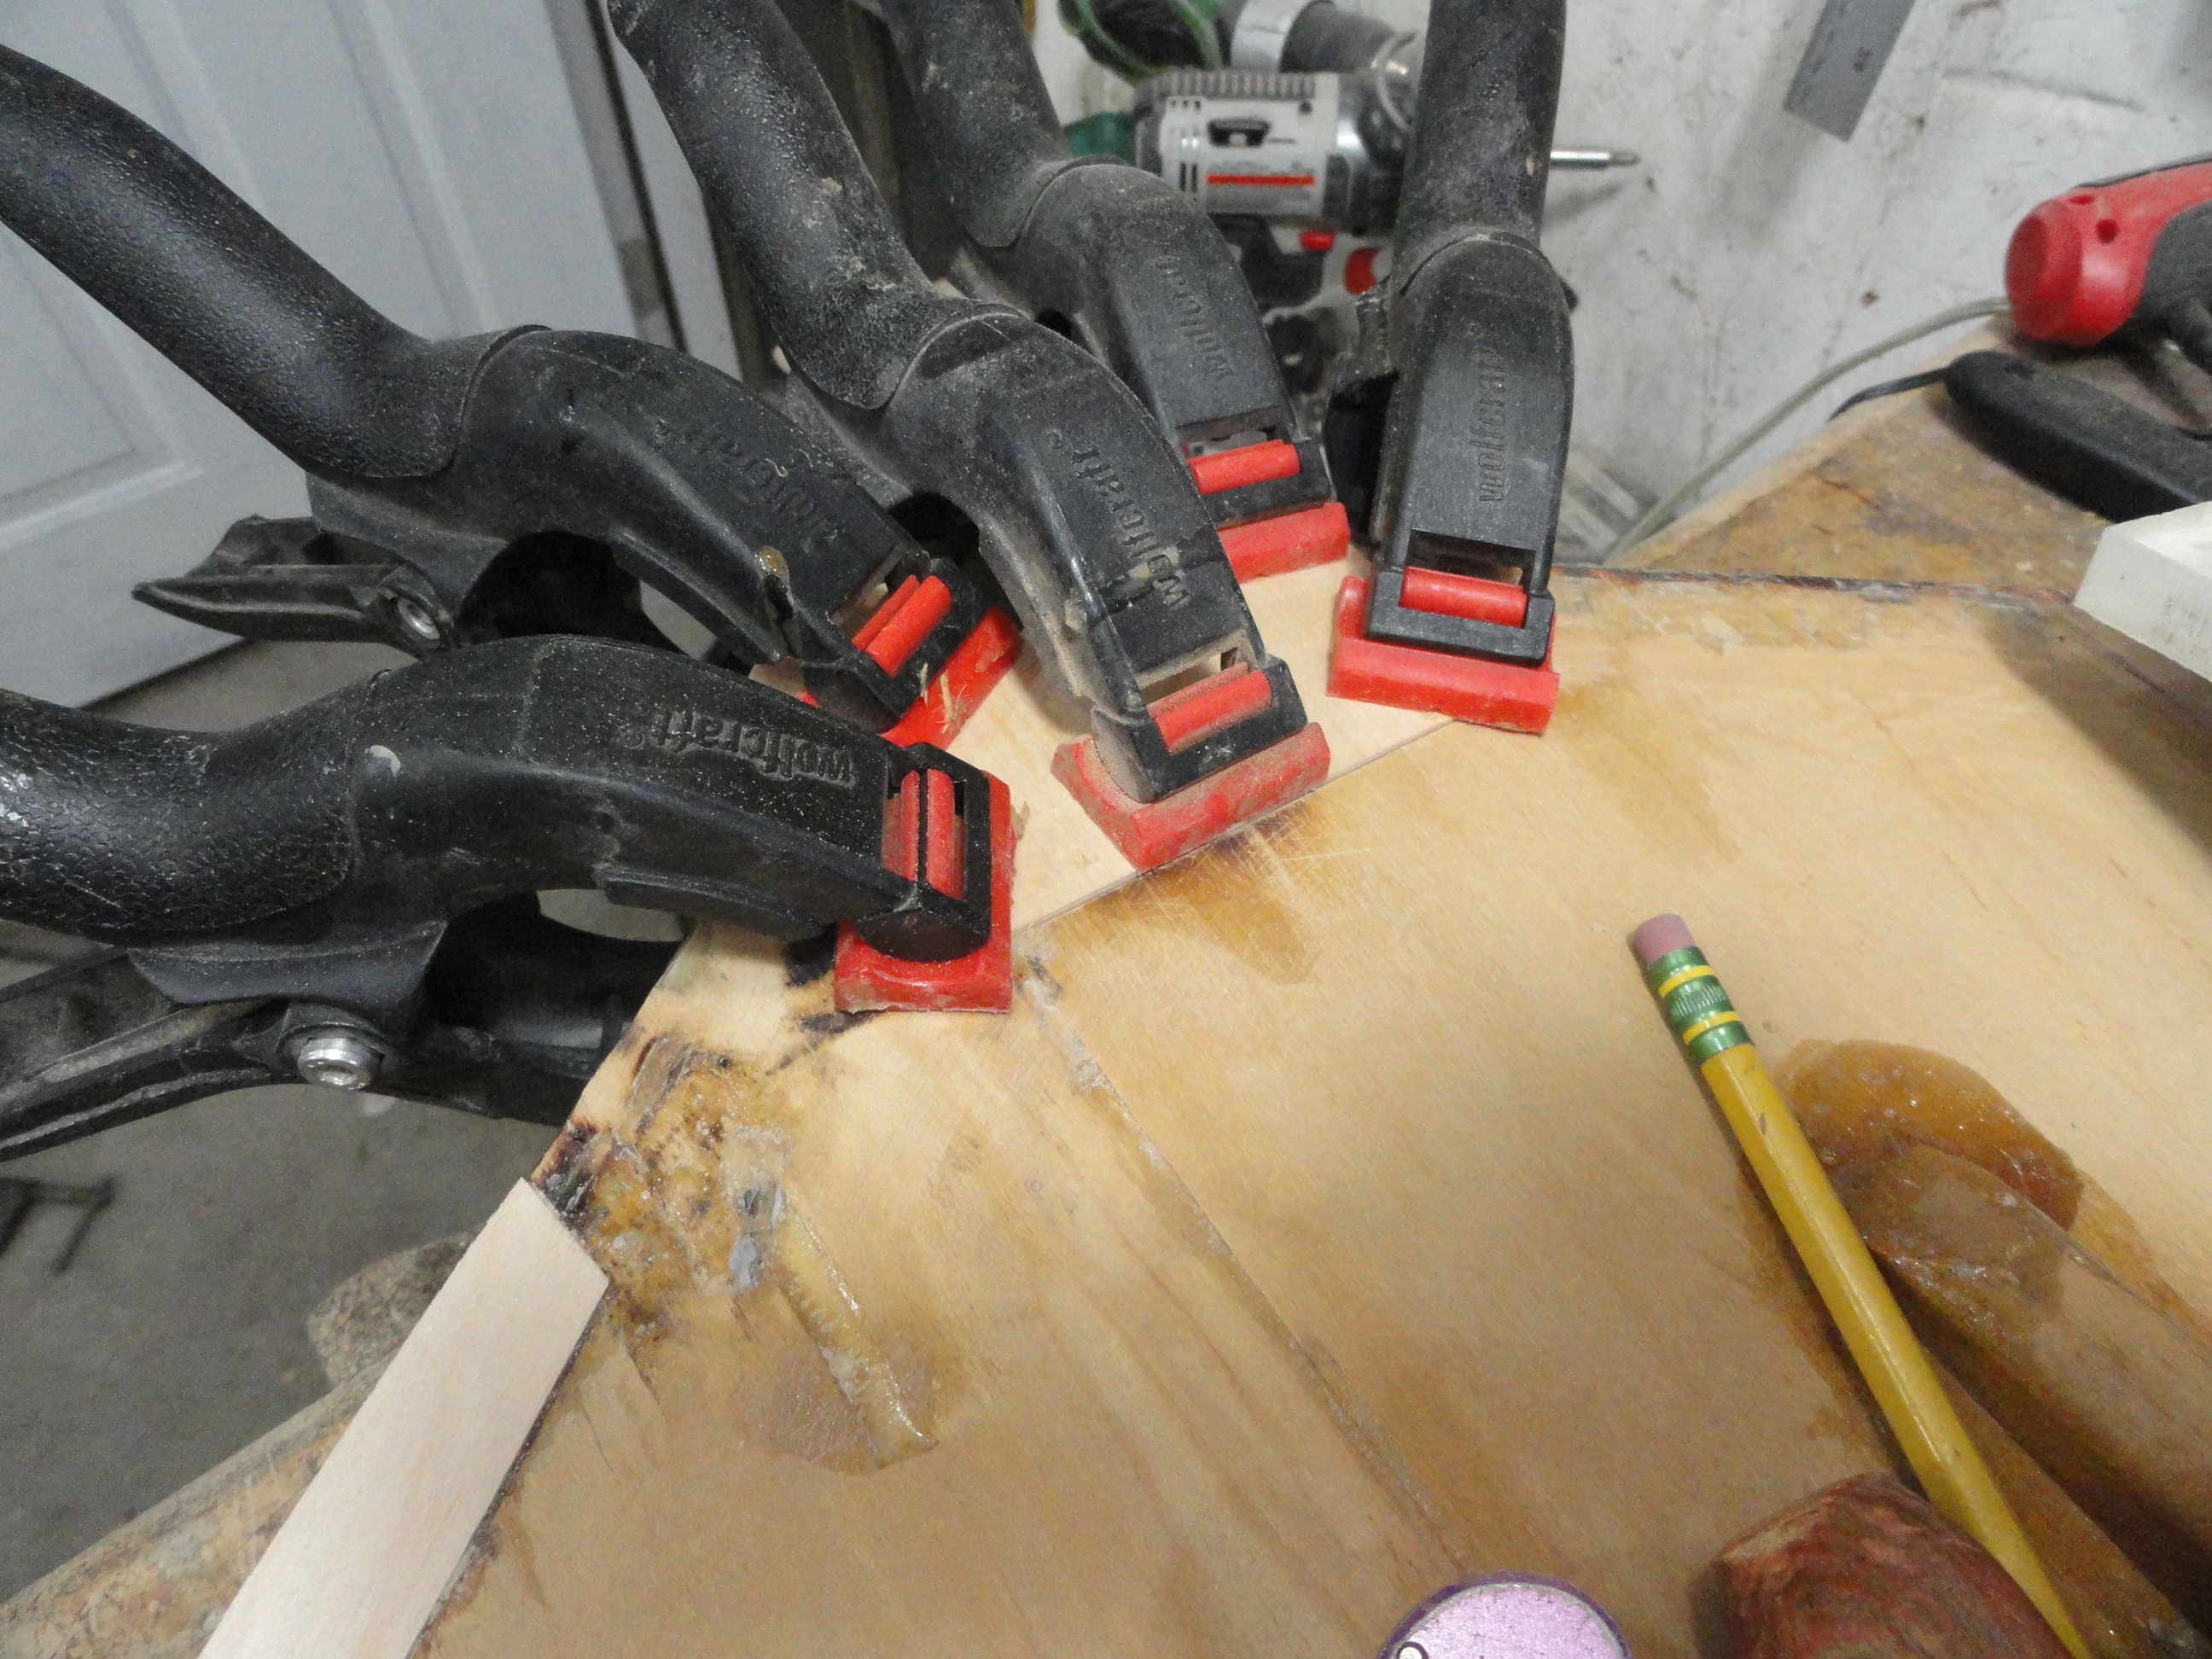
More clamping and gluing.
More
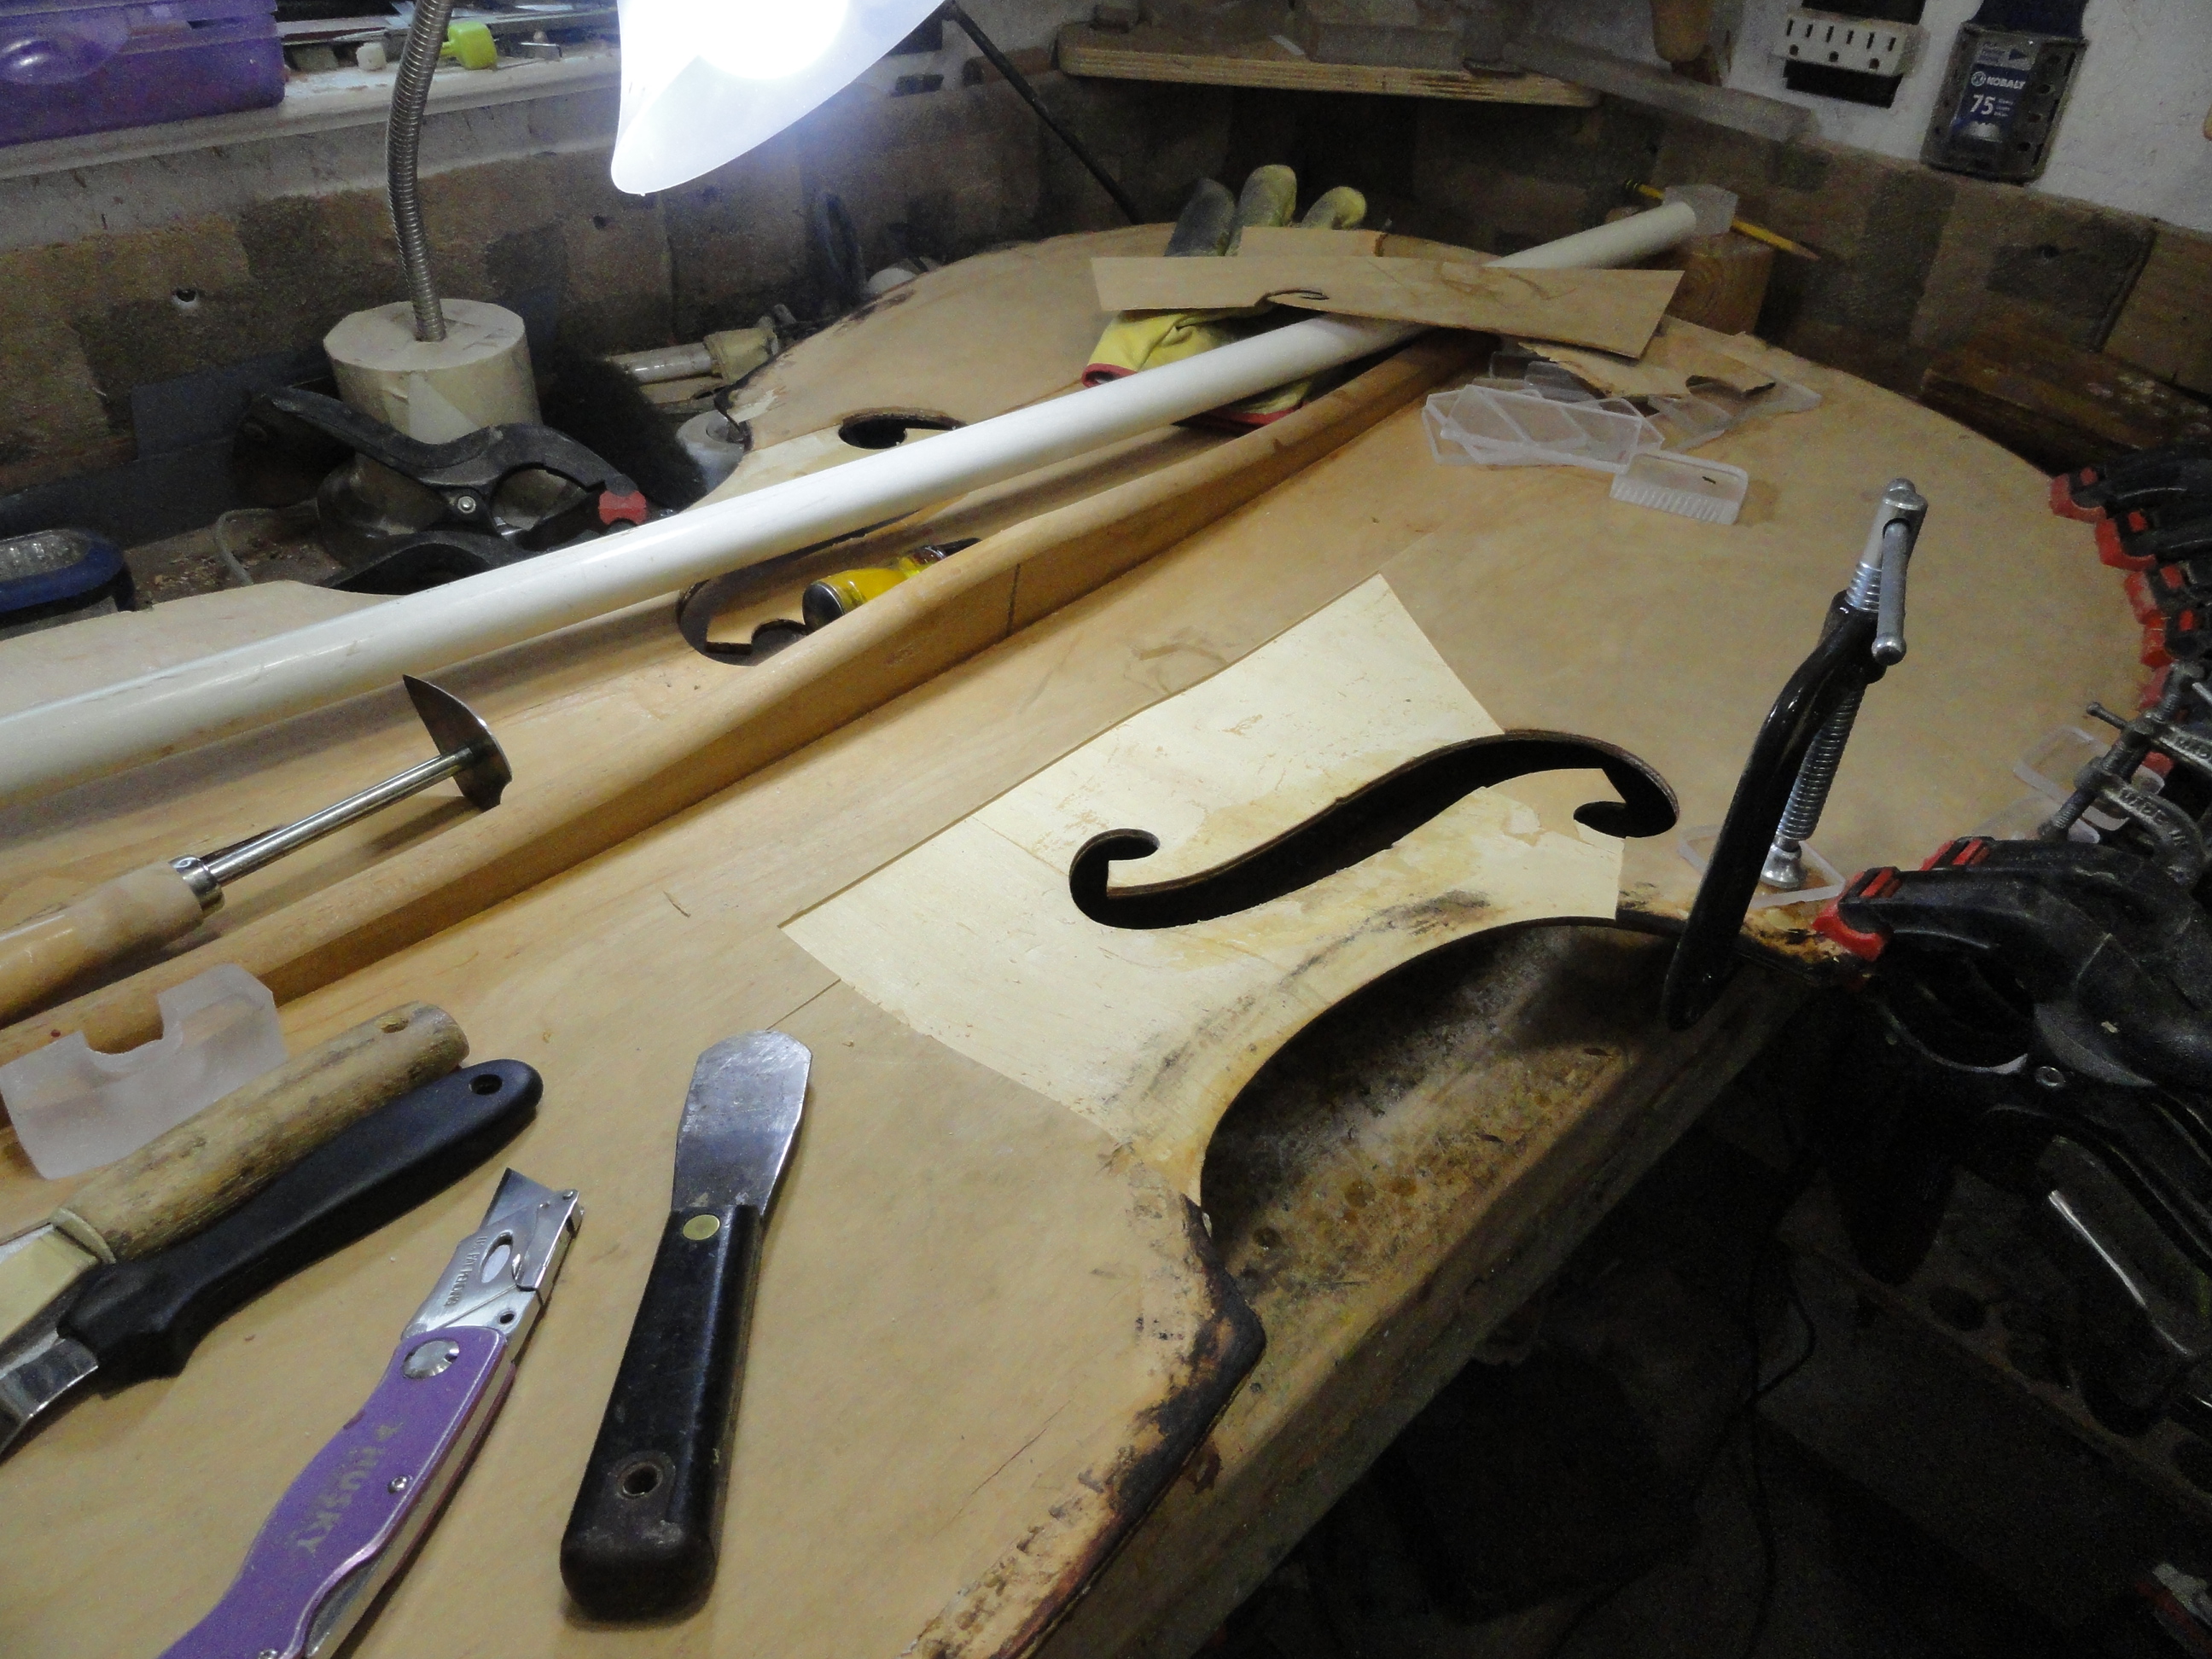
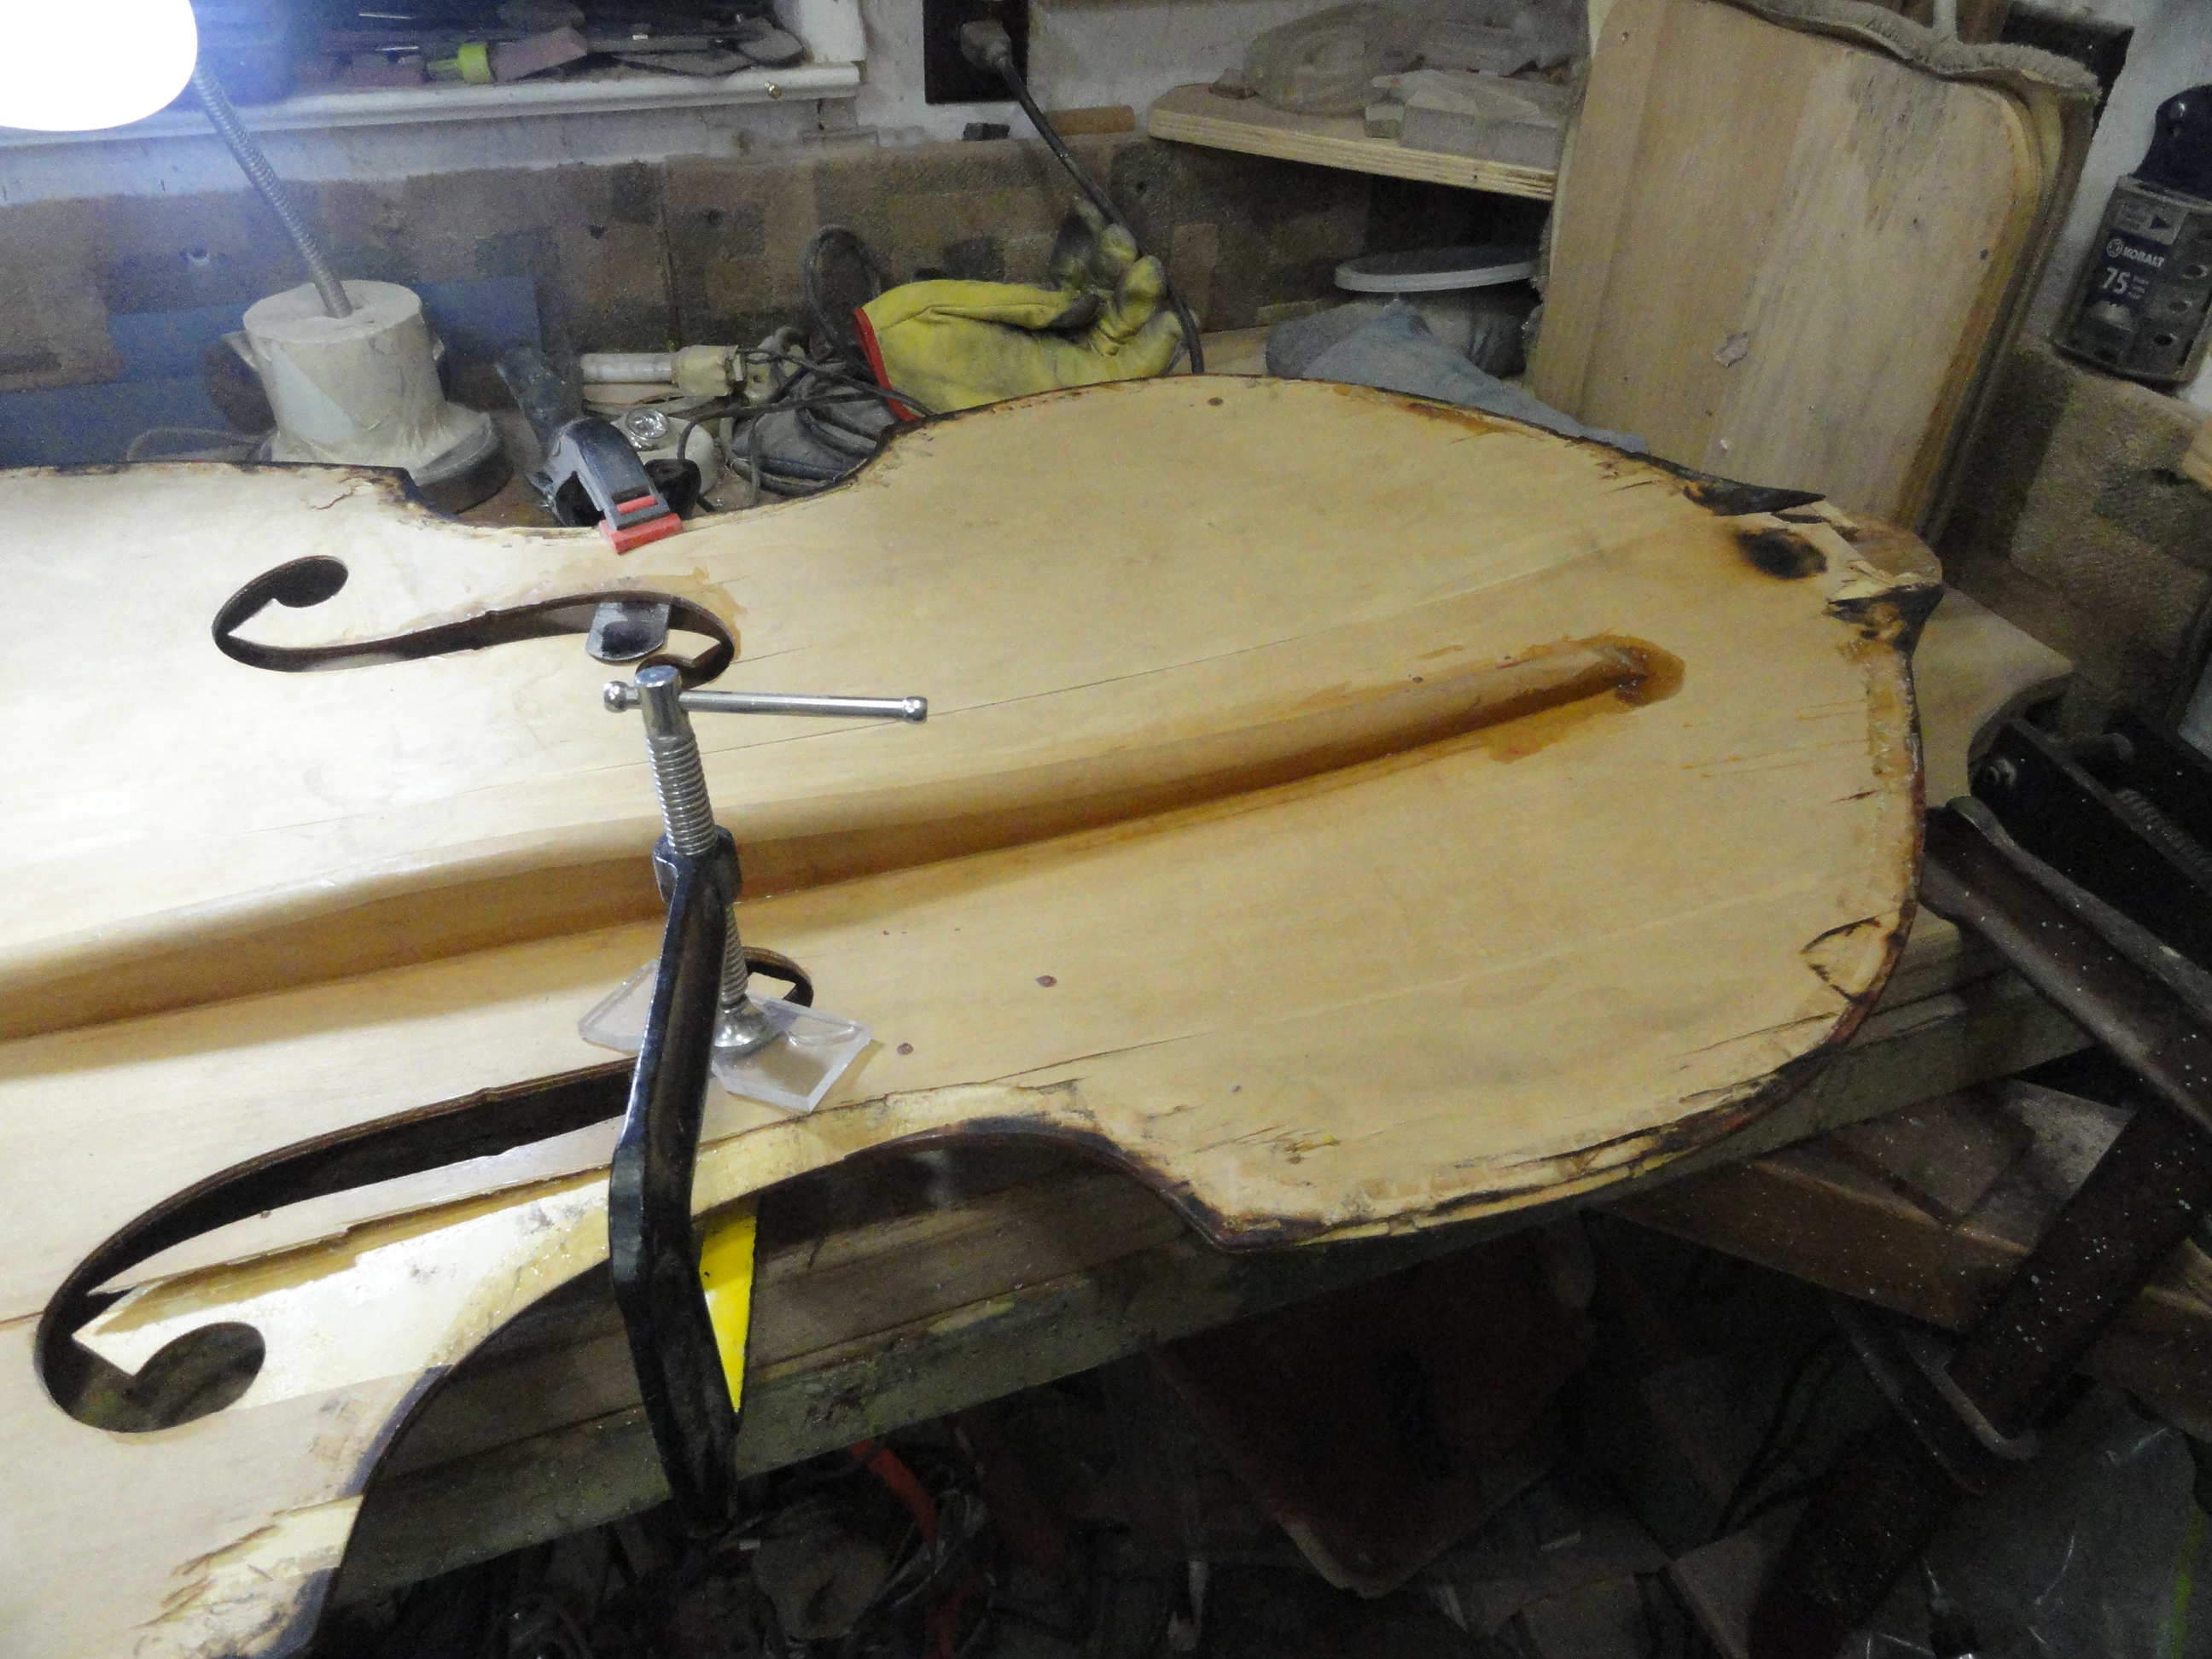
I cut out a section here and put some new wood in its place.
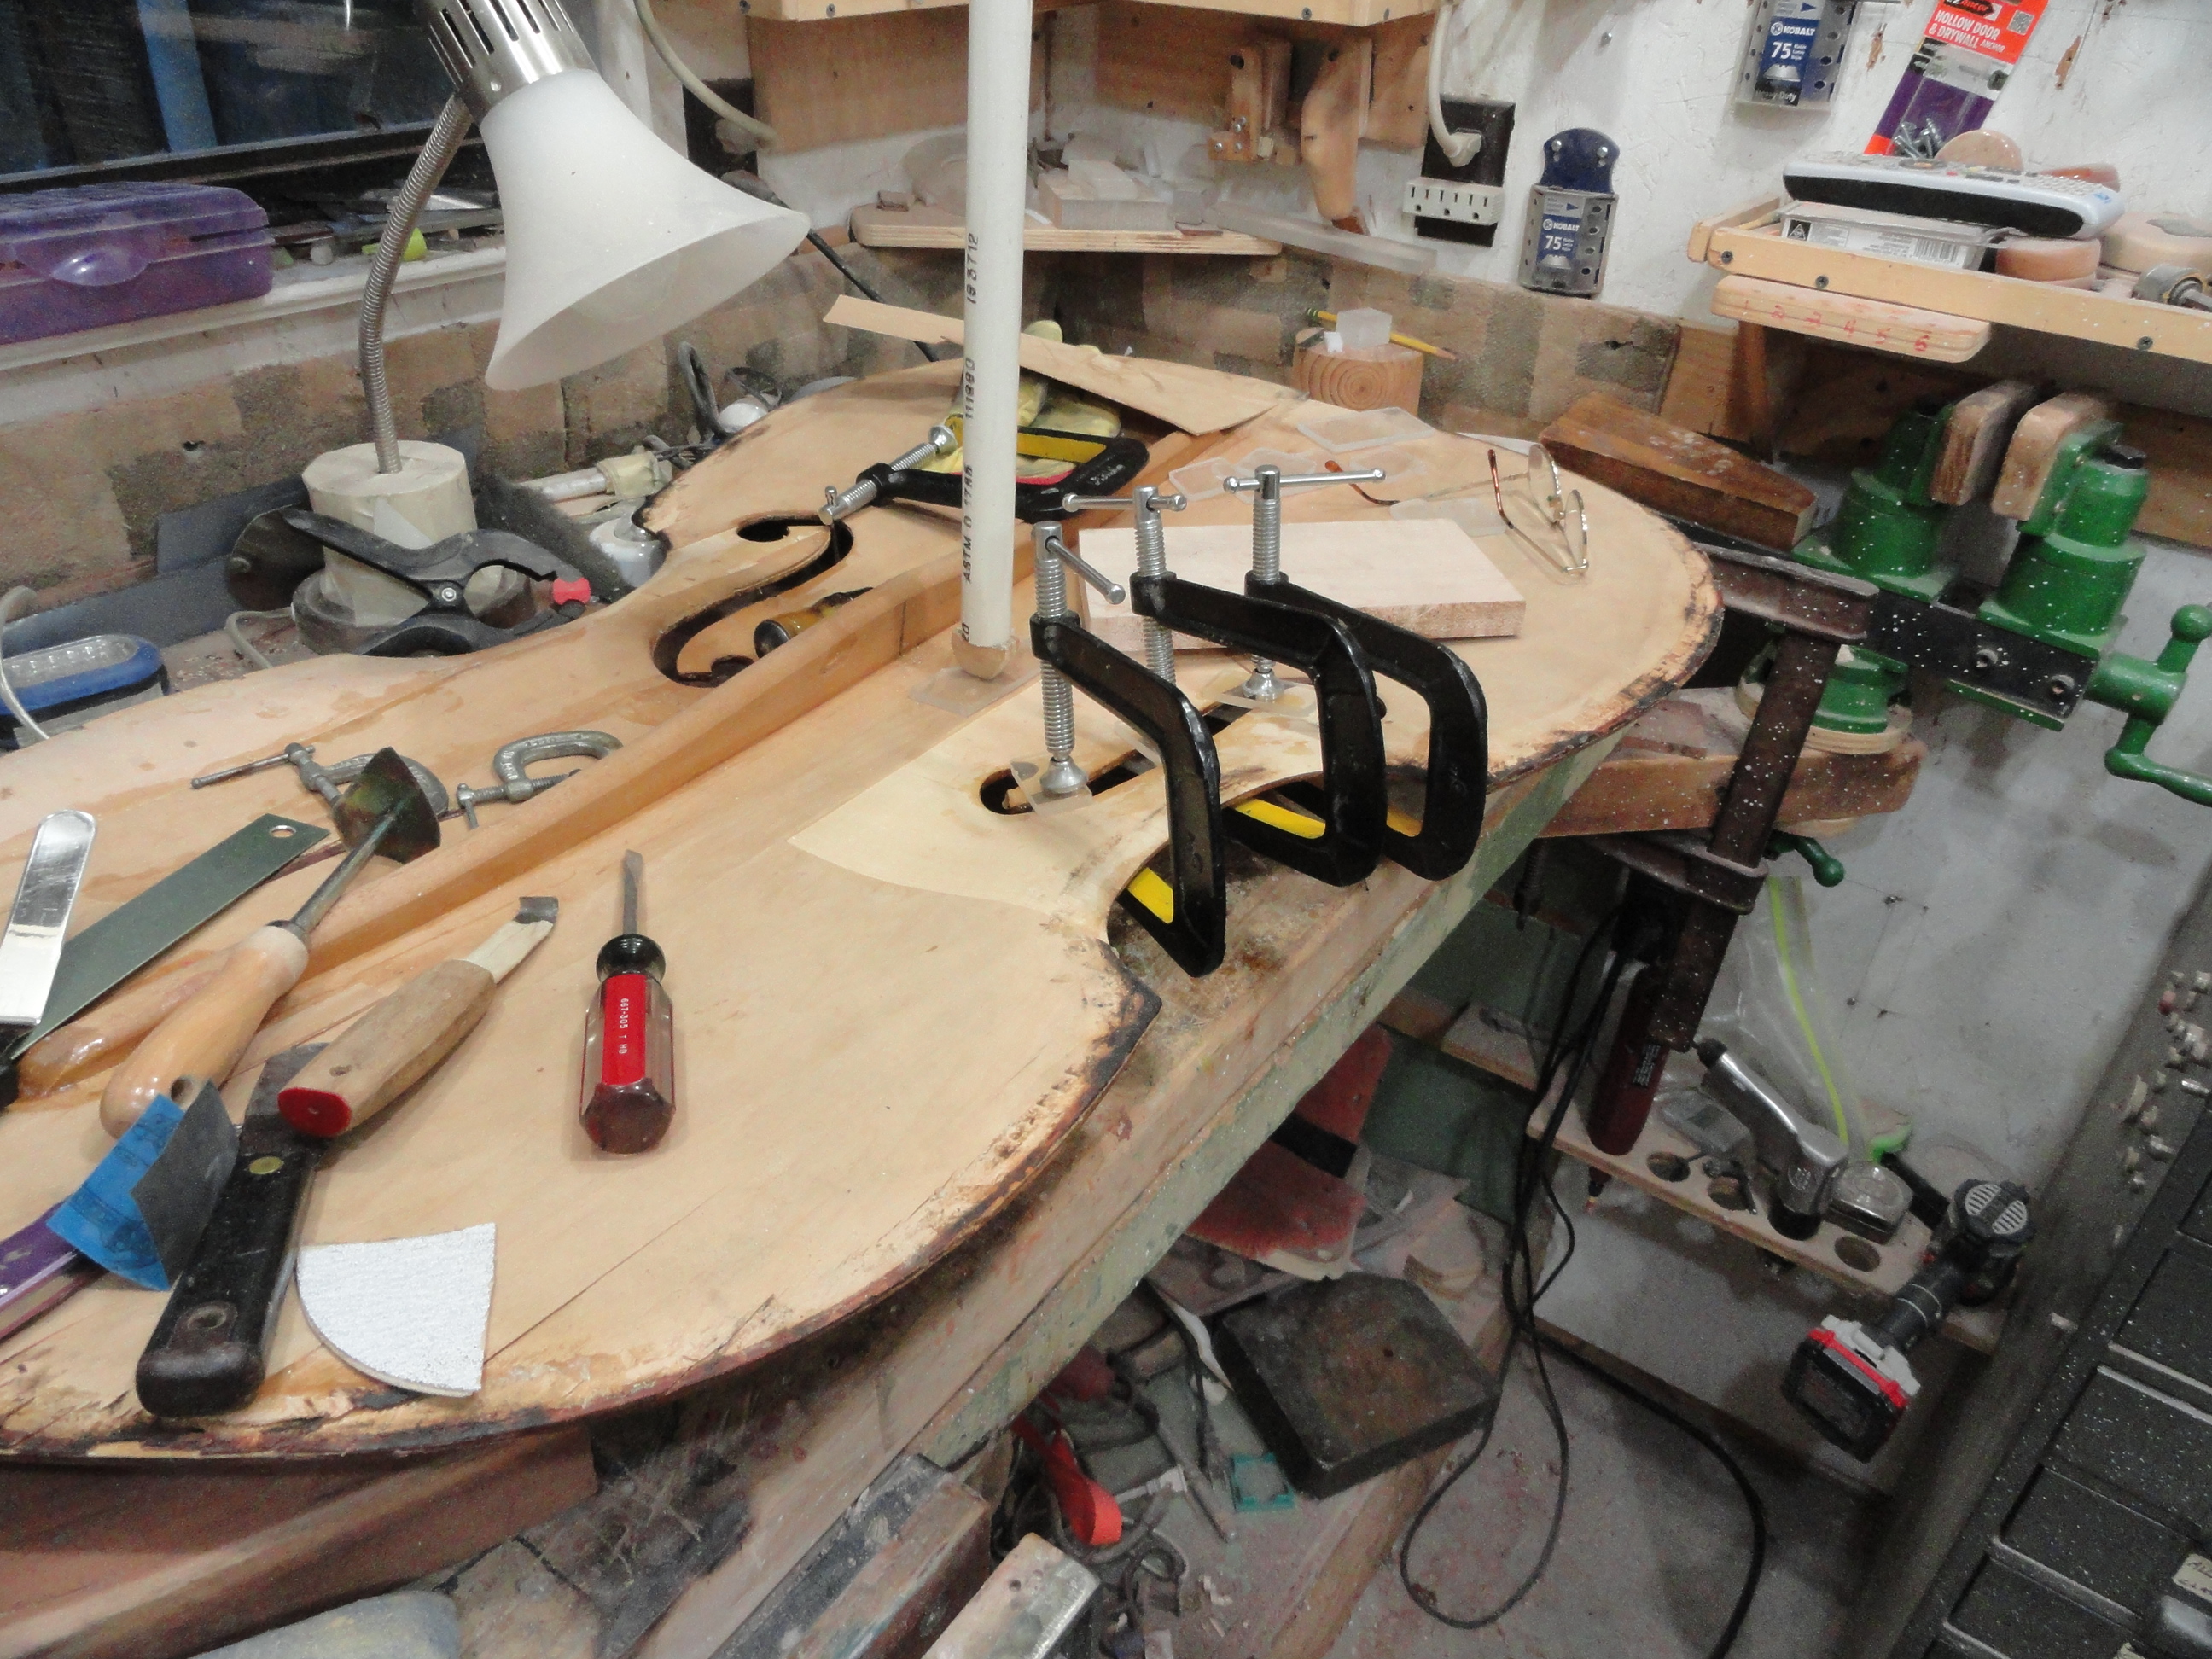
Clamps everywhere.

Some new wood was put in some places.
A new piece of maple.
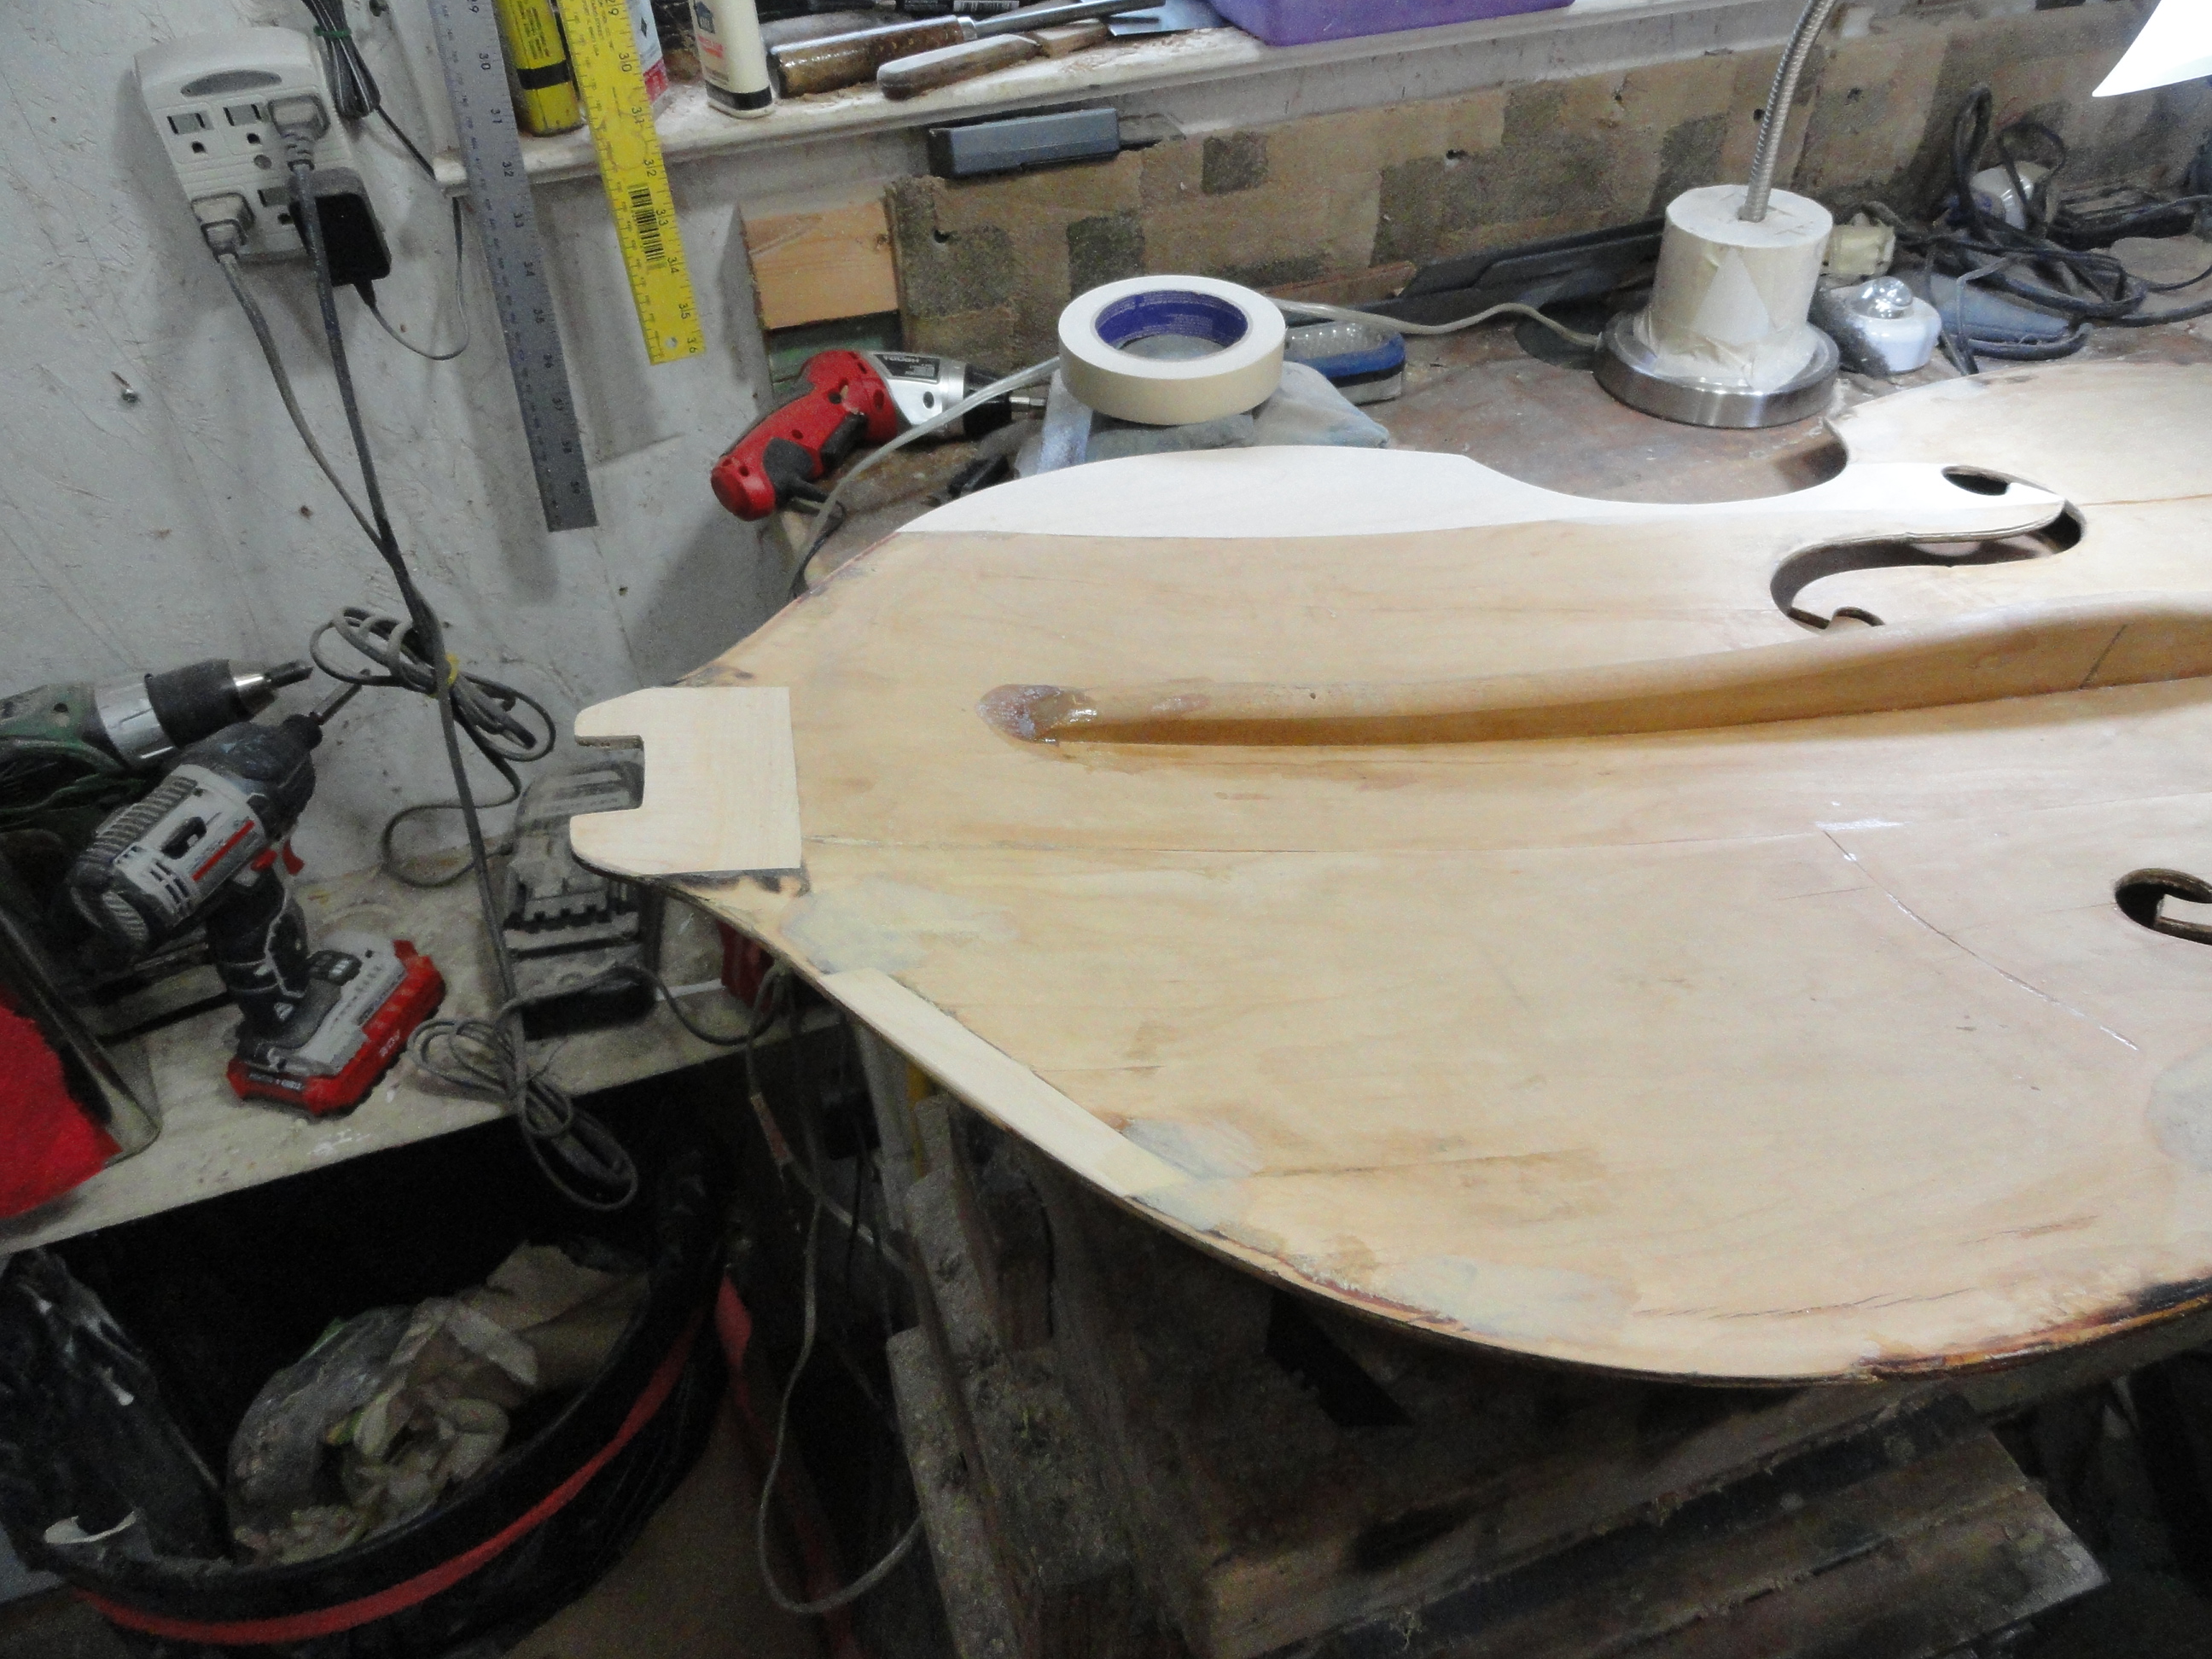


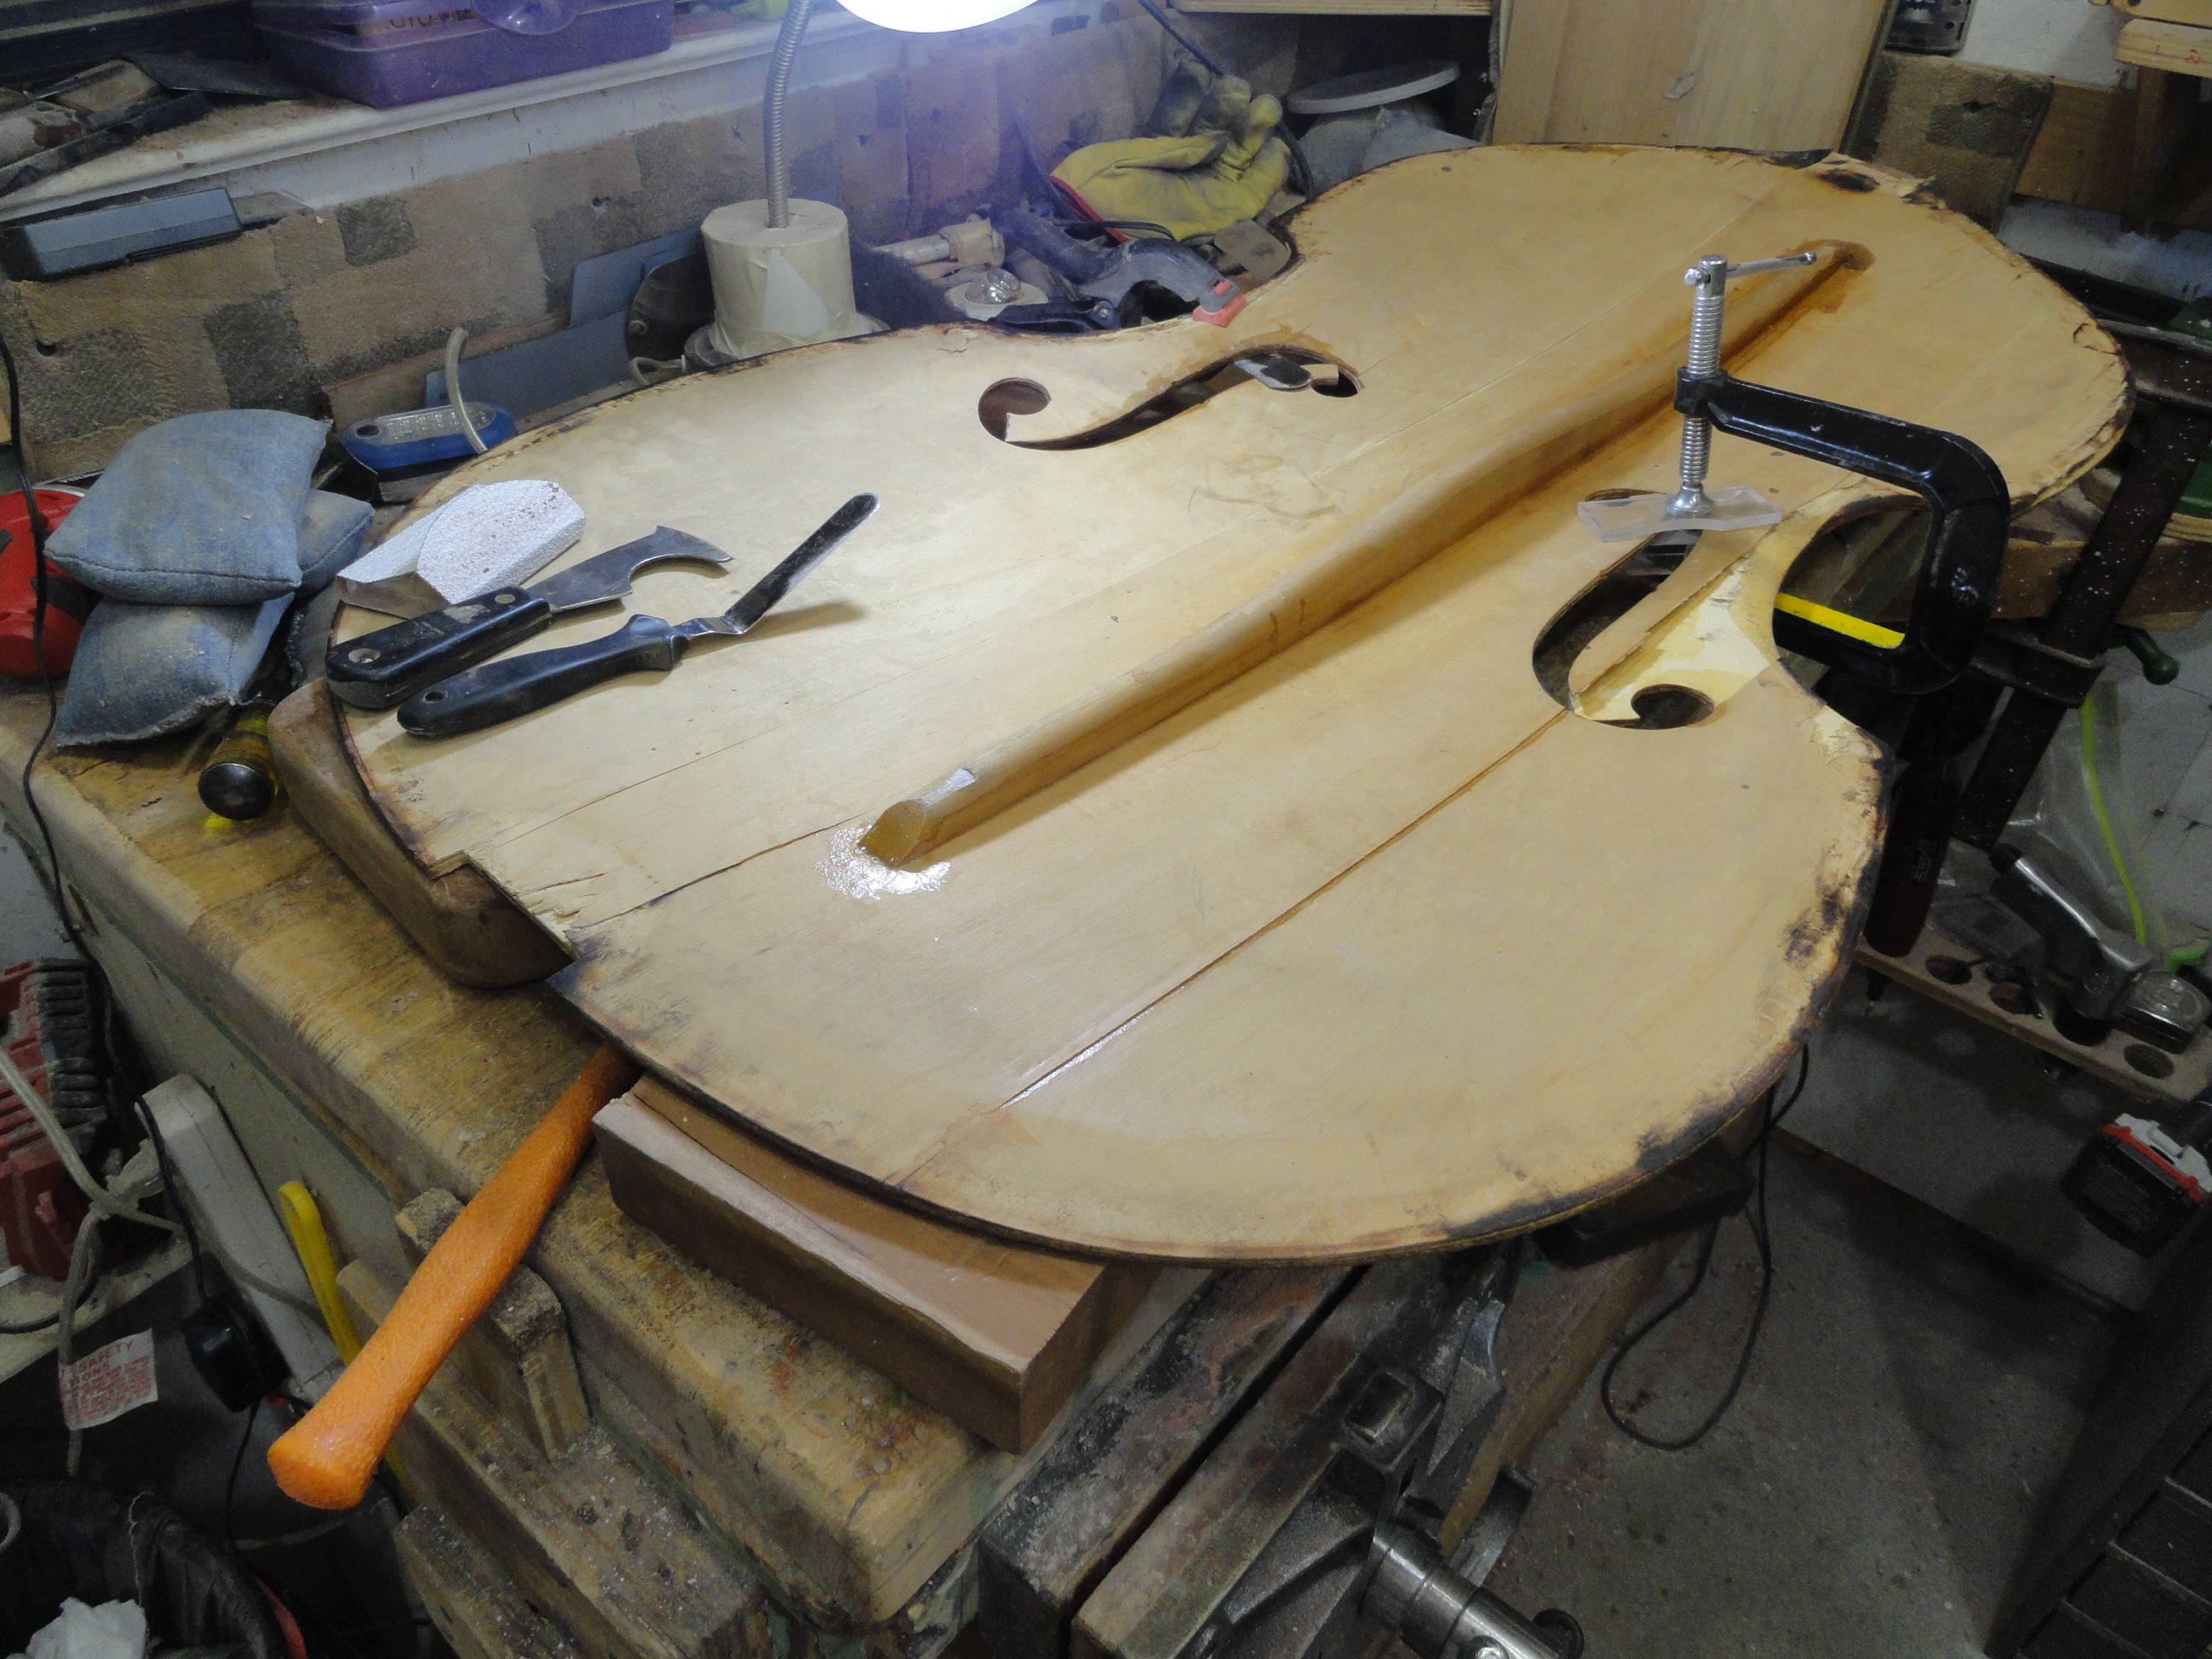
This picture is what the finished product looked like. A lot of time was spent gluing and filling the voids to prepare the top for reattachment.
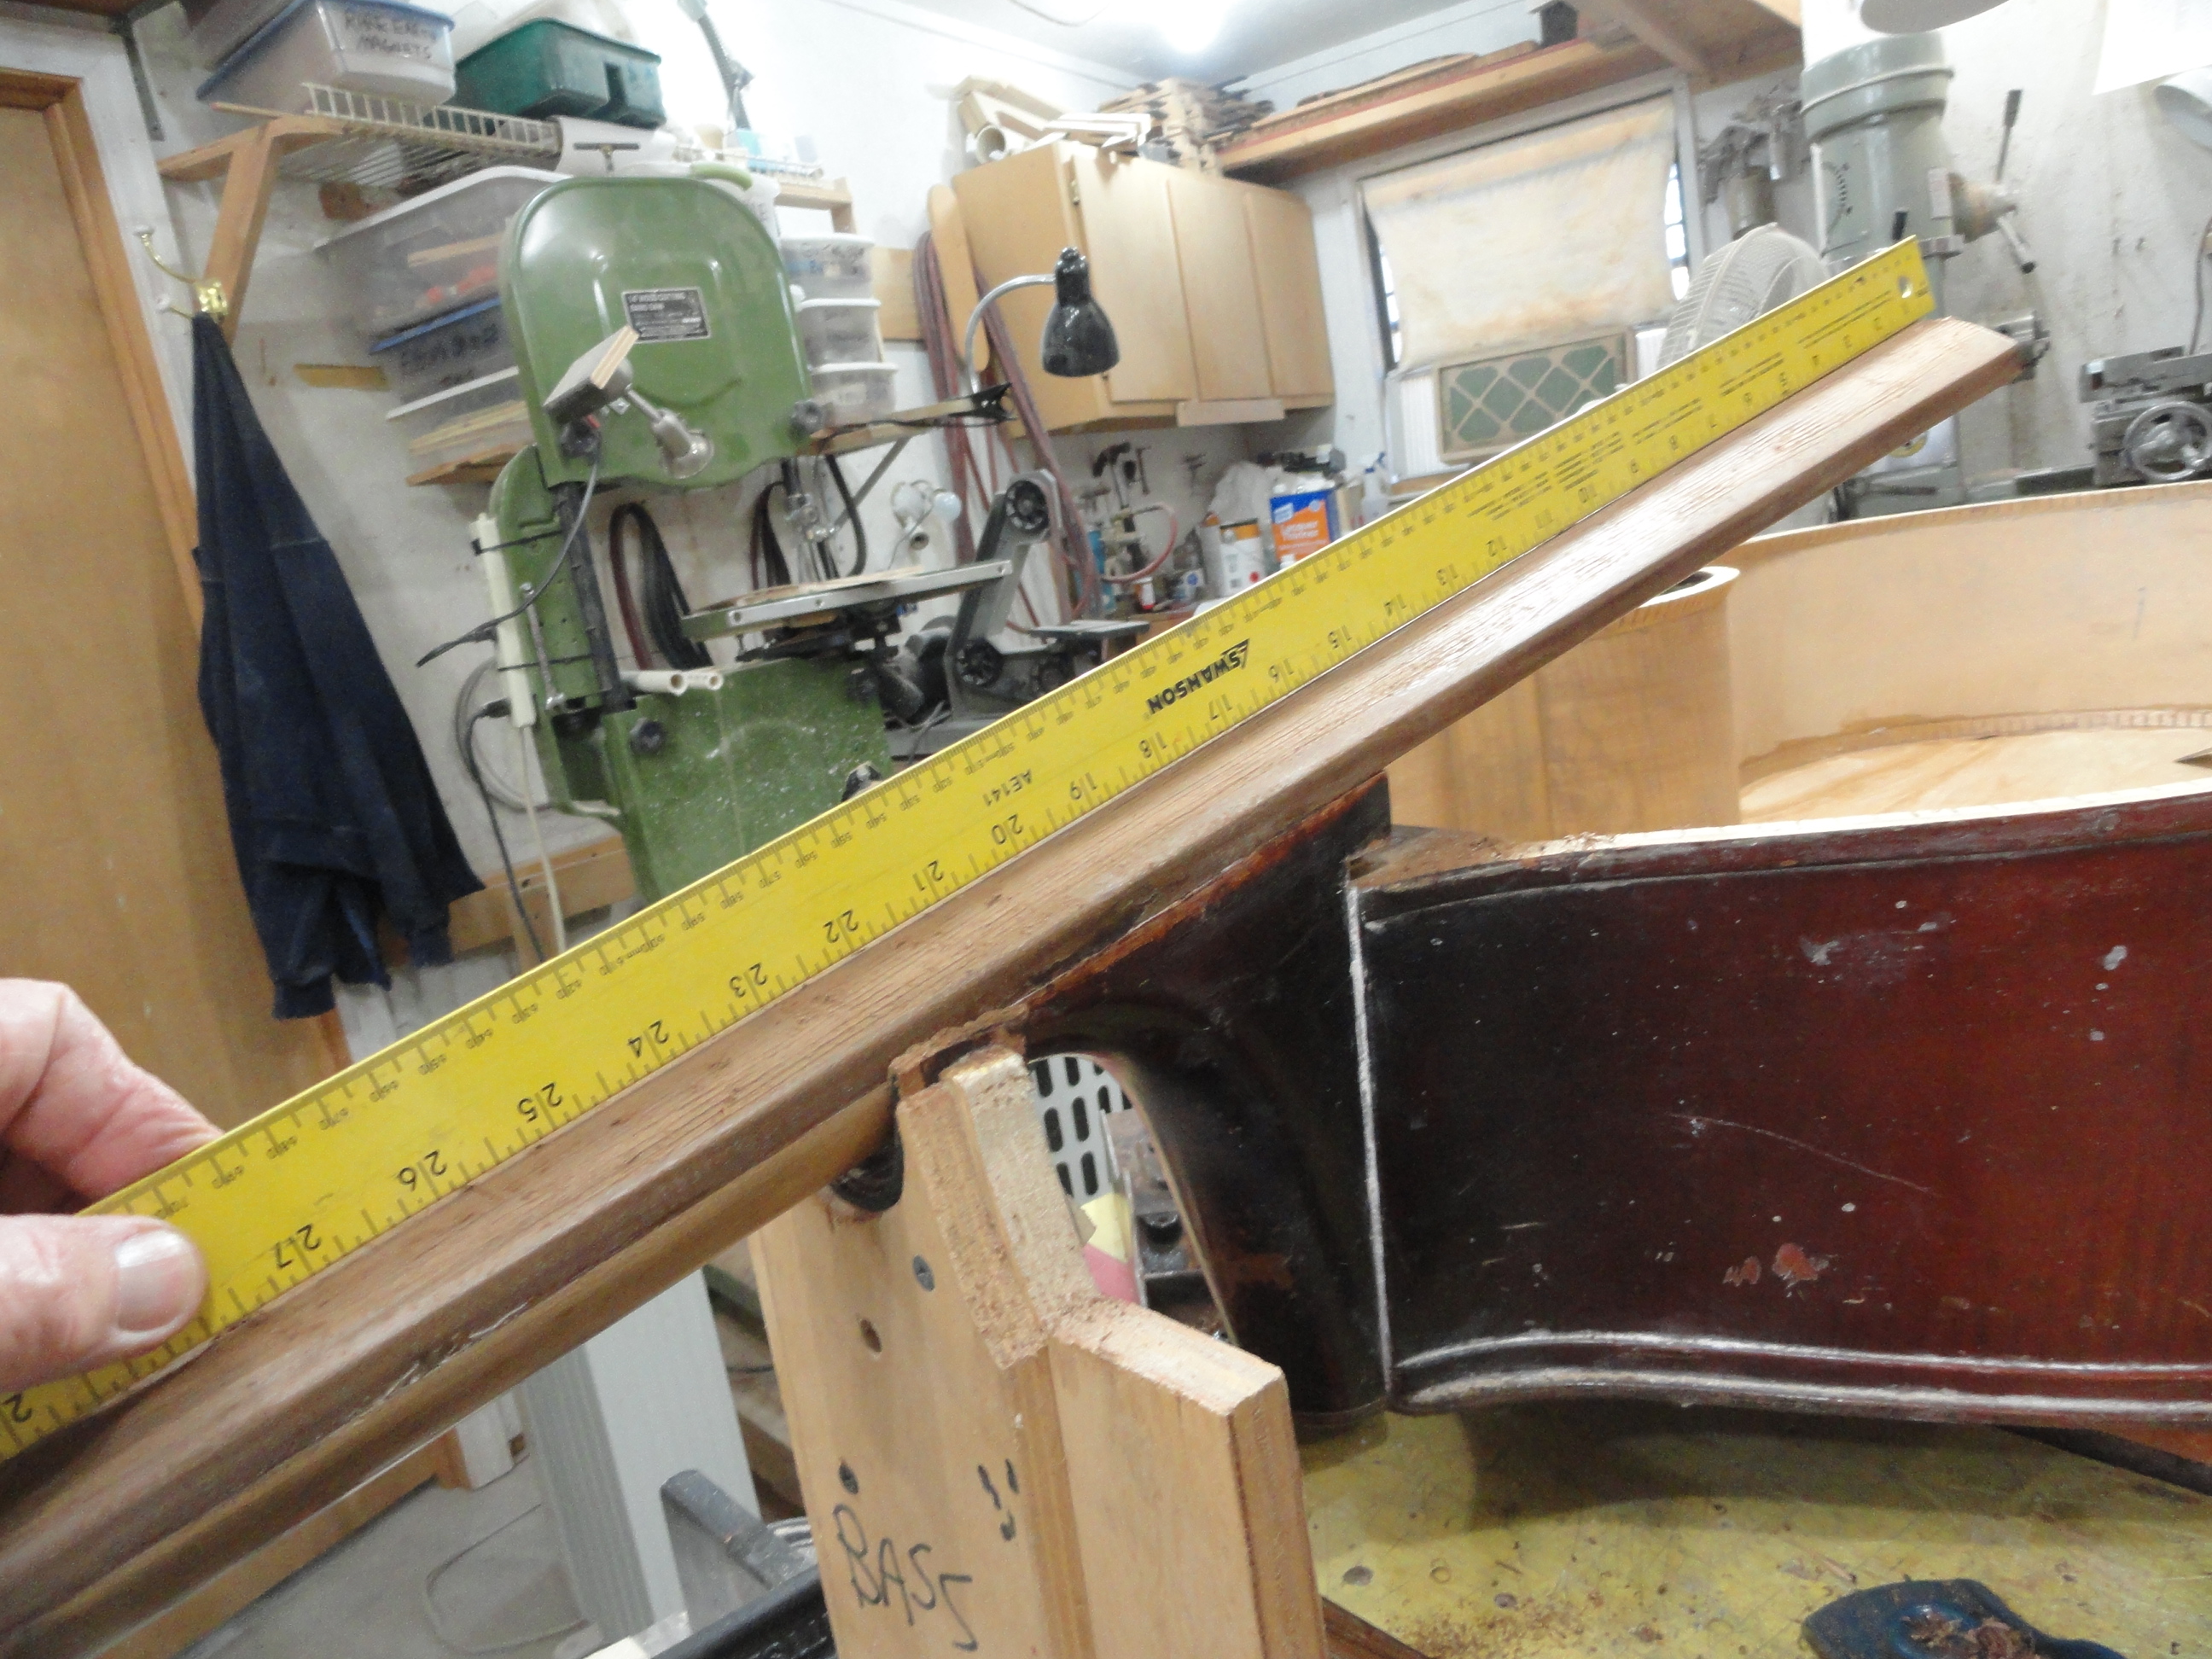
The fingerboard had a severe bow in it. We planed it down and trued it up so it would note better.
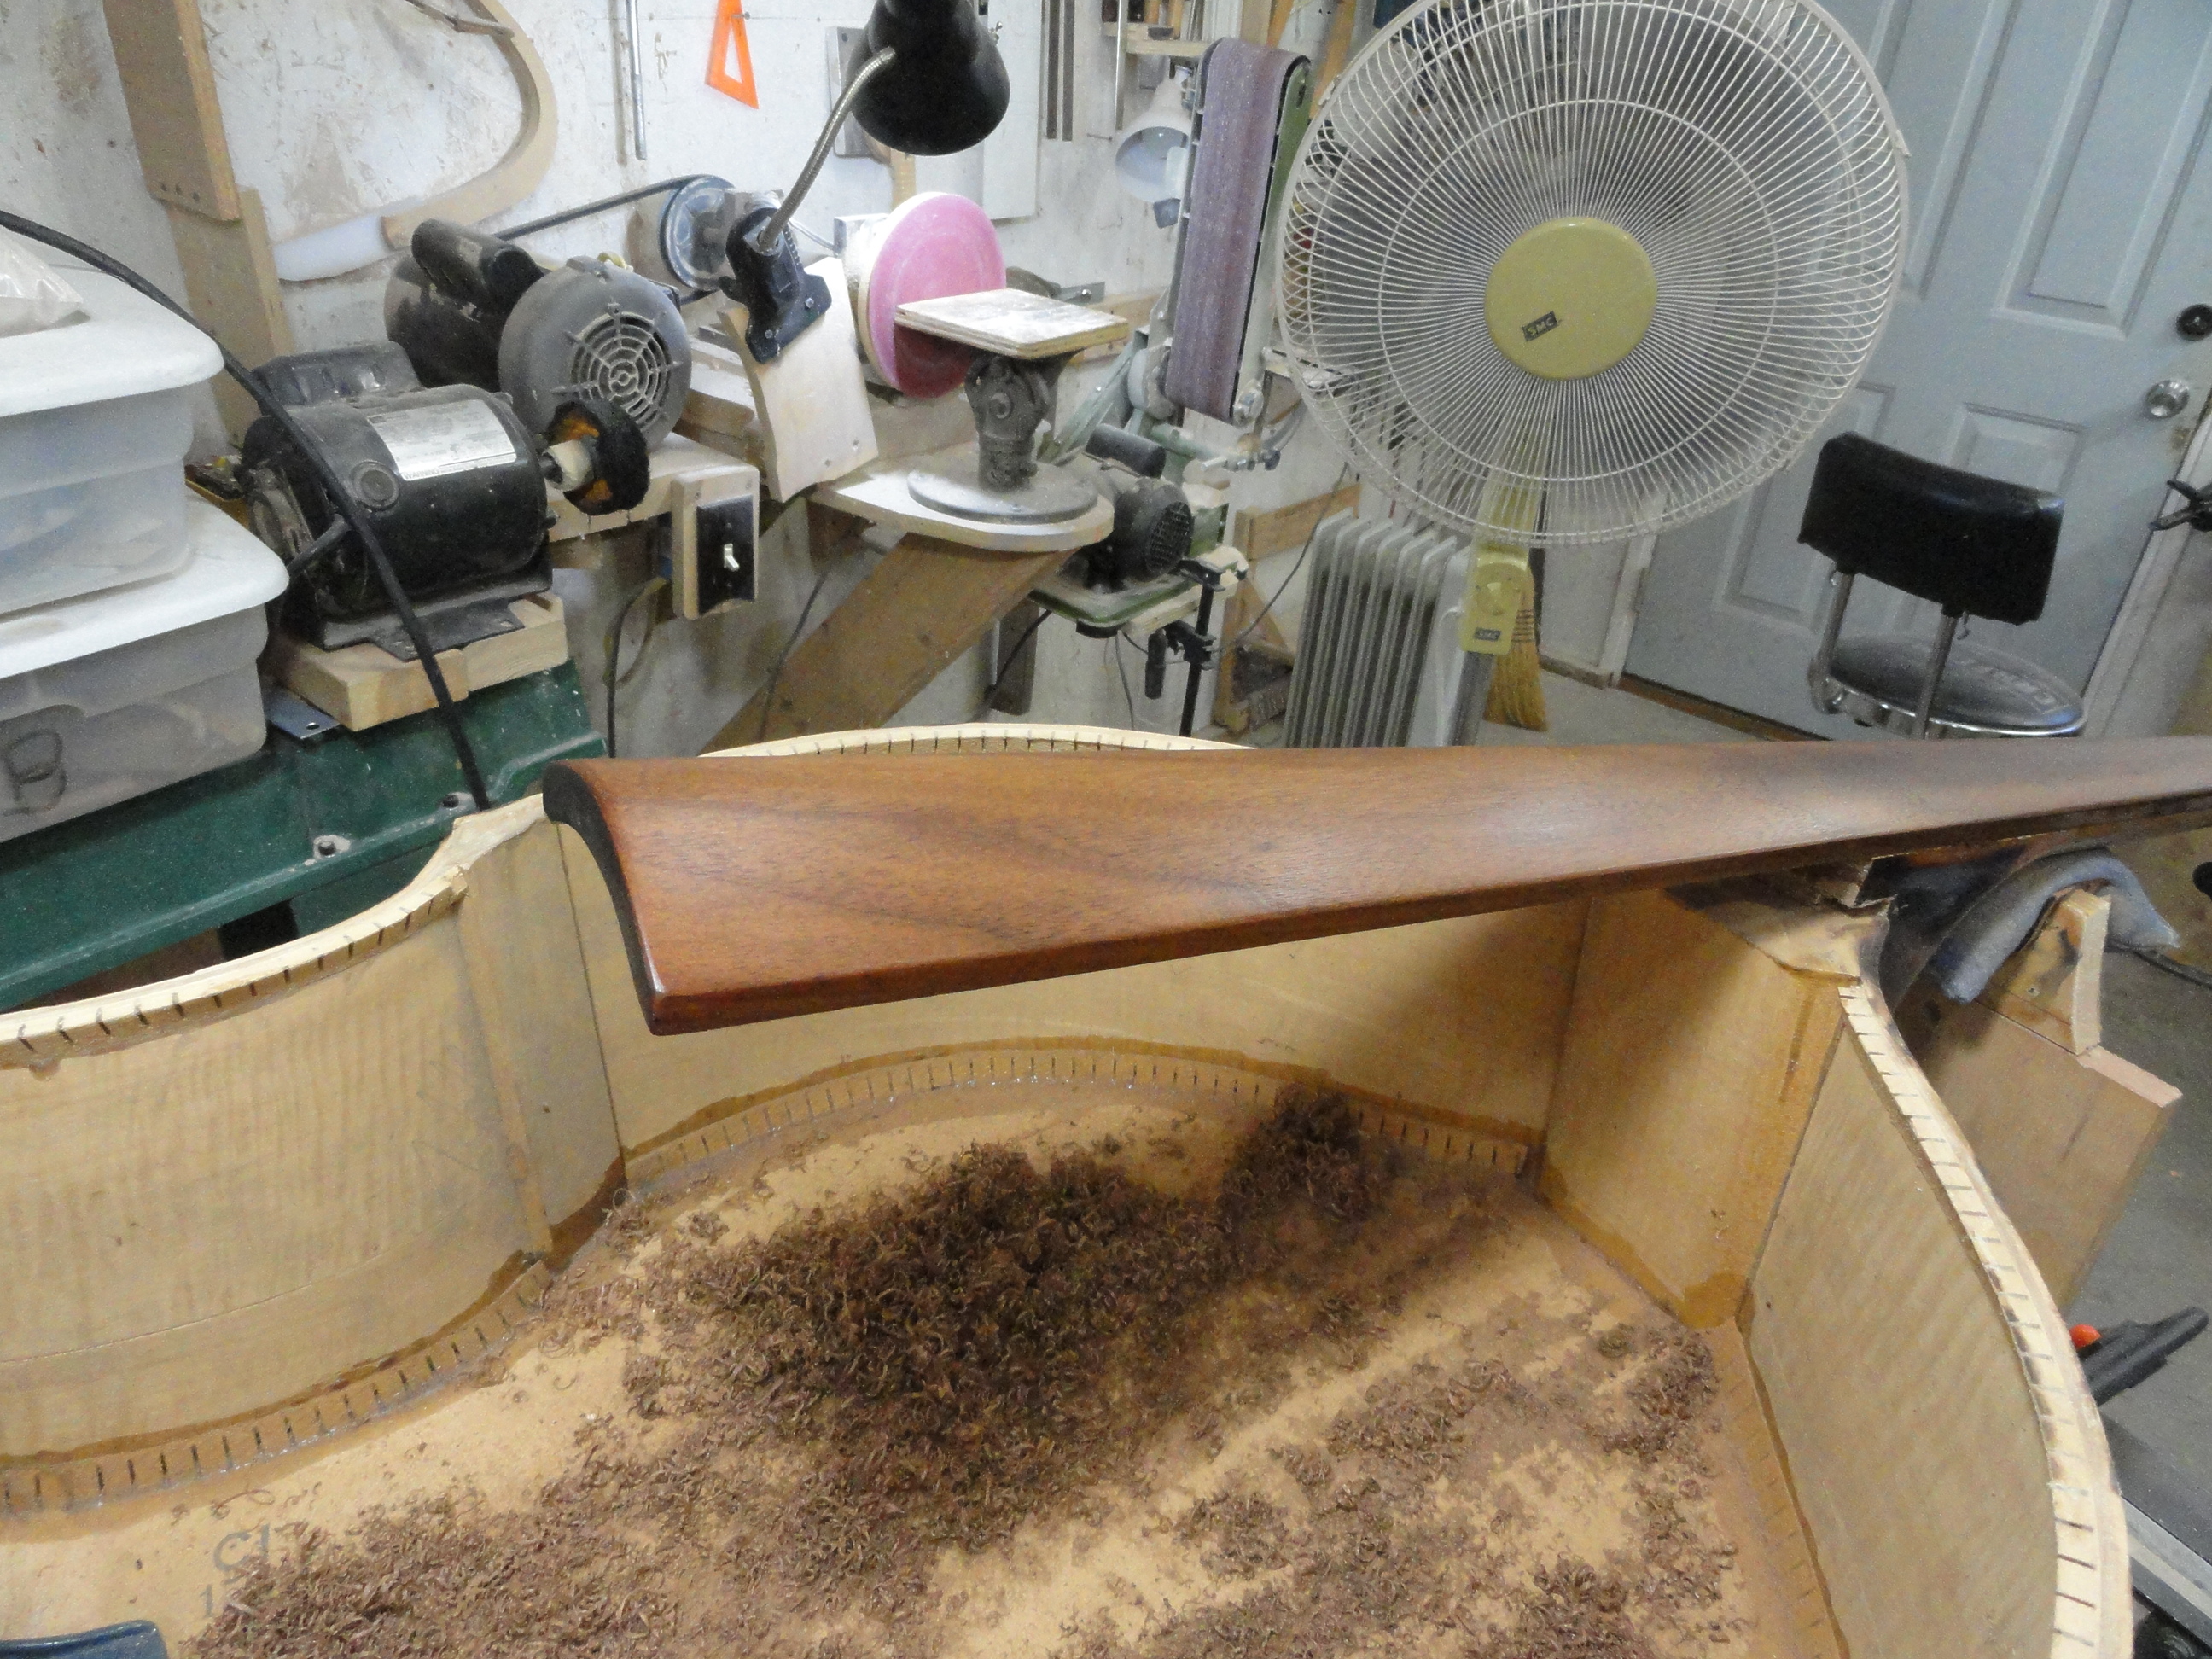
The fingerboard after truing and leveling. Note the shavings in the body. These came from our leveling process on the fingerboard.
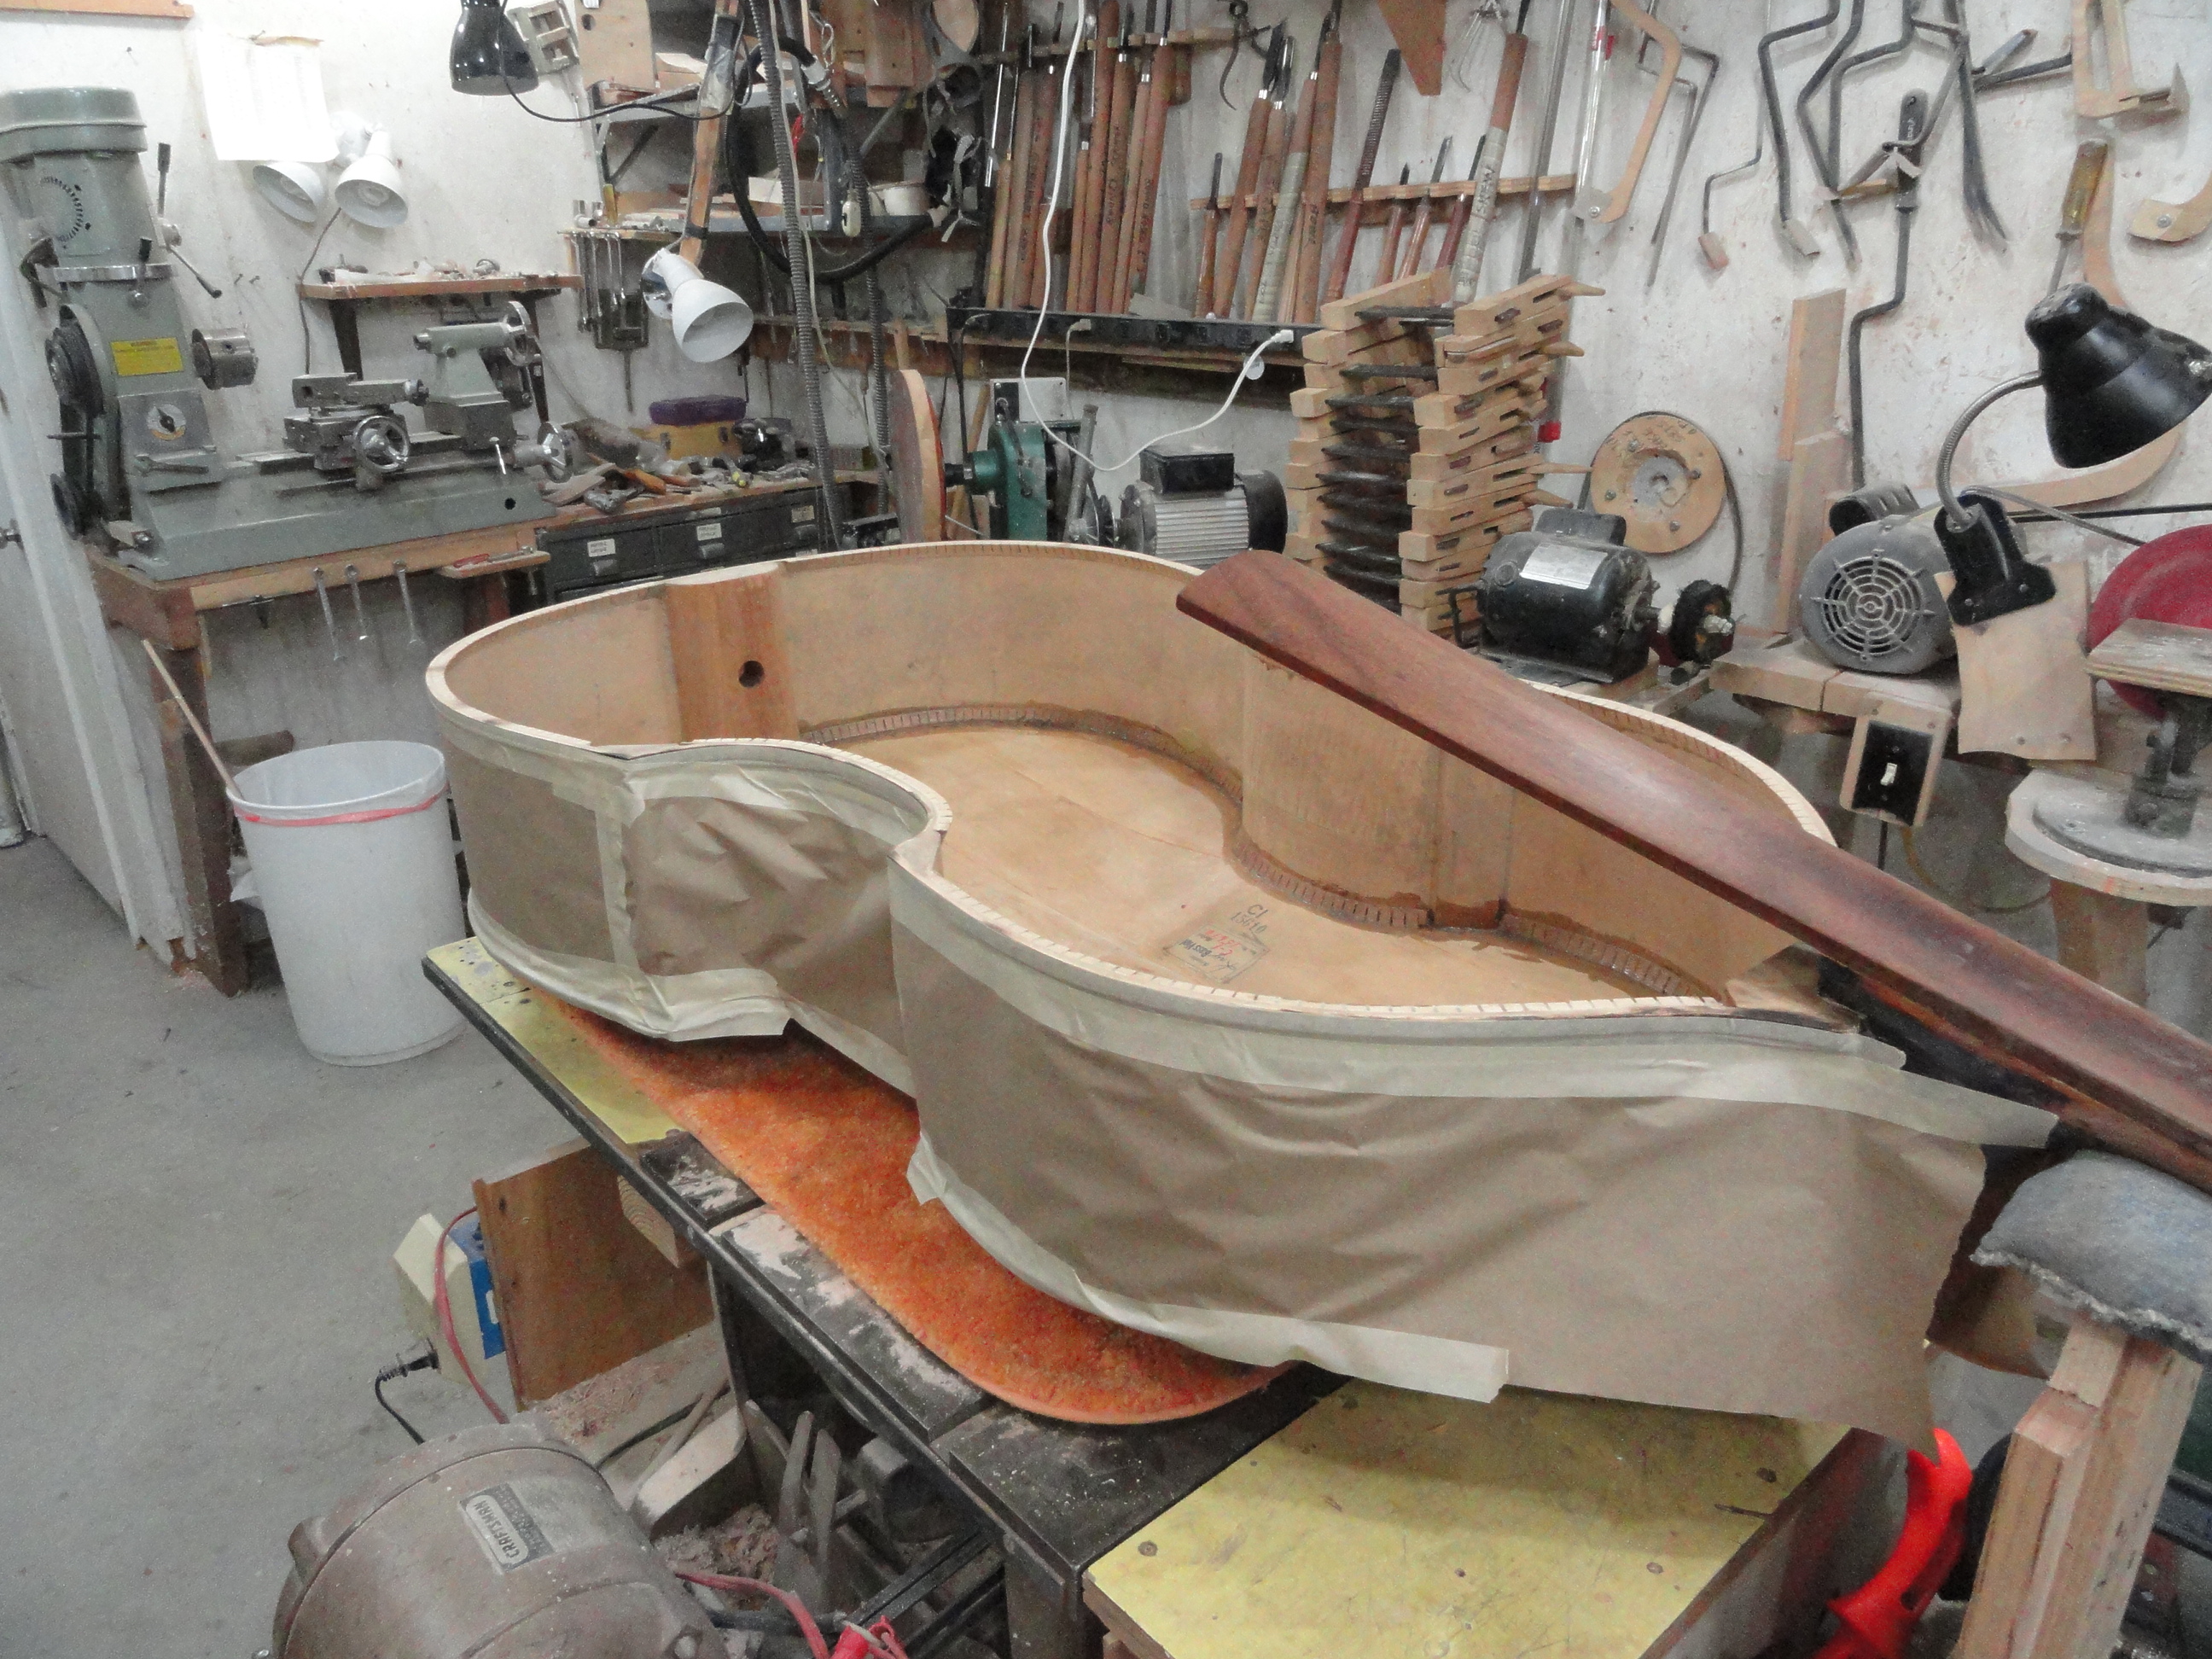
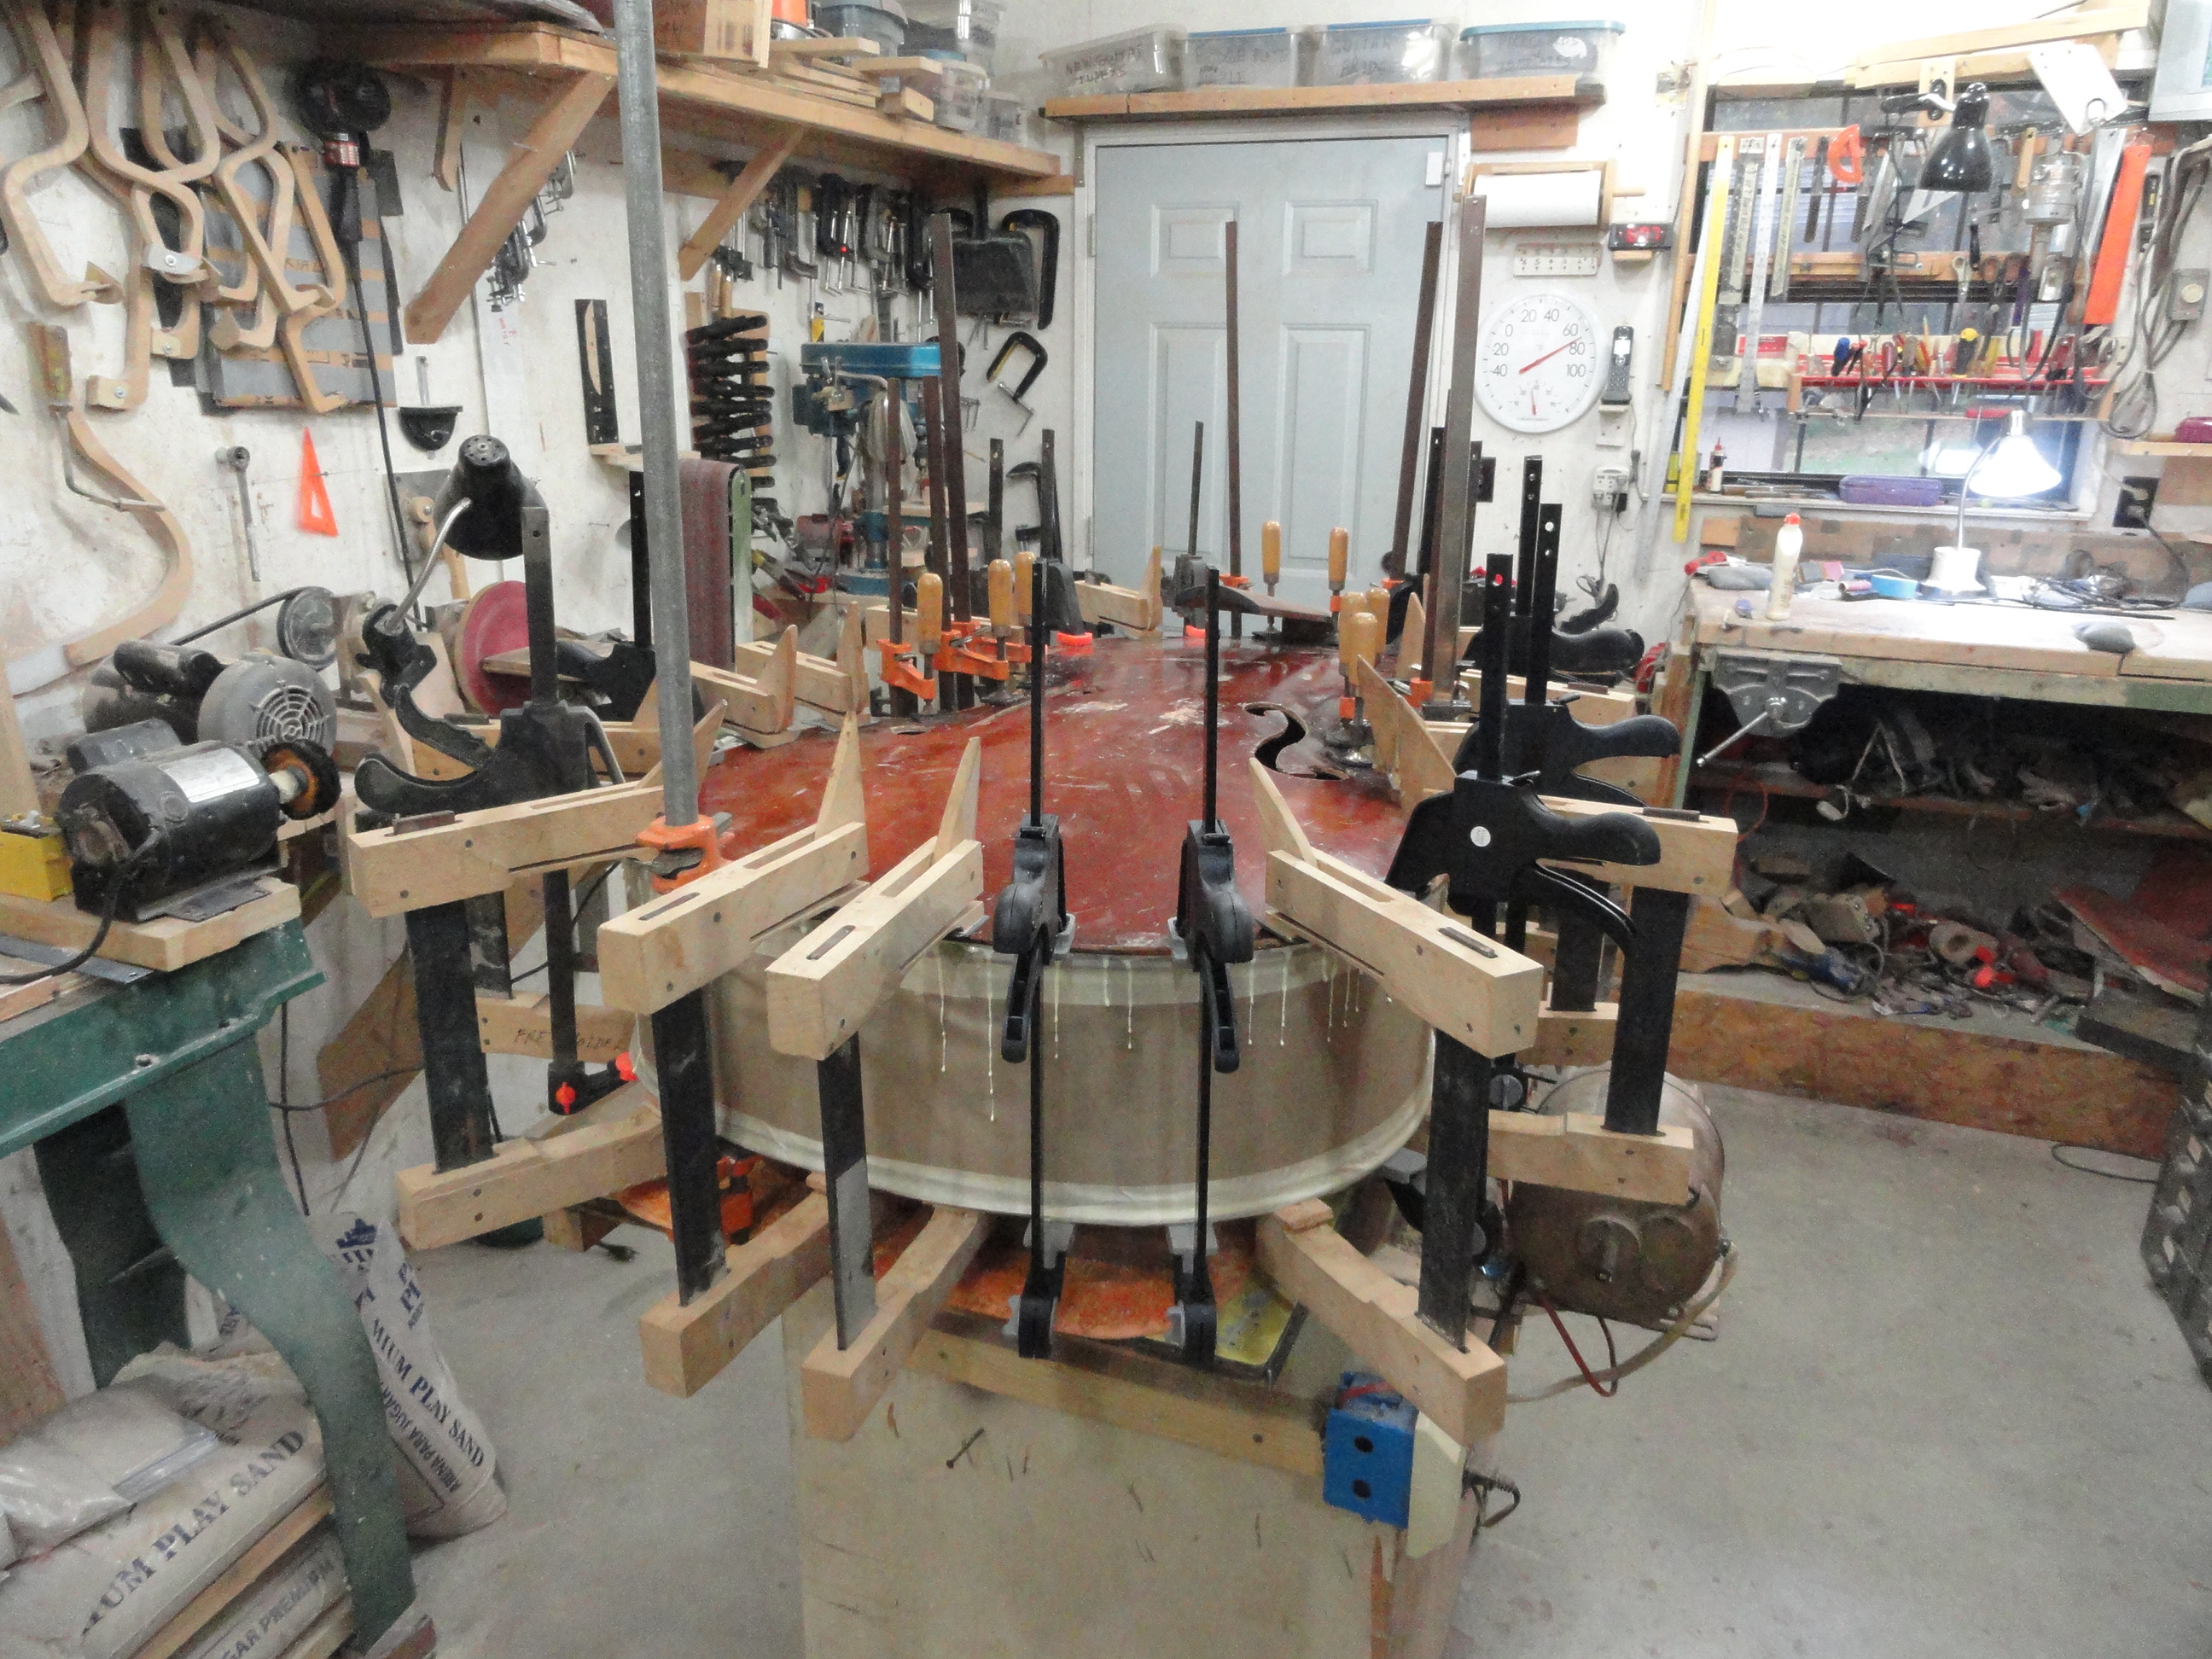
Here is the body ready to attach the top.
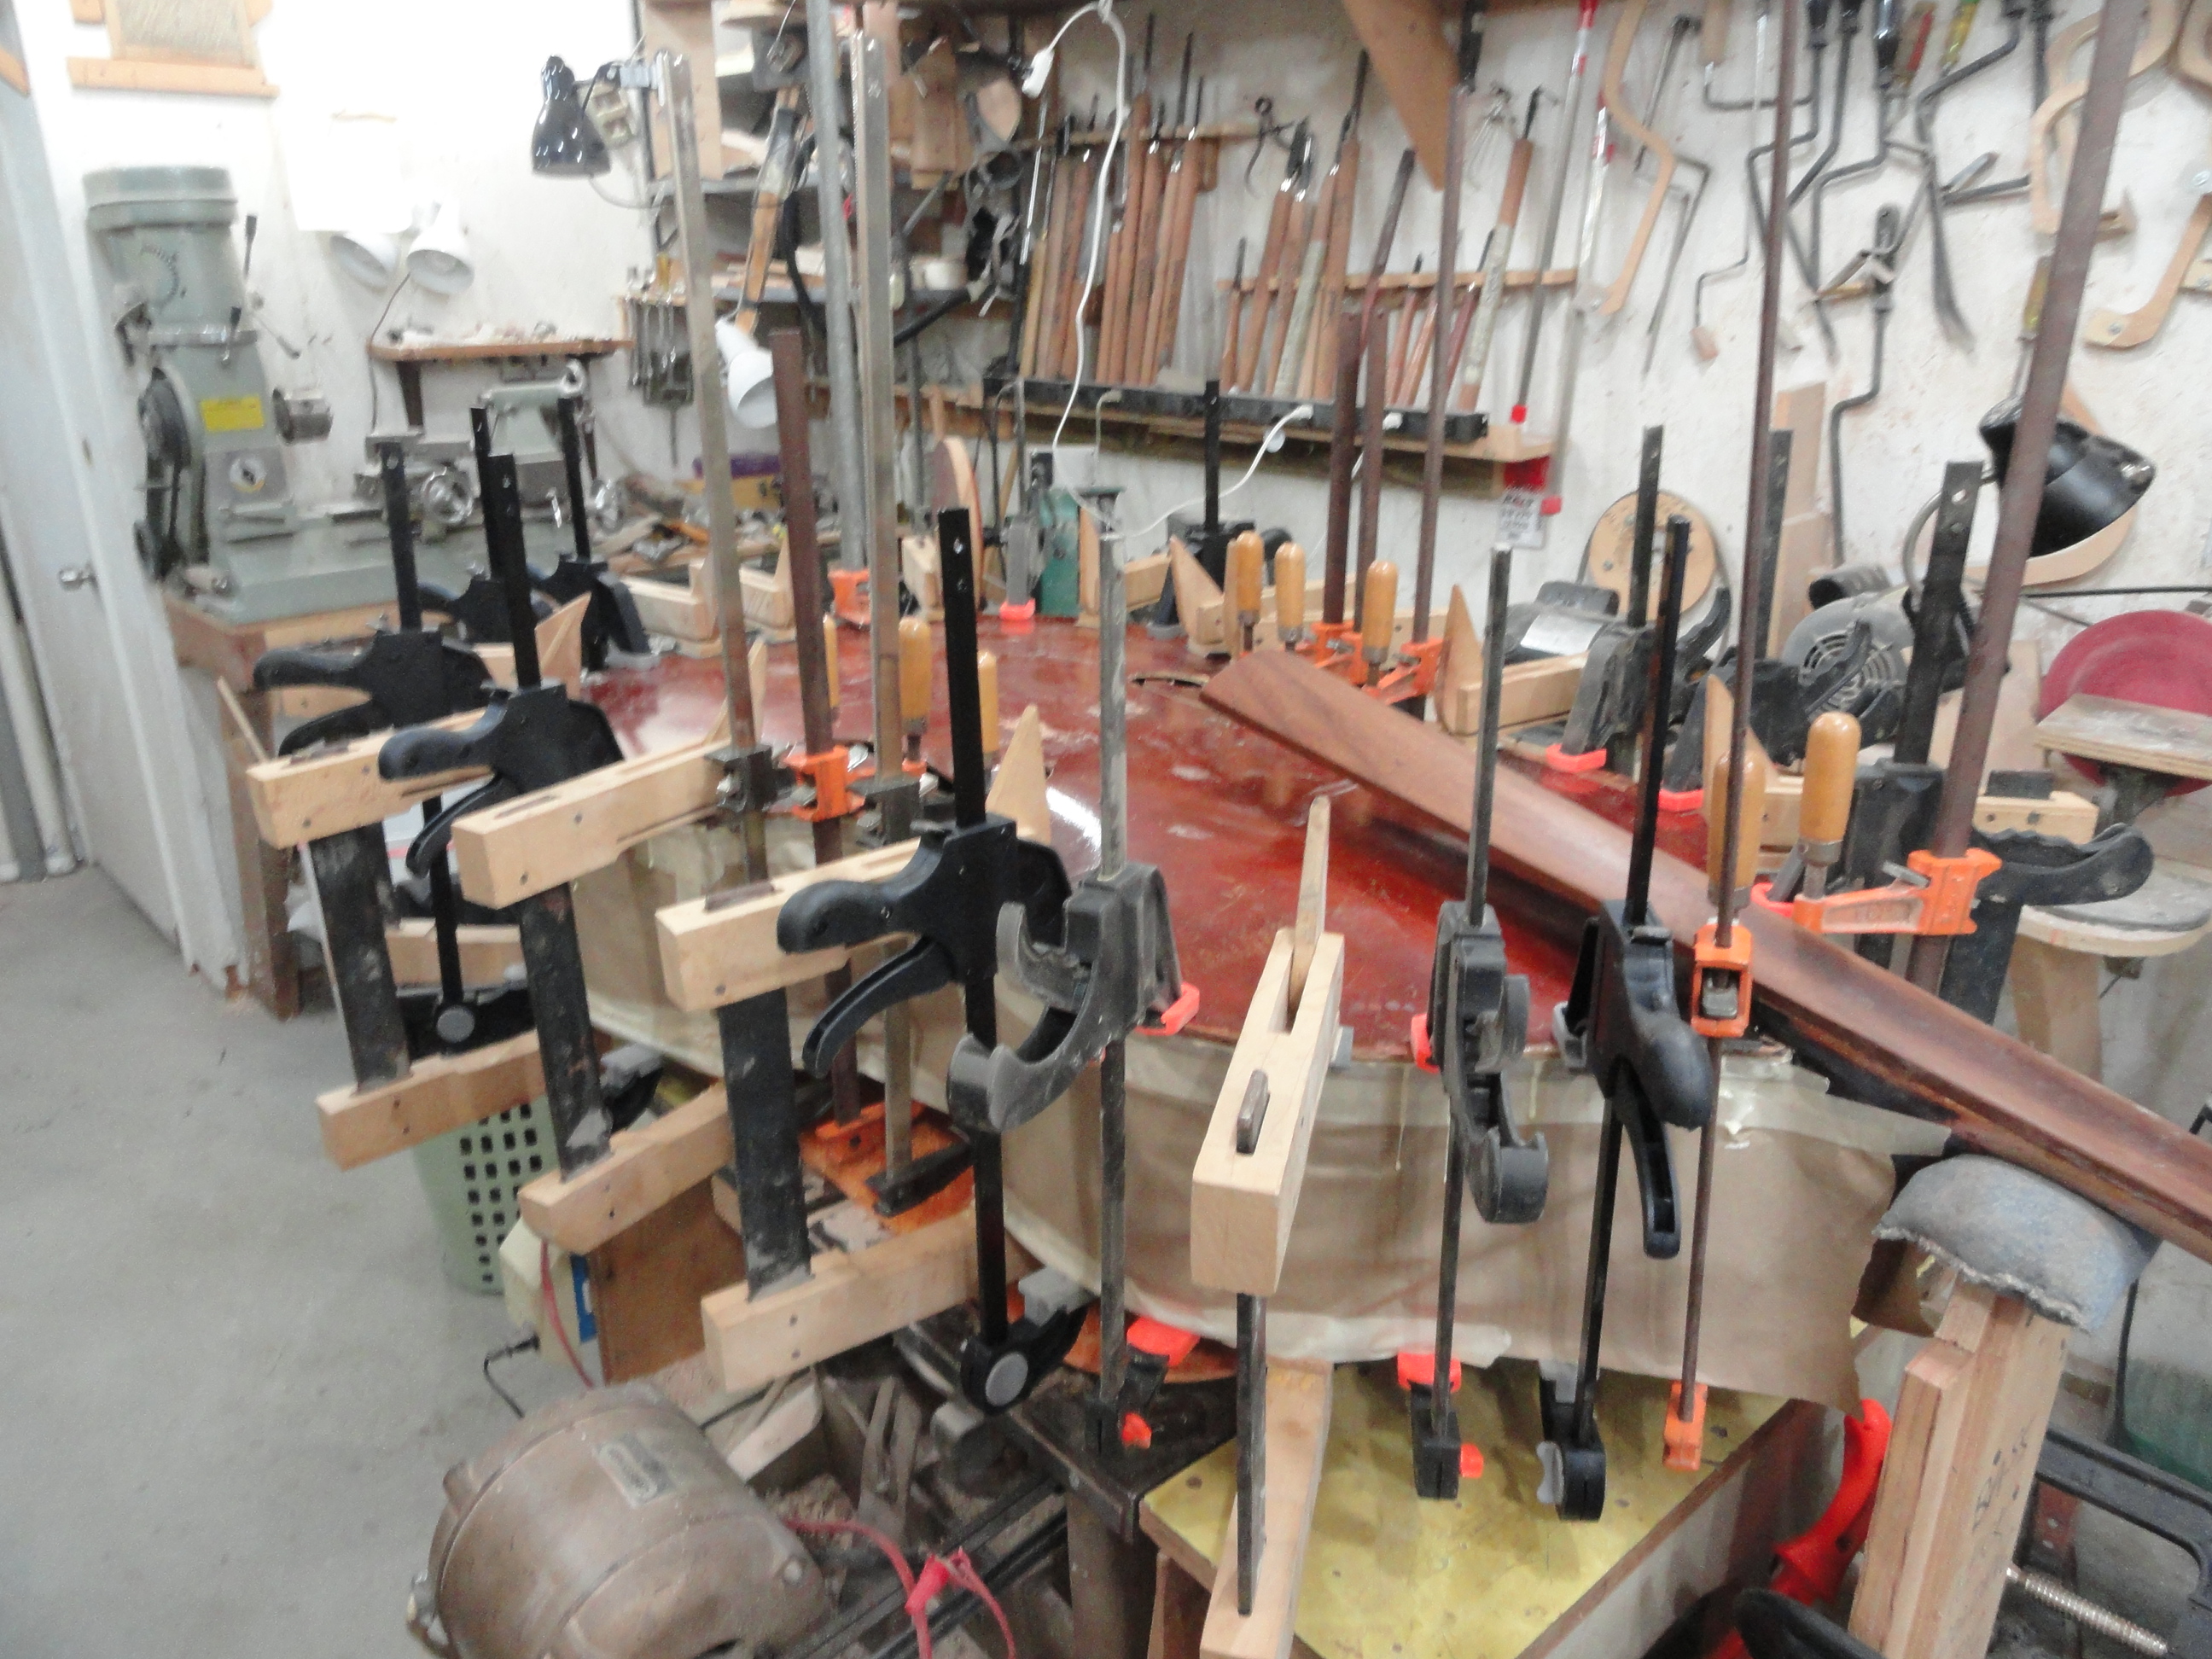
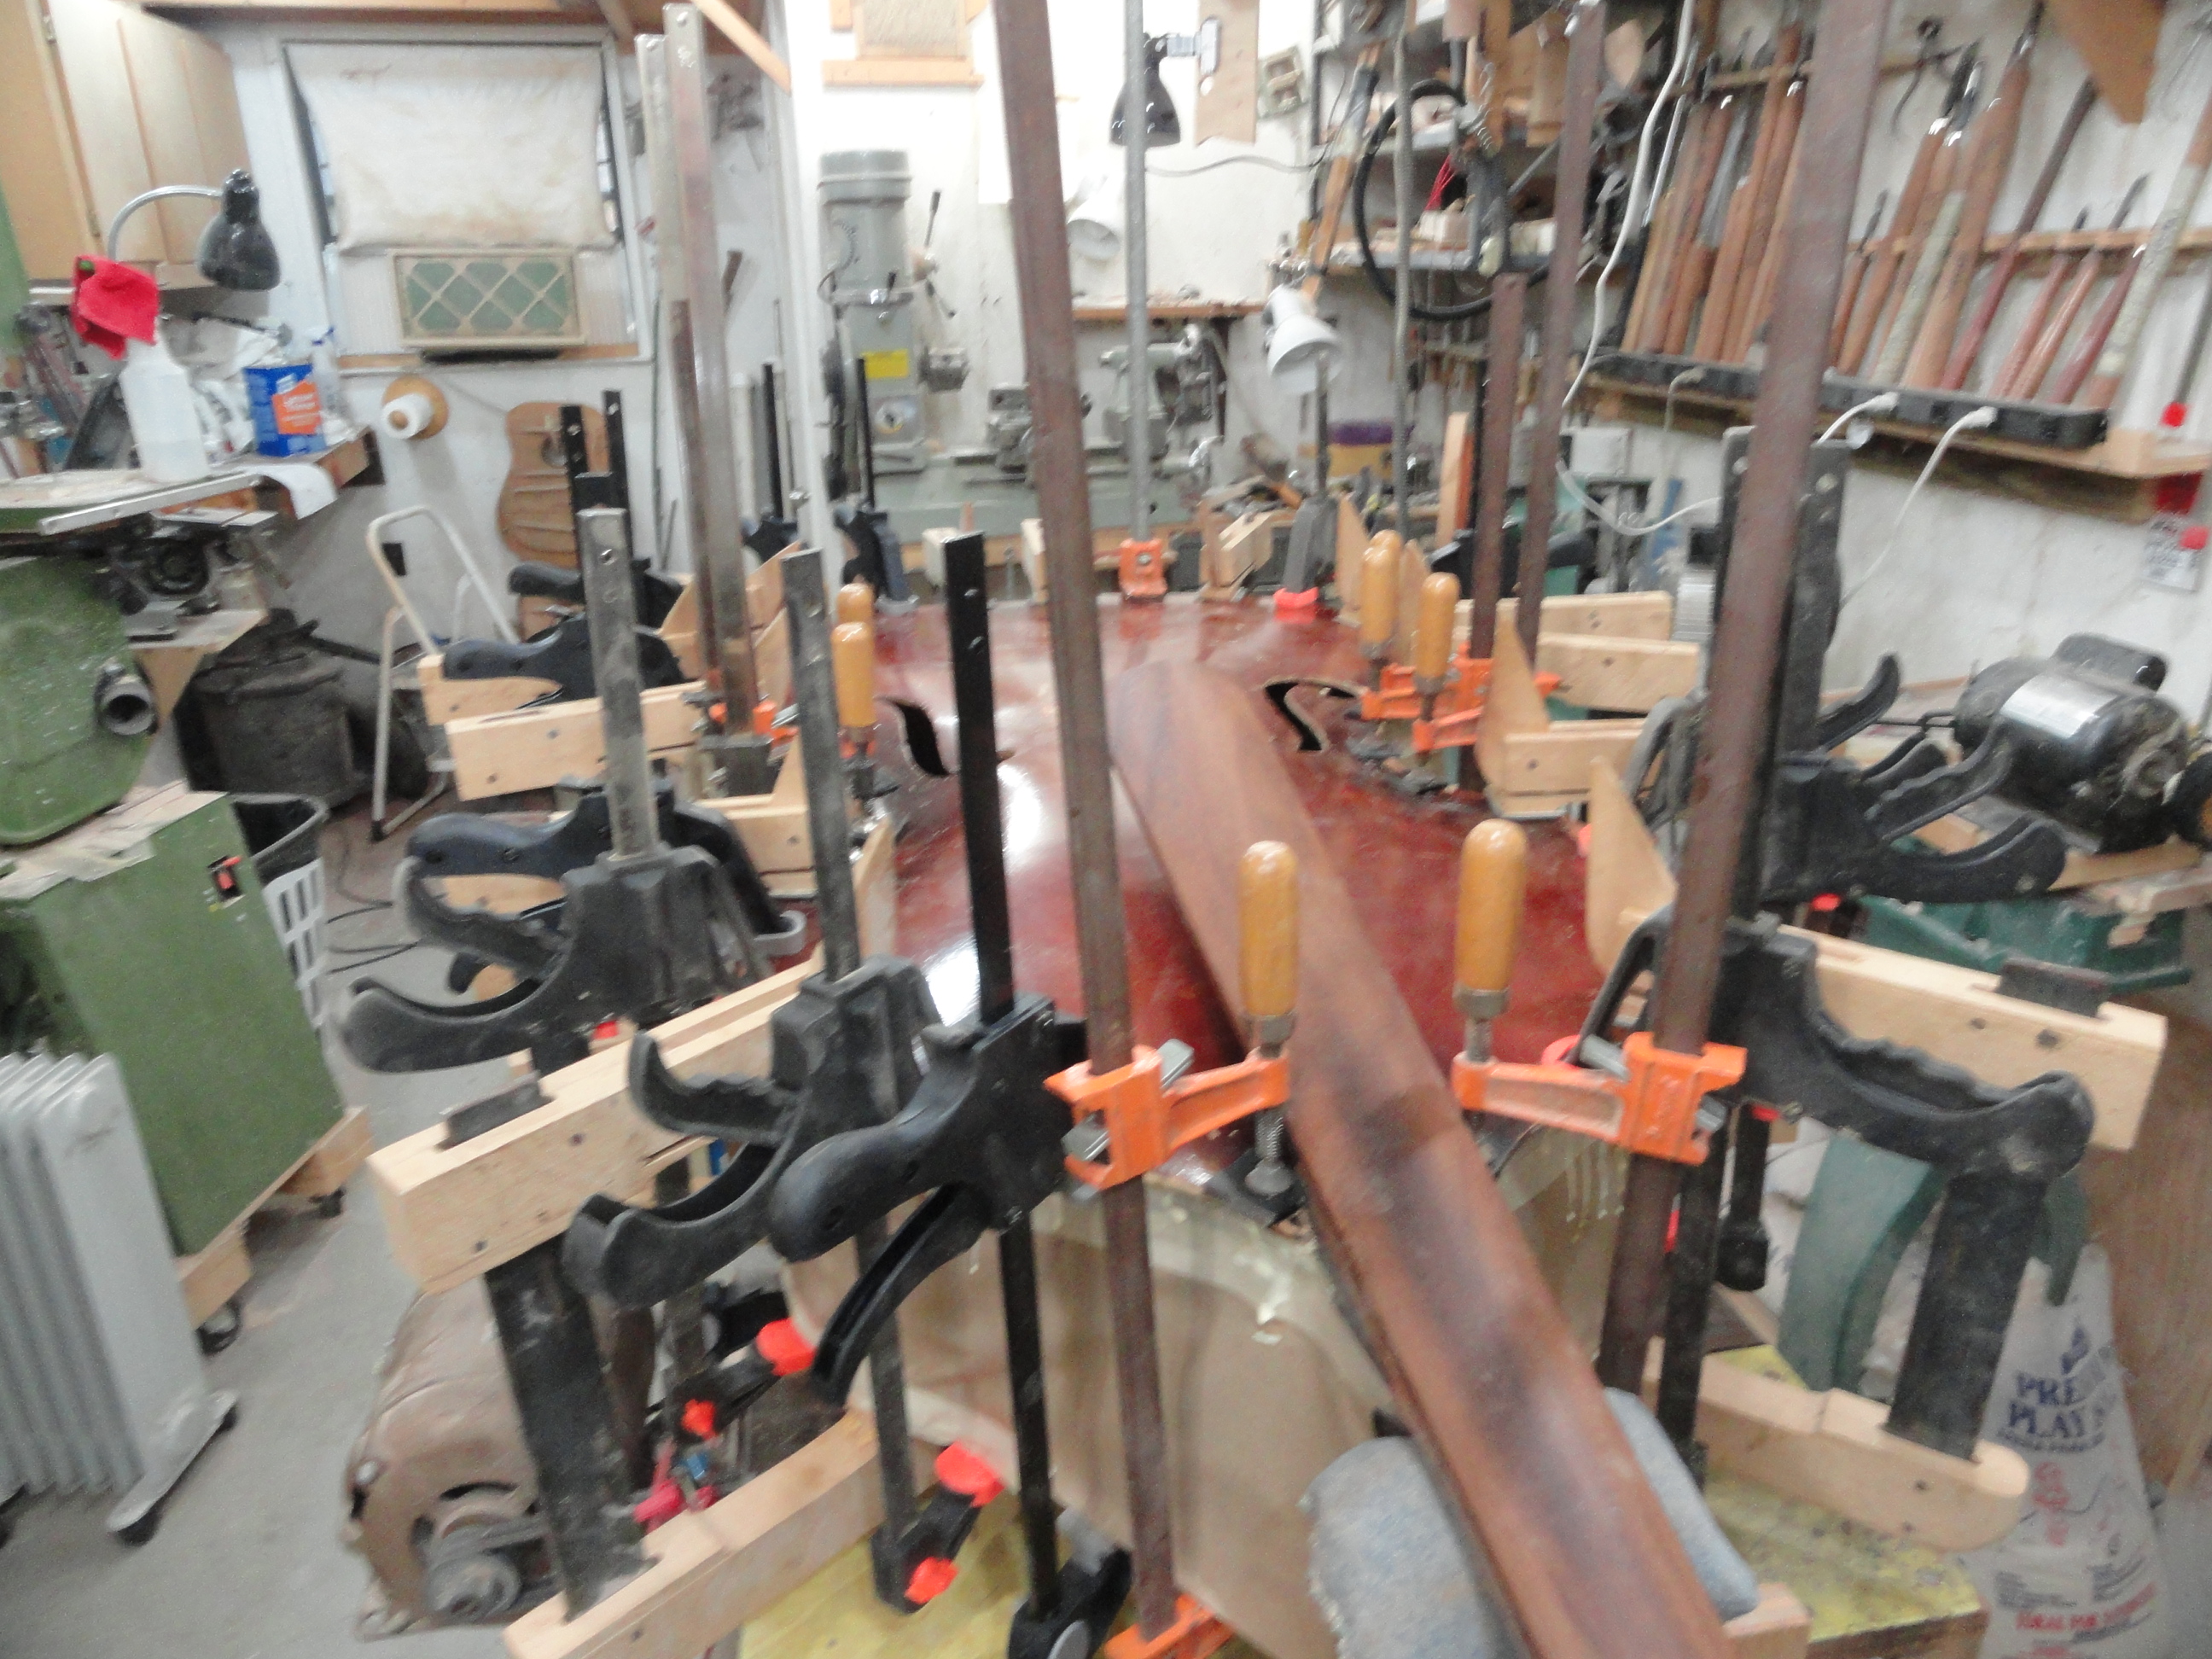
Attaching the top.
I don’t have a picture of the finished bass. You’ll have to take my word that it was playable. The owner was very pleased with the repairs. The last I heard he is still playing it over 2 years later. I can say that this bass had a really good tone and a lot of volume.
![]()
beautiful Job! I’m doing a similar task, luckily not nearly as severe as yours. Thanks for the detailed pictures. They gave me some good ideas. May I borrow your clamps? (just kidding of course)