Walloon # 7, Constructed February, 2019
This article will describe the process of building my 7th Walloon. This instrument is basically the same size as Walloons #3-6, but I chose to make the sides wider. This made the body around 3 inches deep instead of around 2 inches. After several hours of listening to my factory made 5 String Dobro and comparing the tone of it to the Walloons, I felt that the deeper sides on the Dobro gave it a deeper, more rounded tone. I wanted to try this to see how the different depth of the sides affected the tone. Although the narrow sides on Walloons #3-6 made these instruments extremely comfortable to play, I felt like the extra depth may enhance the tone I already had.
I had a pile of pre-bent guitar sides that I got from Larry Mathis a few years ago. These sides apparently were some rejects that came from the Martin Factory years ago with some flaws or cracks that didn’t meet their standards. They worked well for my purpose after I trimmed them down for the smaller sized body of the Walloon. I chose some Indian rosewood sides for this body. The neck and tailblock were made from some maple I had from an old table. I trimmed these sides to around 2 3/4 inches wide. This would make the exterior depth around 3 inches after adding in the thickness of the top and back. I had to do some bending on my home-made pipe bender to get these sides converted from the guitar shape to fit my Walloon form. My bender is just a steel pipe that uses heat from a propane torch and water (which produces steam) to accomplish this task. It is an old school tool, but it works well.
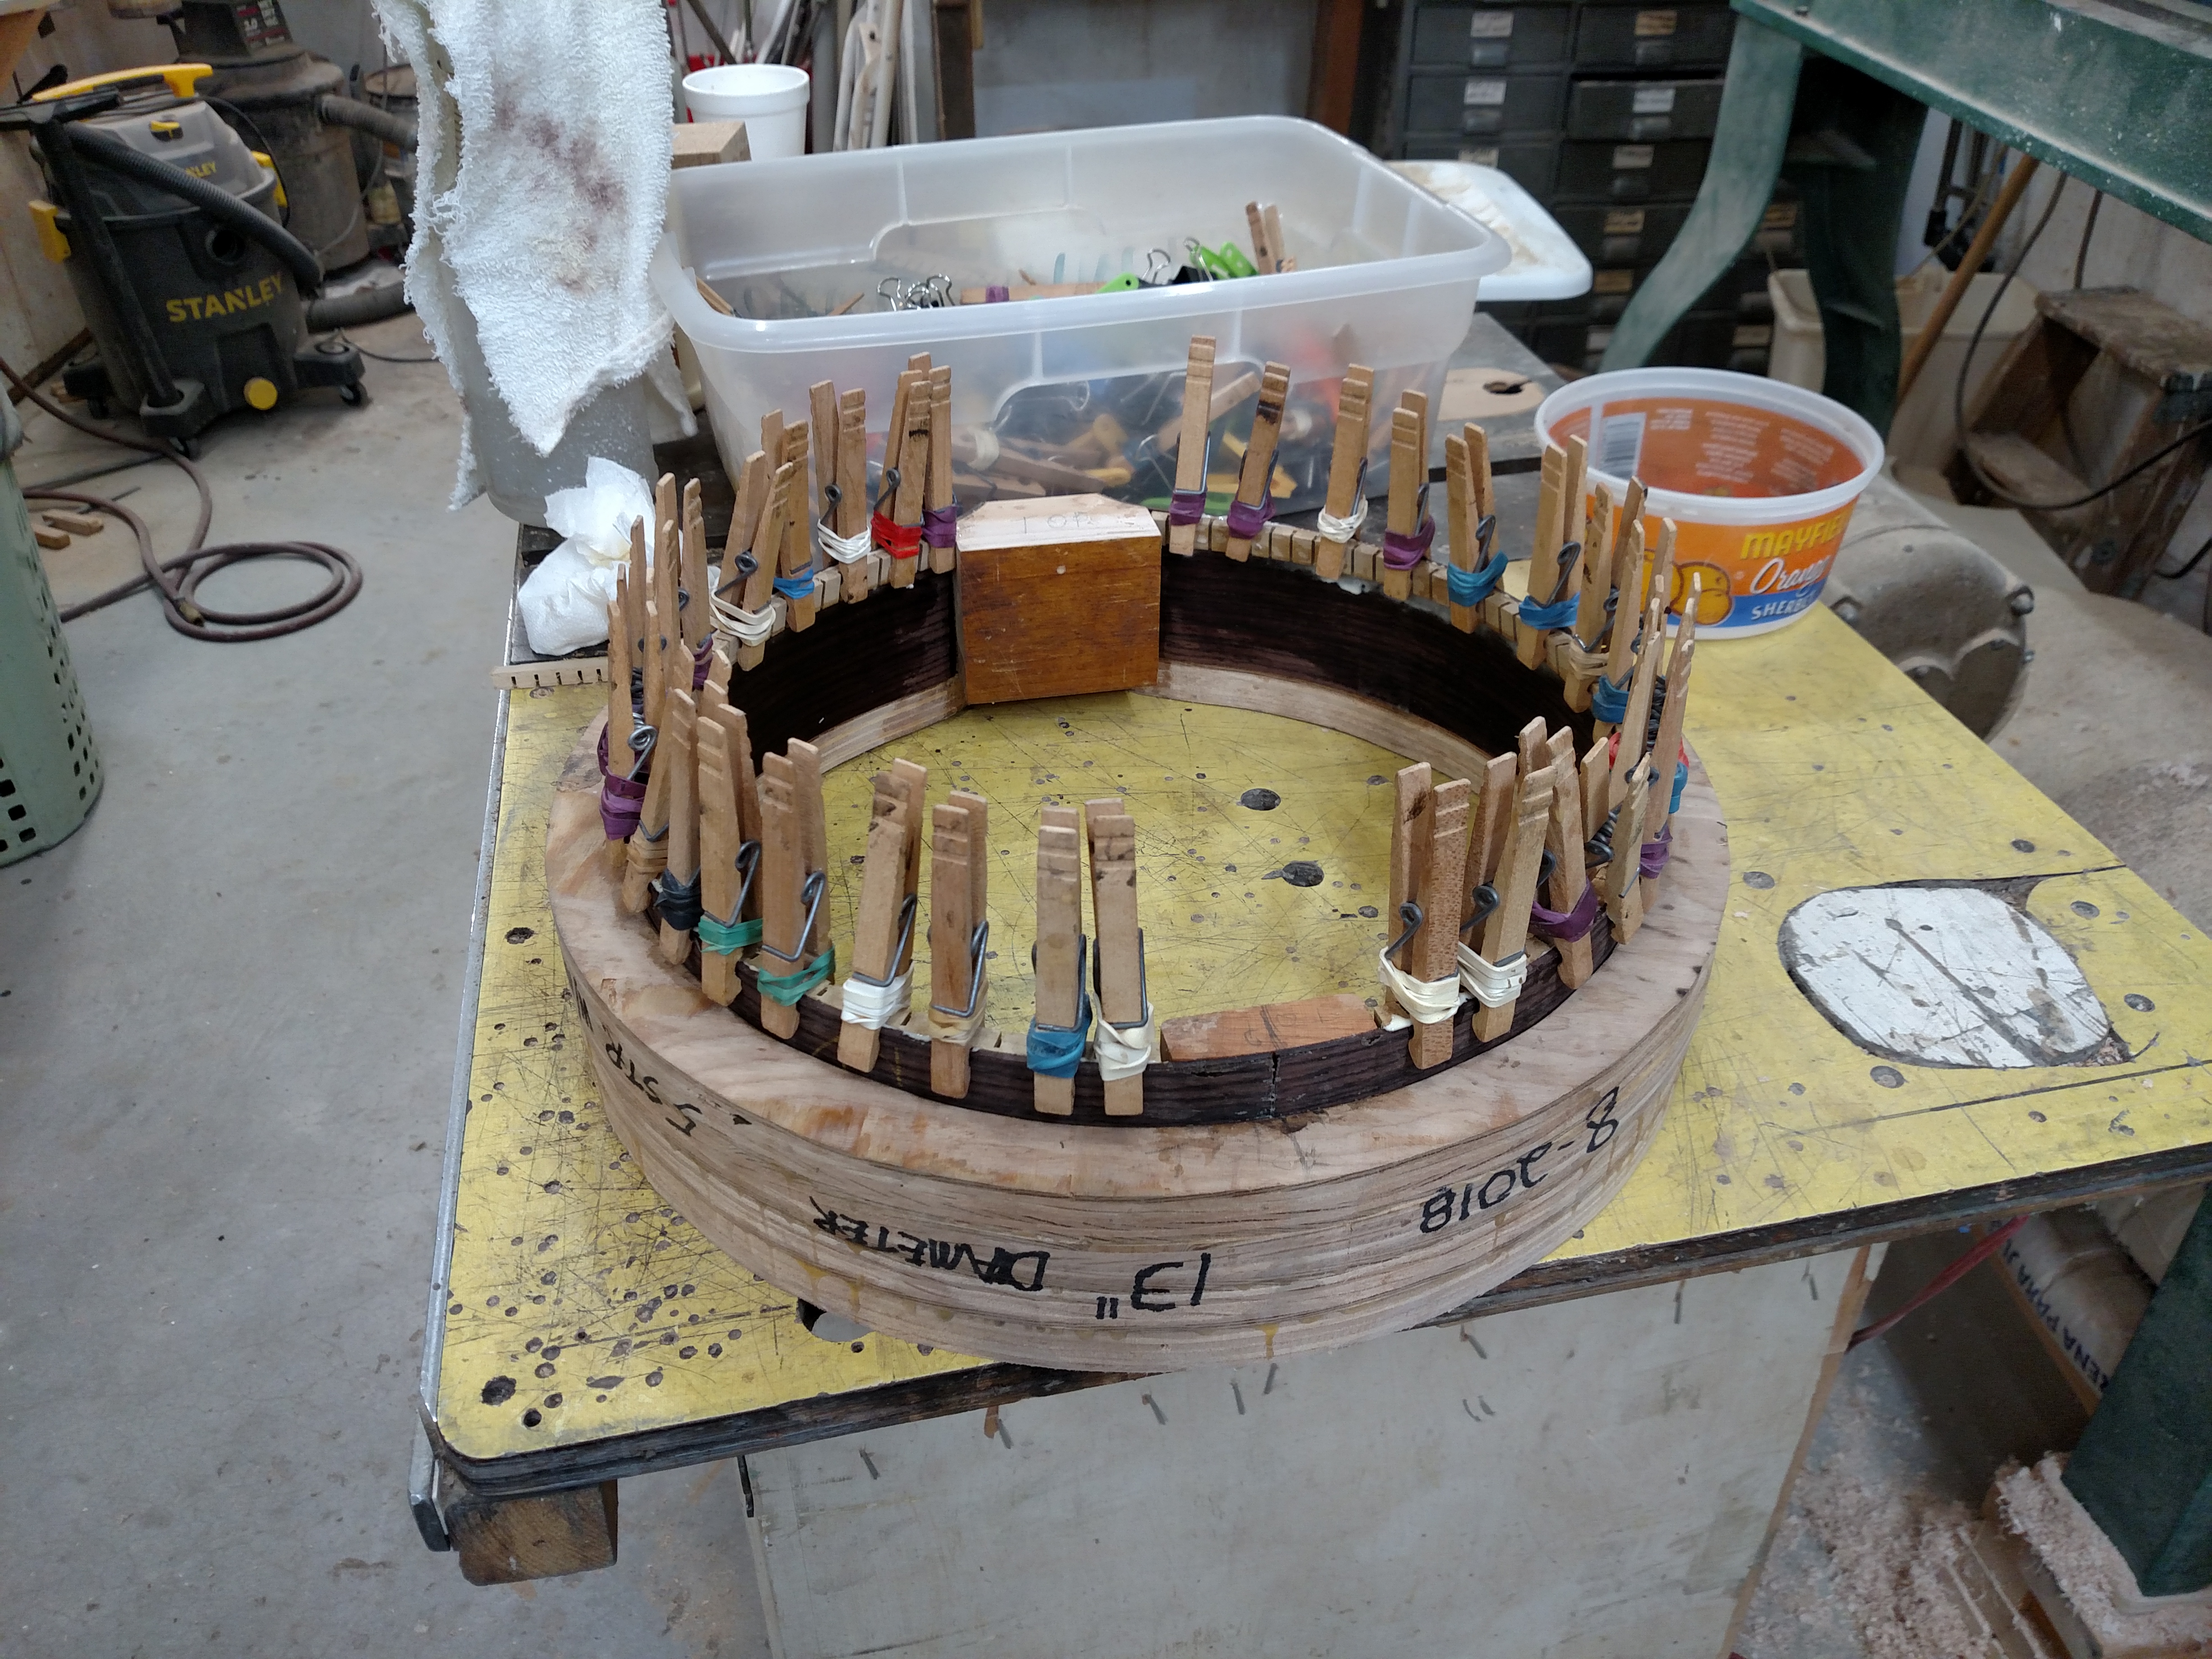
The picture below shows the kerfed linings being glued into the body. These were home-made linings that I had previously fabricated. I’ve made them from several woods and I don’t think the wood species is a huge factor in the overall sound.
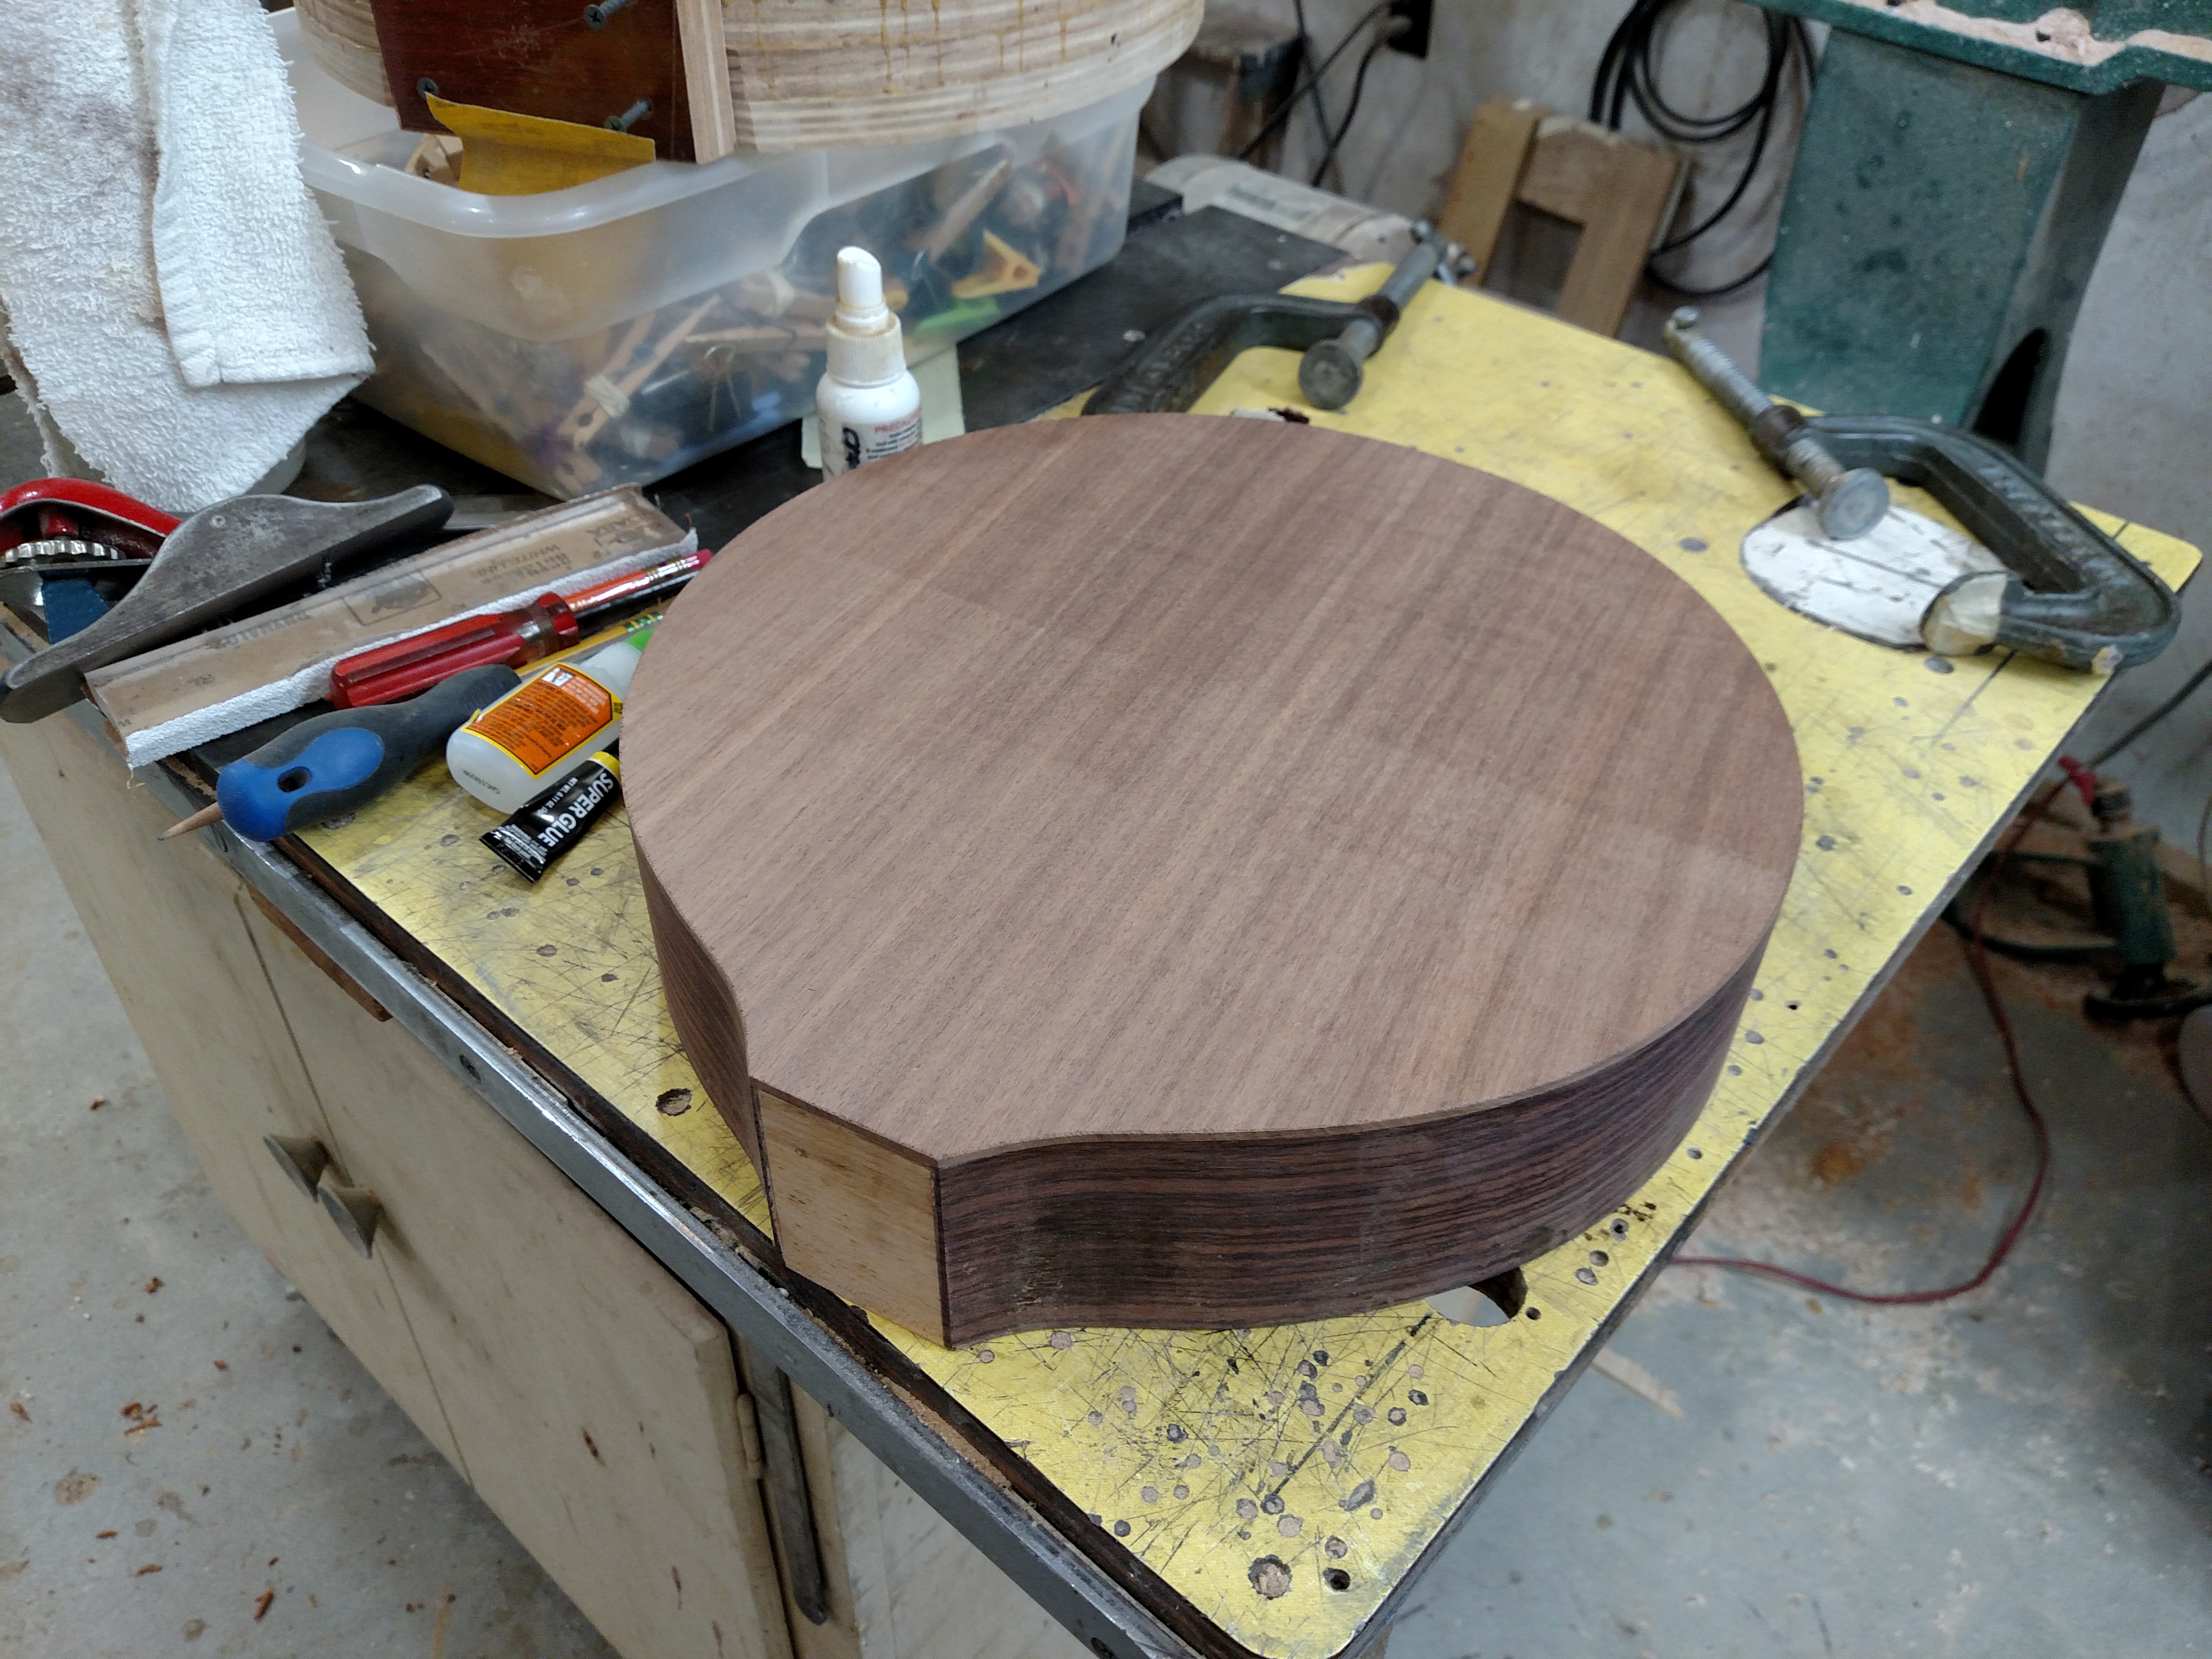
I bought a 100 year old walnut drop leaf table a while back at an Antique Mall. I sawed it up and got enough wood to make several 2 piece backs and tops for these instruments. Acoustic instrument wood has gotten really high if you purchase it from a luthier supply house with it thinned down to a proper dimension for a back or side. Here is one of those 2 piece backs glued into place.
I had previously used spruce for the tops. Spruce is the traditional top wood in guitars. I now think that the spruce top is not all that important on these instruments. Since most of the top ends up being cut out for the cone, I decided to just make the top out of the same walnut that I used for the back. Pictured below is the plywood “well” (which I had fabricated ahead of time) being glued into the top. It has an inside diameter of a little over 9 1/2 inches with a ledge at the bottom for the cone to set on.
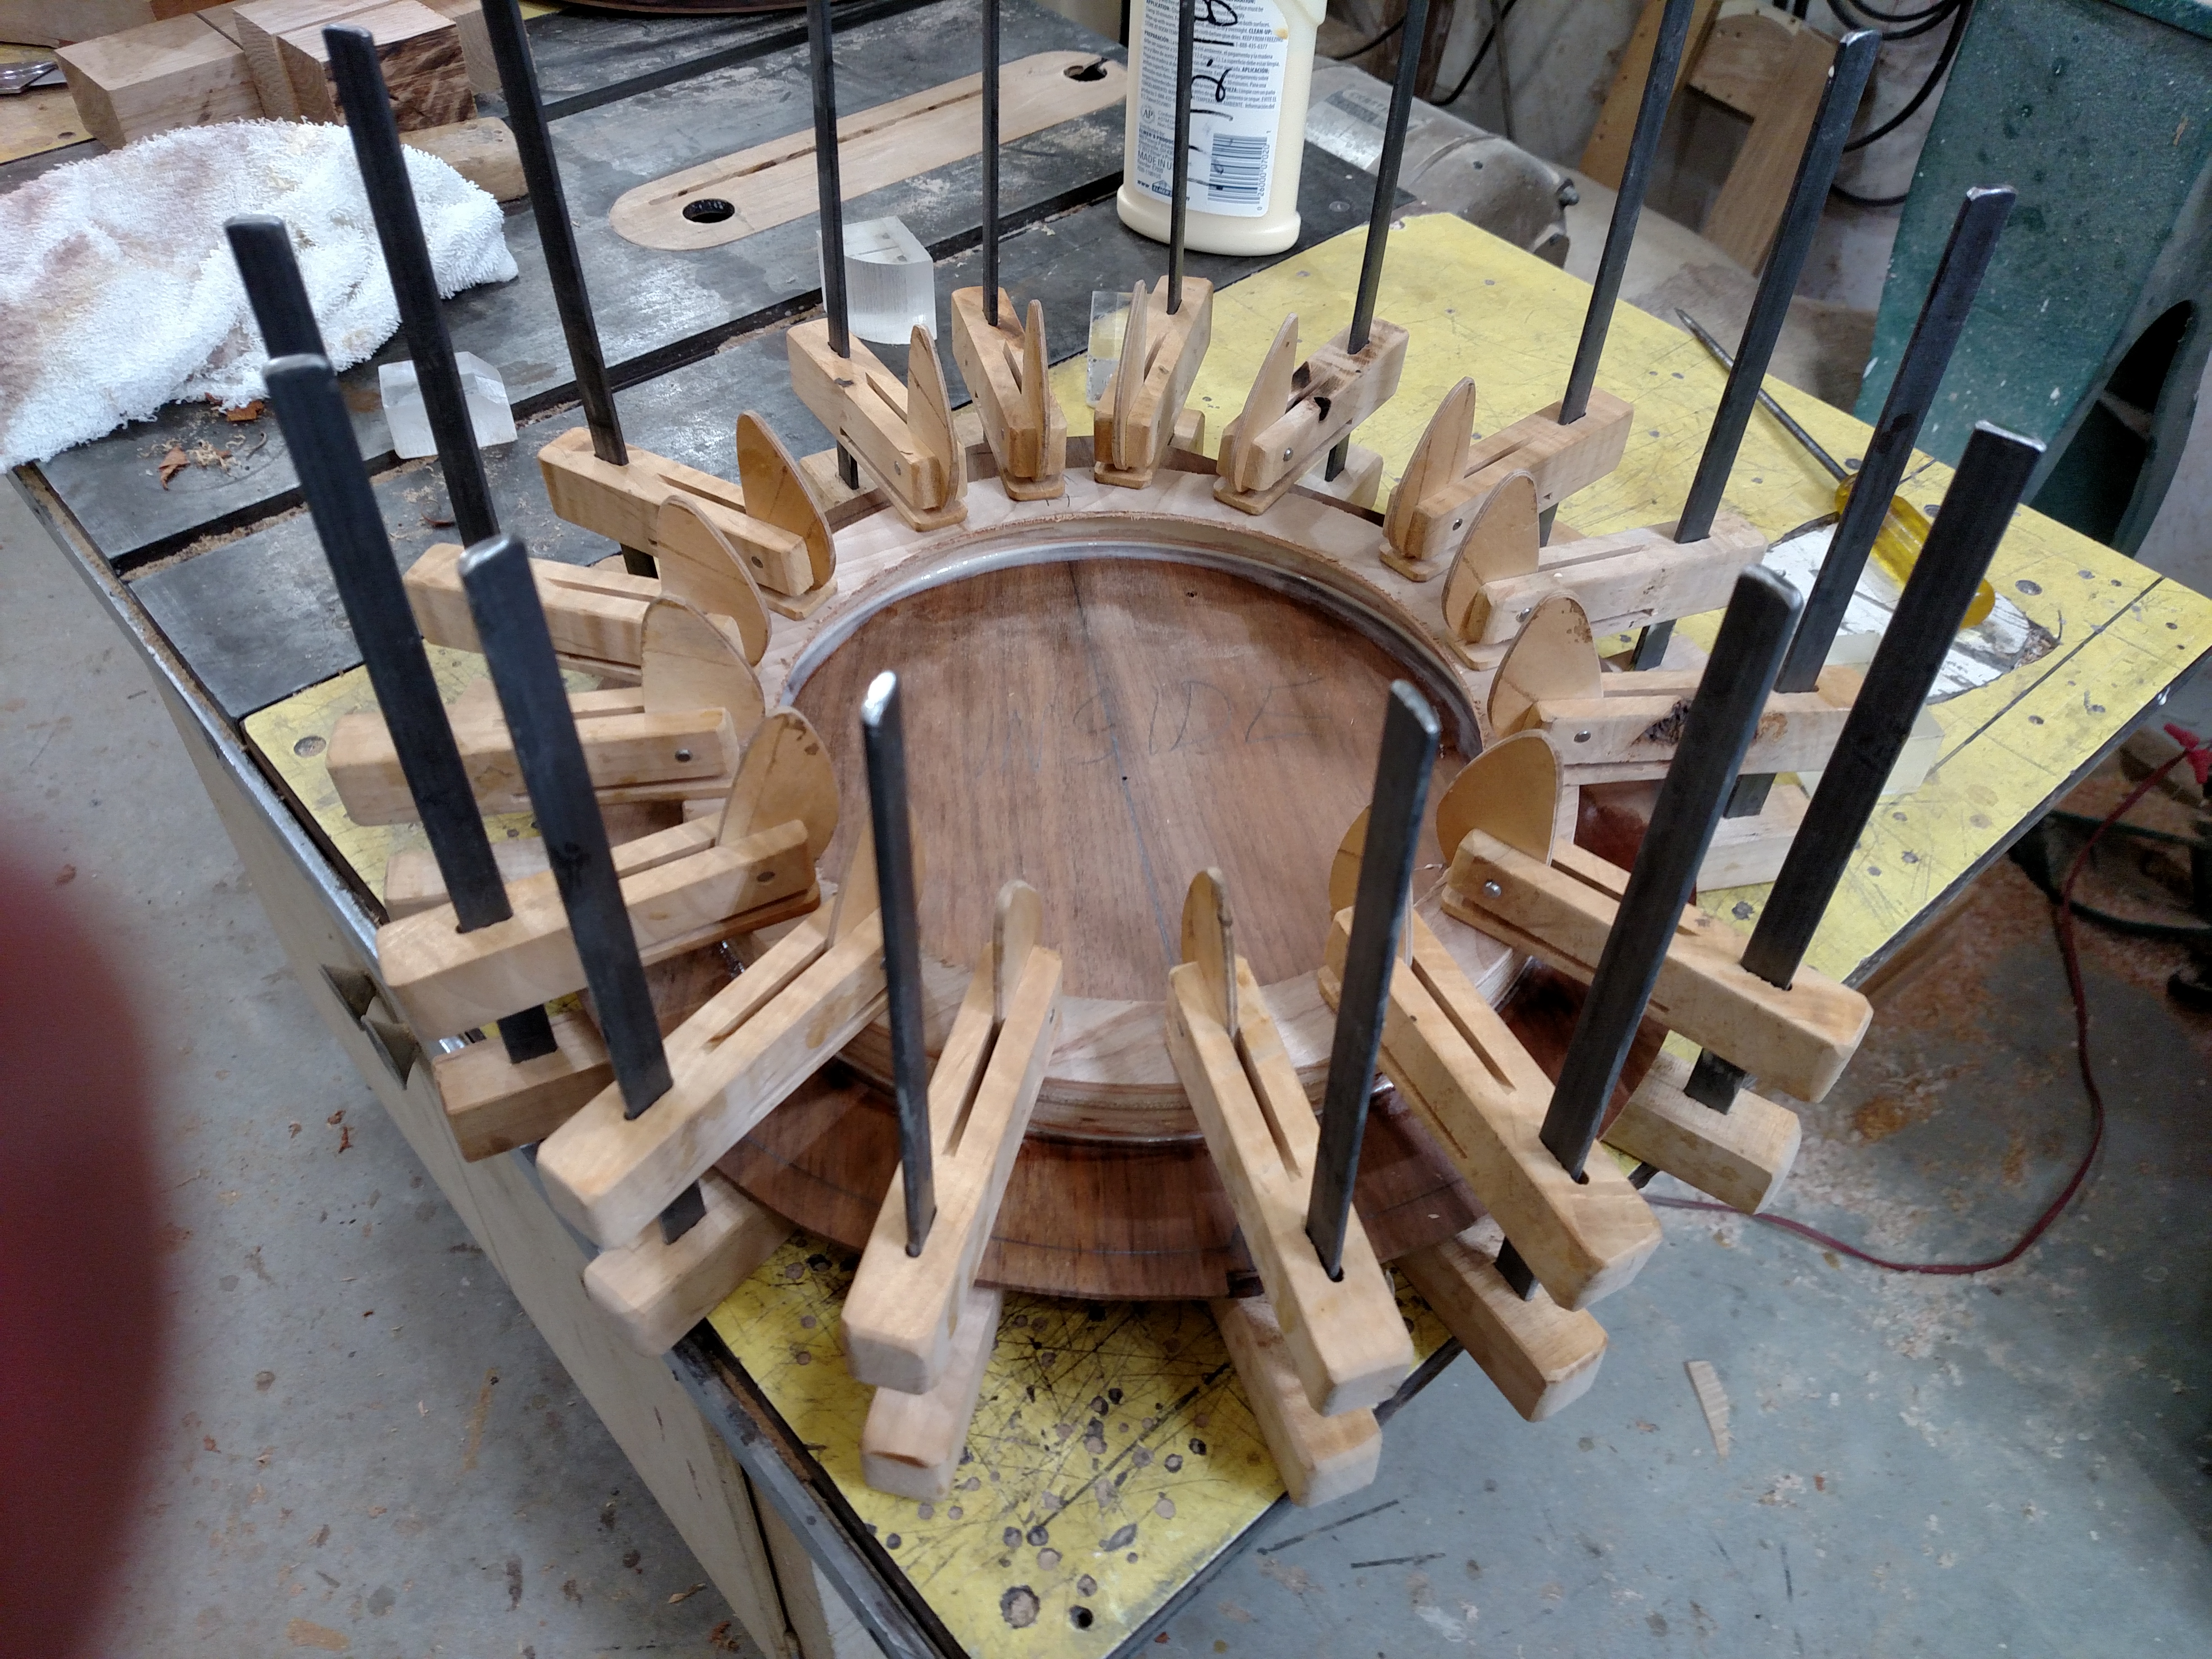
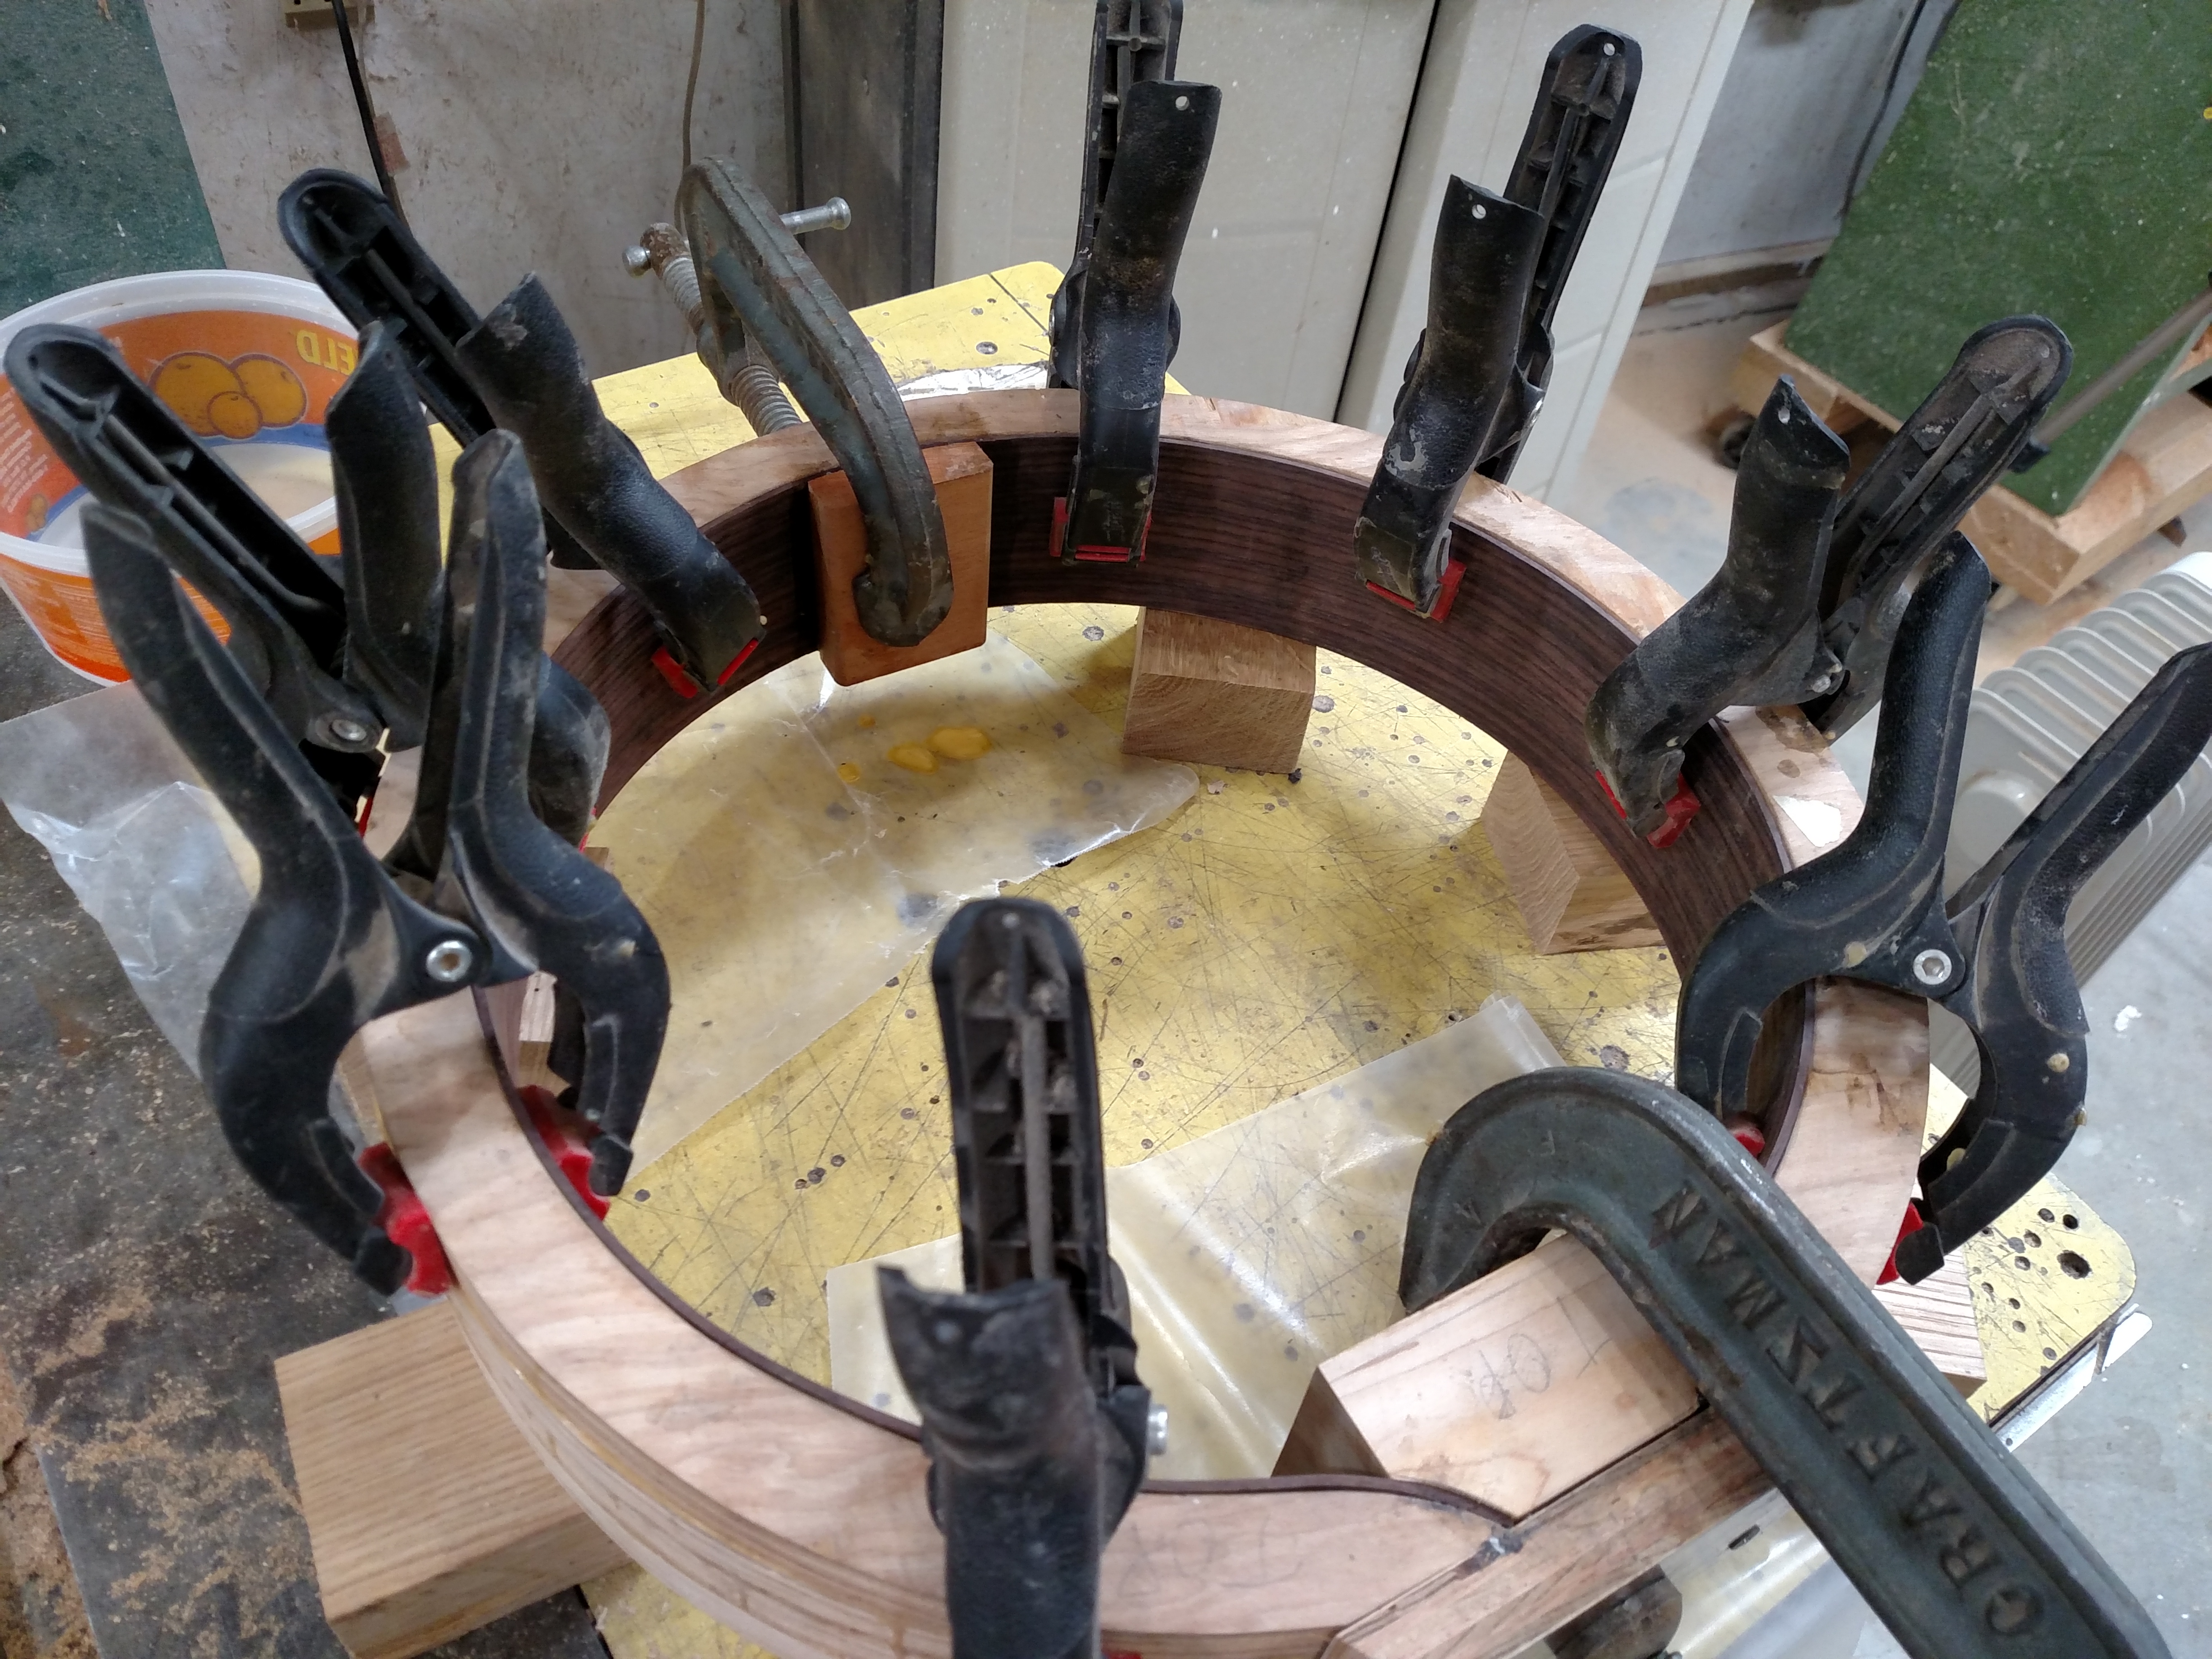
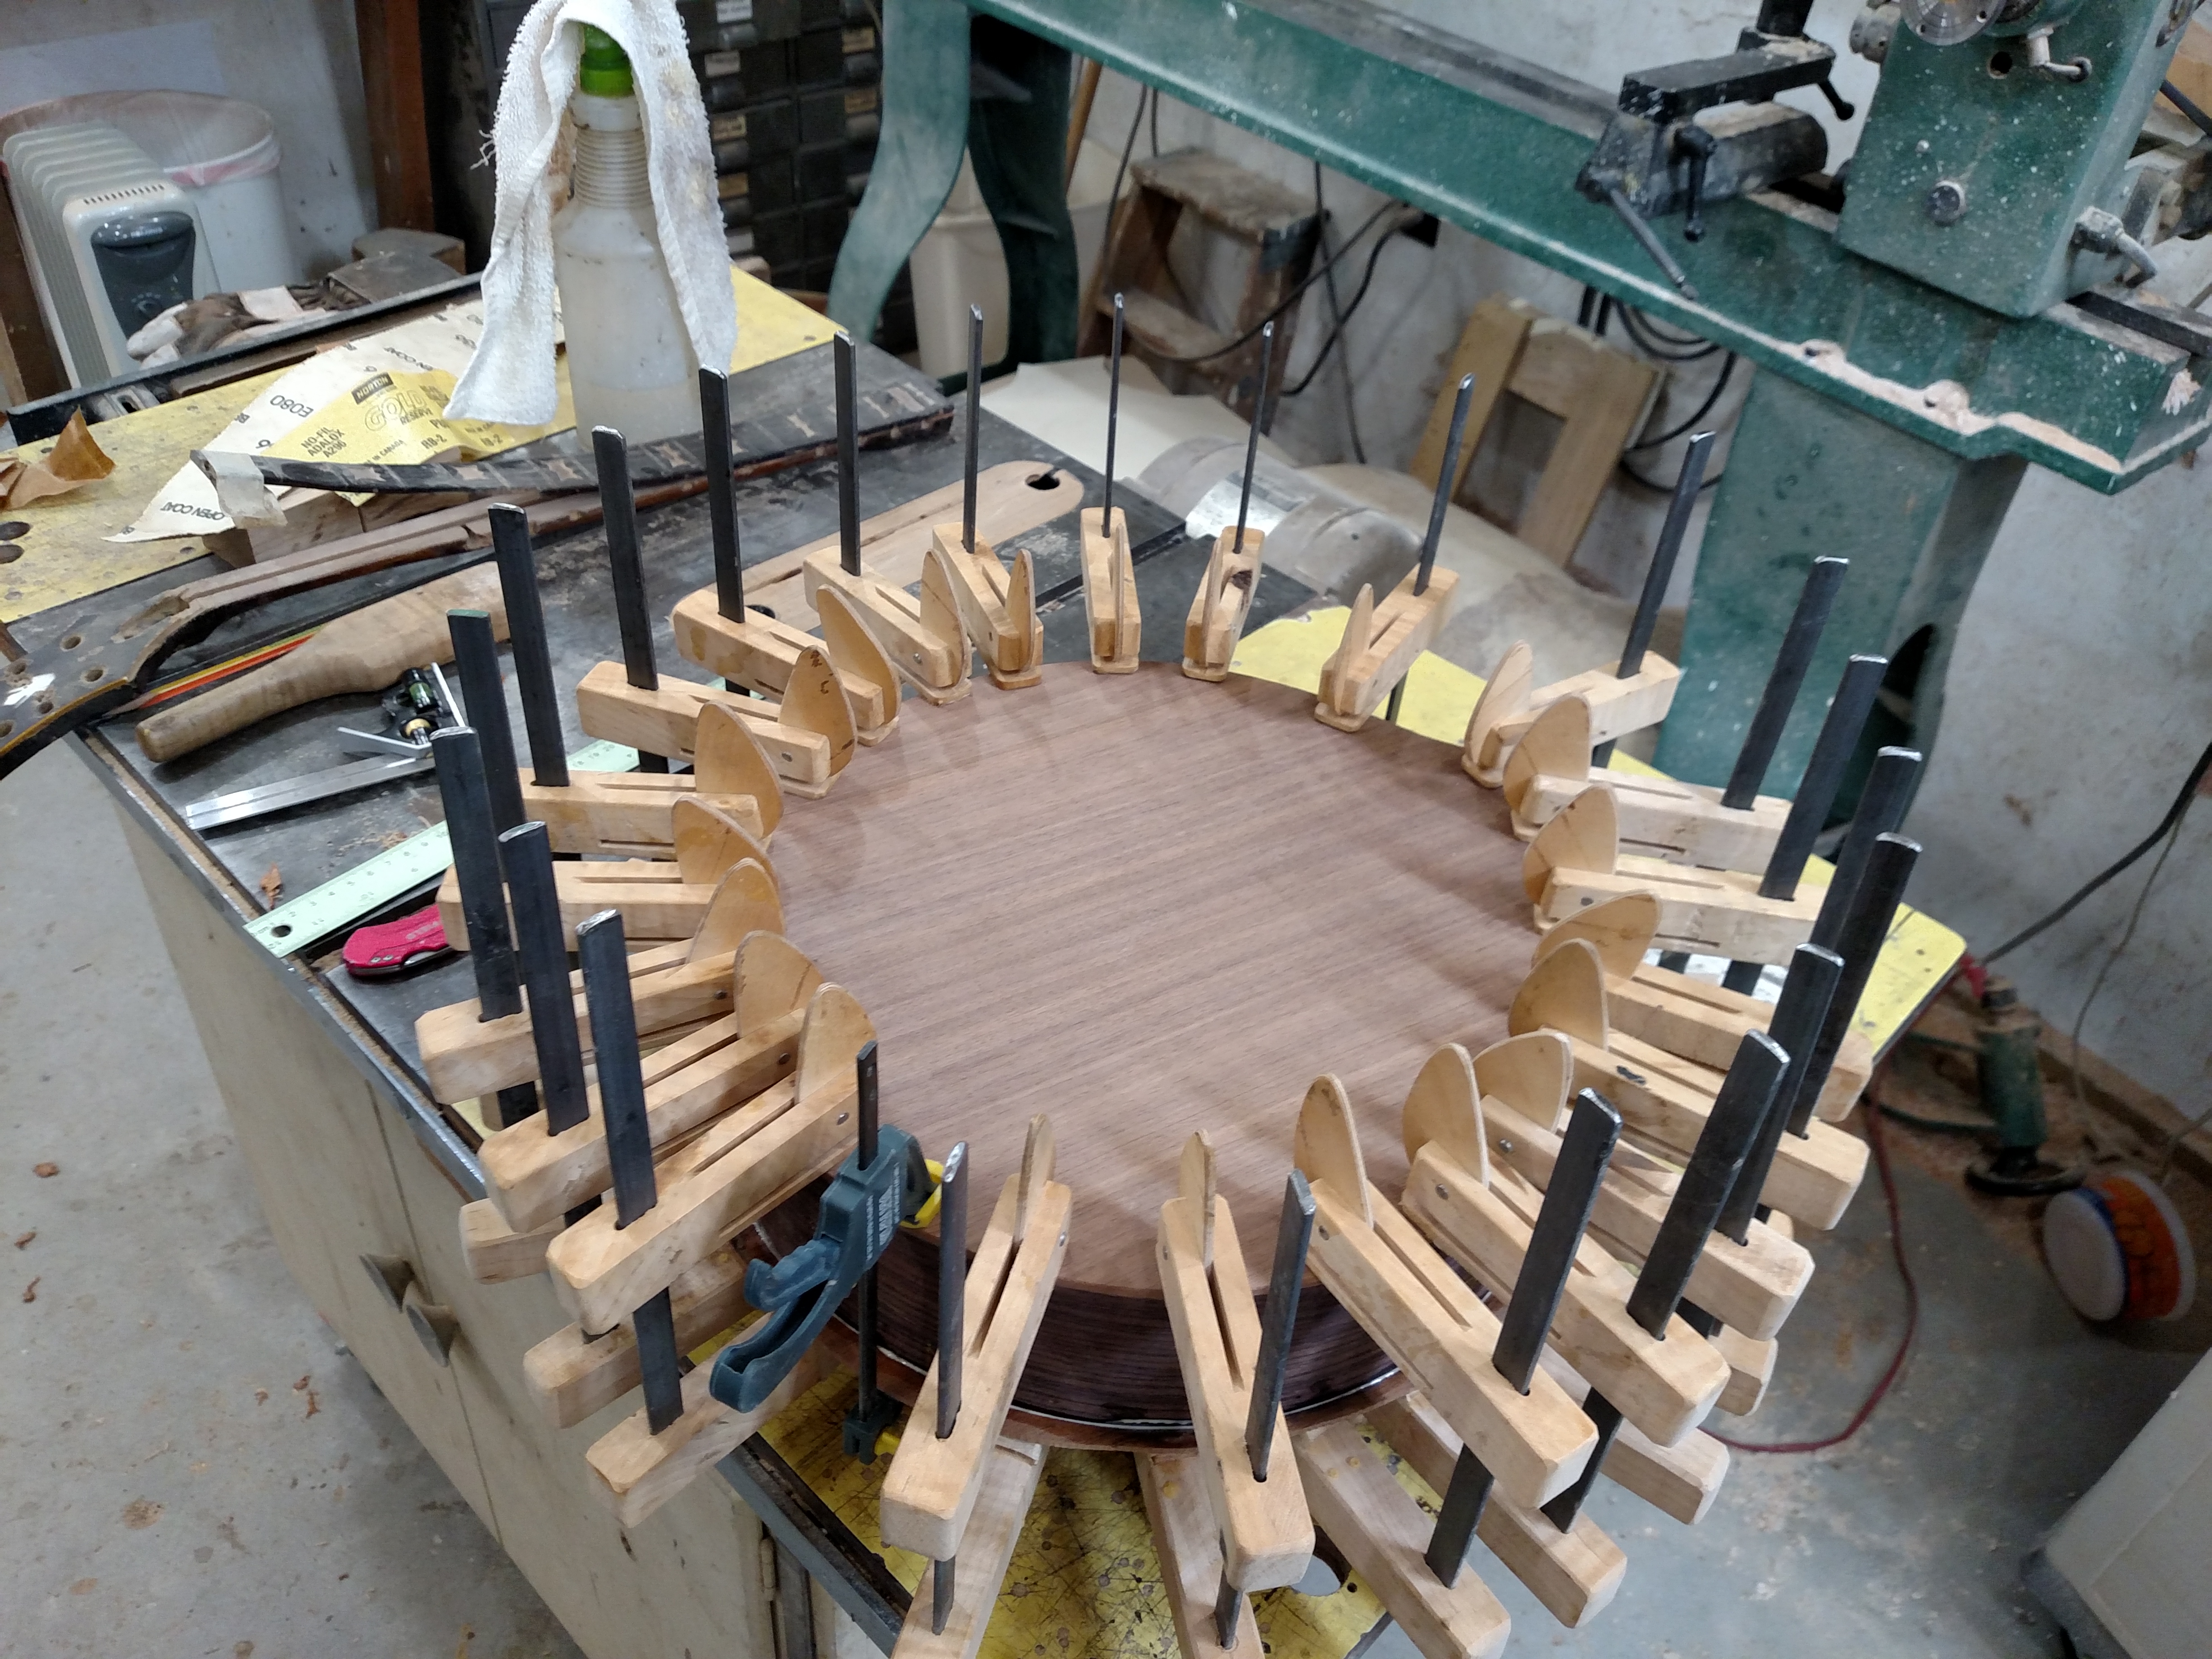
Below is the top being glued onto the sides and back. I used CA glue for attaching the back and aliphatic resin glue on the top. My little home-made clamps are very useful.
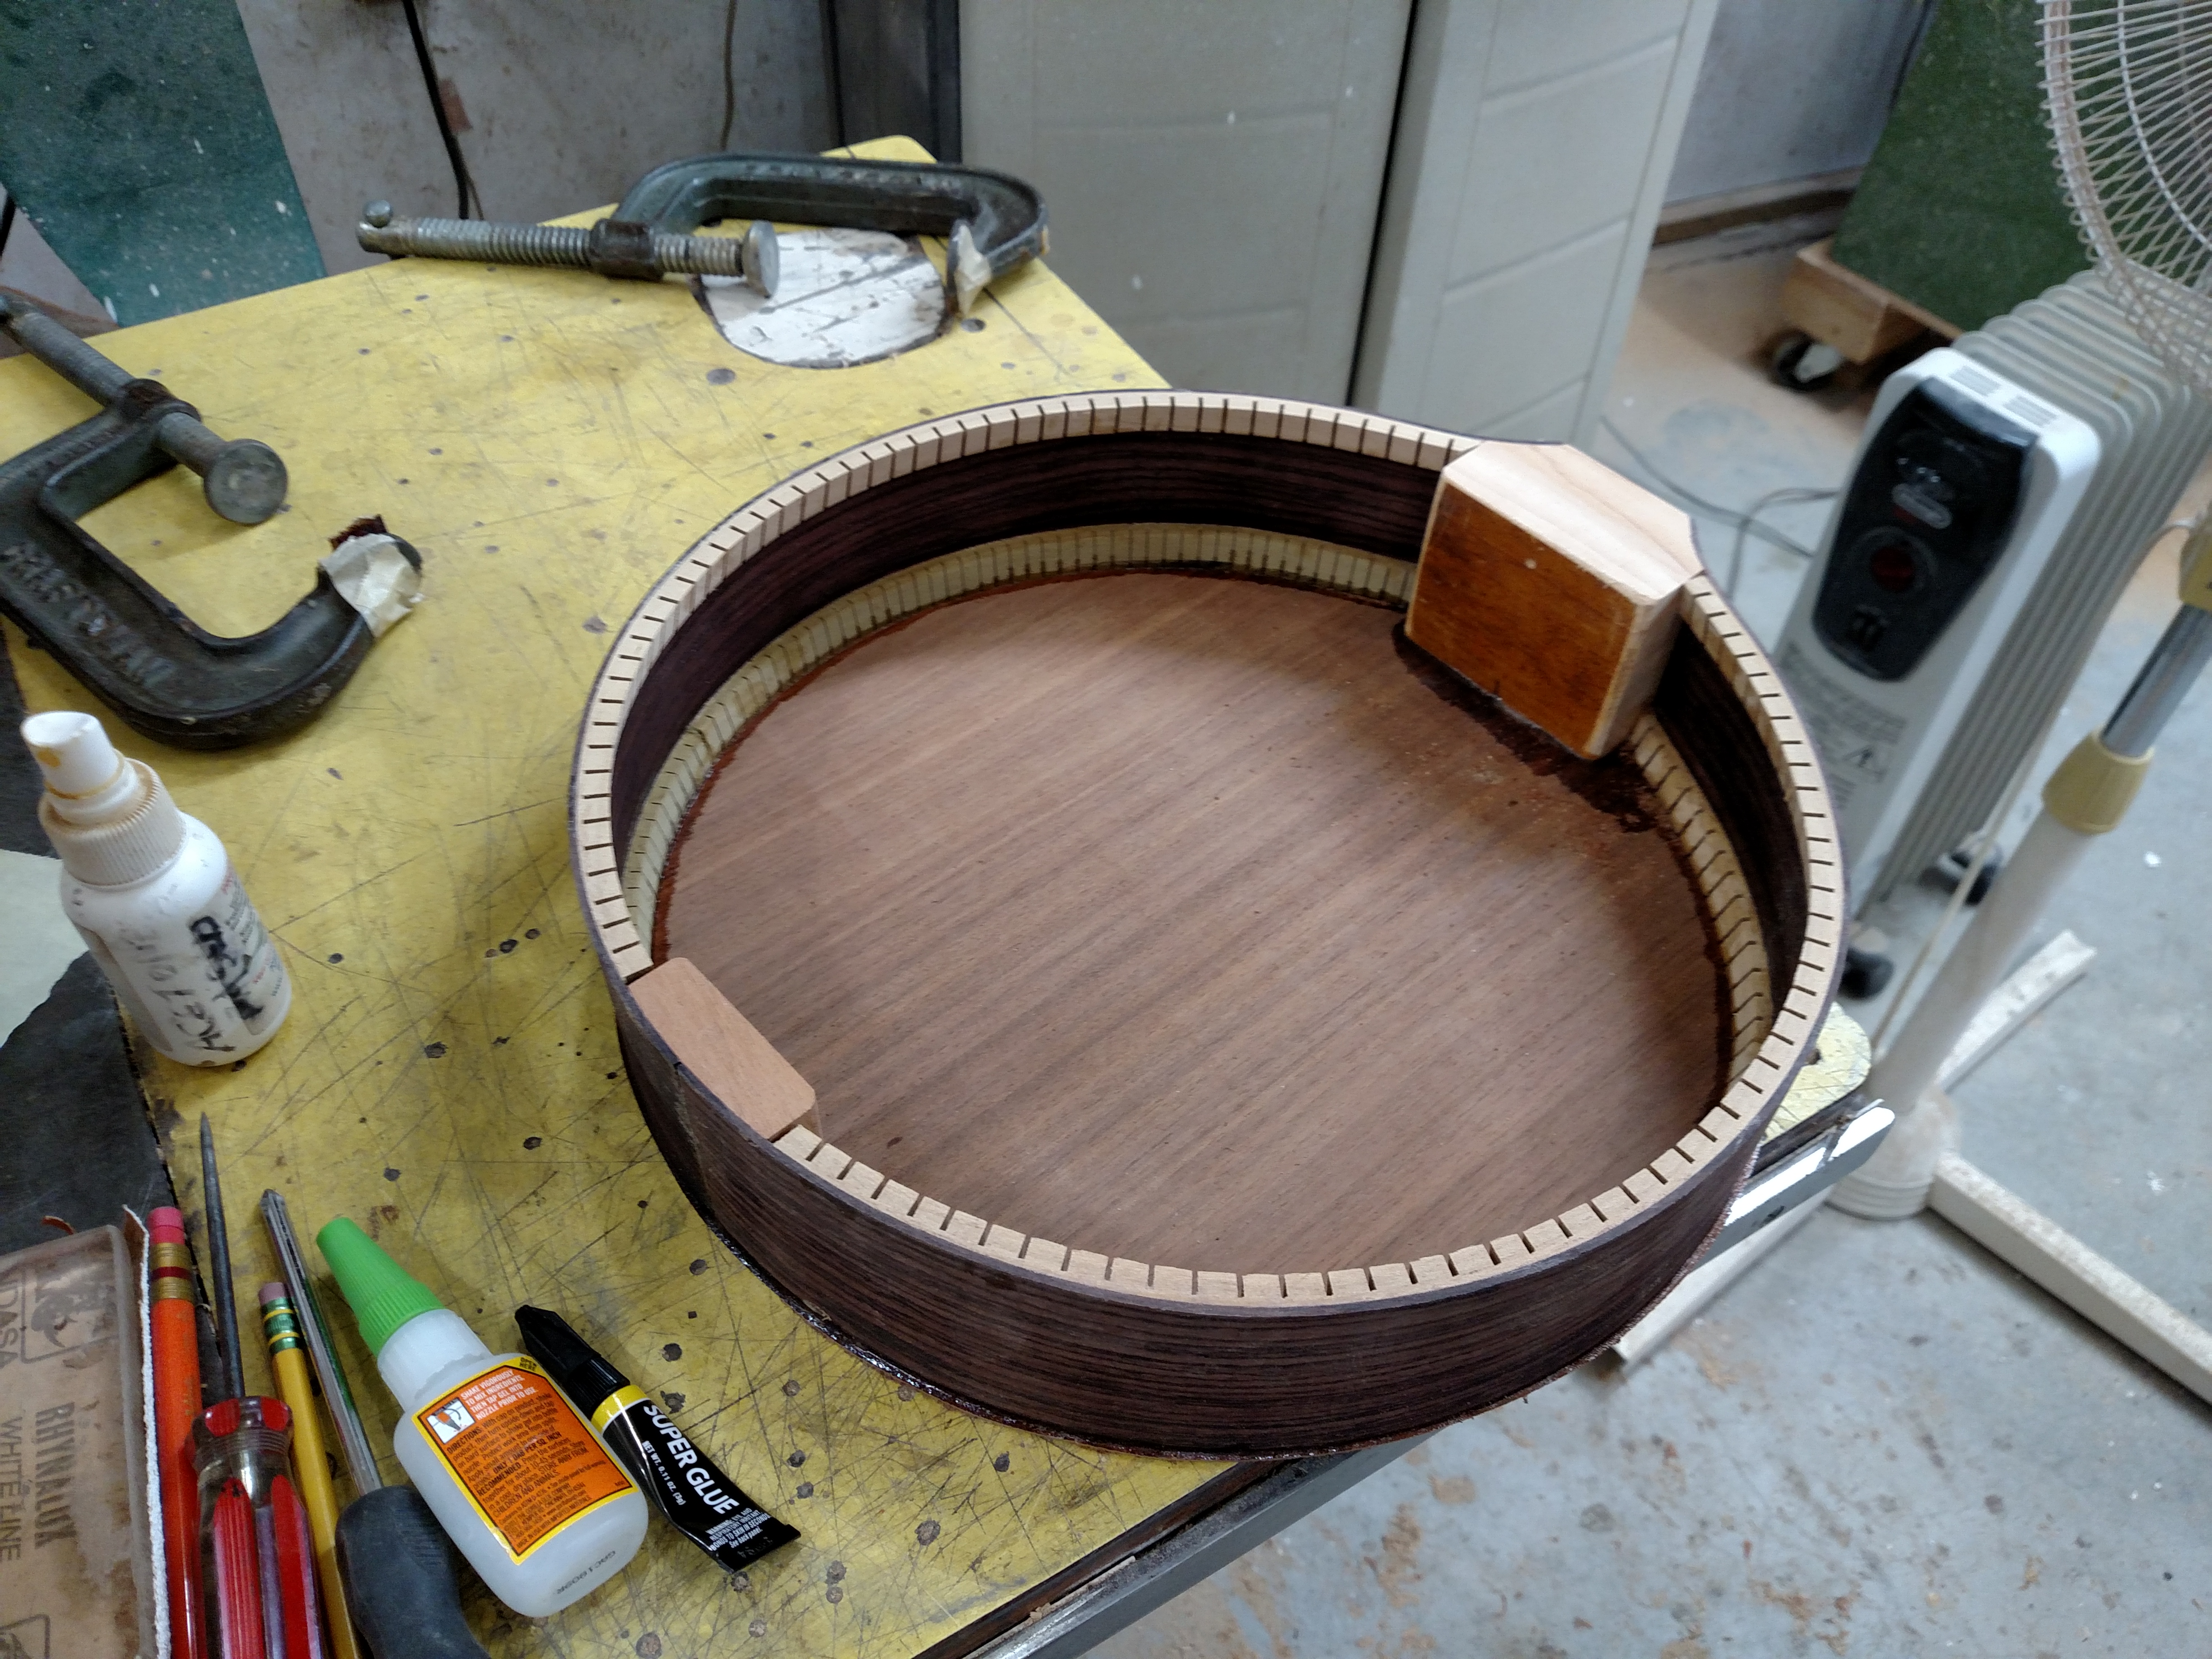
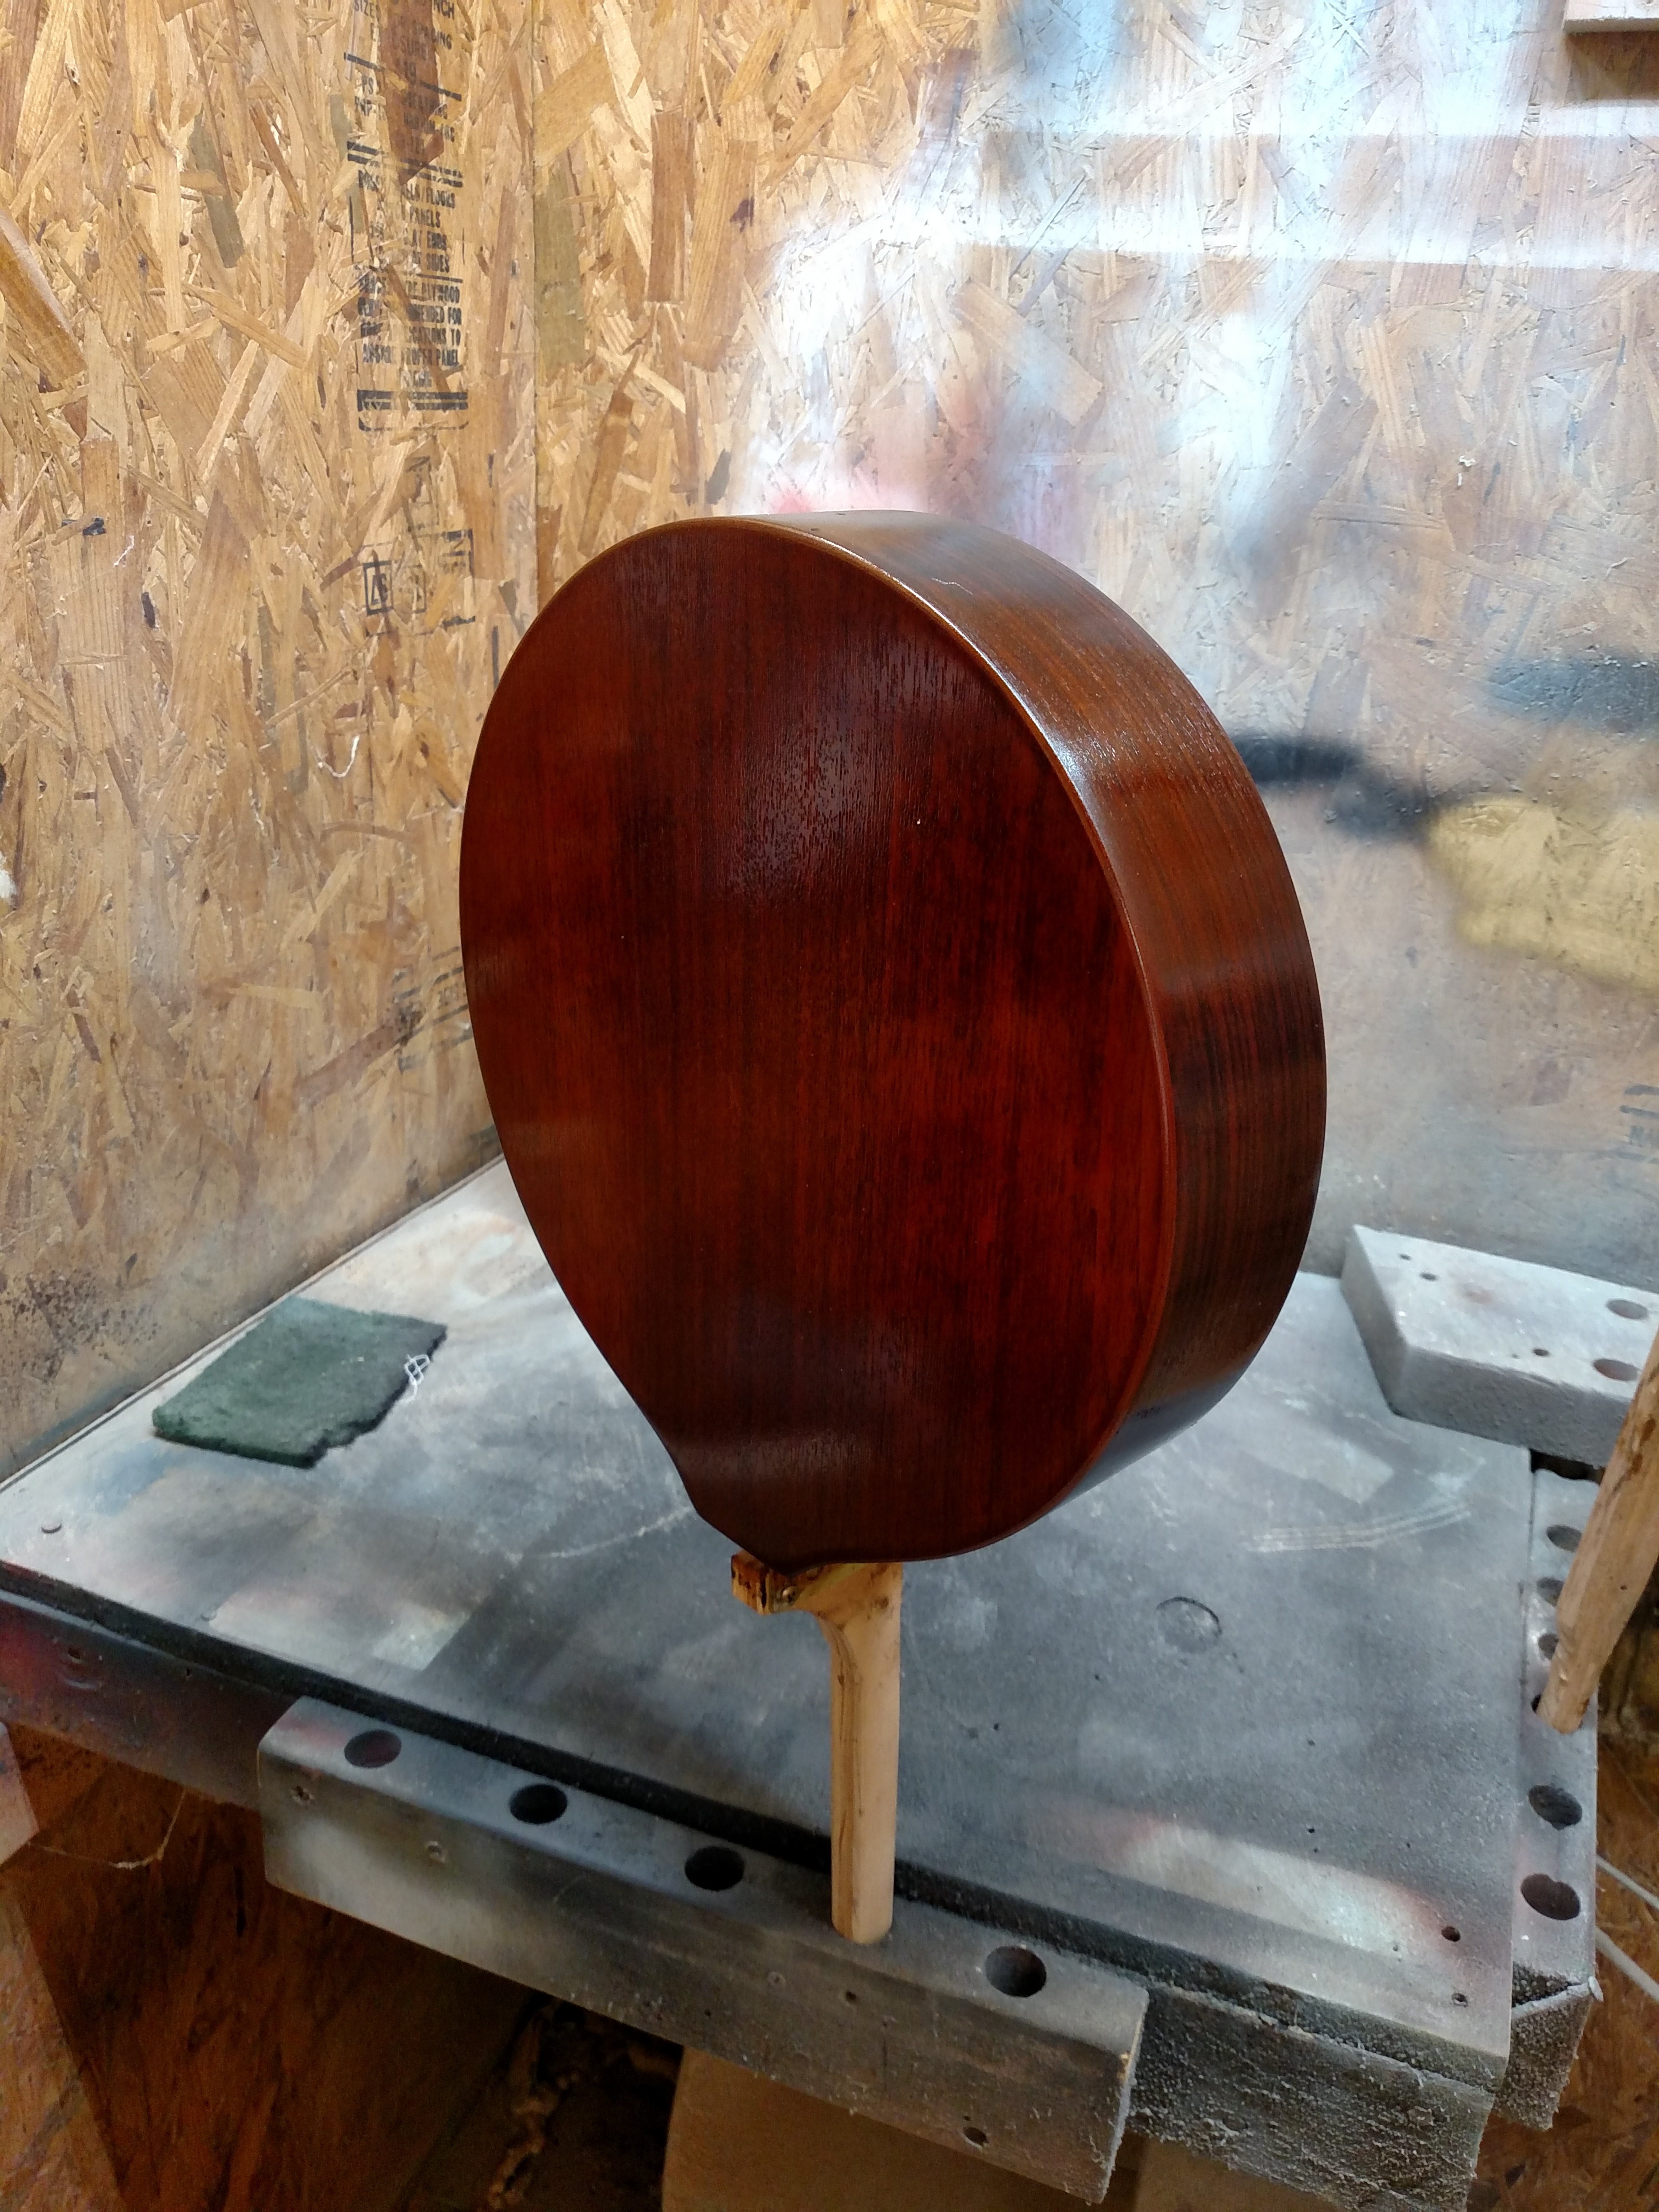
I use the band saw to trim off most of the excess around the sides. After a little more trimming, scraping, and sanding, here is the body assembled.

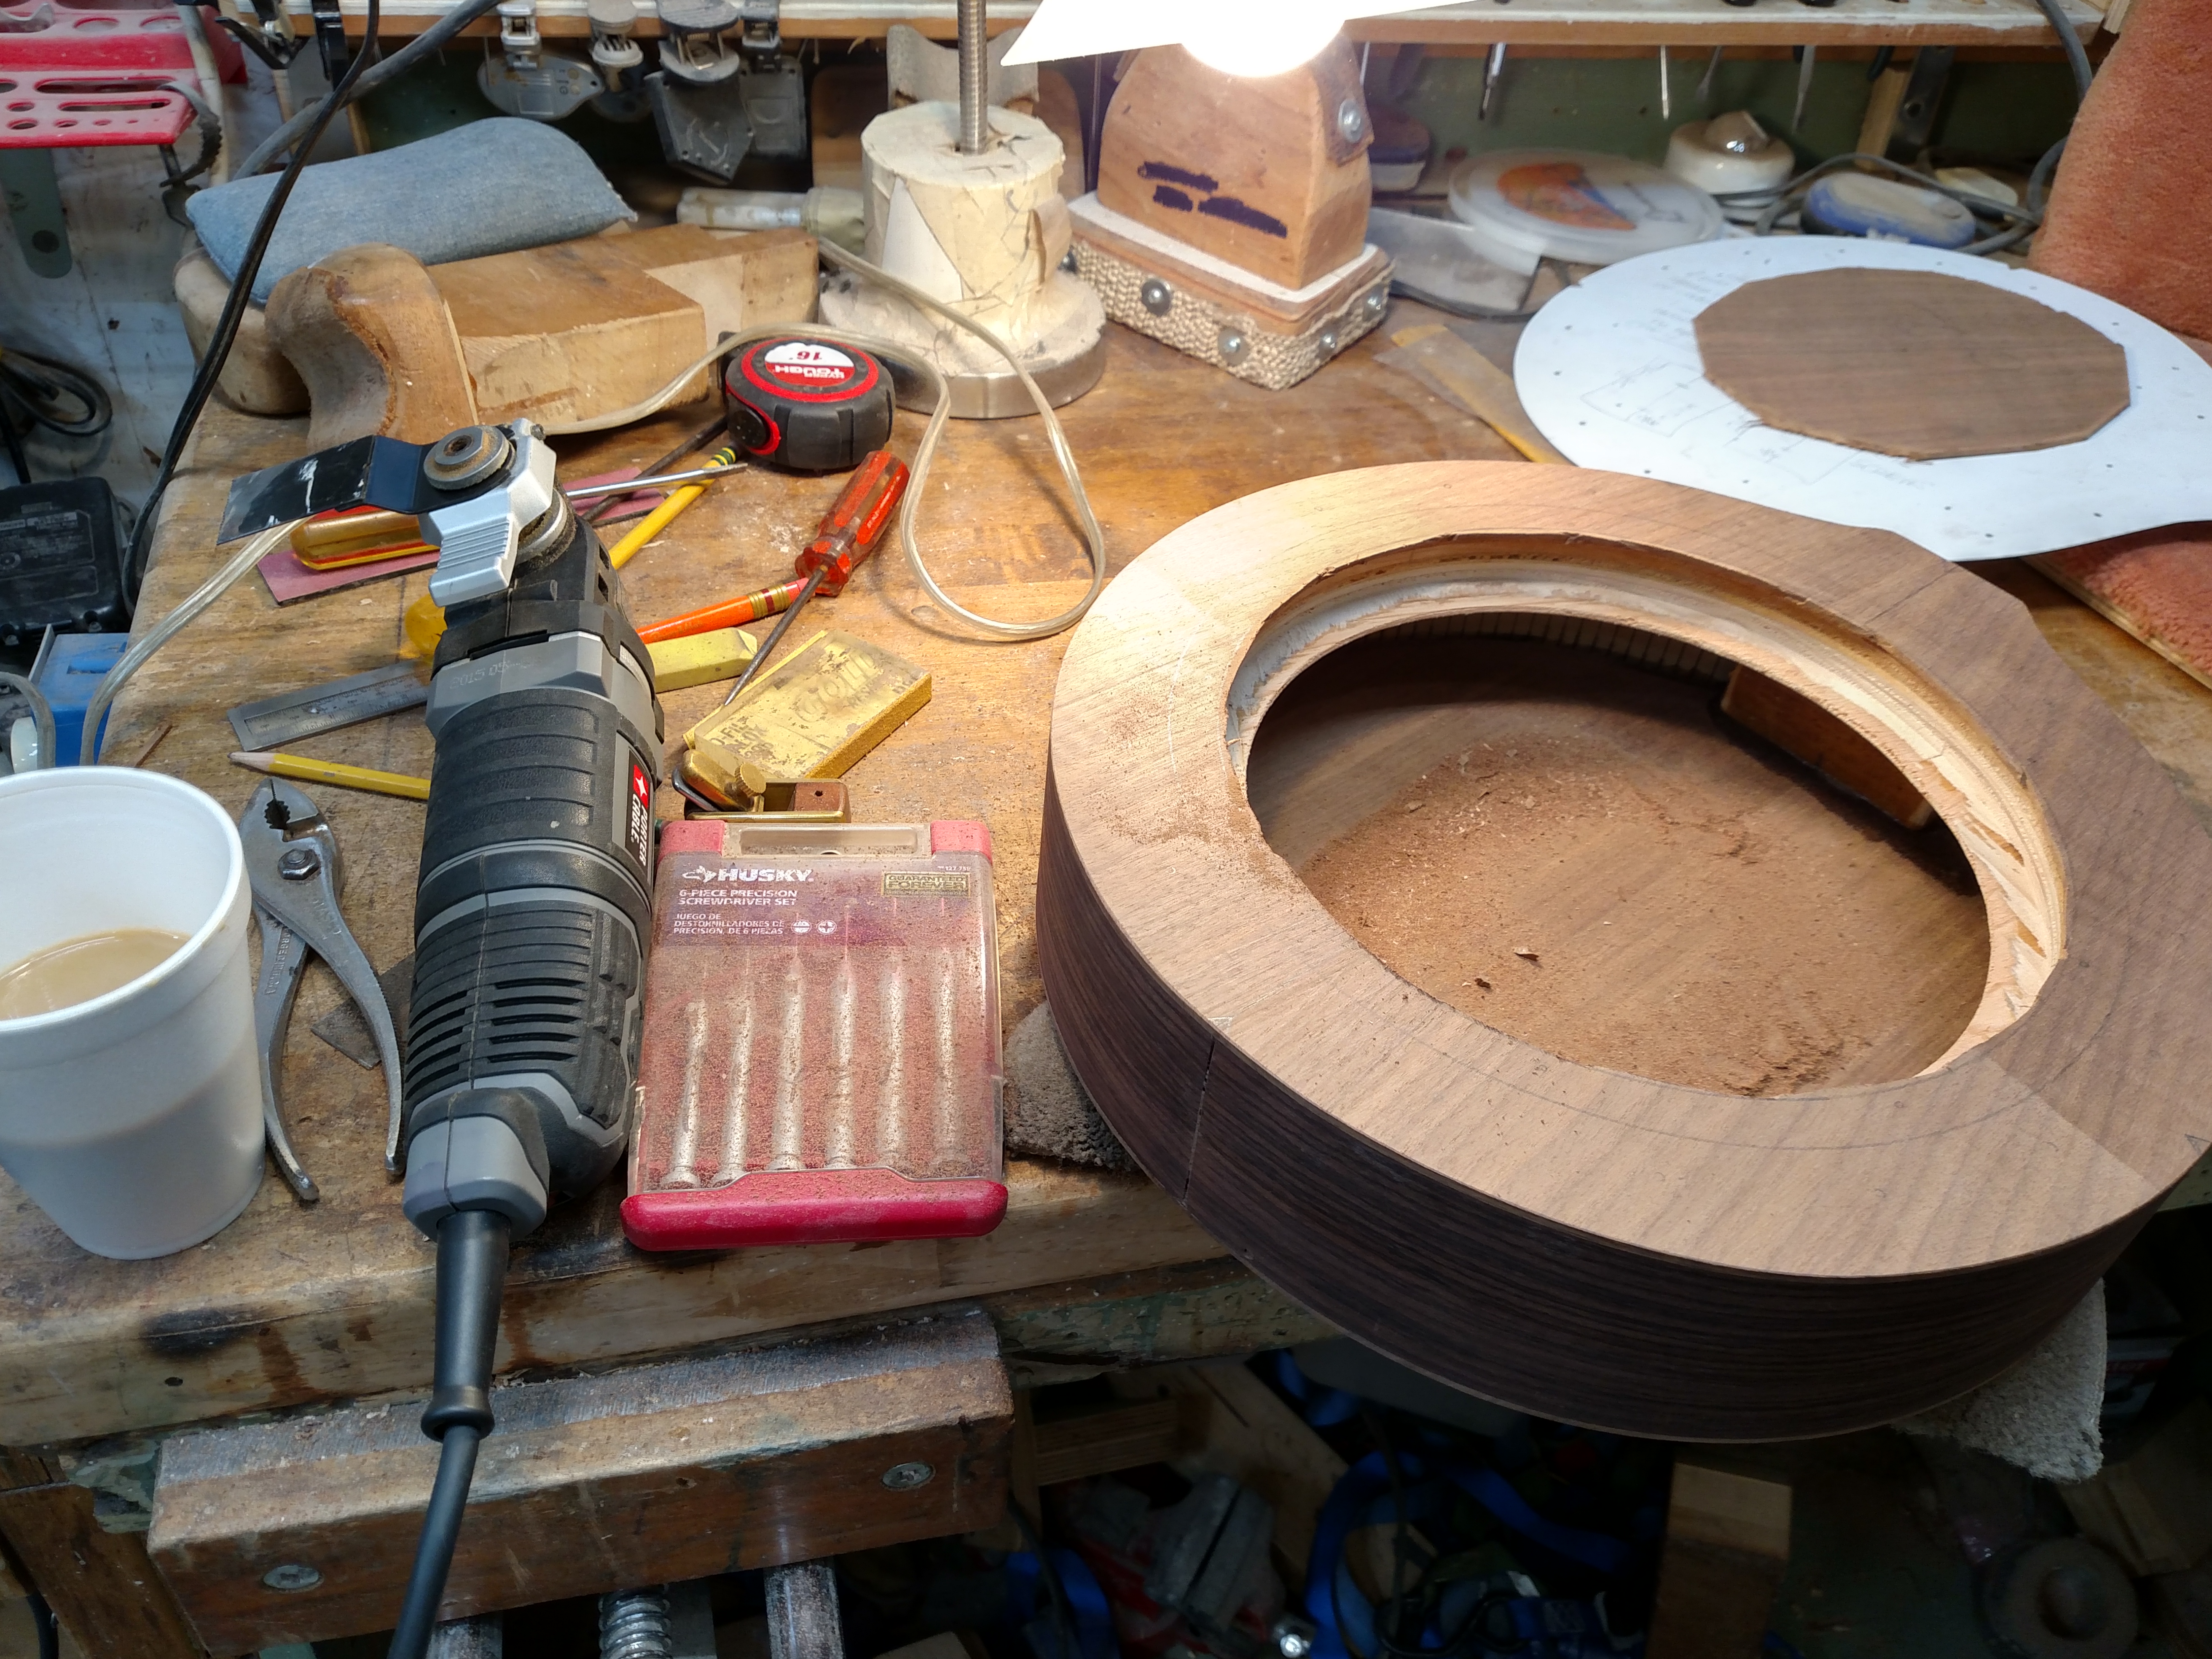
Shown below is the top after rough cutting the hole for the cone. I used one of those new type saws that has a vibrating blade to cut this hole. Frank Ford shows an “autopsy saw” on his website which does about the same job. Maybe these manufacturers got the idea from him to produce these saws. I know he has inspired me to do a lot of things. As you can see, there is not much wood left in the top after cutting out the middle.
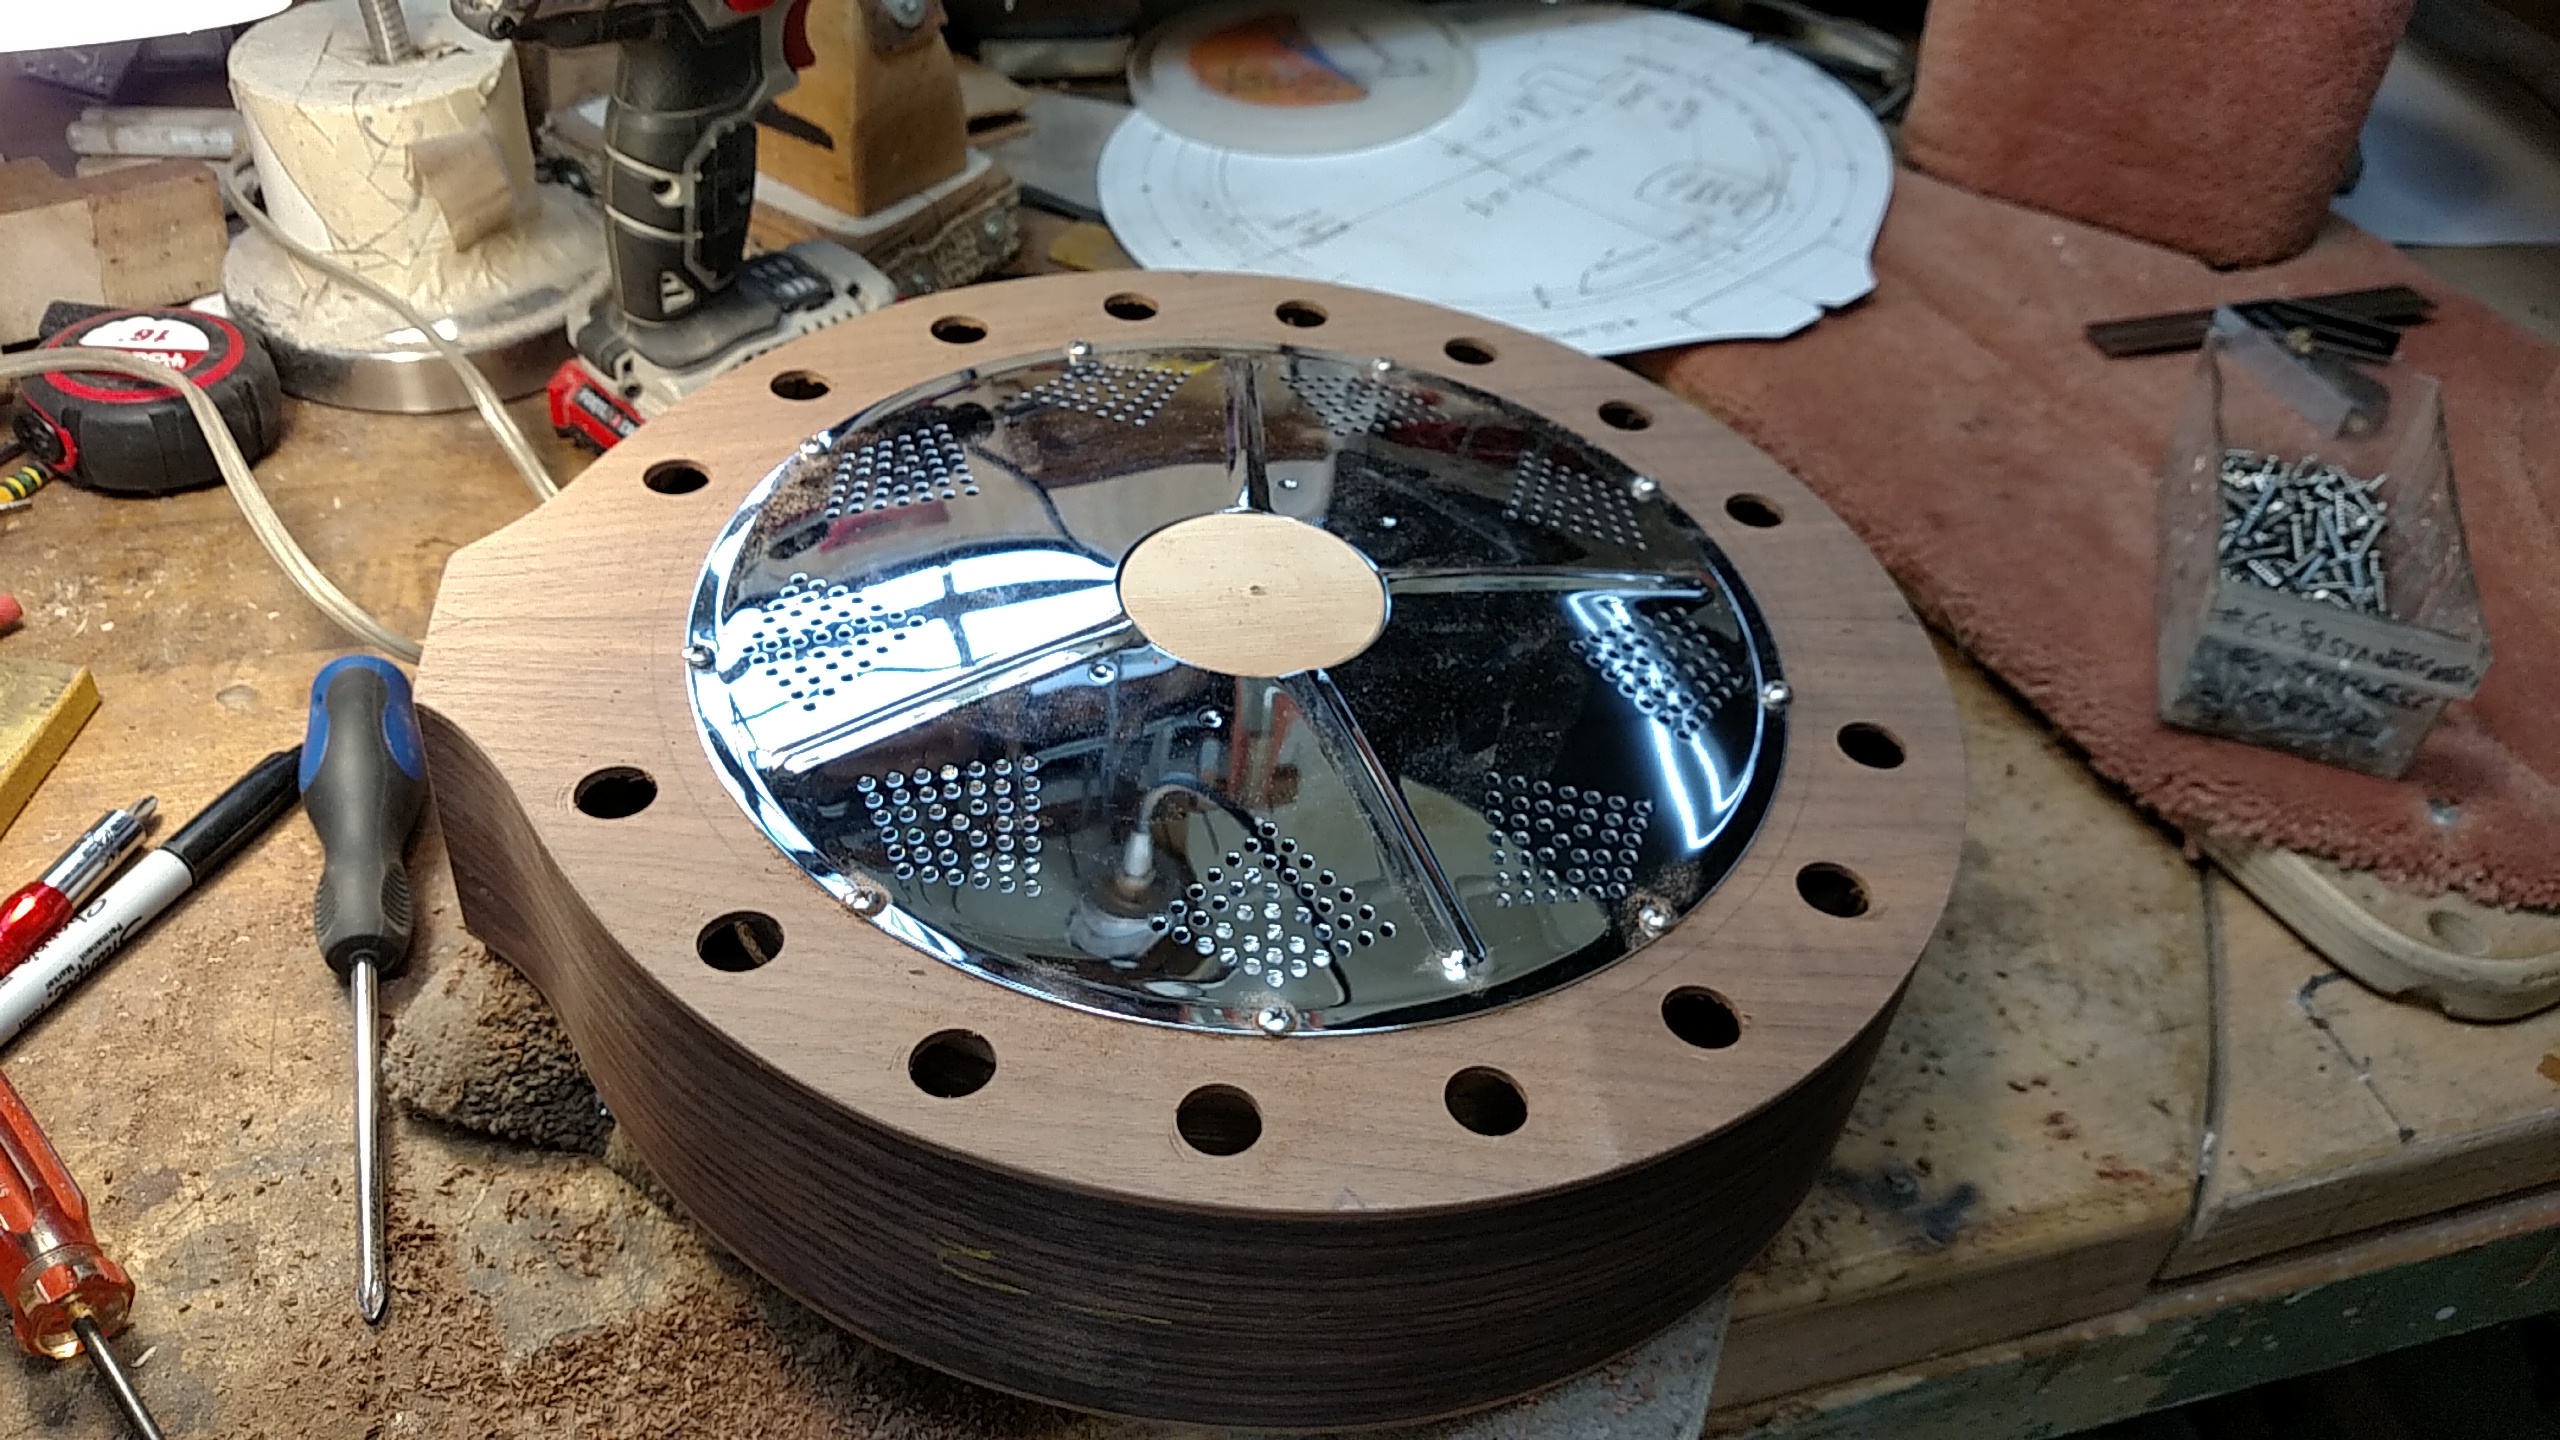
Then I drilled the 5/8 inch holes around the edge with a Forstner bit. I also tapered the top edges of these holes to make them more pleasing to the eye. Then I fitted the cover plate and drilled the holes to attach it. All these dimensions and hole locations were determined by my template made from some .040 inch thick white plastic. I buy this material in a 4×8 sheet from a local sign shop. It is my “go to” material for all my patterns. It is easy to shape and easy to mark around with a pencil or marker. If you look in the background of the picture below, you can see my main template for the body of this project.
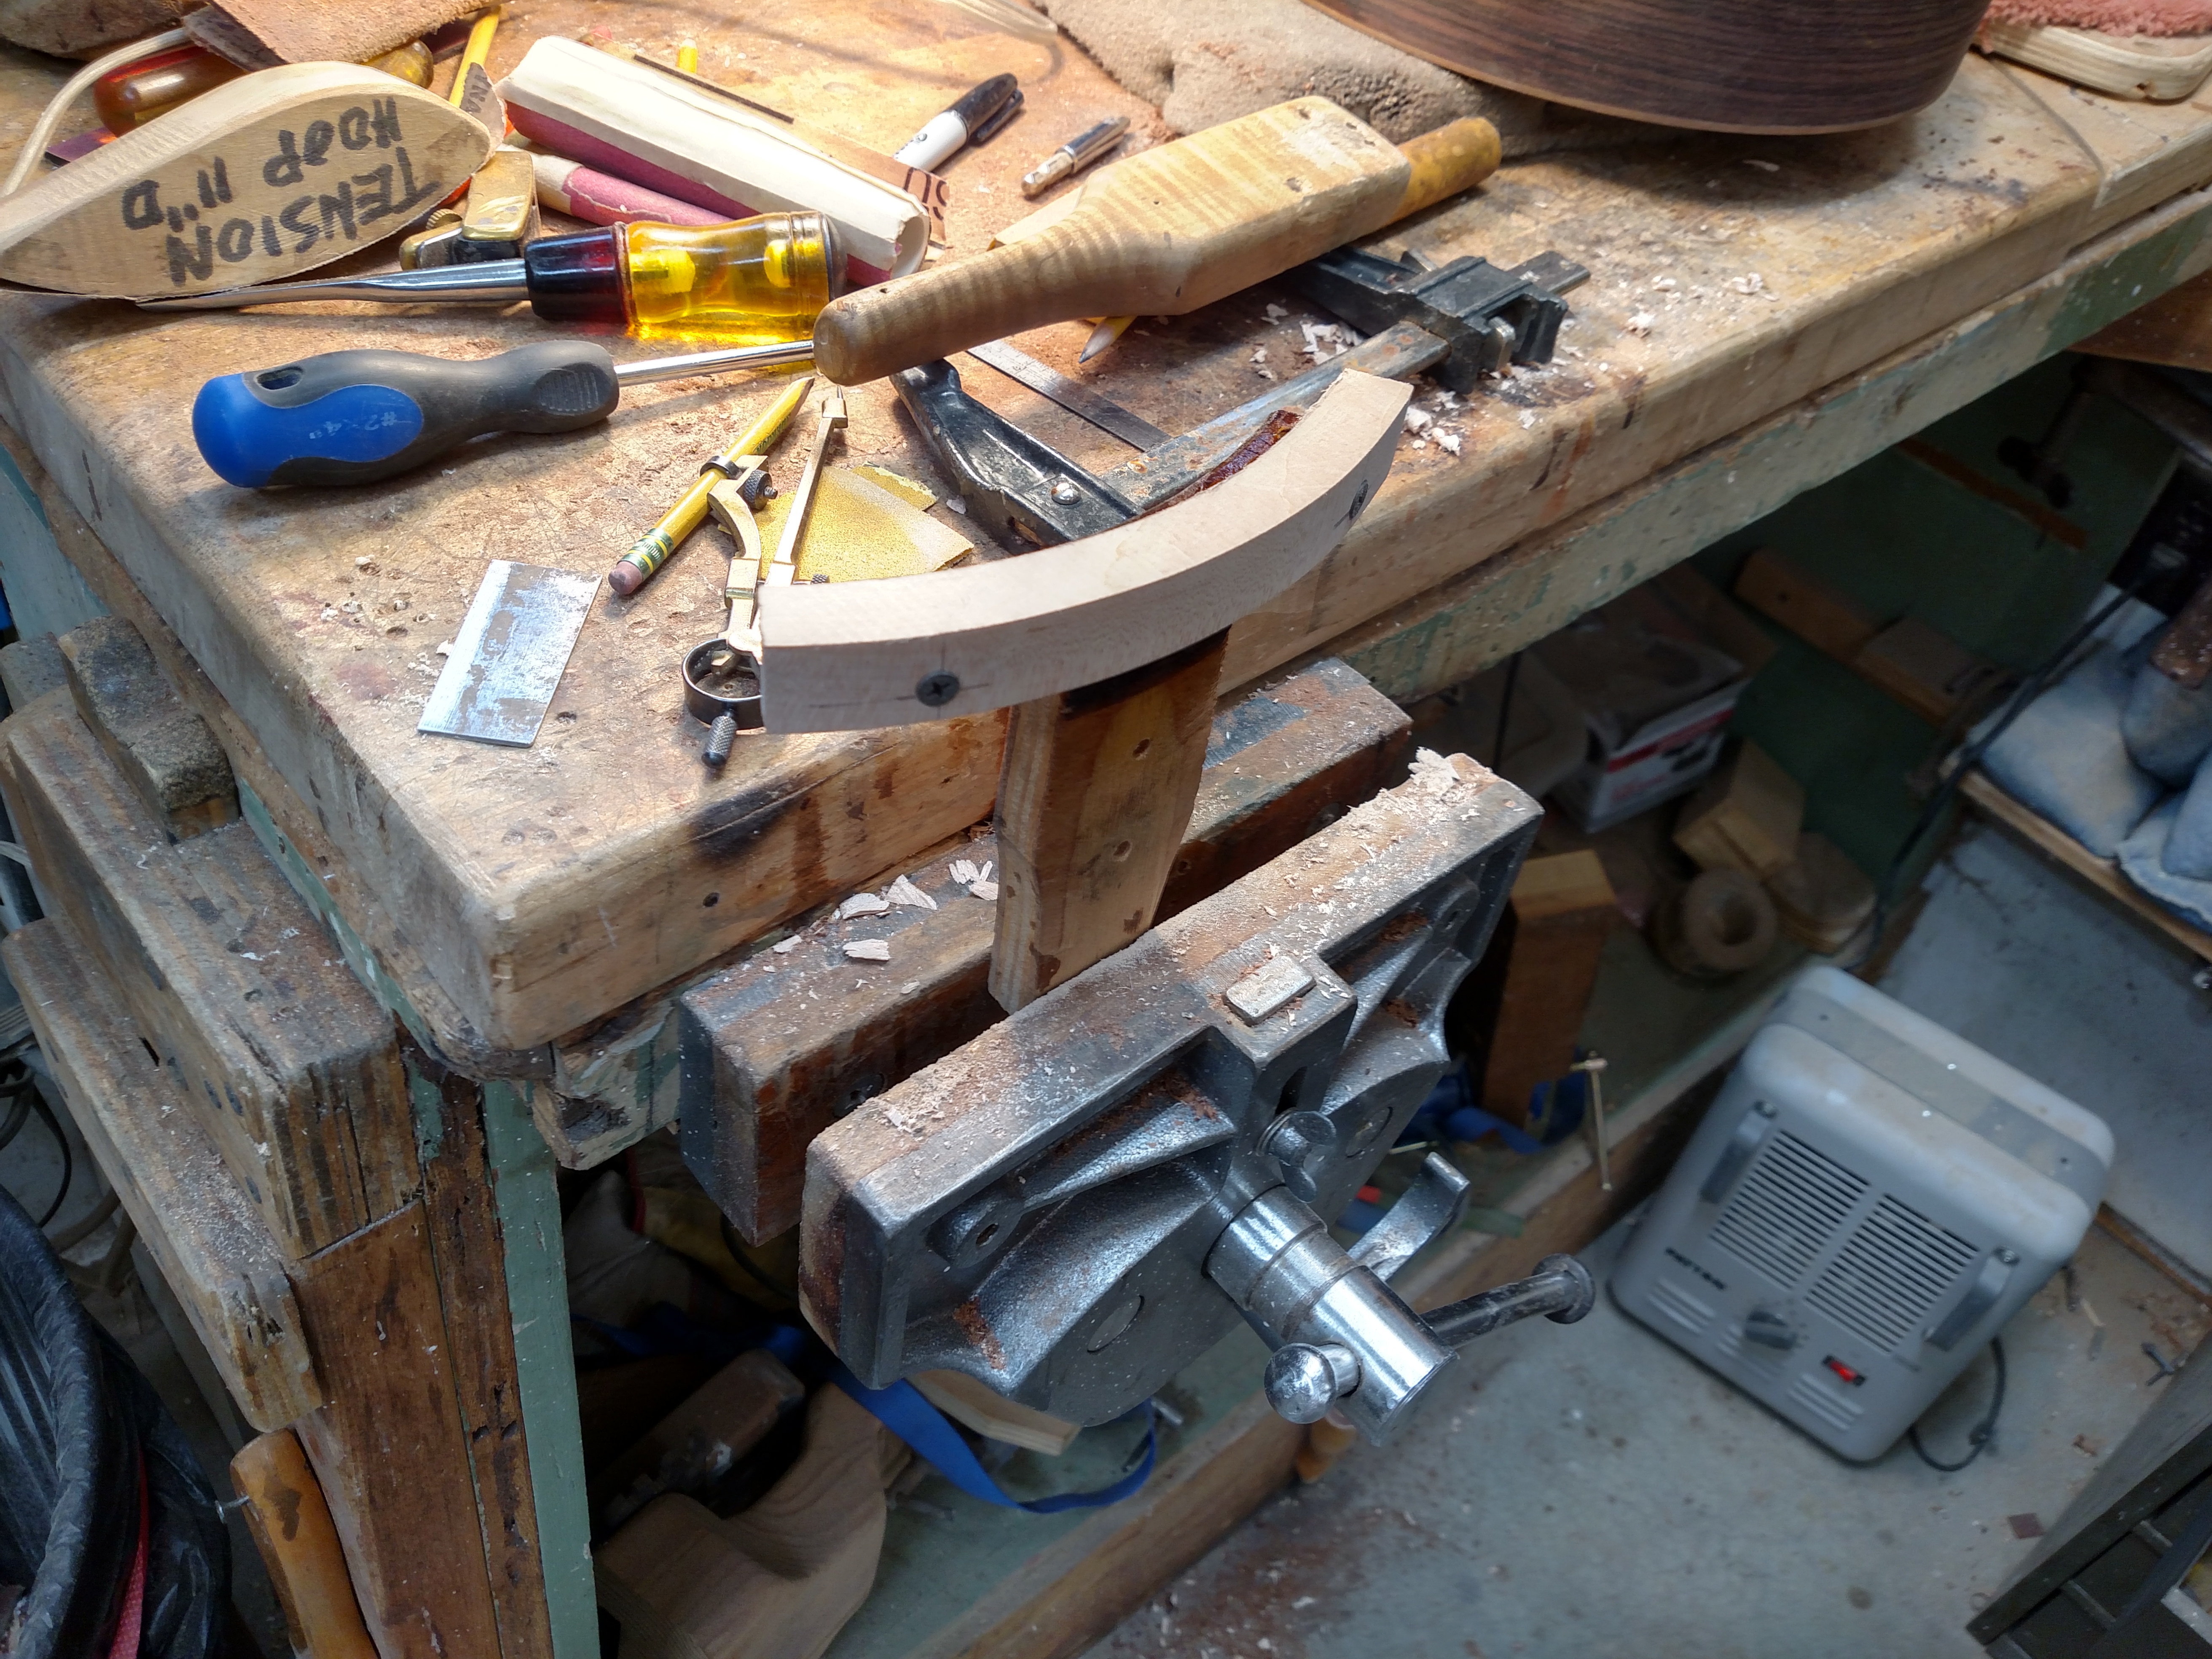
Now it was time to fabricate an armrest for this body. It is made from some maple. I often use curly maple but this project is more of a plain grained one.
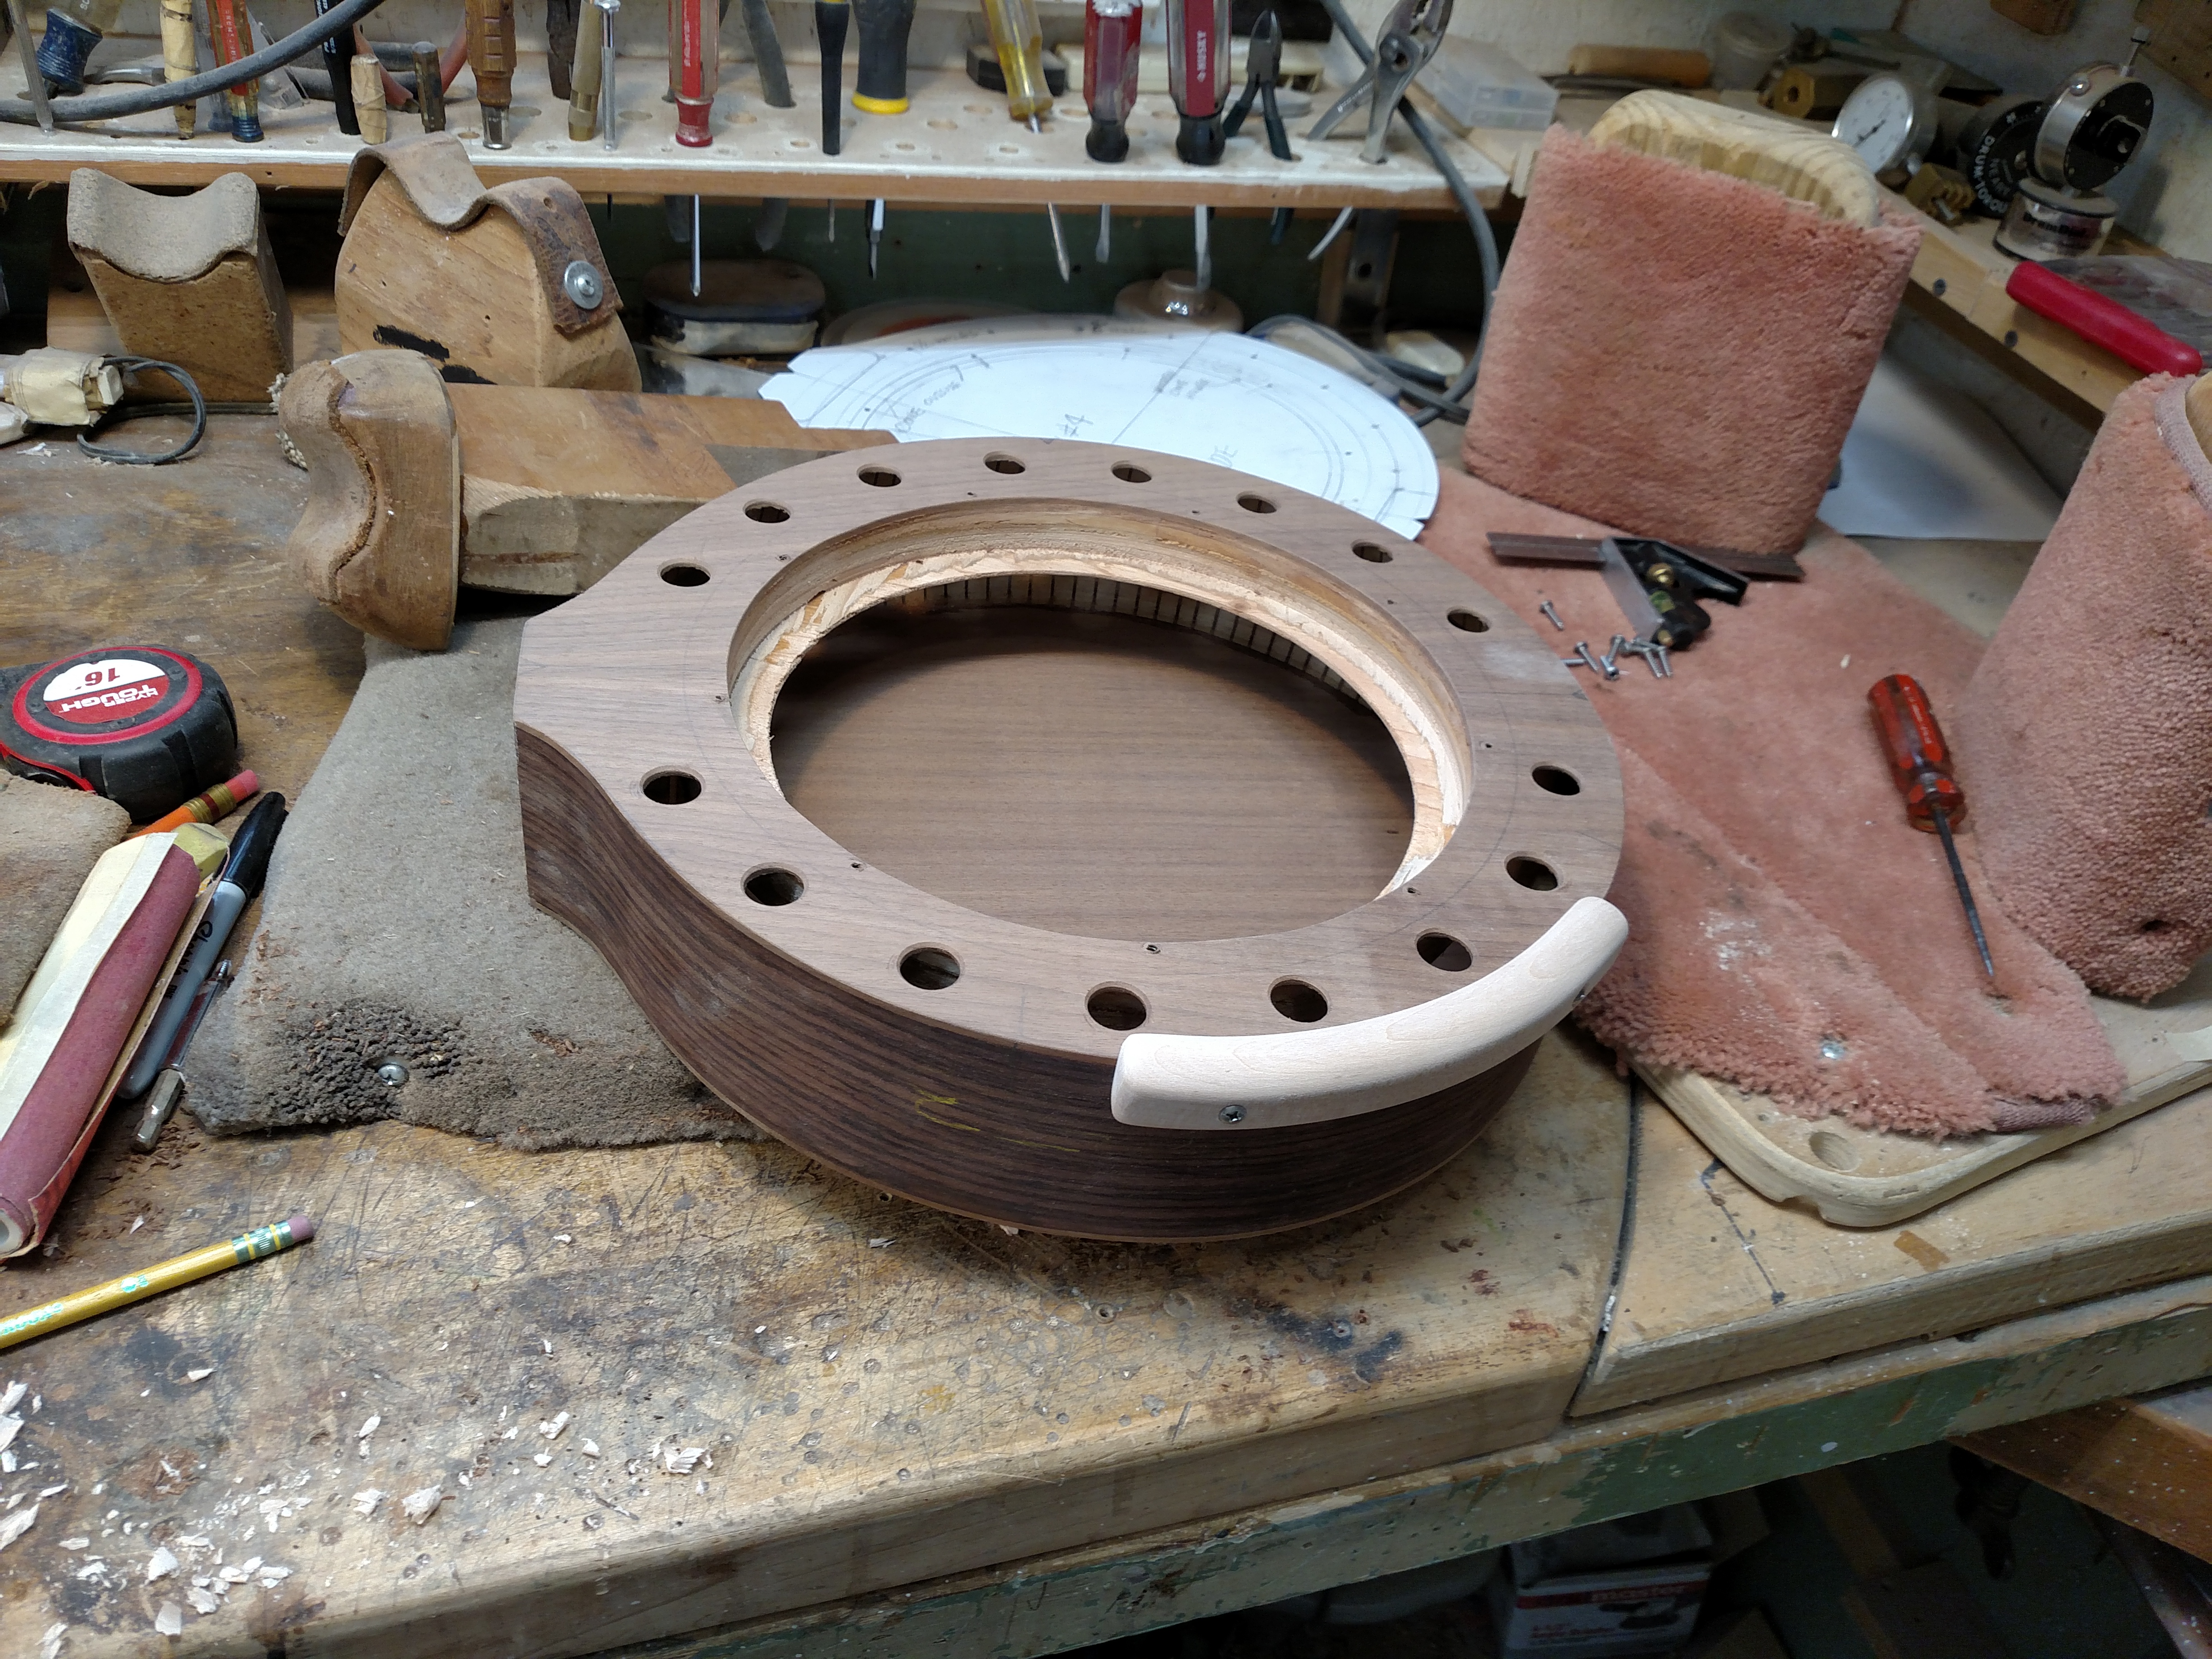
Here is the armrest installed and the center hole edges smoothed out. This armrest features my comfortable rounded, angled edges. This shape was inspired by my friend Rual Yarbrough. This pretty much completed the body except for a few minor things. Now it was time to start on the neck.
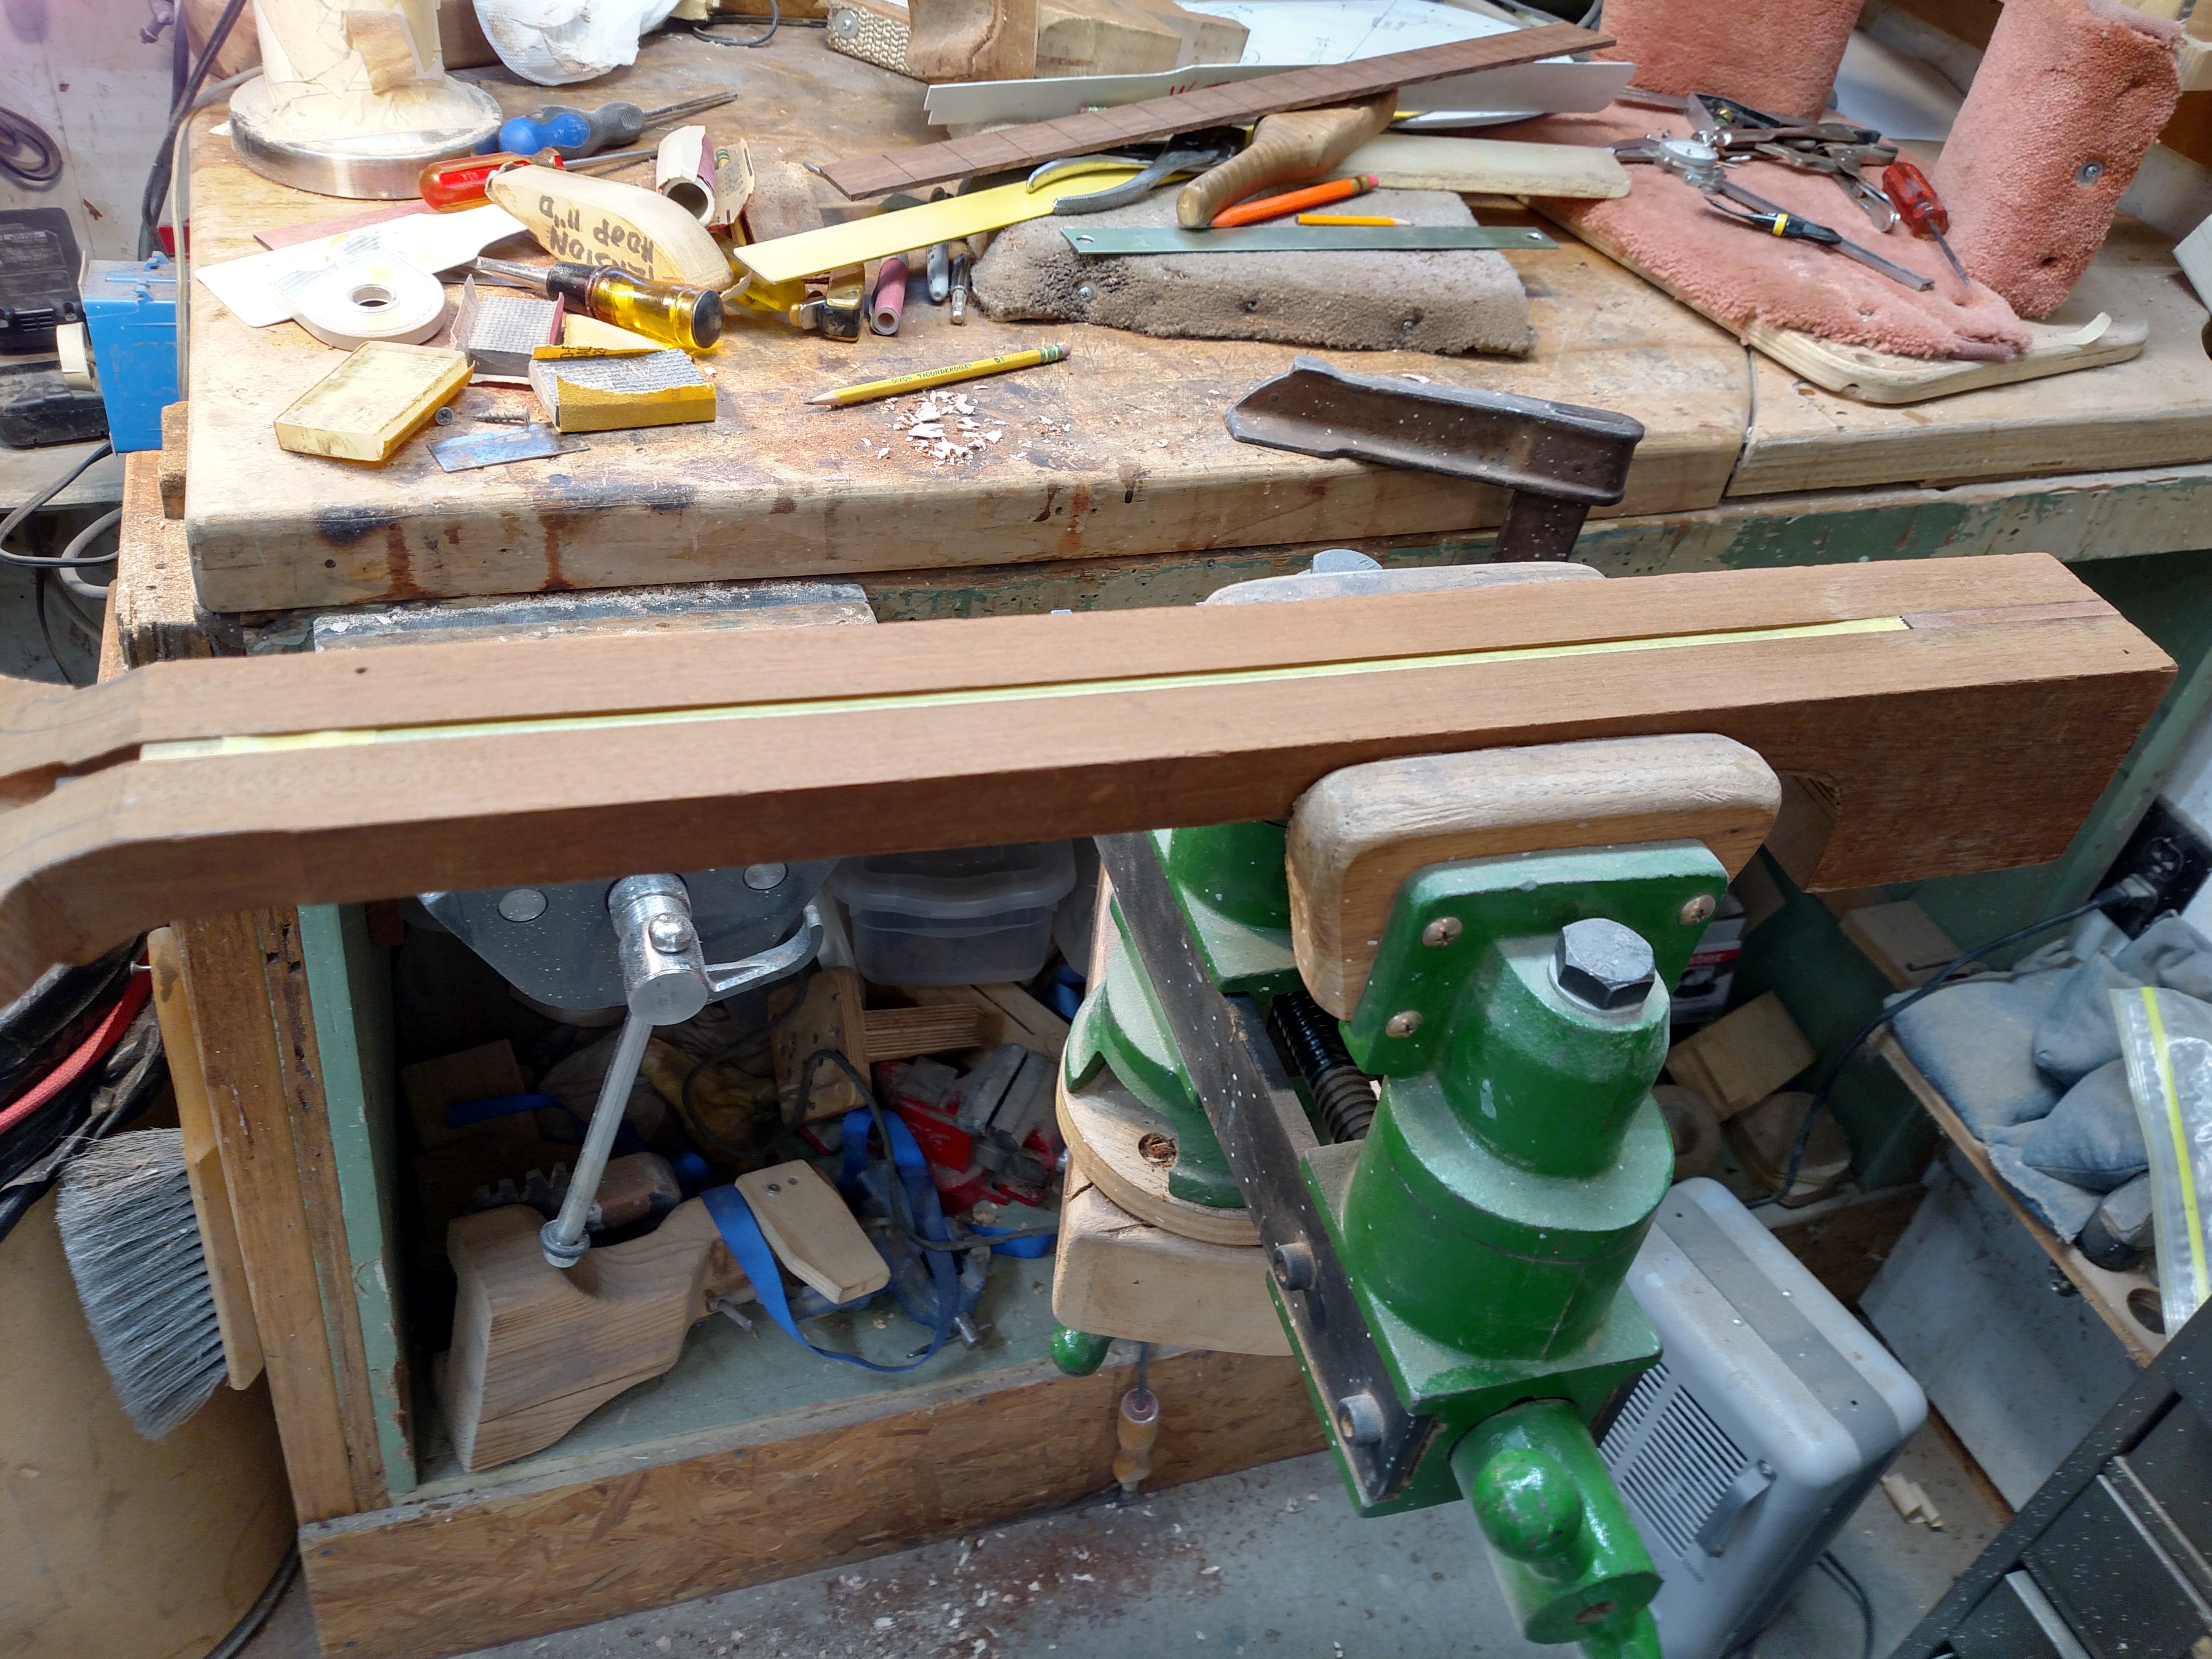
I had a mahogany neck blank that was in a pile of parts I purchased a while back. It was slotted for a regular size compression truss rod. I had to widen it slightly to fit the 2 way truss rod that I planned to use. I think these rods are superior to the old compression type rods. I widened the slot on my table saw and fitted the truss rod in it.
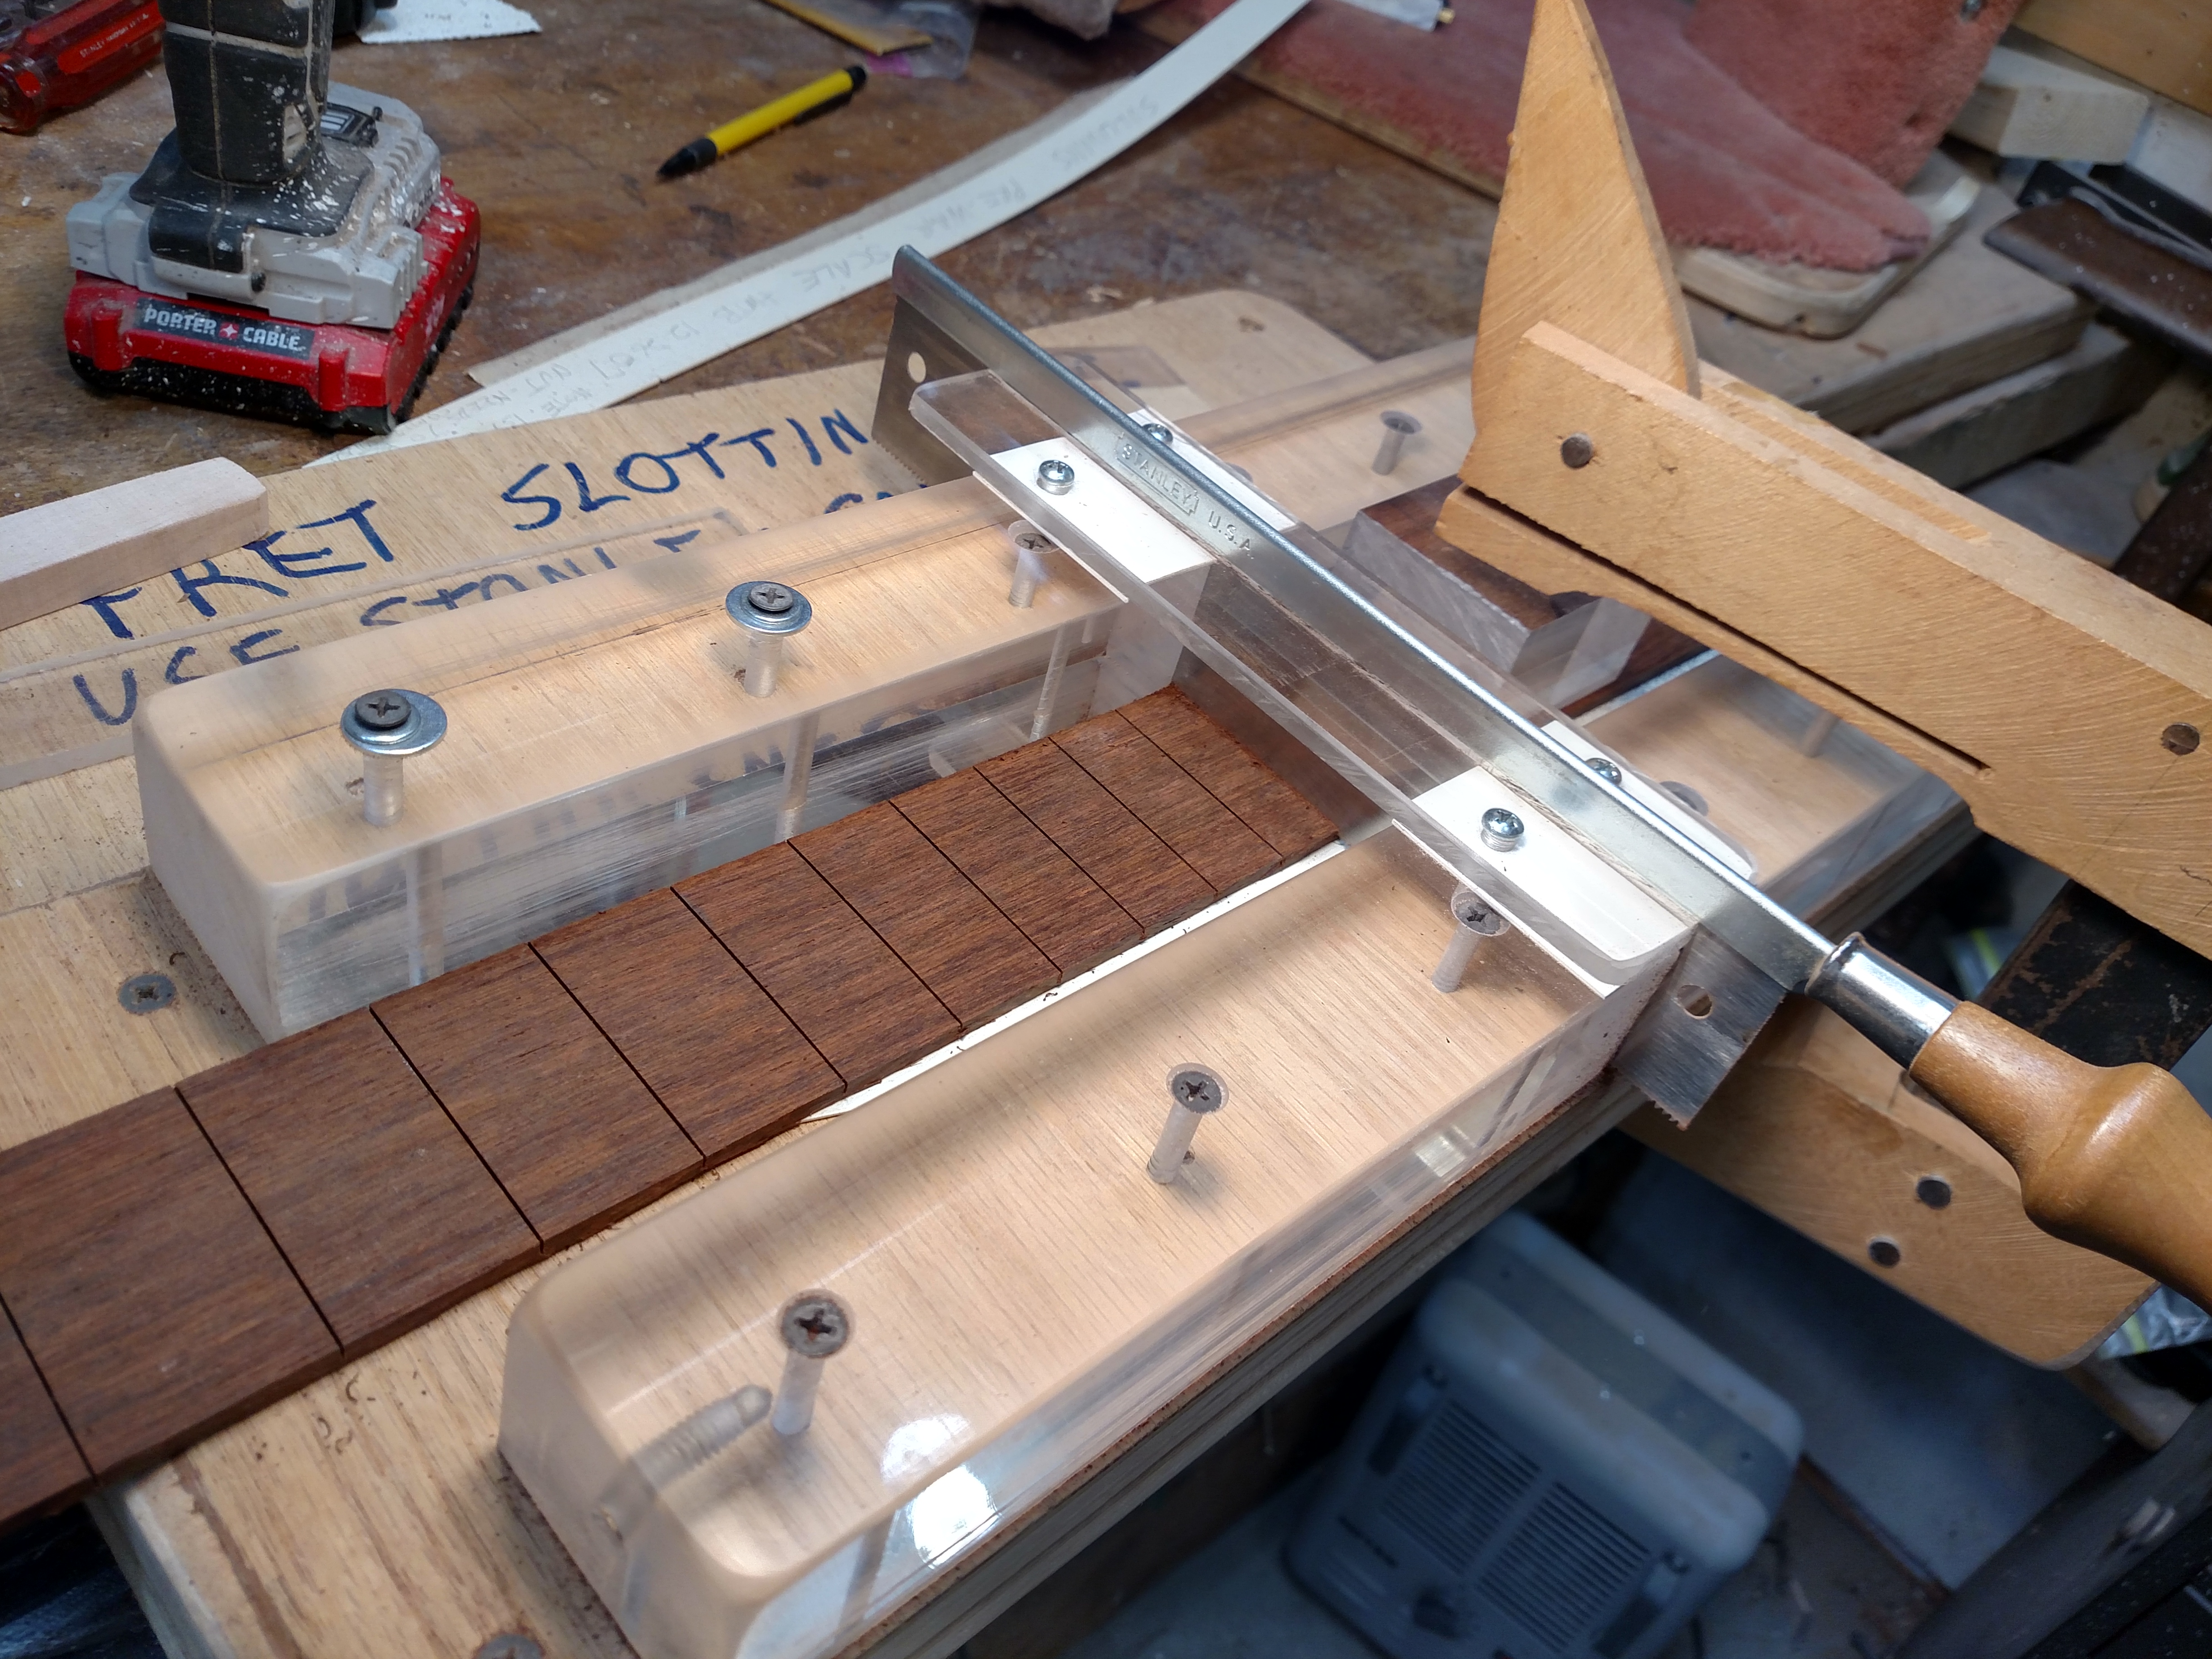
I had some Madagascar rosewood fingerboard blanks in stock. I thinned one down and got out my home-made fret slotting jig. A lot of the tools I use are home-made. I slotted the fingerboard using a pattern I got off a Gibson-style neck years ago. This is a slow process but it gets the job done. I’m not in the mass producing business.
Here is the truss rod in the slot. This rod uses an Allen wrench to adjust the tension. The Allen head allows me to leave the pocket a little smaller at the point where the peghead and neck join. I think this adds some strength to a weak part of the neck. I’ve seen a lot of necks that were broken in this area.
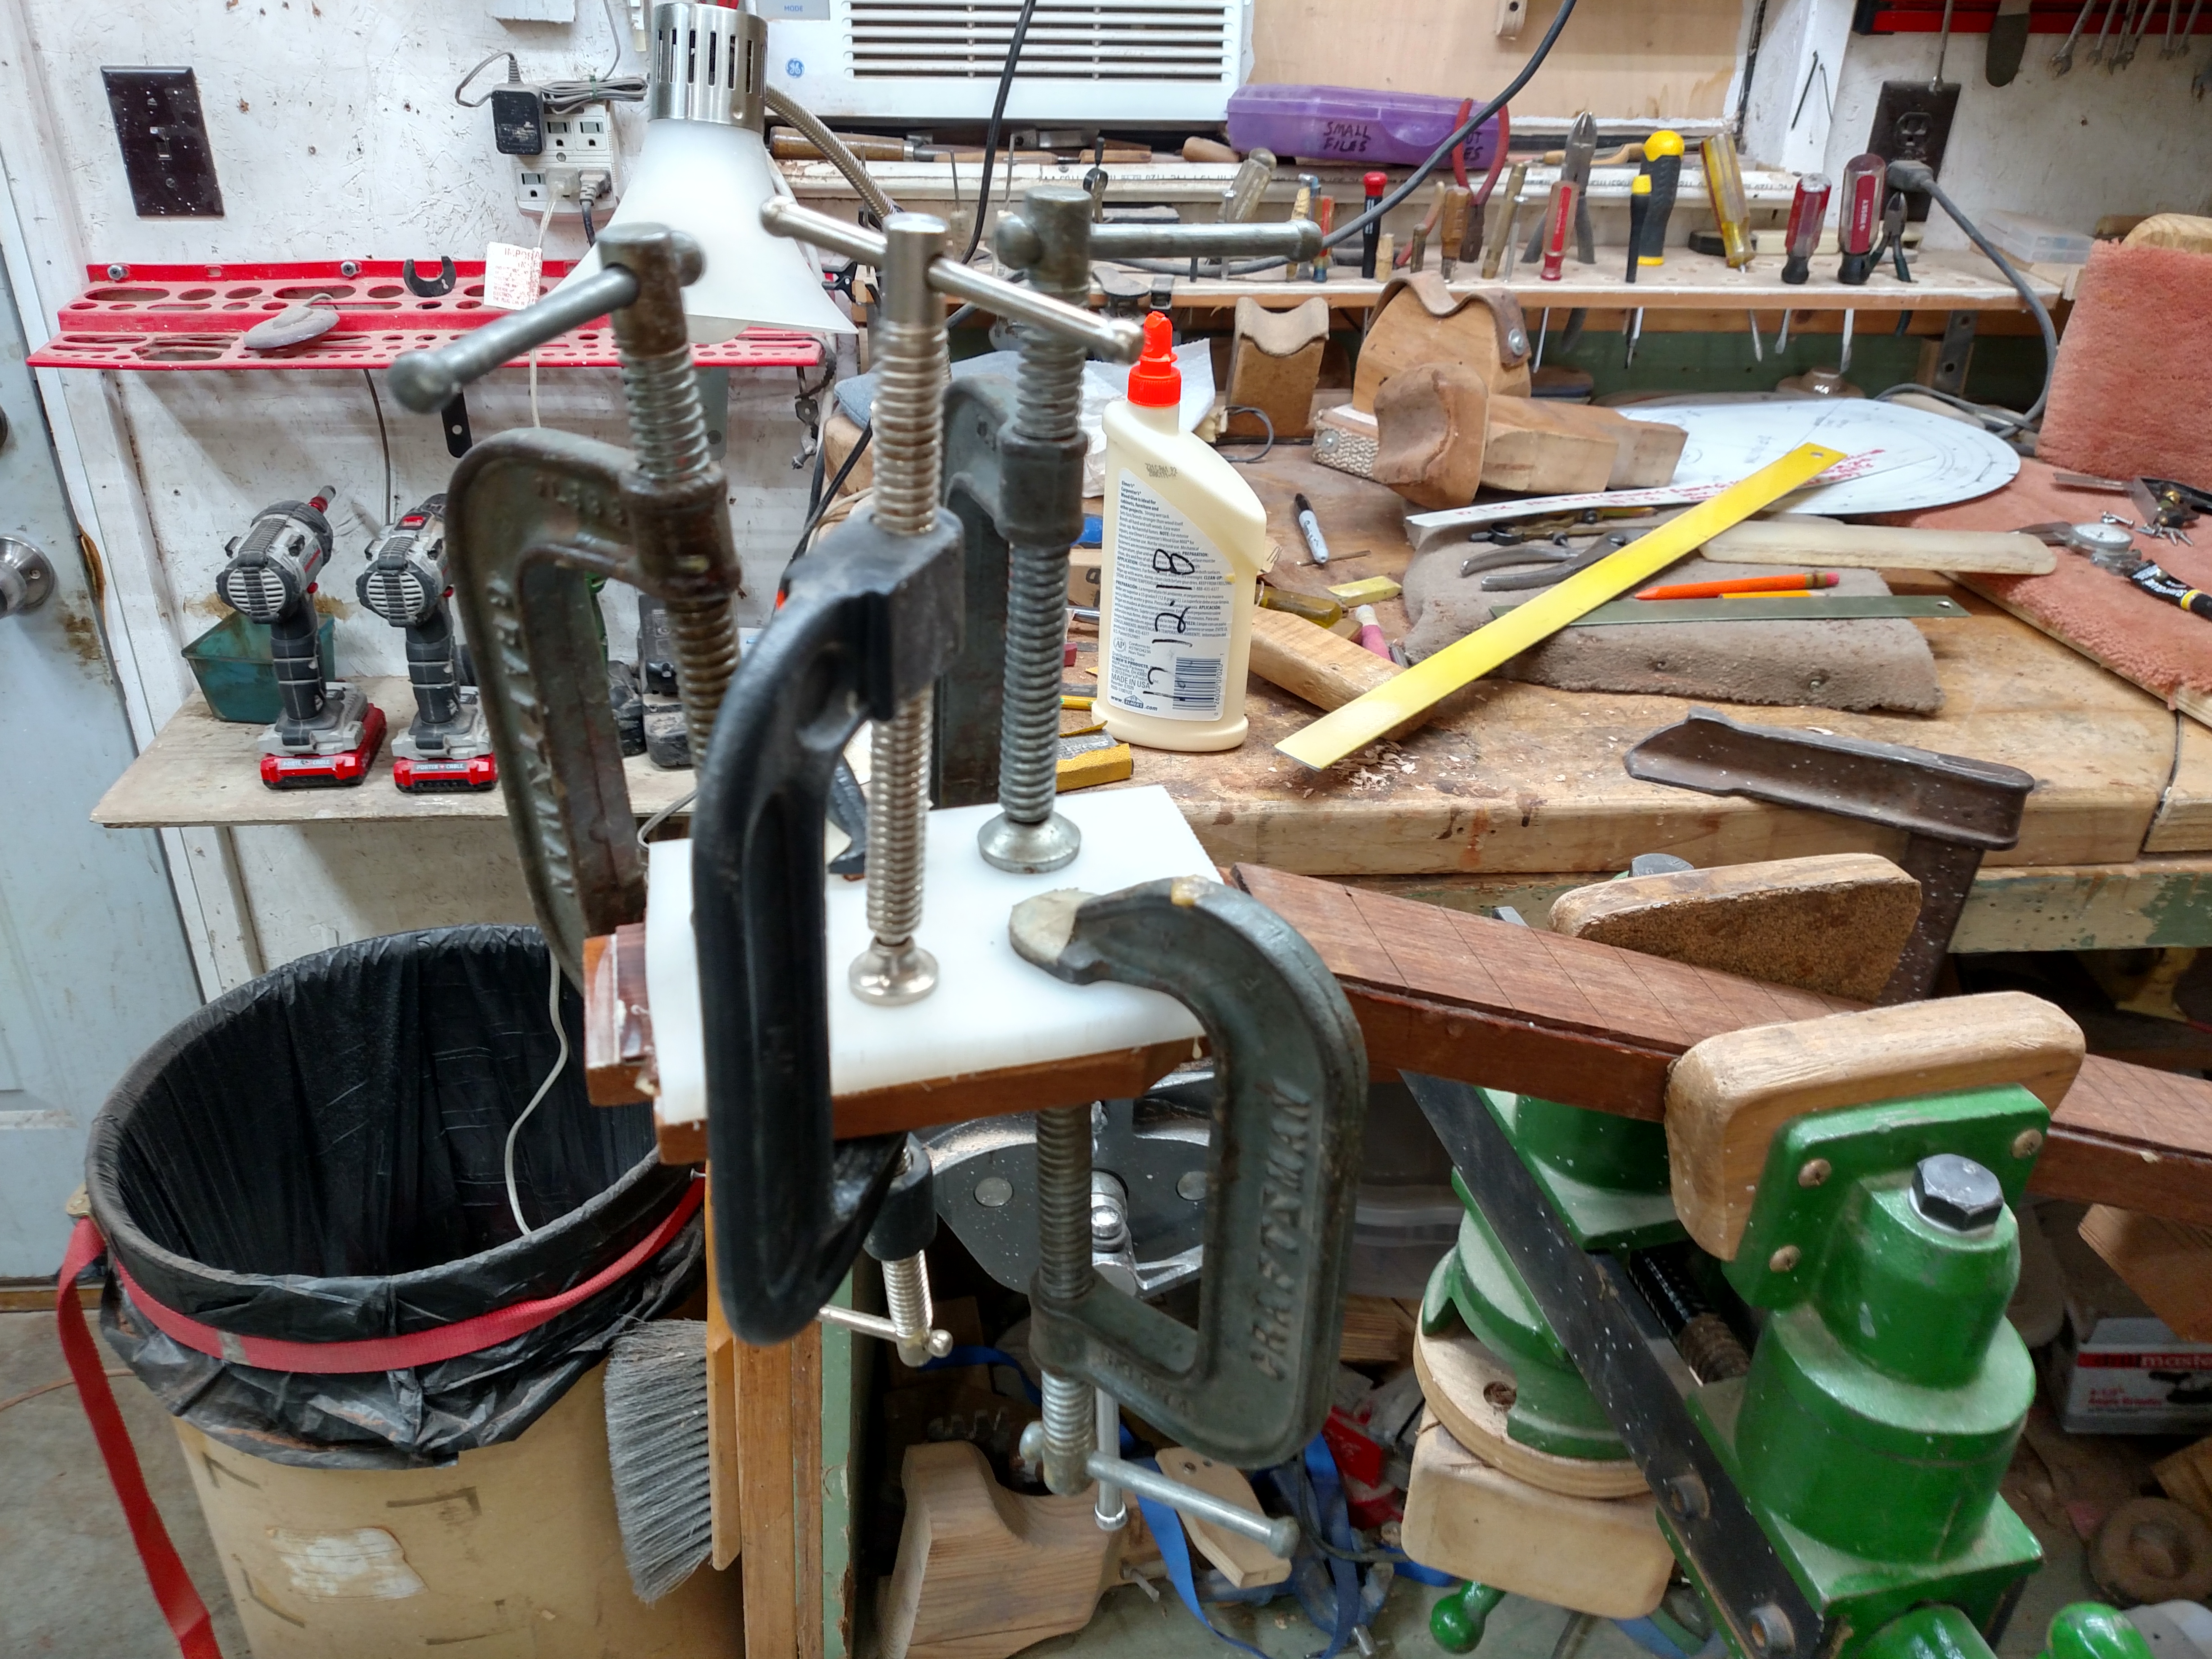
The fingerboard was now glued onto the neck. I prefer to use epoxy for this joint. I’ve had problems in the past with necks developing a back-bow and I suspected that it was because of introducing moisture from the glue. My caul is made from some thick acrylic.
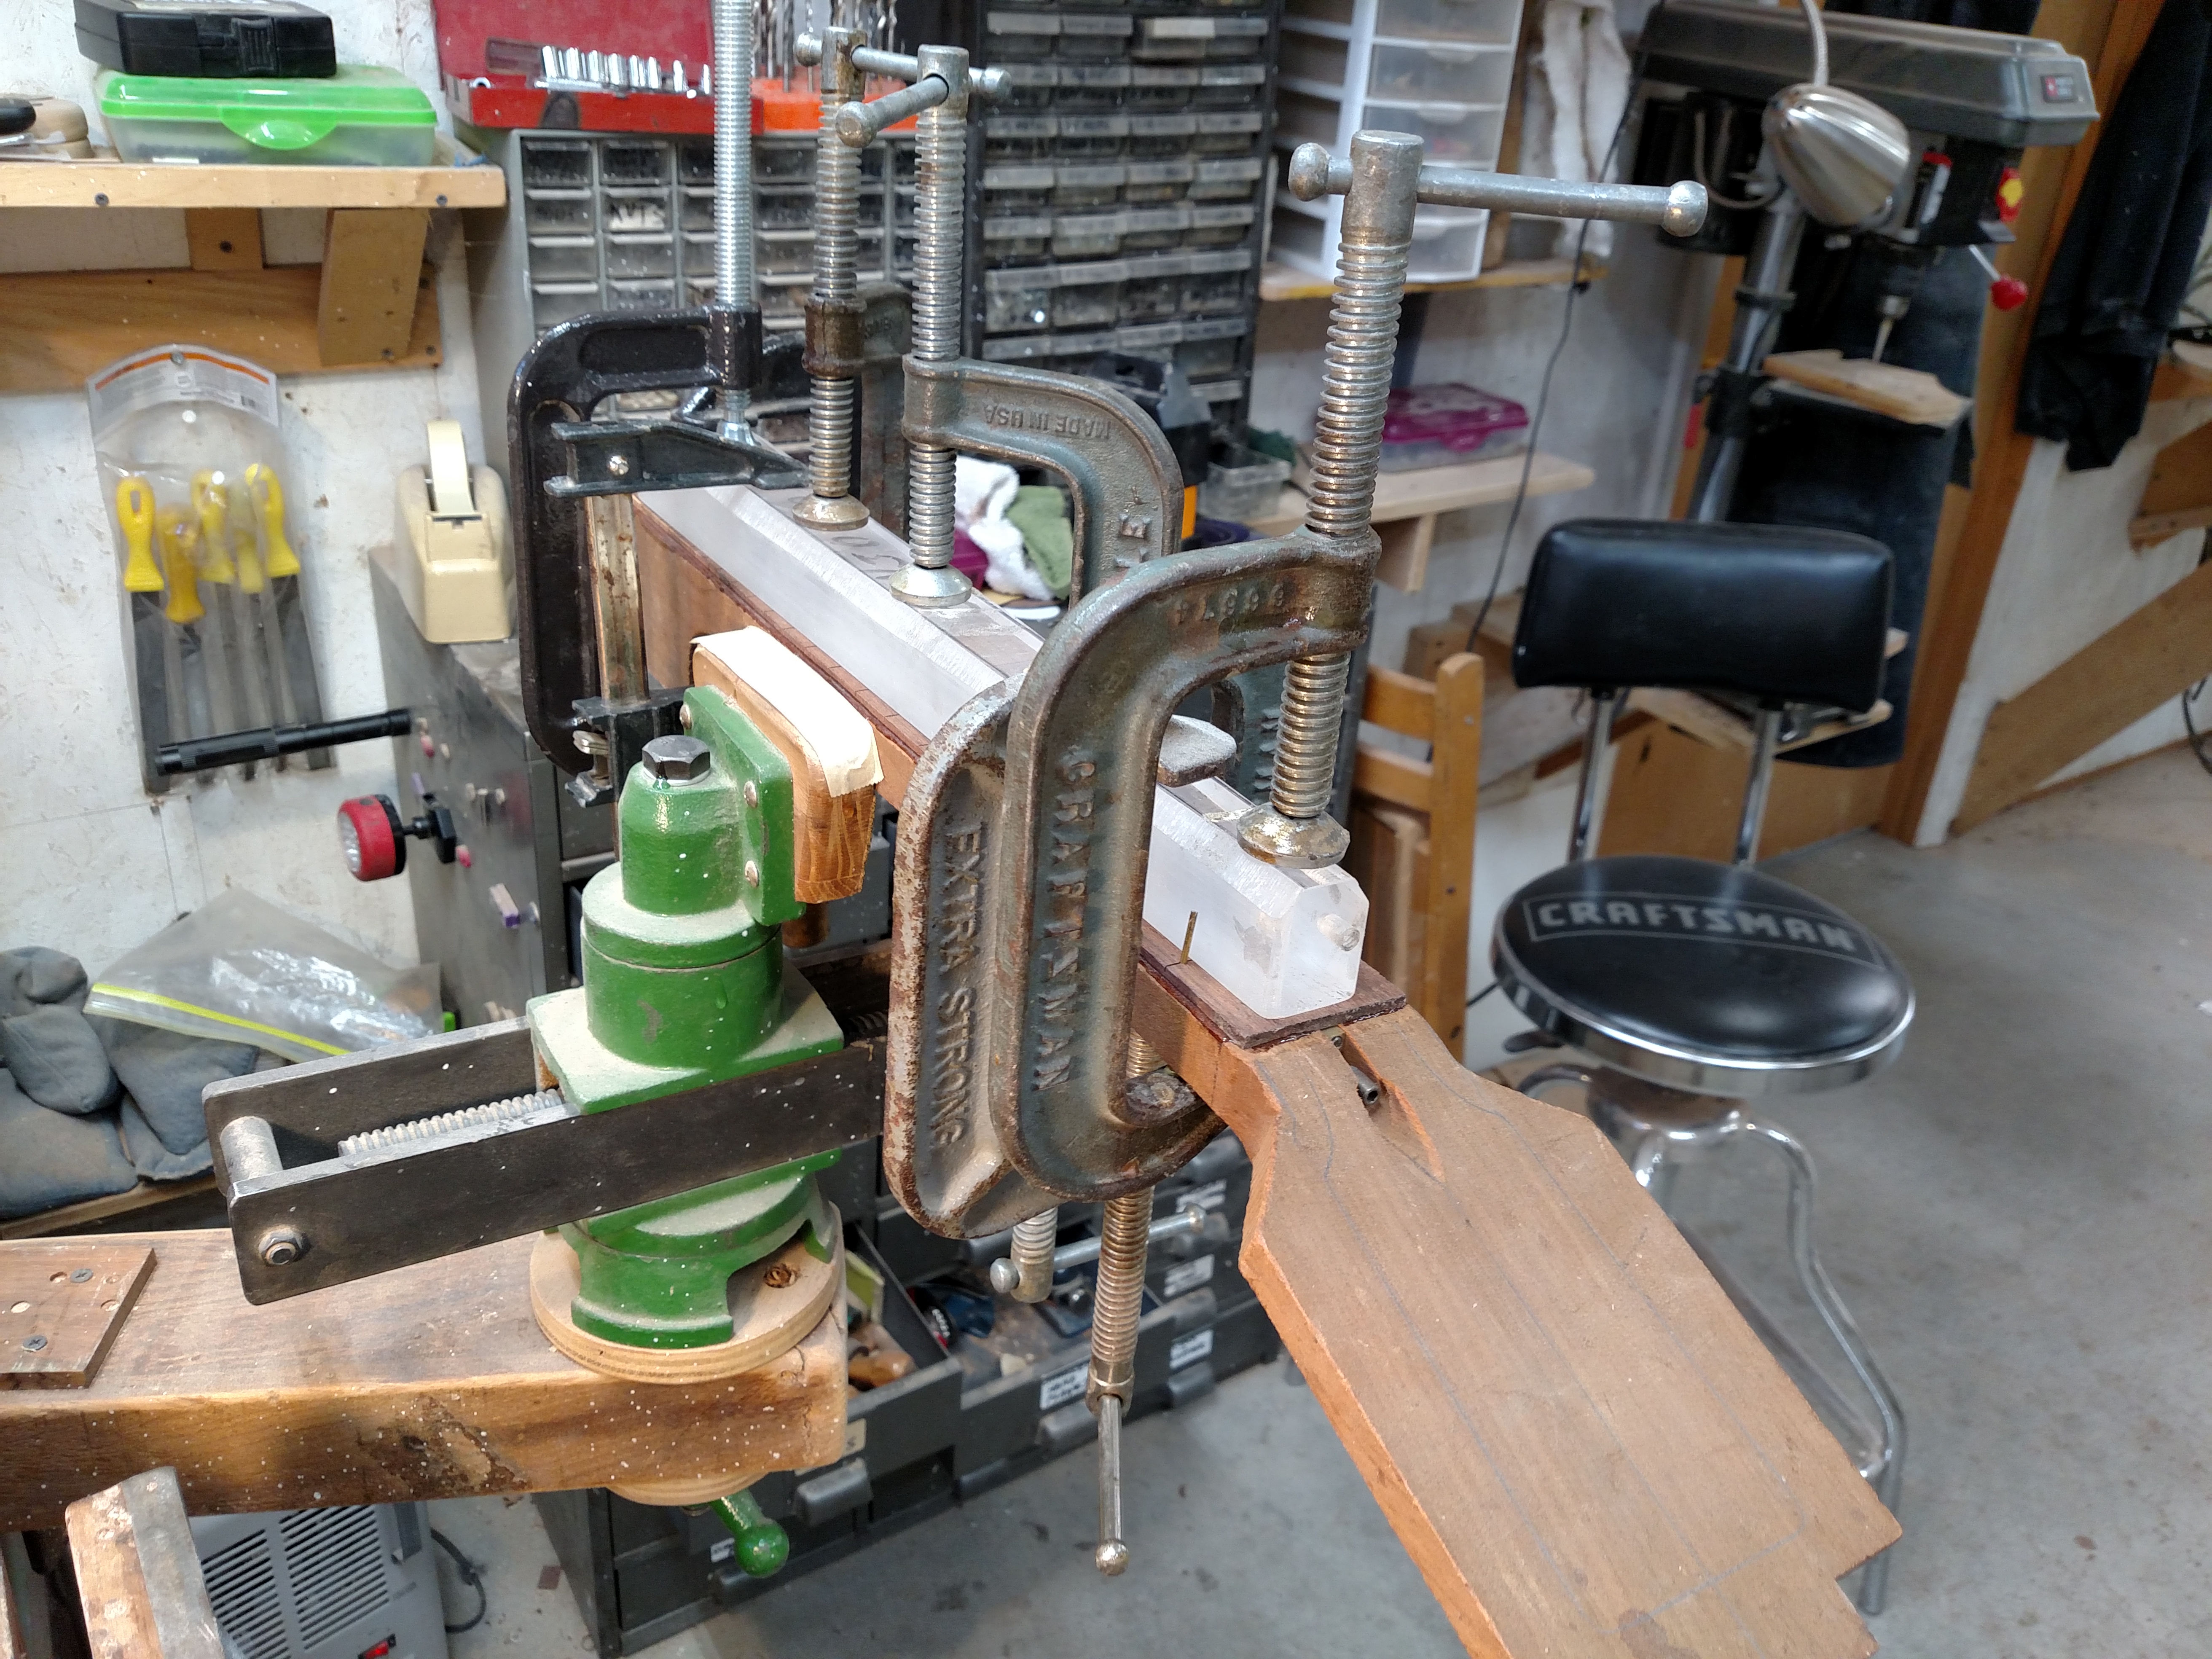
Here is the peghead overlay being installed. I used aliphatic resin glue for it. This caul was made from a cutting board that I got at Walmart. They are inexpensive and can be bandsawn to any size you need. They make good gluing cauls because they are non stick plastic material.
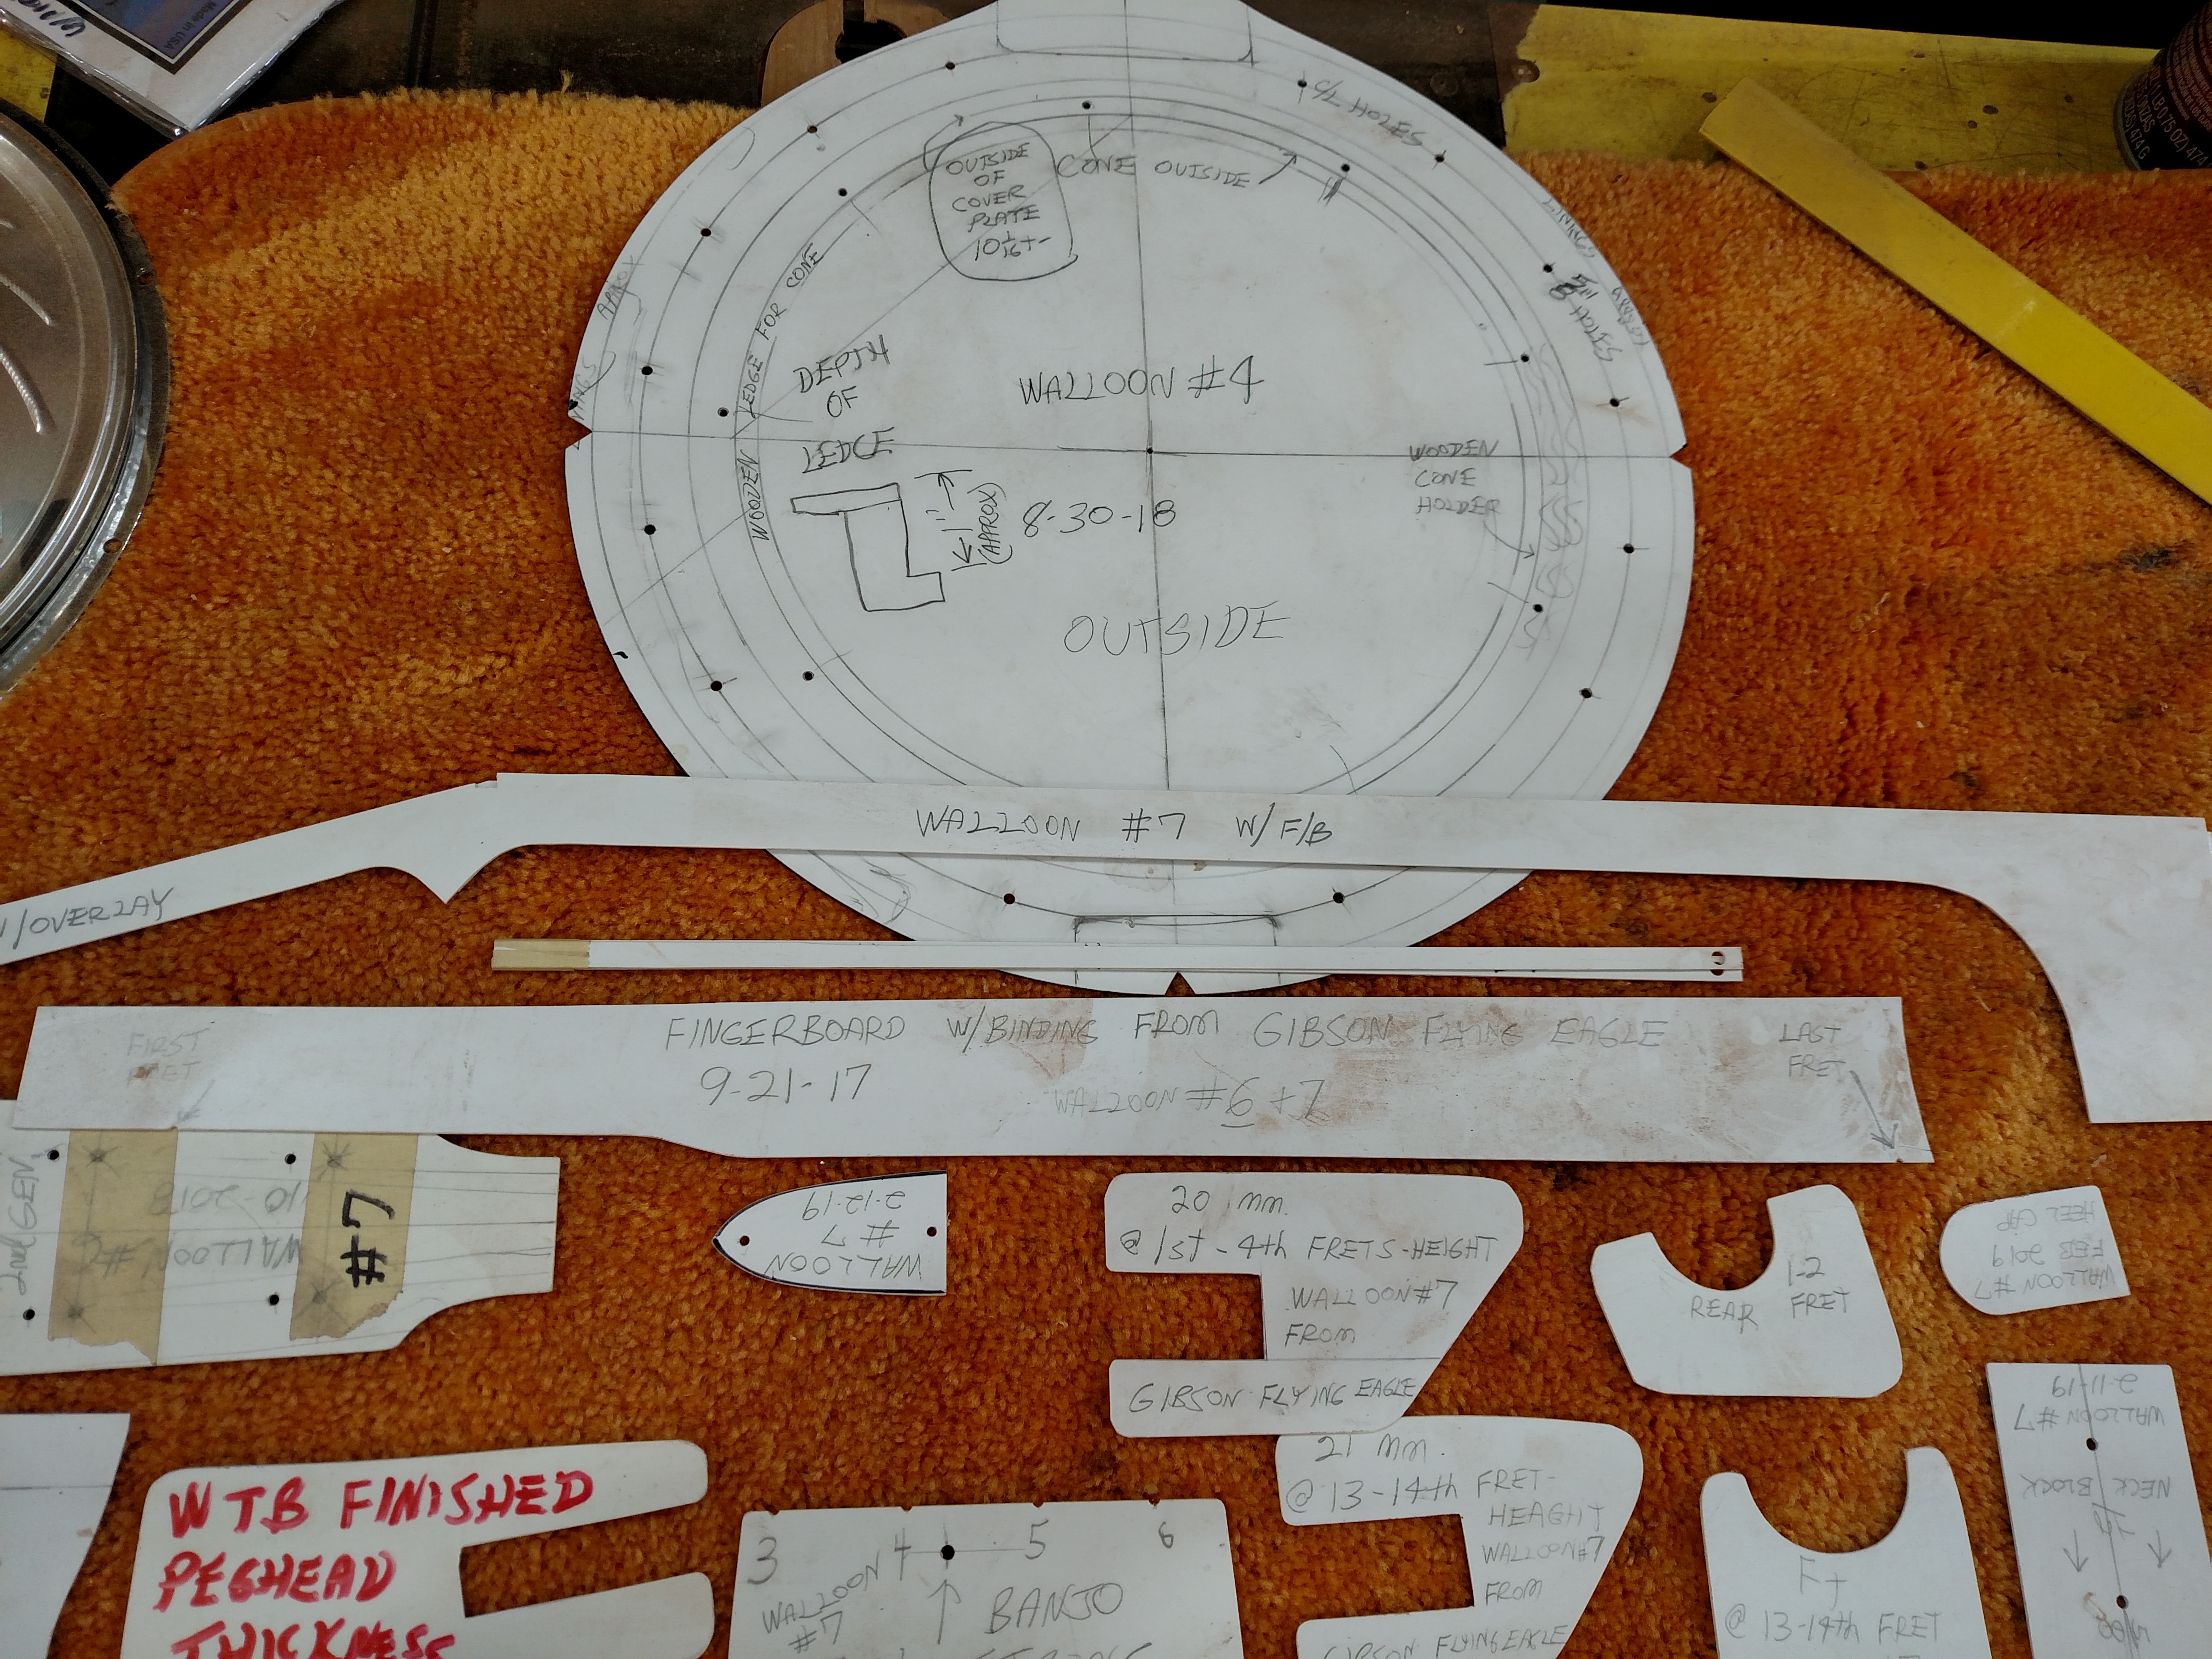
Shown below are my plastic templates for this series of projects.
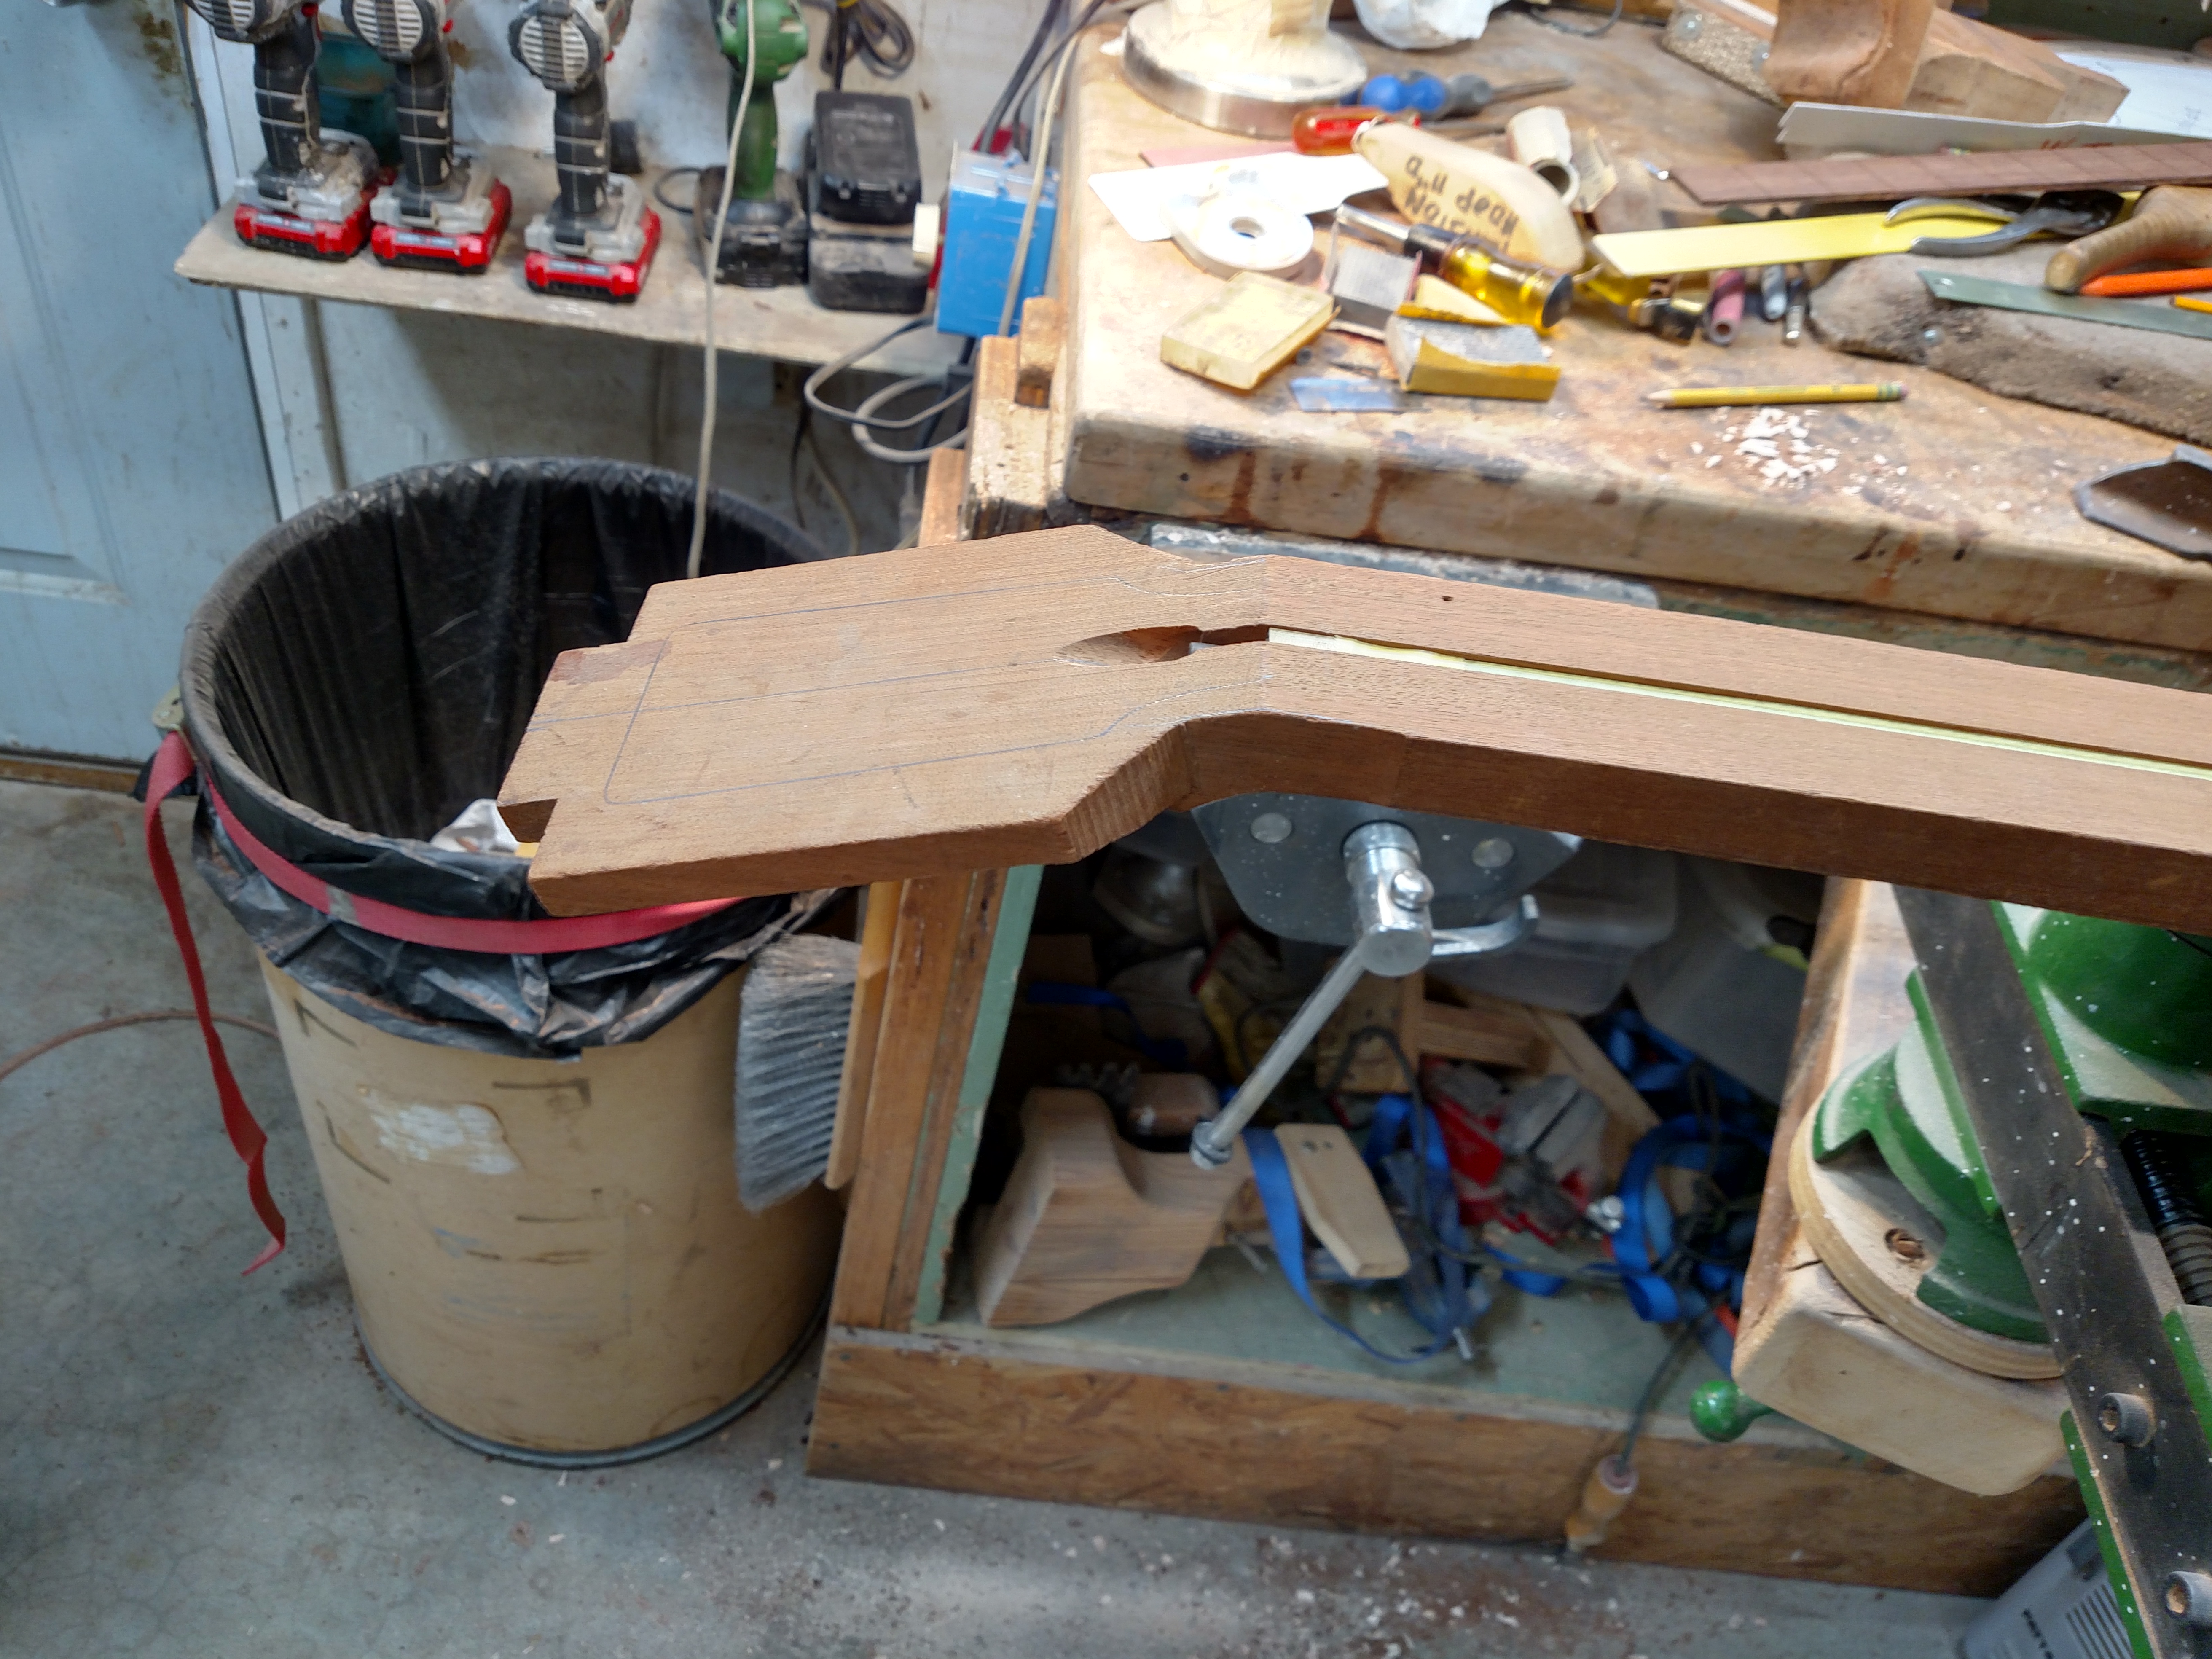
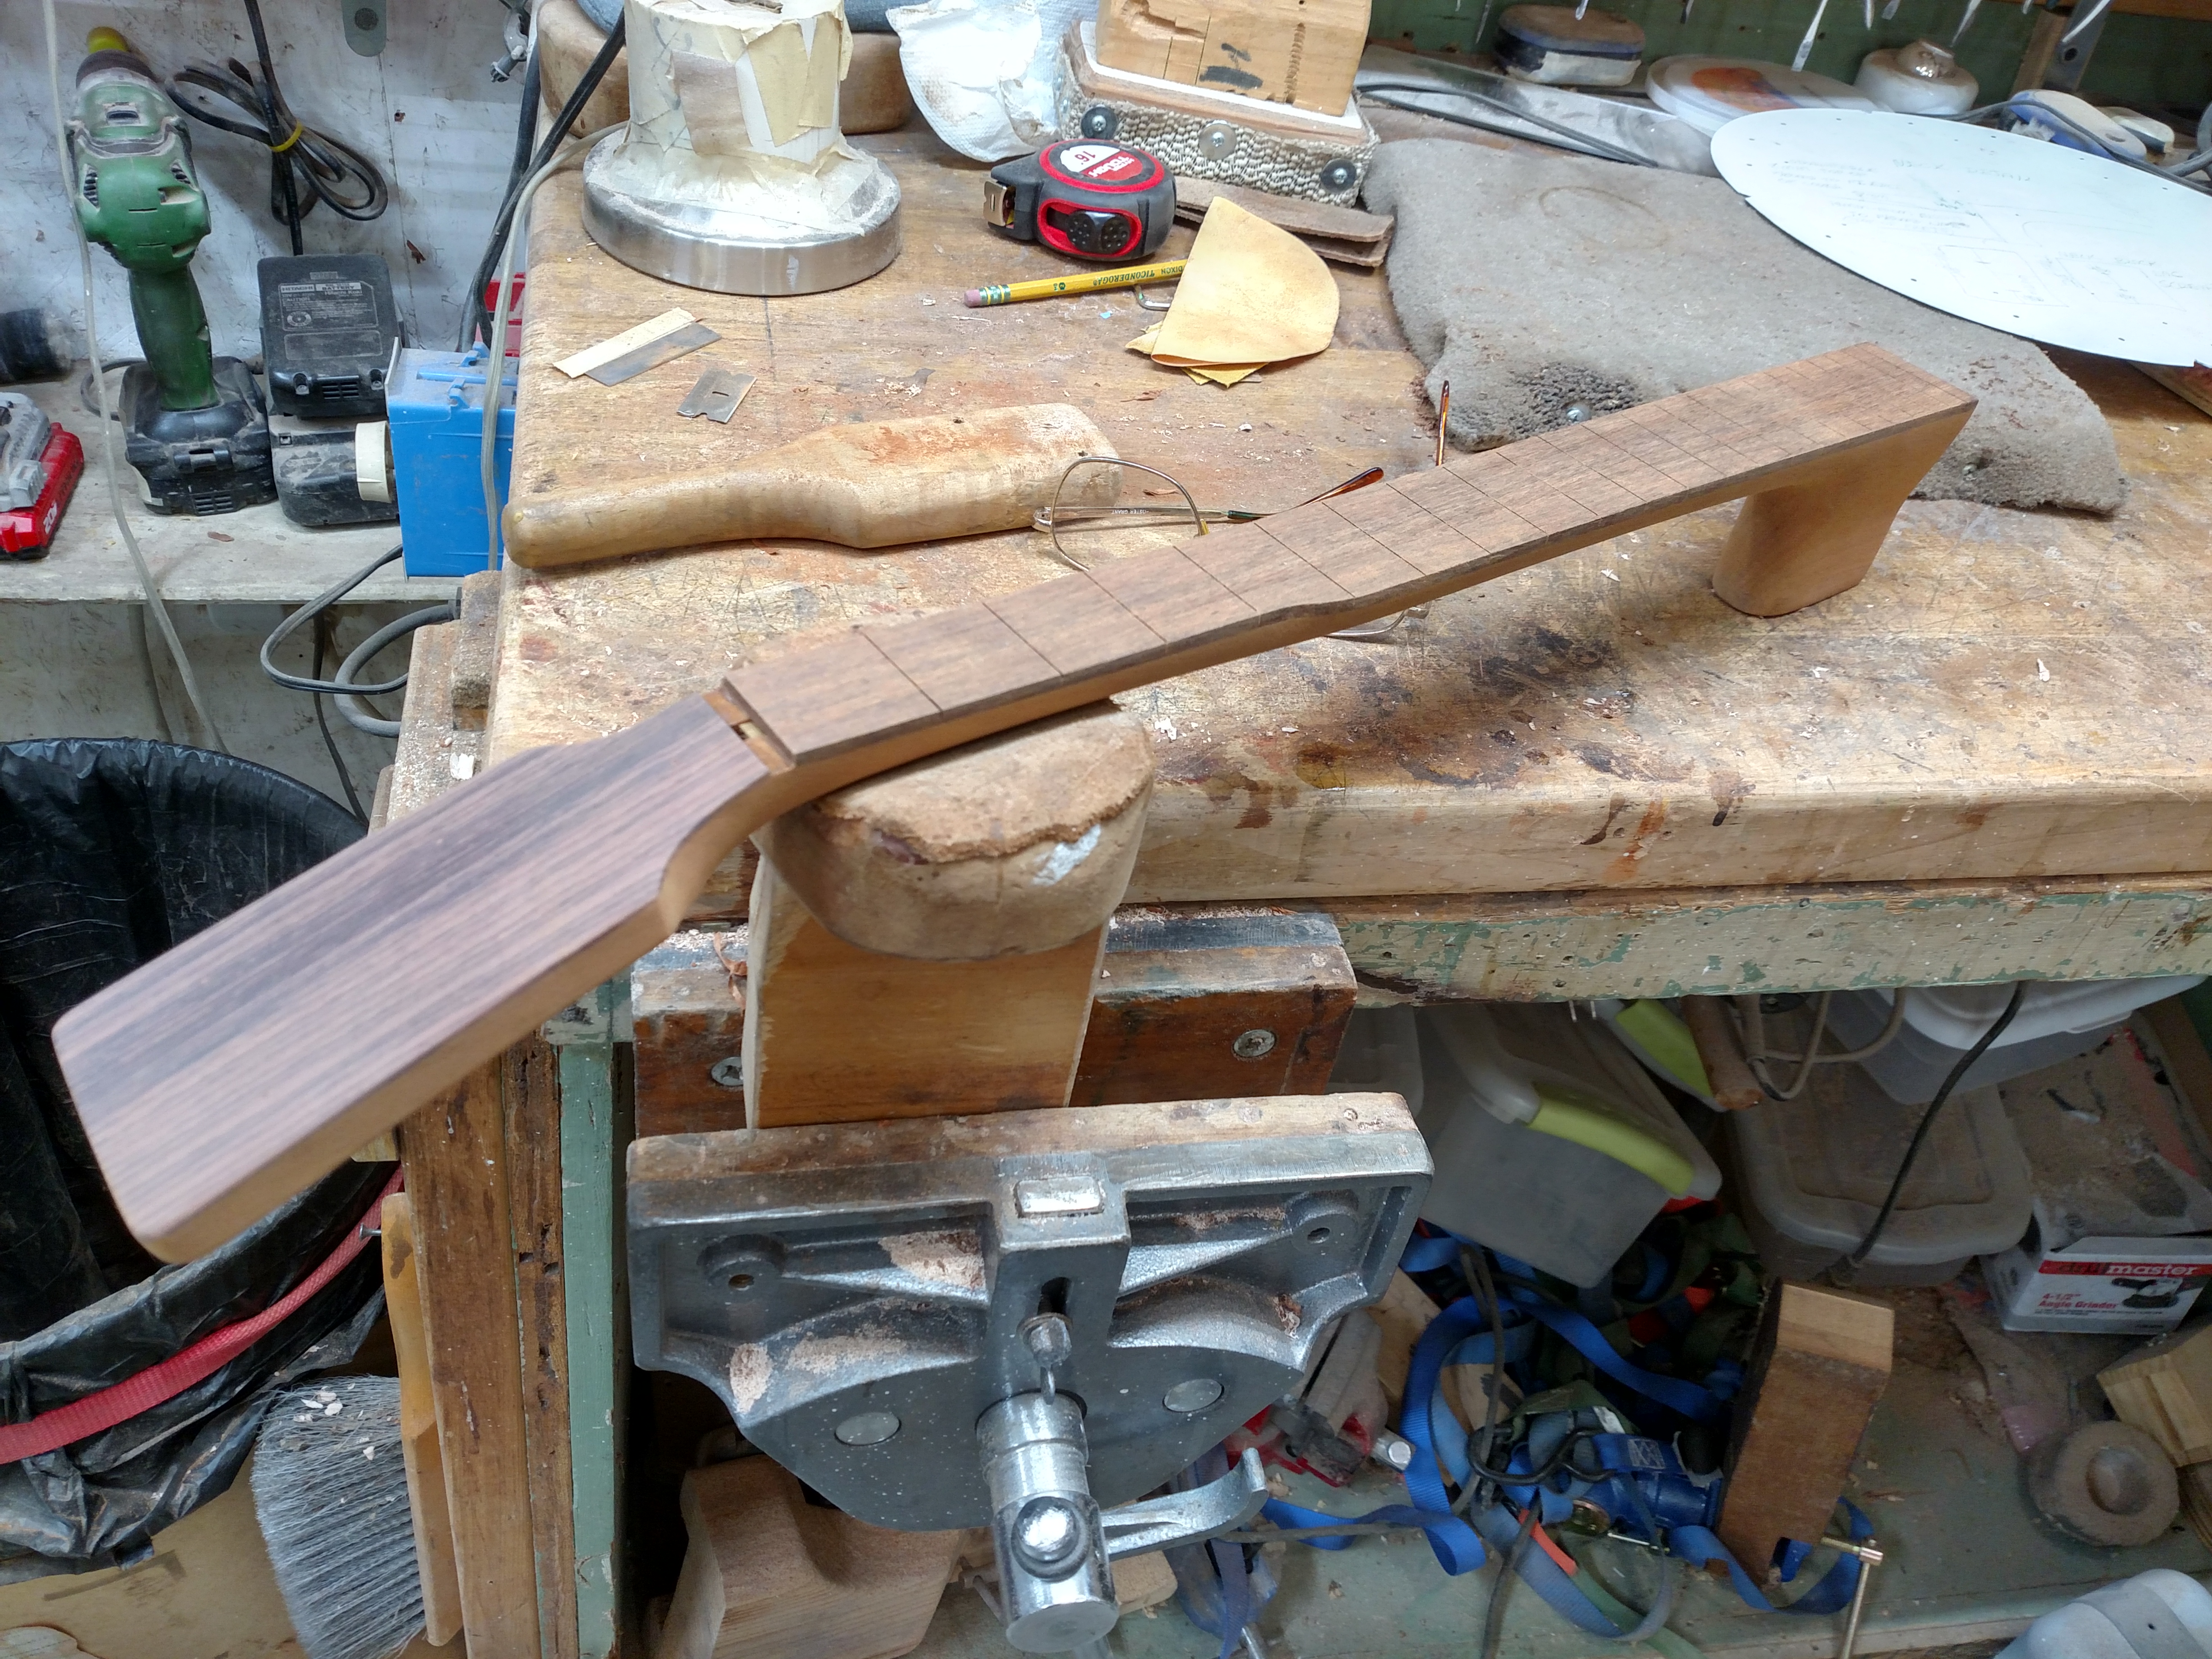
I used the patterns for the neck shape and marked the lines on the neck and began the shaping process. After getting the basic shape defined with some rasps and planes and scrapers, it was time to start shaping the back of the neck.
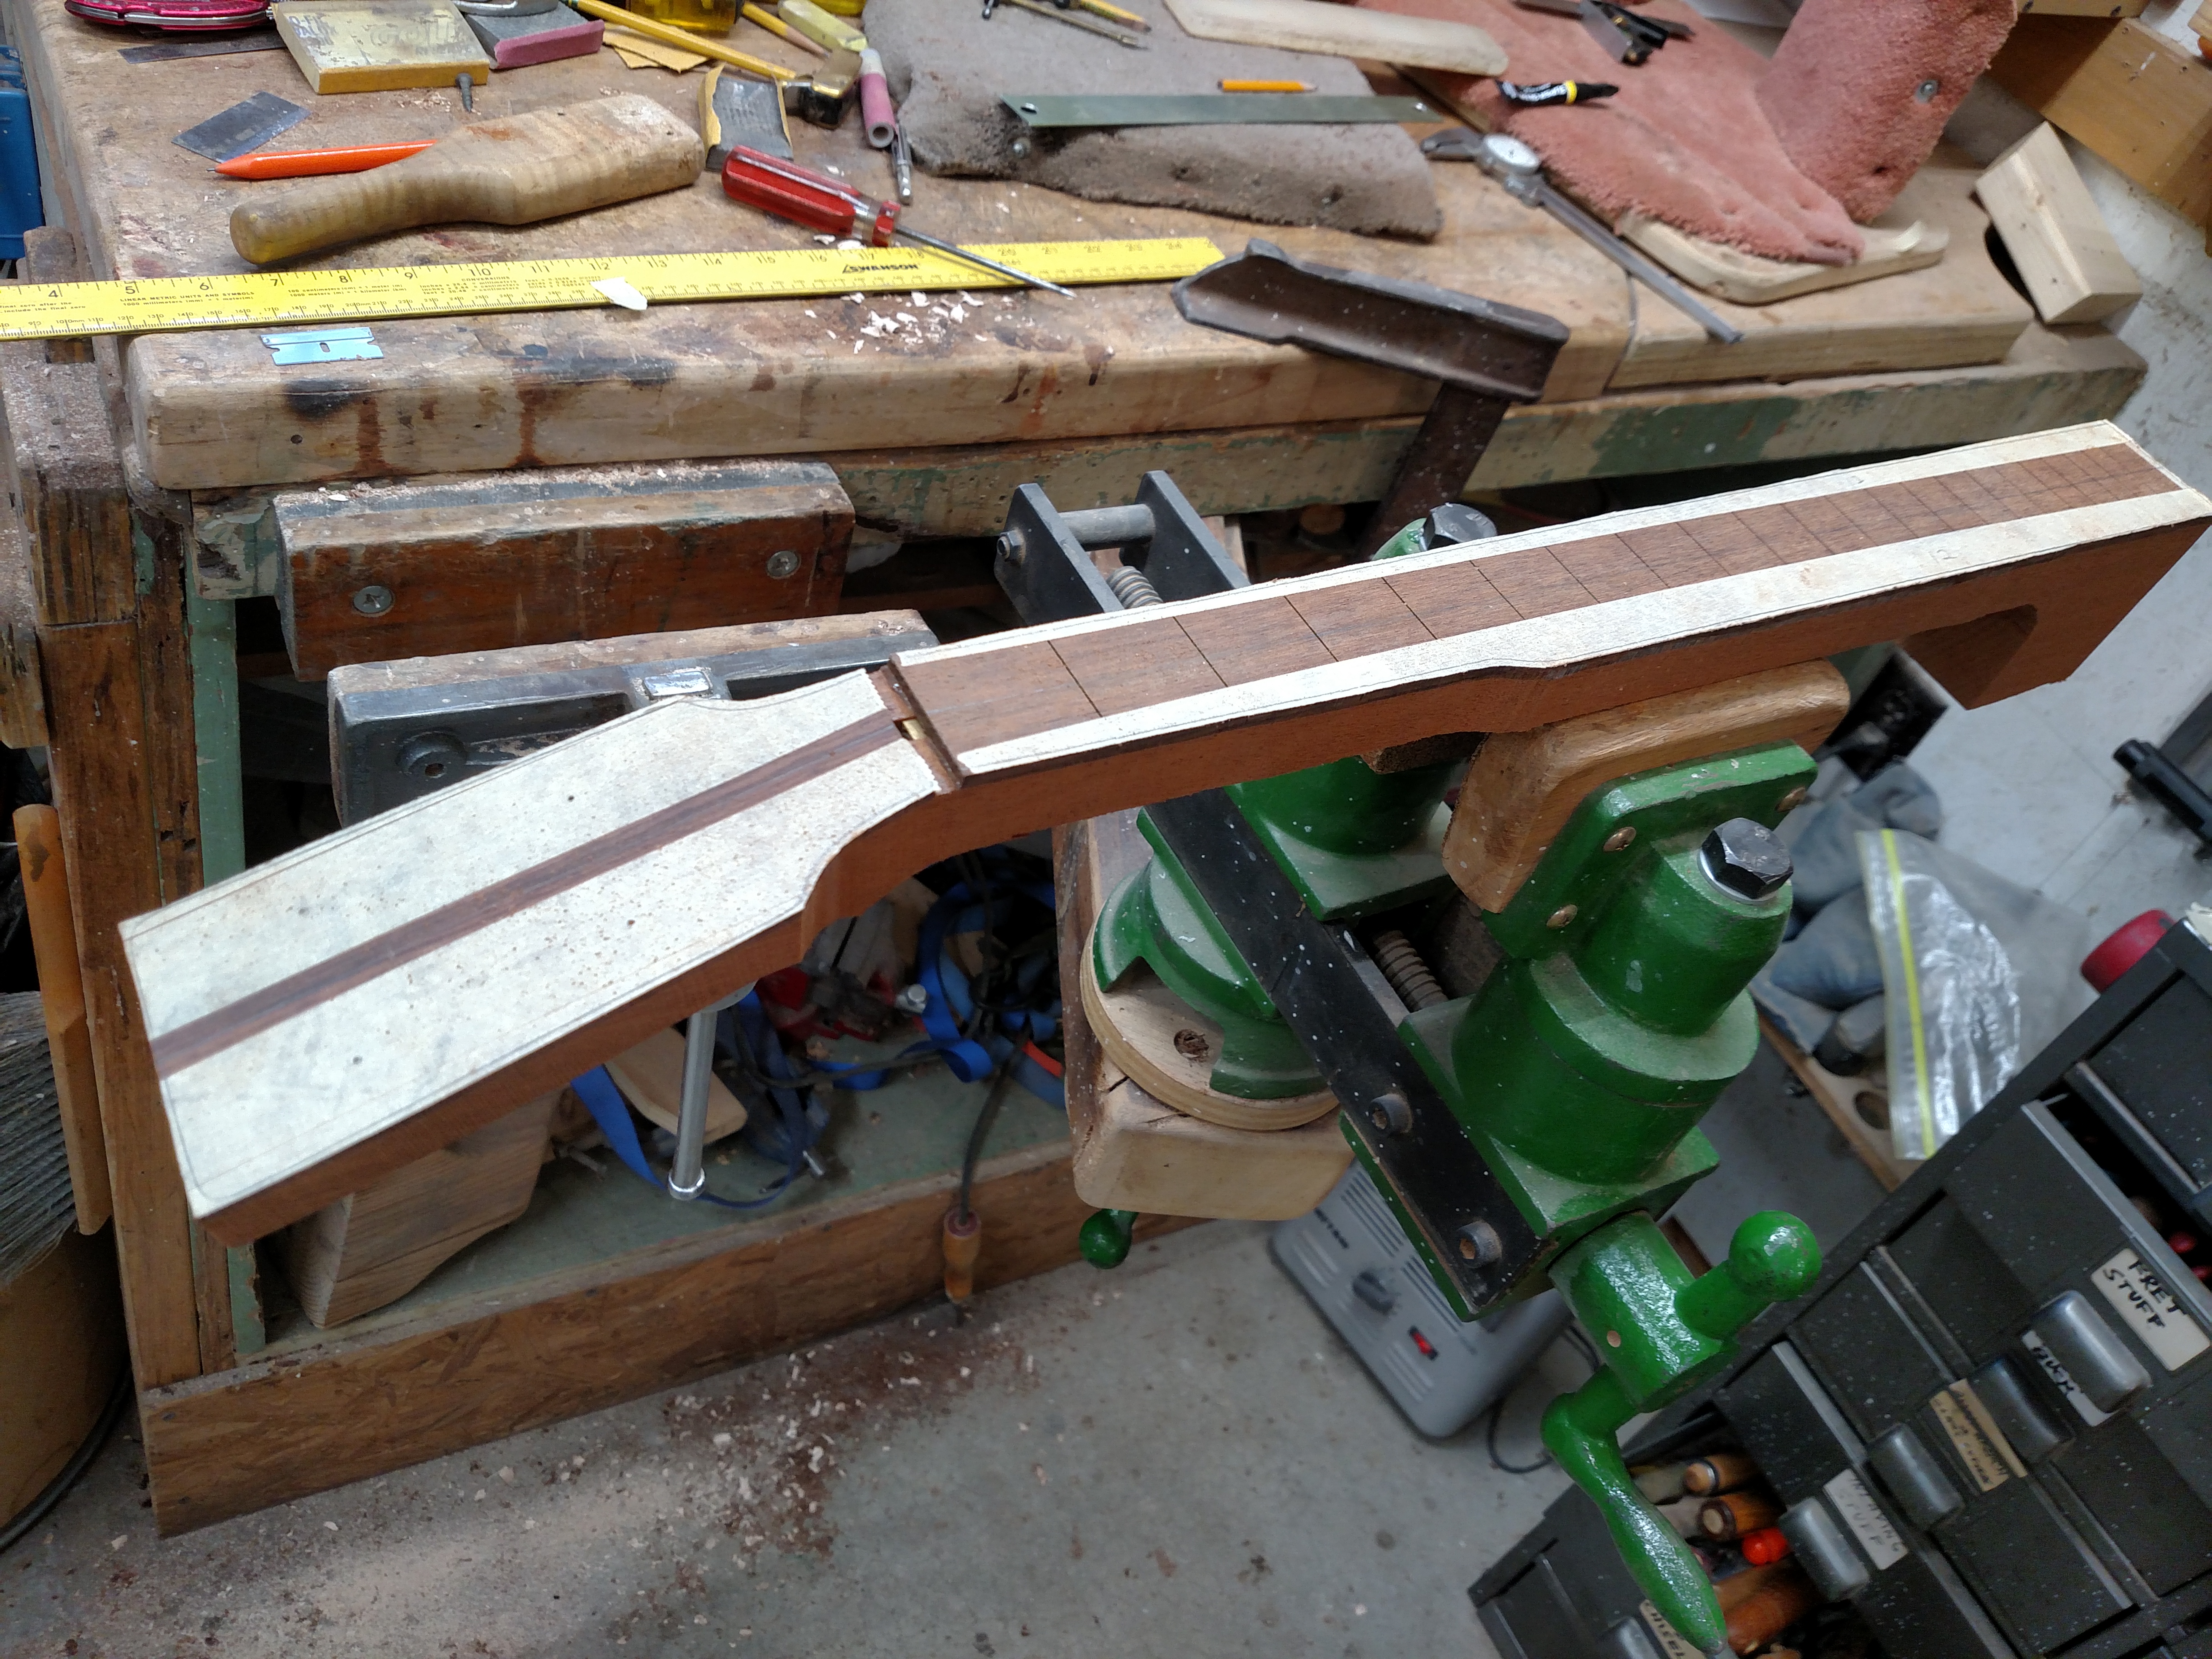
I’ve learned to use a spoke-shave to do some of the initial shaping. I have a spoke-shave that I modified by grinding a radius on the bottom of it. It works well for me on the shaping of necks. I also use some rasps and scrapers to do the shaping. I have some patterns that I made to check the thickness and shape of the neck. Shaping a neck is like everything else. (The more you do it, the better they turn out.) I have a lot of respect for luthiers who can hand-shape necks. Anyone with enough money can purchase a CNC made neck.
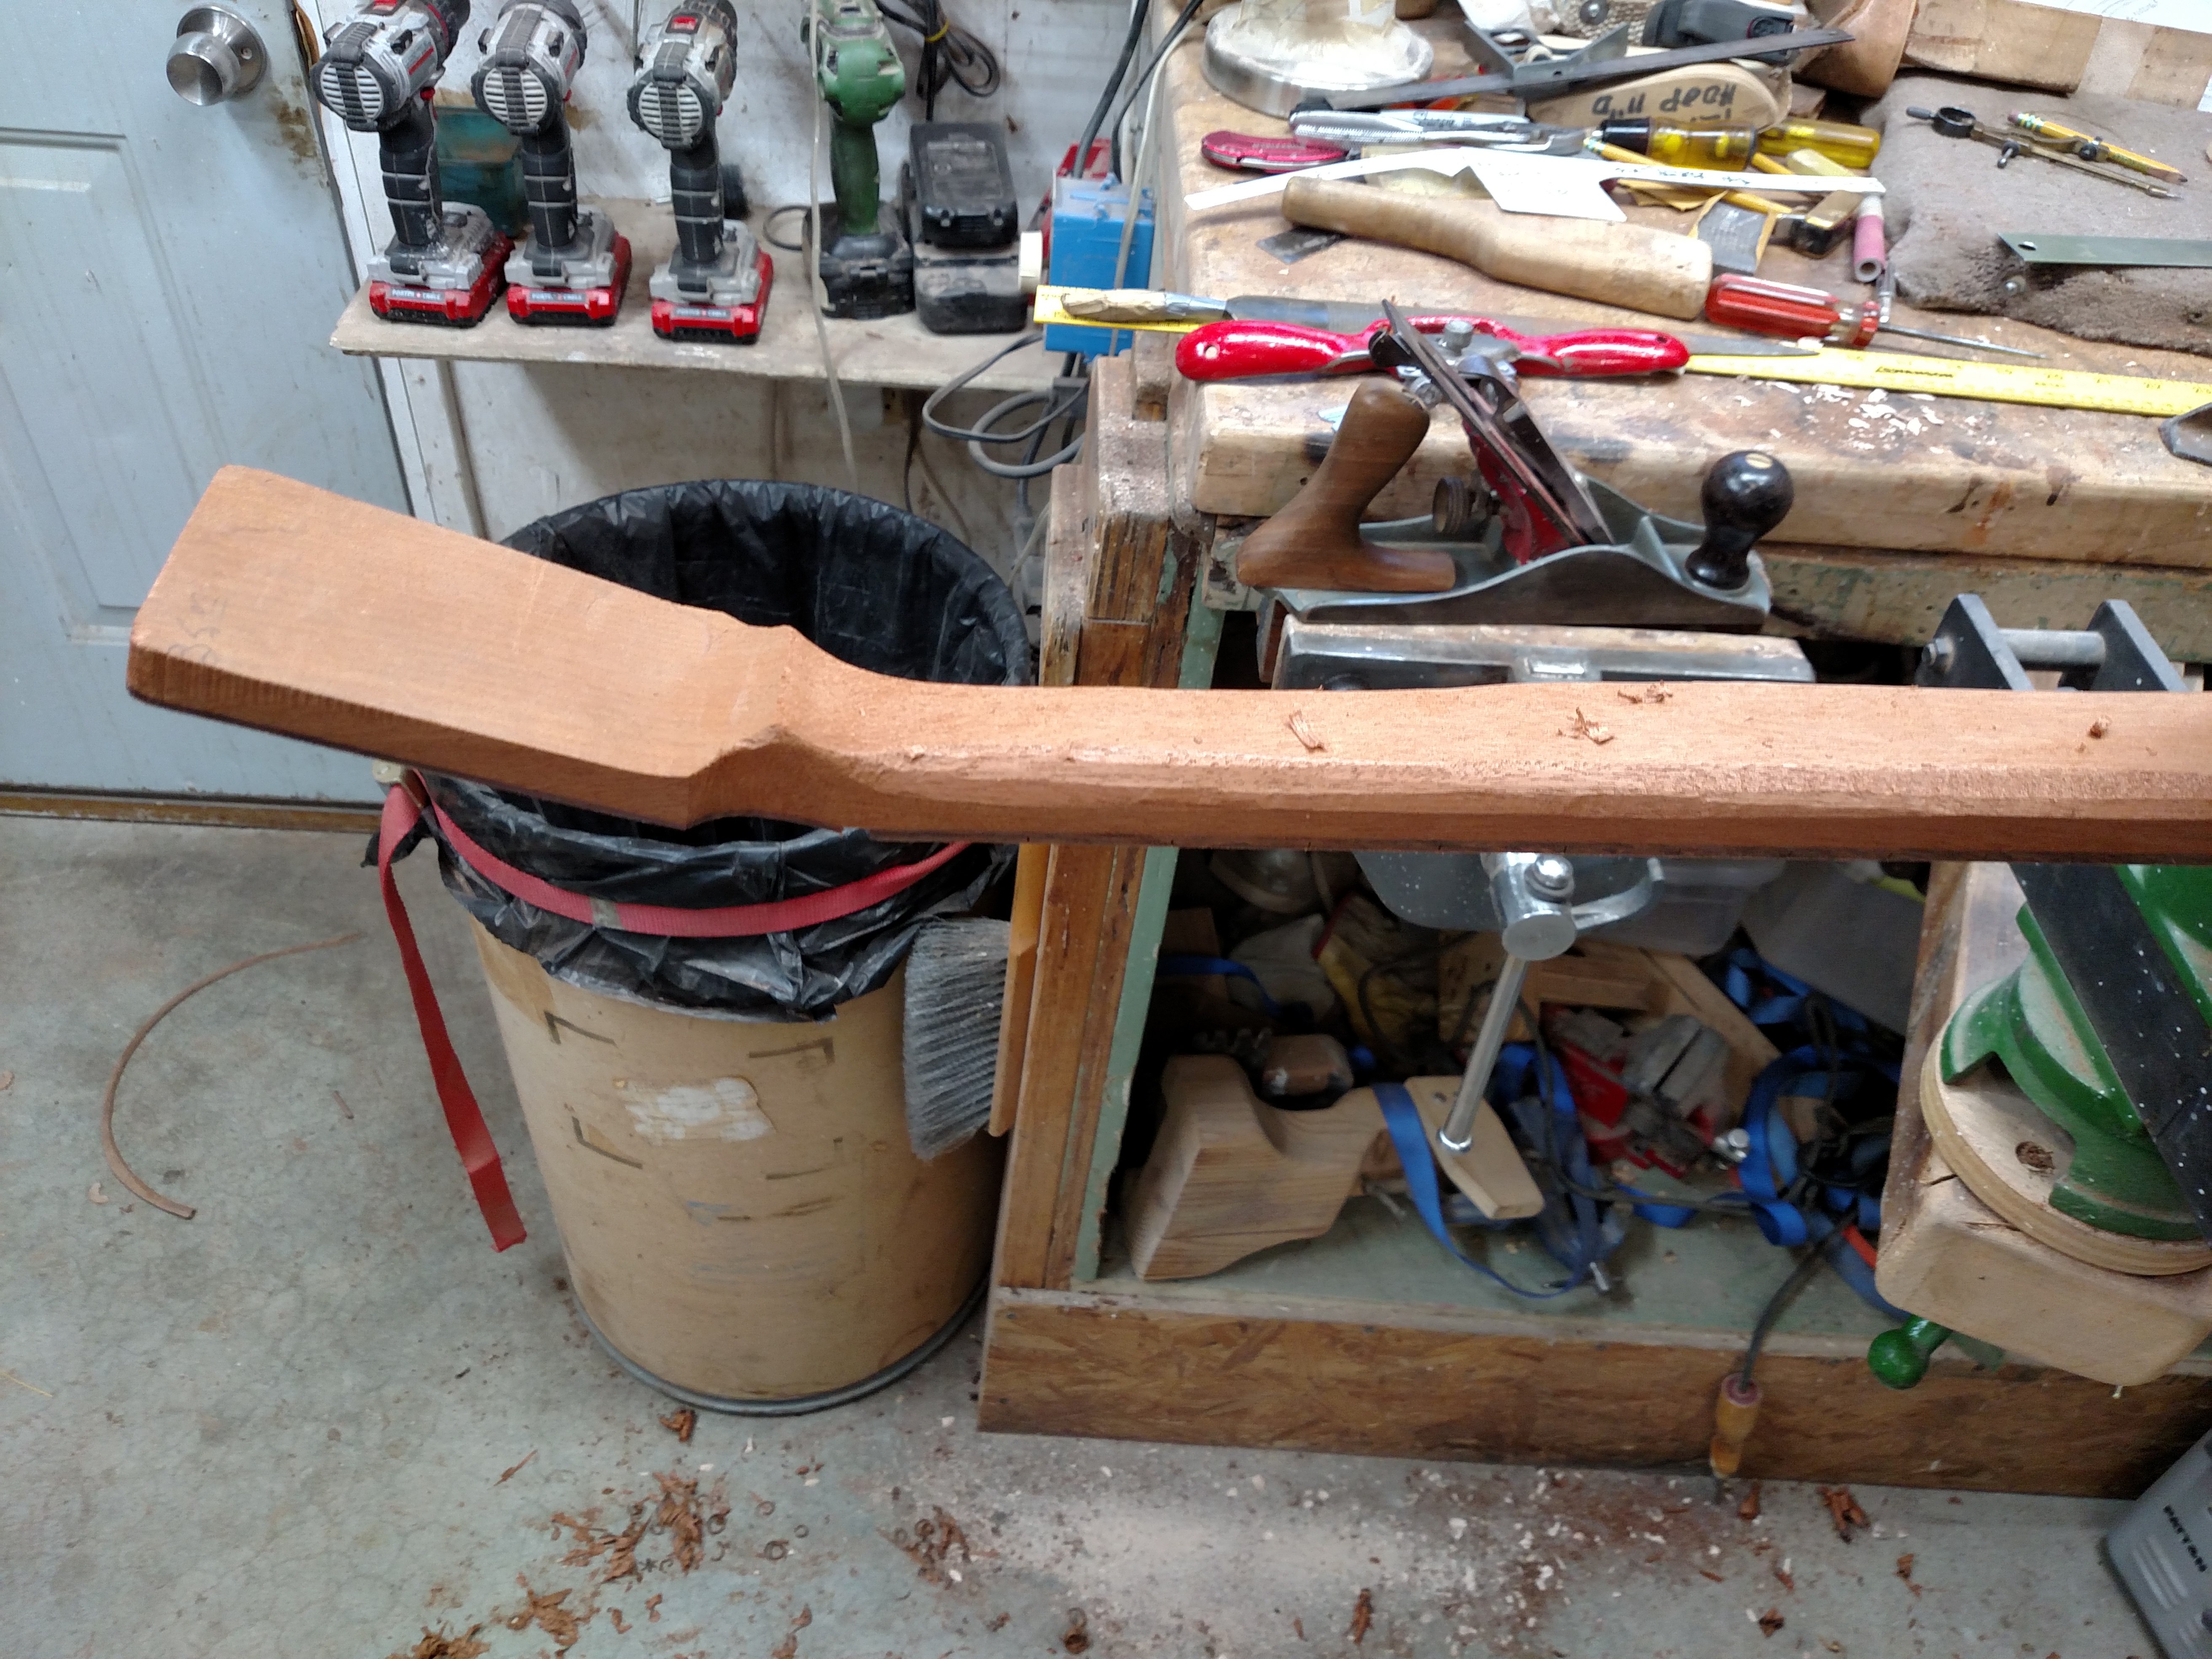
The picture below shows the beginning of the rough shaping of this neck. Mahogany has been the traditional wood for stringed instrument necks for years. It is not an extremely hard wood, but it is very stable. It doesn’t seem to bow and twist very much. It is fairly easy to shape, but filling the pores of the wood is a challenge.
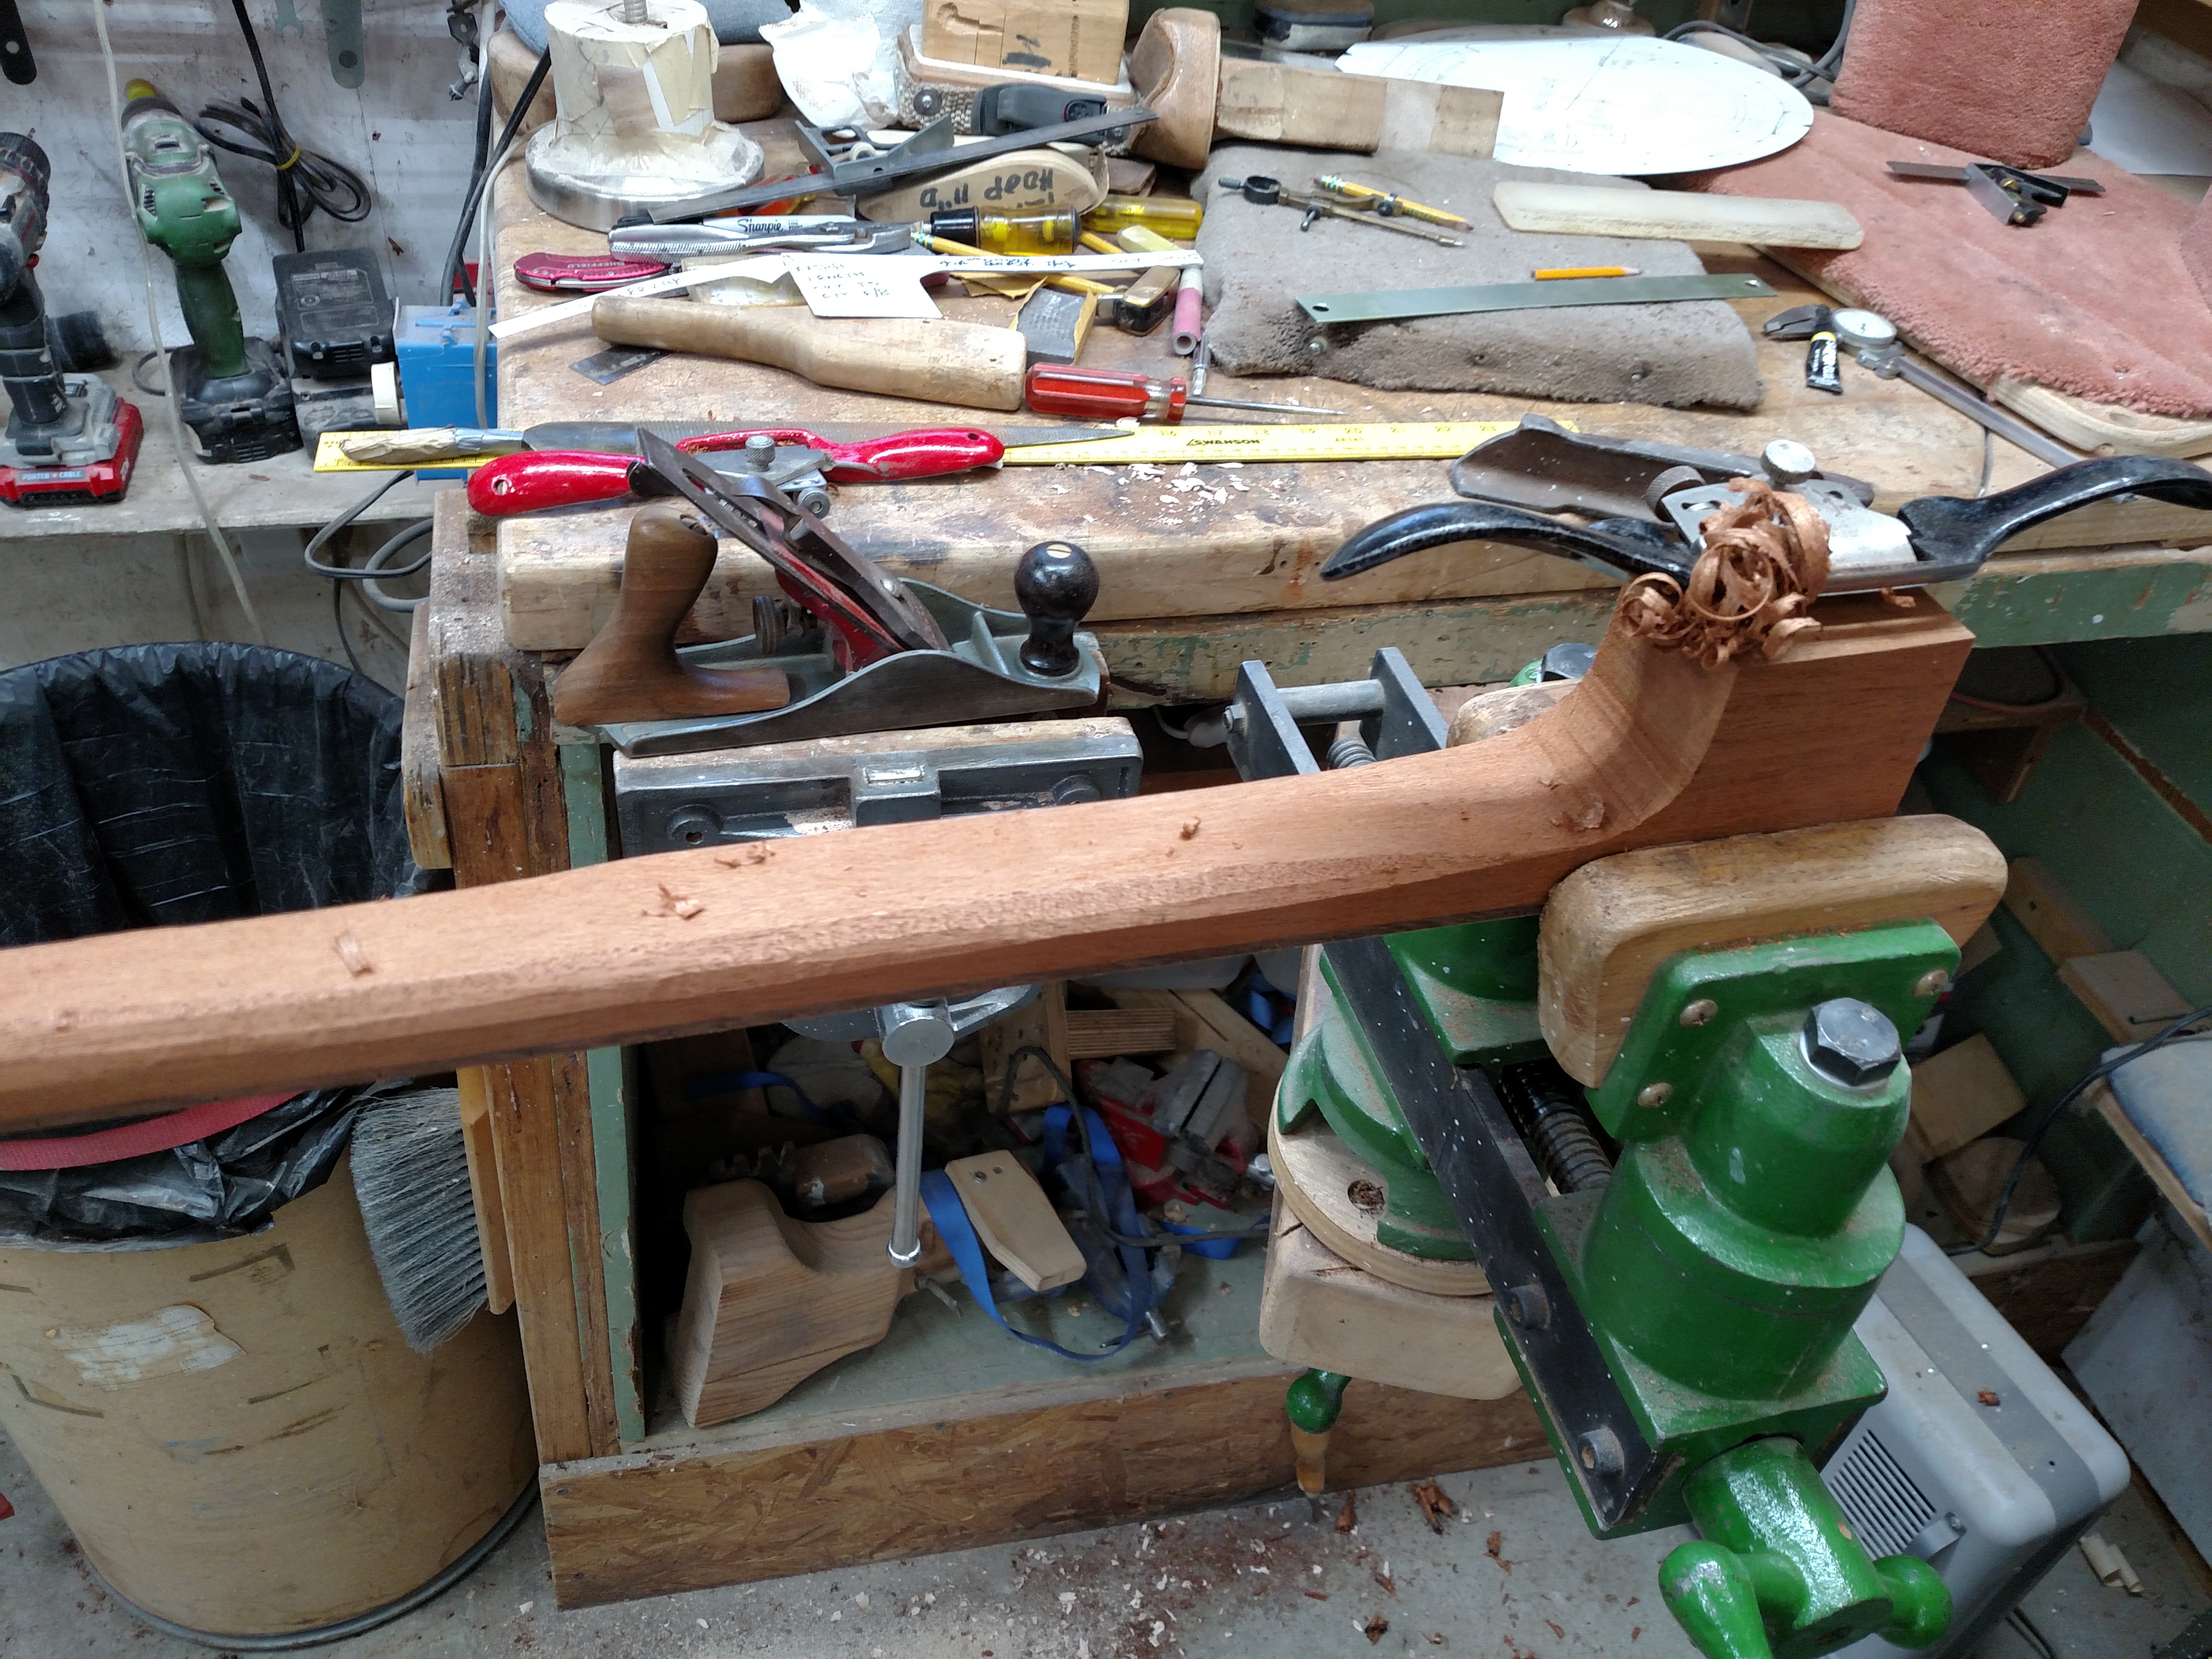
A little further along. You may see some of my templates on my cluttered work bench in the picture below. I’ve made quite a few necks in the past 40 plus years. I learn something on every one. I think this is my favorite part of the instrument building process.
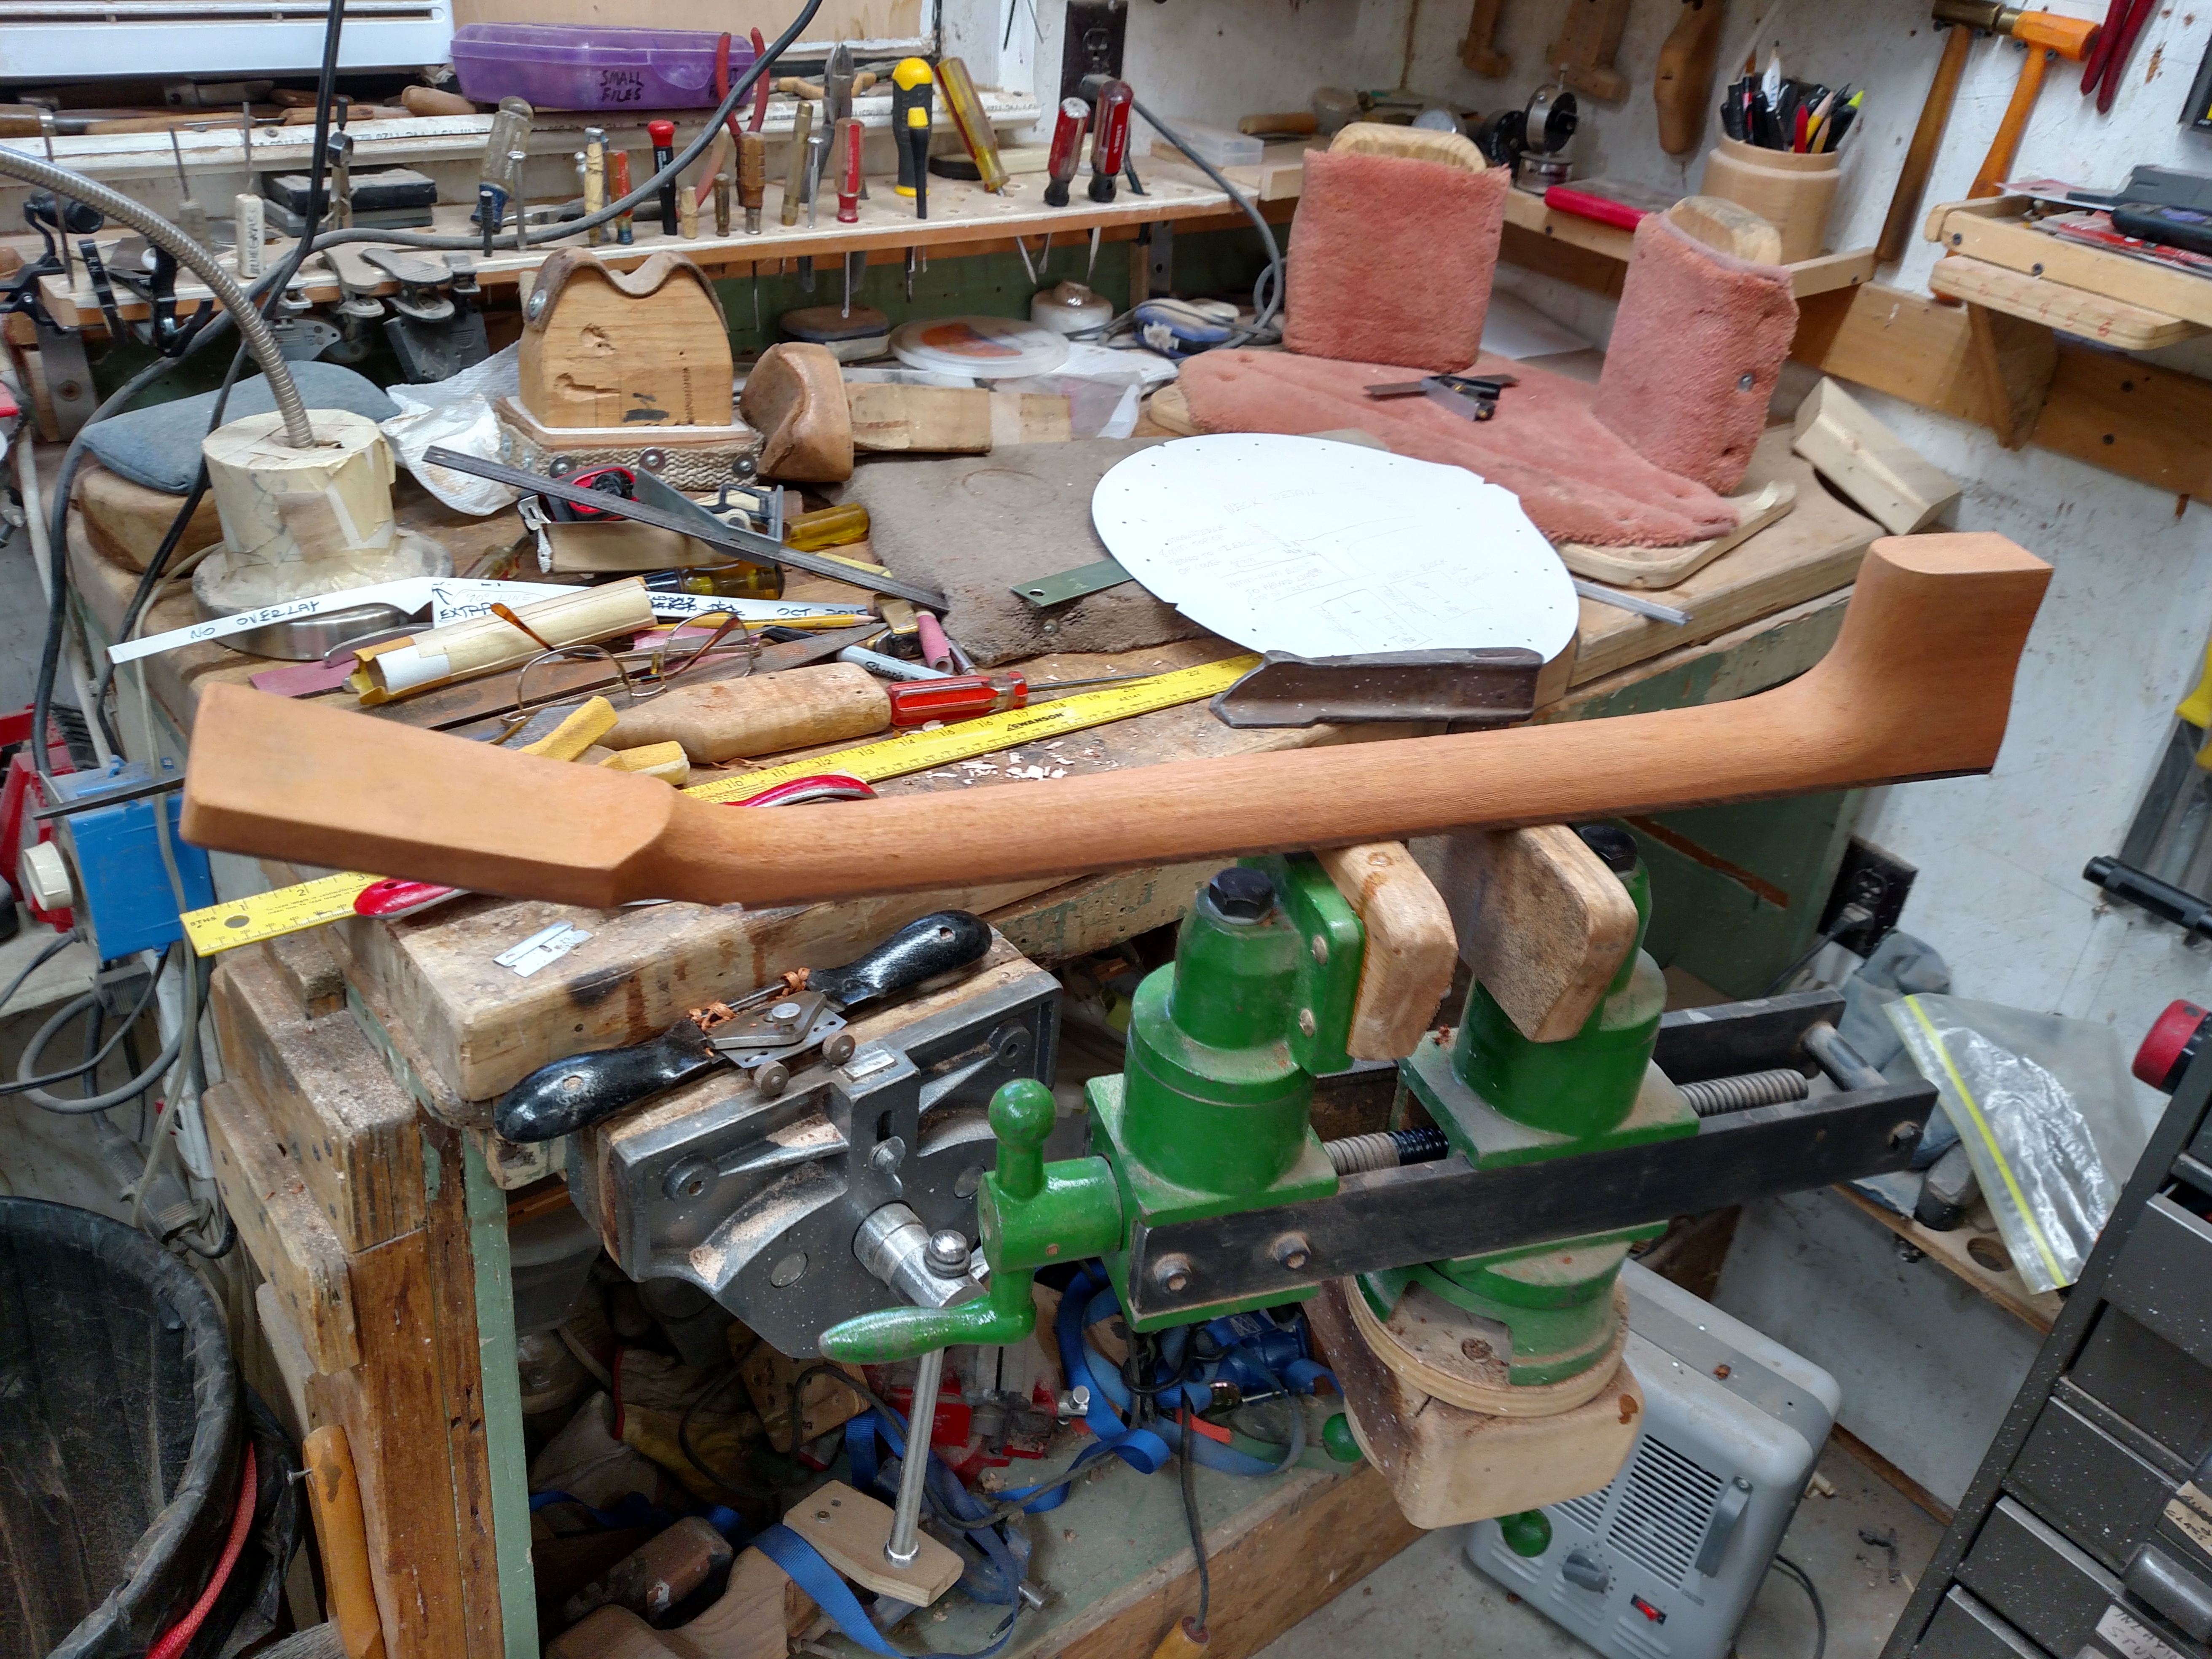
Here is the neck shaped and sanded. It will need a little final sanding and shaping before the finish is applied. It is fun to develop your own style and shape of necks. I’m not tied down to copying some other design. Most banjo type necks look similar, but the feel of them is different. You may be surprised if you take some measurements on some different banjo necks. They can vary a lot in width,thickness, scale, and shape. I try to make a neck that feels comfortable to me. I strive to make all the edges smooth so they feel like an old neck that has been played for years.
I installed some 1/4 inch pearl dots (drilled with a 1/4 inch Forstner bit and glued with CA glue). I decided not to use any binding on this instrument. I chose to keep it simple and plain.
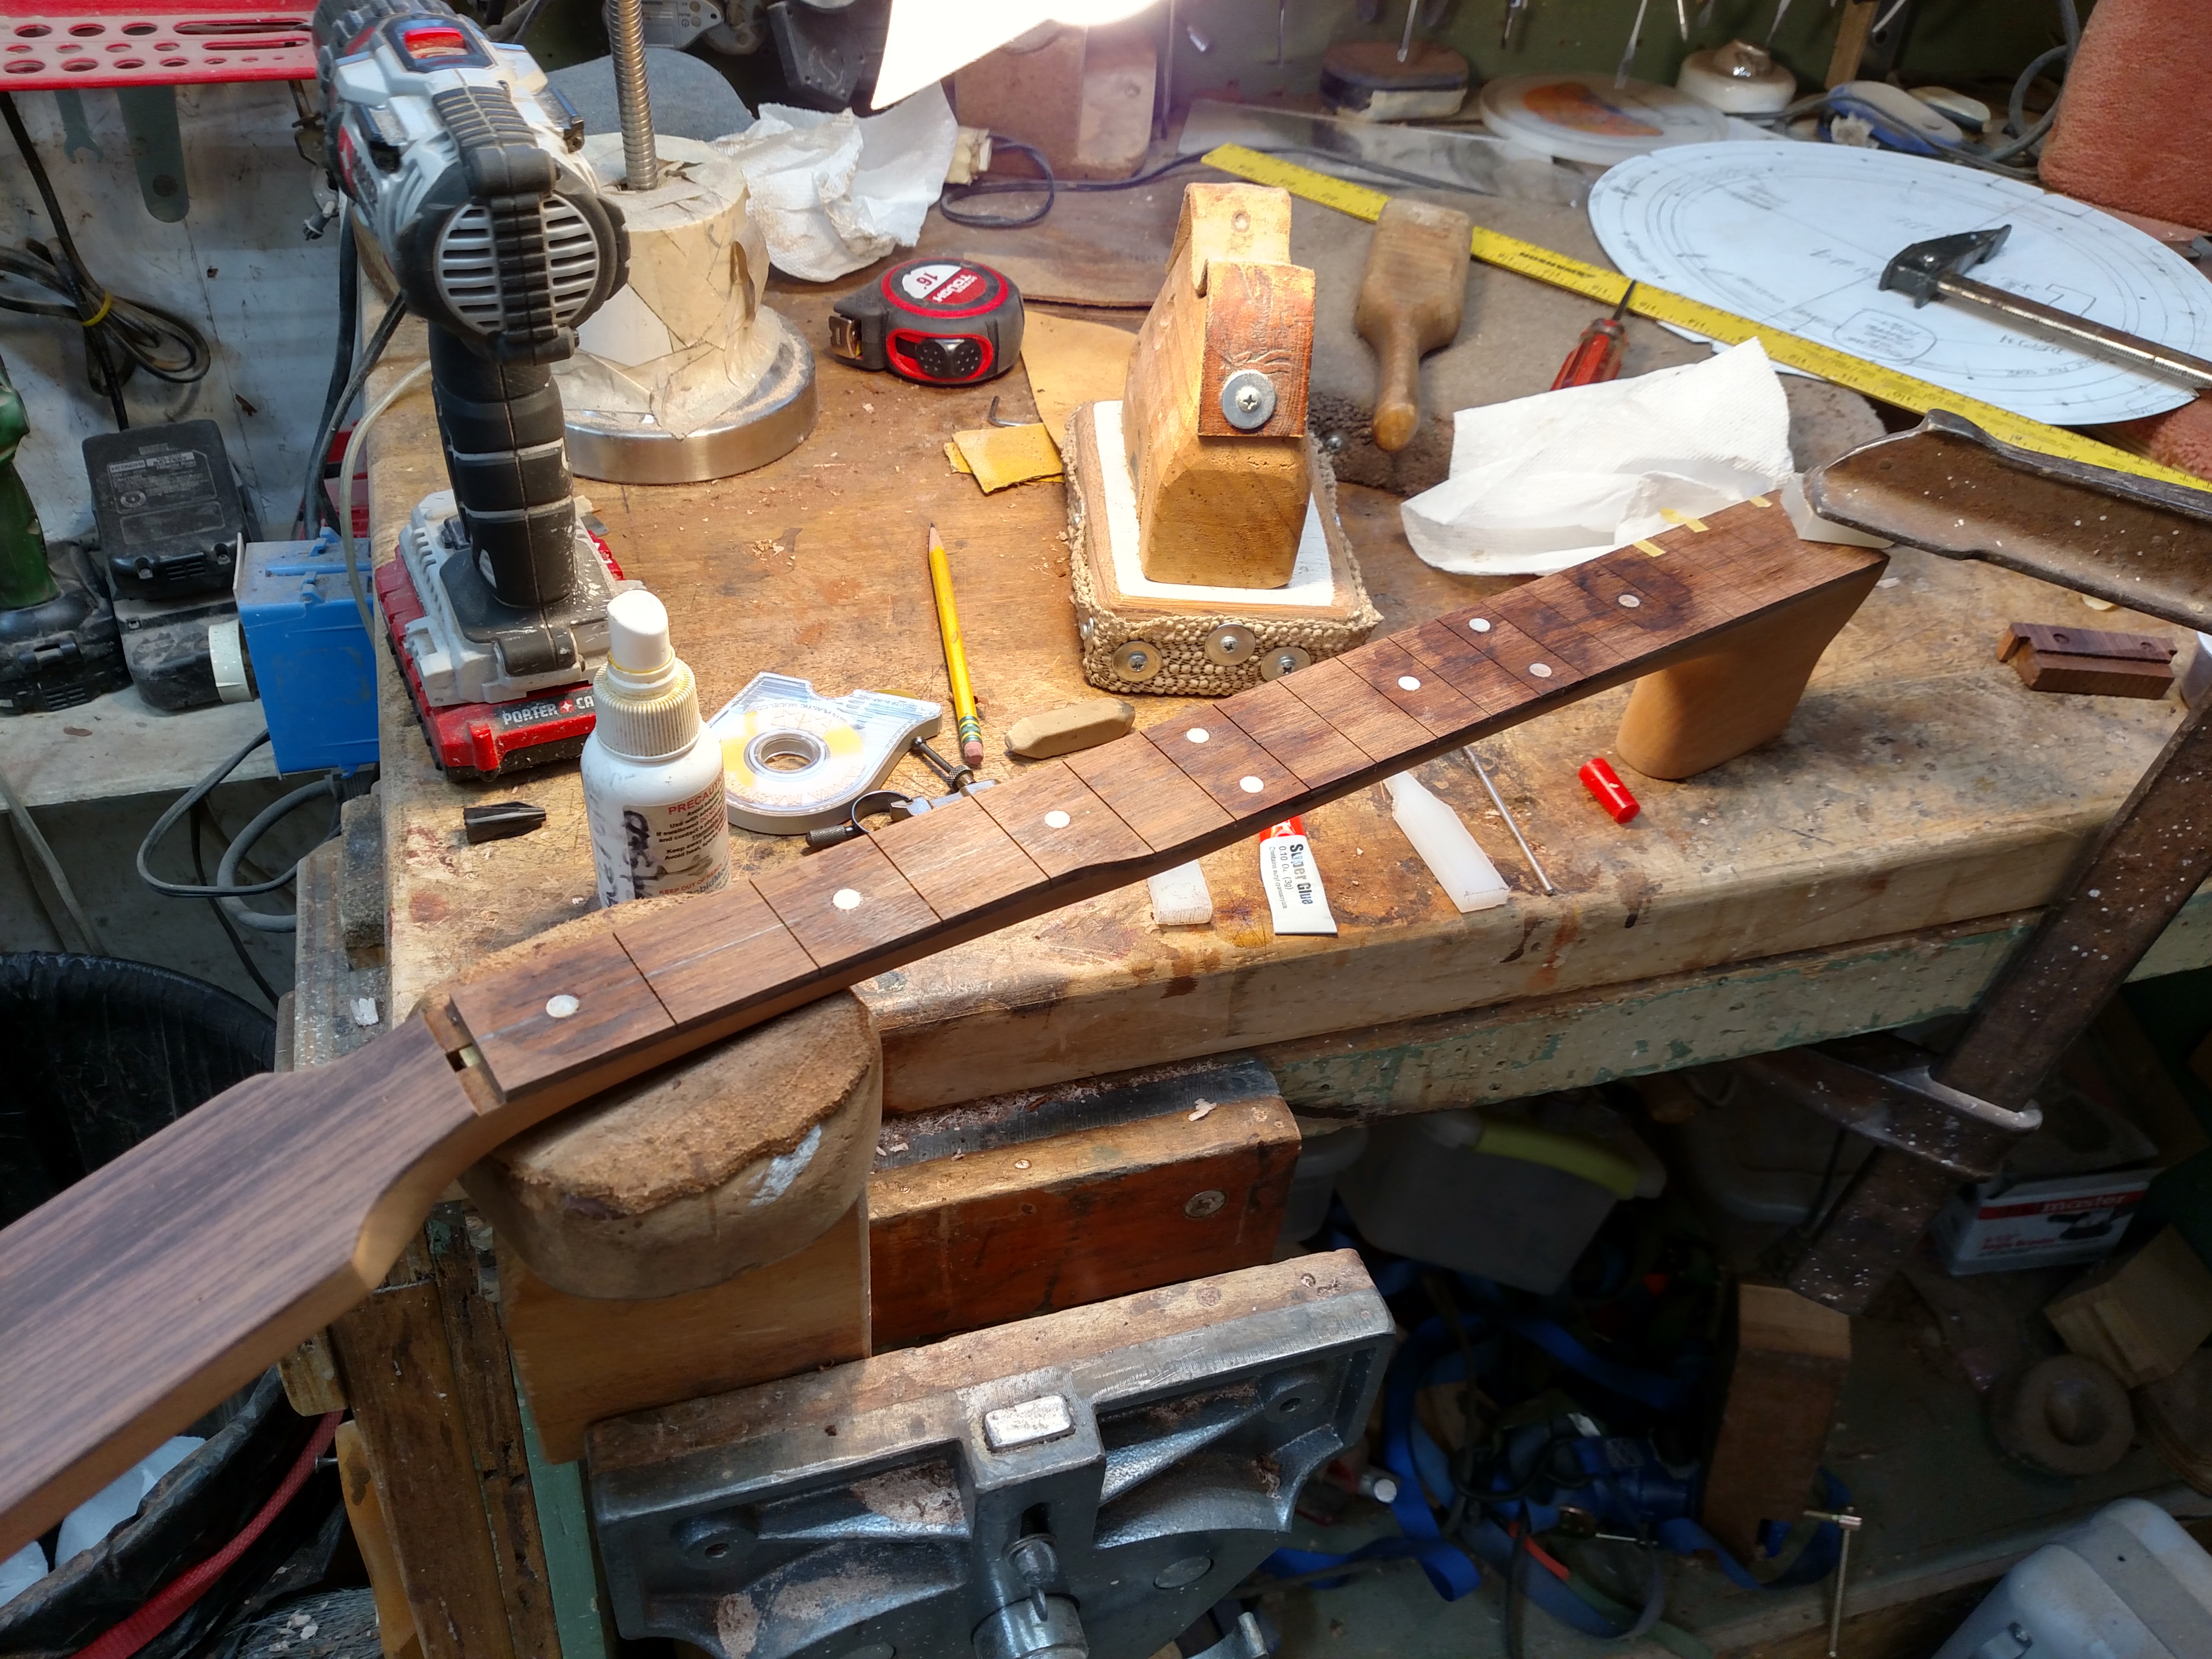
Inlays and side dots installed. The side dots were made from some plastic rods I purchased from Stew Mac.

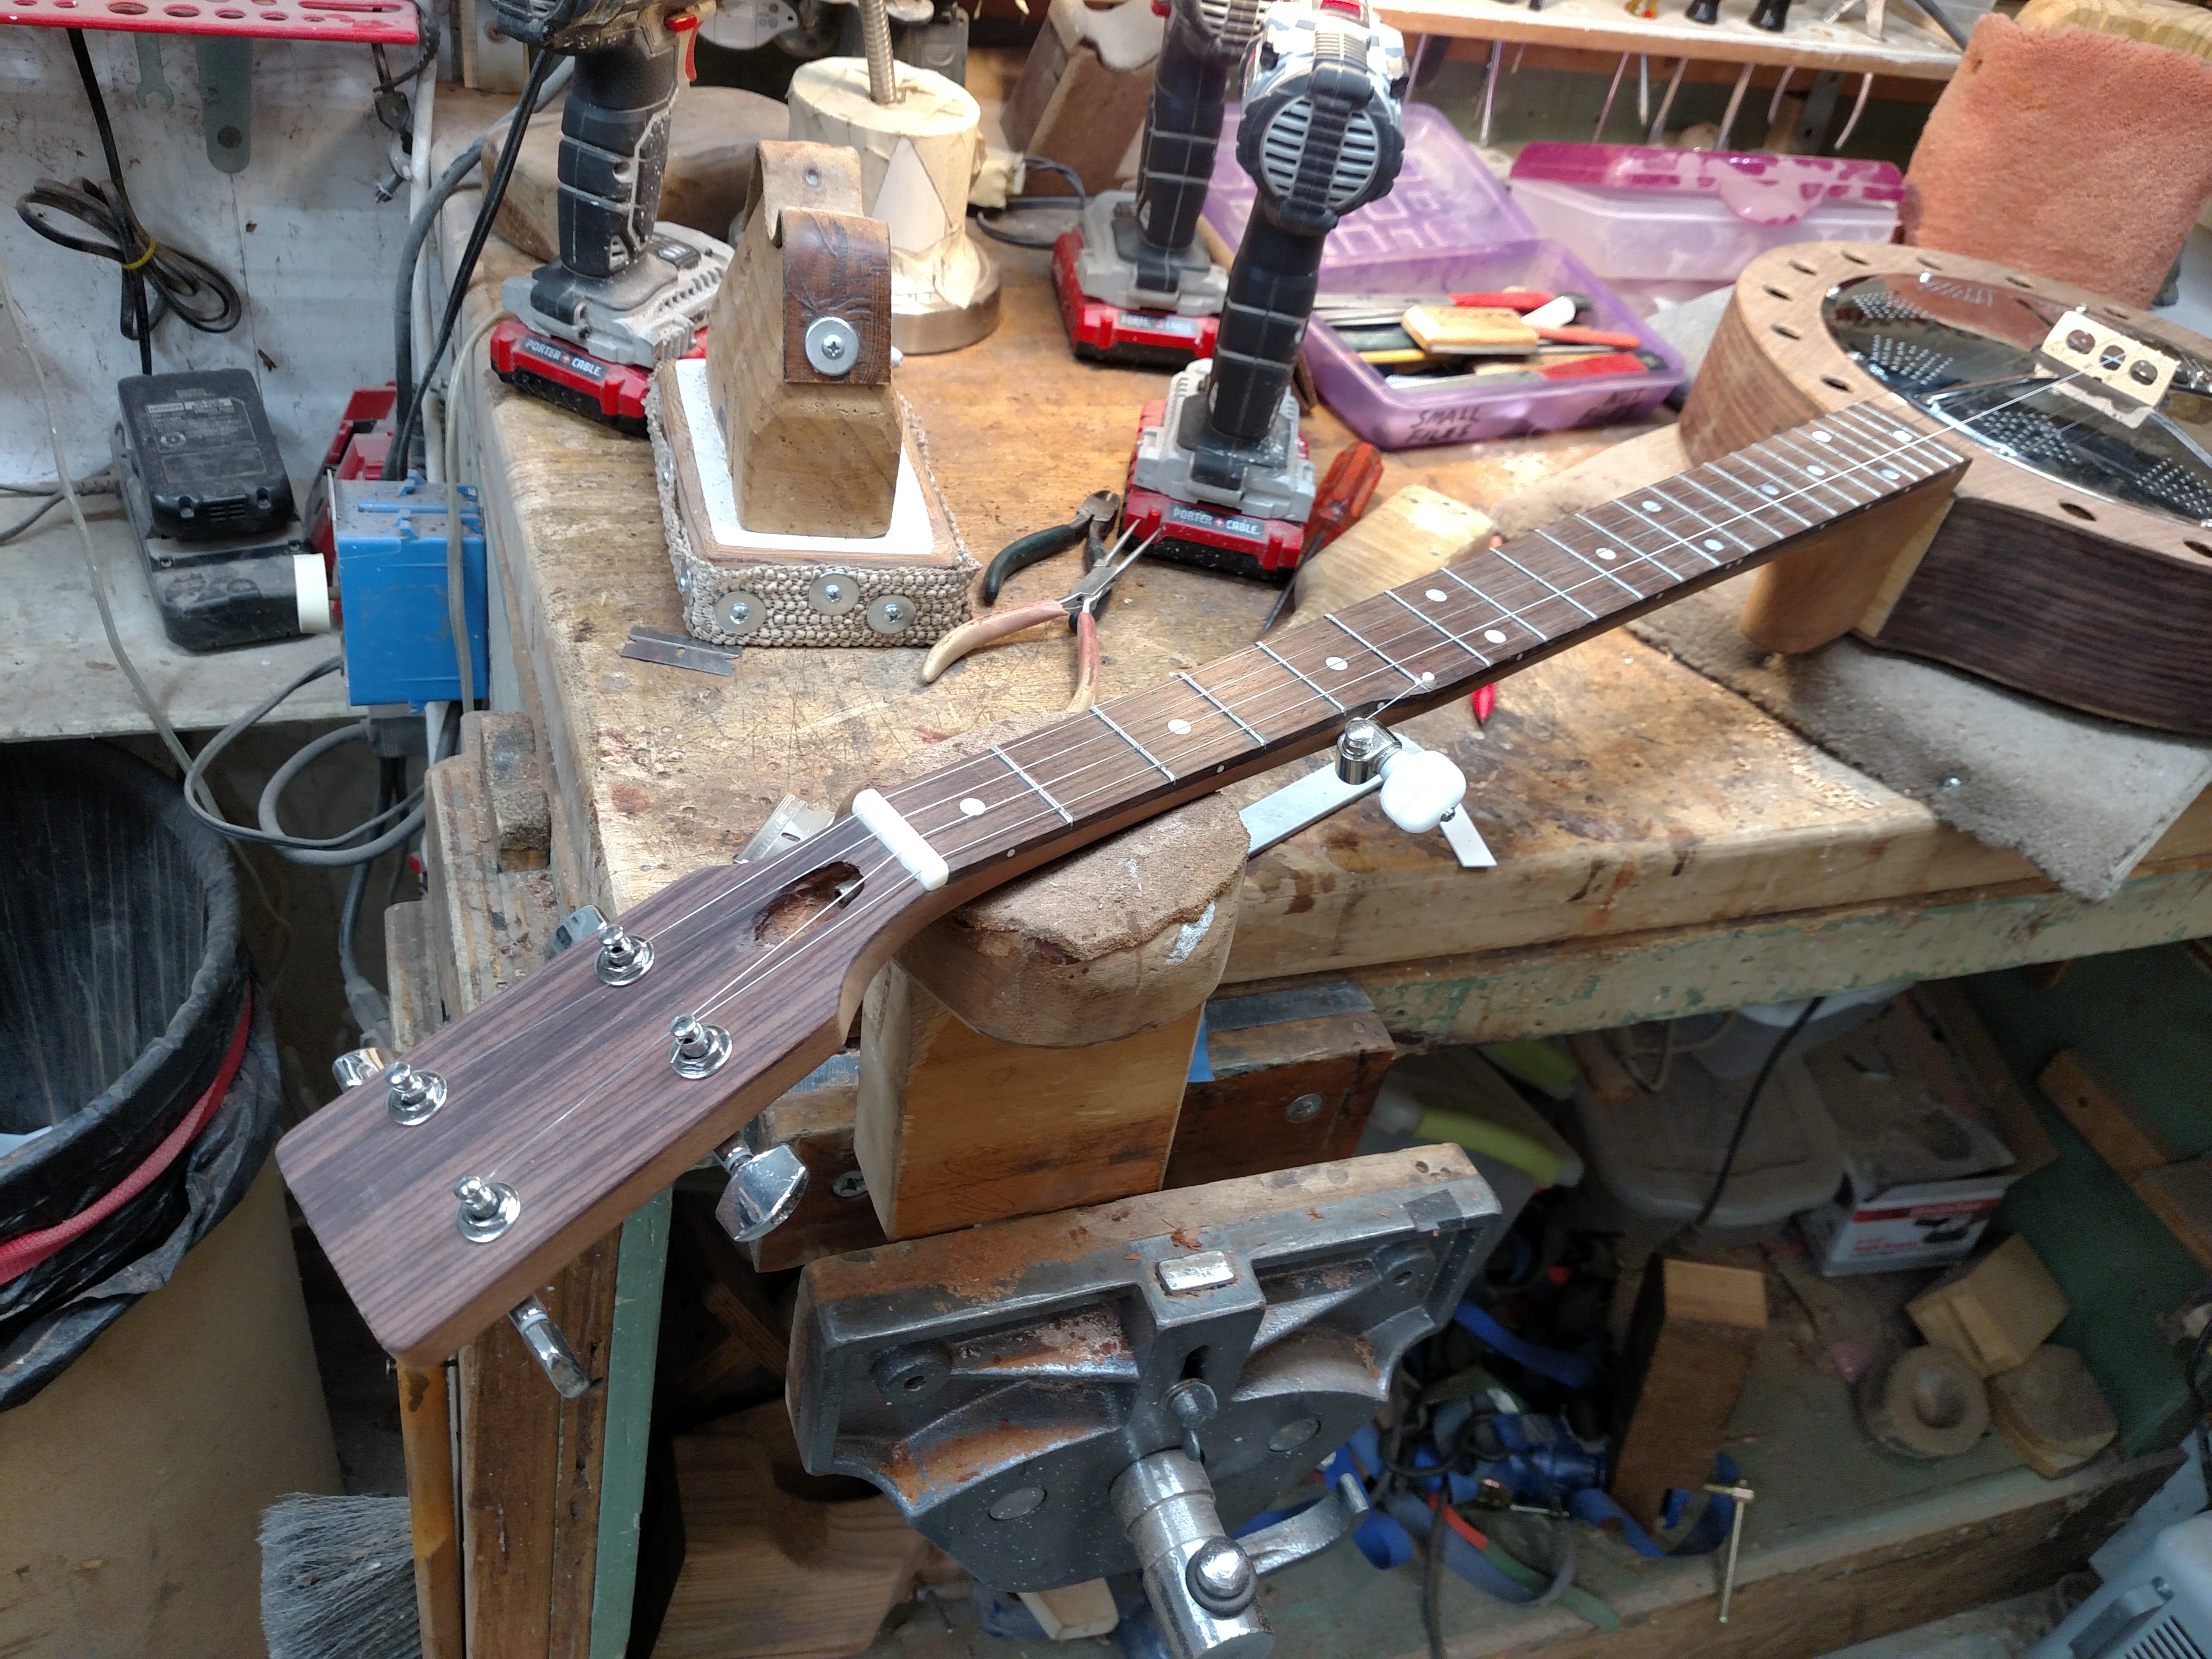
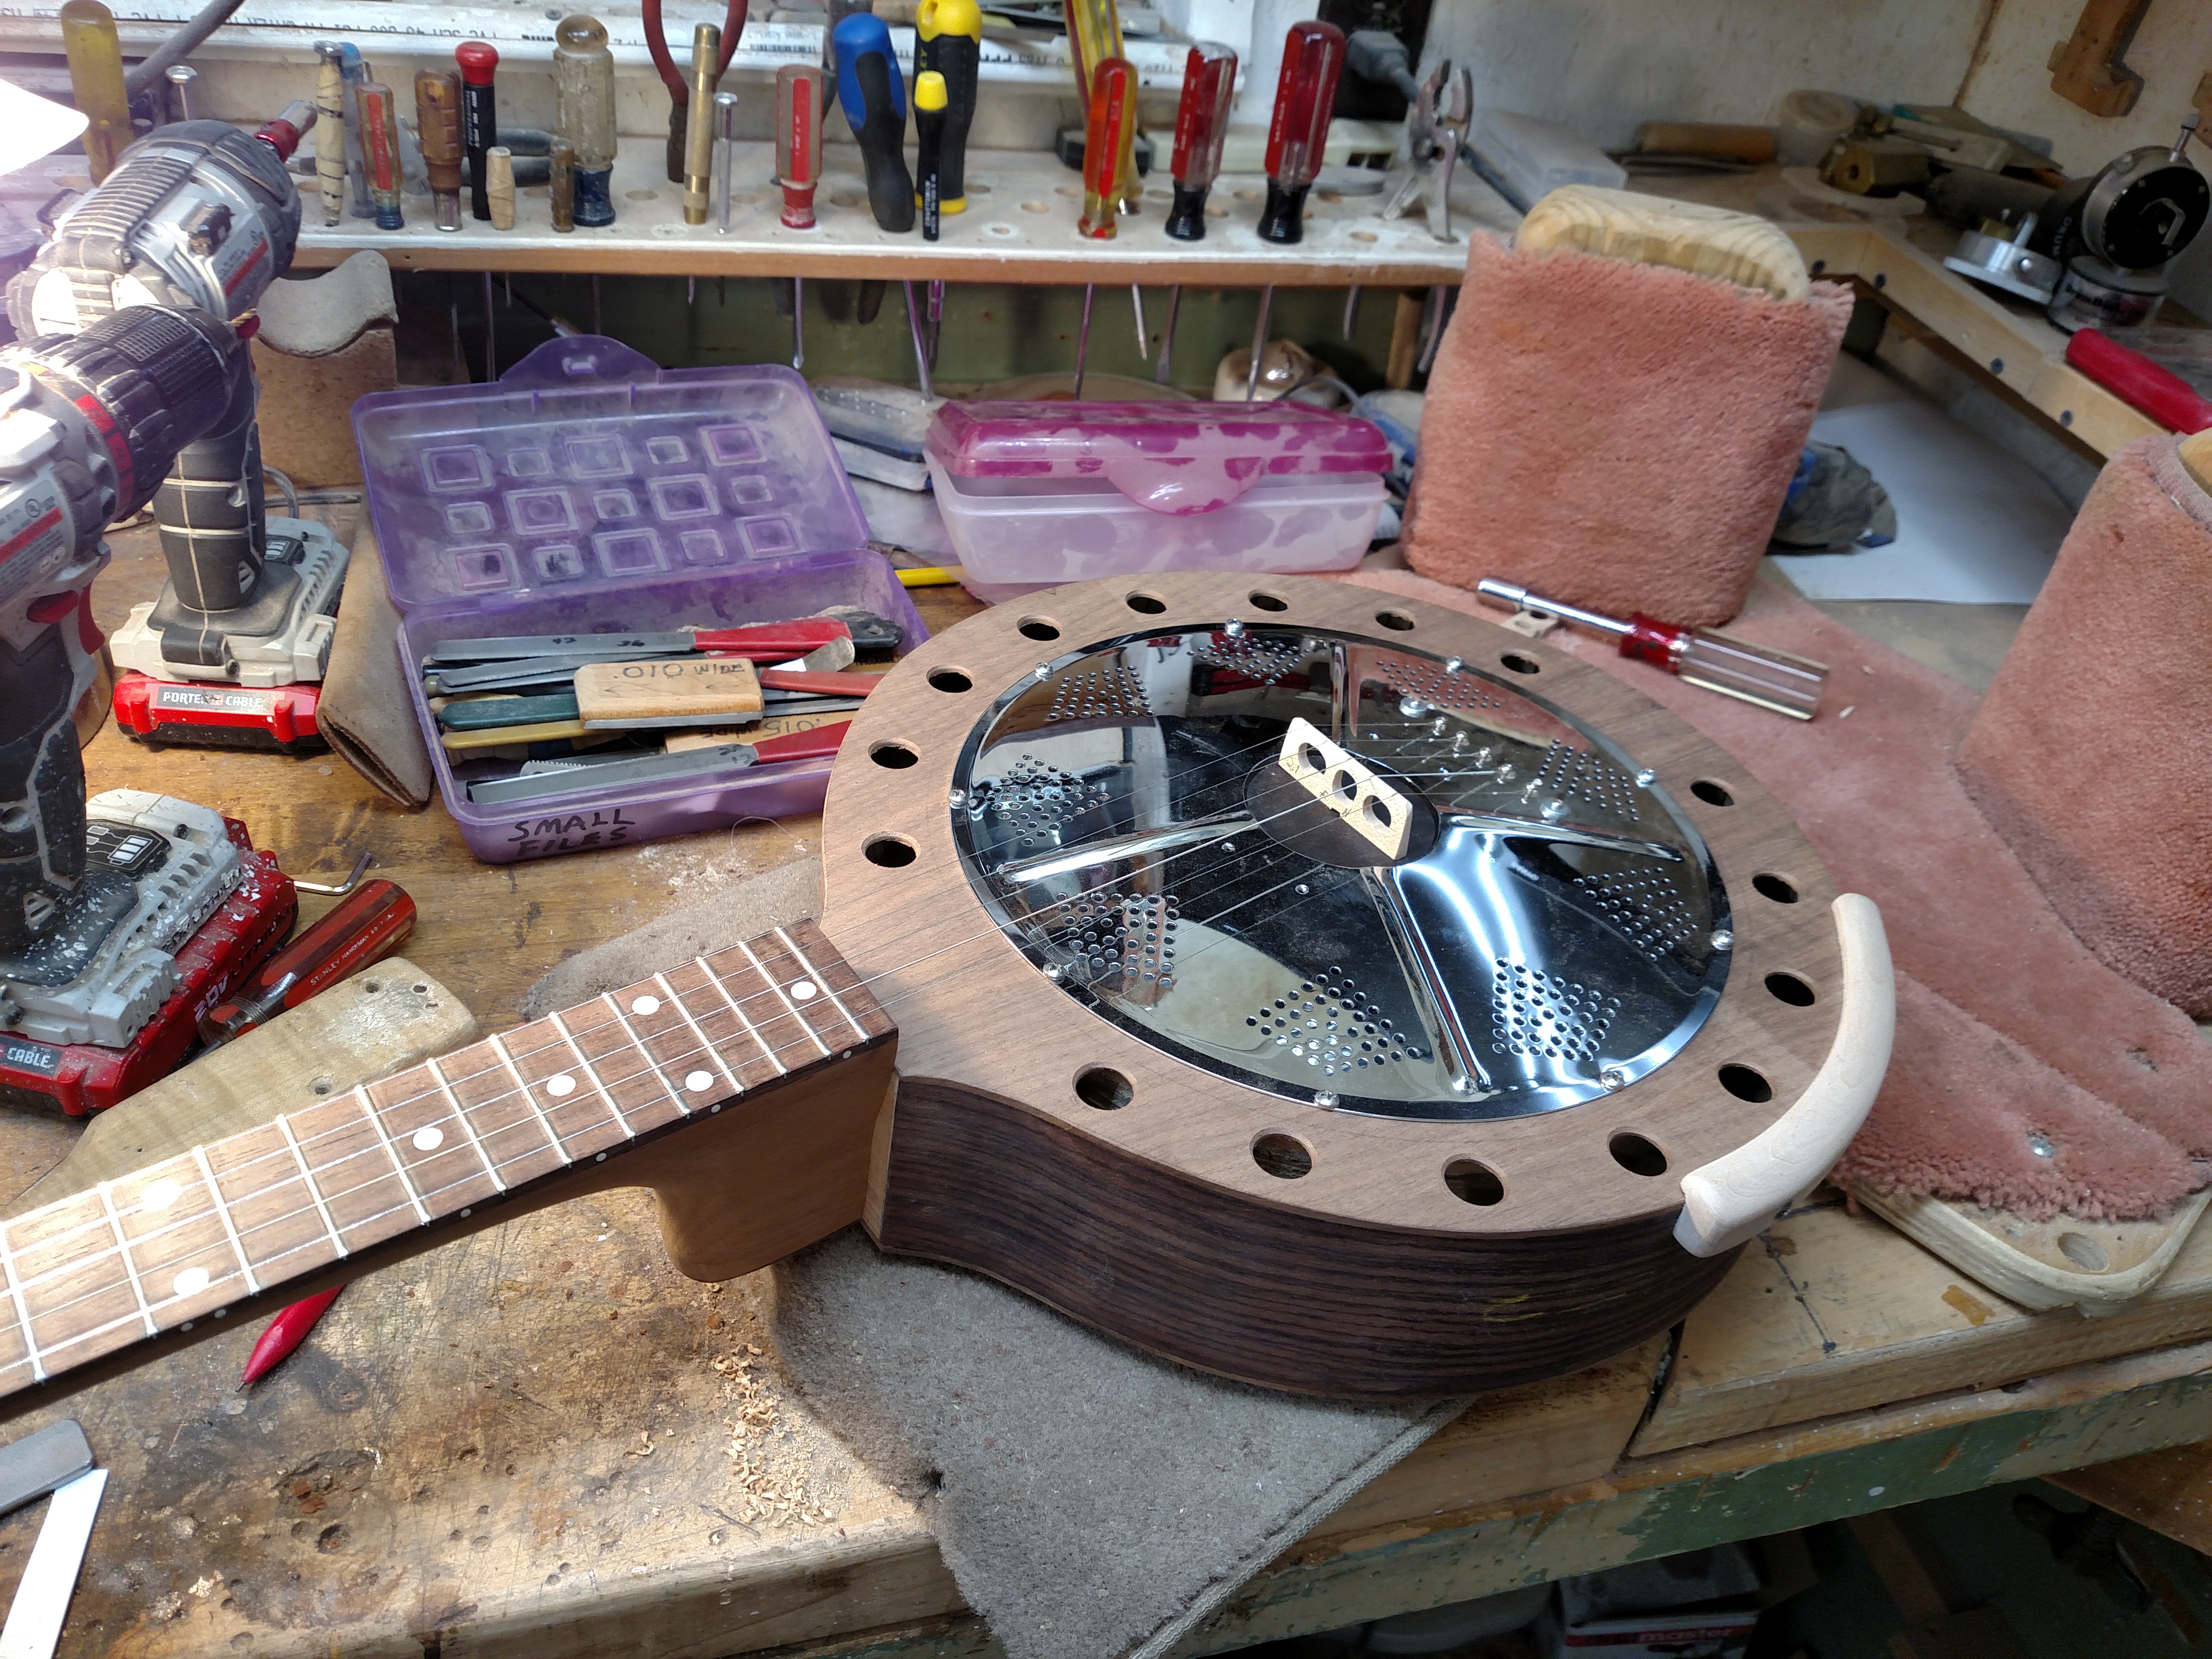
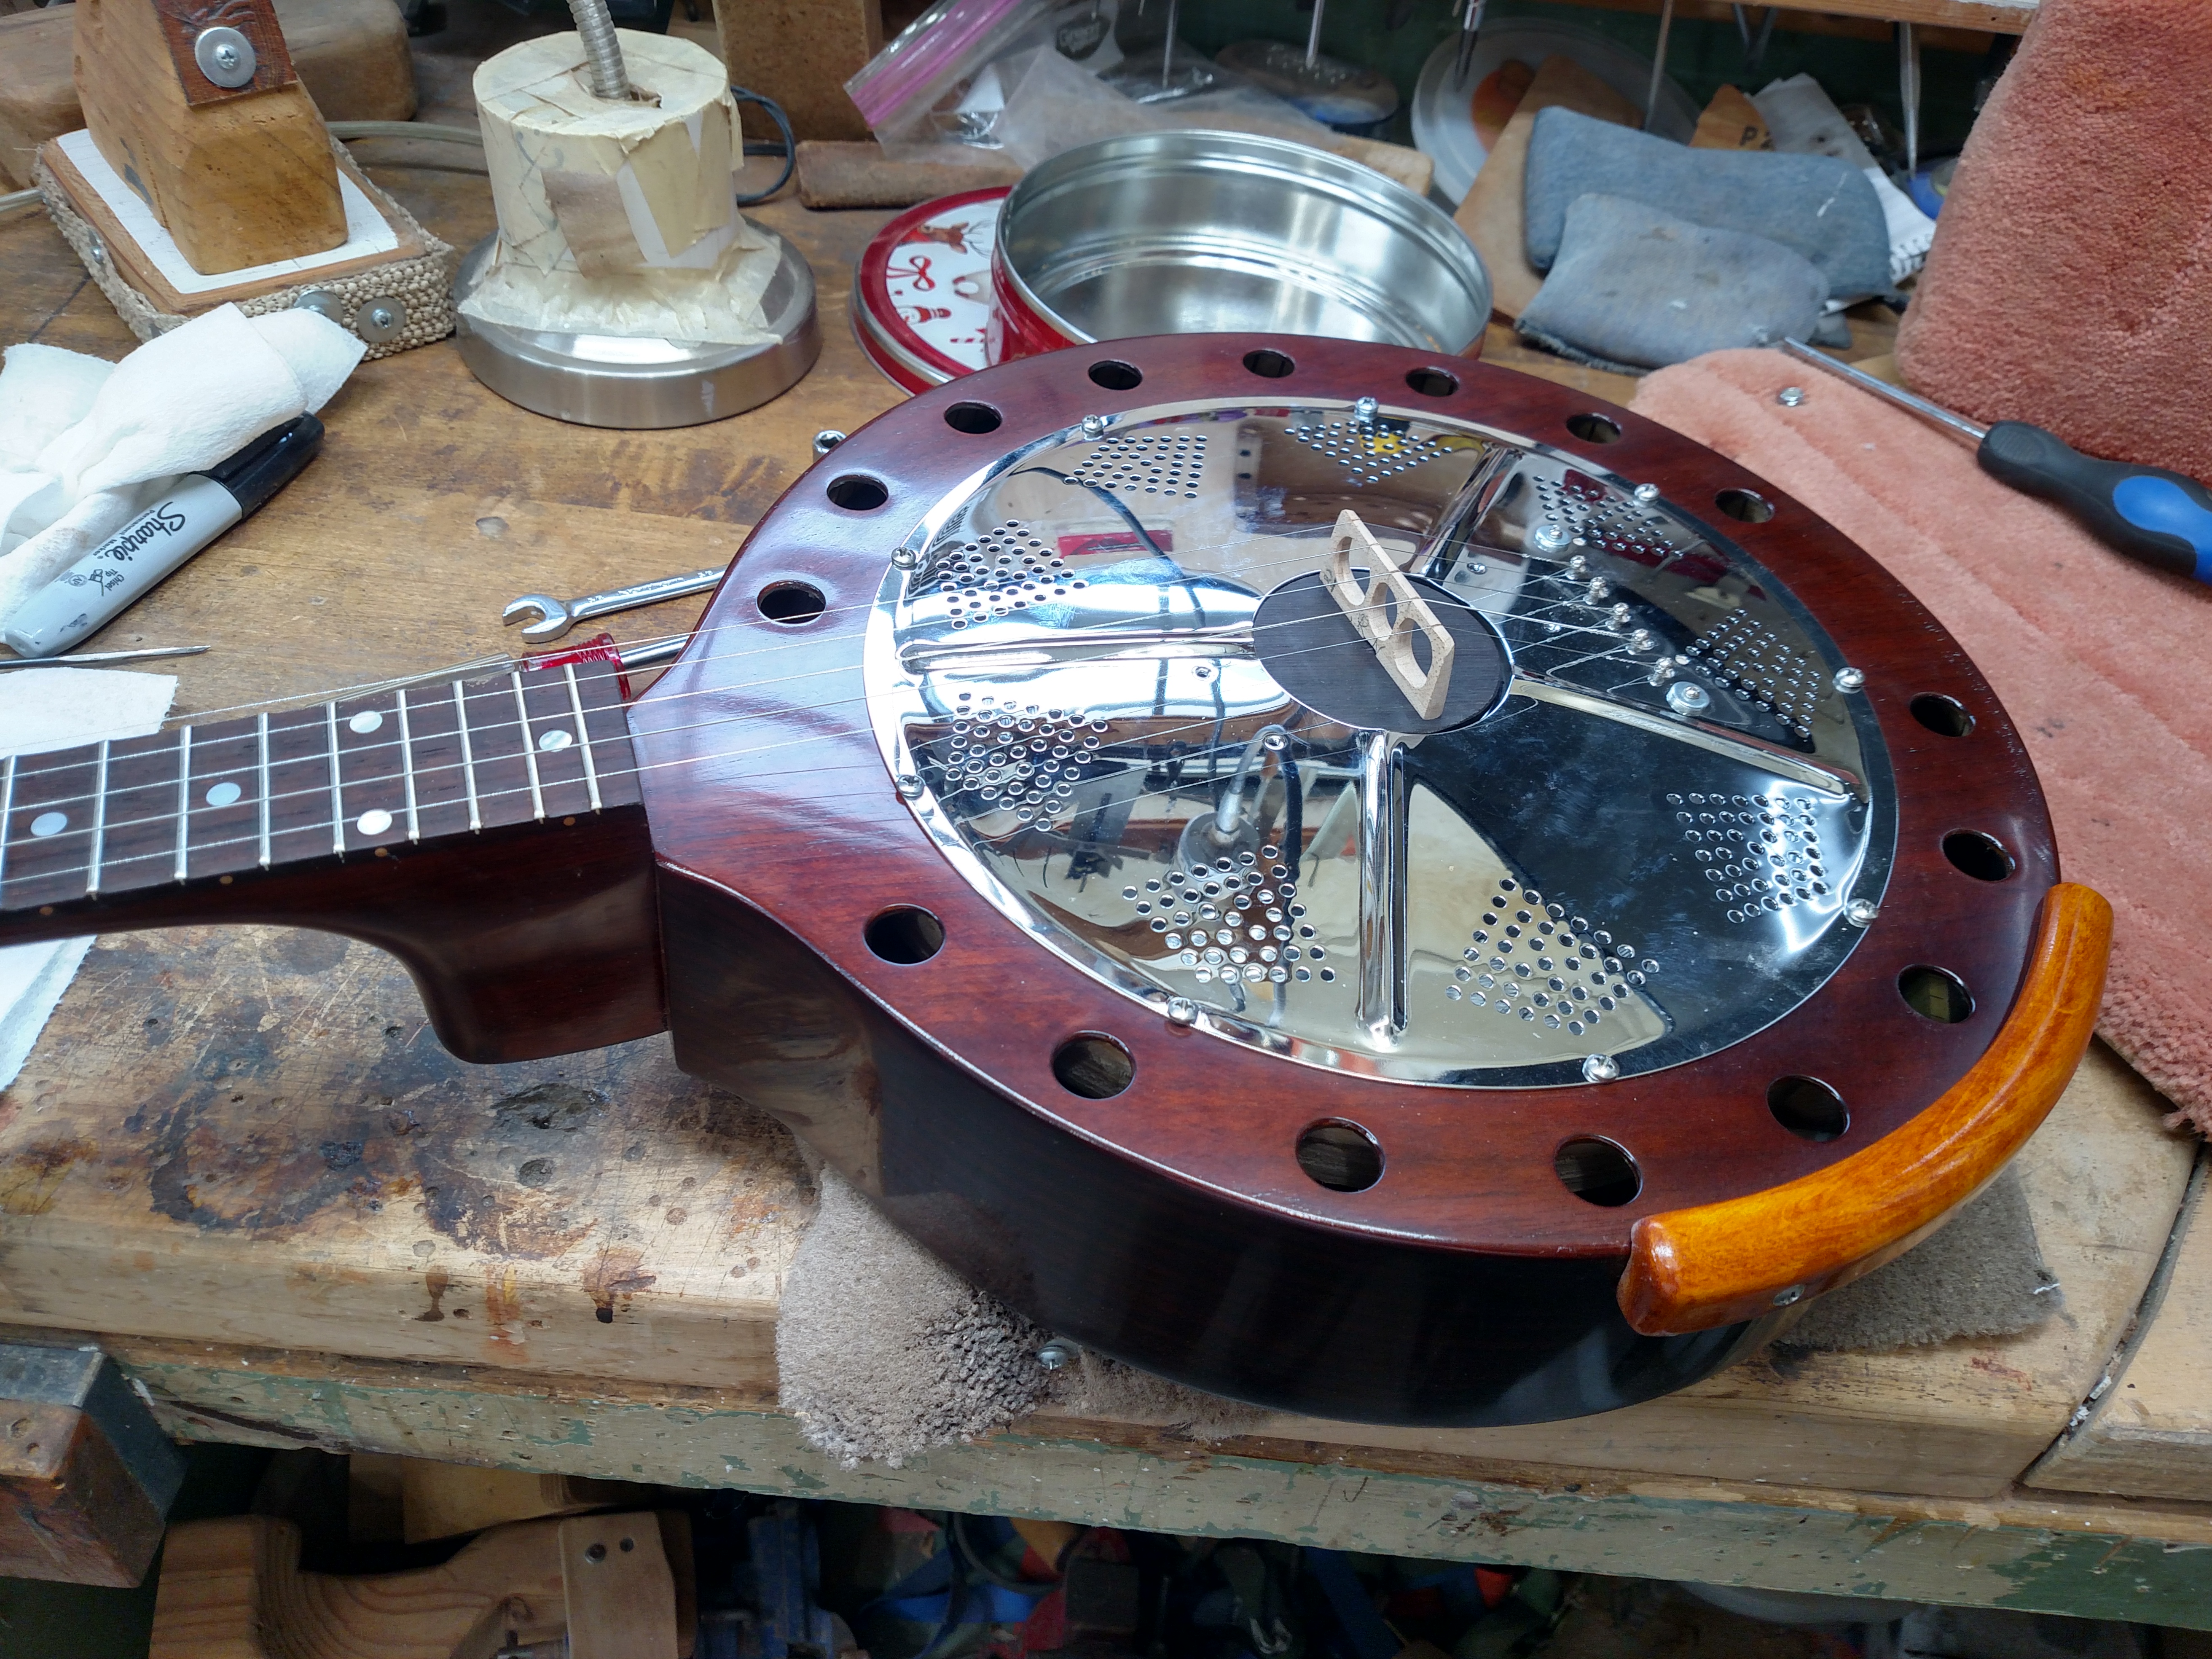
I assembled and strung it to check for any potential problems. This included some time to center the neck properly to the body and establish the correct bridge height. I designed these instruments to have the strings raised above the body enough to avoid hitting the cover plate with the picks. The 5 String Dobro I have was originally designed with the strings sitting very close to the cover plate and this didn’t suit me. There is nothing that sounds worse than some metal finger picks hitting the metal cover plate while you are playing. I installed the 5th string tuning key and fabricated a bone 5th string nut. I prefer guitar tuning machines because they are 12/1 ratio instead of the 4/1 ratio of a banjo tuning machine. I also like the simpler shape of the peghead instead of a fancy shape like most banjos have. I also installed some 5th string spikes and installed some strap buttons.
Here is the assembled Walloon before finishing. I played it and did a few minor adjustments on it. I was pleased with the tone it produced. It seemed to have a little deeper and fuller tone than the other ones, but I’ll reserve my final judgement until it is completed and I can do a real time comparison of it to my other ones.
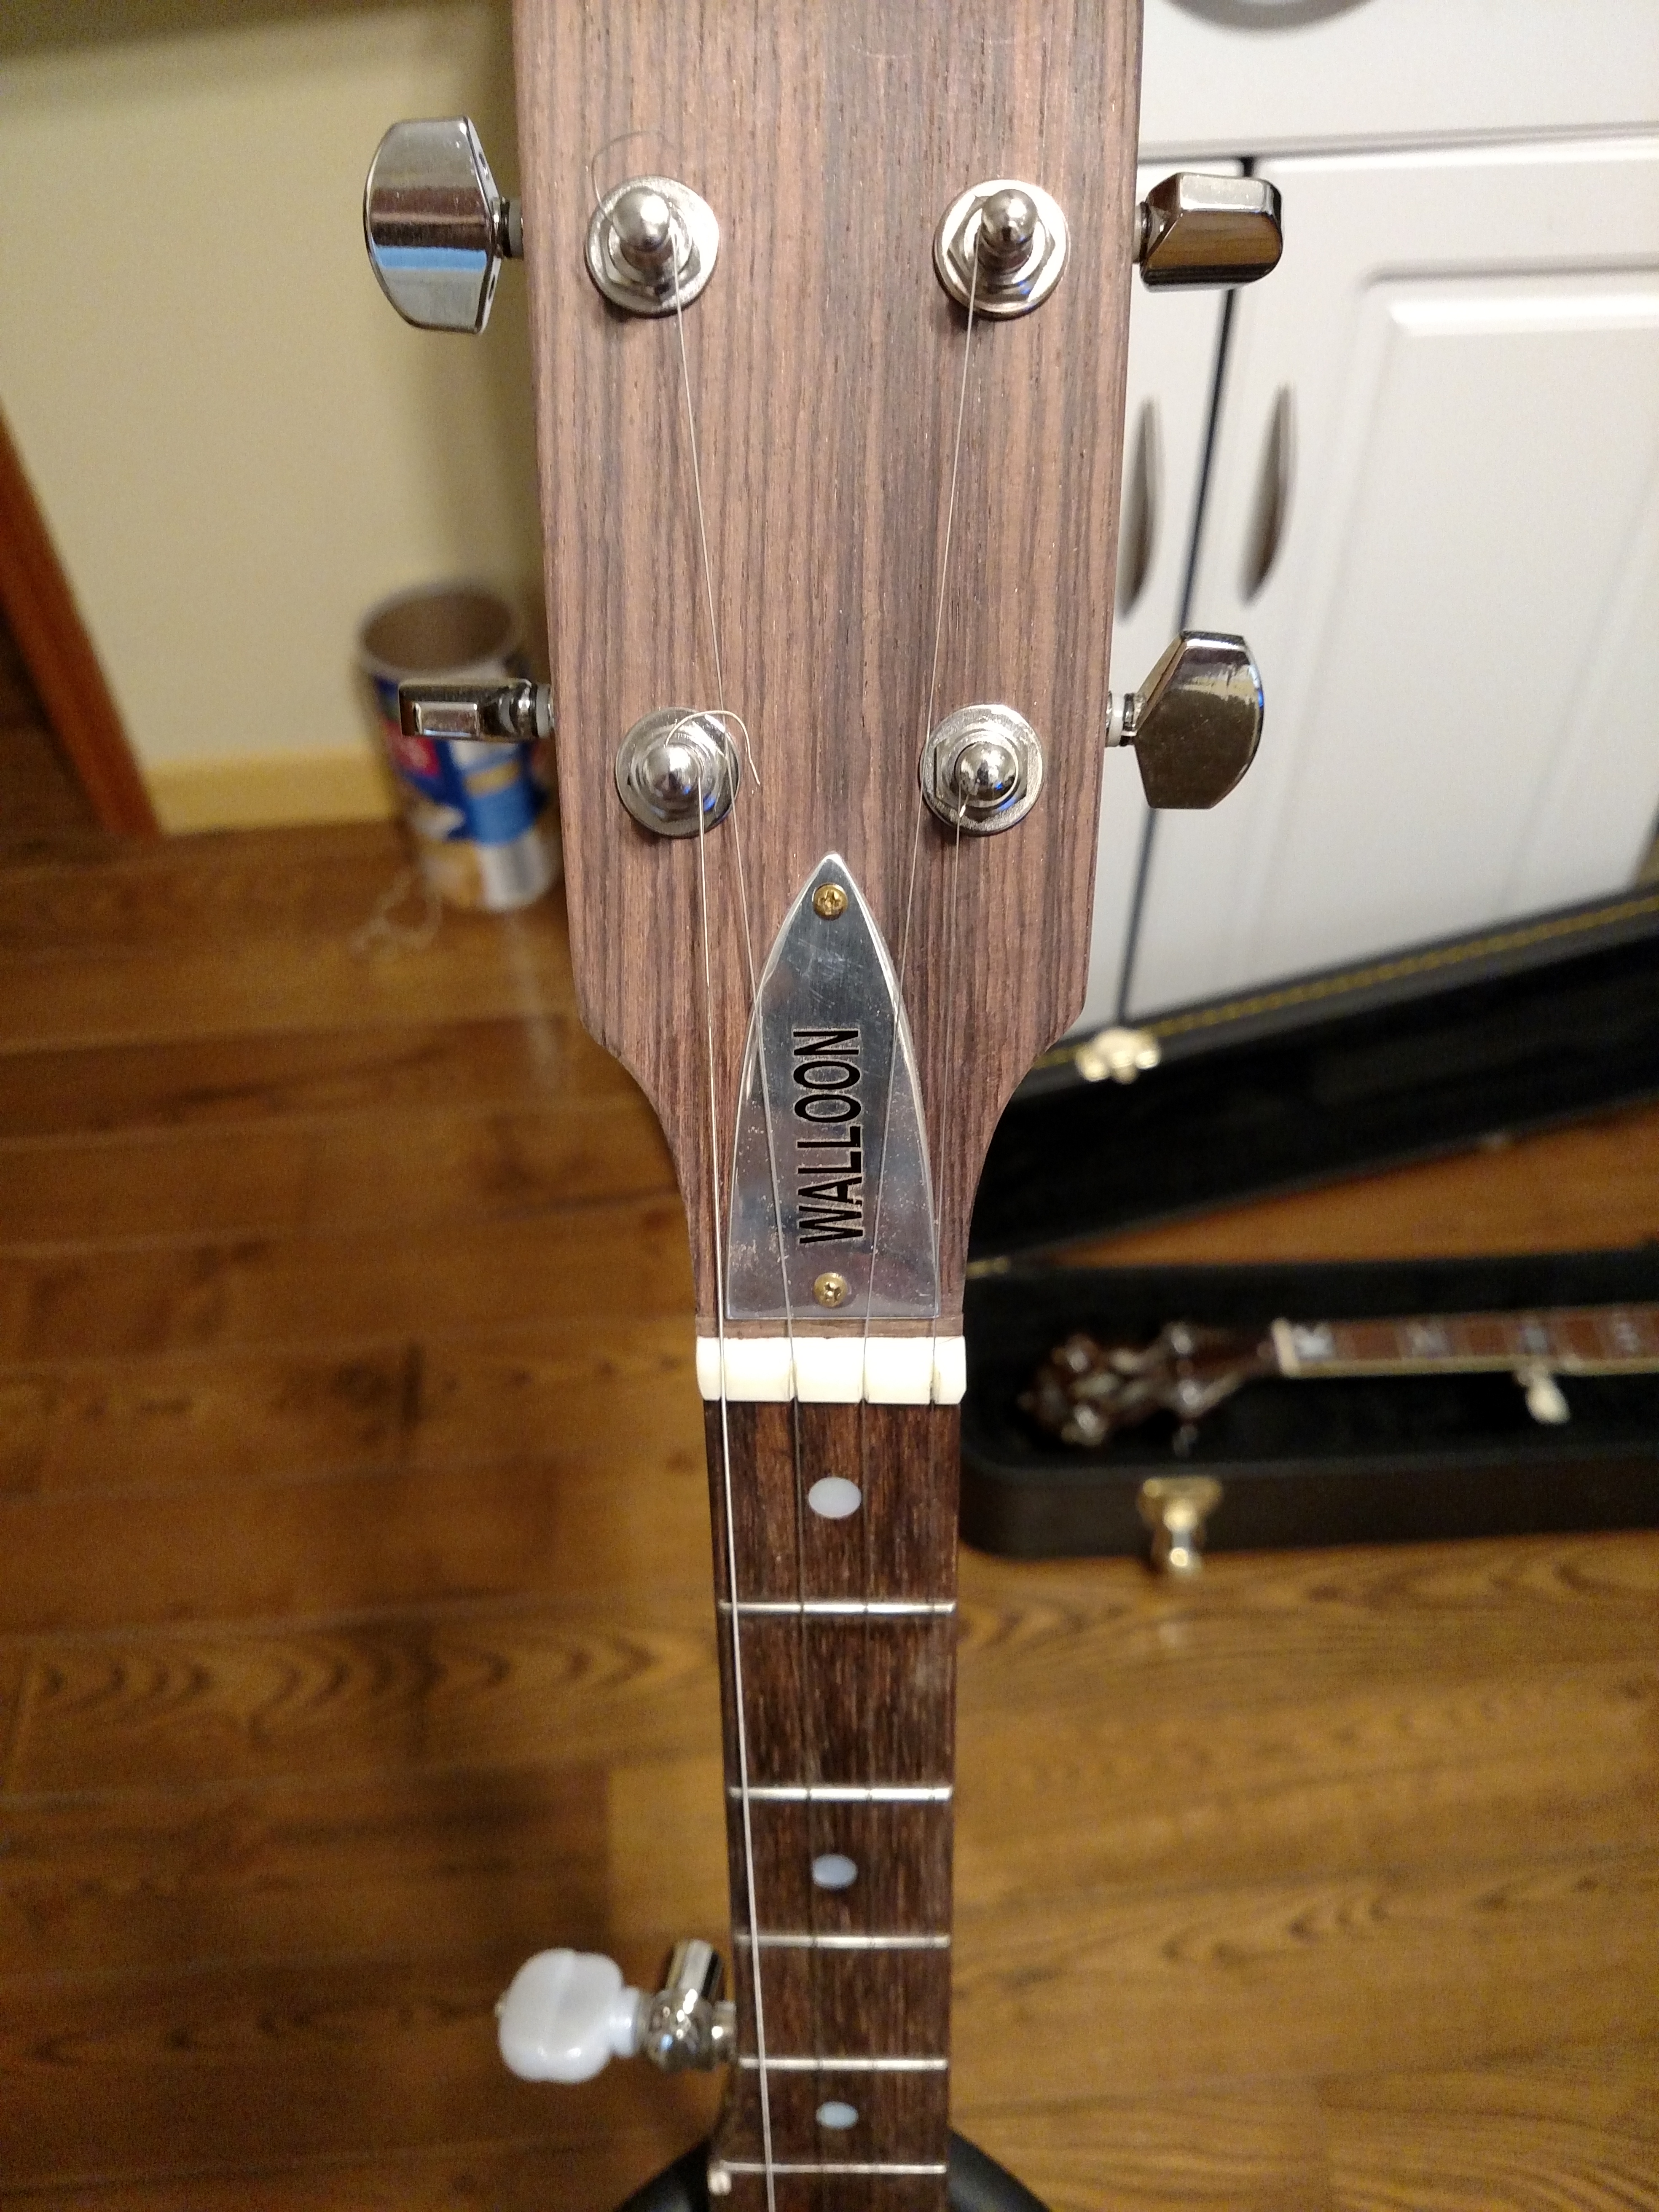
I fabricated a polished aluminum truss rod cover. I had a local sign shop cut a decal for my truss rod cover. I think the polished aluminum gives it a different look from the normal ones. I also fabricated a polished bone nut.
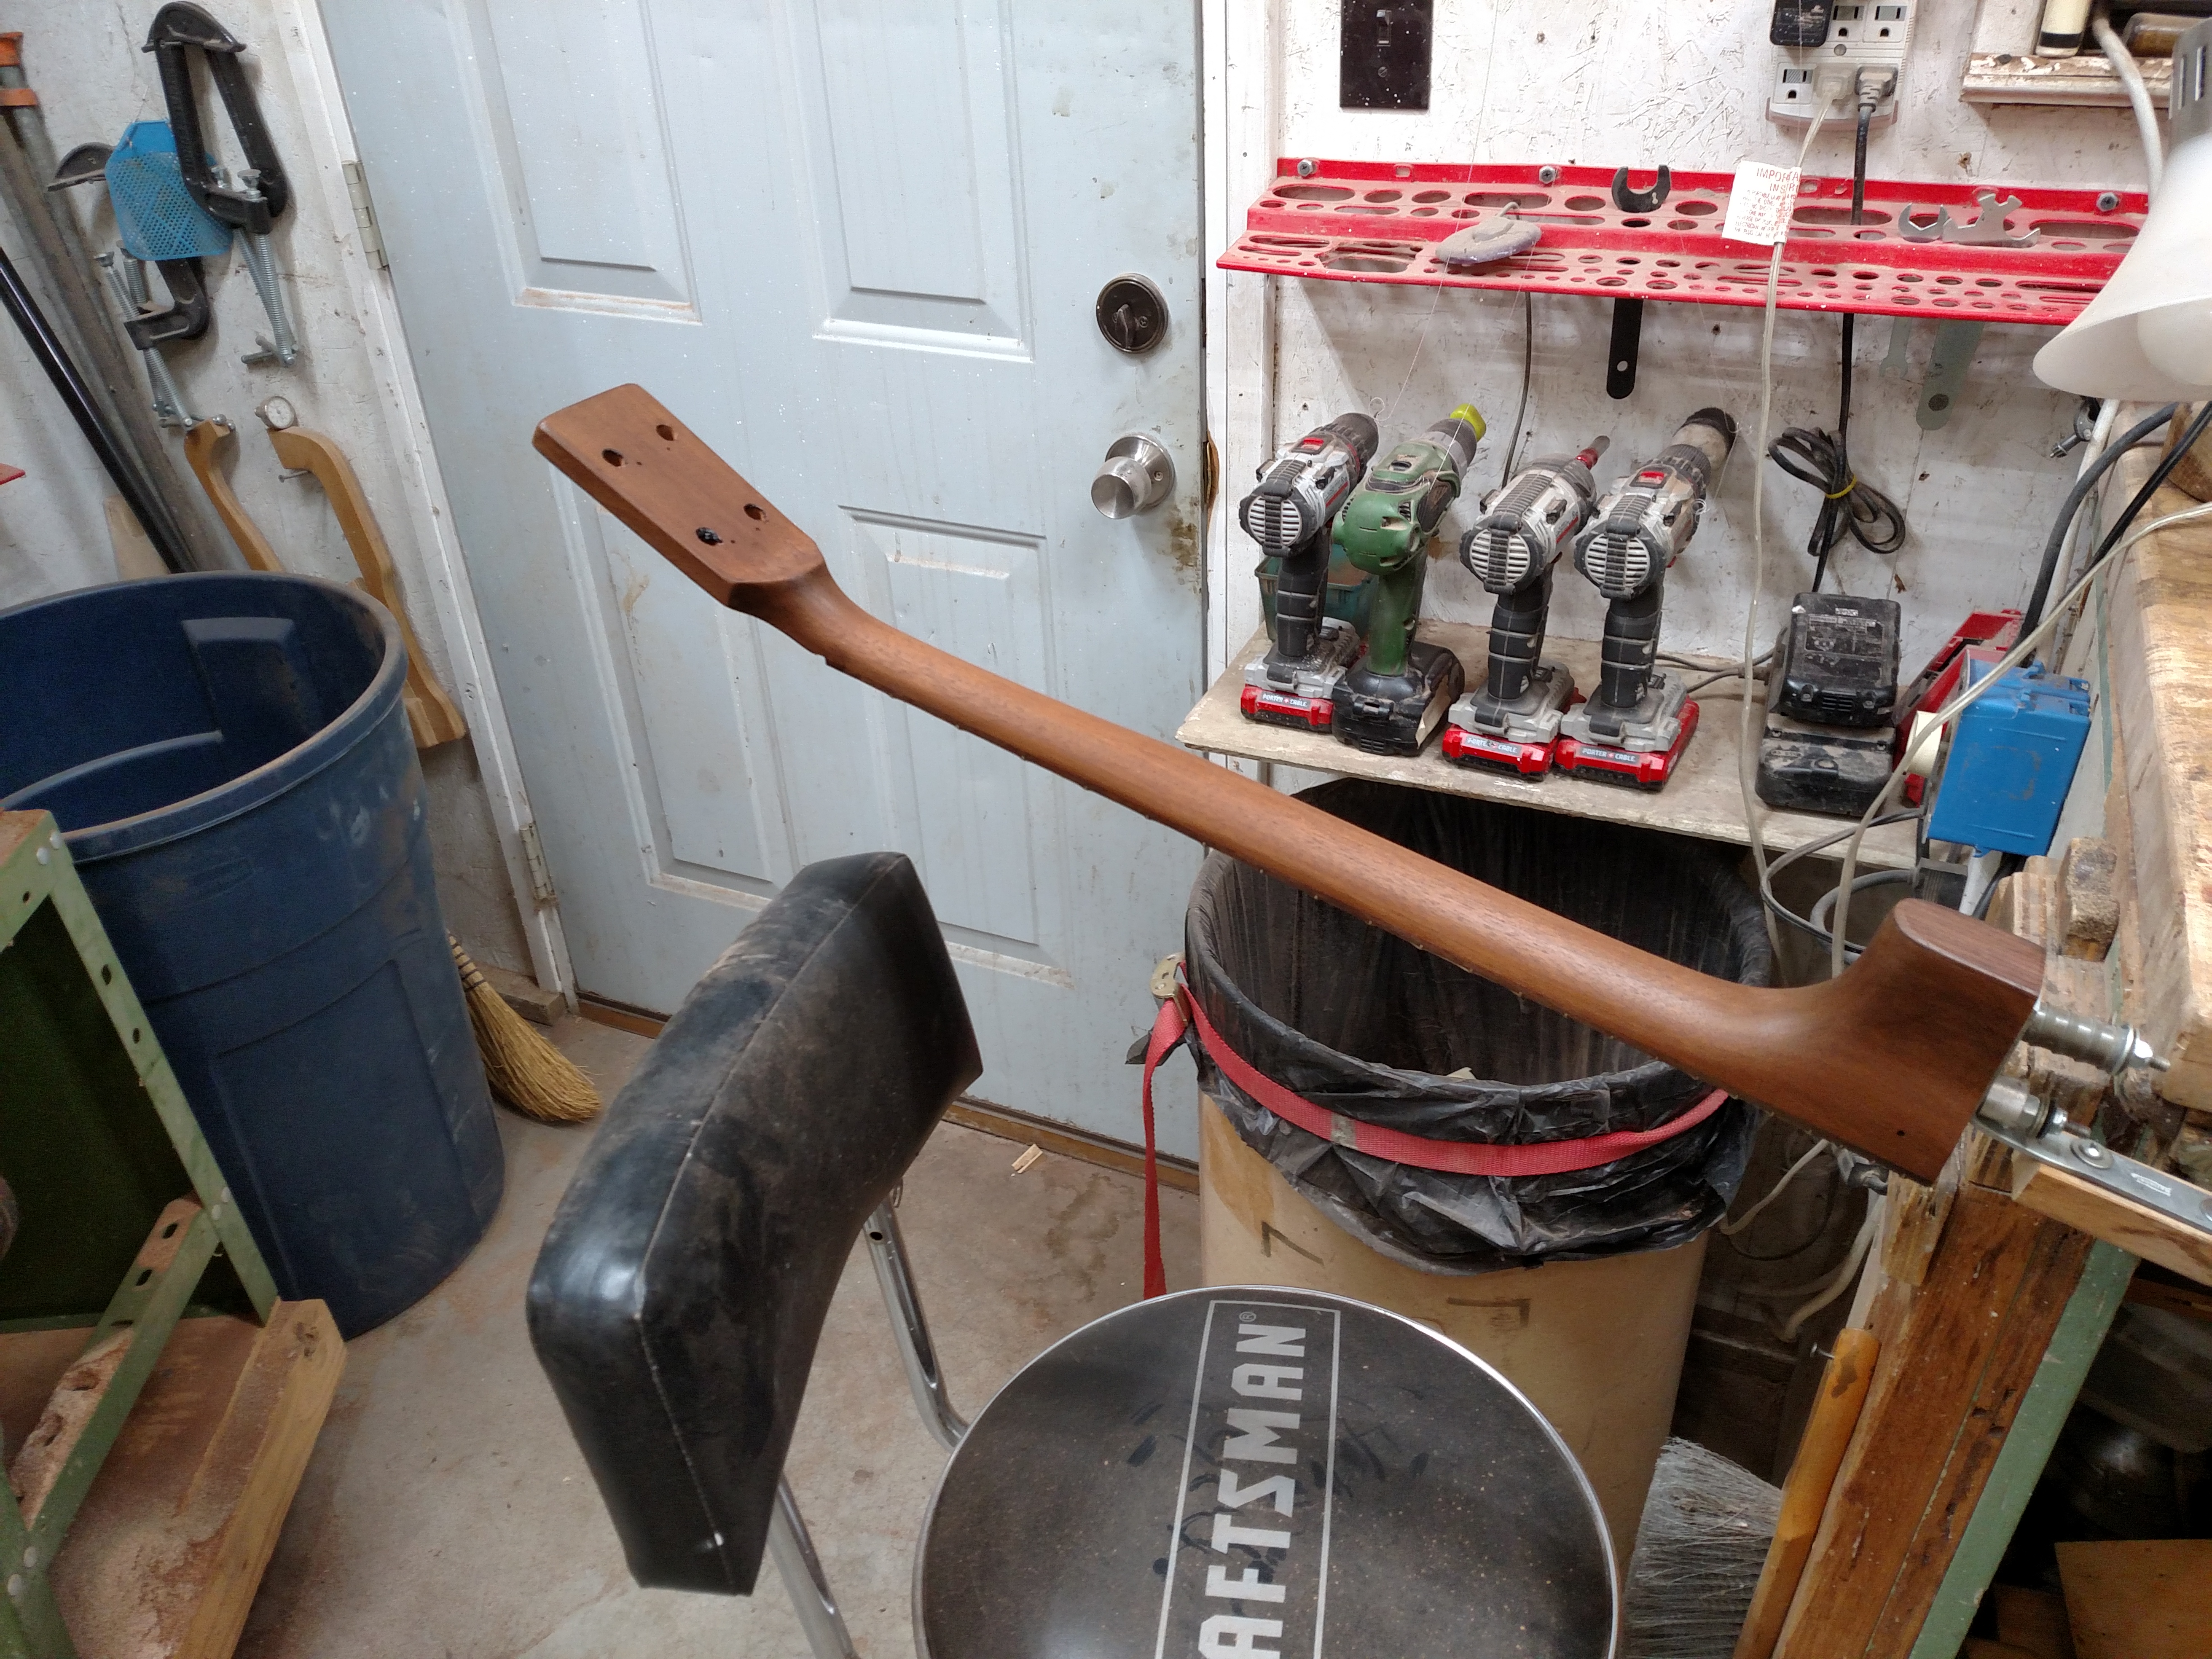
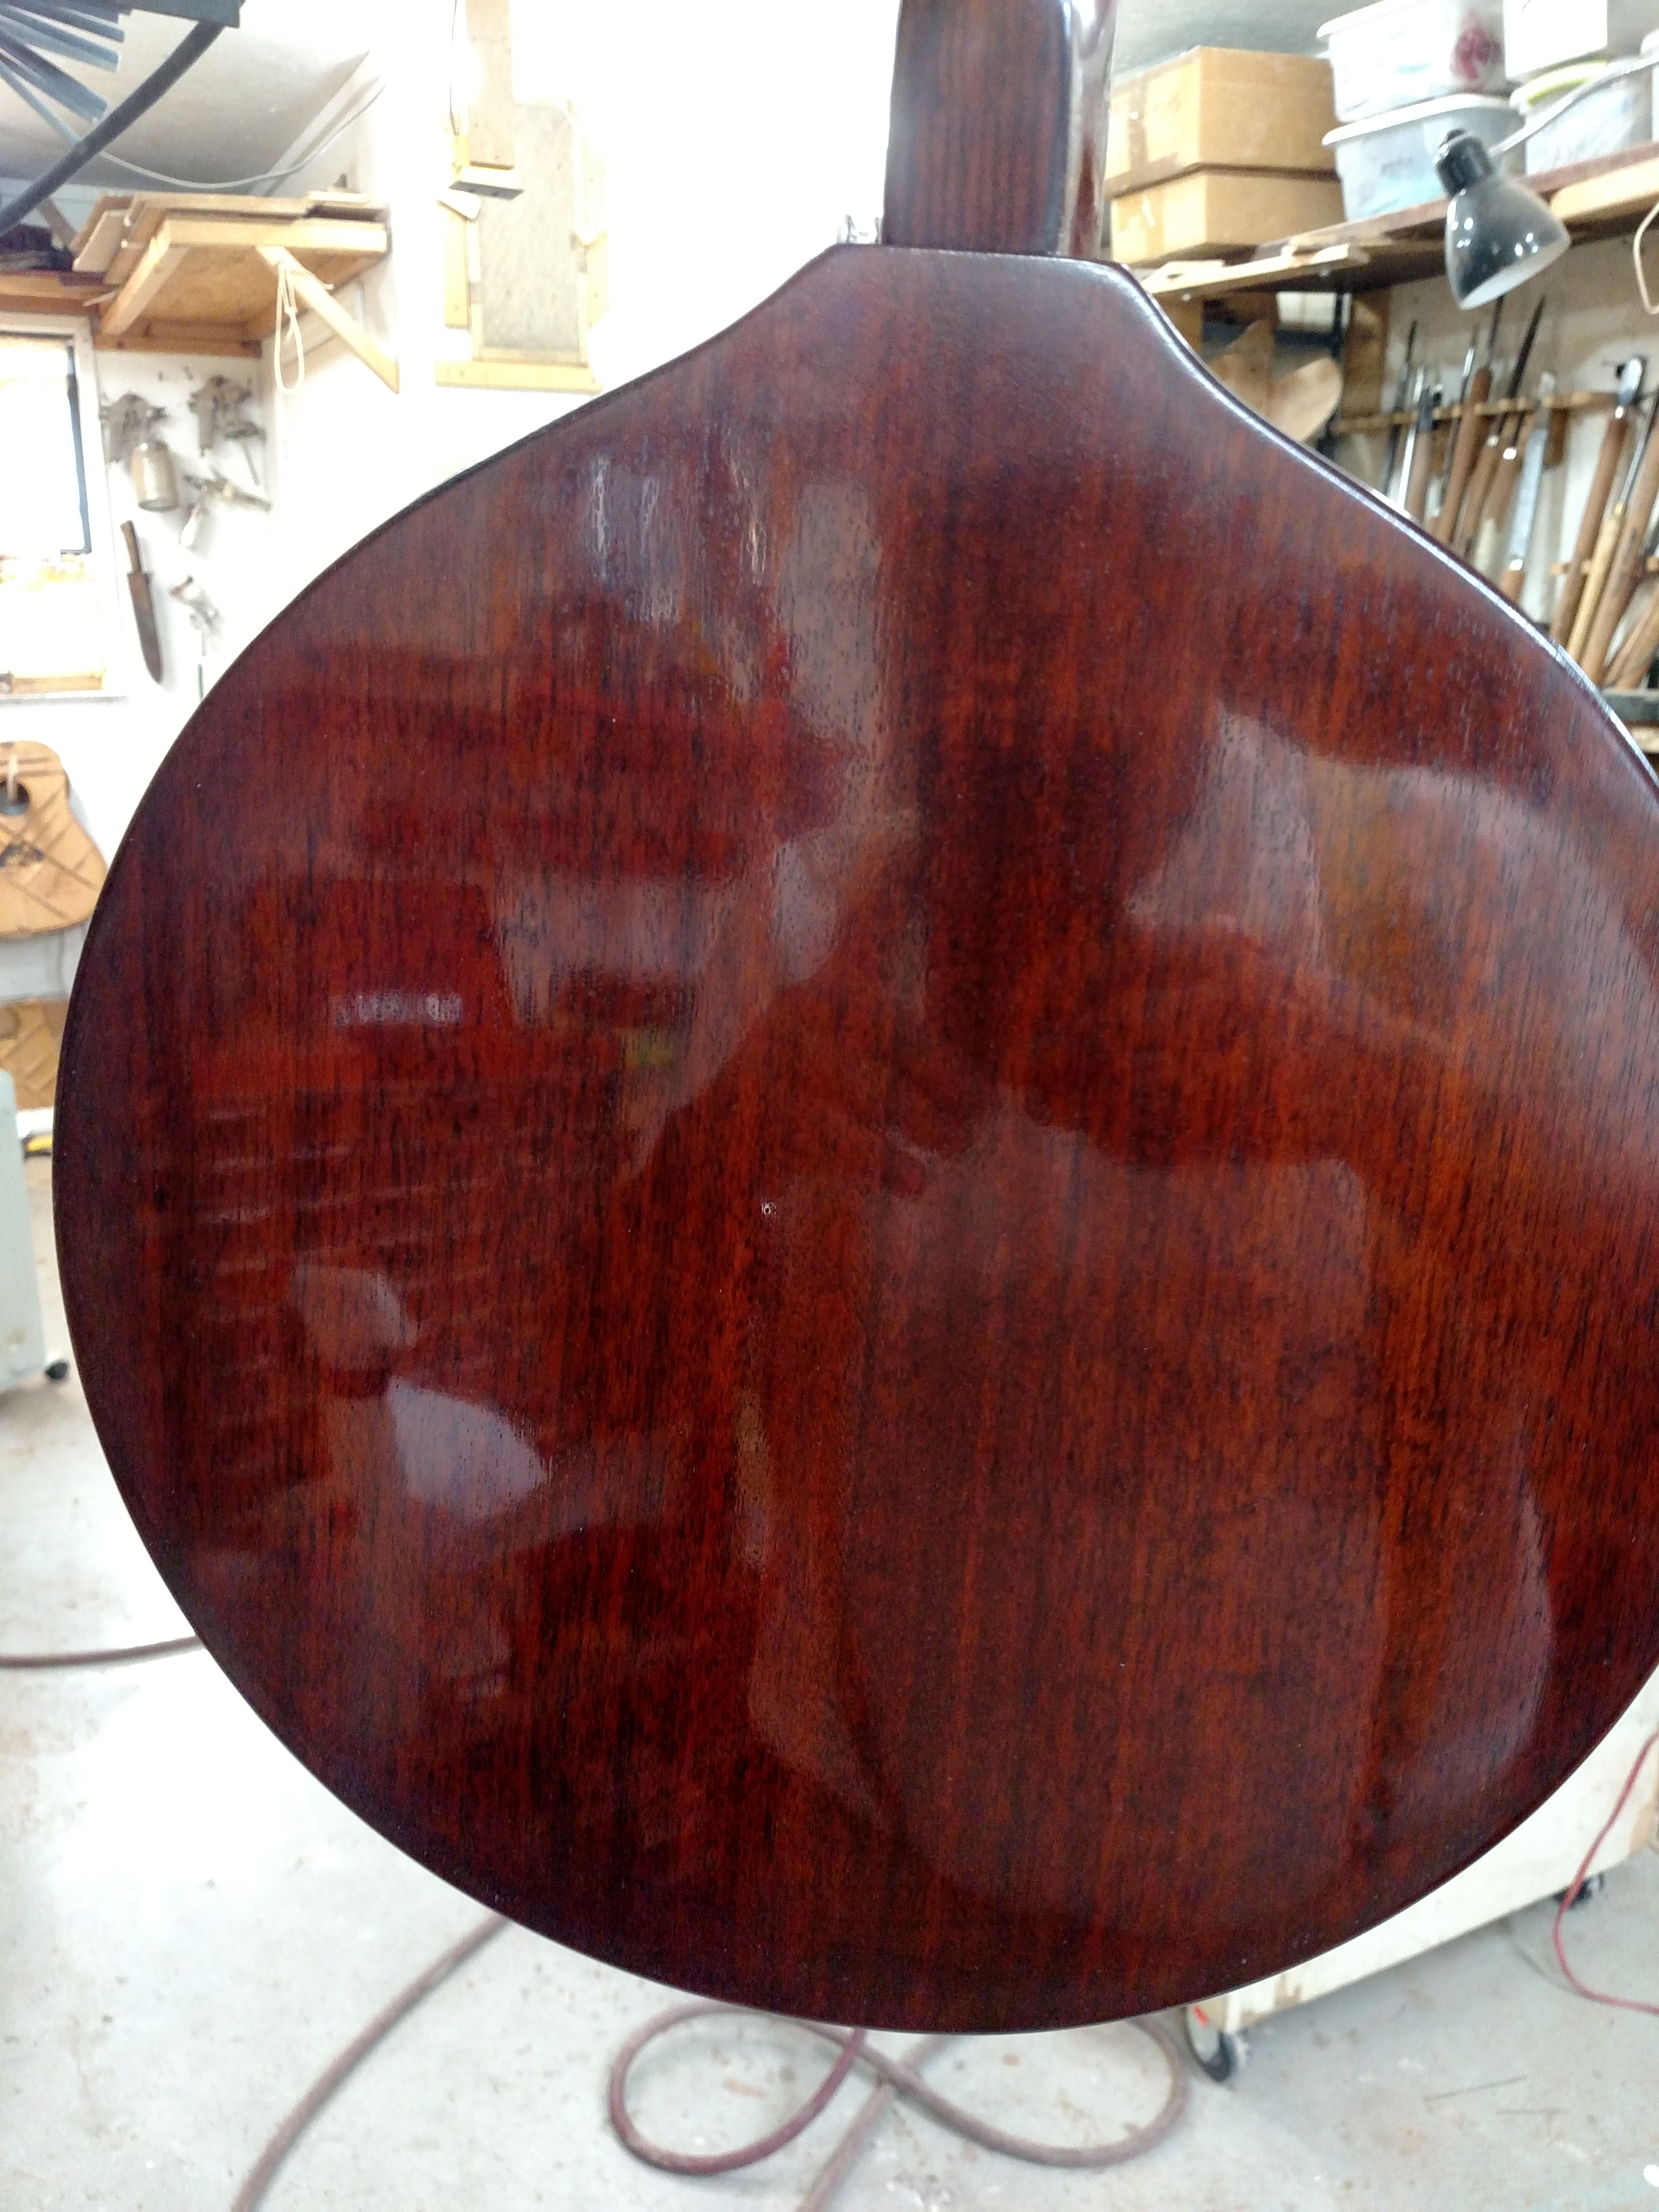
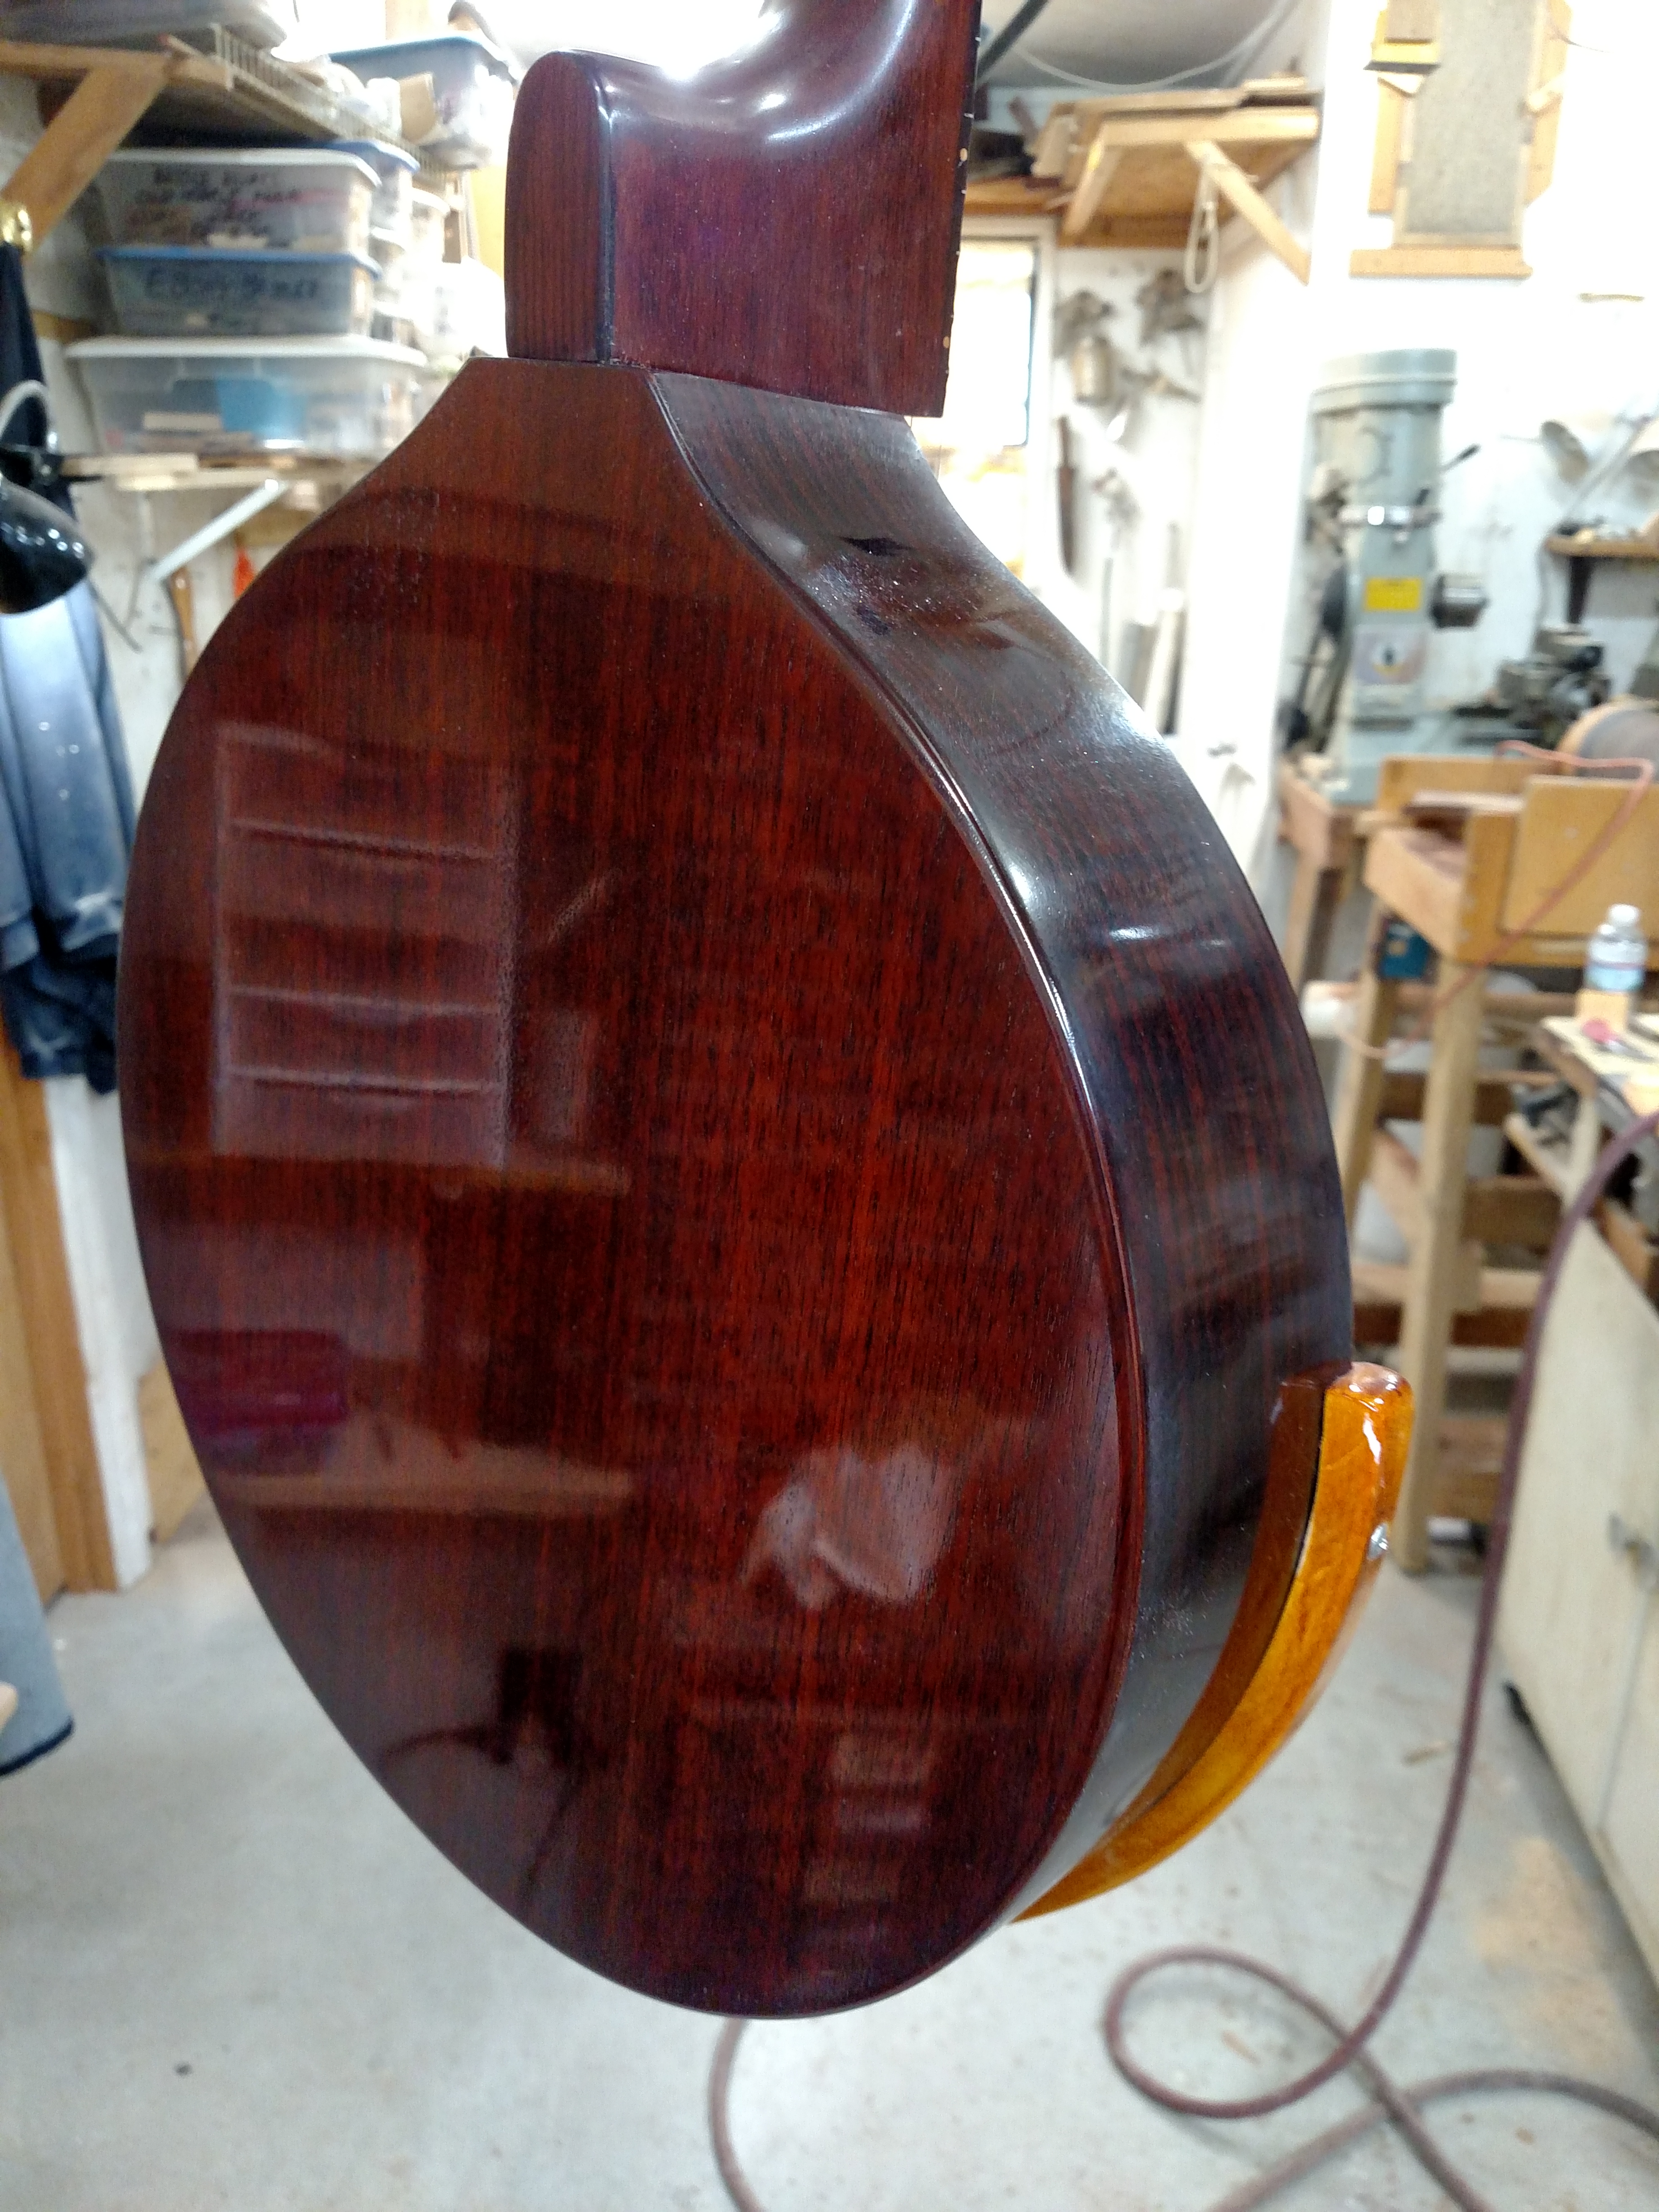
Pictured below is the neck after staining and filling the open pores of the mahogany with a wood filler. Filling these pores in open grained woods like, rosewood, mahogany, and walnut is a challenge. It takes patience and a lot of filling and sanding to accomplish this. Lacquer has a tendency to dry and shrink over a period of weeks and months and telegraph the grain pattern. You can have the finish as slick as glass when you buff it and sometimes it will shrink on you later. I have tried many different wood fillers and techniques. In the end, it seems to me like you have to spray a LOT of finish to accomplish this task. I know there are polyurethanes and a lot of finishes around these days that have more body and fill grain quicker. I’ve resisted them so far, but I don’t think those finishes would hinder the tone of these Walloons like they would a guitar. I may try some of those in the future.
Shown below are a couple of pictures of the finishing process. It takes a lot of time to do this and a lot of patience.
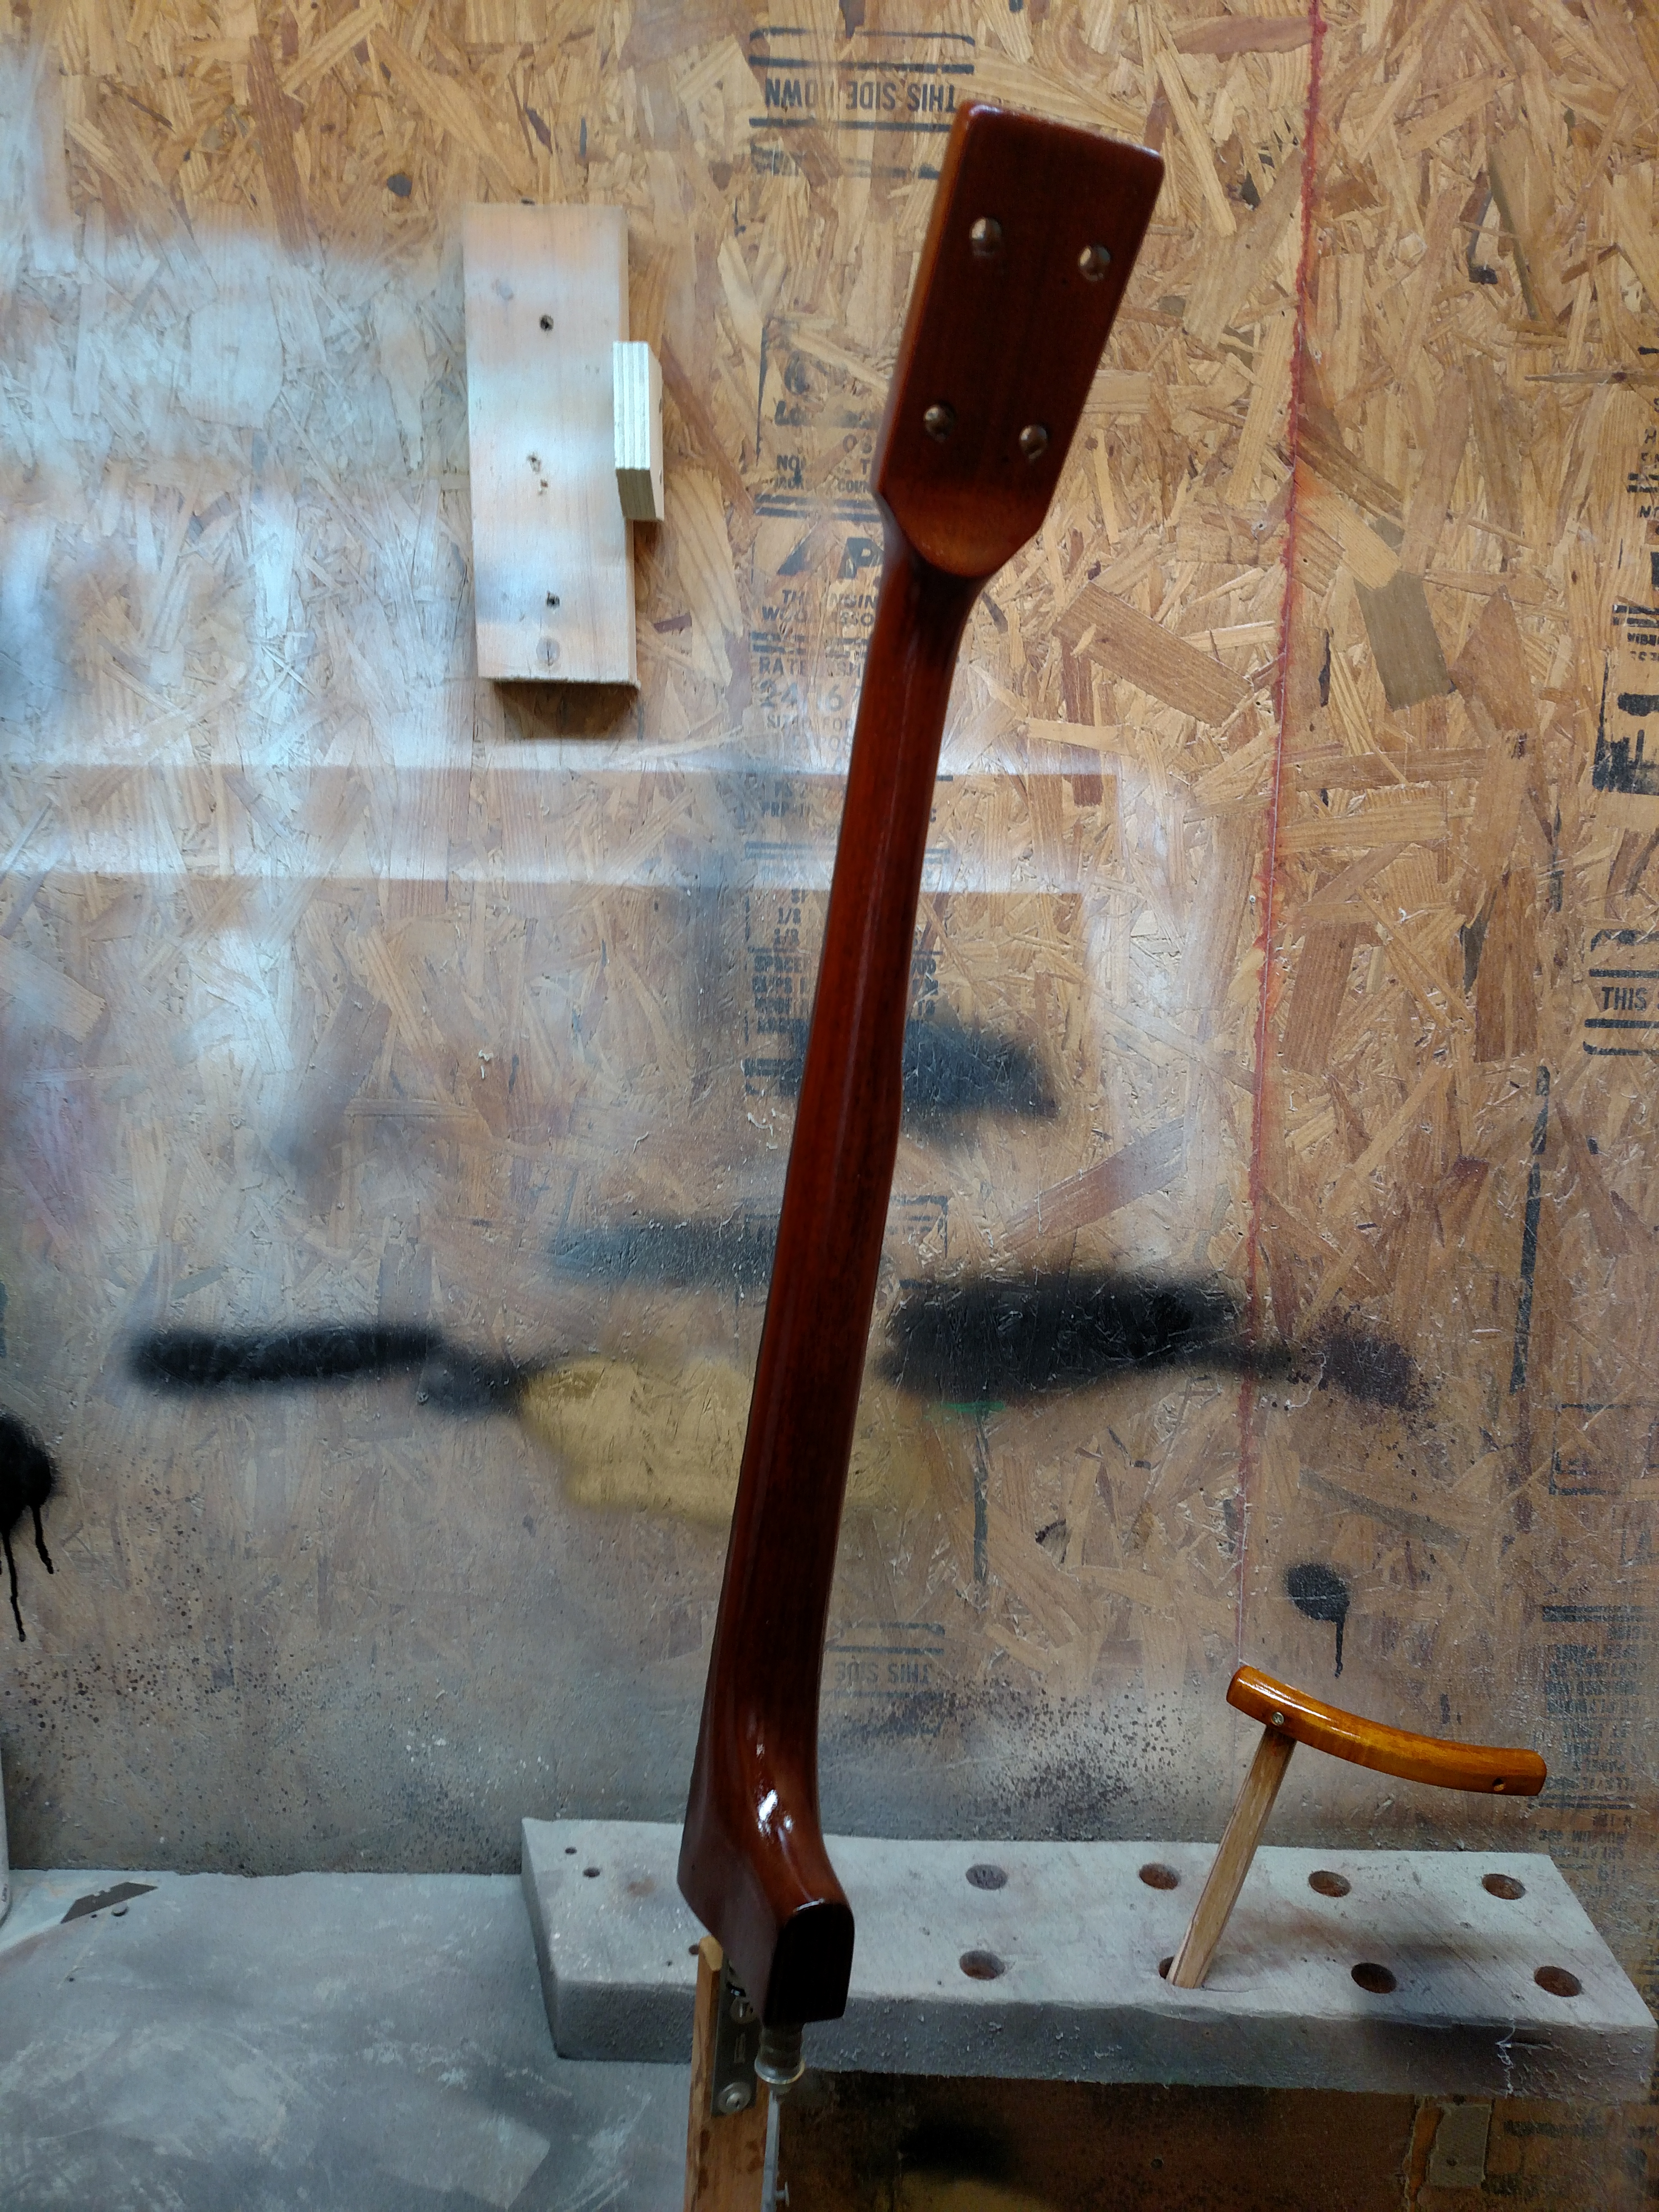
I experimented with some shellac on this project. I wasn’t really happy with the results. I ended up removing most of it except what was down in the grain of the wood. After applying the lacquer, sanding, staining, and applying more lacquer, I color sanded the painted parts and buffed them. I applied my logo on the peghead. A local sign company made me some templates a while back so I can paint my name on my instruments.

After buffing, I cleaned and reassembled the instrument. I applied some mineral oil to the fingerboard, put the neck back on the body, and reassembled the cone and cover plate. It was nice to know that I had worked all the details out in my initial assembly and I wouldn’t have any surprises after the finish was applied.
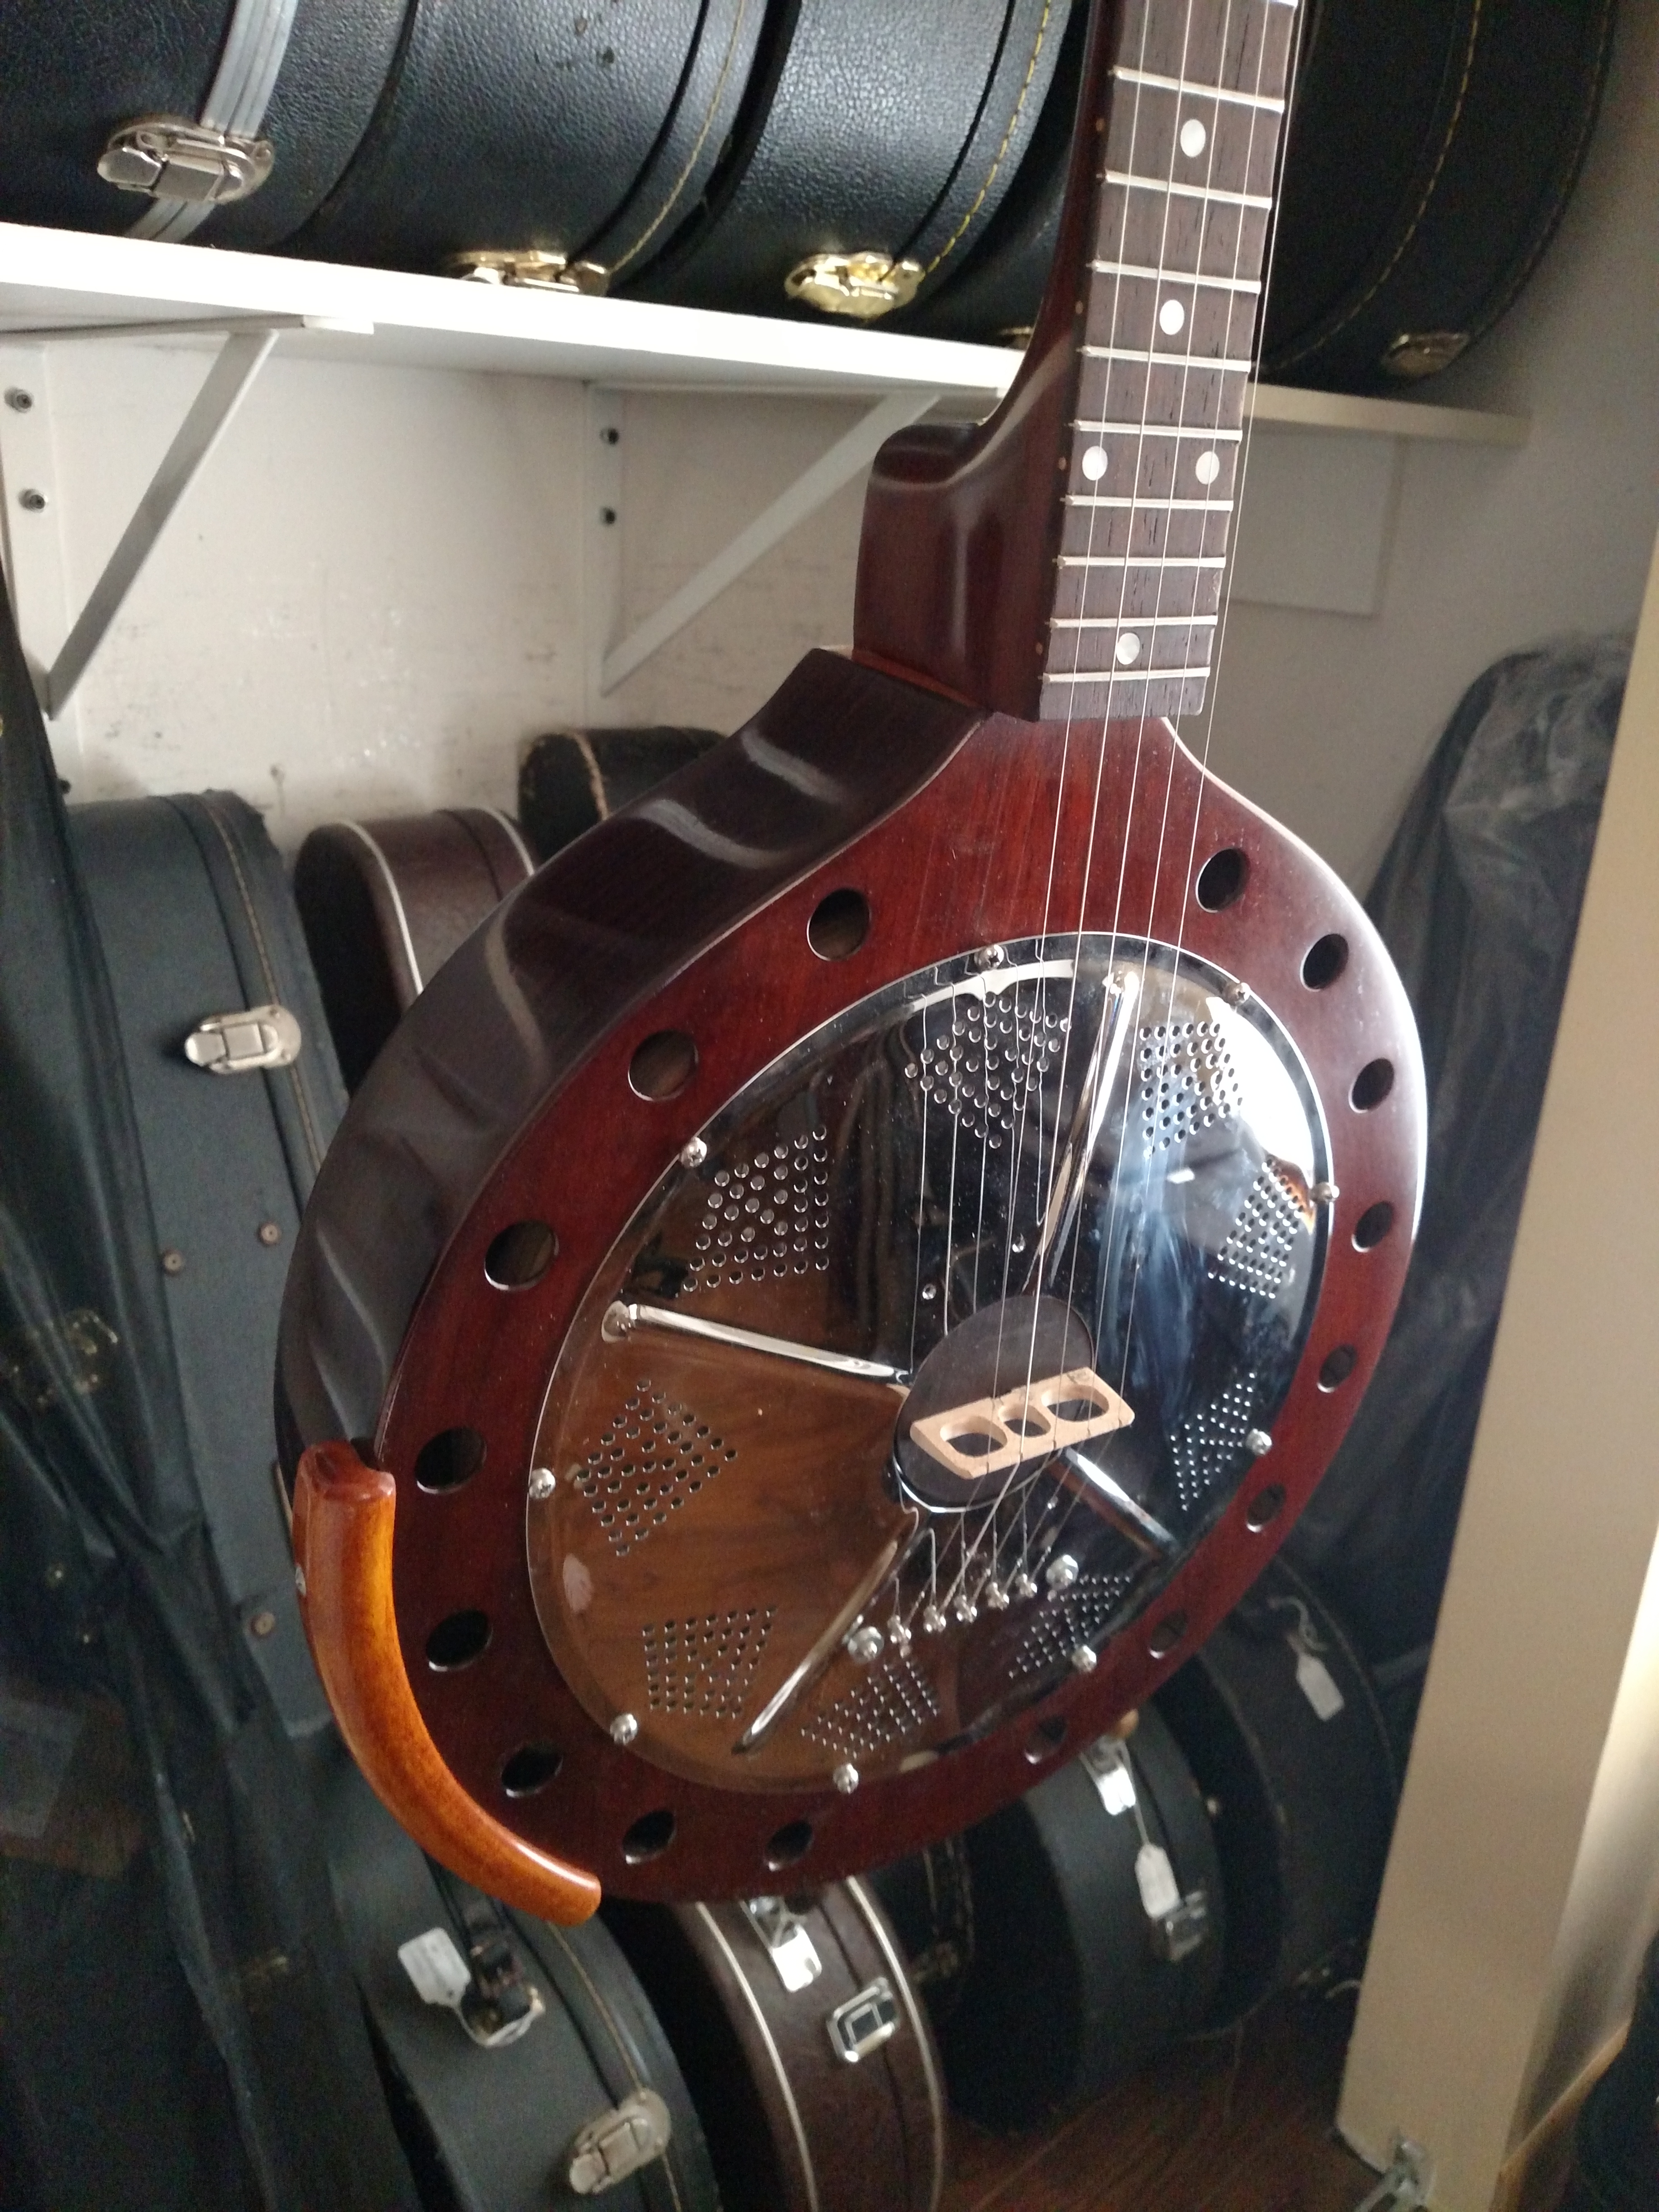
Here are some pictures of the final product. It weighed in at a little over 4 pounds. This is lighter than a lot of guitars. My Gibson/Huber Banjo weighs around 11 pounds. Some banjos weigh up to 13 pounds. The extra body depth didn’t make a big difference in the way it feels when you are holding and playing it. The lighter weight of these instruments is one thing that attracted me to making them. Of course, I also like the tone they produce.


I was generally pleased with the changes I made to this number 7 Walloon. I think the deeper body enhanced the tone somewhat. I made some other changes including changing to lighter gauge strings and using a lighter weight bridge. The other Walloons had bridges that weighed around 2.6 grams. I lightened this one down to 2.1 grams and that seemed to help the tone. It seemed that the heavier weight bridge was holding back the tone somewhat. I had stayed away from light gauge strings because they sounded too tinny for my ear. I seems that a lighter weight bridge went a long way toward correcting these problems of it sounding too tinny. The instrument is a lot easier to play with the light gauge strings. I’m still comparing these instruments and I’m sure I’ll probably make some more changes.
Update-May 9,2021: This Walloon #7 now belongs to Dale Perry. He owned Walloon # 4 and recently upgraded to this later model. He traded his old Walloon for this one. It has the deeper body. I hope it will suit his needs. He used the old one to record some cuts on his latest album with the “Fast Track Band” and some other projects. I hope this later model will suit his needs.
I made a short video so you can hear what this Walloon sounds like. Here it is:
![]()
Be the first to comment on "002- The Walloon # 7- February, 2019"